Table Saw Basics
The Basics of Table Saws
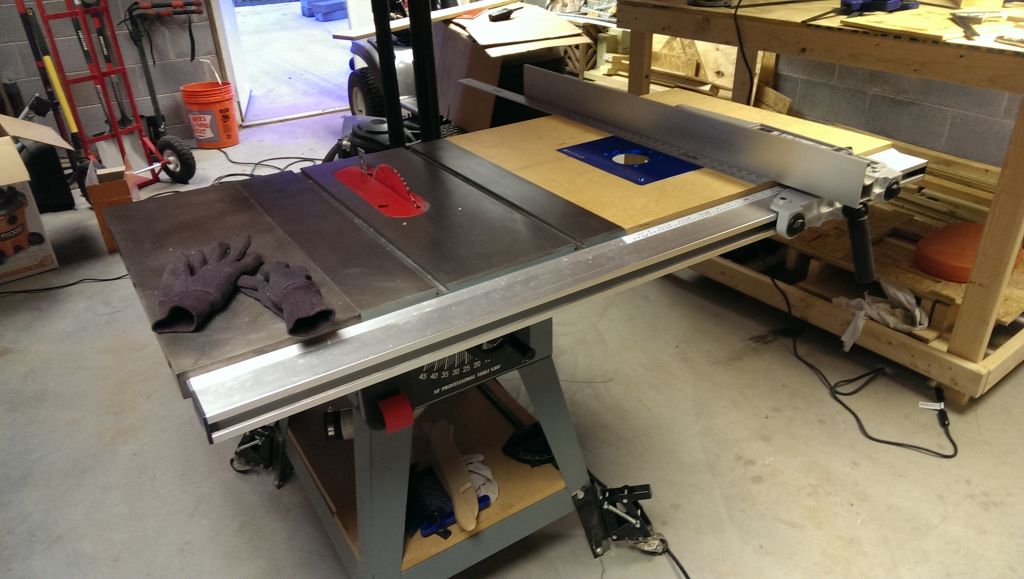
There are many table saws, this one is mine
Having recently started getting into woodworking, I’ve been researching as much as I can. For most types of woodworking, the table saw is the central fixture of the shop. This article details what I’ve learned regarding table saw basics and safety.
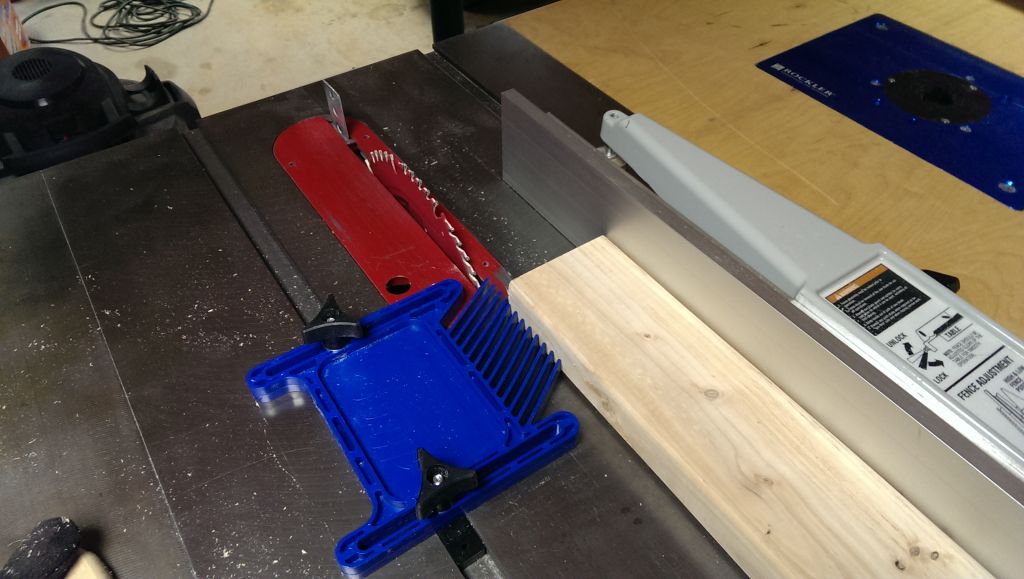
A table saw is a circular blade mounted in a table over which wood is pushed. The blade can adjust up and down, and tilt on an angle. There is also a provision for a rip fence. The rip fence is the metal bar in the picture. You can slide it towards and away from the blade (red in the picture) to a set distance, and then make repeated, exact cuts of a given width.
Belt-Drive vs Universal Motor
Table saws can either be belt-driven or have a universal motor. A universal motor is a compact motor that is directly hooked up to the saw it is turning. This is common in smaller saws, including handheld circular saws. Universal motors’ main benefit is that they are compact. However, they are also very loud and not particularly powerful.
Belt-drive motors are larger and generally more powerful. They can easily run on 220V power for lower amperage operation. The biggest advantages over universal, though, are that they are much quieter, you will generally break the belt and not the motor if you overload one, they are more easily replaced, and the belt minimizes vibration transfer between the motor and the saw leading to more accurate cuts. My contractor’s saw 36-650, pictured above, is belt-driven.
120V vs 240V Power
Inductive belt-drive motors can generally be rewired to run on 240V power if desired, rather than the standard 120V available in most homes. Some of the larger cabinet saws can also run on 3-phase power, which I won’t go into here.
One common misconception is that 240V offers more power than 120V, which is generally not true. The power supplied to the motor is in watts, and it is a function of volts times amps. (Physics, P=IV). If the motor is running at 120V and 15 amps, which is about right, it is drawing 1800 watts. If you make the same saw run at 240V, you’ll only draw 7.5 amps, but have the same total wattage and therefore the same power out of the motor.
However, there are two advantages. If you’re experiencing significant voltage drop from the breaker to your saw, meaning your saw isn’t getting 120V at the outlet, a higher-voltage circuit should drop less. In this instance, you will actually see a performance increase.
Secondly, it allows the saw to run at lower amperage. In the case above, you’ll get 1800 watts from 7.5 amps at 240 volts instead of 15 amps at 120 volts. This is preferable because this translates to cooler wiring and the ability to have a smaller circuit breaker if the wiring in your shop is amp-limited, as most are.
Personally, I haven’t bothered to convert my saw away from 120V, because I have a dedicated subpanel in my shop with a dedicated 20A circuit for whichever saw is currently in use.
Types of Table Saw
Unisaw / Cabinet Maker’s Saw
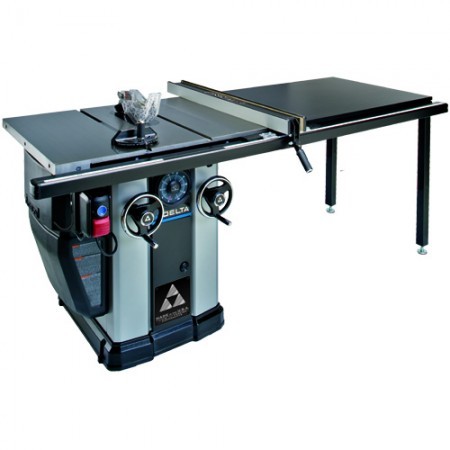
Delta Unisaw
source: deltamachinery.com
There are a few sizes of table saw. The big boys are Unisaws or cabinet maker’s saws. They weigh around 500 pounds and have a solid enclosure under the table top. They are, to my knowledge, always belt-driven and often require 220V or even 3-phase power to achieve the high horsepower available with their motors. They usually ship with a good rip fence and are high-quality. They generally have the largest tables and make the cleanest cuts, but they’re difficult to move and cost a few thousand dollars new.
Contractor’s Saw

Delta Contractor Saw
source: deltamachinery.com
Then you have contractor’s saws, which also have quite large tables, but the stand underneath is open and generally can be disassembled more easily than a cabinet maker’s saw. They still have large generally iron tables, are likely to be belt-driven, and do excellent work. If belt-driven, one downside is that the motor usually hangs out the back, so they cannot be pushed flat against a wall. They also typically ship with a fairly good fence and usually upgrade easily to the more expensive Biesemeyer and Unifence rip fences. These saws hover around $600 to $1500 new. I have one of these that I bought used, and found it to be a good tradeoff rather than a new, smaller saw.
Generic Table Saw
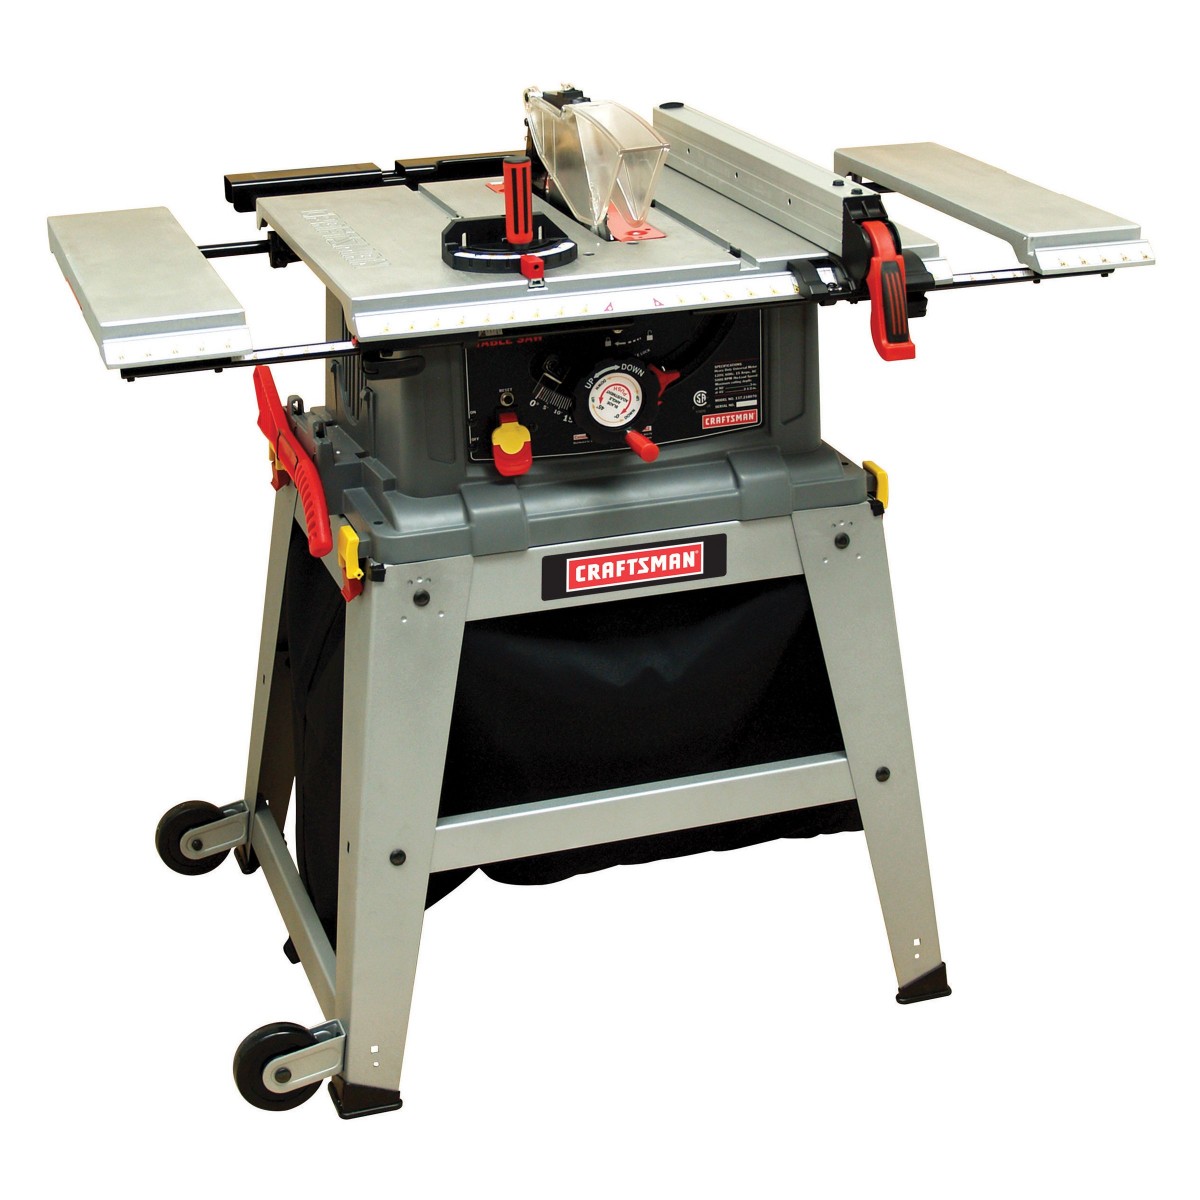
Craftsman Table Saw
source: craftsman.com
Even smaller are the little floor standing Craftsman and other table saws. These generally have universal motors, fairly basic and mediocre rip fences, and are ok for doing basic rough construction or basic woodworking. They lack in table space and motor power, but they are easier to store than the larger saws. They’re generally a couple of hundred dollars new, and pop up on craigslist for $100 or less quite frequently. There are a lot of small Craftsman saws in this category.
Jobsite Saws
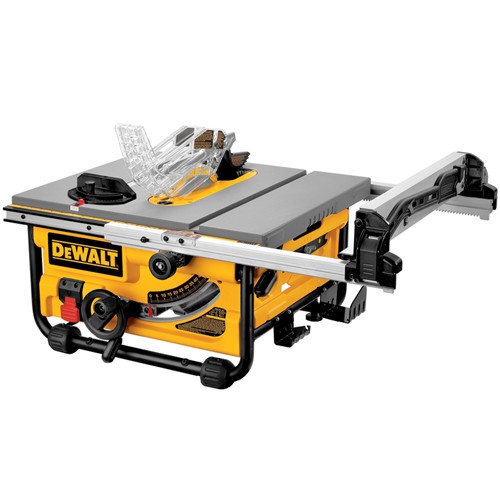
Dewalt DW745
source: dewalt.com
Lastly, there are jobsite saws. These may not have much of a stand at all, or they may have a fold and roll stand. These are actually generally nicer than the small saws above. They’re extremely portable and designed to roll out and use for site-built construction projects, hence their name. They have extremely minimal table space and universal motors, but the nicer ones have decent enough fences and some nice features. My initial Dewalt DW745 was in this class. They work well for someone without a lot of space. They typically run between $250 and $500 new.
Basic Cuts
This is a rip cut
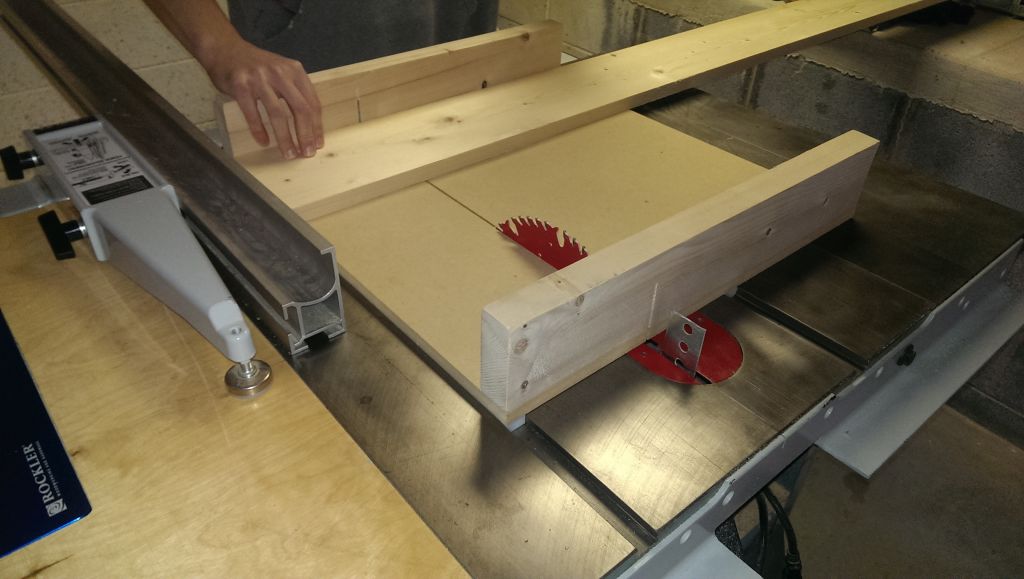
This is a cross cut
There are three types of cuts: rip cuts, cross cuts, and resaw cuts; the difference is which way you’re cutting the board. Rip cuts are with the grain, crosscuts cut across the grain. Imagine you have a 1’x6′ board that is 2″ thick. A rip cut splits it lengthwise, such as cutting it into two 6″x6′ pieces. A crosscut cuts it along its widest portion, such as making two 1’x3′ pieces. Lastly, a resaw cut, which generally should be done on a band saw, splits it the third possible way, such as into two 1’x6′ pieces that are 1″ thick. I didn’t account for the amount of wood you lose from the act of cutting it, but we don’t have to be pedantic here.
Most table saws also have miter slots, which are those slots in the table surface. They’re so-called because table saws come with a miter gauge, which is a bar with a dial used to hold wood at a specific angle for a cut. These slots can be used to make all sorts of sleds and jigs to control how wood is passed over the table saw. It’s worth noting that in the rip cut picture, I’m using a Kreg featherboard in the left miter slot on my saw. This holds the wood tight against the fence going into the cut and prevents it from kicking back.
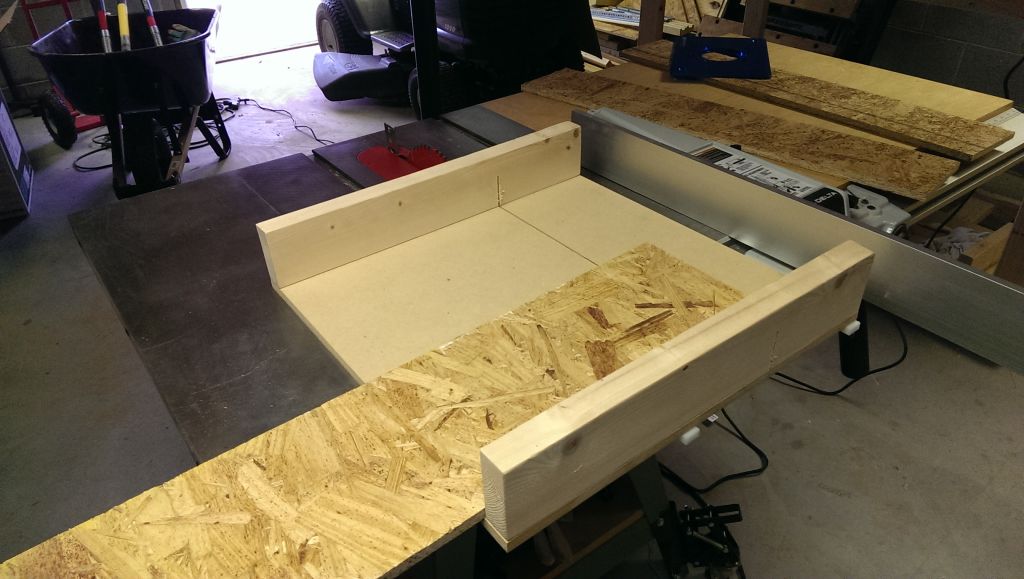
Another crosscut sled picture
In the crosscut picture, I’m using a homemade crosscut sled following a design very similar to Matthias Wandel’s. His site, http://www.woodgears.ca, is fantastic if you haven’t seen it. Crosscuts are dangerous to perform using the fence because its much easier for the piece to bind between the blade and the fence, potentially causing the piece to kick back violently. Small pieces are also just difficult to hold onto in general. The crosscut sled allows for more control over the workpiece and provides a much better cut. Also, you can see me using the Unifence moved forward for safer crosscutting in both of the crosscut sled pictures, to eliminate the possibility of wood binding between the saw and the fence after cutting. This is a very nice feature of the Unifence.
One thing I did differently from Matthias was order strips of UMHW plastic from Peachtree Woodworking to use as slides. UMHW is a very low-friction plastic that is much cheaper than nice hardwood. Also, unlike wood, it will not expand and contract with humidity changes. I tried to use it for a very large 48″ sled, but it wasn’t rigid enough, and I think I’m going to go to steel instead.
Safety Equipment
Push Sticks and Sleds
Even more safety
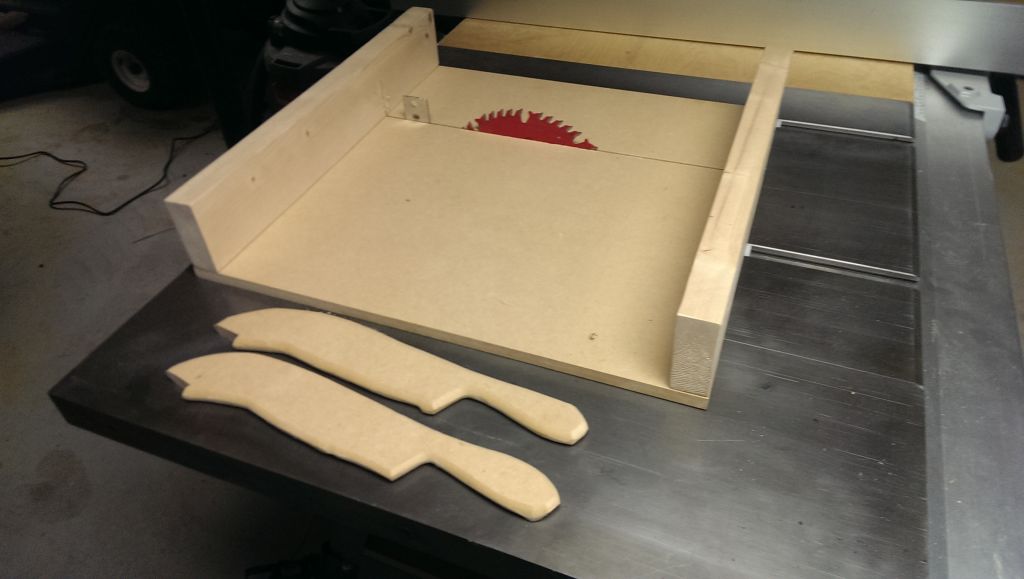
First of all, you should avoid feeding wood through a table saw with your bare hands. If you’re not using a sled or jig of some sort, you should be using push sticks. Some people like the “grripper”, a device that sits on top of wood. I personally liked Matthias Wandel’s discussion on the topic. His stance is that those types of pushers get your hands very close to the blade. I chose to make two push sticks using his design, although I didn’t actually print it out and so forth the way he does. I just eyeballed the pattern with a pencil onto some MDF, cut it with a jigsaw, and cleaned it up with my router using a roundover bit. I may switch to different wood later, but they work very well for now.
As Matthias says, the sticks get your hands away from the blade. Additionally, if the wood were to kick back, if you’re using two sticks, your body is naturally out of the line of fire, and you’re not gripping a piece of wood directly that could shoot out at you. At the end of the day, I think this system keeps me out of harm’s way.
Additionally, as discussed above, you should never perform a crosscut using your bare hands. Crosscut sleds give much better control over the workpiece and help prevent kickback. Kickback is more likely with a crosscut because the two pieces can more easily turn towards each other and grab the blade if you’re only pushing on the piece in one or two places.
For the same reason, you should never use a rip fence at full length for a crosscut. With the grain perpendicular to the blade, it’s very easy for it to twist and pinch between the blade and the fence. Some fences have a mechanism for a reduced-length fence that doesn’t extend past the blade, such as the Unifence pictured above and those on table saws made by european manufacturers. This helps to eliminate this issue. There are many different designs of crosscut sled to handle various cuts.
Blade Guard and Riving Knife
The clear plastic is the blade guard, the black steel behind the blade is the riving knife
source: dewalt.com
Most modern fences now come with a blade guard and a riving knife, as well. The blade guard is a device, generally spring-loaded clear plastic, that sits over the blade. It lifts up when you push wood into the blade and keeps your hands away. American saws didn’t commonly have them until the last few years. My contractor’s saw is old enough that it didn’t come with one. However, since I always use sleds, with which a blade guard doesn’t work, or the push sticks, I didn’t see the need to worry about a blade guard. On my Dewalt, I found that the guard also got in the way of proper push stick usage. If I had one I would probably try to use it.
Splitter

Splitter with Insert Removed
A riving knife or splitter is a piece of metal that sits behind the blade. After wood is pushed through, the riving knife keeps the two halves from pinching back together on the blade and being thrown. You can see my splitter in the sled / push stick picture above.
The difference between a riving knife and a splitter is that a riving knife will raise and lower with the blade, whereas a splitter is generally at a fixed height and must be removed for certain cuts. A riving knife is certainly a better option if available. My saw came from the factory with a splitter, although it was long gone by the time I bought it.
SawStop
SawStop gets an obligatory mention here because they’ve made a lot of waves in the last few years. SawStop is a company that has come out with a table saw that detects when skin comes into contact with a saw blade and can stop blade movement nearly instantaneously. There are a lot of impressive videos online demonstrating this on a hot dog.
The idea is that it prevents lost fingers due to operator error by bringing the saw screaming to a halt before it can injure your hands. If the brake is triggered, the saw blade is typically ruined and the brake needs to be replaced. I believe the blade costs around $60-$100. This is obviously much cheaper than buying new fingers.
I haven’t had the opportunity to use a SawStop myself, but I understand that they are expensive, but also a top-of-the-line saw. The peace of mind seems like a good idea, but I don’t plan on making the jump myself. If I were after a brand-new $3000 saw, I would certainly give them a look.
That said, the SawStop is not the end all and be all of safety. Certainly a lot of woodworkers have lost fingers, but the majority of table saw injury is a result of kickback. Using misaligned fences, doing crosscuts with a fully extended fence, or other dangerous operation causing a piece of wood to shoot at the operator at major league baseball speeds are not prevented by the SawStop to my knowledge. It’s great that more safety devices are becoming available, but it’s important to remember that having a SawStop doesn’t mean you can forget about safety or that you can’t injure yourself.
For further information on my saws, check out my reviews of my first DW745 jobsite saw and my Delta 36-650 contractor’s saw. I also did a writeup on building a router extension table for my Delta table saw.
[…] a gap that is less than the width of a picket. I simply measured the distance and used a small table saw to cut a picket lengthwise, making a smaller […]
[…] wife wanted a bluebird birdhouse, and I wanted to practice some different joints with my new table saw, router, and router table. This ended up being a great project to try out some rabbets and […]
[…] got a table saw. Recently, I have also added a Bosch 1617EVSPK. It consistently scored the best reviews, is […]