
Using a Pre-96 EGR Valve on a 96-97 Miata
I had to replace the EGR valve on my 97 Miata. I was able to get a cheap used replacement from Tom at partsgroup.com, but all he had were pre-96 EGR valves. The newer 96-97 EGR valves have a port on them for a sensor to detect if the EGR is operating correctly. Unfortunately, the older ones do not, but they do have a dimple where this port would go. I ended up documenting taking the old valve and using it on a newer car.
Removing the old valve
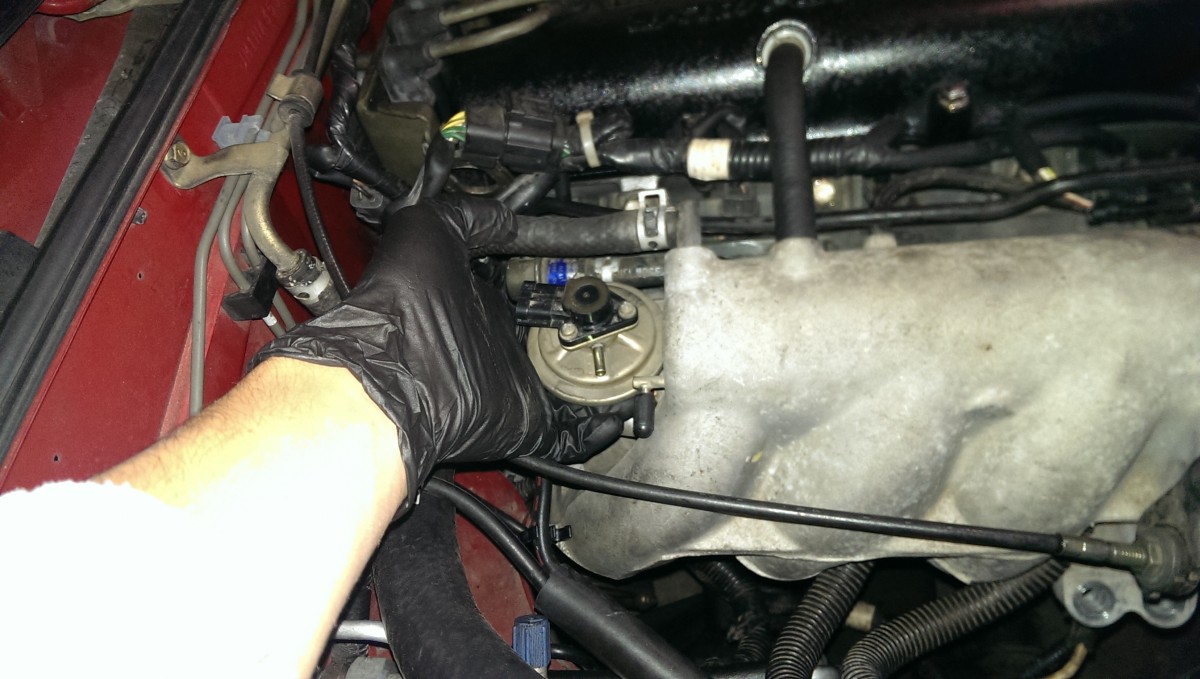
The first step is to remove the old valve. This is pretty easy - simply disconnect the three lines going to it, preferably labeling them first. Then, undo the two bolts and pull it off.
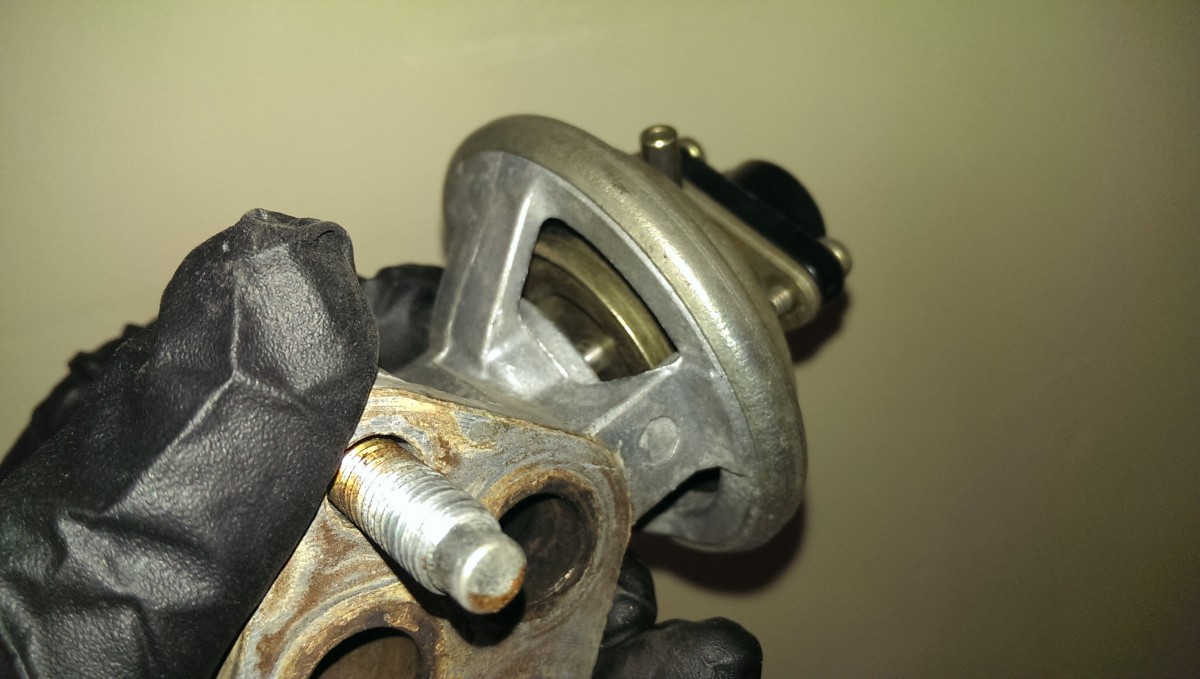
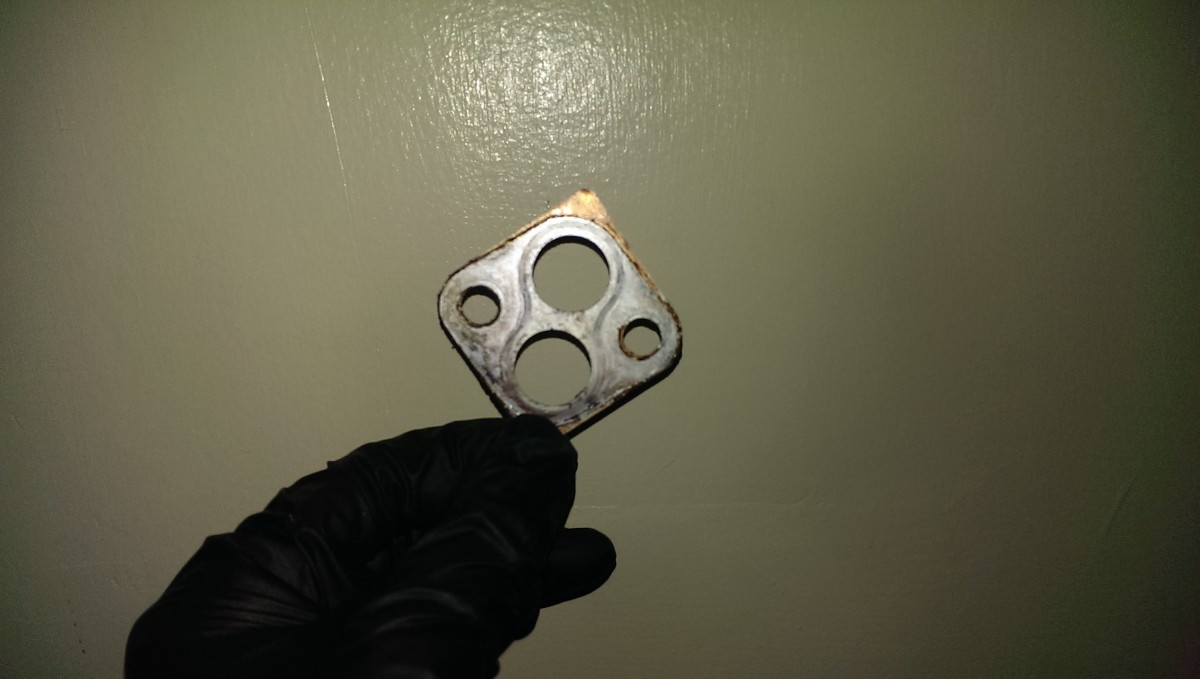
Also note that when you pull the valve off, there is an aluminum gasket that seals it to the intake manifold. You can replace this or do like I do and simply hit it with some copper spray before reinstalling.
Old vs New
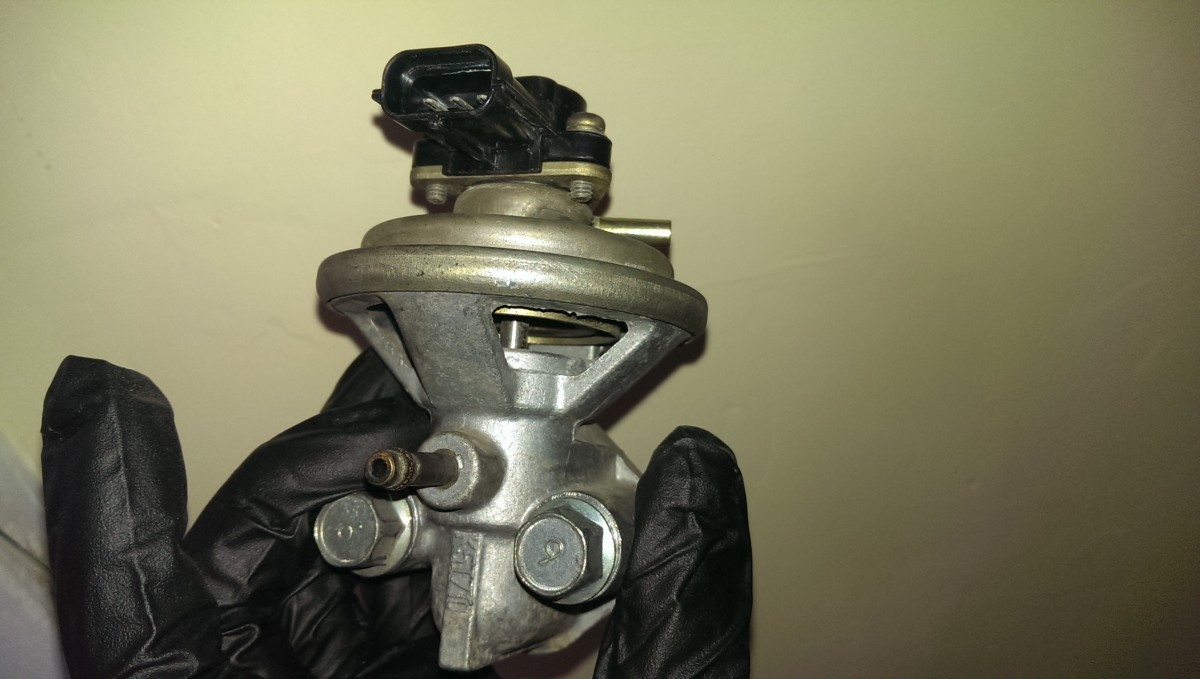
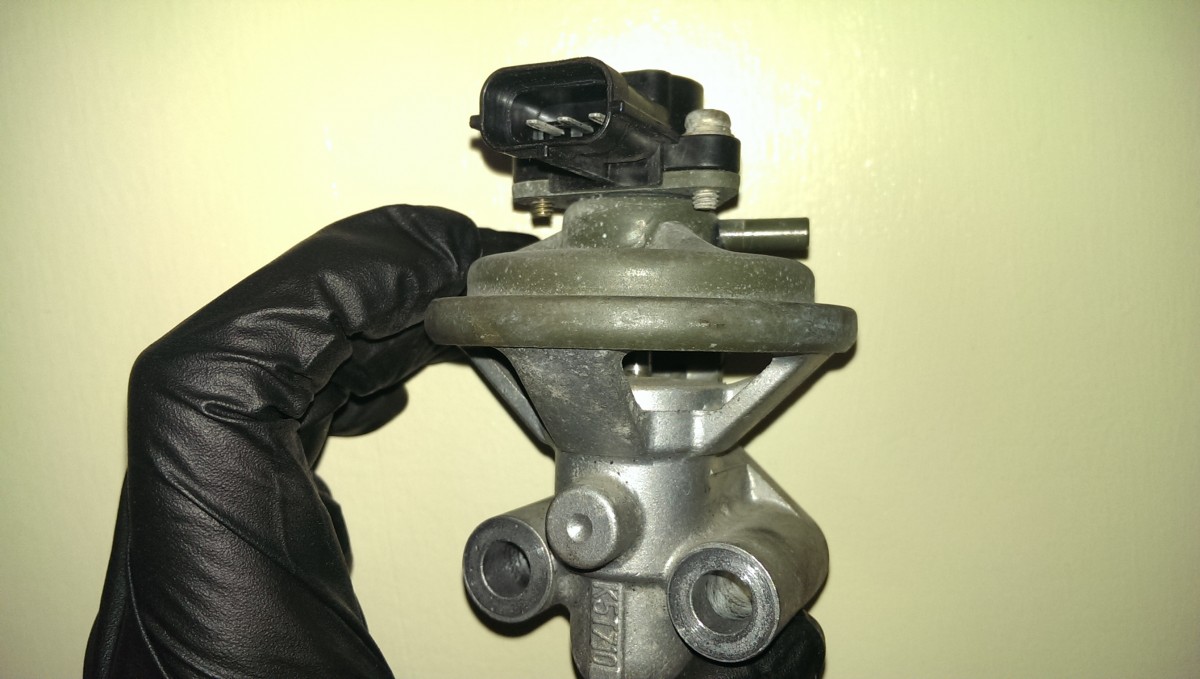
Here you can clearly see the difference between the two valves. The one on the left came out of the car, the one on the right is the tested and working replacement. That extra port is what needs to be added.
Adding the port
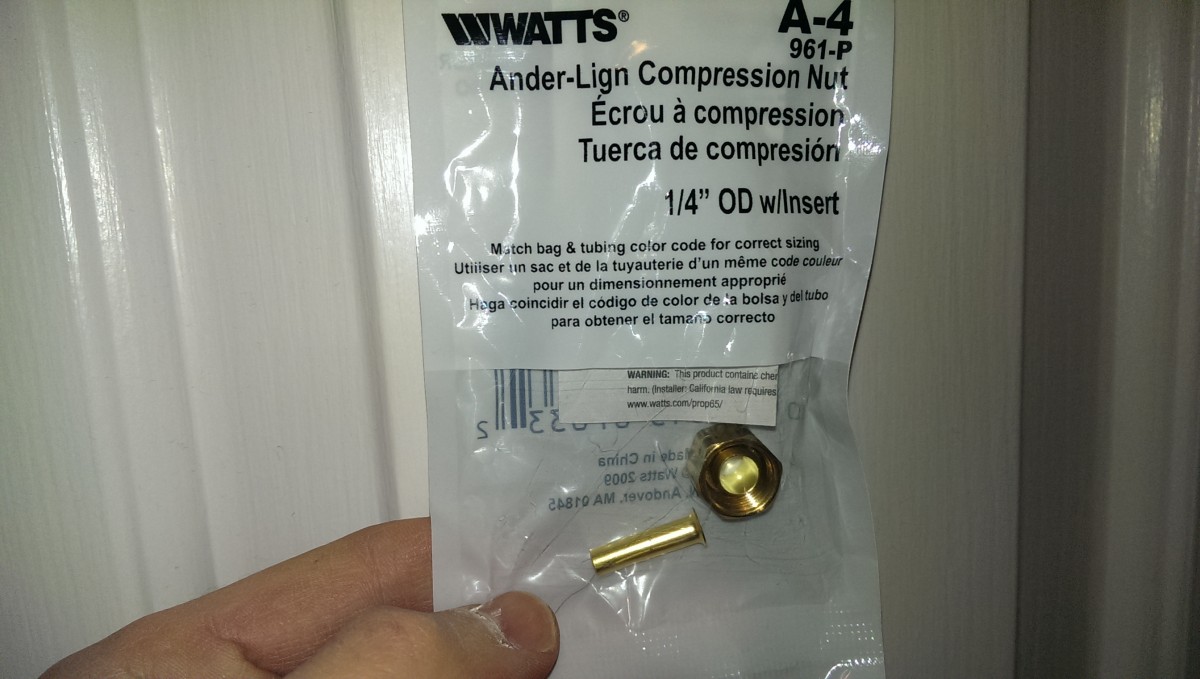
The first step is to get an appropriately-sized vacuum port fitting. The hardware store had this little compression fitting that contained a brass version of what I needed. I threw the compression nut away, just needing the brass tube.
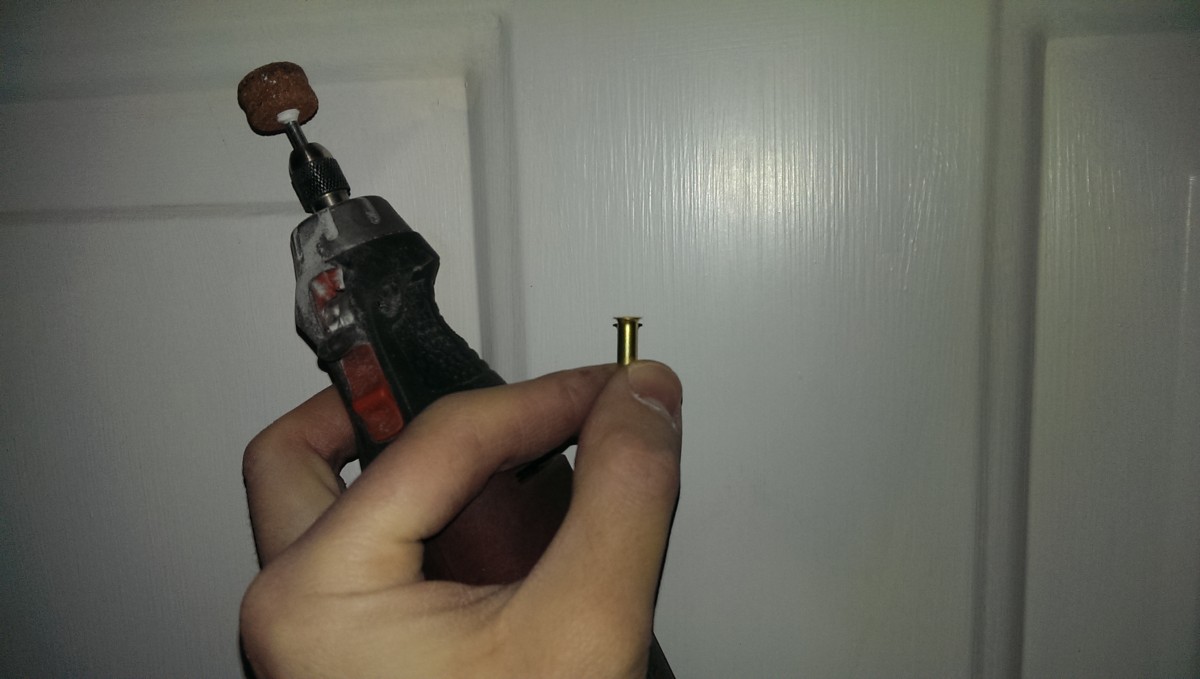
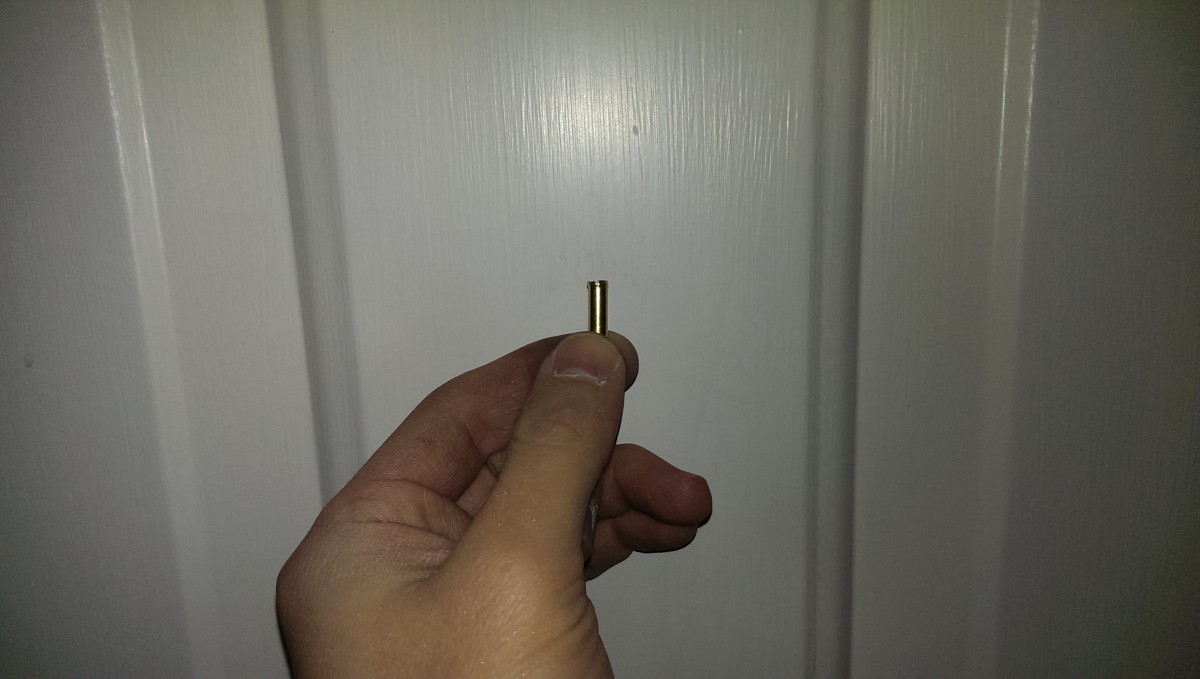
One disadvantage of the fitting I found was that it had that flange on it, which I had to get rid of. I simply used my dremel tool to gently grind it down. I ended up putting the ground end towards the valve; the rougher surface gave it better grip on the JB Weld and also allowed the smooth end to be where the hose goes to avoid cutting it.
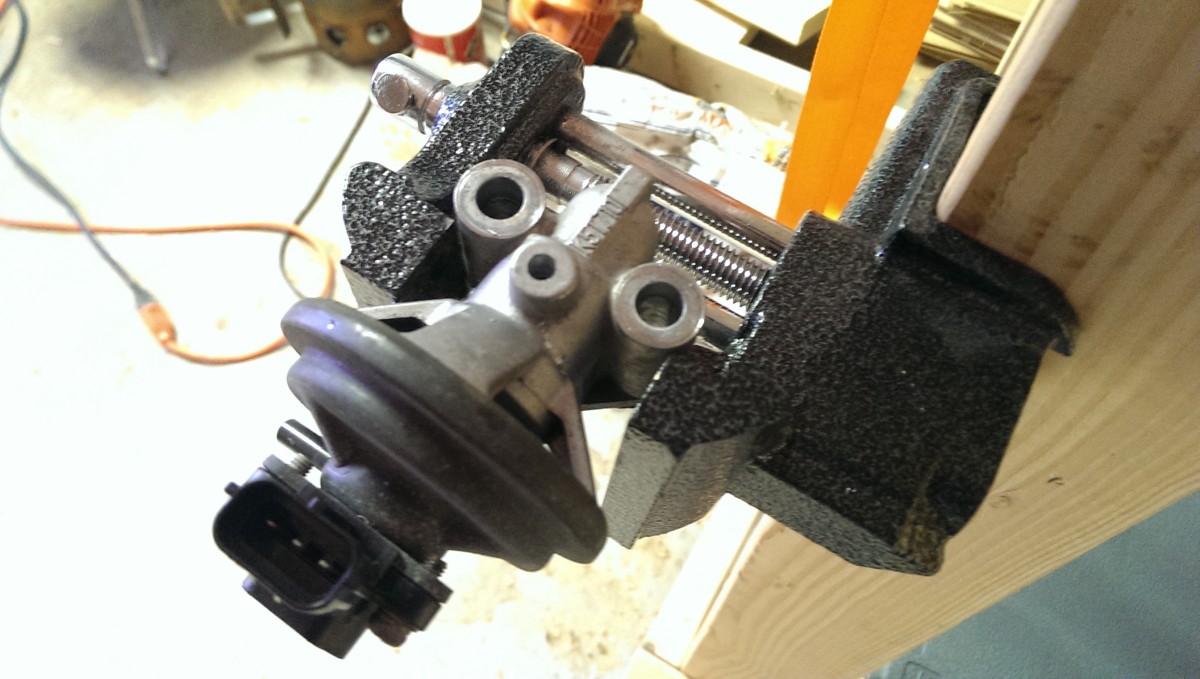
You can then drill an appropriately-sized hole, the same size as the brass fitting. I just used a regular cordless drill and a simple clamp-on vise I had handy. A drill press would of course work even better.
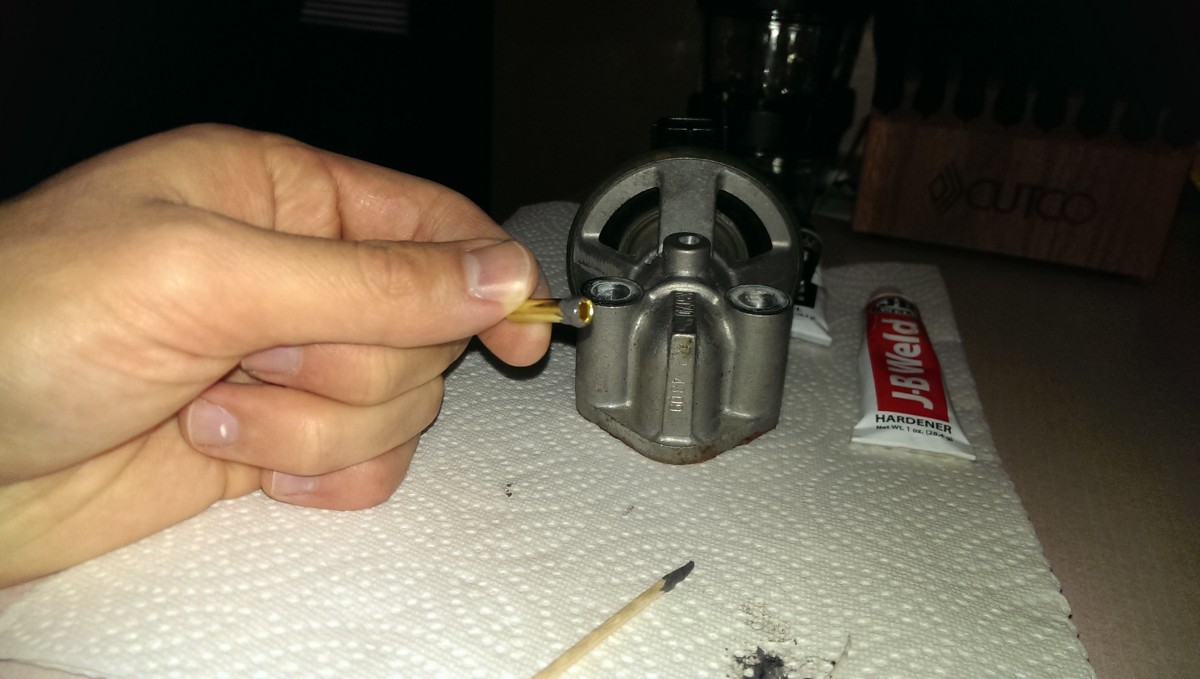
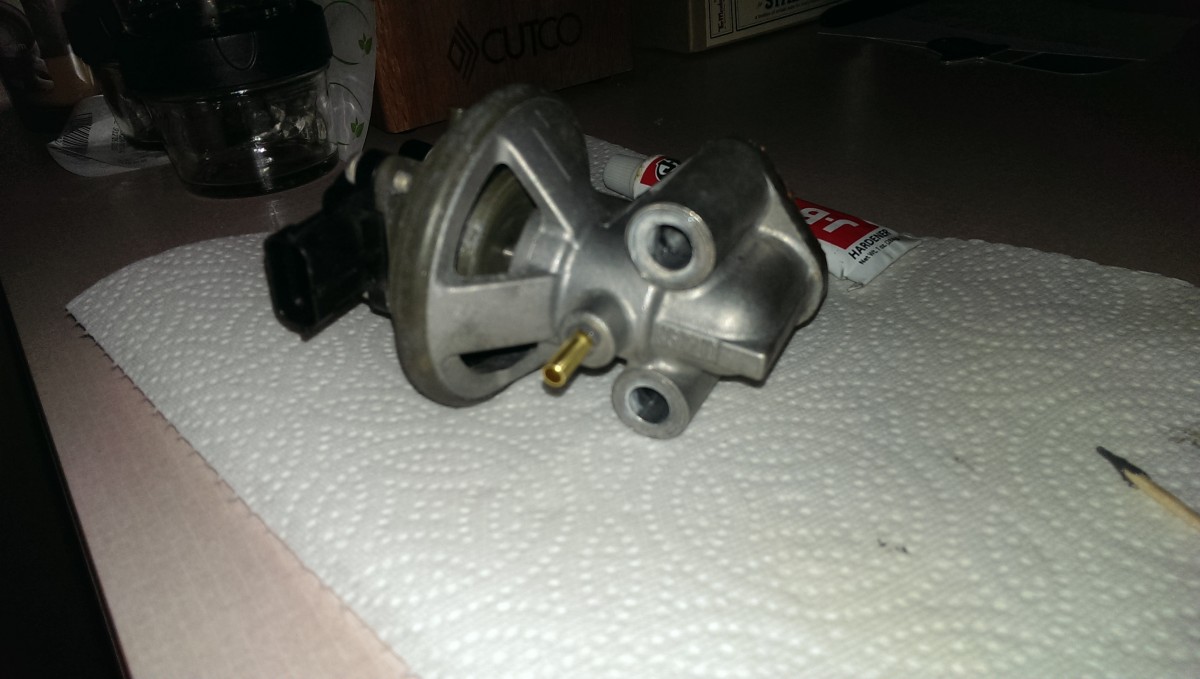
Finally, once both pieces were ready, I simply JB Welded it into place. Any epoxy will work for this purpose. I let it sit overnight before actually using it - how long exactly depends on which epoxy is used. After that, the new EGR valve can be reinstalled and should work just like the original used to. Rather than get a new EGR gasket, I usually just use copper spray on the original.
5 Comments
Comments are archived from the previous version of this site and are closed.
peter February 23, 2016
how deep do you have to drill.
James Spadaro February 23, 2016
You drill straight through that first surface, it's about 1/4" or so. You'll feel it when the drill breaks through.
peter February 23, 2016
so how do I know if it work?
James Spadaro February 23, 2016
If the sensor is hooked up correctly, the EGR-related check engine light codes should go away. If that port was drilled and JB welded right, it'll work as intended. If not, you'll get a vacuum leak.
peter February 23, 2016
alright thanks so much