DW200 Miata Fuel Pump Replacement
As part of my kswap, I needed to upgrade my fuel pump. A Walbro 255

Depressurize Fuel Tank
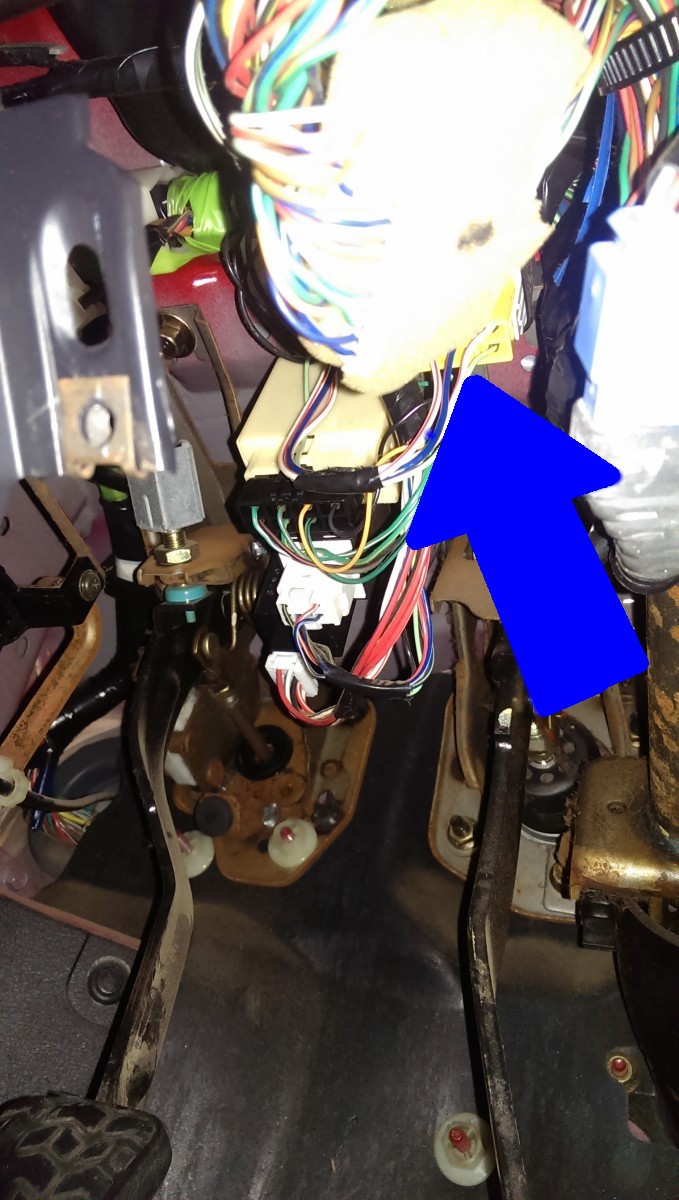
You do want to depressurize the fuel system before doing this job, unless you enjoy being sprayed with gasoline. On a Miata, it's very easy. Start the car, reach under the dash, and unplug this yellow plug. That will cut power to the fuel pump. Let the motor stall and stop. You also should disconnect the battery if you haven't already.
If your car isn't running, you can probably get away with simply opening the gas cap, but your mileage may vary.
Carpet Removal
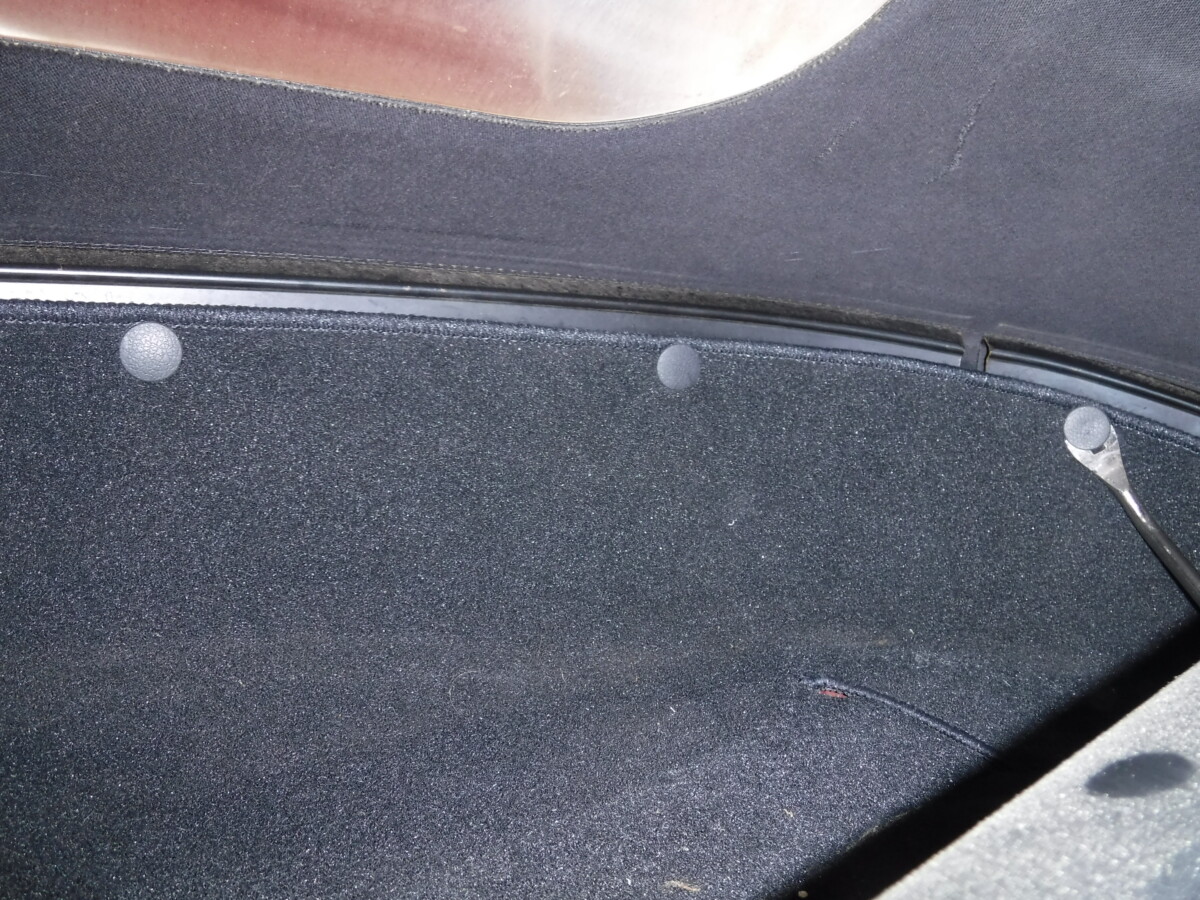
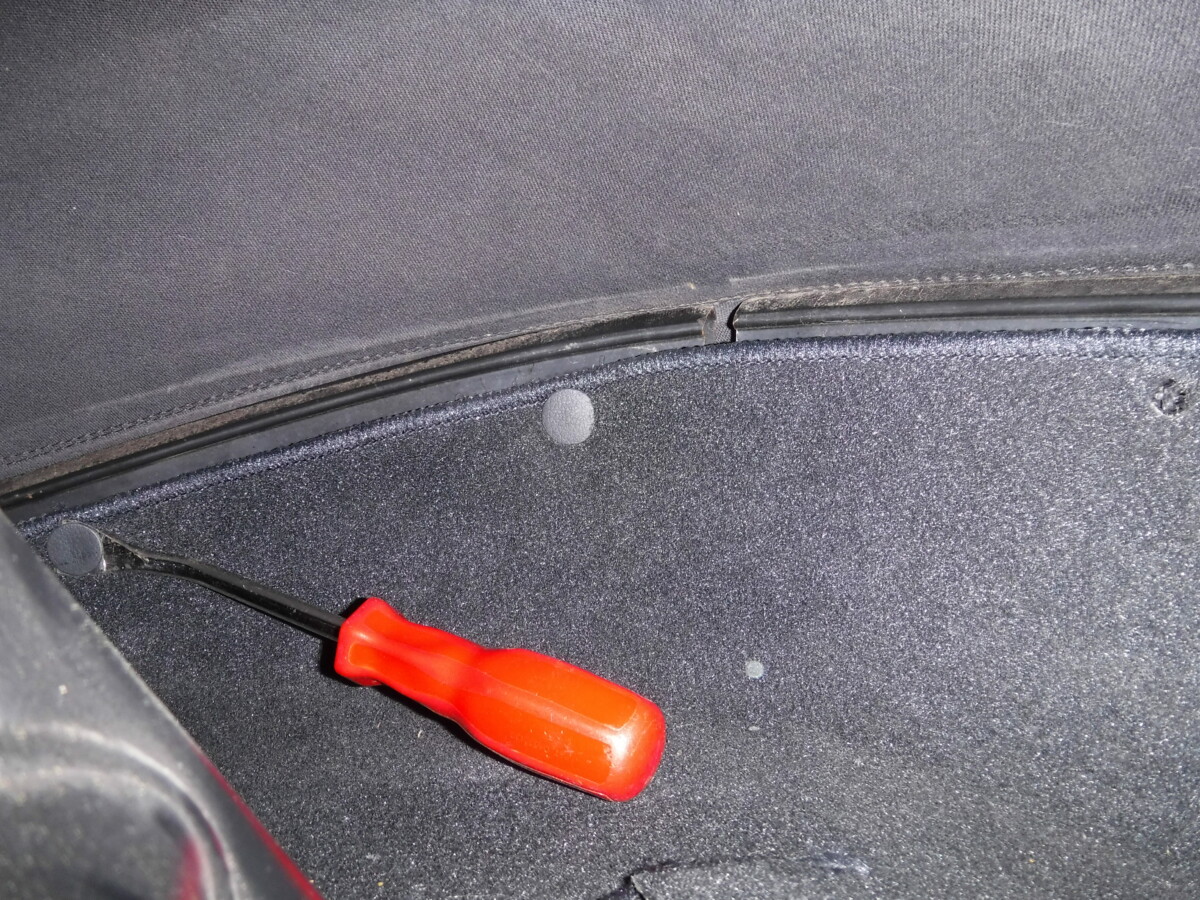
Step 1 in Miata fuel pump replacement is actually getting to the pump. To start, remove all of these tabs from the carpet covering the package shelf. I use one of these cheap fastener removal tools

With all of the clips removed, the carpet should pull out easily.
Remove Shelf Cover
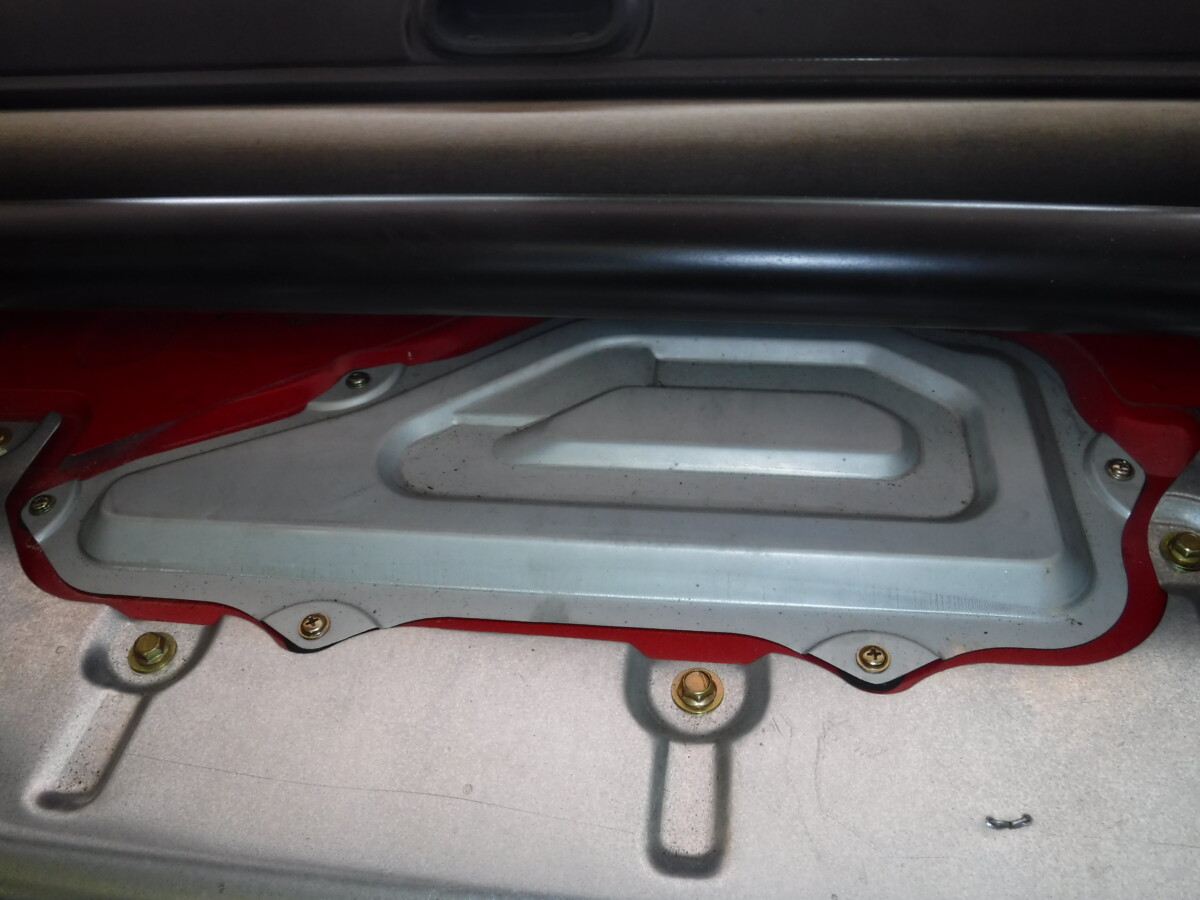
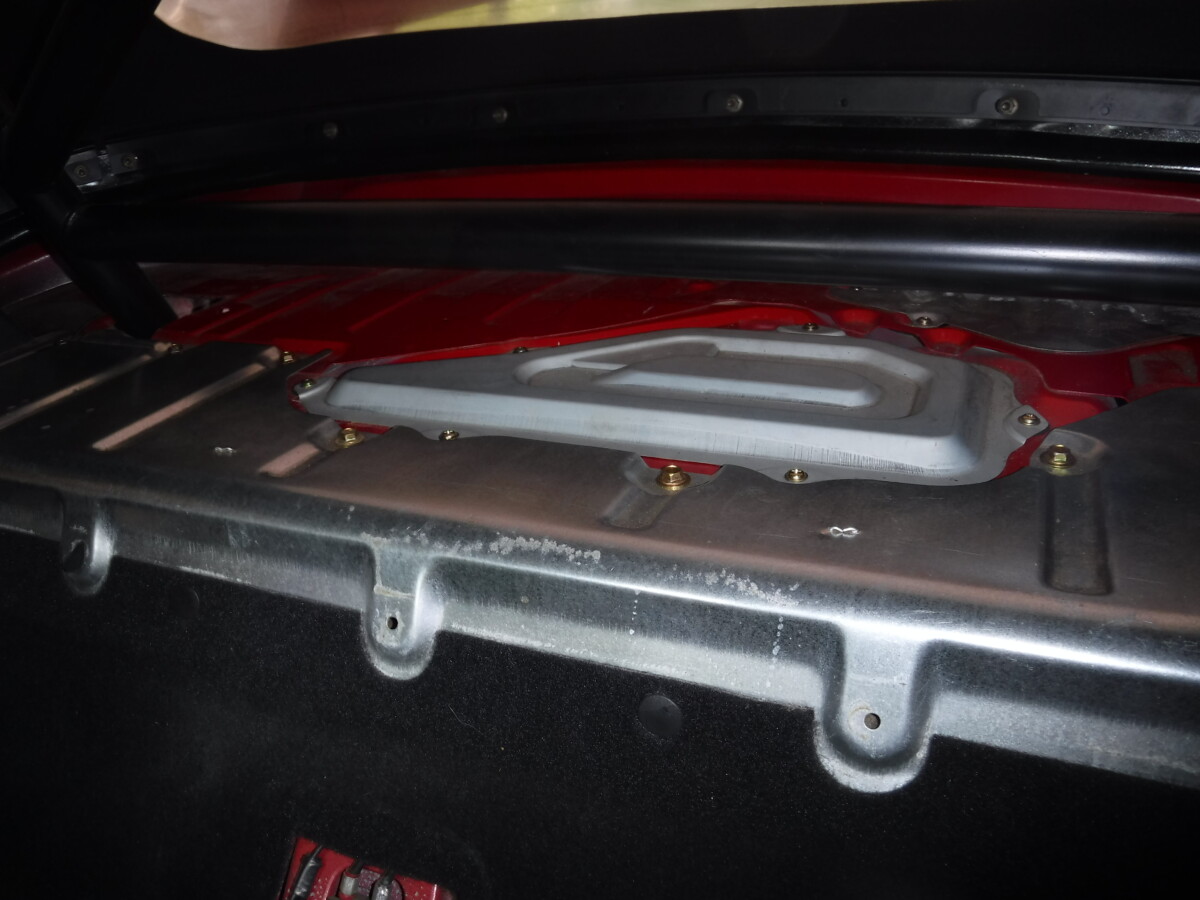
I don't know what this thing is called - fuel tank cover, I guess? Anyway, it needs to come out.
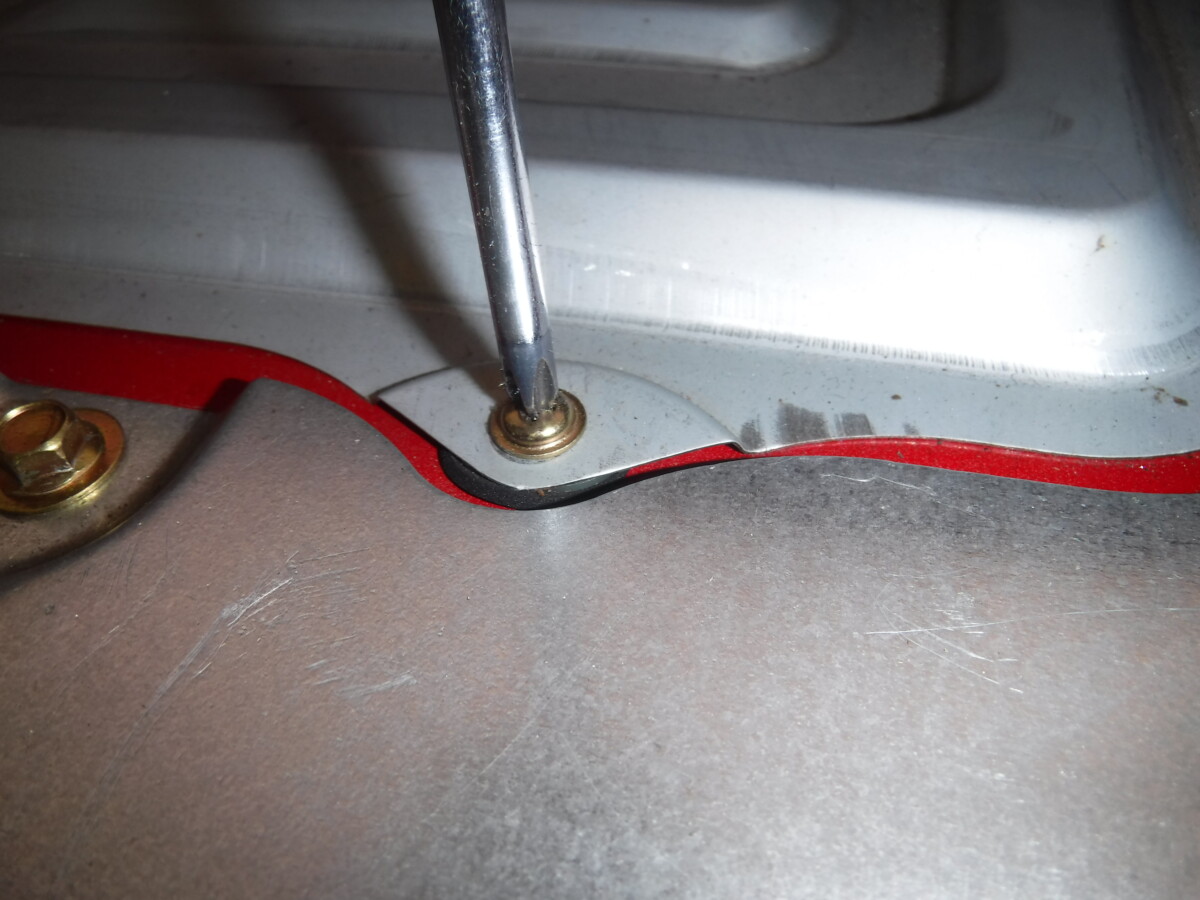
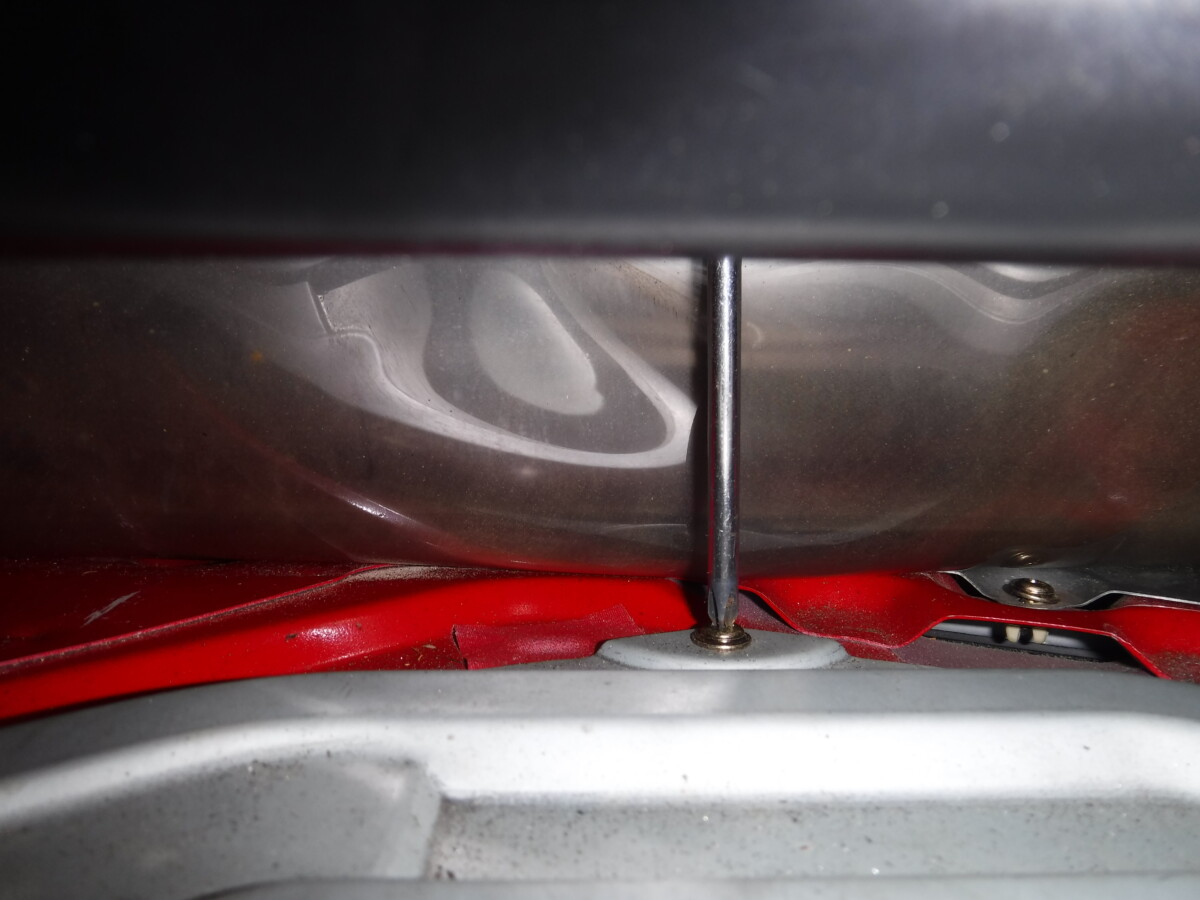
This is pretty straightforward. Use a phillips head screwdriver and remove all of these screws.
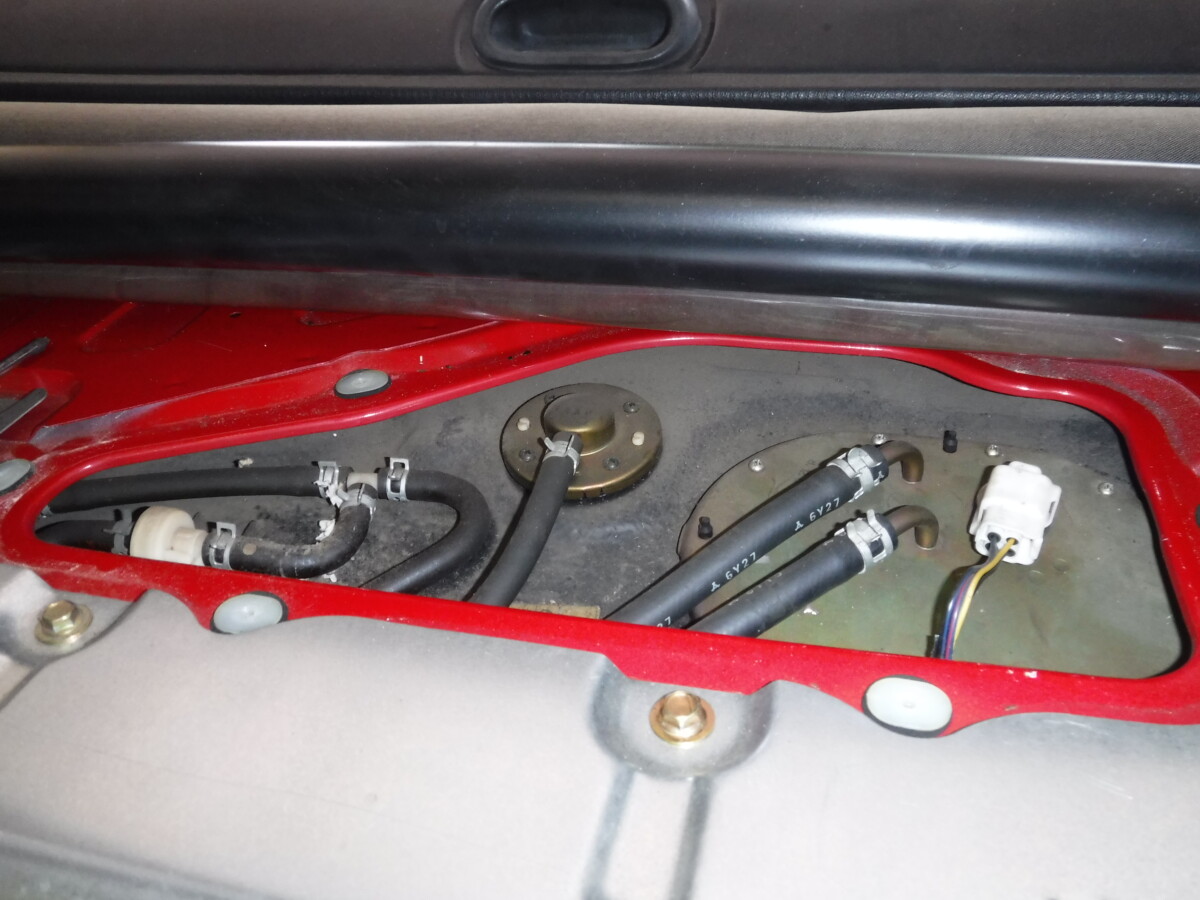
Once that is done, the fuel pump is visible.
Loosen Your Rollbar (If Required)
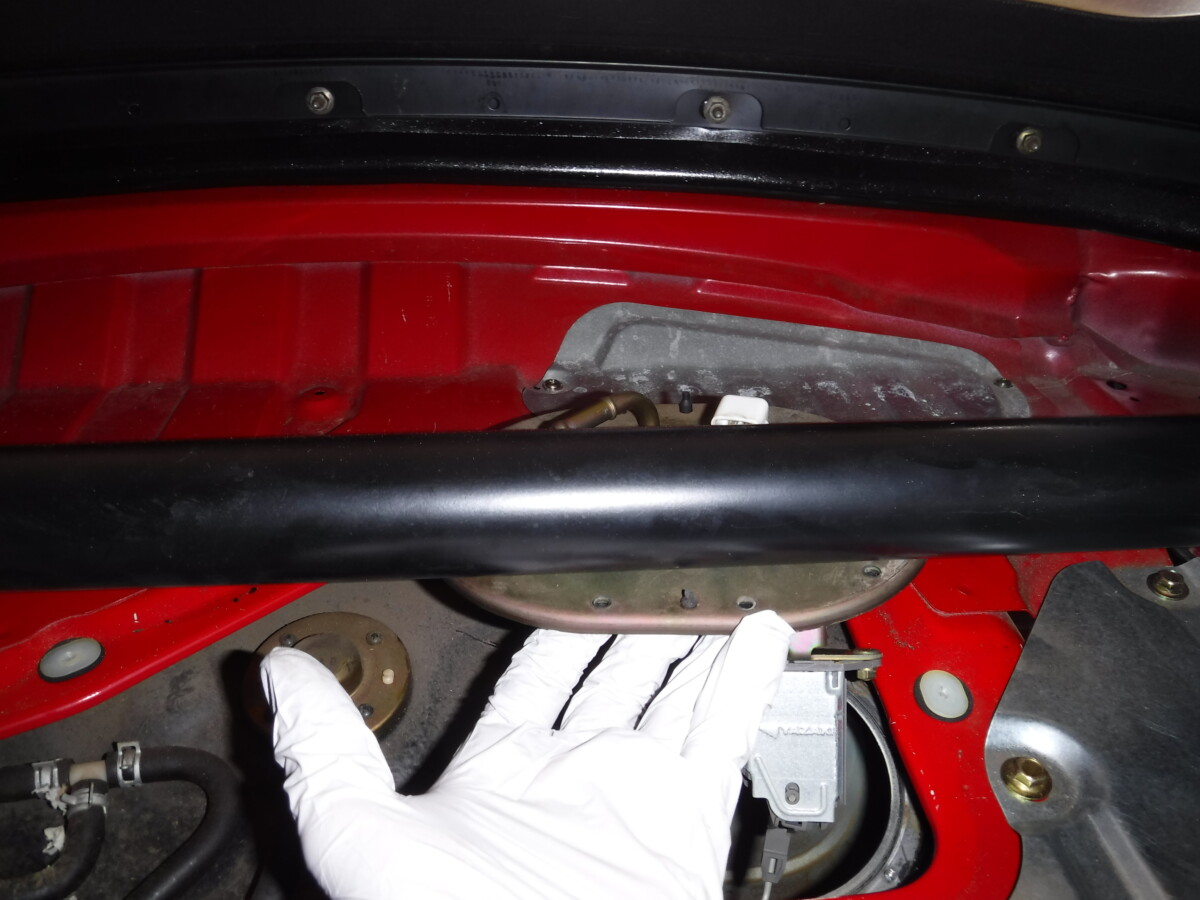
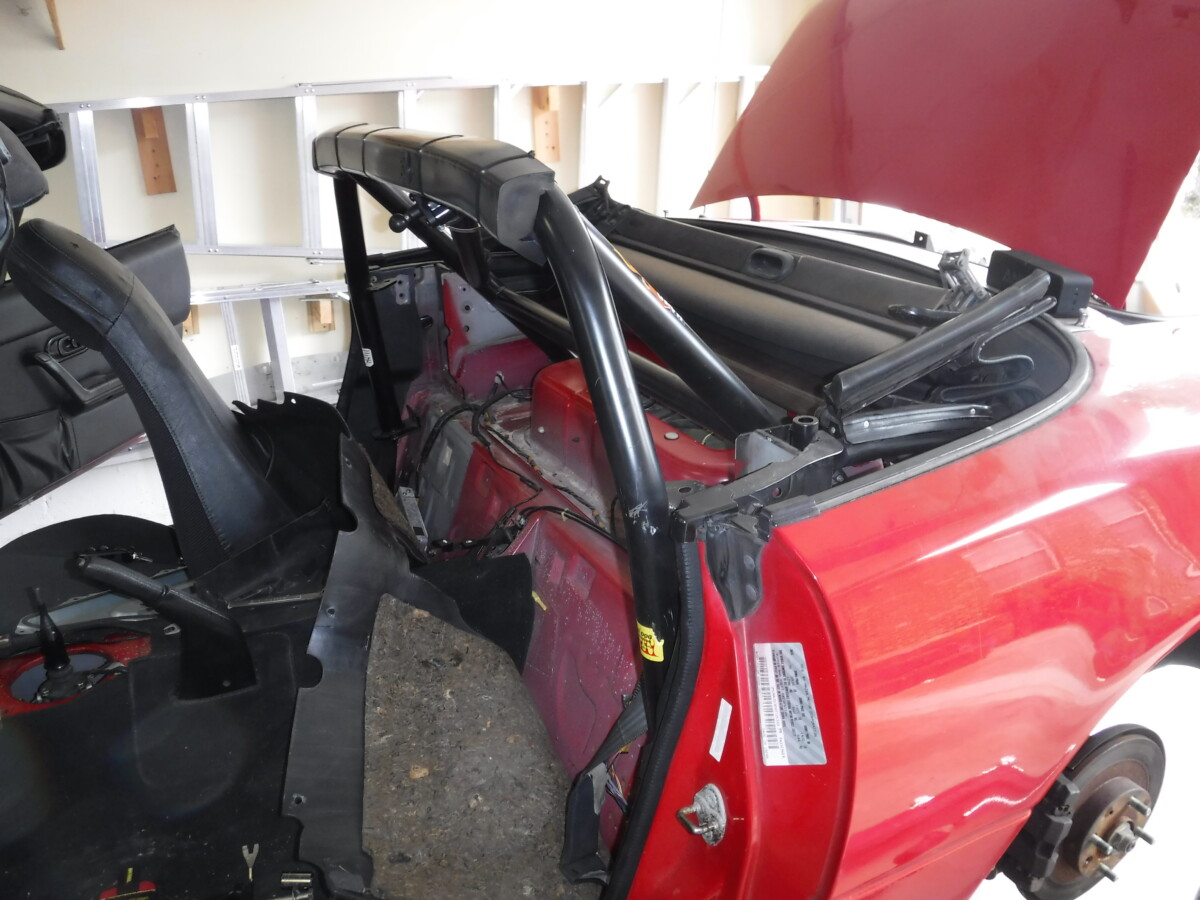
If you have a rollbar, it may block the removal of the fuel pump, as shown. In my case, the harness bar is directly above the fuel pump. If this applies to you, here is a guide on loosening your roll bar.
Remove the Fuel Lines and Unplug
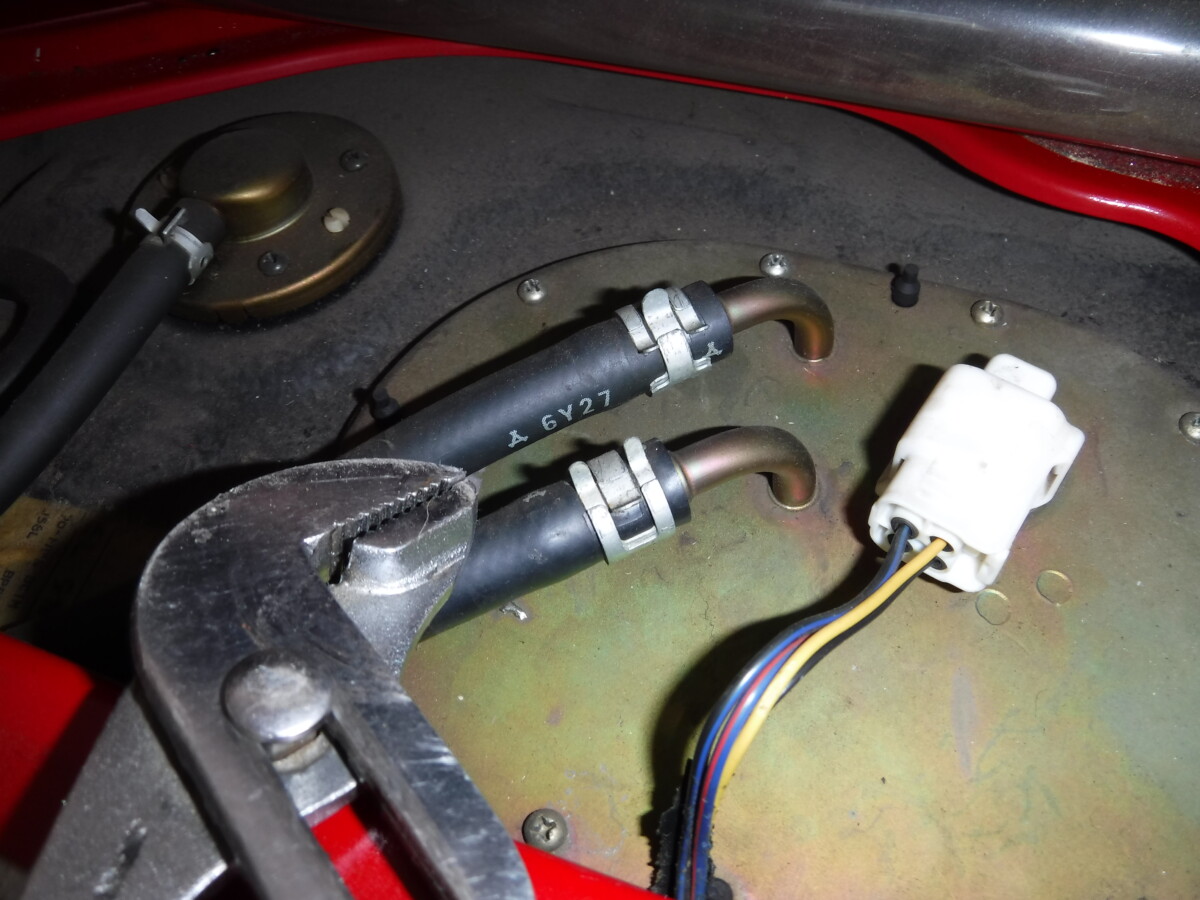
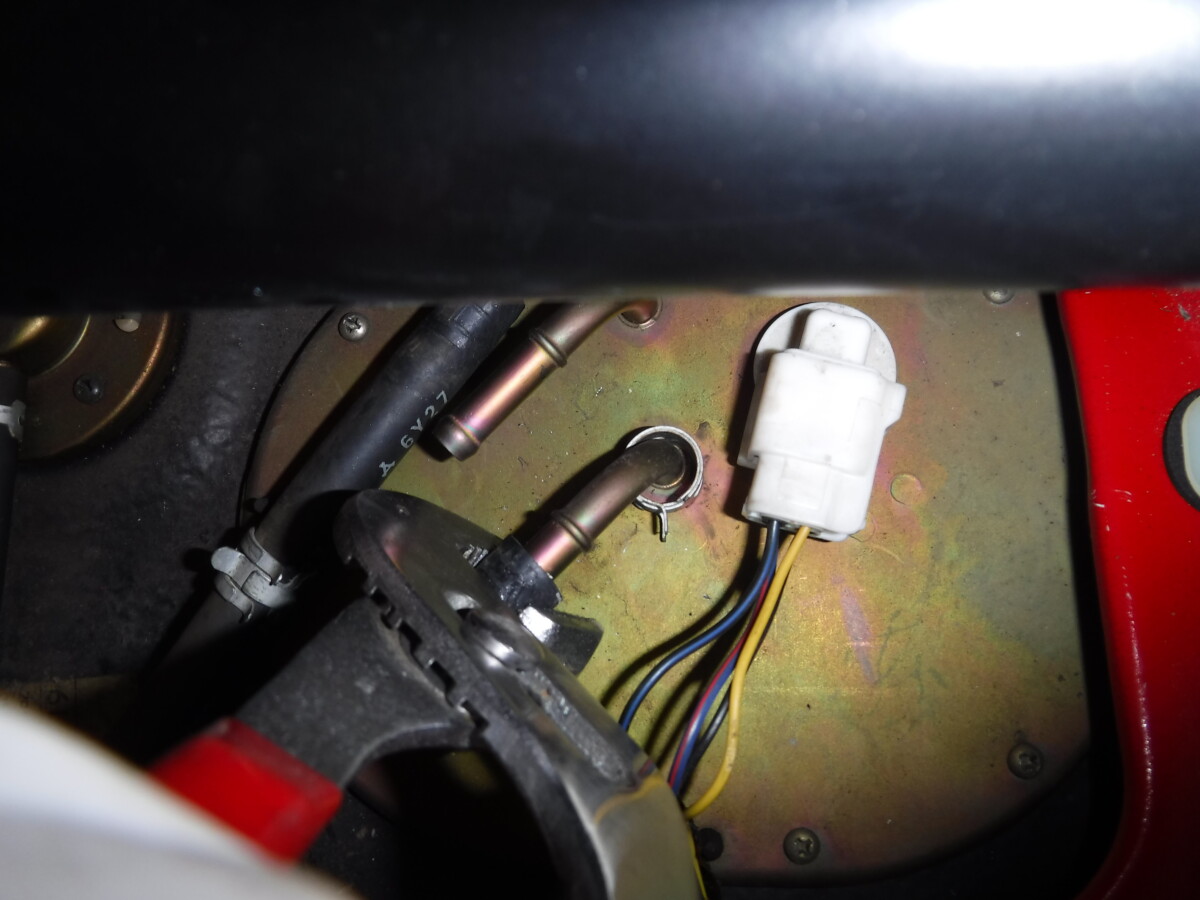
Again, depressurize the fuel tank before doing this. At a minimum, unscrew the gas cap. I use a set of channel lock pliers to grip and pull back the hose clamp. I also like to use them to very gently grip the hose and twist it. Rubber hoses like to stick to fittings like this, so twisting it helps break it loose enough to slide off.
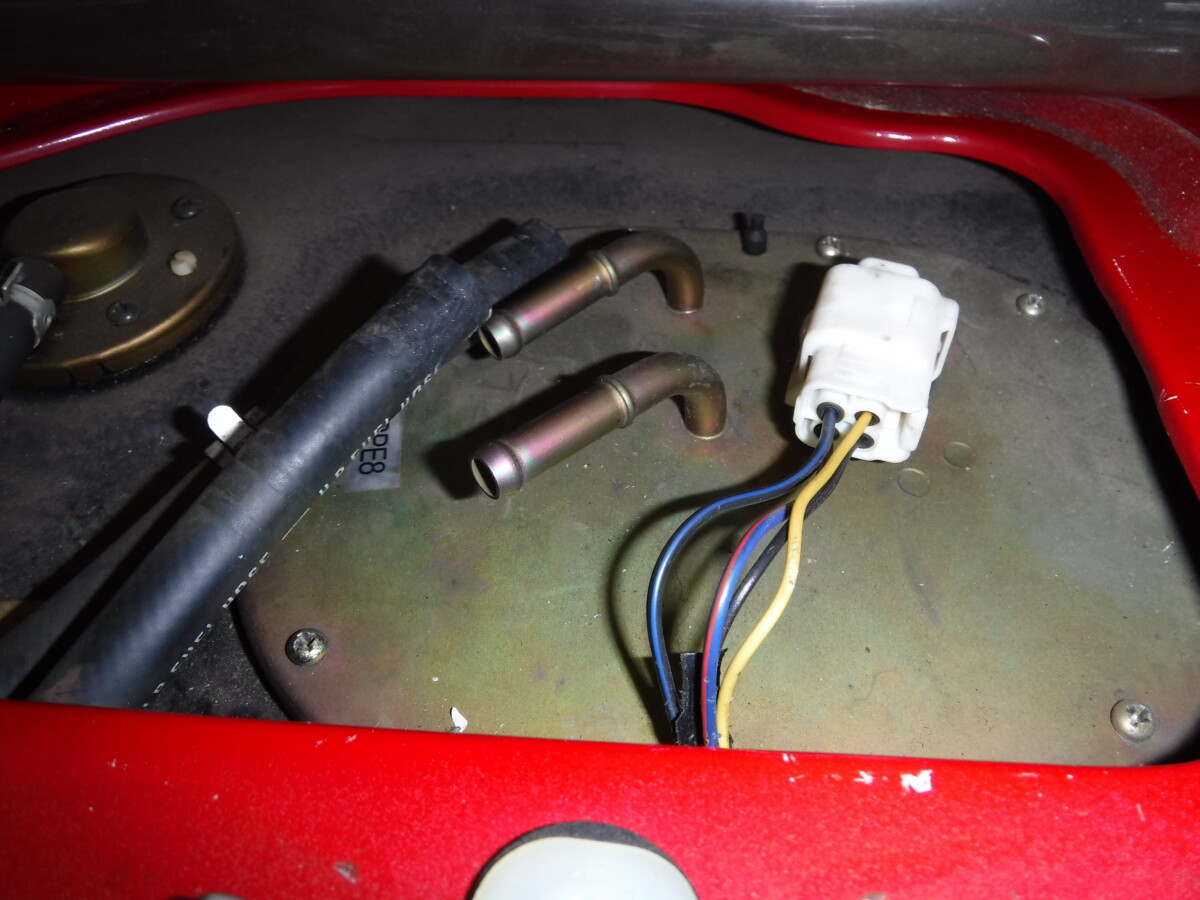
Here are the fuel lines removed. The white plug also needs to be undone.
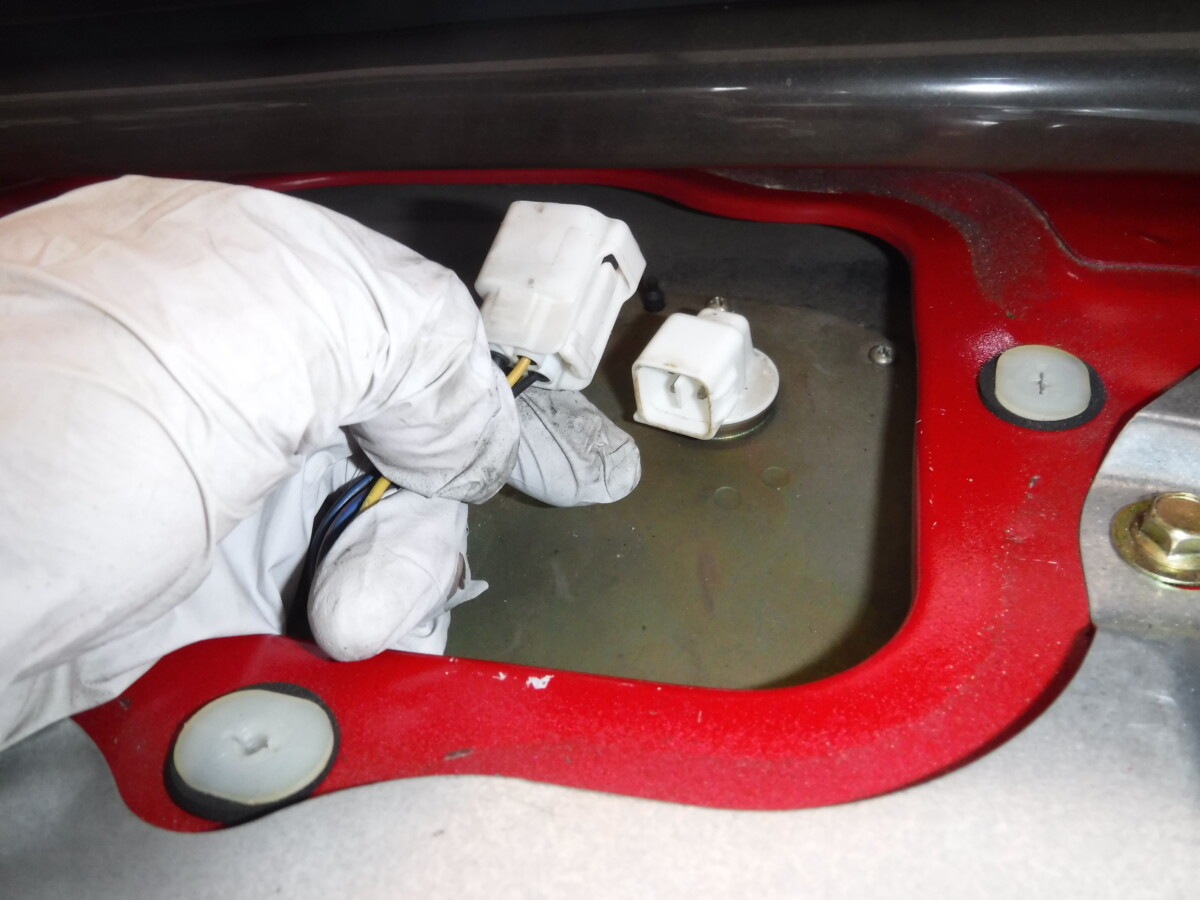
Obviously, you squeeze and pull the white plug. If you can't figure that out, please get help with this job.
Remove the Old Fuel Pump
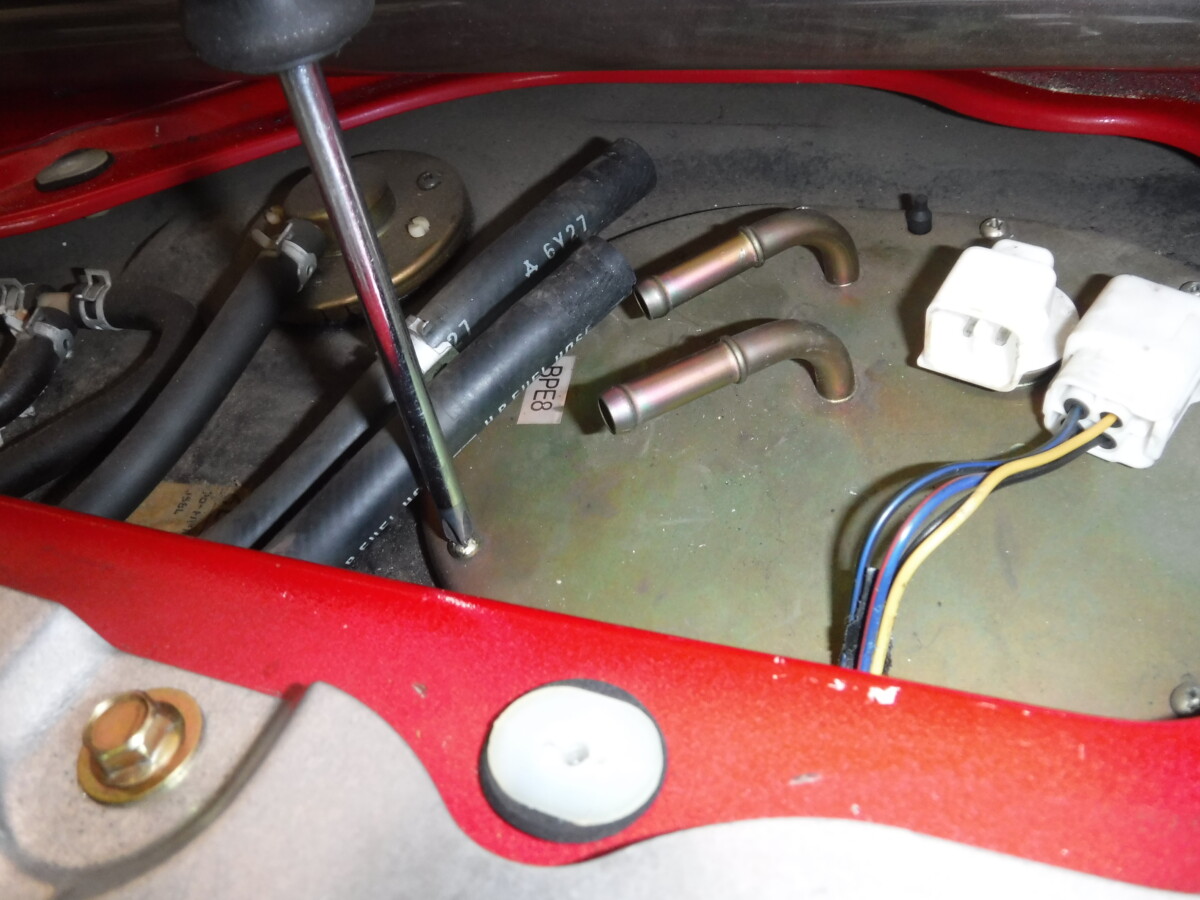
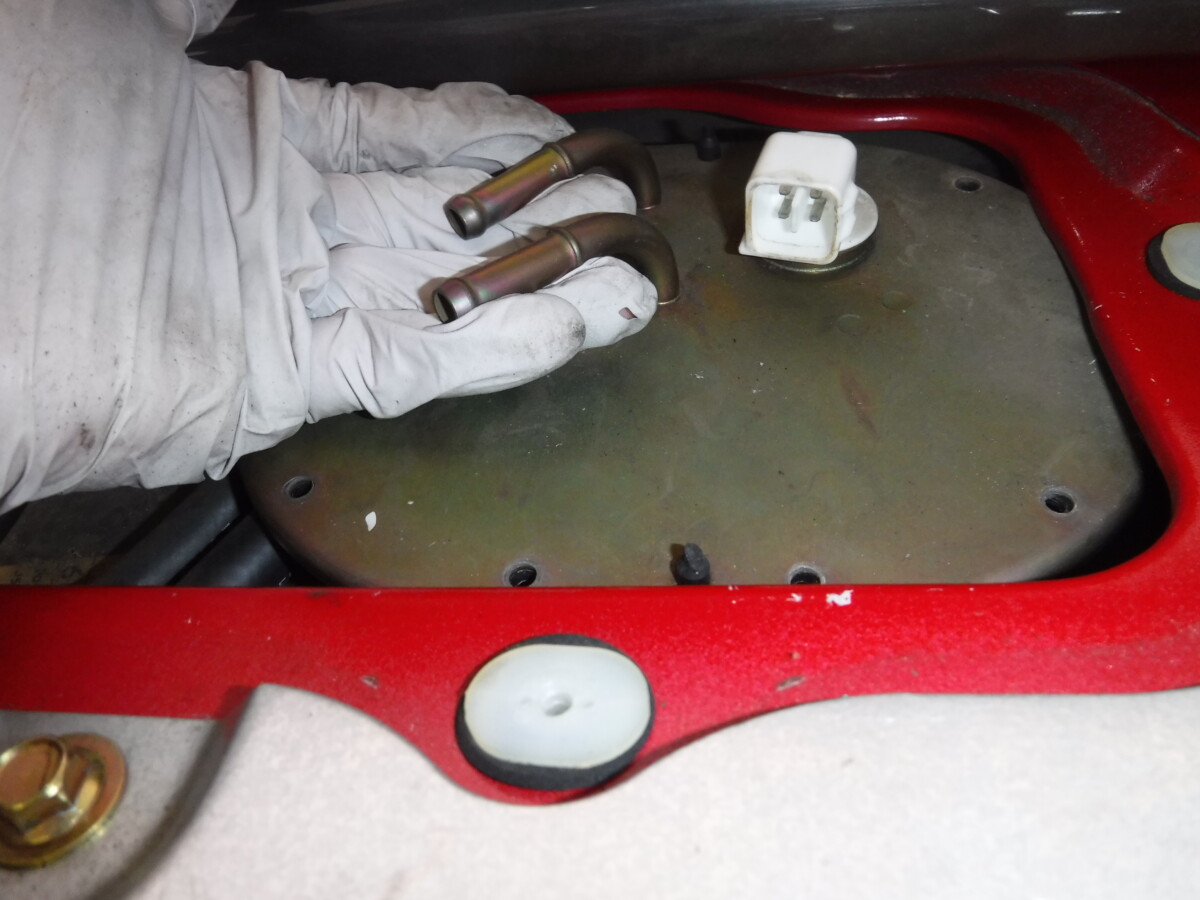
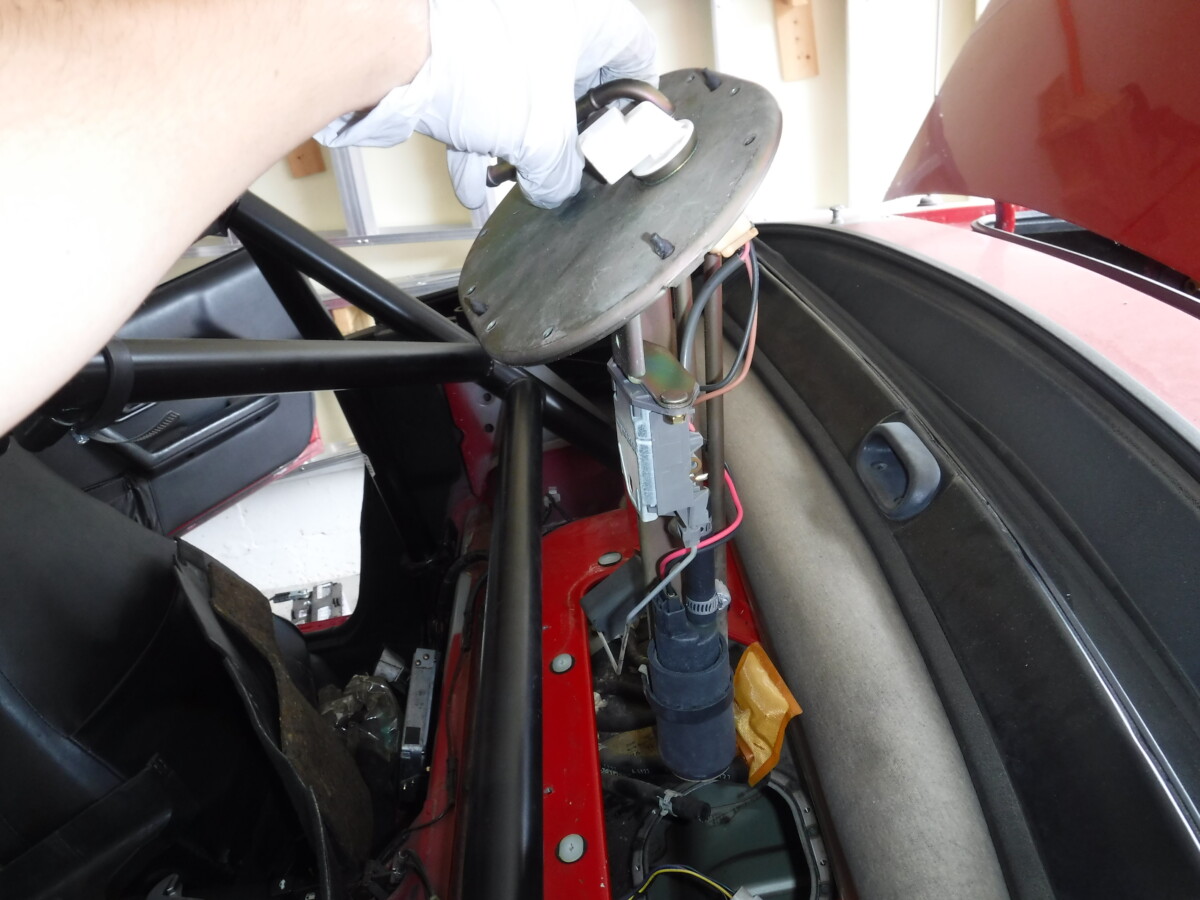
You might have to finagle it a bit, but it will lift right out.
Removing Old Fuel Pump From Assembly
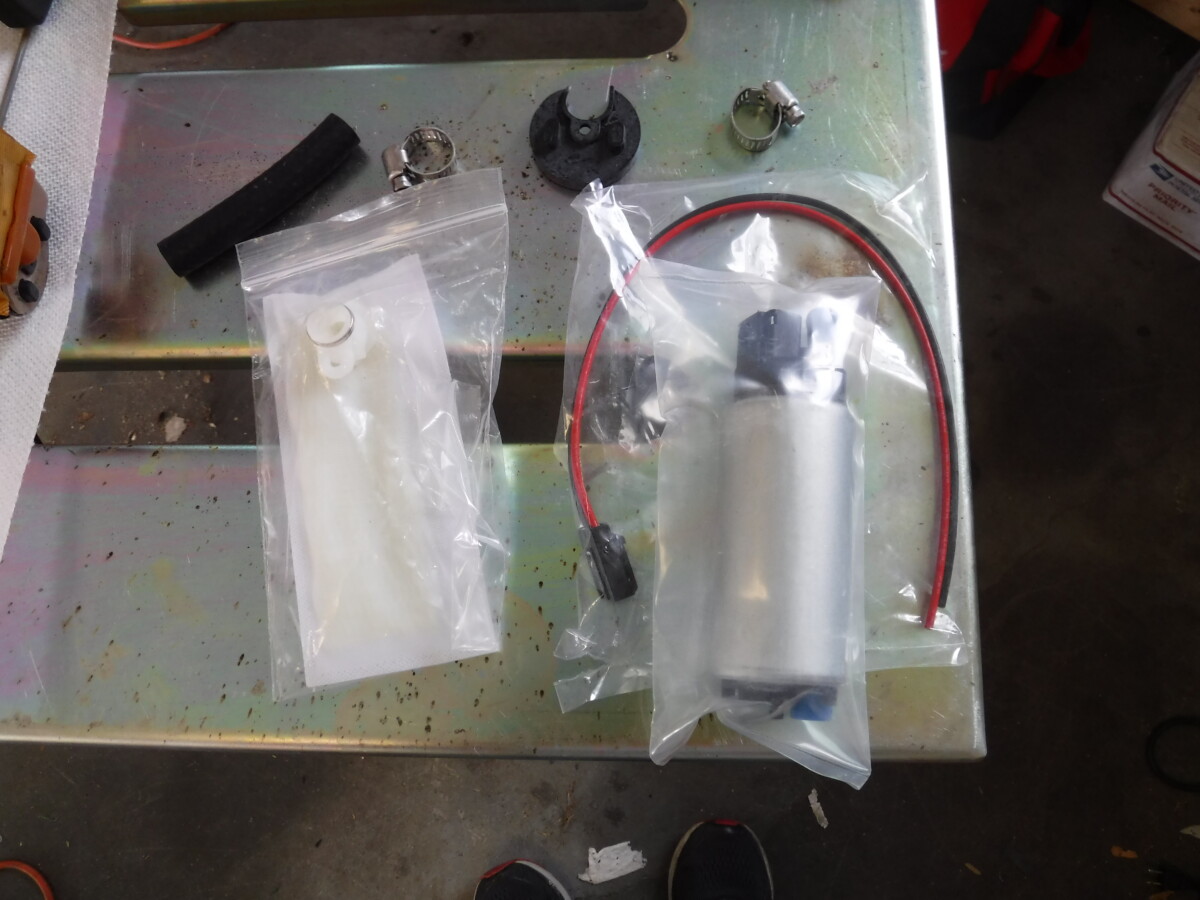
The DeatschWerks DW200
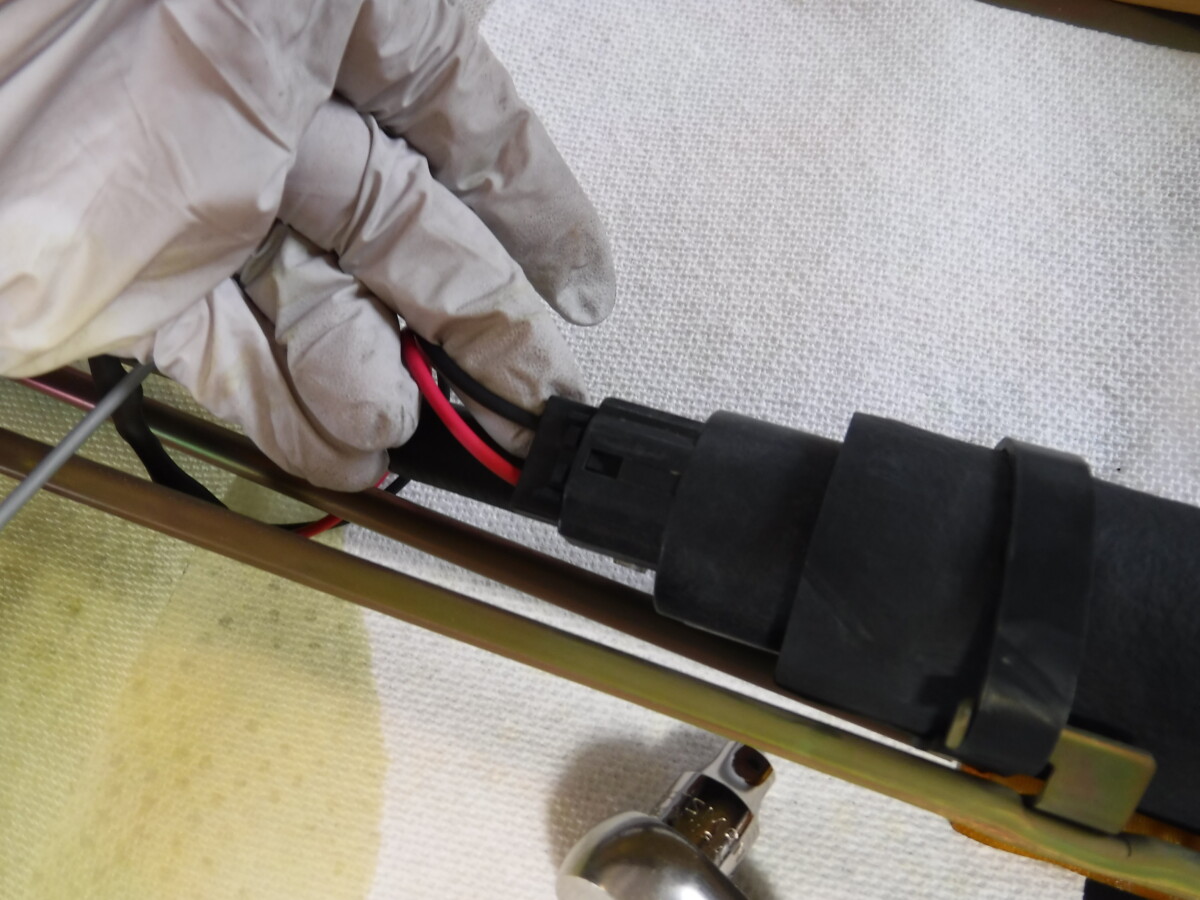
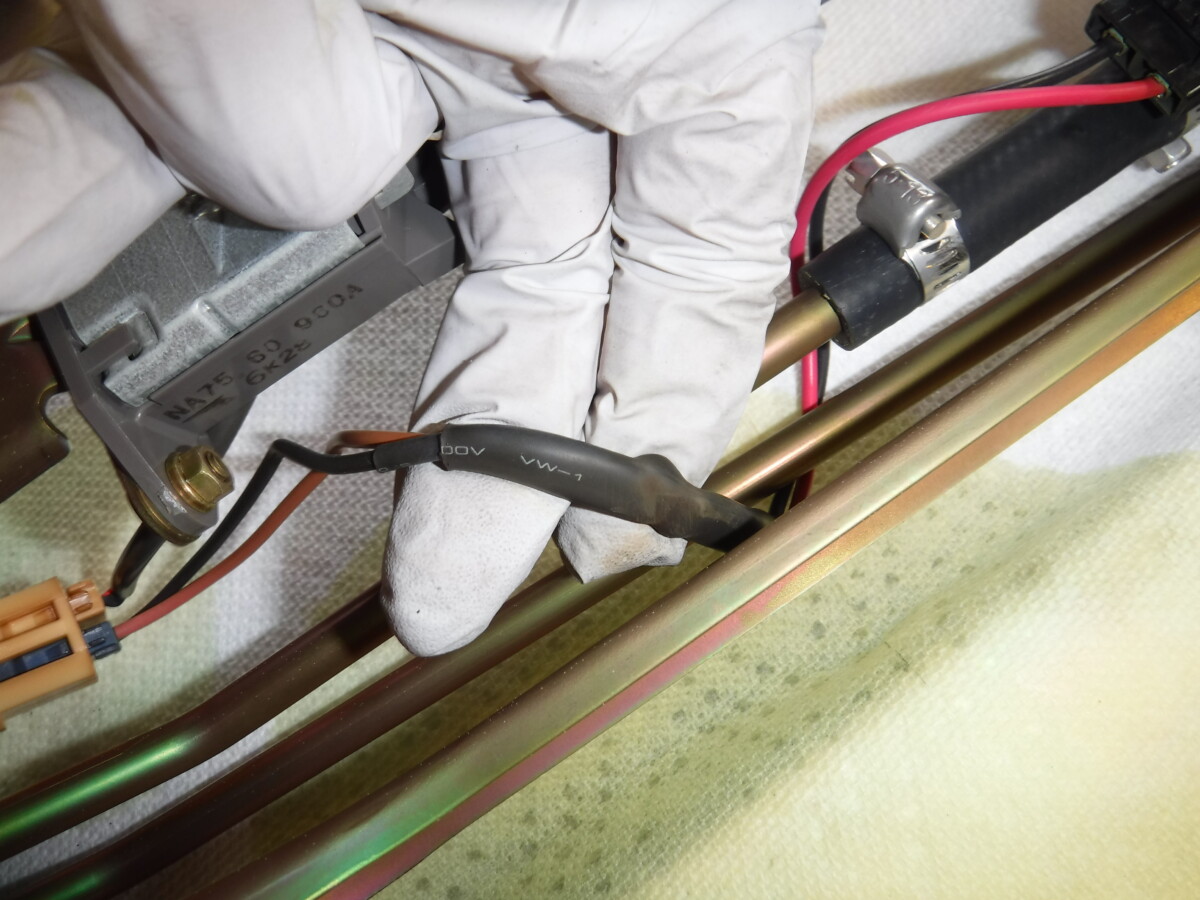
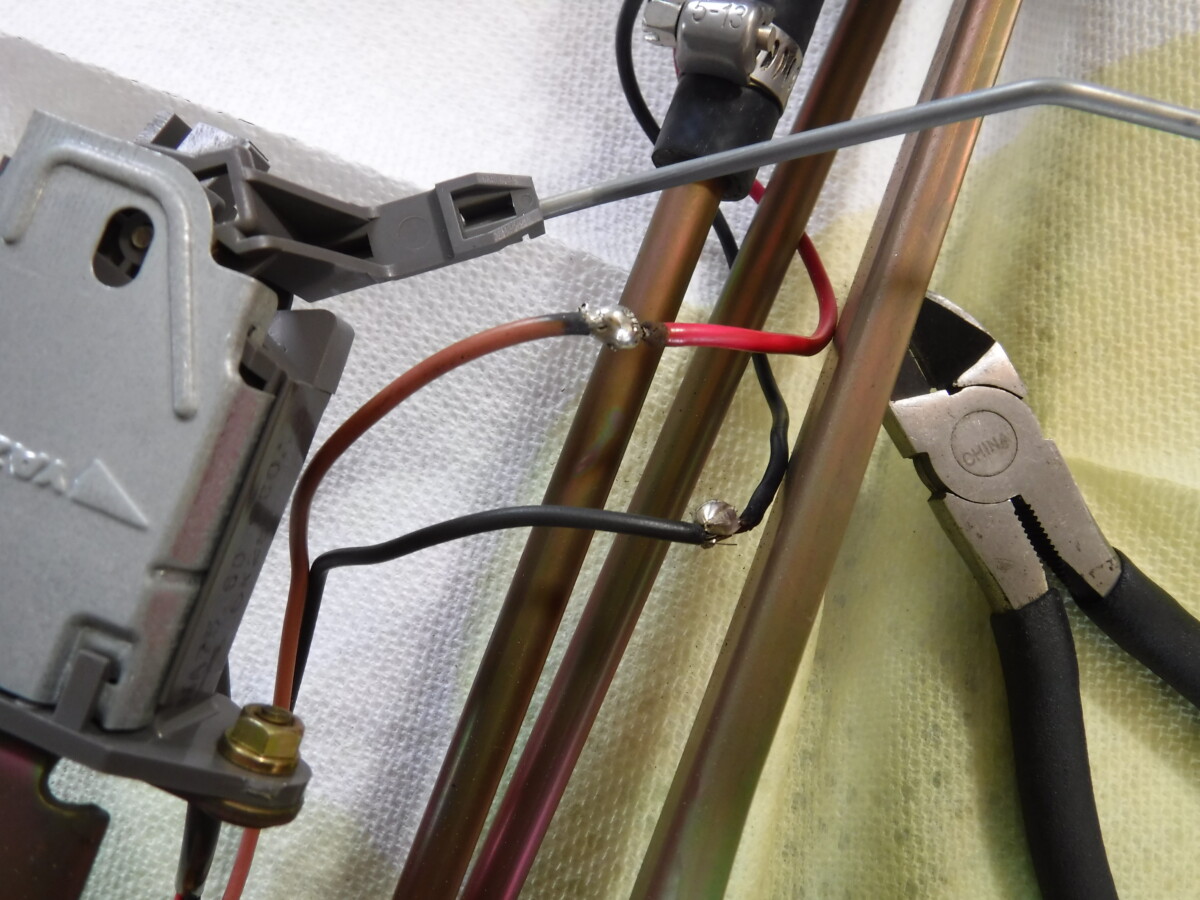
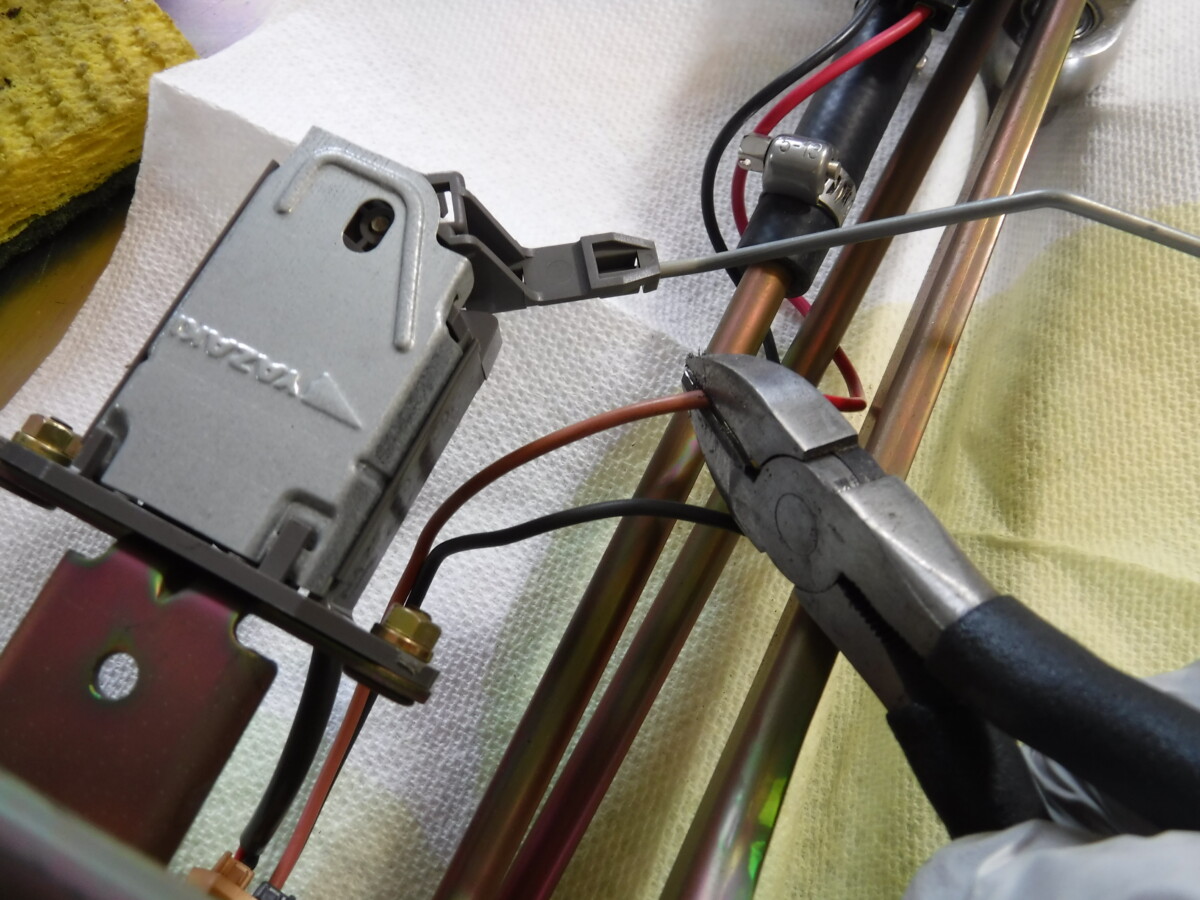
So we need to splice the power wires for the pump to the new one. If yours is plug and play, good for you, but mine wasn't. The old fuel pump plug doesn't fit the DW200. When you go look, you may find a previous owner has done a fantastic job at this on a previous occasion. I honestly wonder if this was done with a lighter, but hey, it worked for at least 6+ years since I've had this car. At least they used heat shrink? I've never seen a soldering job that looked like a flux core weld before.
Anyway, snip off the old wiring but leave yourself as much slack as you can.
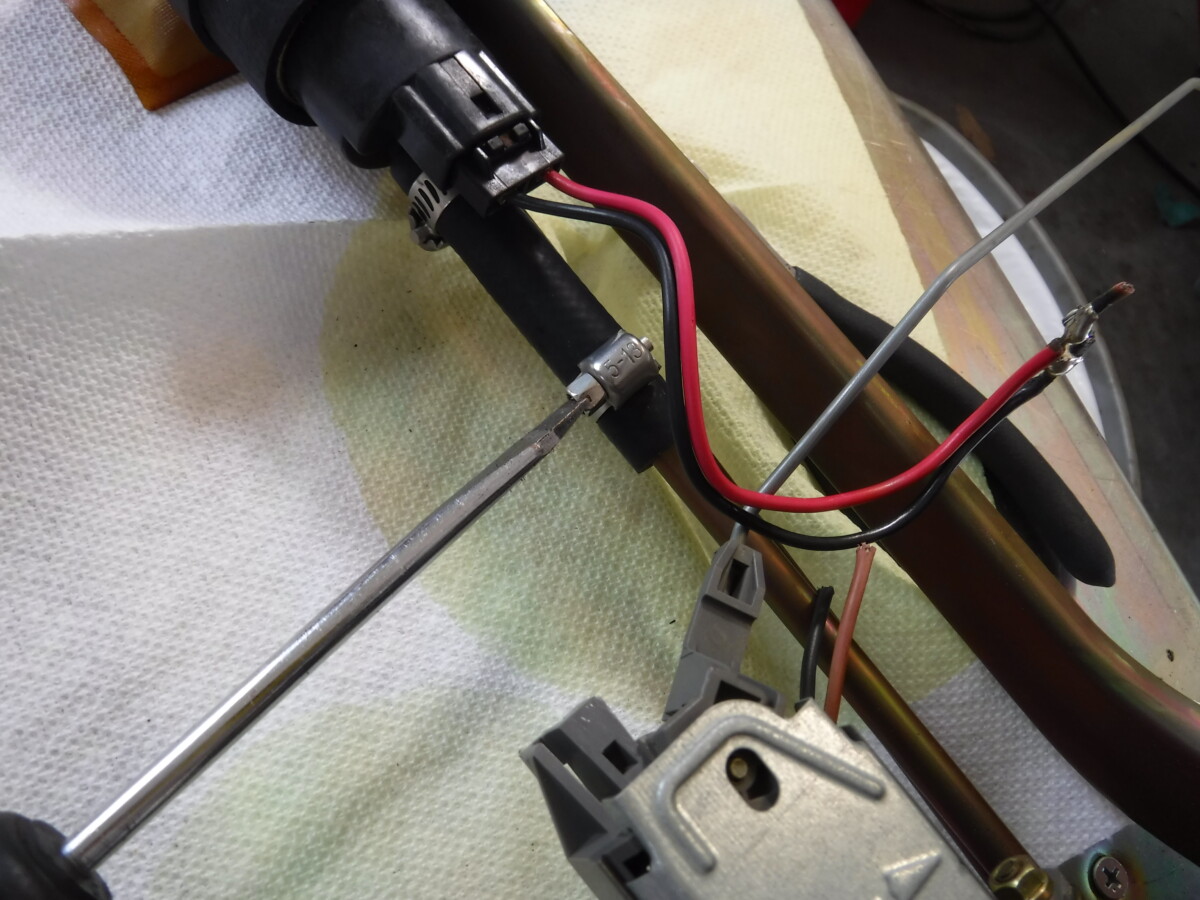
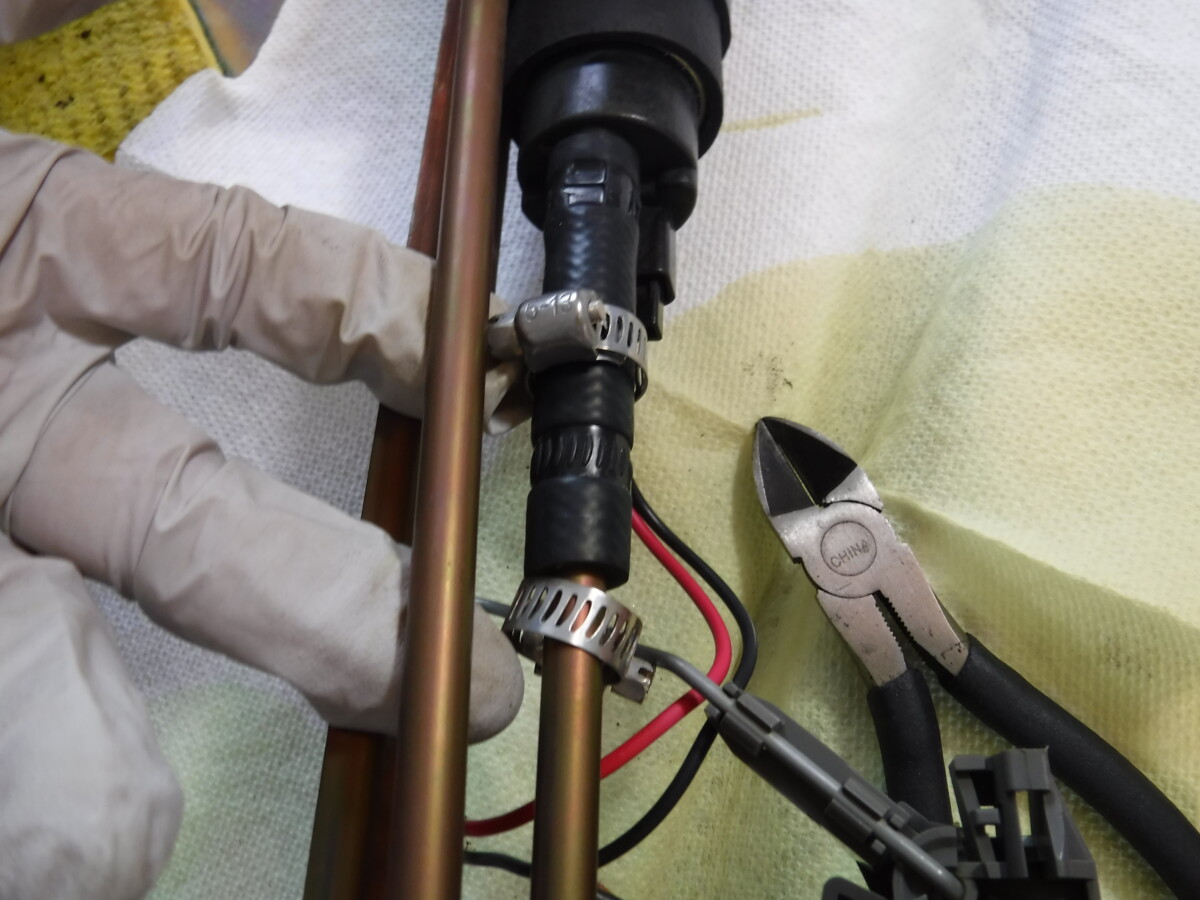
These two hose clamps and this length of fuel line are connected to the fuel pump. I removed both of them, since the DW200 kit comes with a new length of fuel line to use.
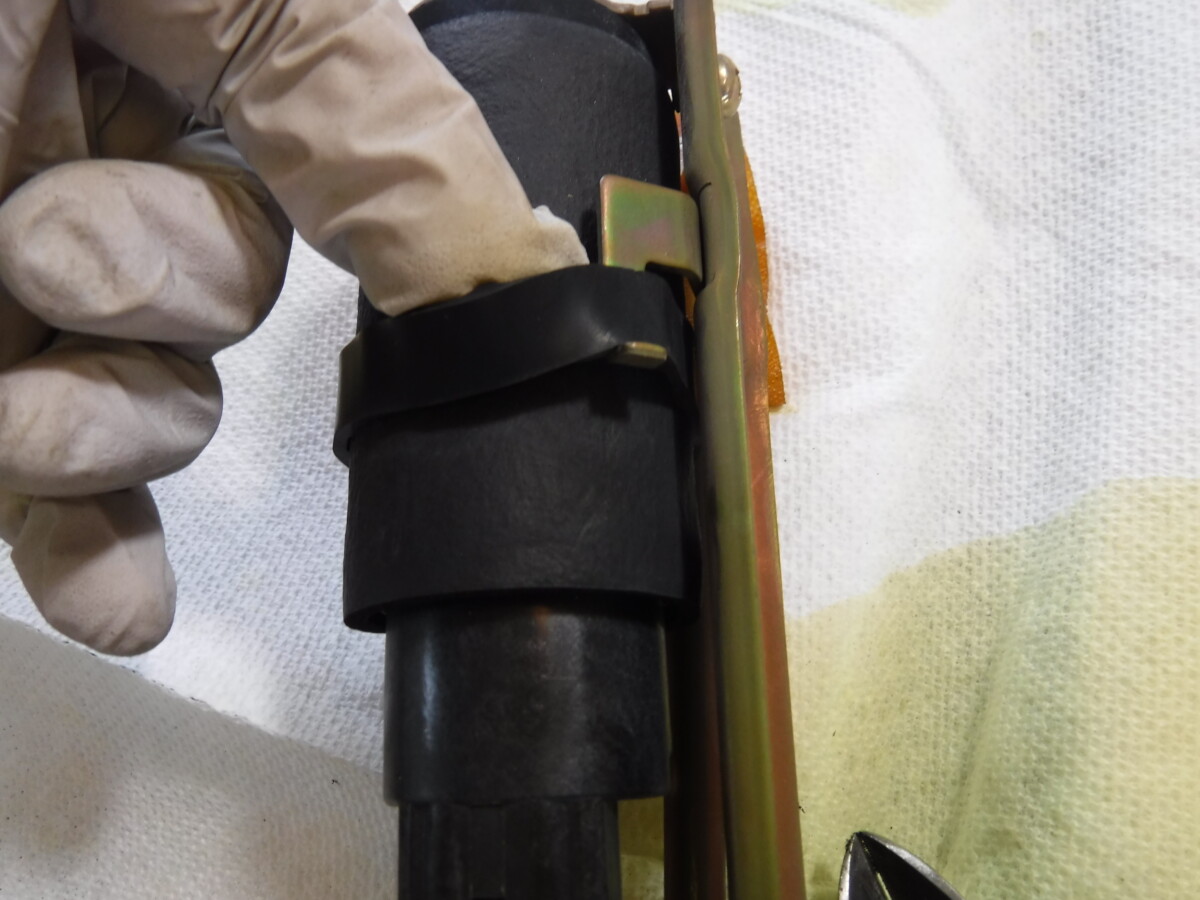
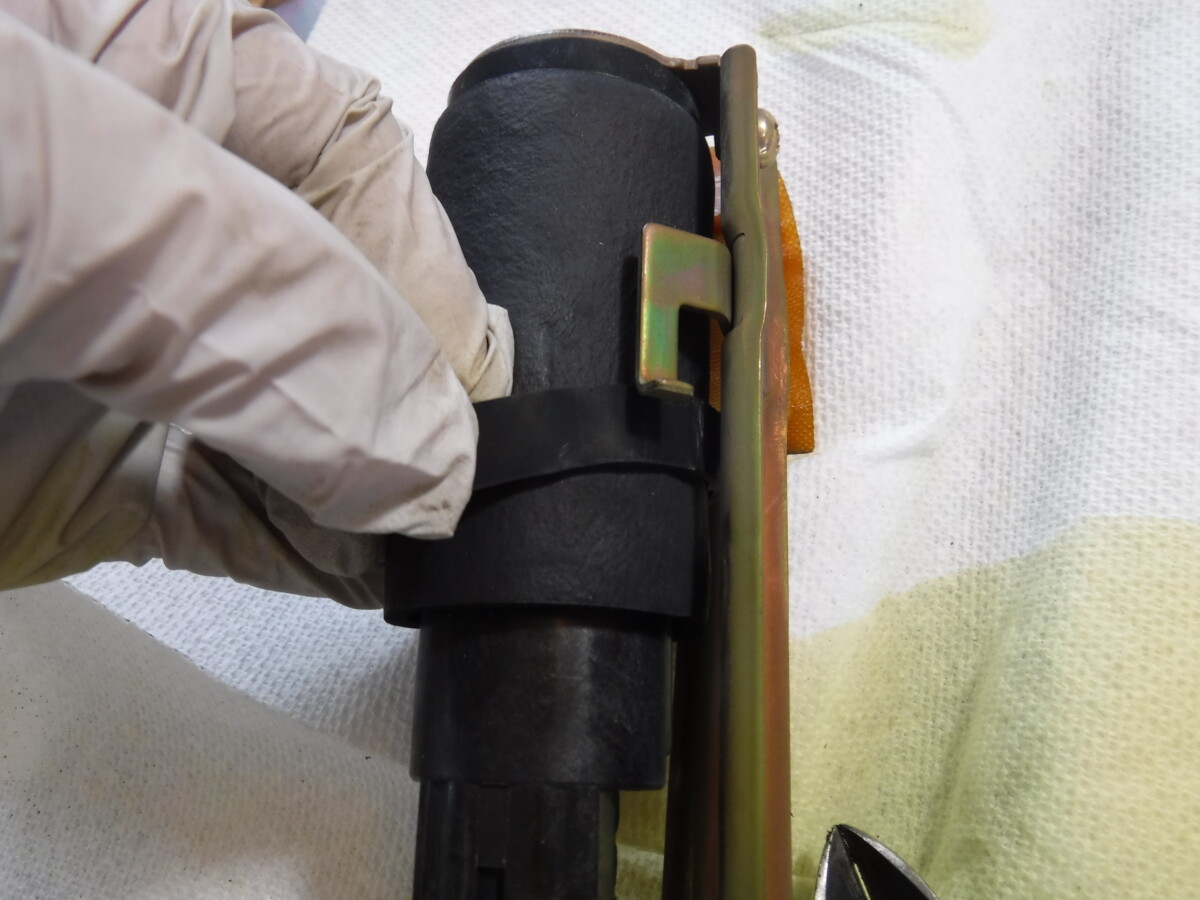
There's this strap thingy that needs to be slid down. Again, no idea if it has a real name.
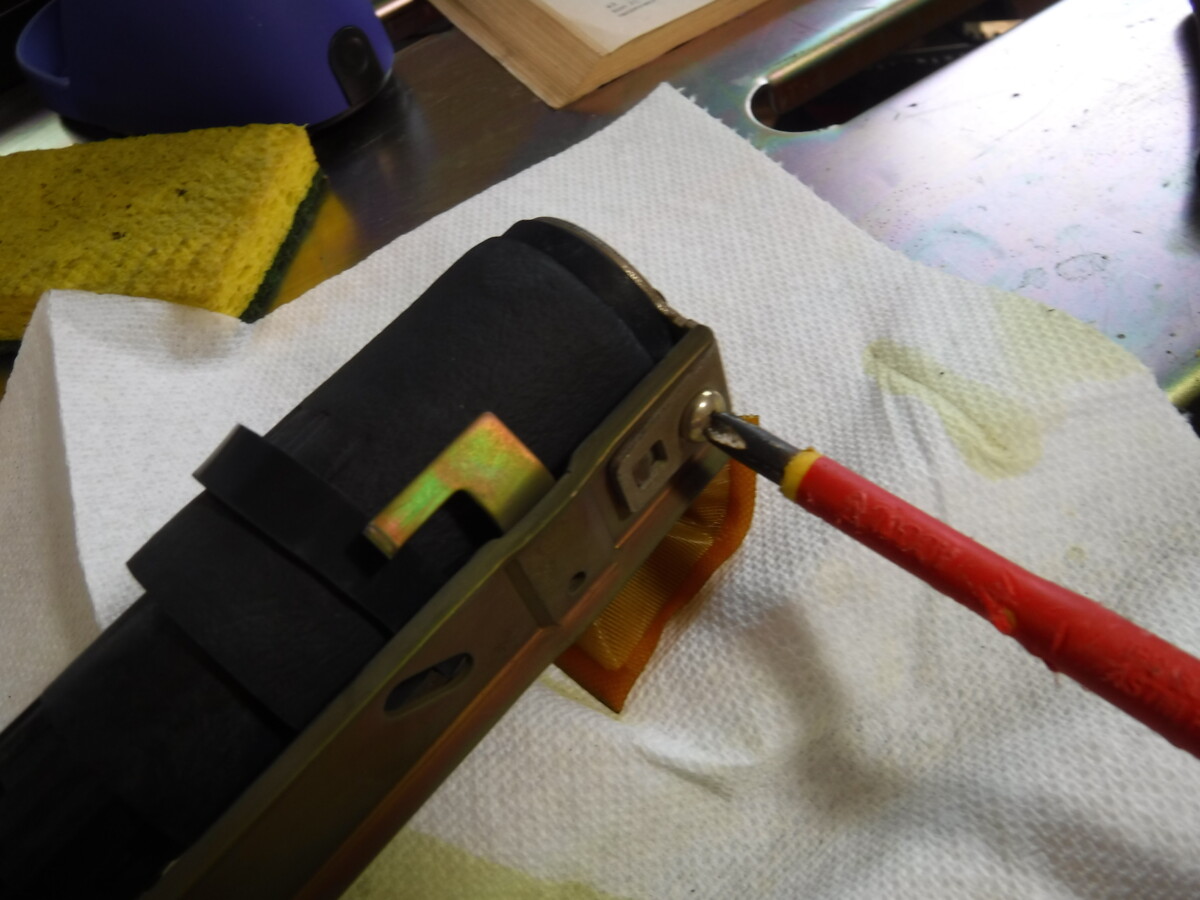
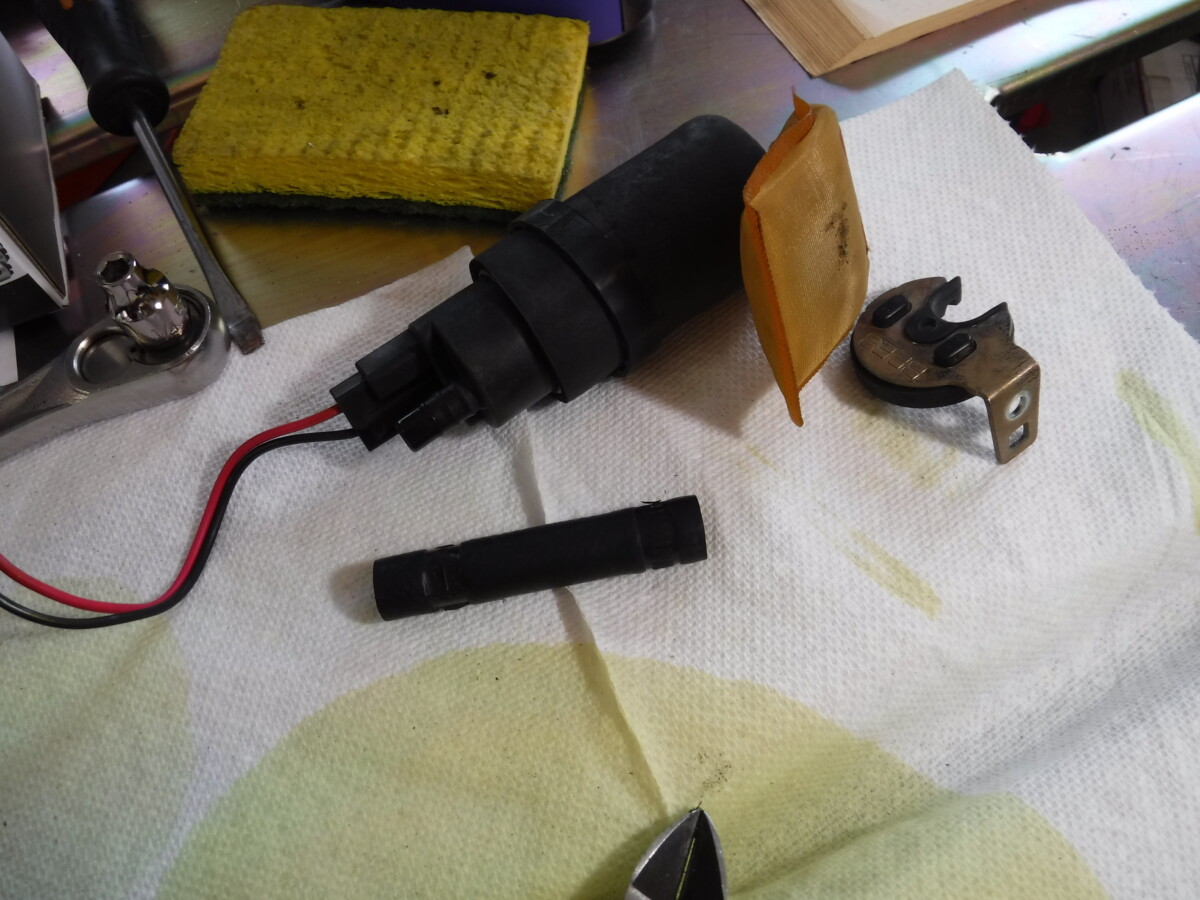
Once that's all done, there's only one phillips head screw remaining. Undo it and all of these components come off.
Prepare the New Pump Wiring
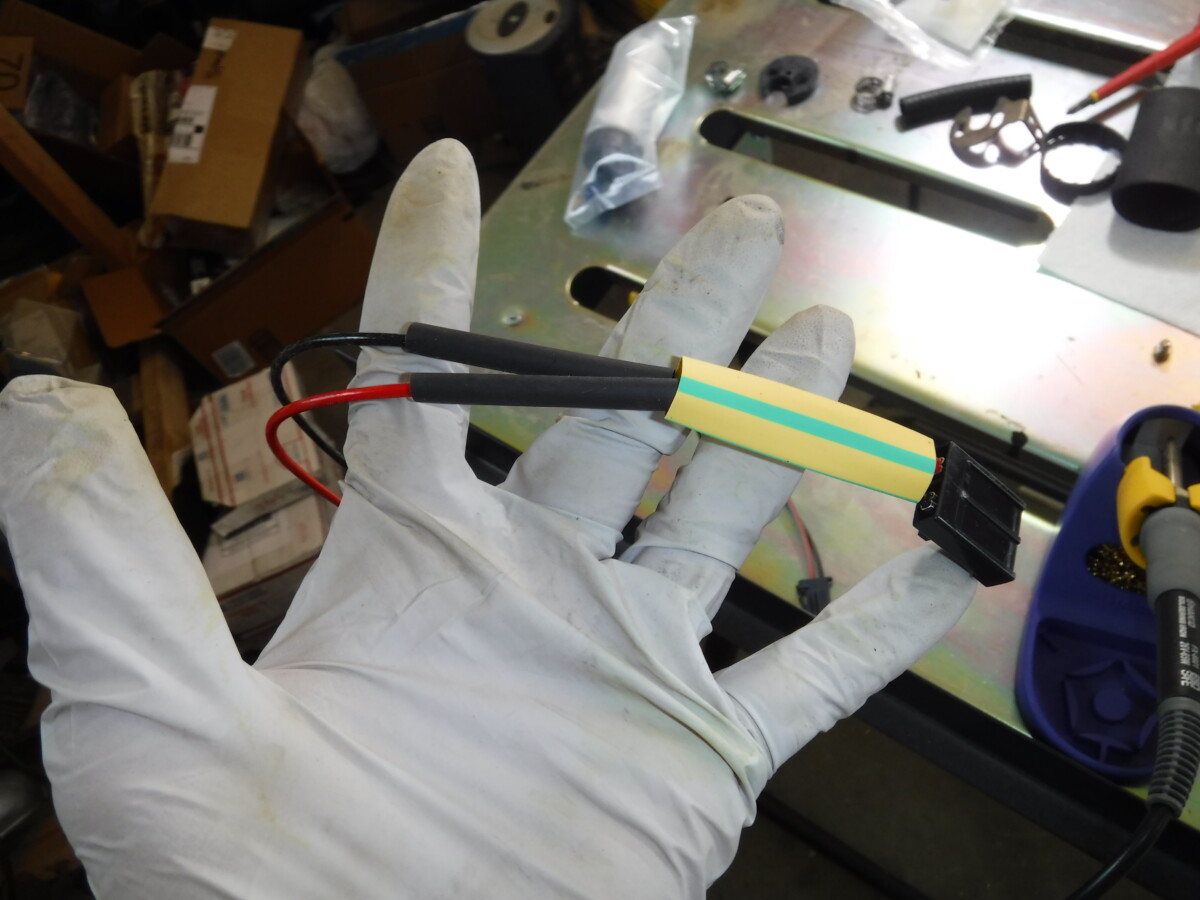
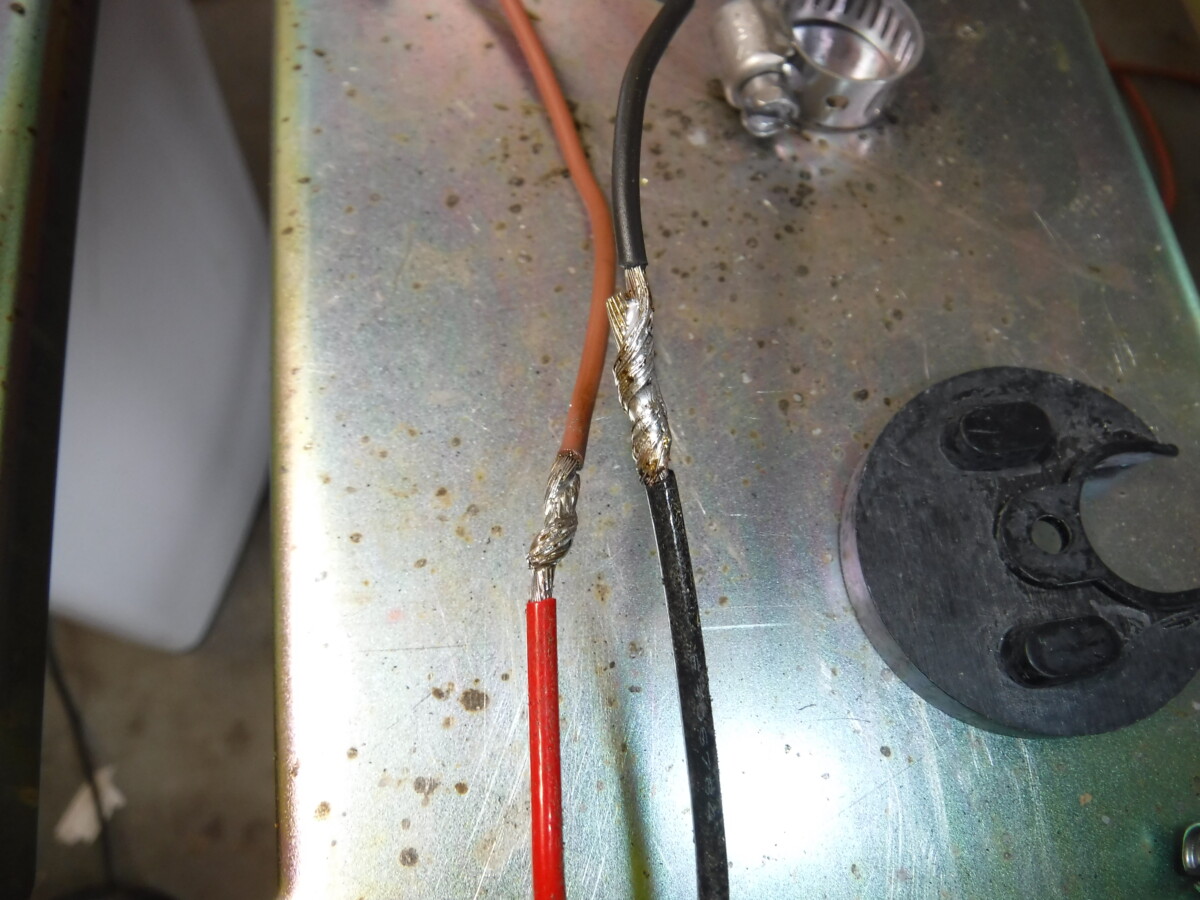
Solder the new plug onto the old assembly. Definitely use heat shrink to protect the connection. I heat shrinked each solder connection and then heat shrinked the two wires together. Use an actual soldering iron
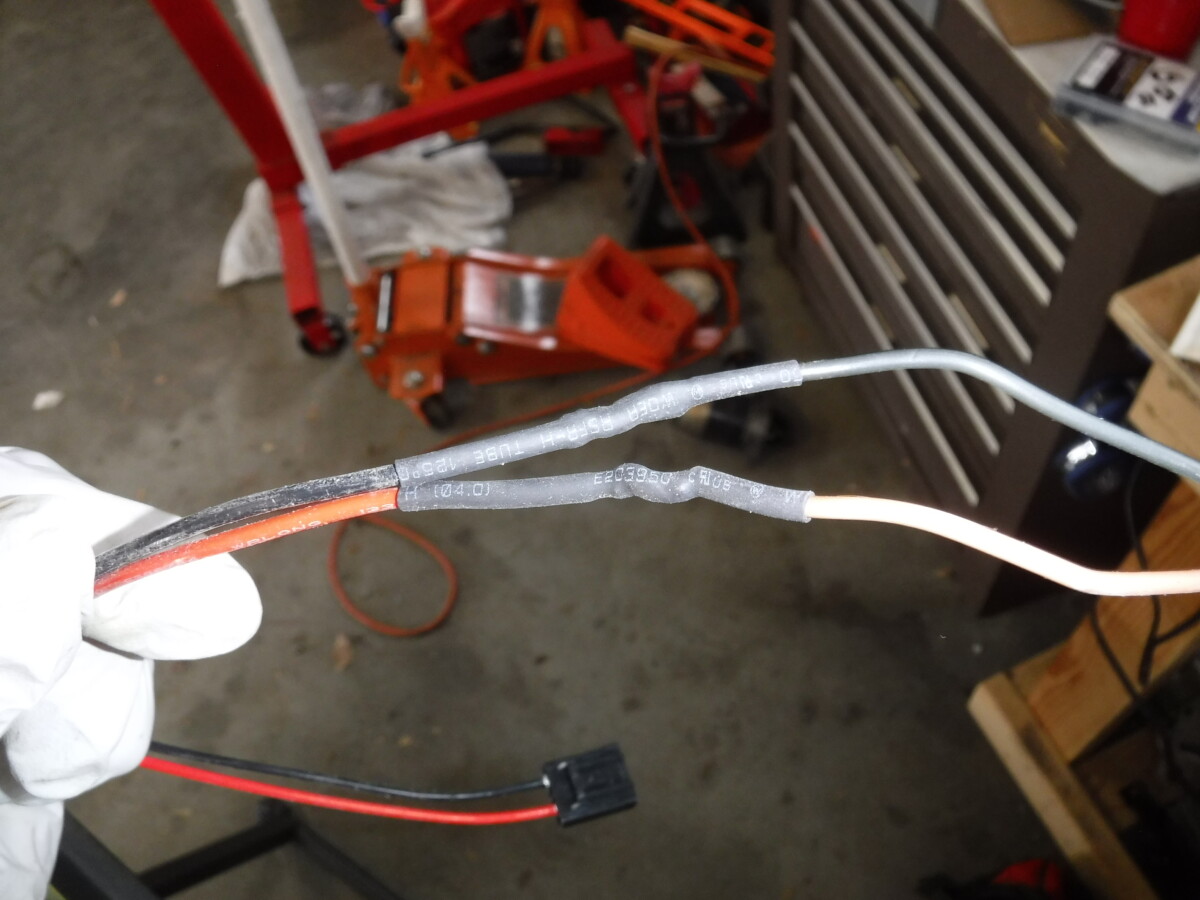
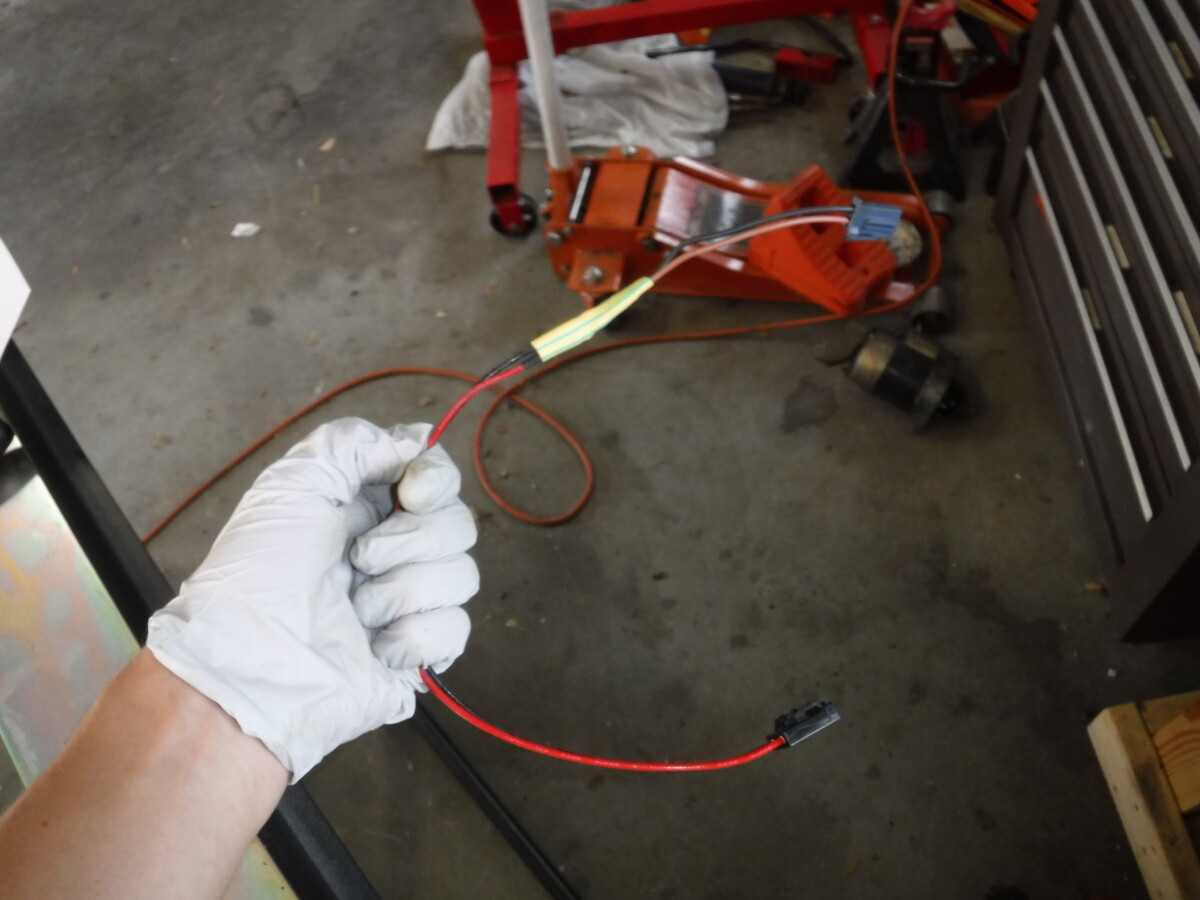
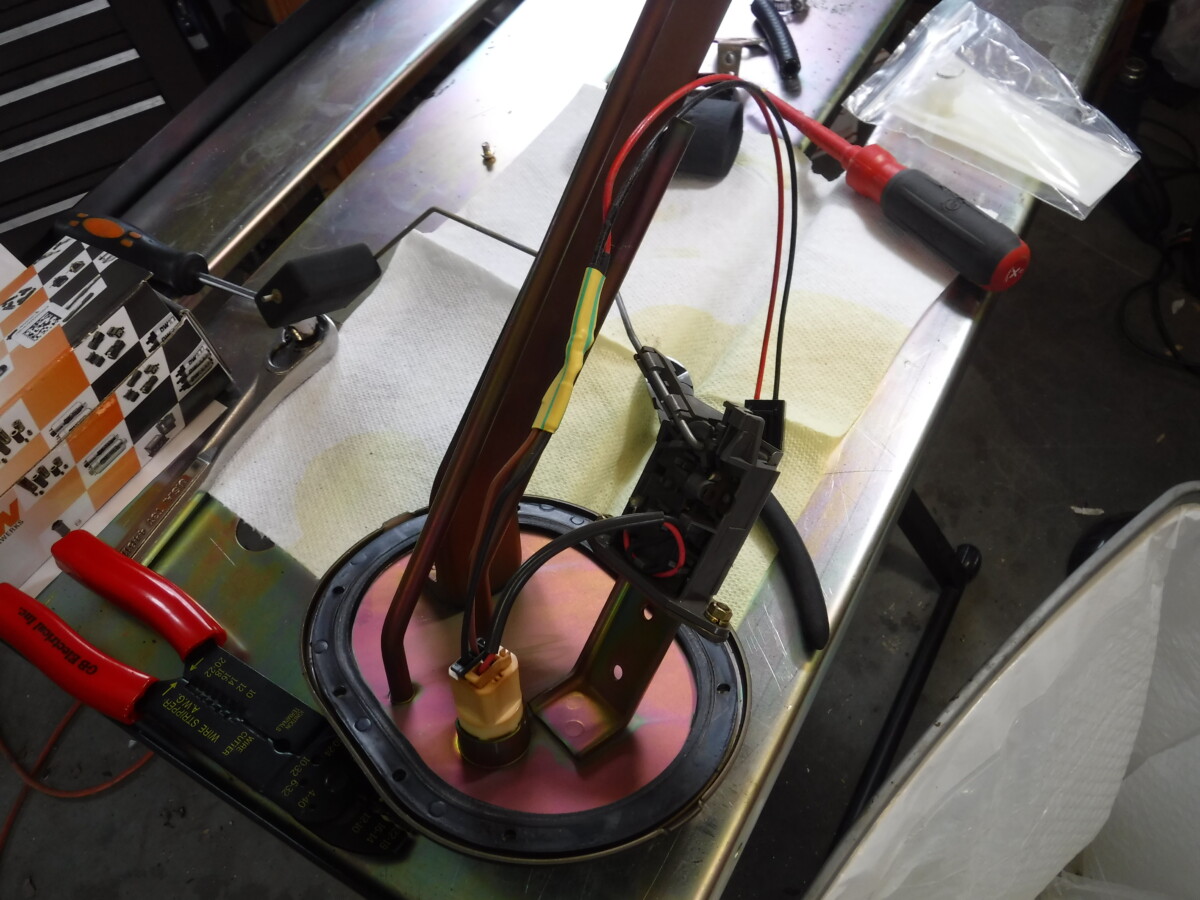
And here's the final wiring job. Of course, it should plug right back in to the assembly. If it doesn't, I'm concerned for you.
Fuel Line on New Pump
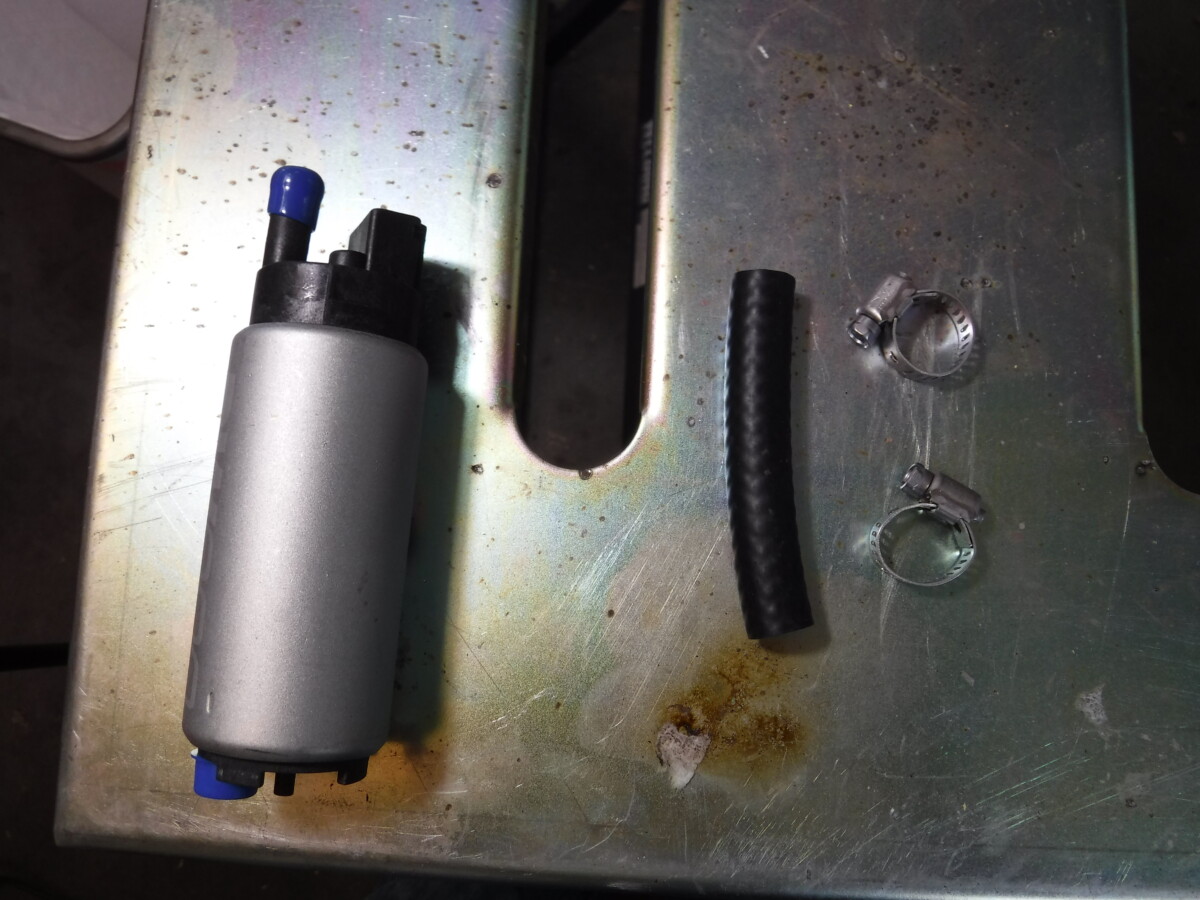
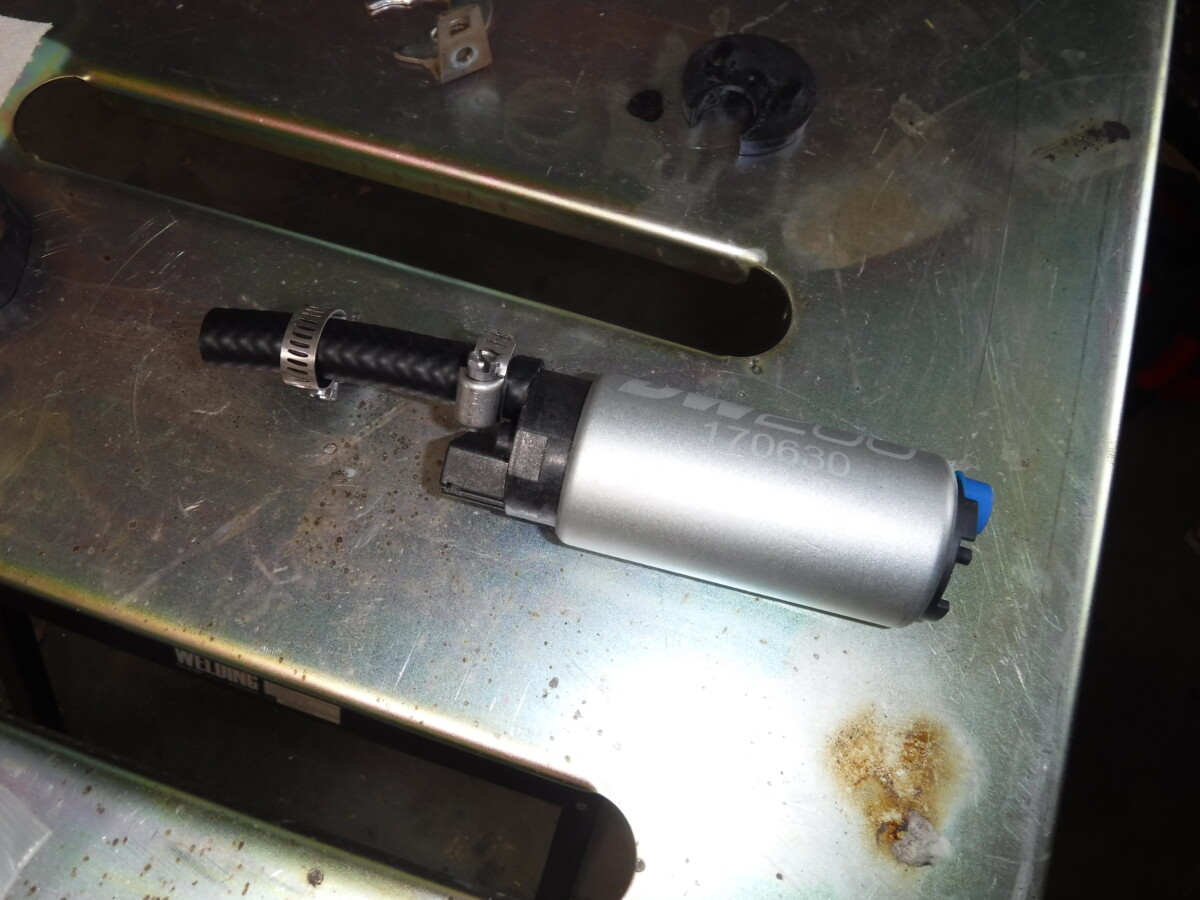
I went ahead and put the short length of new fuel line on the pump. One clamp can go on now, the other needs to wait of course.
Sock on New Pump
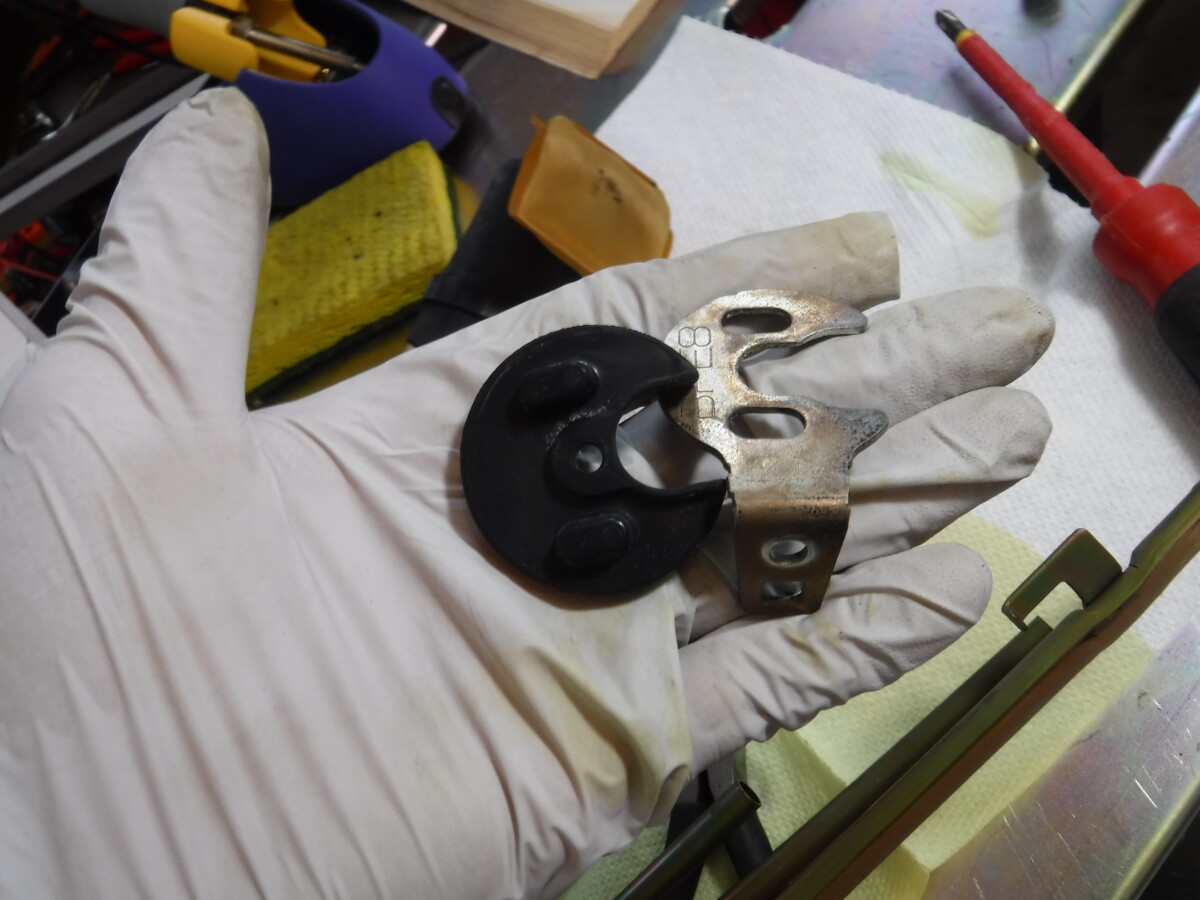
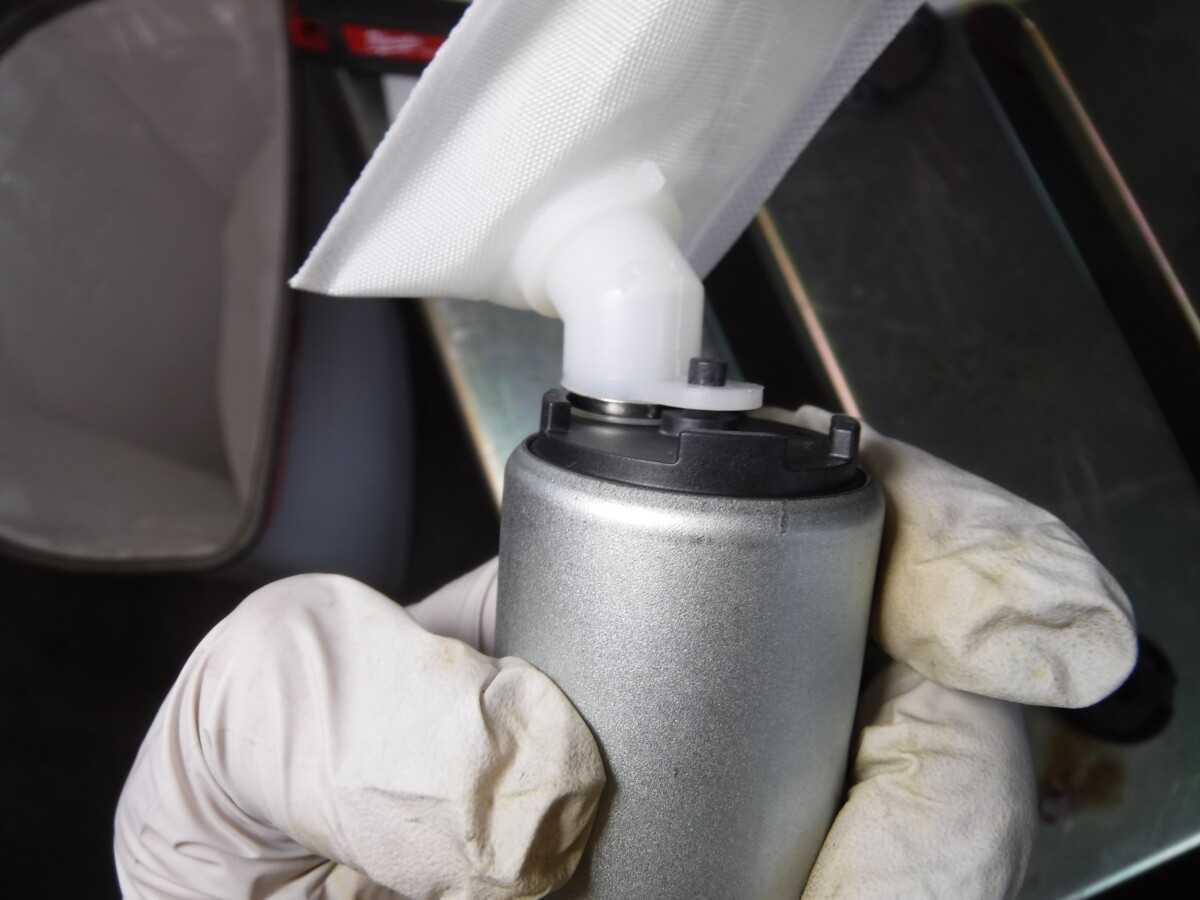
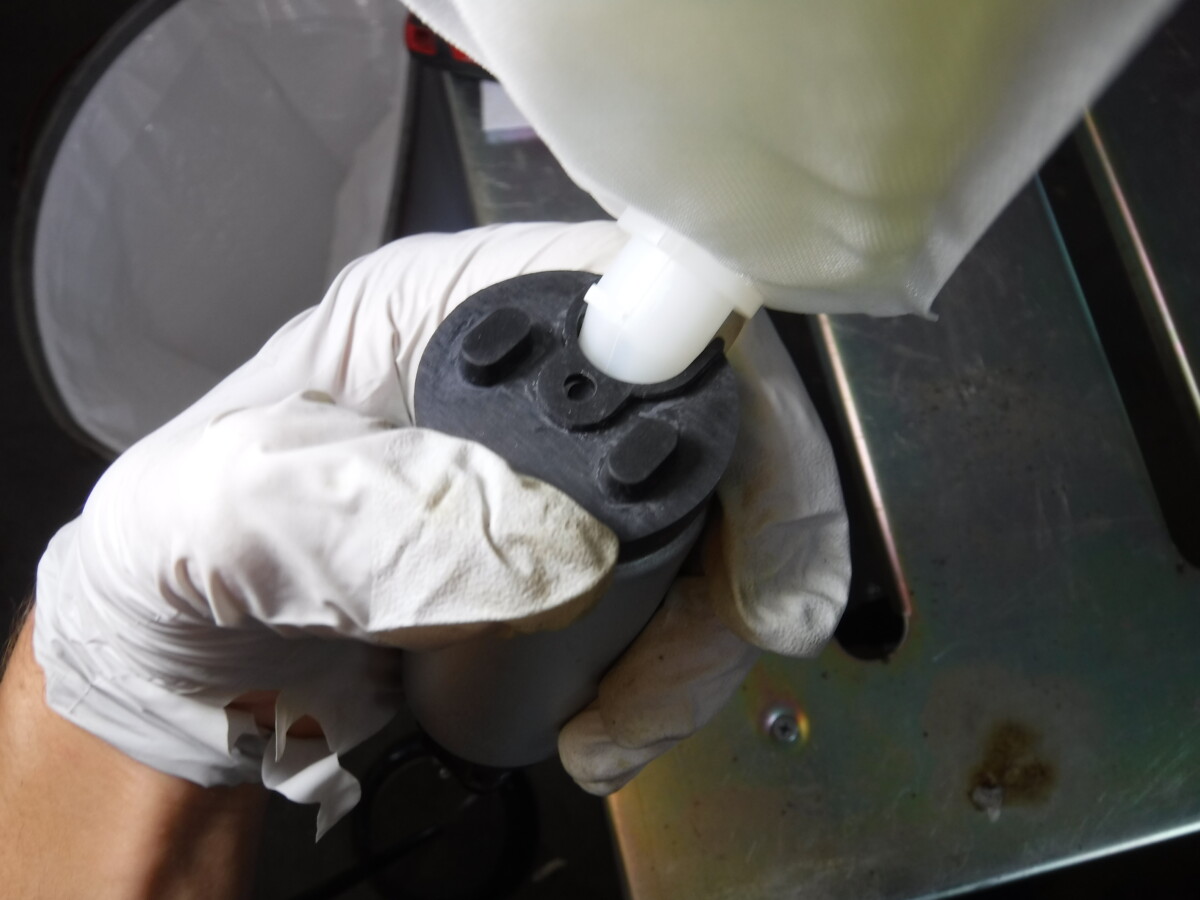
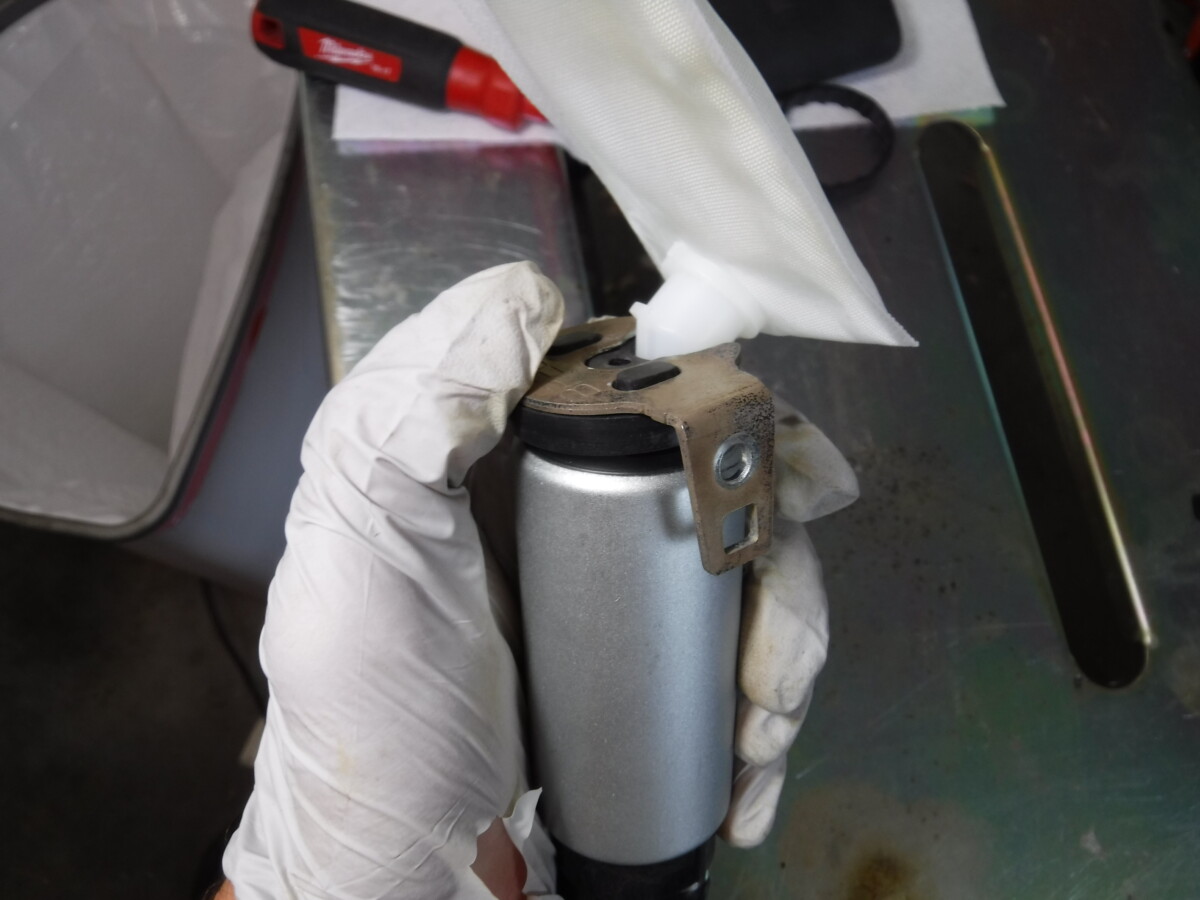
You need to keep this metal bracket from the old pump. You can chuck the black rubber piece, the new pump comes with a fresh one. This is used to hold the filter sock on the fuel pump.
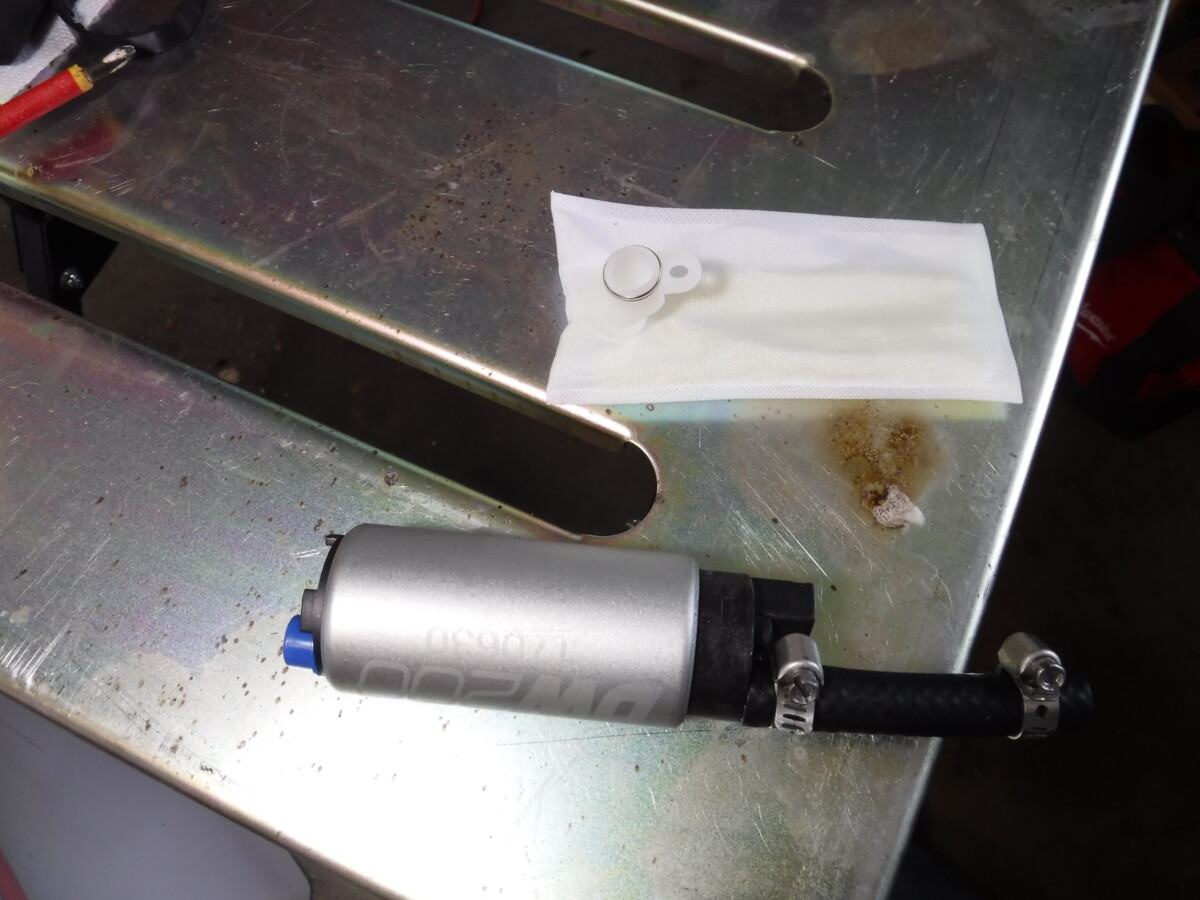
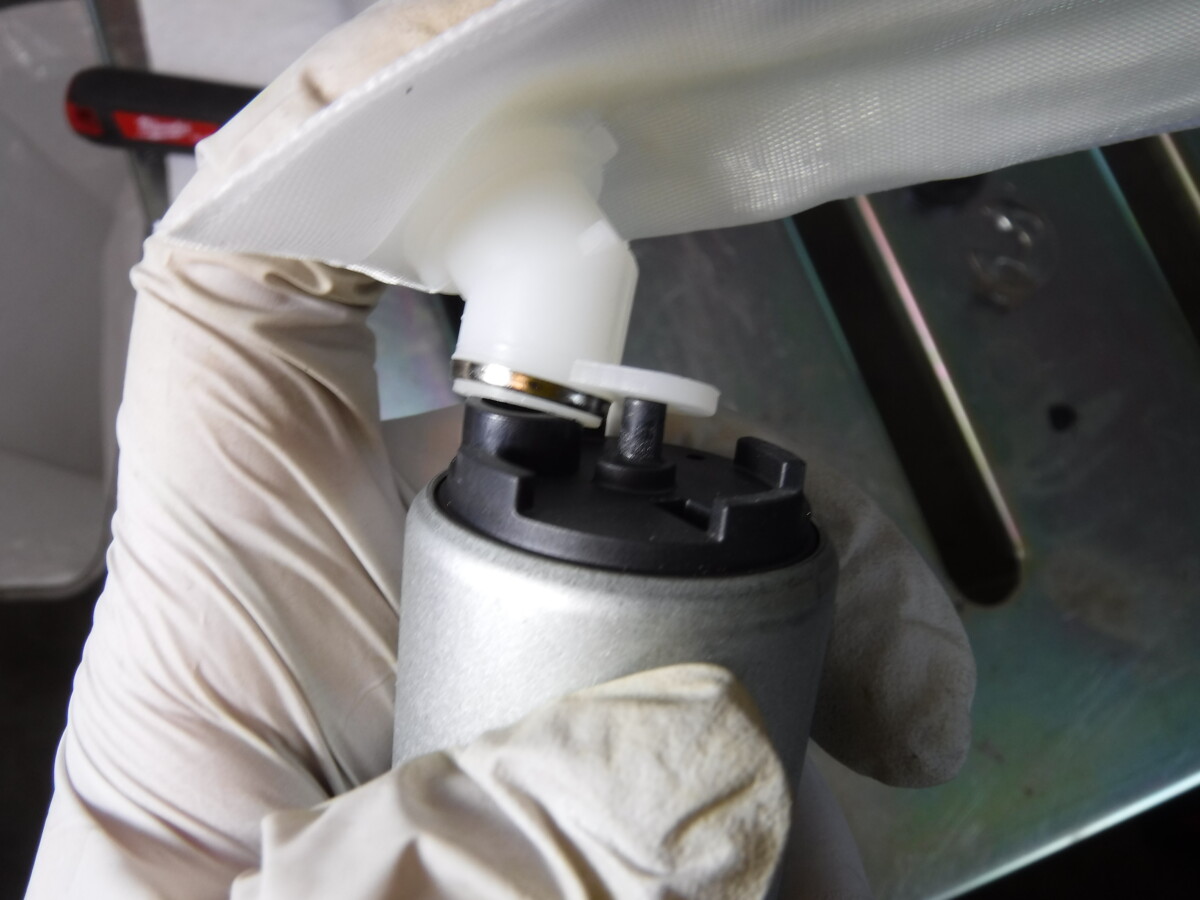
The sock goes on the pump and prevents it from sucking up any debris in the tank. Install it as shown, with the small hole going over the matching spot on the fuel pump.
Put on Sleeve Thingy
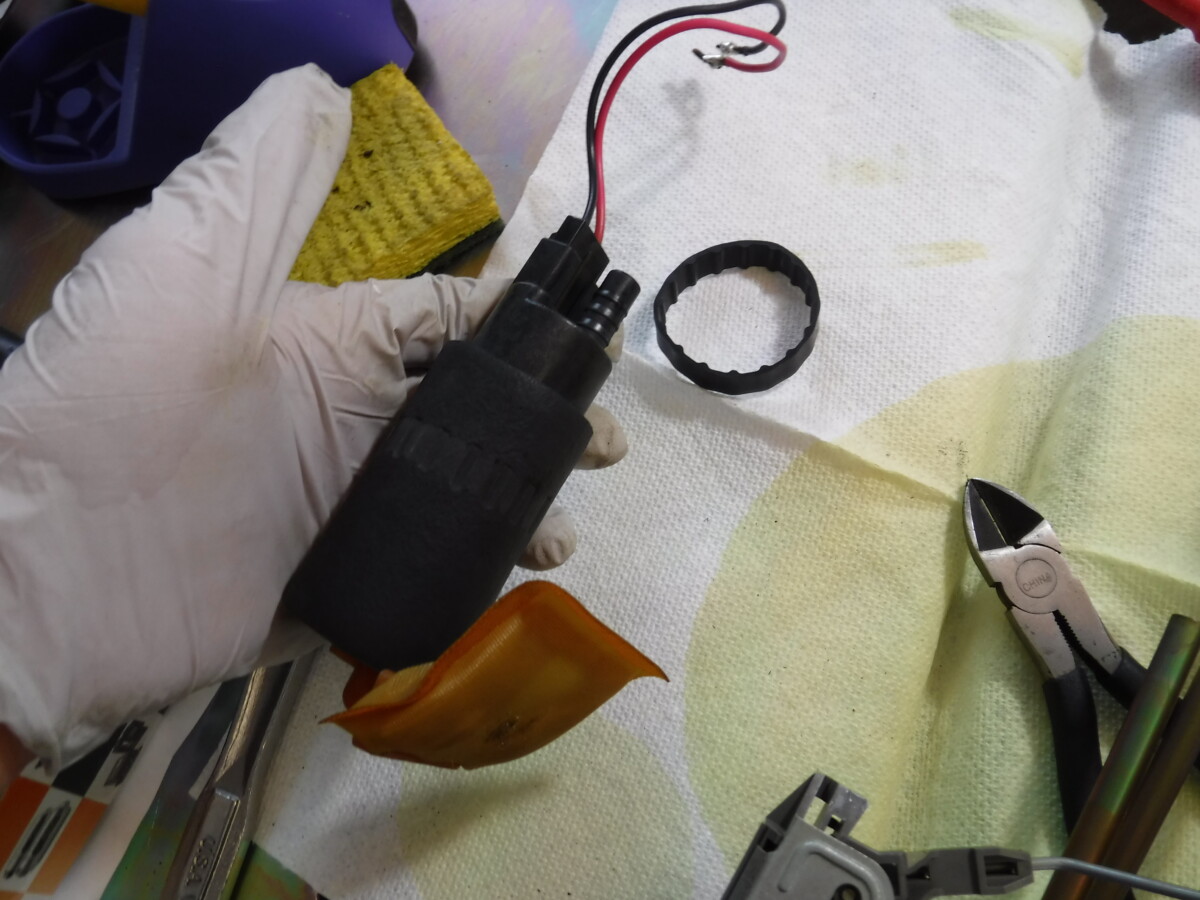
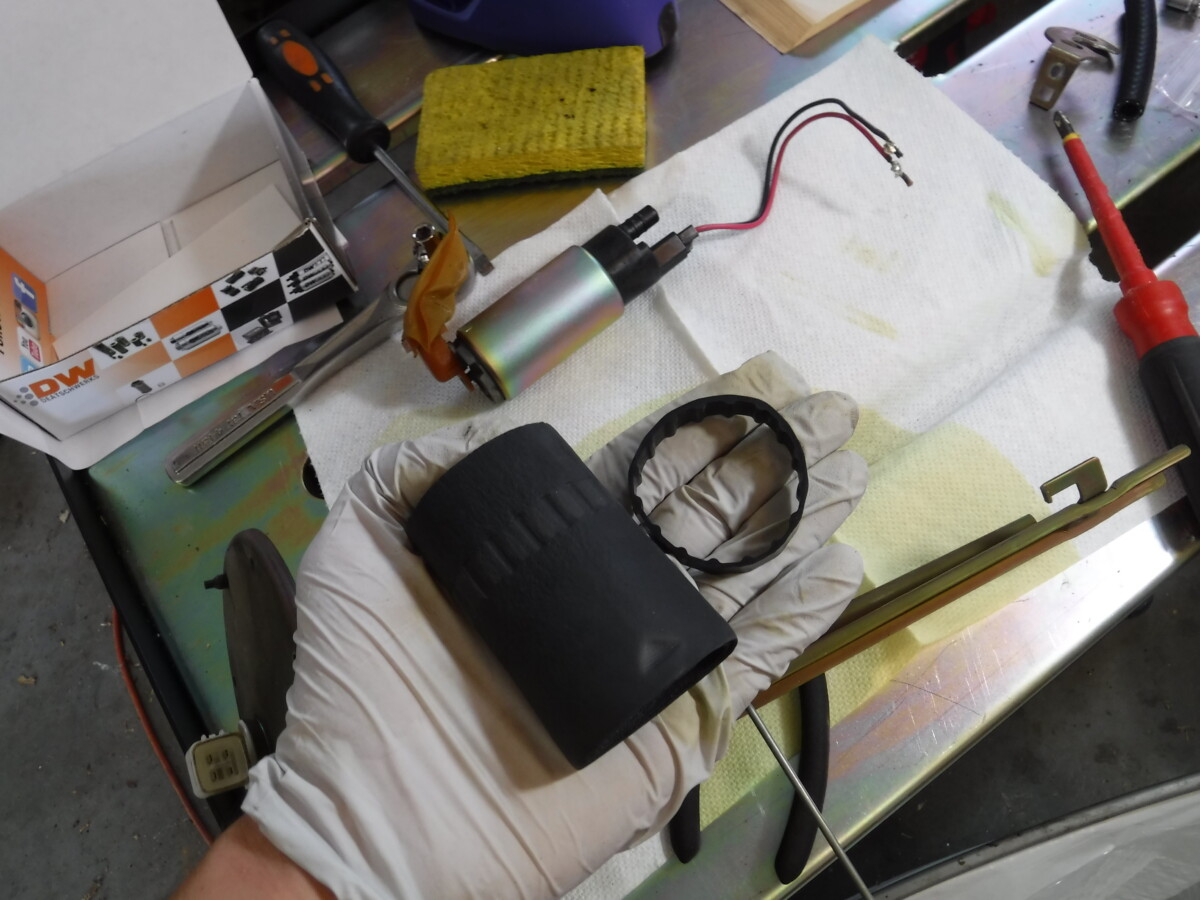
The sleeve and strap thingies need to be pulled off of the old fuel pump to be reused.
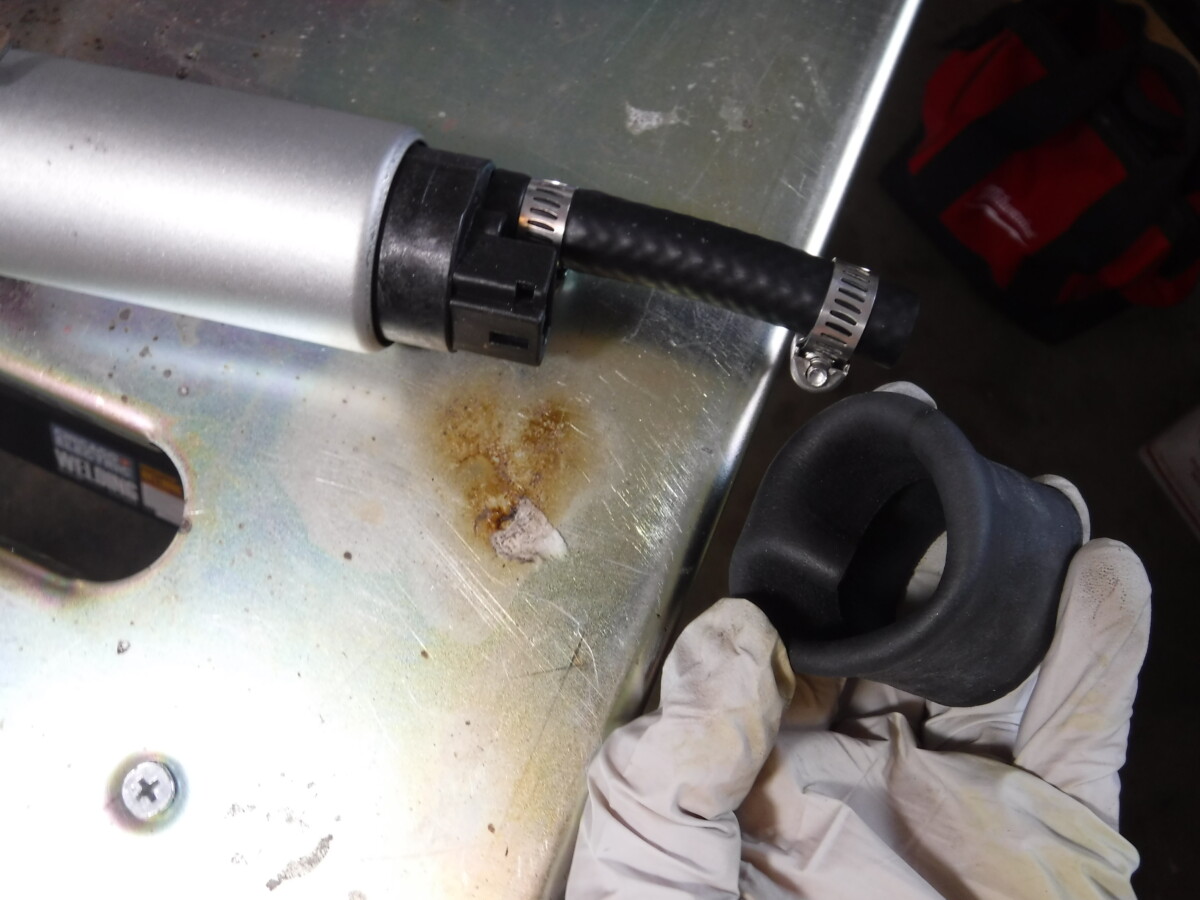
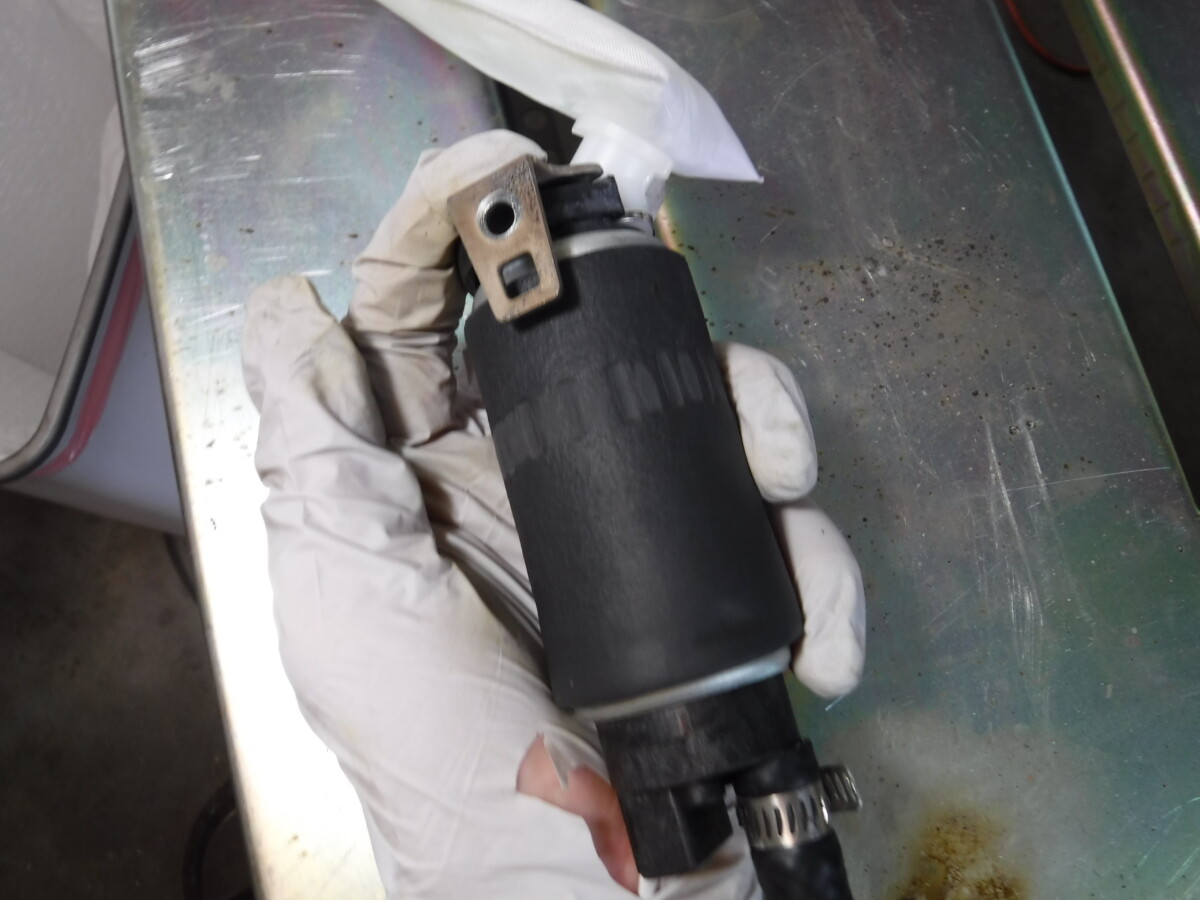
This piece can be annoying to get on to the pump. I had the most luck rolling it over and then unrolling it onto the pump.
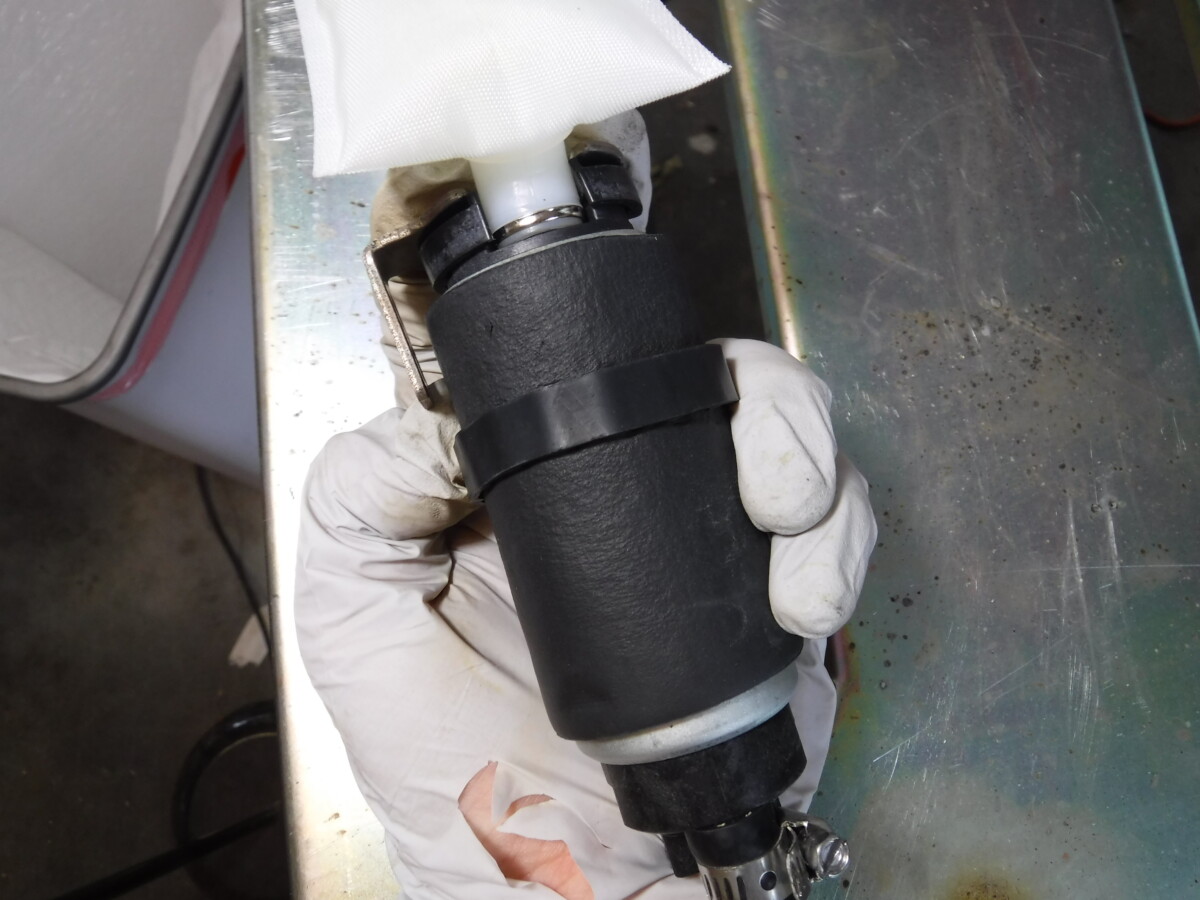
And last but not least, our friendly neighborhood strap thingy.
Install Pump on Assembly
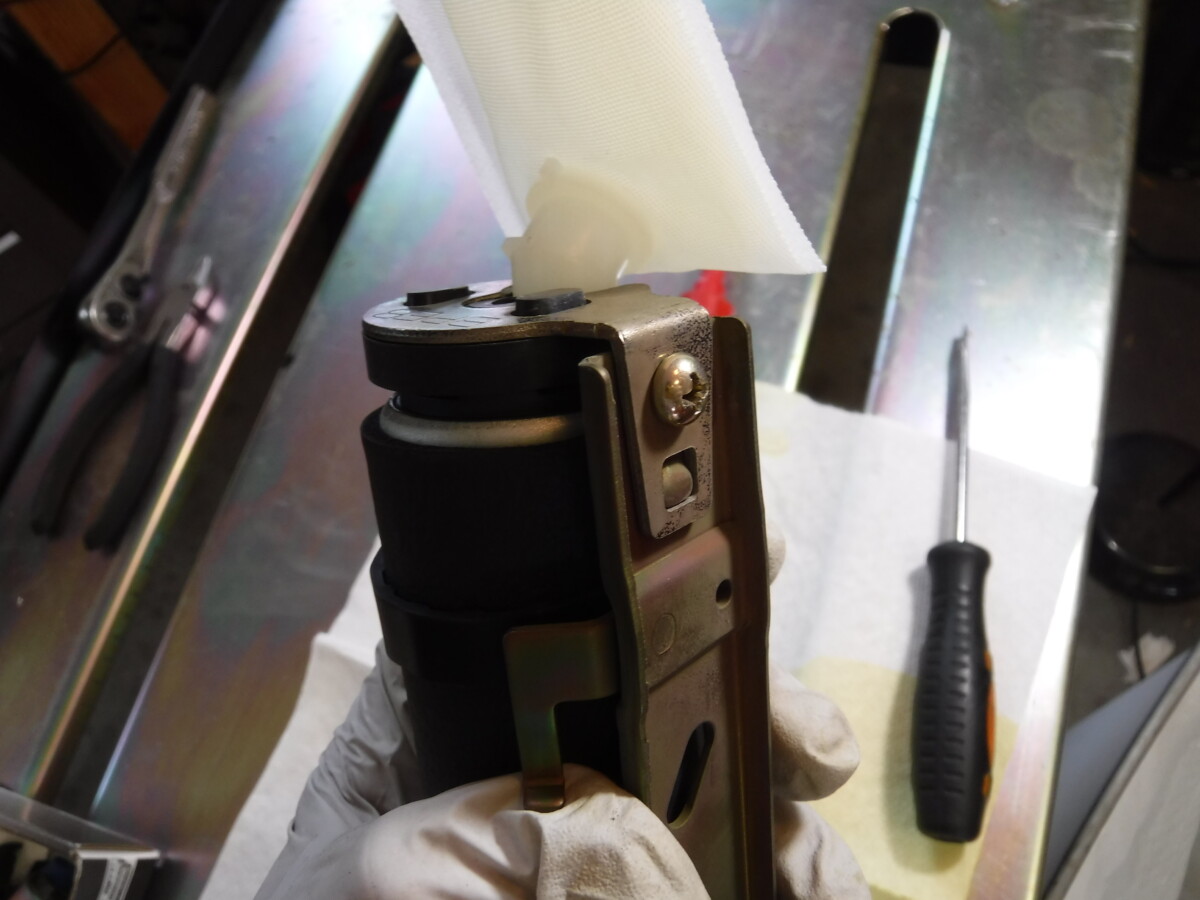
Screw the bracket back on to the pump assembly as shown.
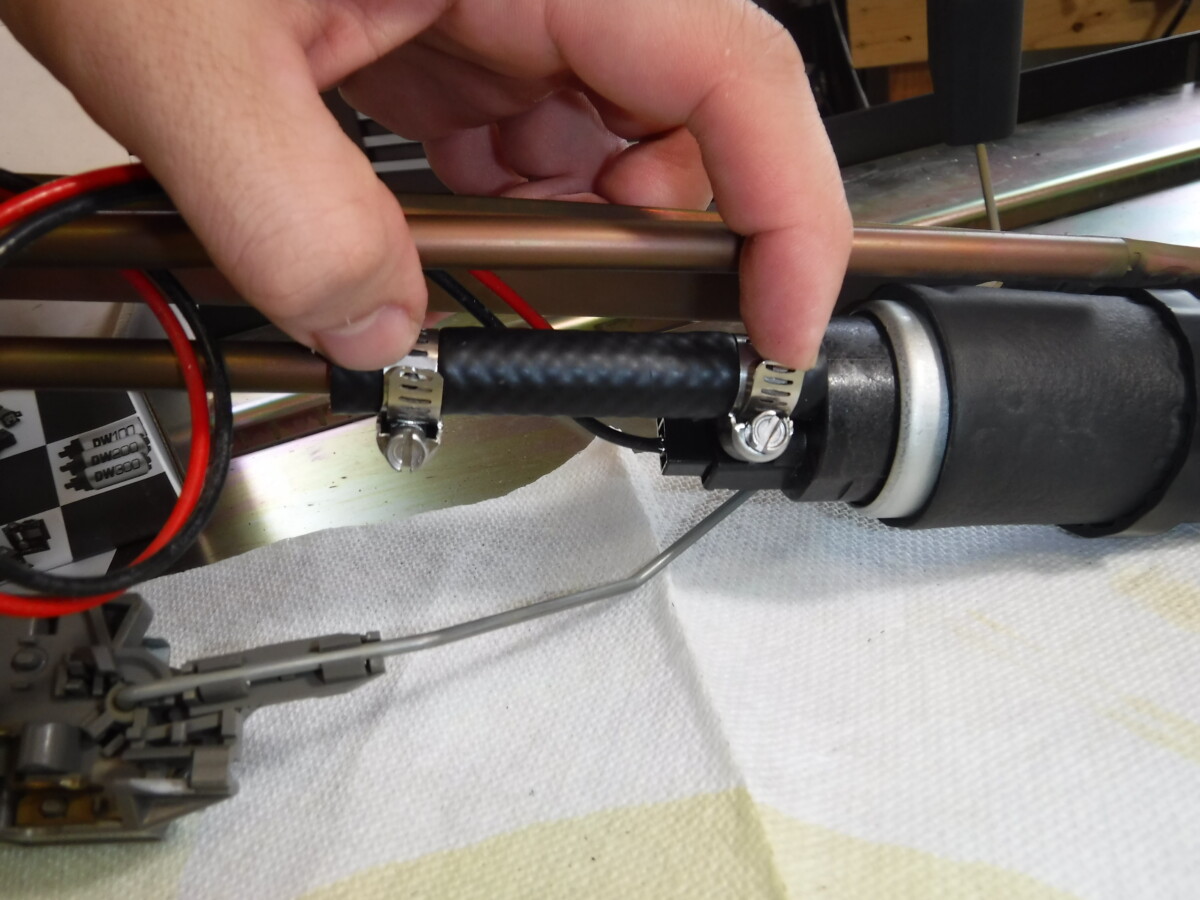
Reinstall the fuel line section. You may need to do this before or after the phillips screw above, depending on your luck. A little bit of silicone lubricant can help slide fuel line.
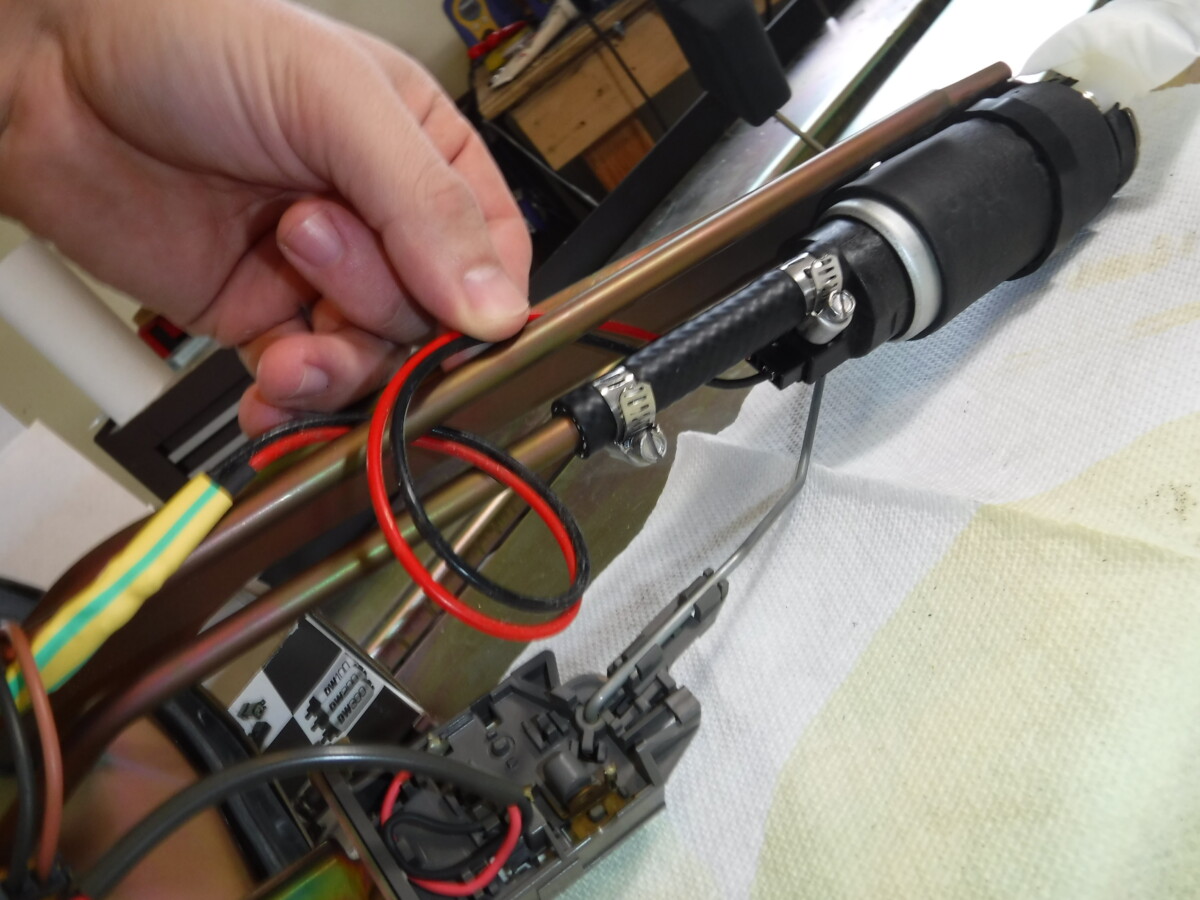
Plug the wire into the fuel pump. I sort of looped it around the lines, because that's what was done before. Then again, a horrible solder job was also done before, so maybe this is the blind leading the blind.
Reinstall
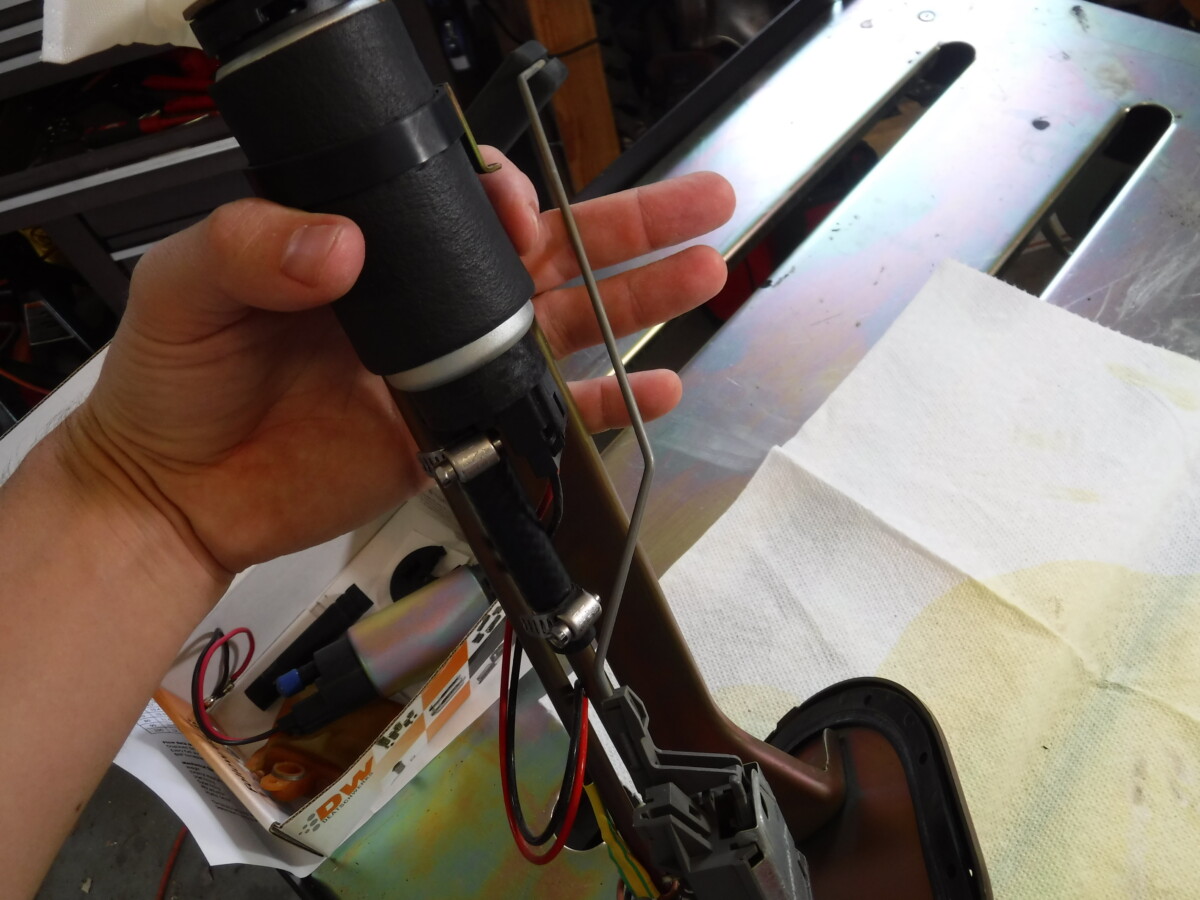
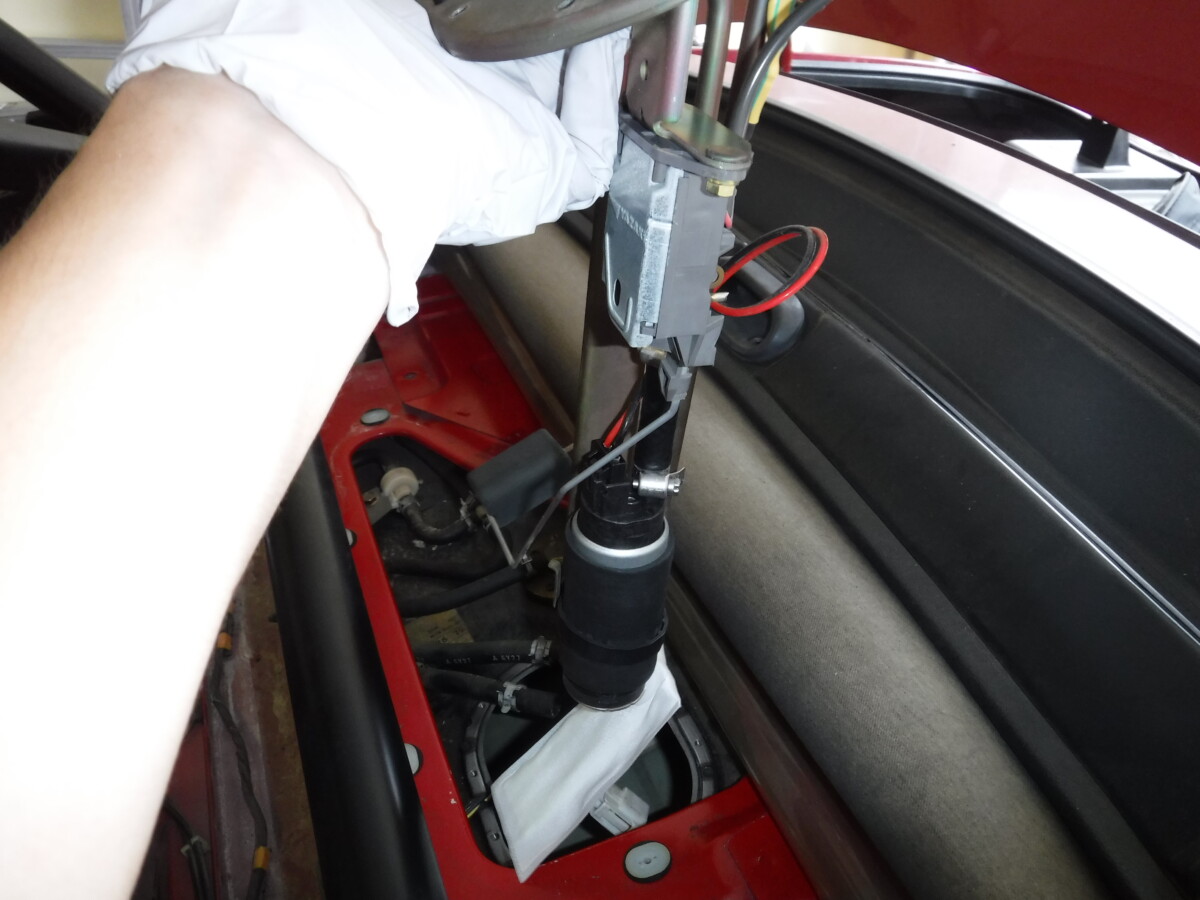
Now the whole thing is ready to drop back in. As they say in the Hayne's Manual, "reinstallation is the reverse of removal." I like to do the minimum first - screw the pump mounting bolts back in, reinstall the fuel lines, hook the white wire back up, and plug in the battery. At that point, test to make sure the fuel pump turns on and the car will fire up before putting the package shelf back together.
If you don't have a roll bar, Miata fuel pump replacement is easier than most other cars, as you don't have to drop the fuel tank. If you do have a roll bar... well, it's probably still easier.