99-04 Mustang GT Hitch Installation
I like to mountain bike. To transport my bikes, I usually use a hitch-mount rack. Initially, this was the Swagman XC2
Hitch mount racks won't scratch your paint and can be switched quickly and easily between cars. When the family goes biking, I use my track with a RaceFace tailgate pad
The Hitch Receiver
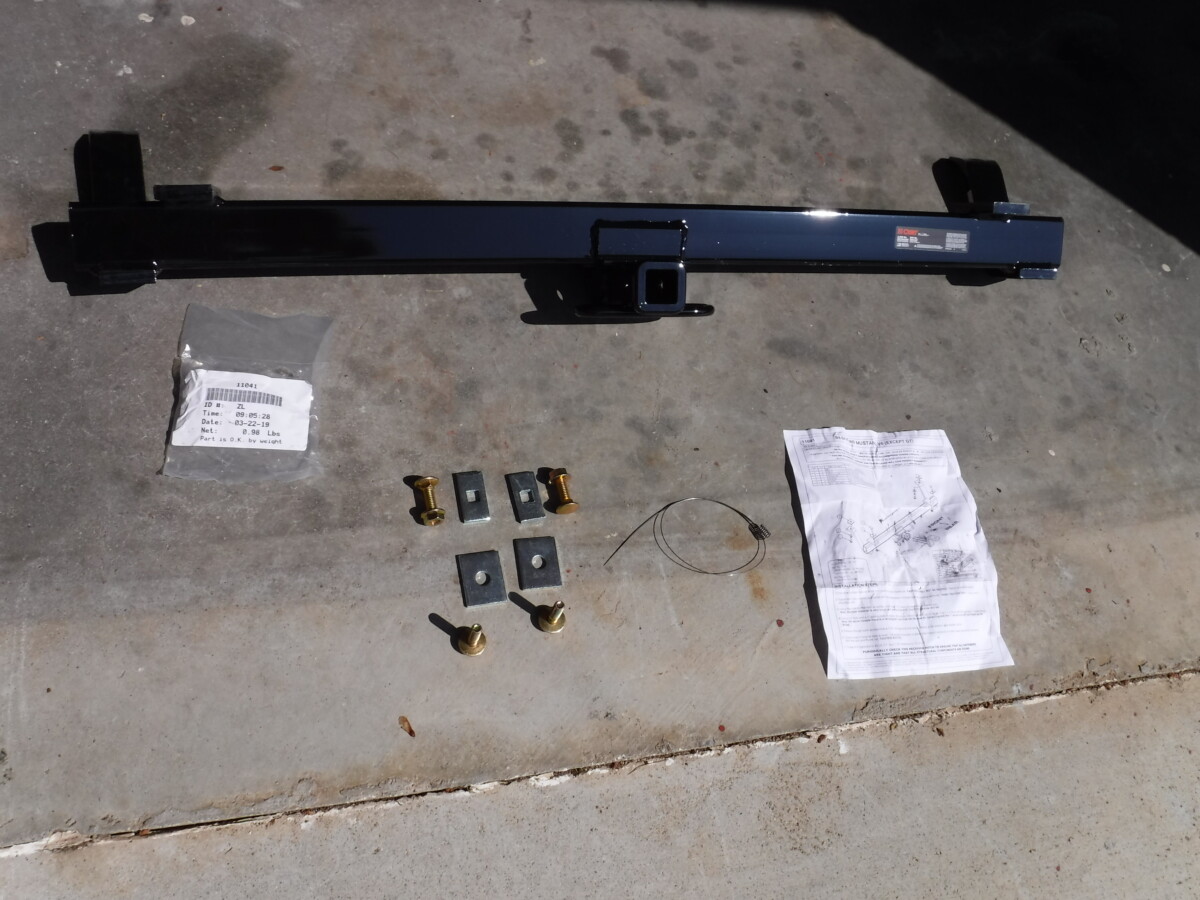
I went with a Curt 11041 class 1 hitch
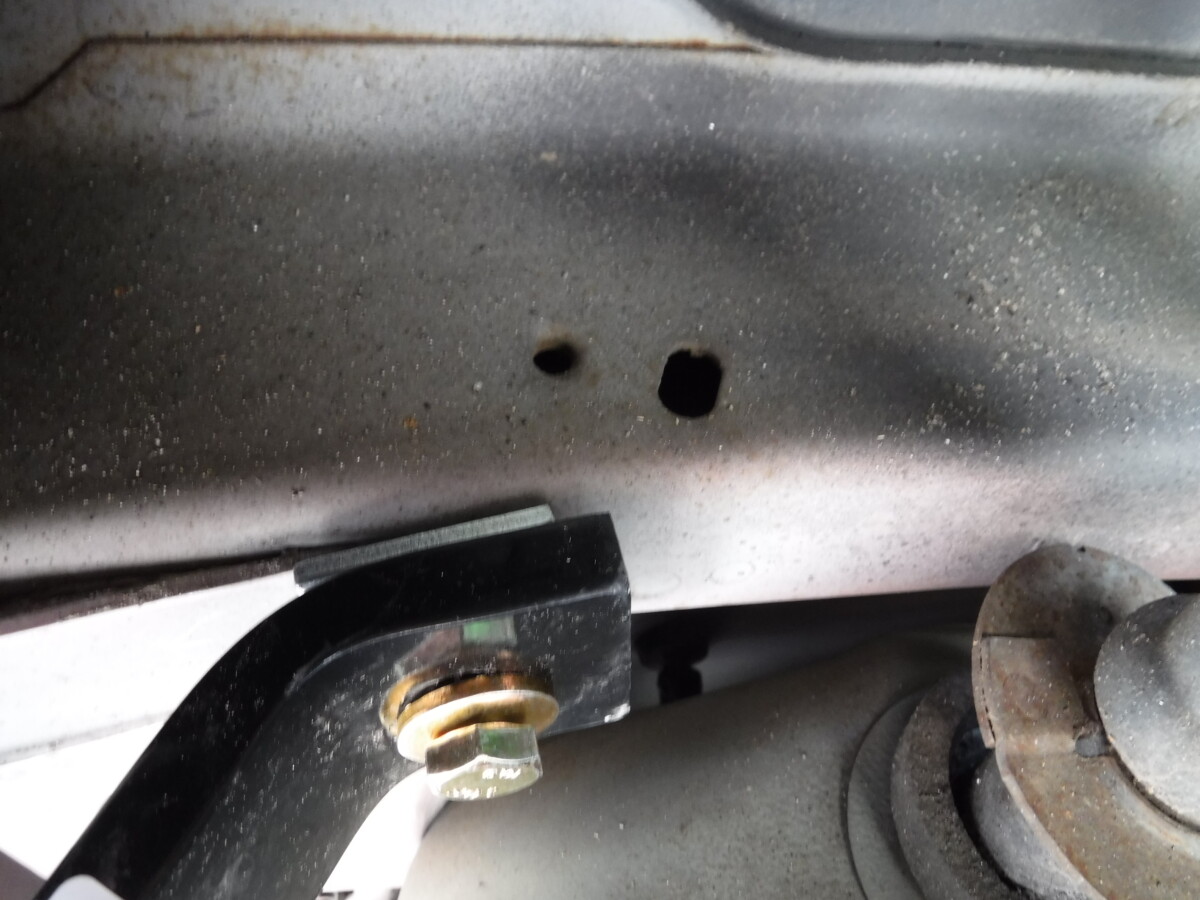
This hitch does require making a couple of 7/16" holes in the frame, but fortunately they're on the underside where they aren't visible if you needed to uninstall the hitch at a later date.
Tools Required
- Curt 11041 class 1 hitch
- Basic socket wrench set
- Drill
- 7/16" drill bit
, preferably cobalt (drilling through hardened metal)
- Some u-joint socket extensions
help


Rear Bolts
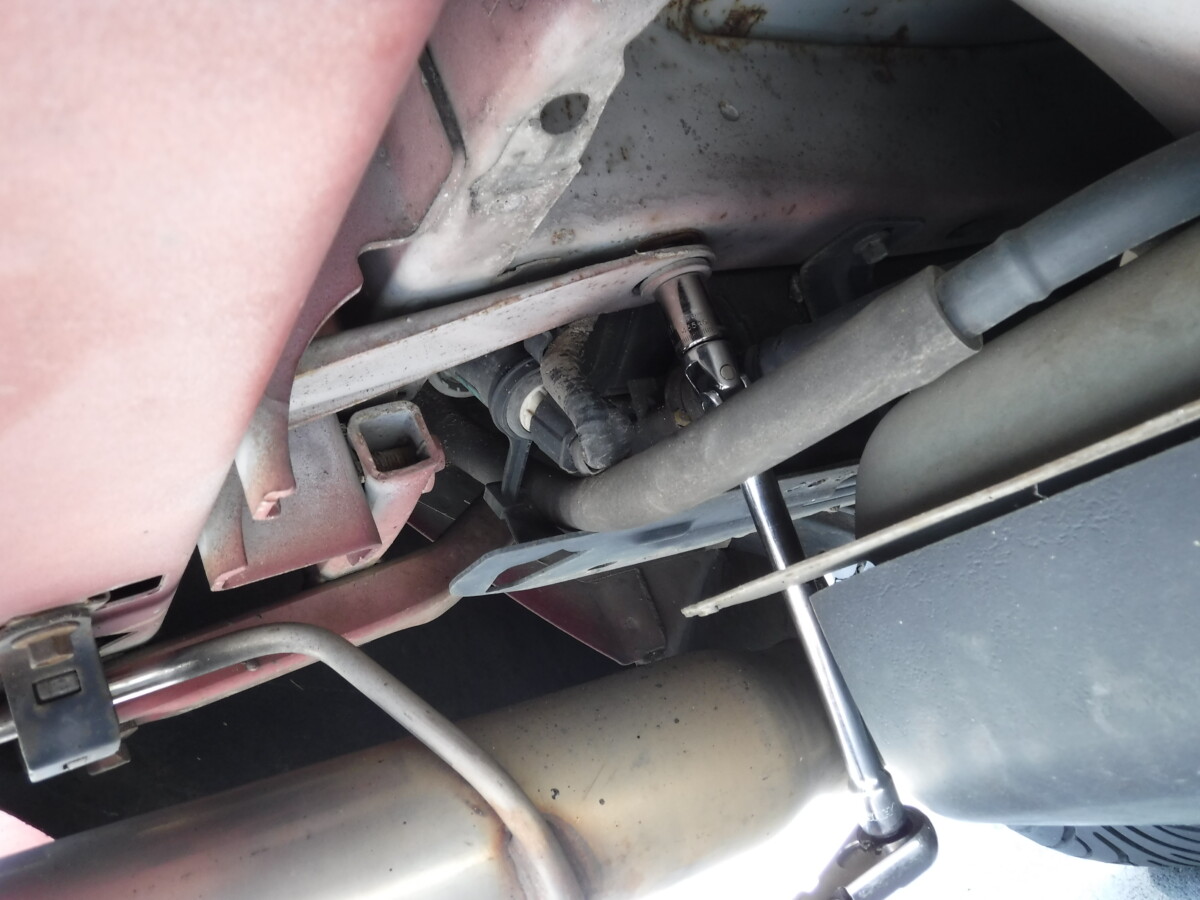
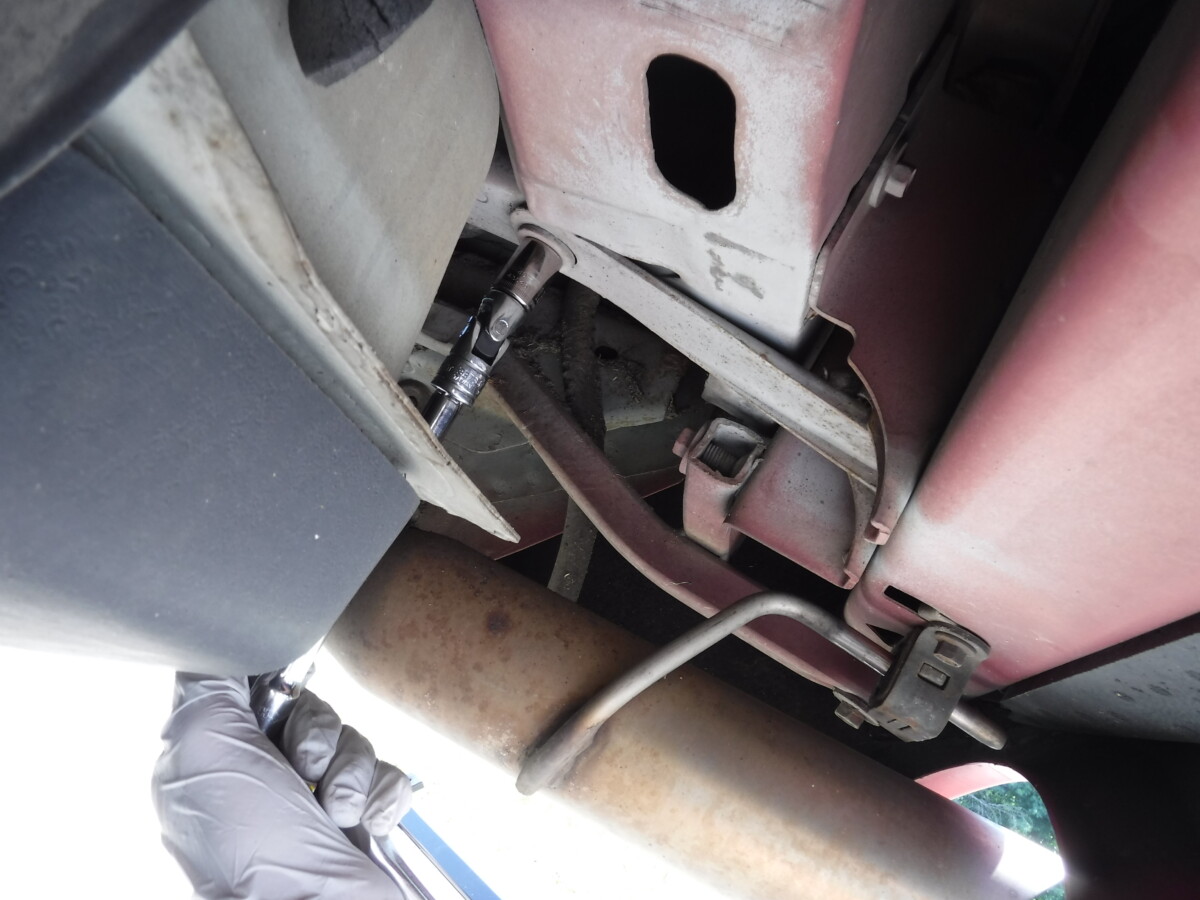
The first step is to remove this bolt from each side. The u-joint extension

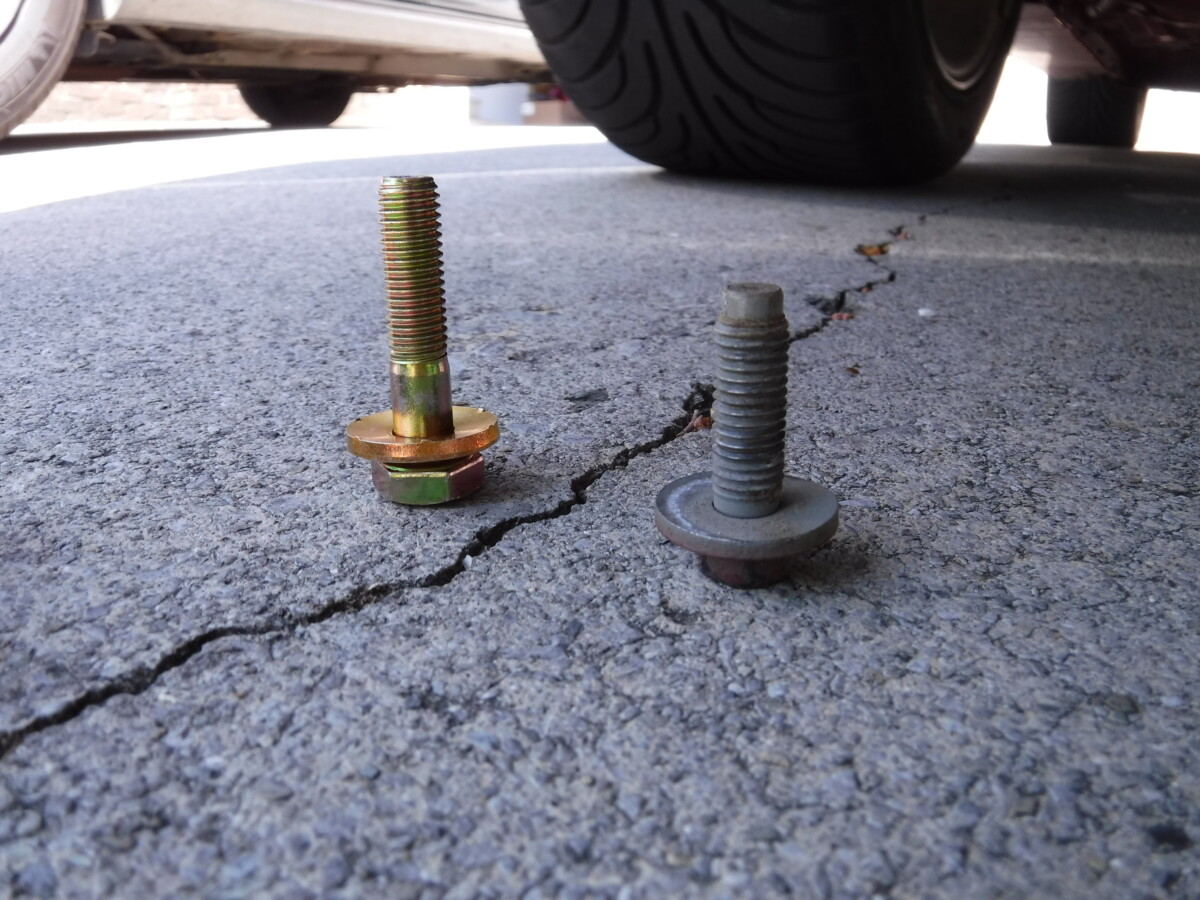
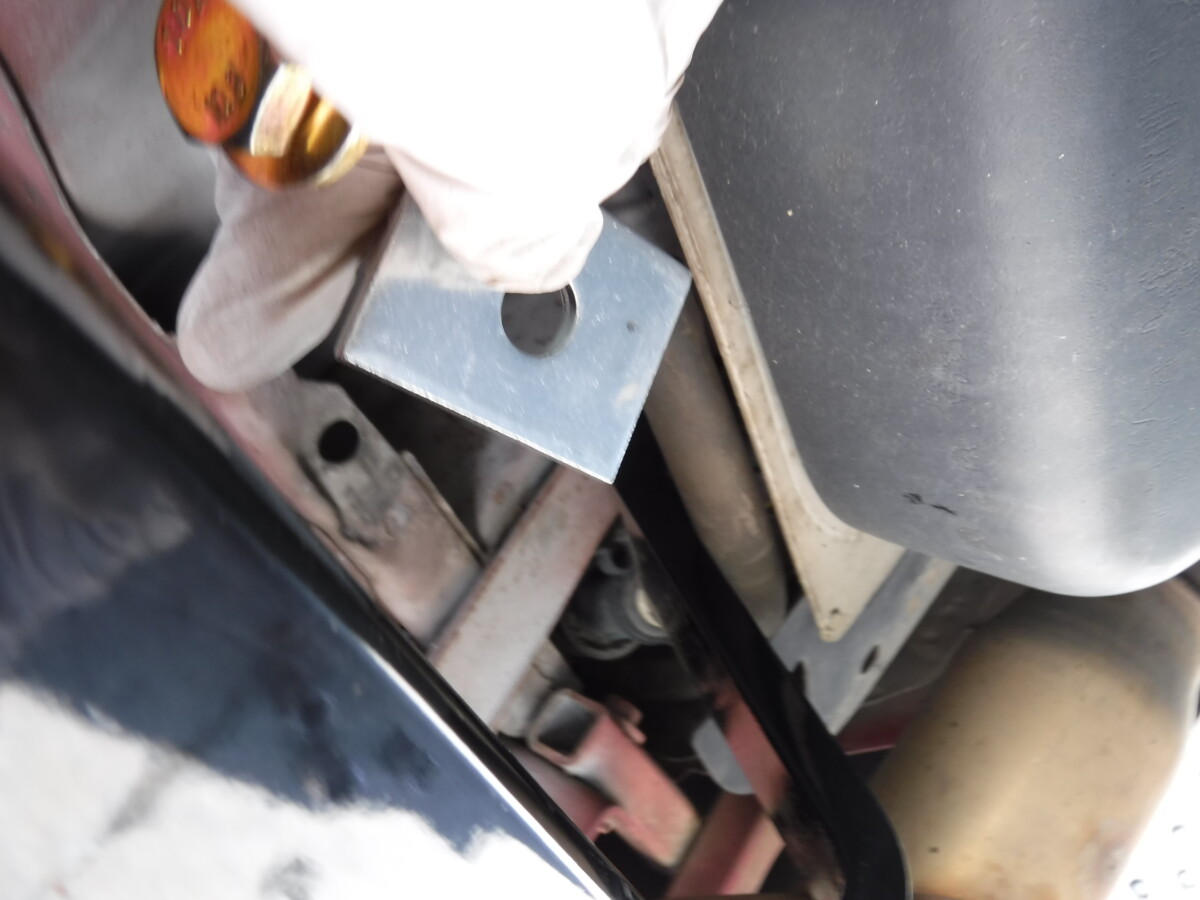
You'll replace the previous bolts with the new, longer ones. Don't forget the included washer. You also need two of the square plate washers from the kit.
You can use jackstands or a helper or your second set of hands to lift the hitch into place. The new bolt and washer will thread through these holes on hitch, through the square washer, and into the car. The bolts can be left finger tight at this point.
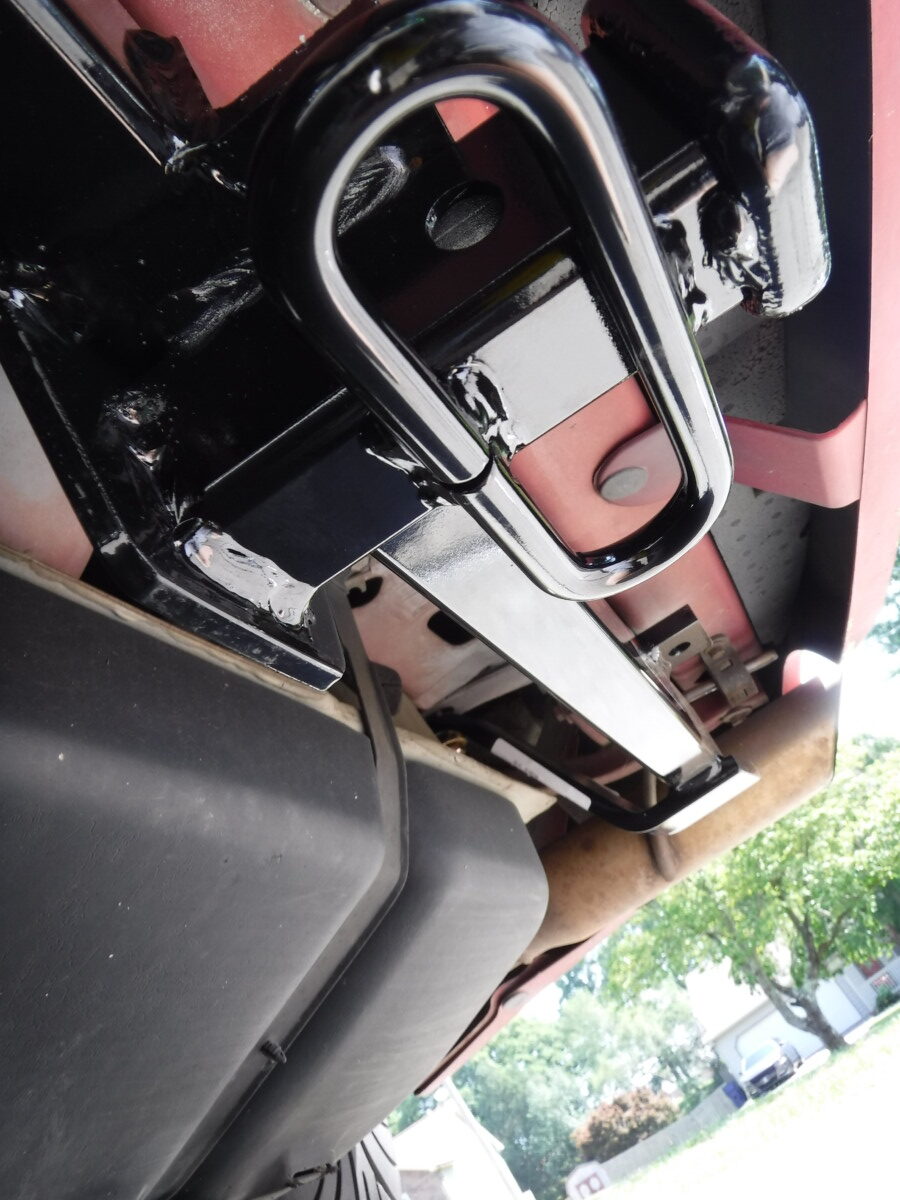
It's very tough to photograph under the car, but you can see the general orientation of the hitch here. At this point, the two rear bolts should be holding the hitch to the car, finger tight.
Drilling Holes
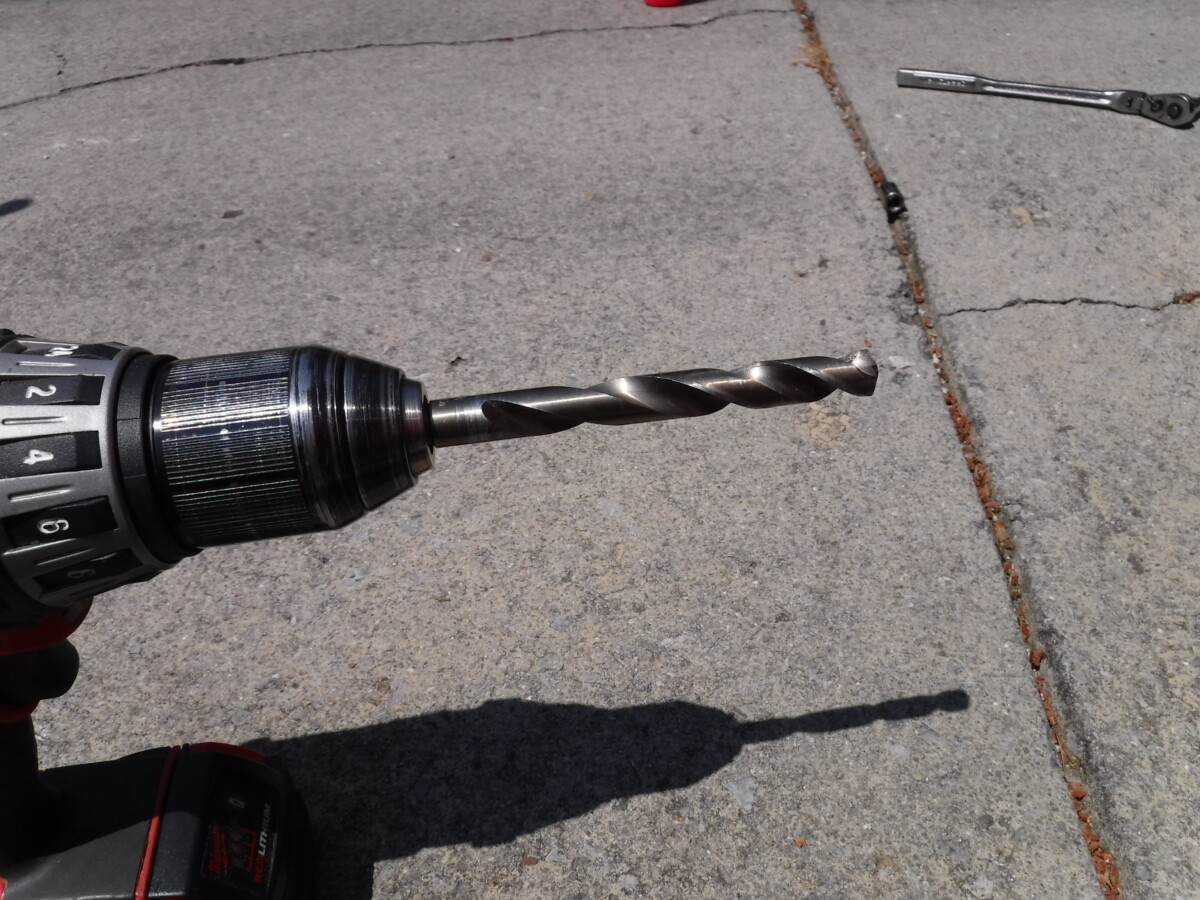
The two front holes need to be drilled at this point, with a 7/16" bit. I used a 7/16" Milwaukee cobalt drill bit
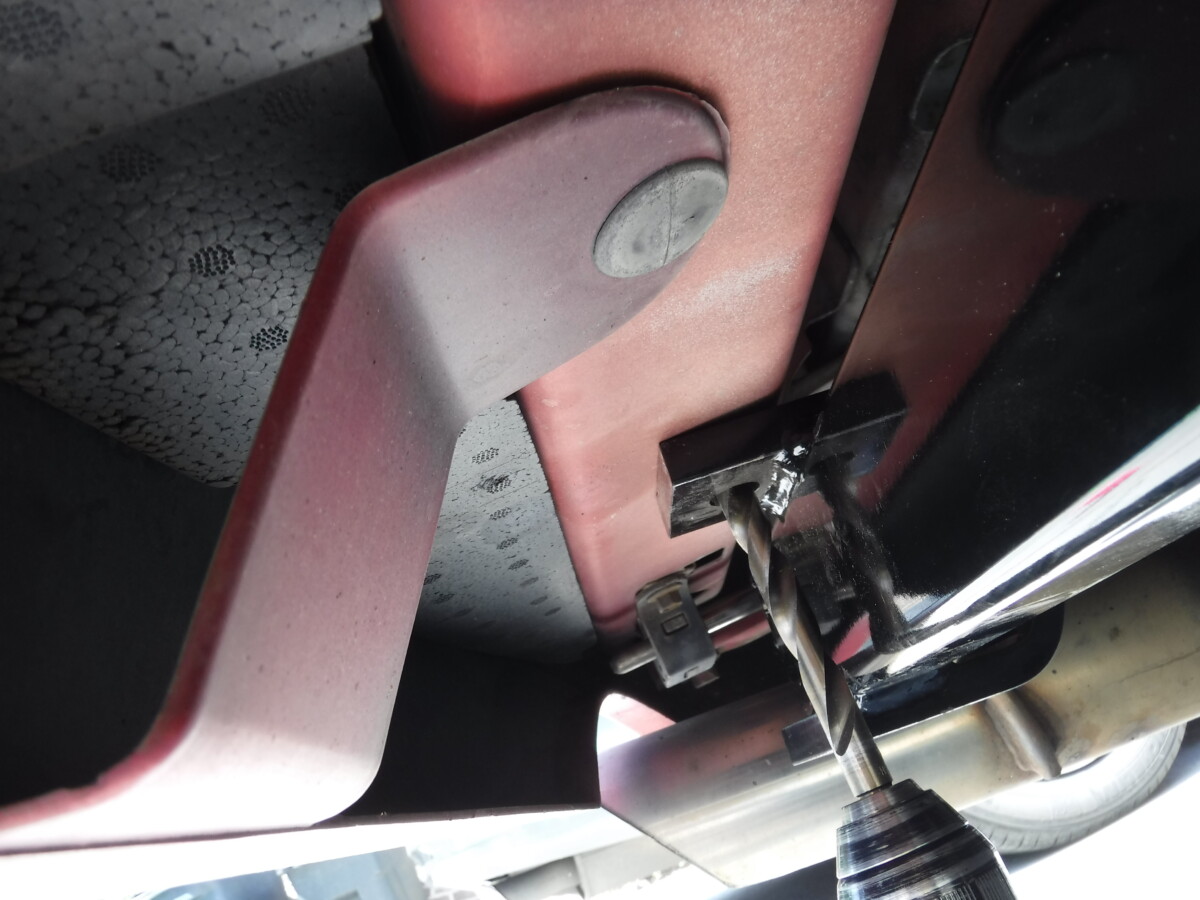
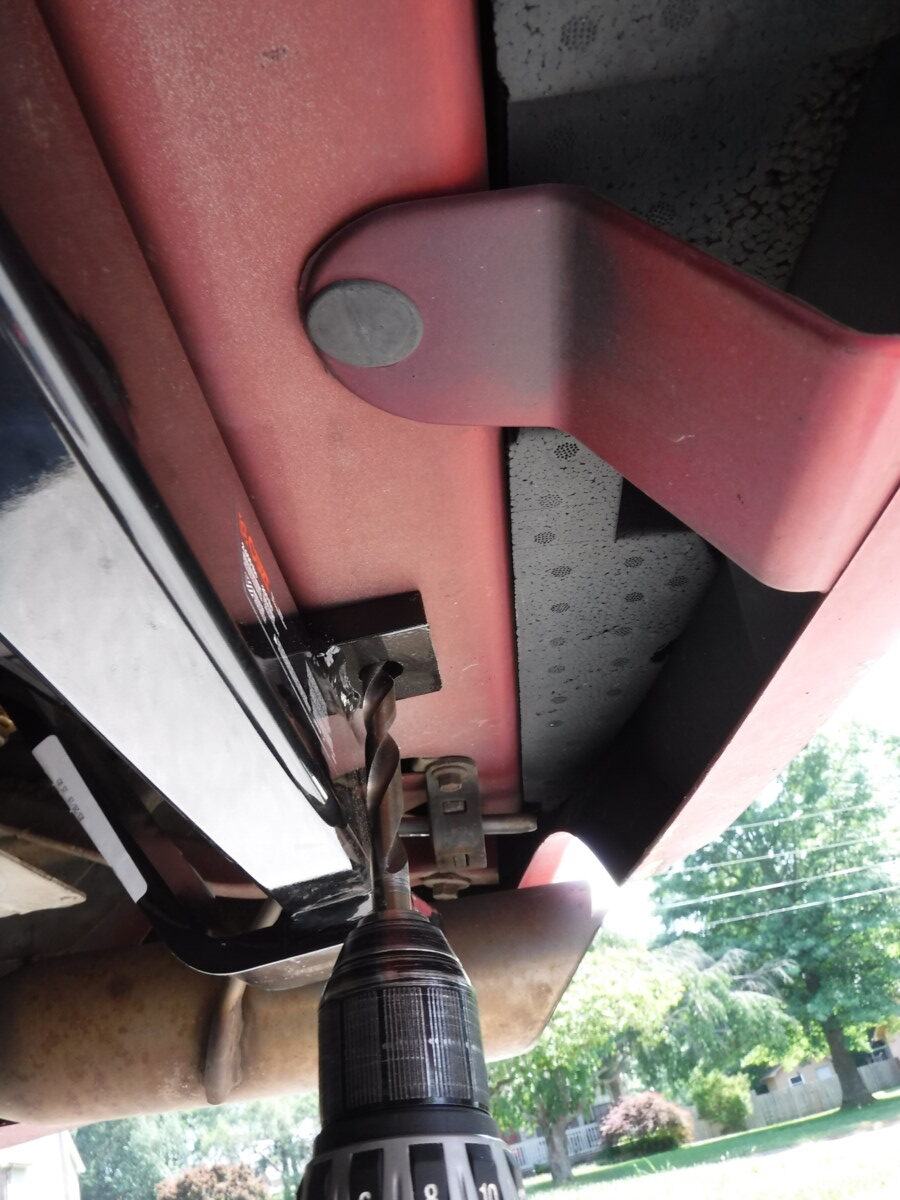
This takes a bit of effort, but you should be able to eventually make these two holes. I'll say again, a sharp bit really helps. If you know how to grind your bits sharp yourself or have access to a drill doctor or a knowledgeable friend, do so. Try not to overheat your drill either.
Feeding the Fish (Wire)
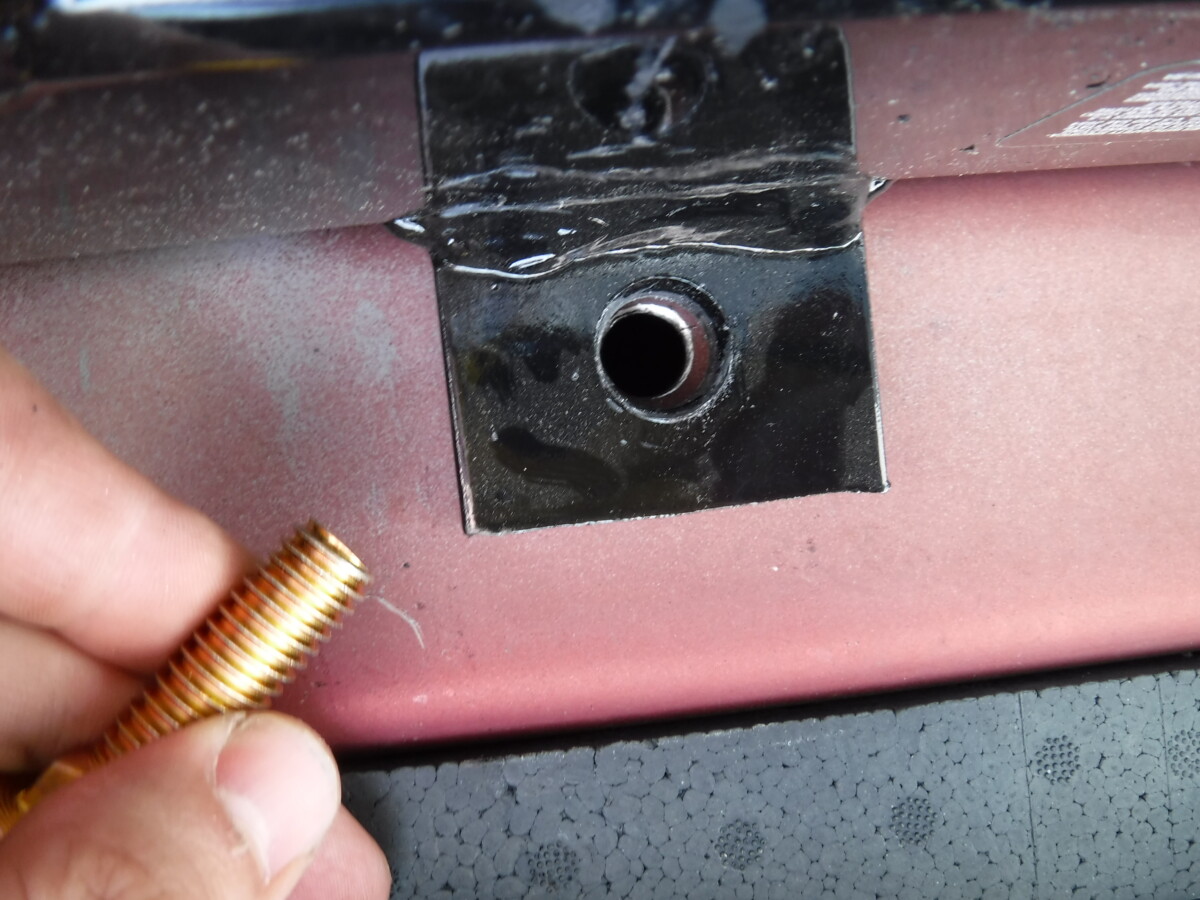
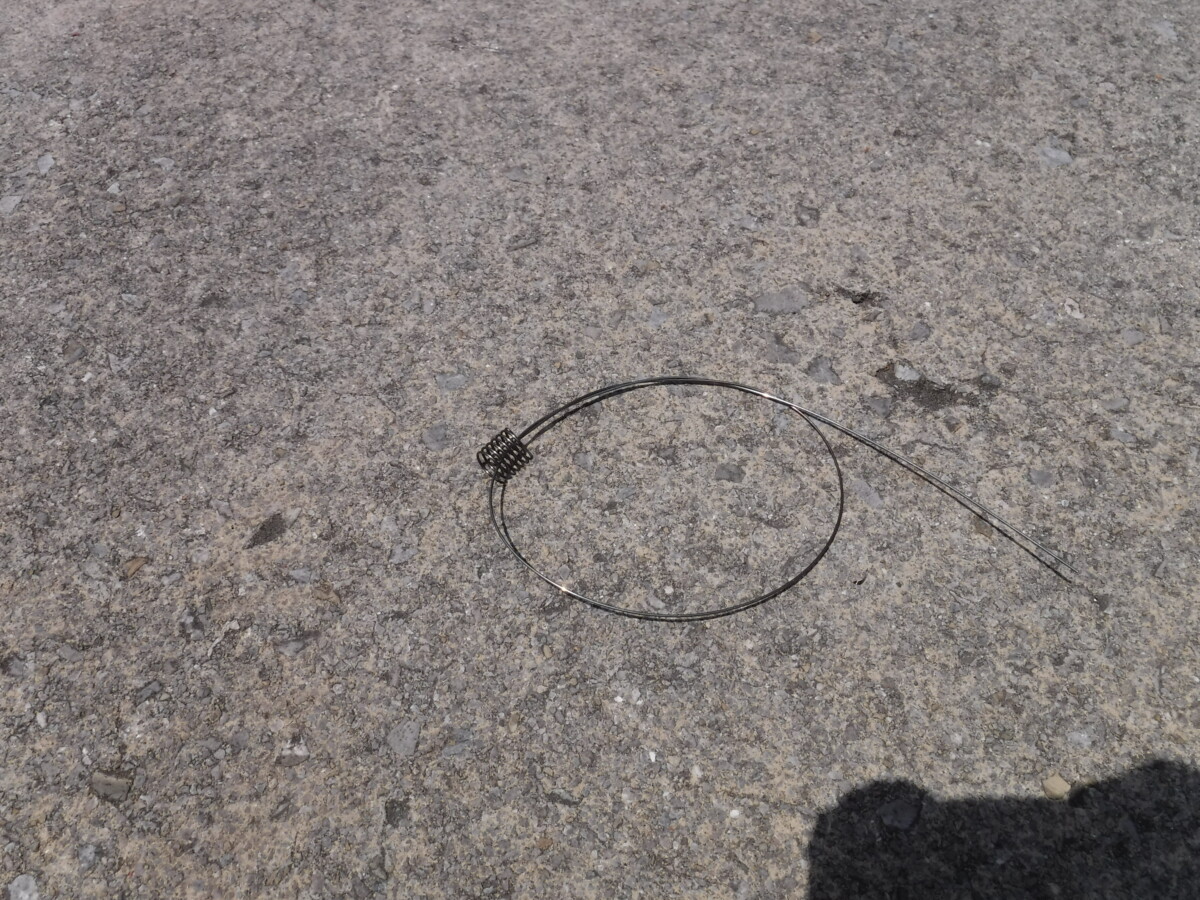
At this point, the bolt needs to come out of the hole from the inside. This is done with this cheesy fish wire. Be very careful with the wire, because if you pull too hard, you will mess up the thread grabbers and need to order a replacement!
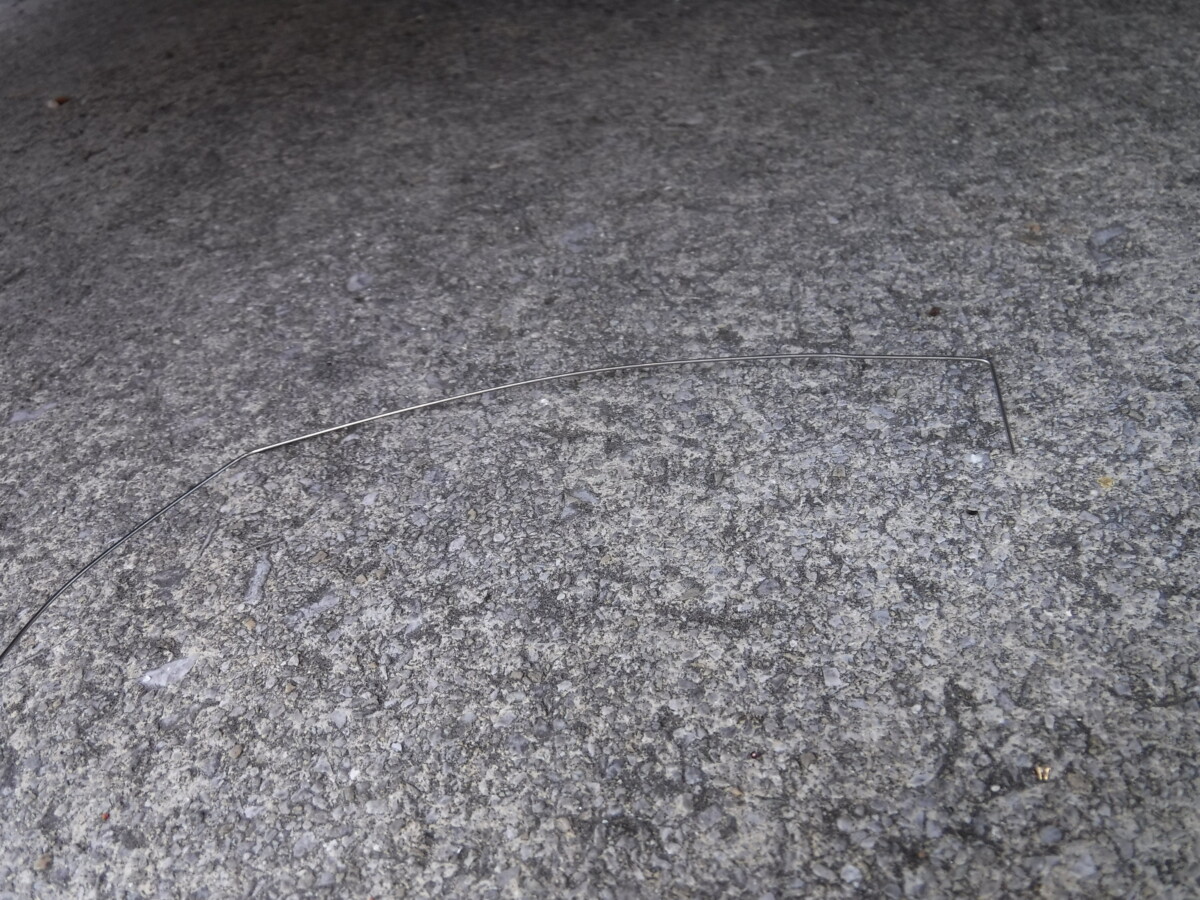
I ended up bending the wire as shown, which made it easier to feed up and over.
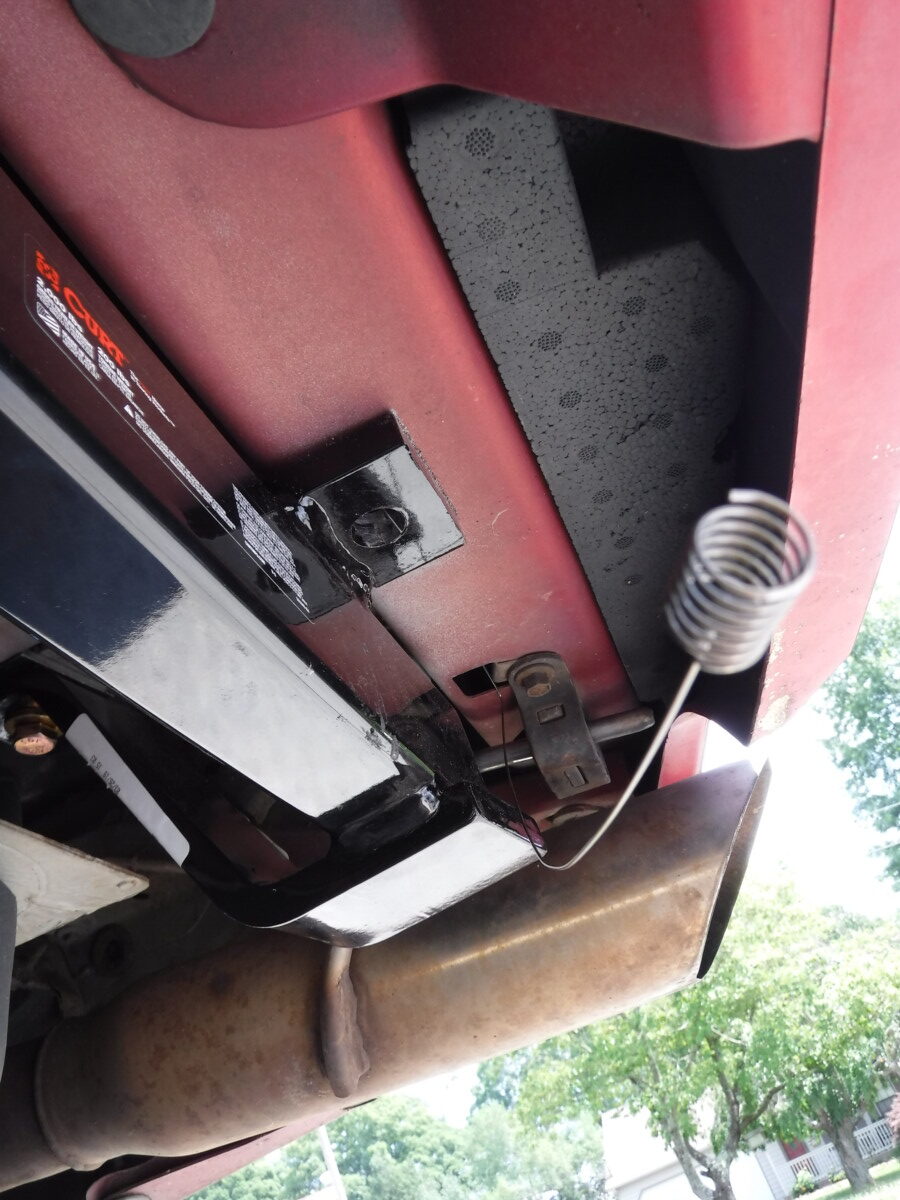
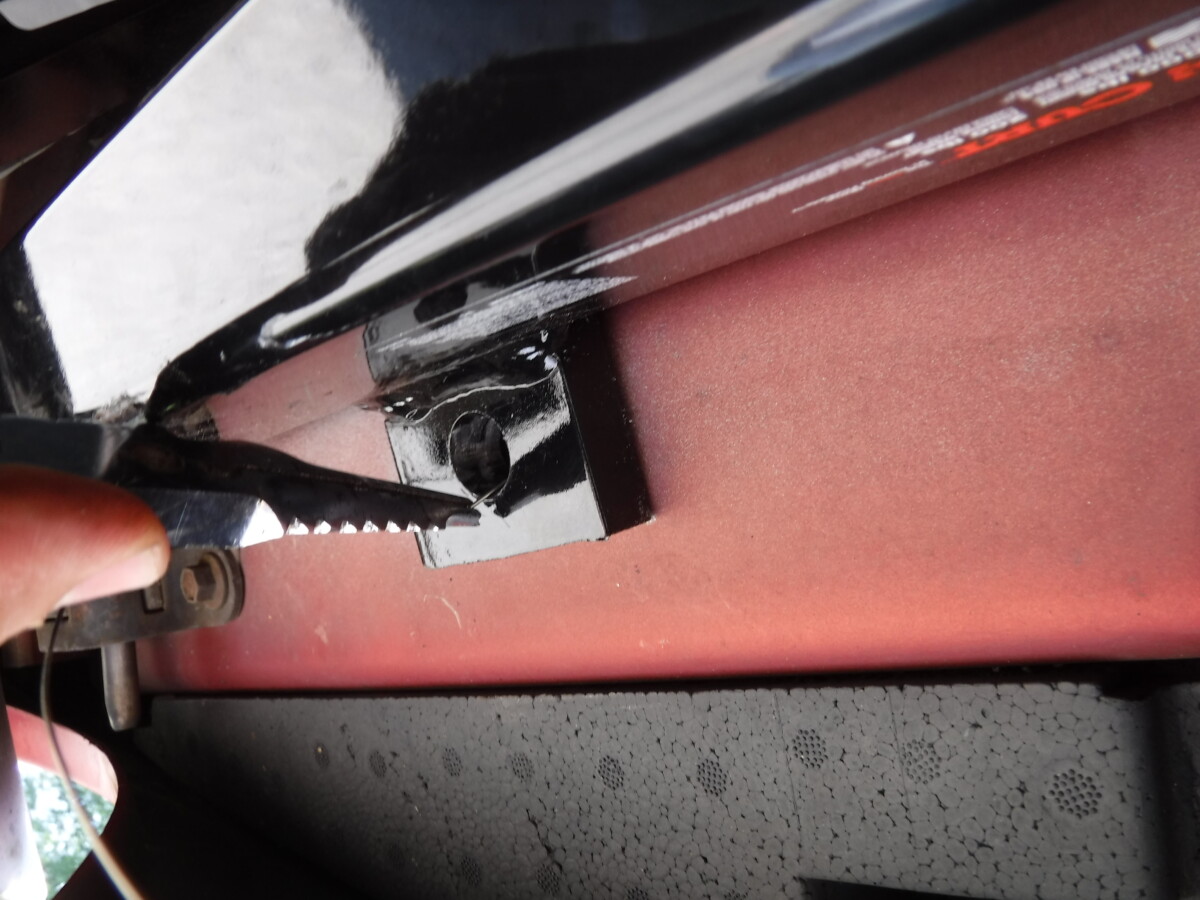
I sort of fed the wire at an angle until I could manipulate it around and get it to come down through the hole. This is probably the worst part of the Mustang GT hitch installation job.
Pull the Bolt and Wire Through
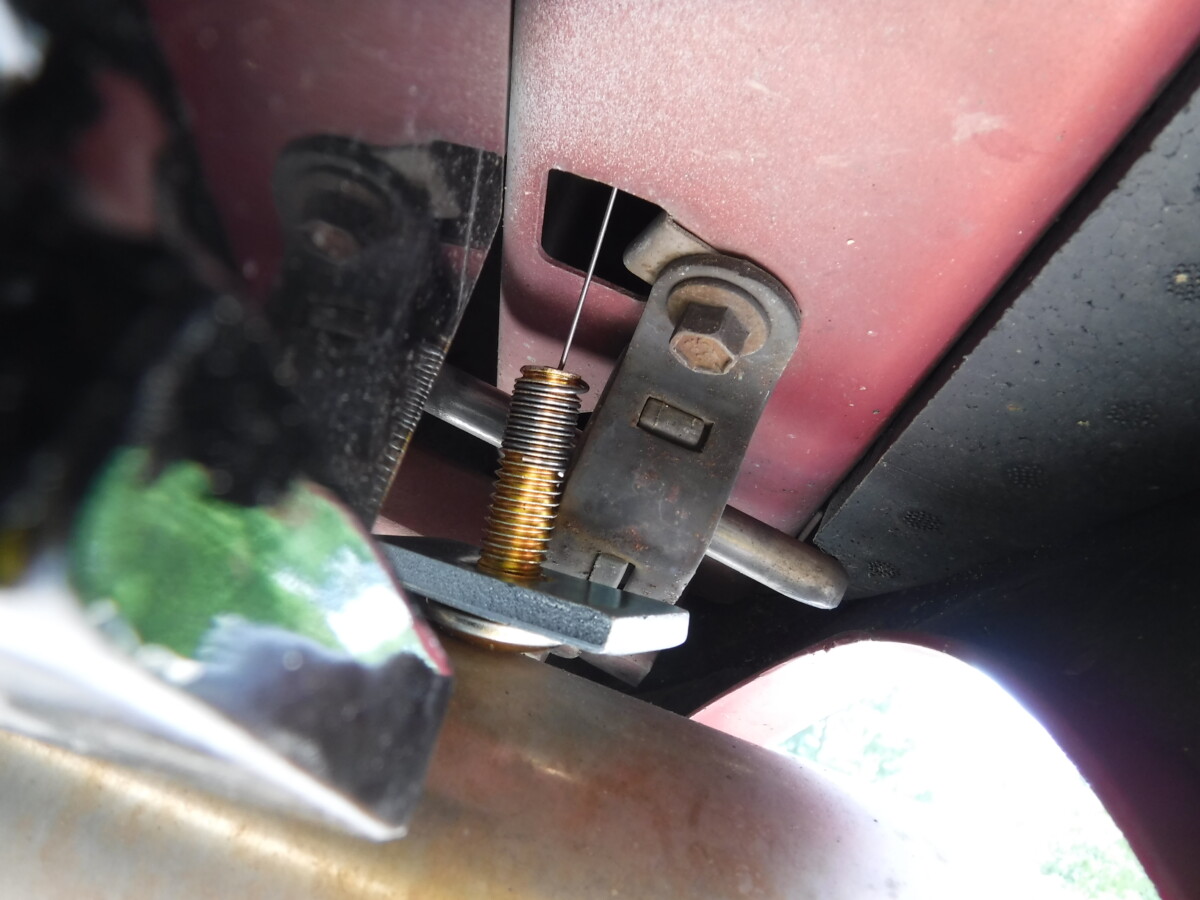
The next step is to use the fish wire to actually pull the bolt and washer through. You want them to pull through in the order shown. The big rectangular washer will hold the bolt in place against the inside of the car's frame while you torque it down.
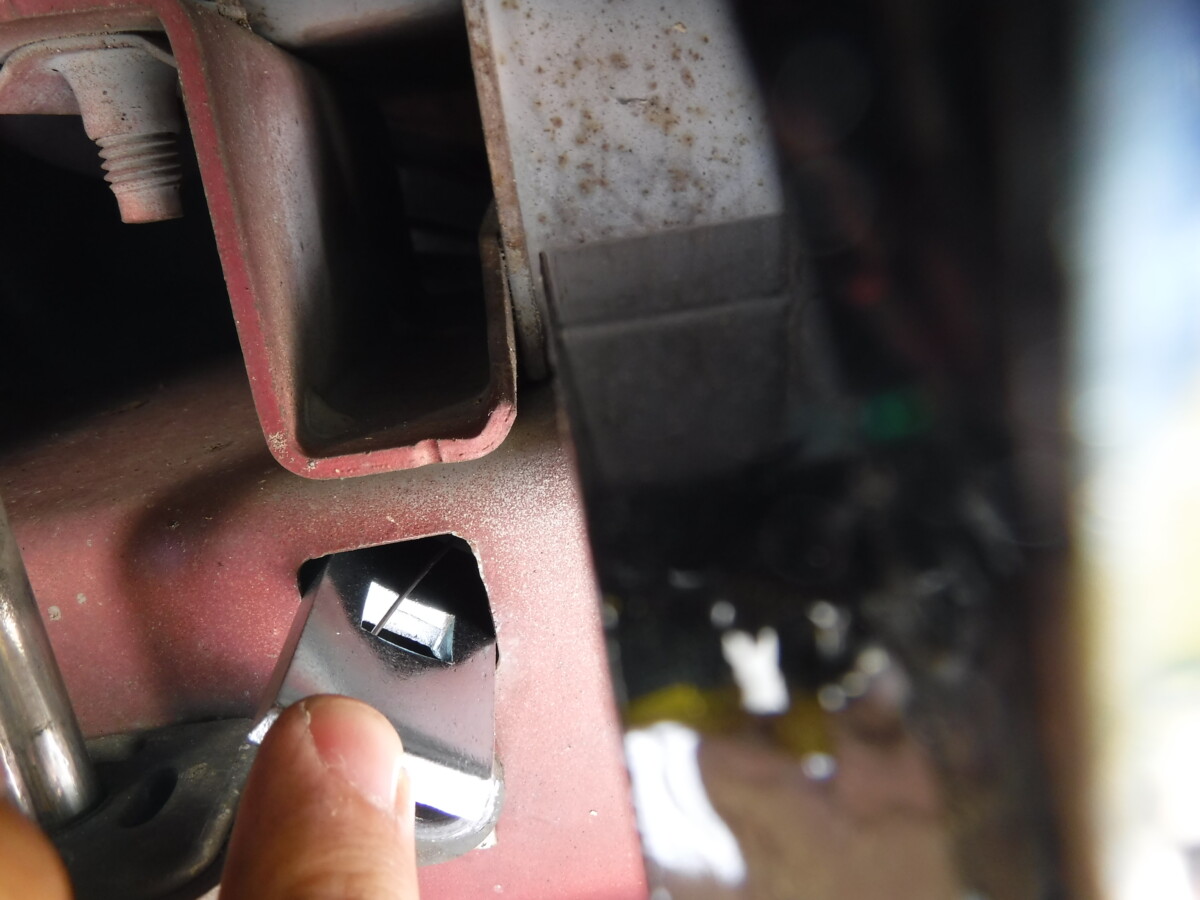
To actually feed it through, you'll need to pull the washer ahead of the bolt and turn it diagonally, like this.
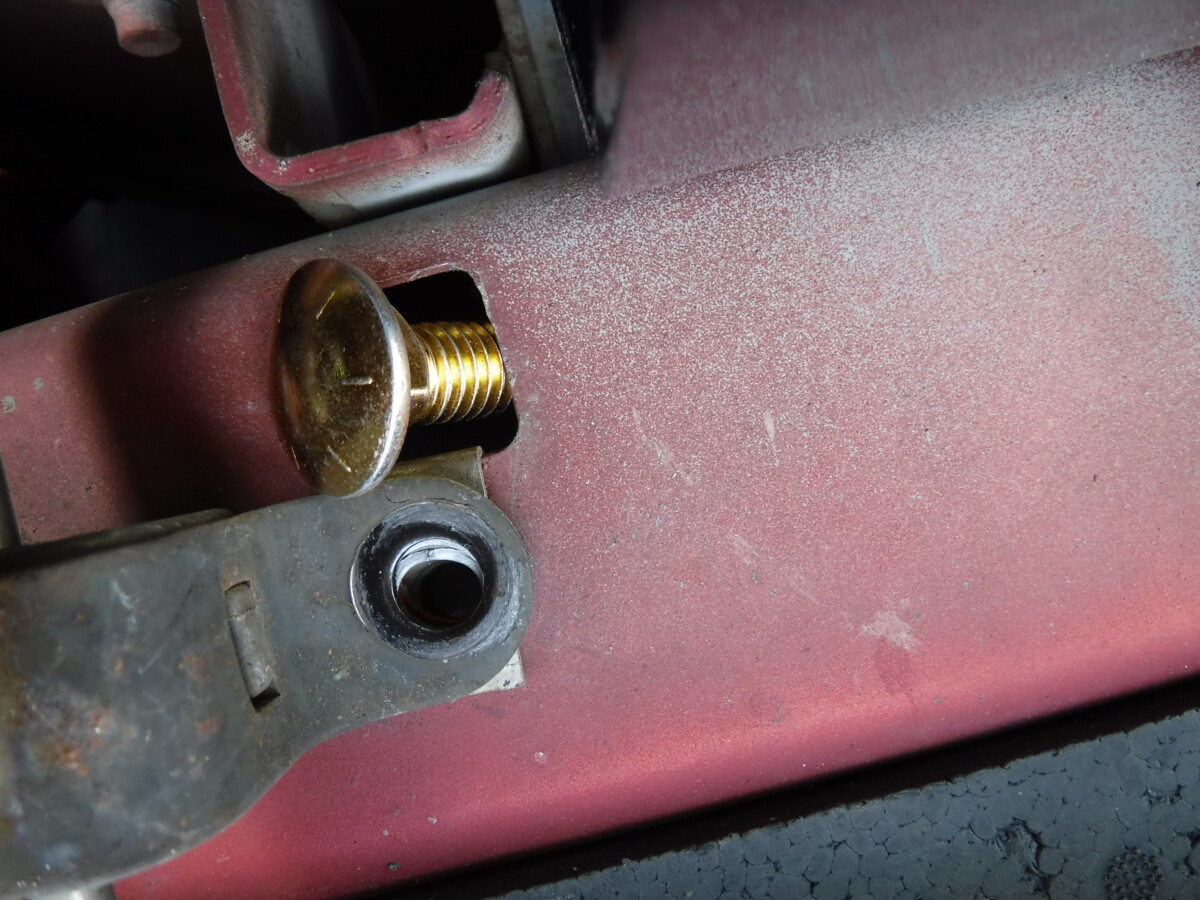
The bolt will slide through afterwards.
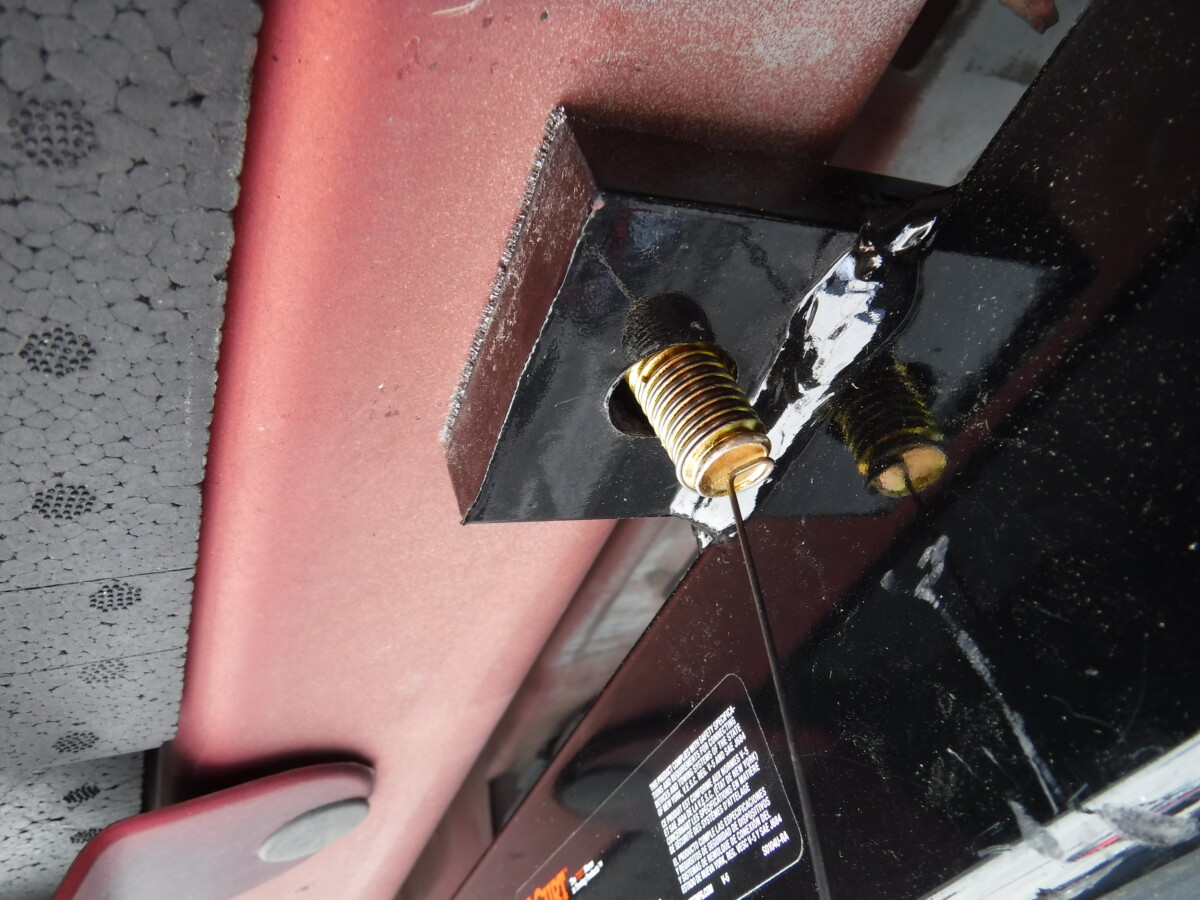
Once both the washer and bolt are up in the tubing, GENTLY - emphasis on GENTLY - feed it through. If you pull hard, you'll rip the wire off of the bolt threads and be in a bad spot. If this DOES happen to you, try to use a magnet to get the bolt and washer out, buy a new fish wire, and try again. But if you're careful, it won't happen to begin with. If you feel resistance when pulling, try jiggling the wire and backing it up a little bit to make it pull through smoothly.
Go ahead and put a nut on the bolt you just fished (next section) FIRST, and THEN move on to the other bolt.
Installing the Two Front Bolts
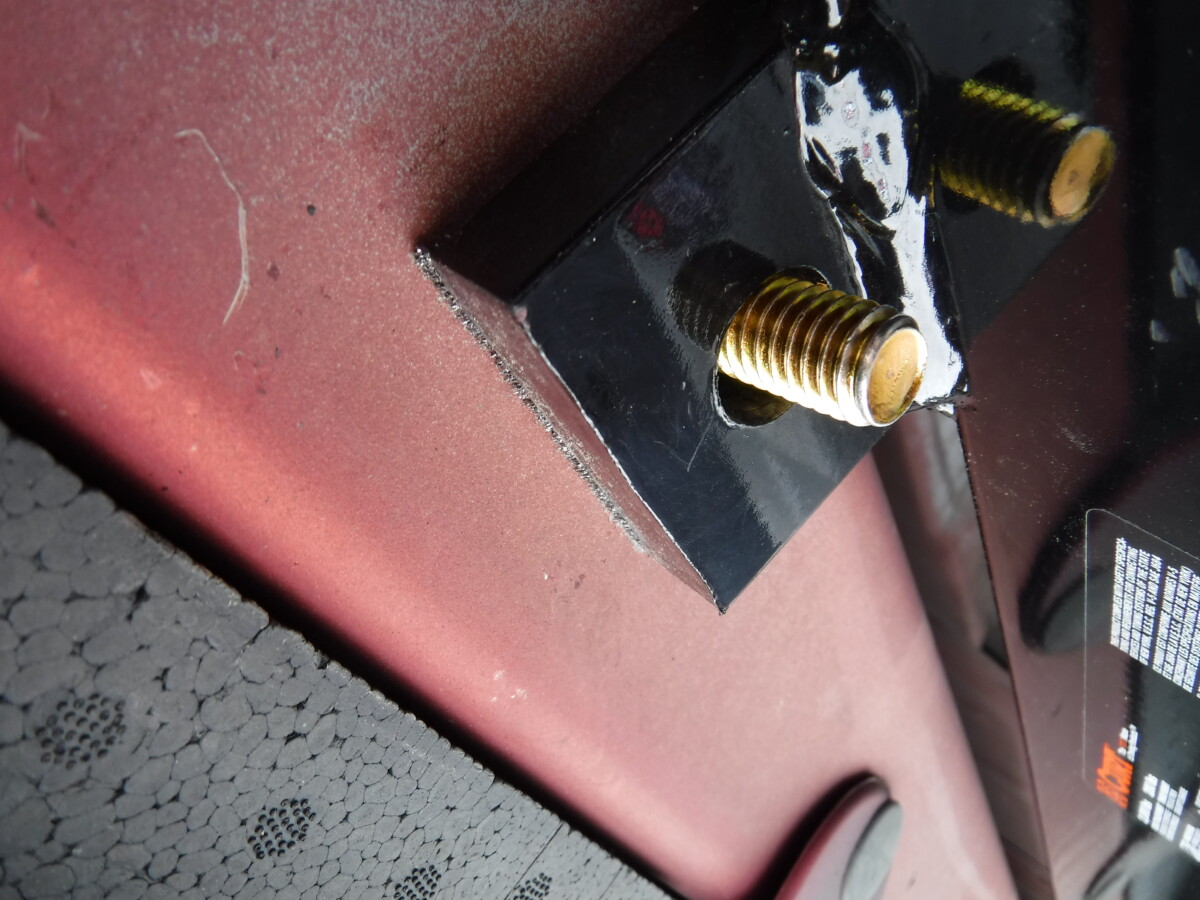
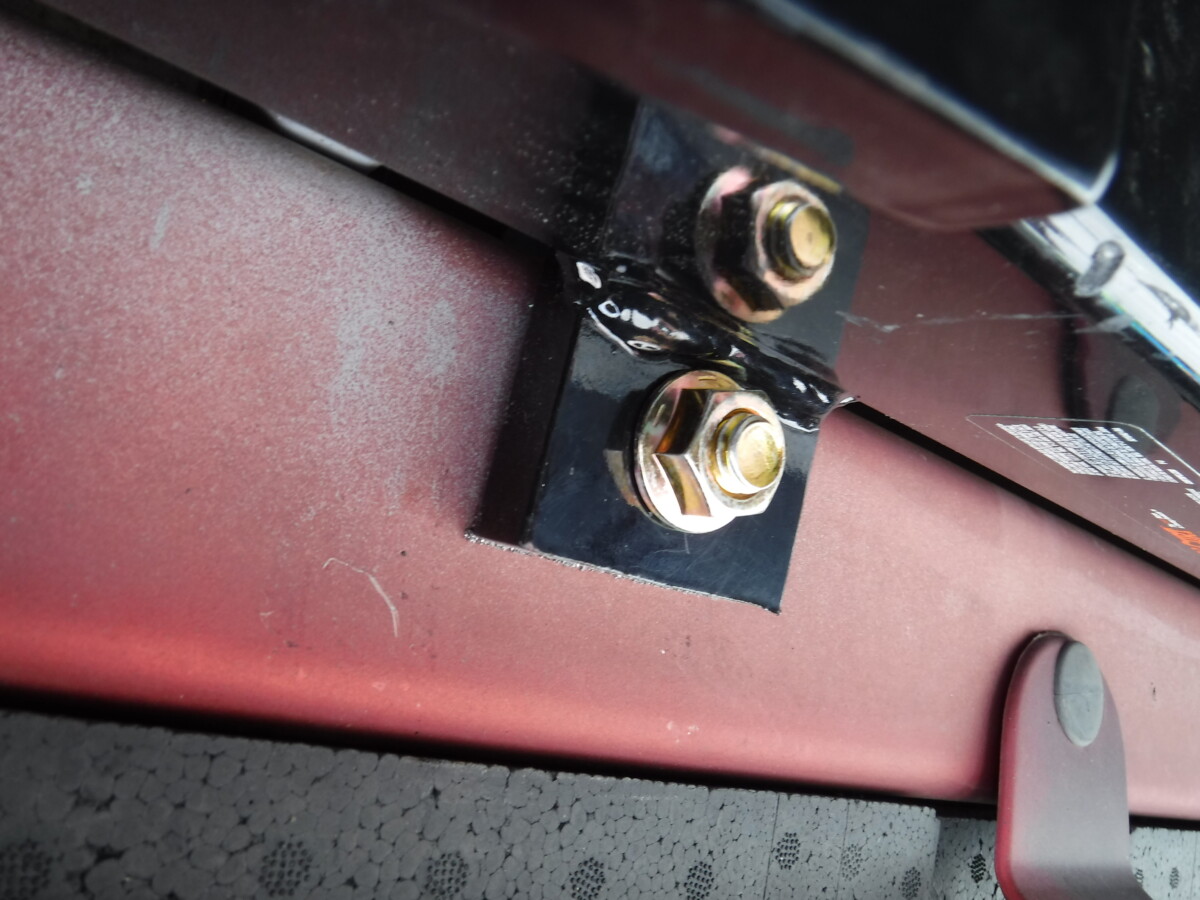
Unthread the fish wire from the bolt gently. You don't want to damage the fish wire, as you still have to do the other bolt. With the bolt pulled through, very carefully thread a nut onto the end. Once you get it threaded on 3 or 4 turns, you can relax. It won't be able to go back through.
Once you do one side, go back and do the other.
Bumper Clearance
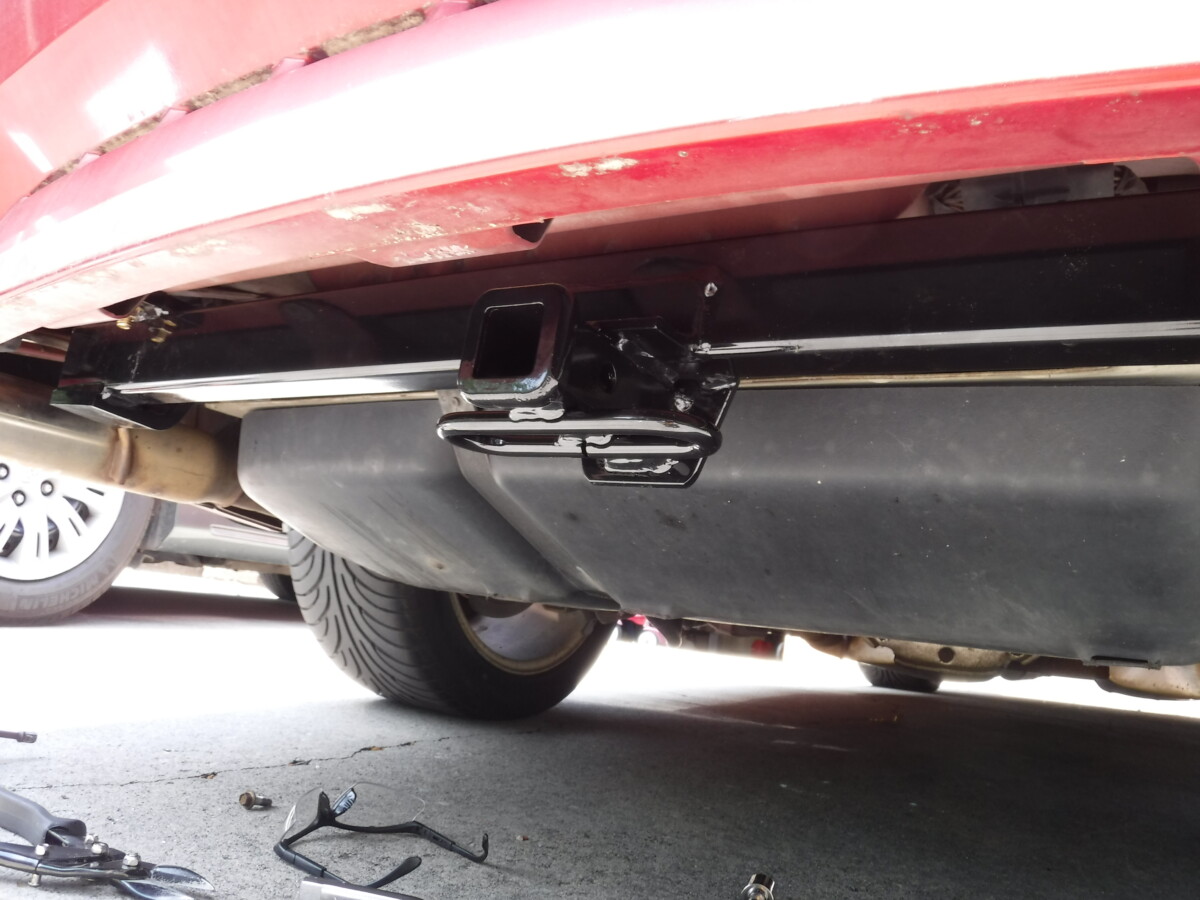
One issue I did have with this hitch was minimal clearance to the bumper. Some people apparently cut the bumper cover, but I didn't like that idea.
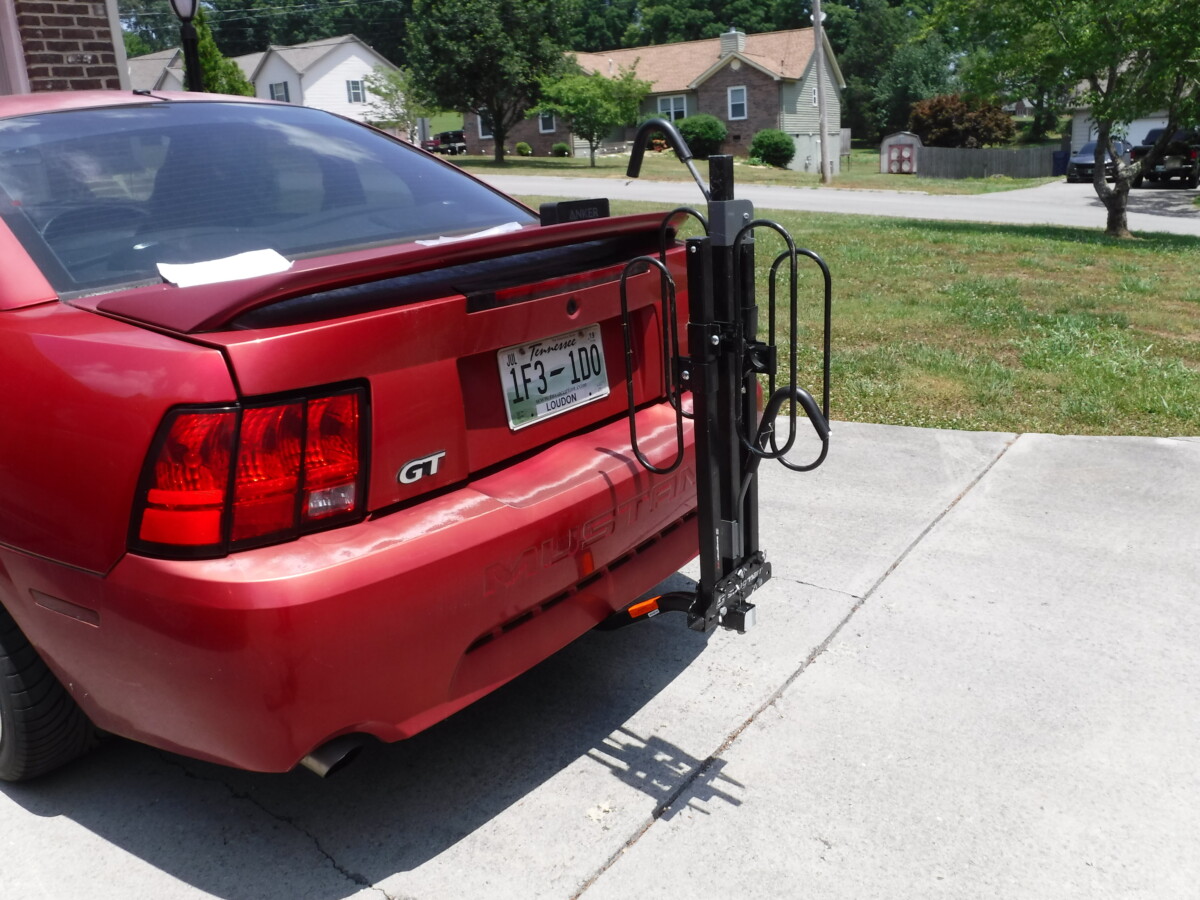
The bike rack I had would rub the bumper, and even though the paint on the car was messed up anyway, I still didn't like the idea of all that wear when I drove on the highway.
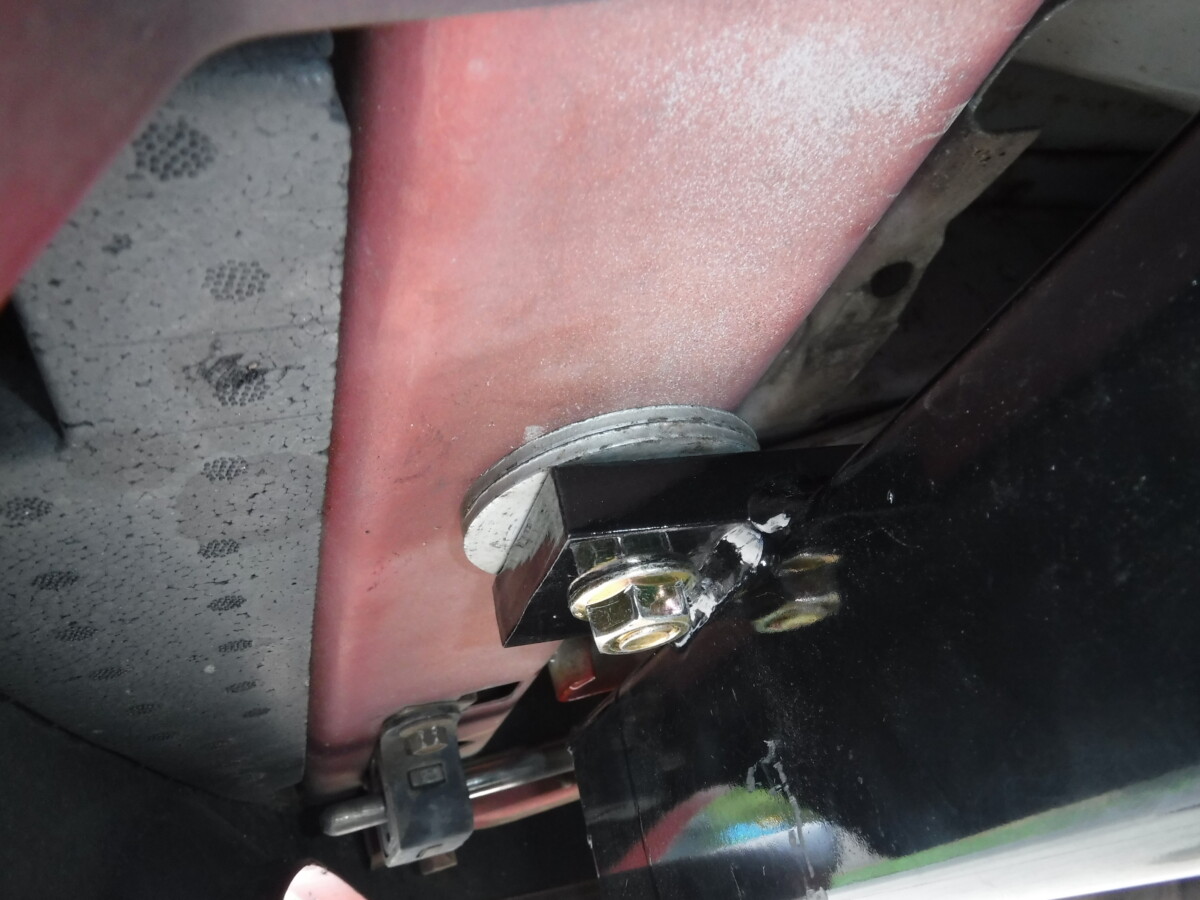
Considering I would only ever use this hitch for my relatively featherweight bike rack, and never for any actual towing, I chose instead to put some large washers between the hitch and the car's frame. This moved the hitch down enough that my bike rack cleared, with the nut still being fully threaded. I will say that I am NOT a mechanical engineer, I did NOT do load testing on this change to the design, and I am NOT saying it is necessarily safe. Again, for a bike rack, I decided to take the risk, but I don't recommend that you do.
That said, as a general FYI, this tweak does appear to have cleared my bumper without cutting.
Conclusion
Mustang GT hitch installation is not very difficult. In some senses, I wish I had picked a nicer hitch, but what I got was inexpensive and did work. As far as utility, it is fantastic to be able to quickly throw a bike rack on my Mustang and hit the trails.