Fixing F-150 Door Wiring
One day, I went to lock the doors on my 2011 F-150, and the back passenger door simply... didn't. It turns out that the F-150's door will pinch its wiring, damaging the wires. This usually causes the power locks or door speakers to fail. Fortunately, fixing F-150 door wiring is straightforward.
Unplugging the Door Conduit Cover
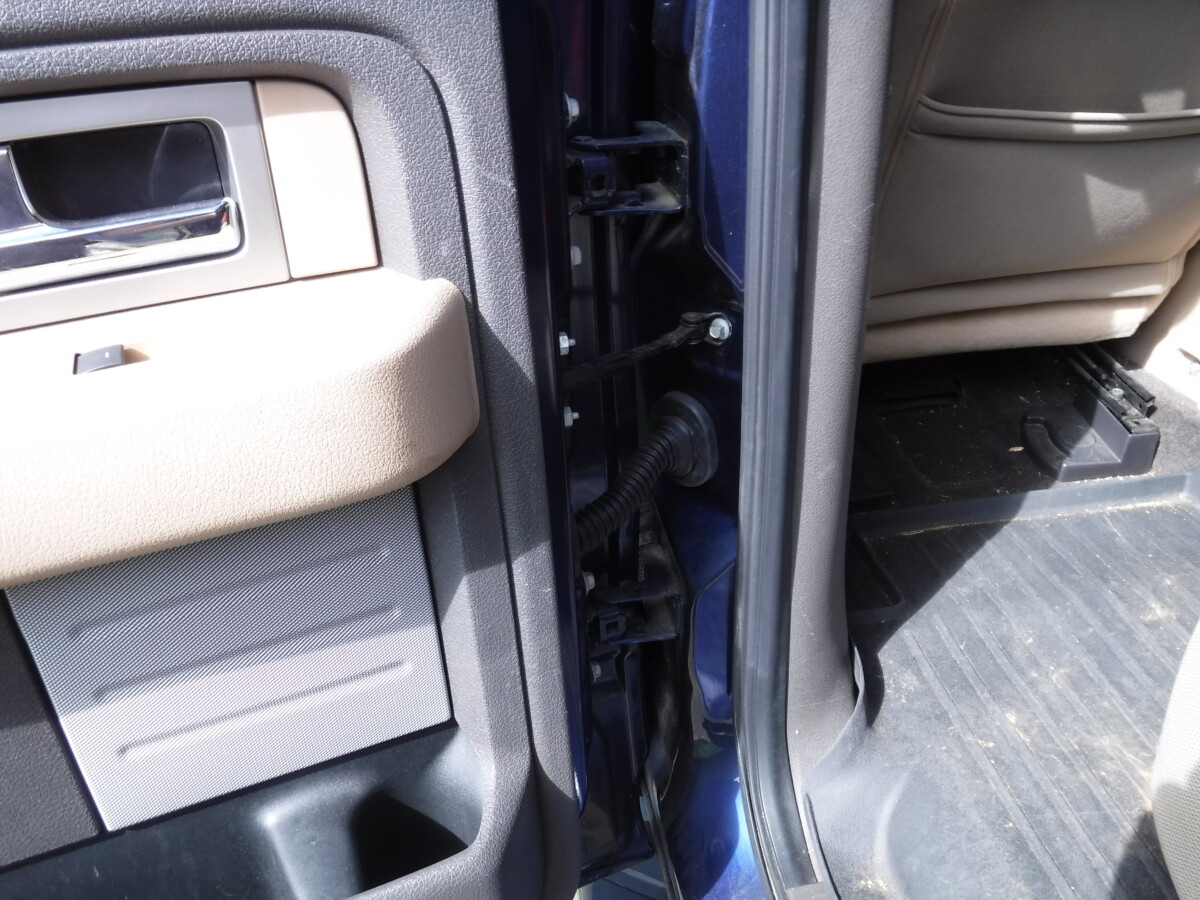
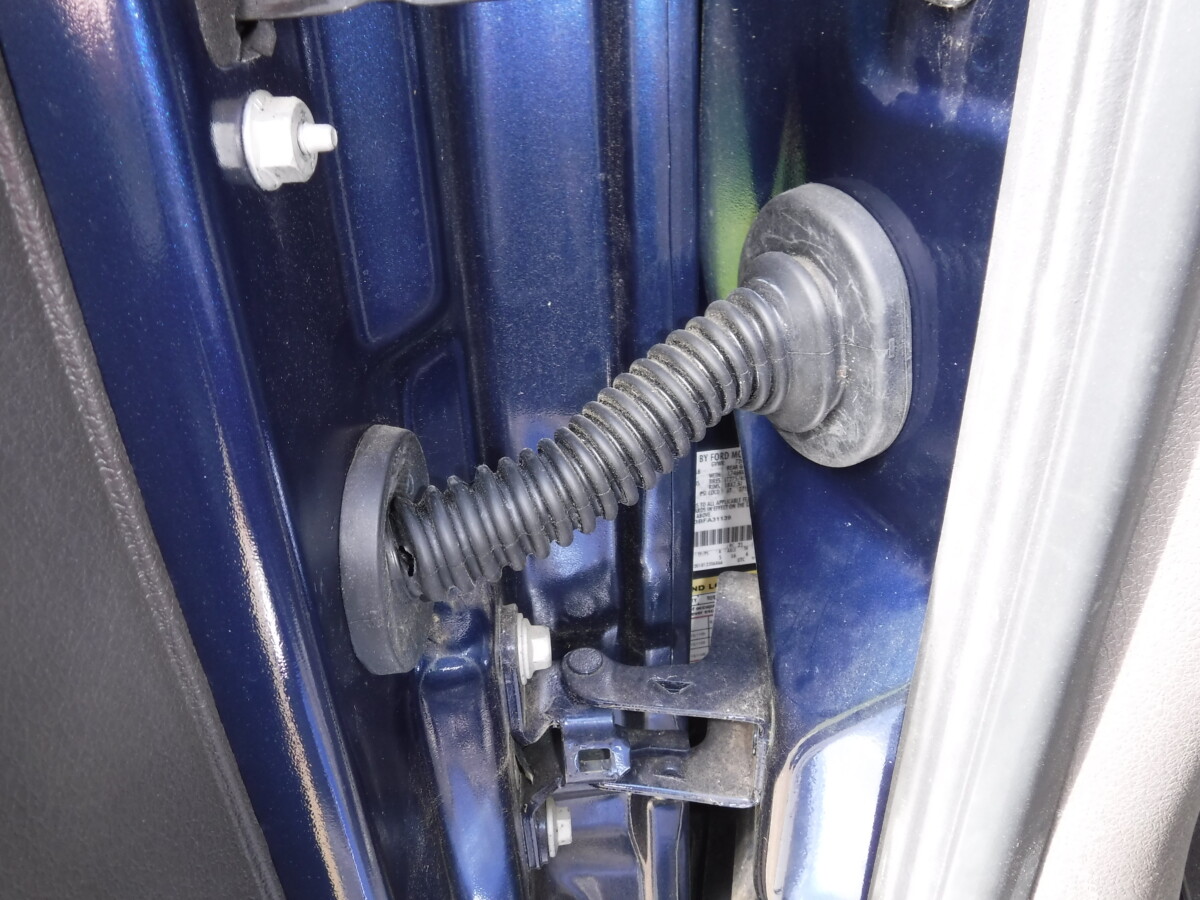
When you open a door on the car, you'll see this black wire conduit between the door and the body of the truck.
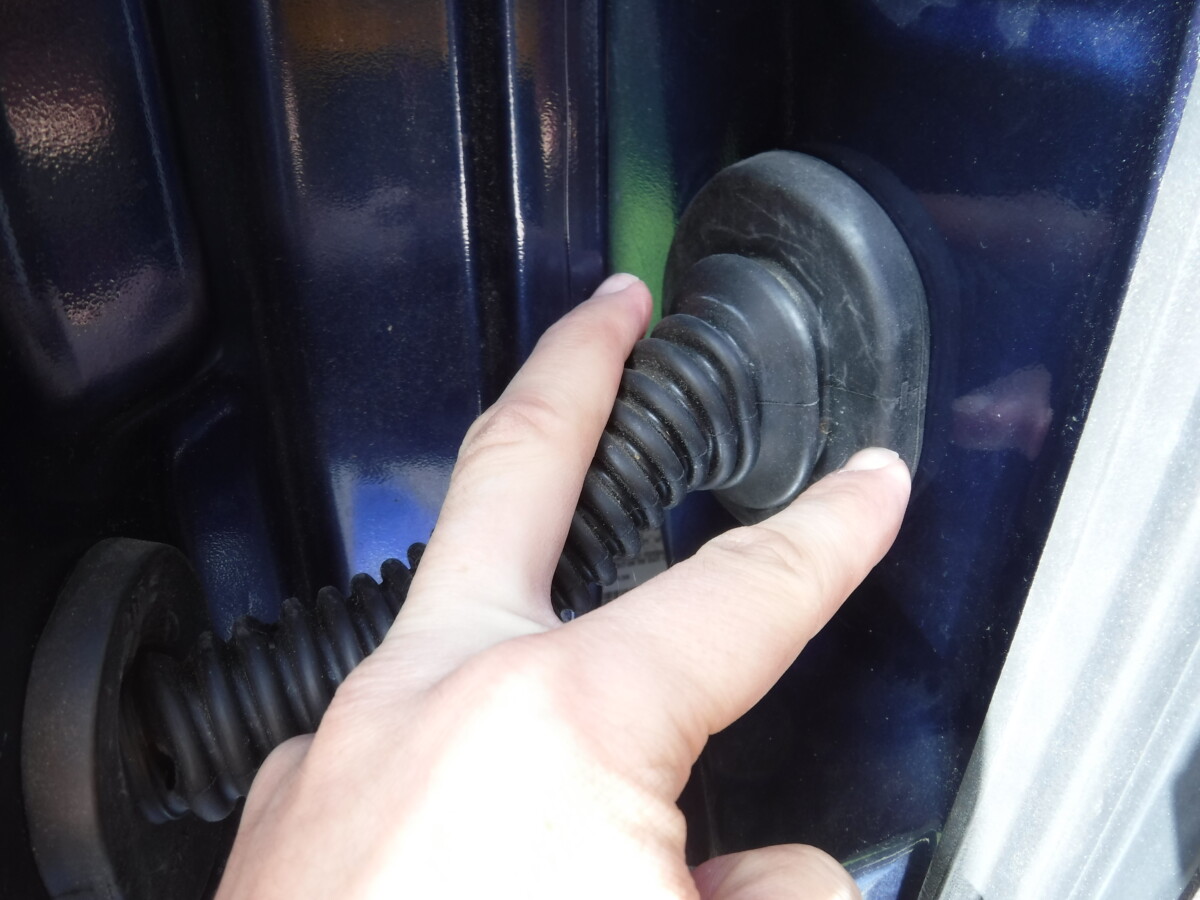
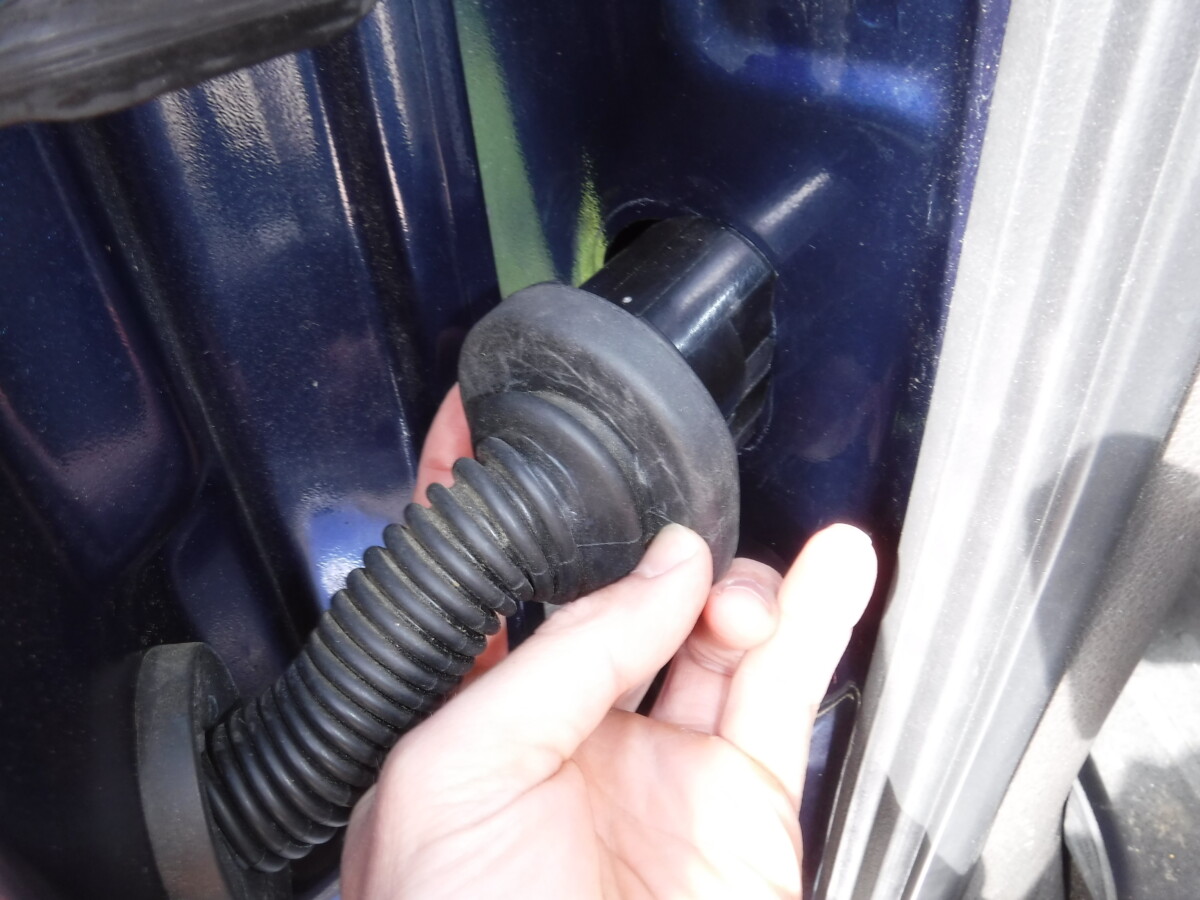
To remove this cover, you pinch it as shown. There are two tabs on the inside of it that will release. There's a better picture of the tabs in the next section.
Unplugging the Door
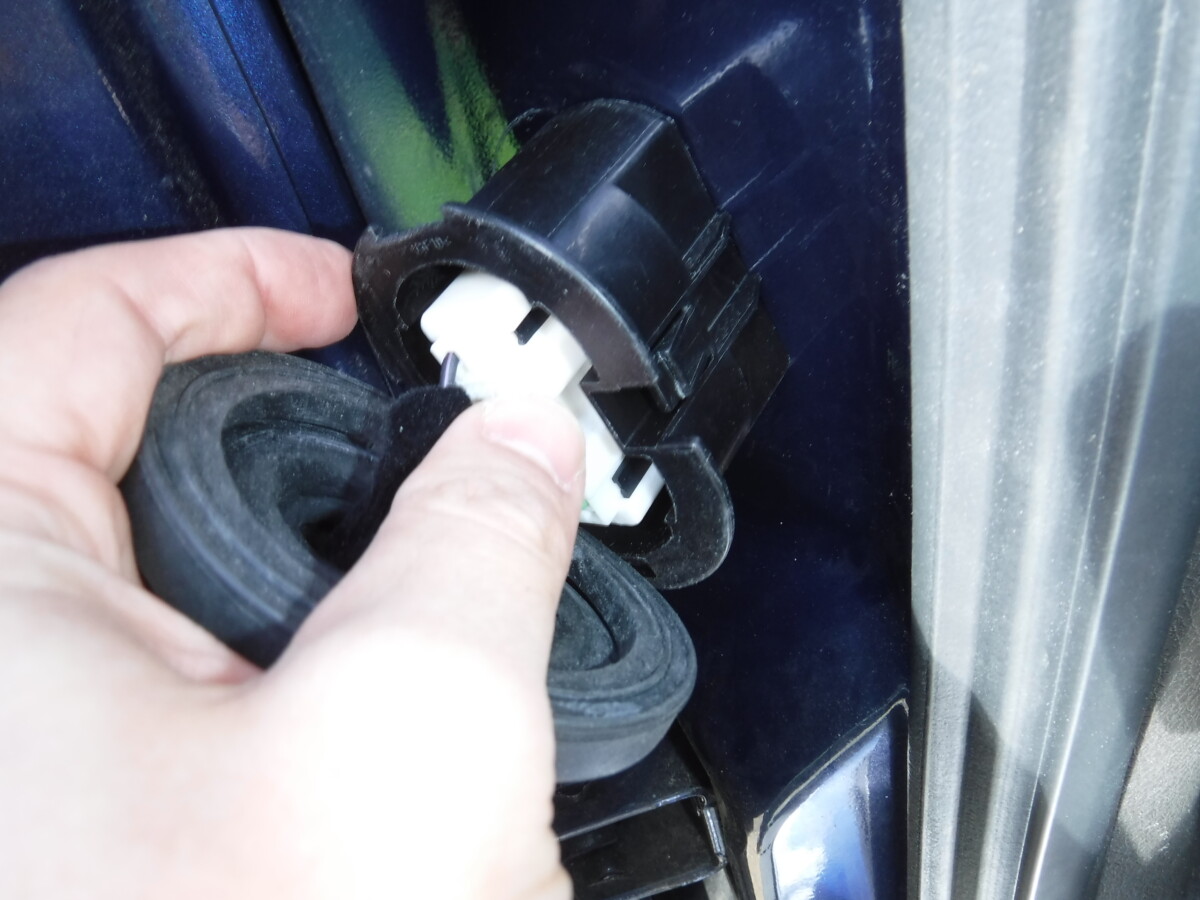
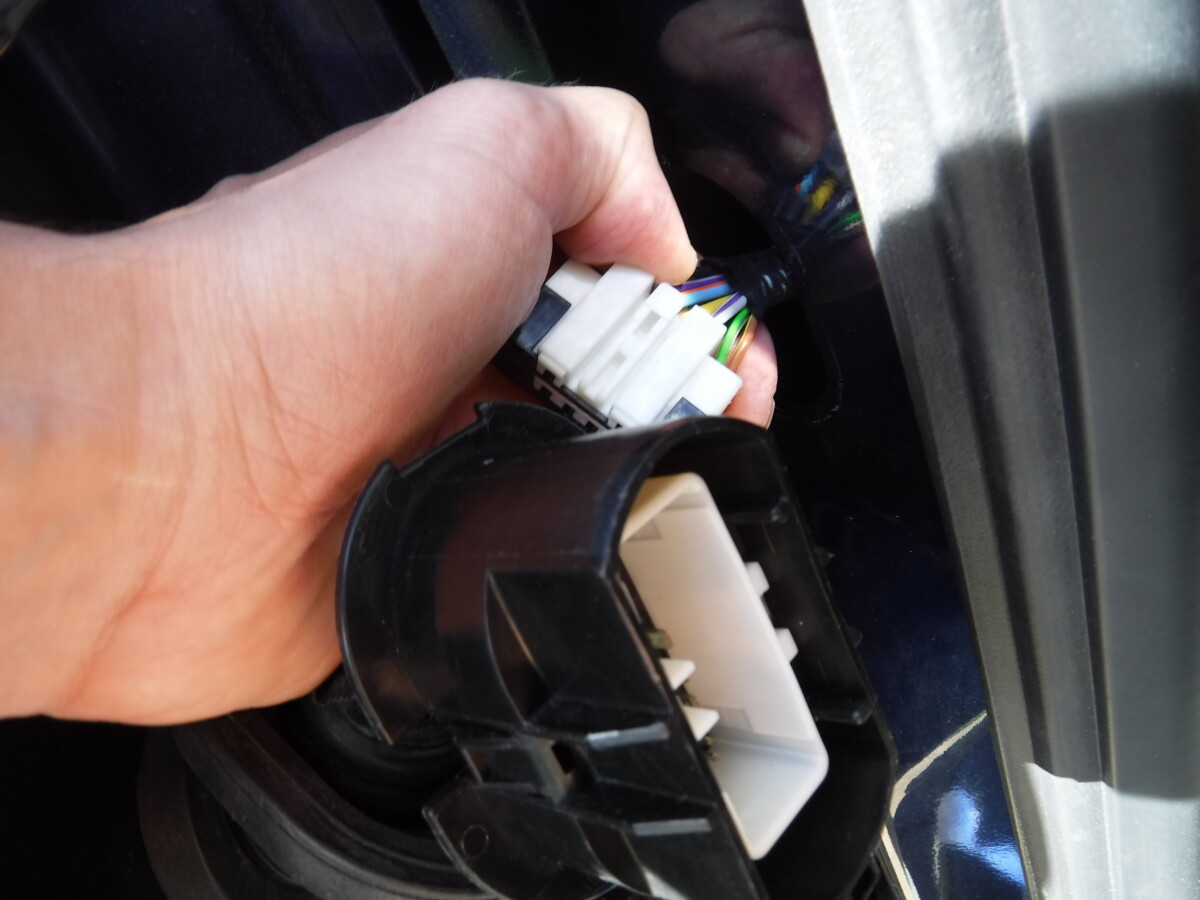
Unplug this plug from the backside of the cover in order to to pull the wiring out and have better access to make the repairs.
Exposing the Broken Wires
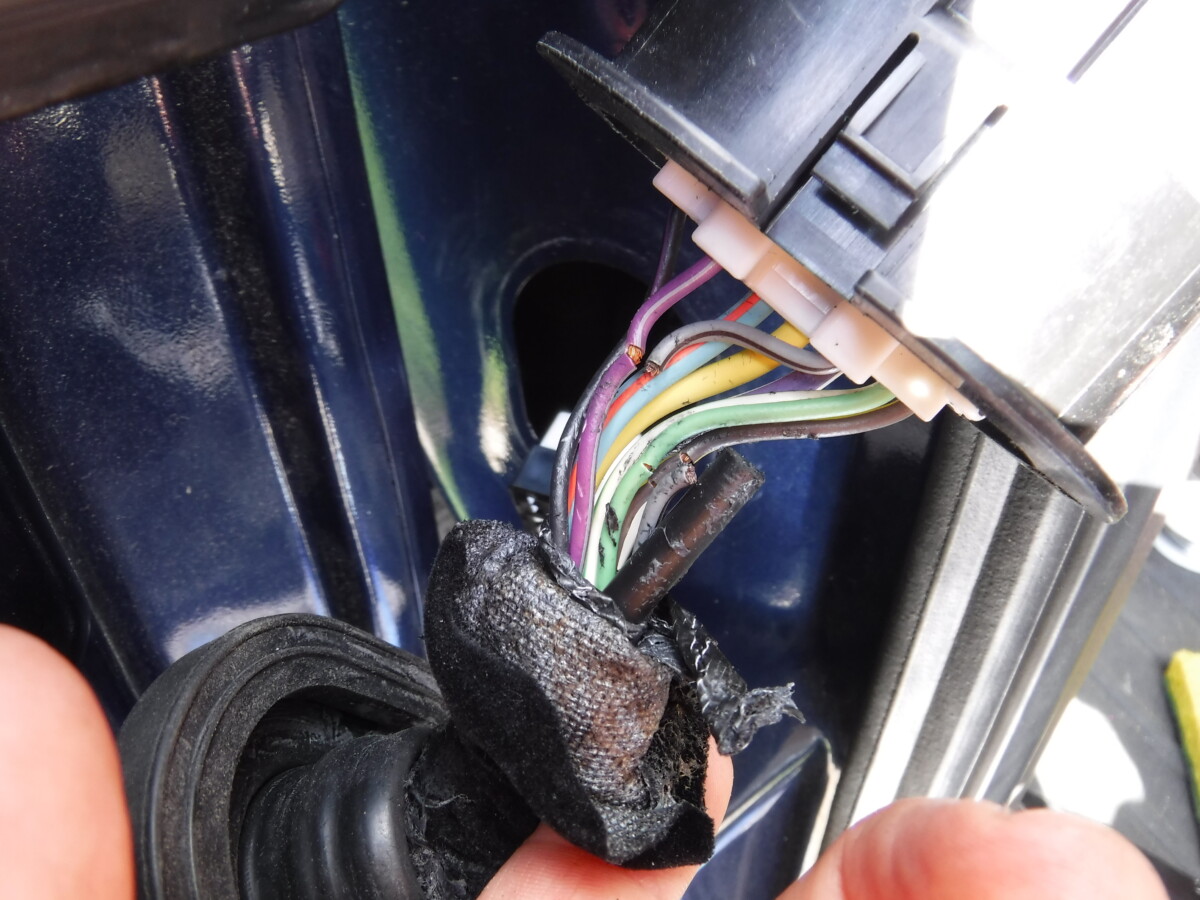
At this point, you can pull back on the main cover to expose the wires and look for damage. In this case, the problem is pretty obvious. I'll need to repair at least four wires.
Insulating the Unbroken Wires
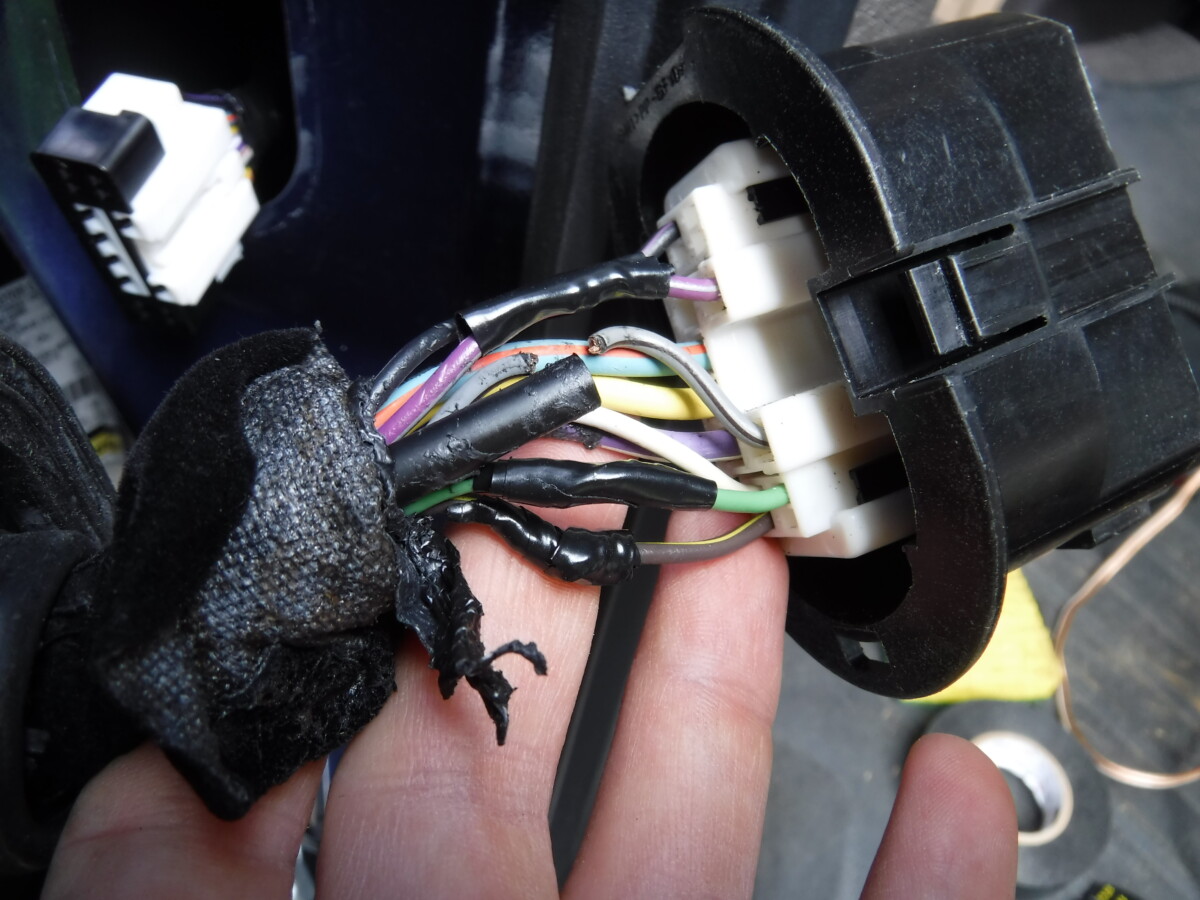
Three of the wires weren't actually broken, but their insulation was damaged. I didn't actually use any solder or crimps on these, as it seemed as though it would do more harm than good. Instead, I applied a healthy amount of liquid electrical tape
3m Super 33+
Repairing the Broken Wire
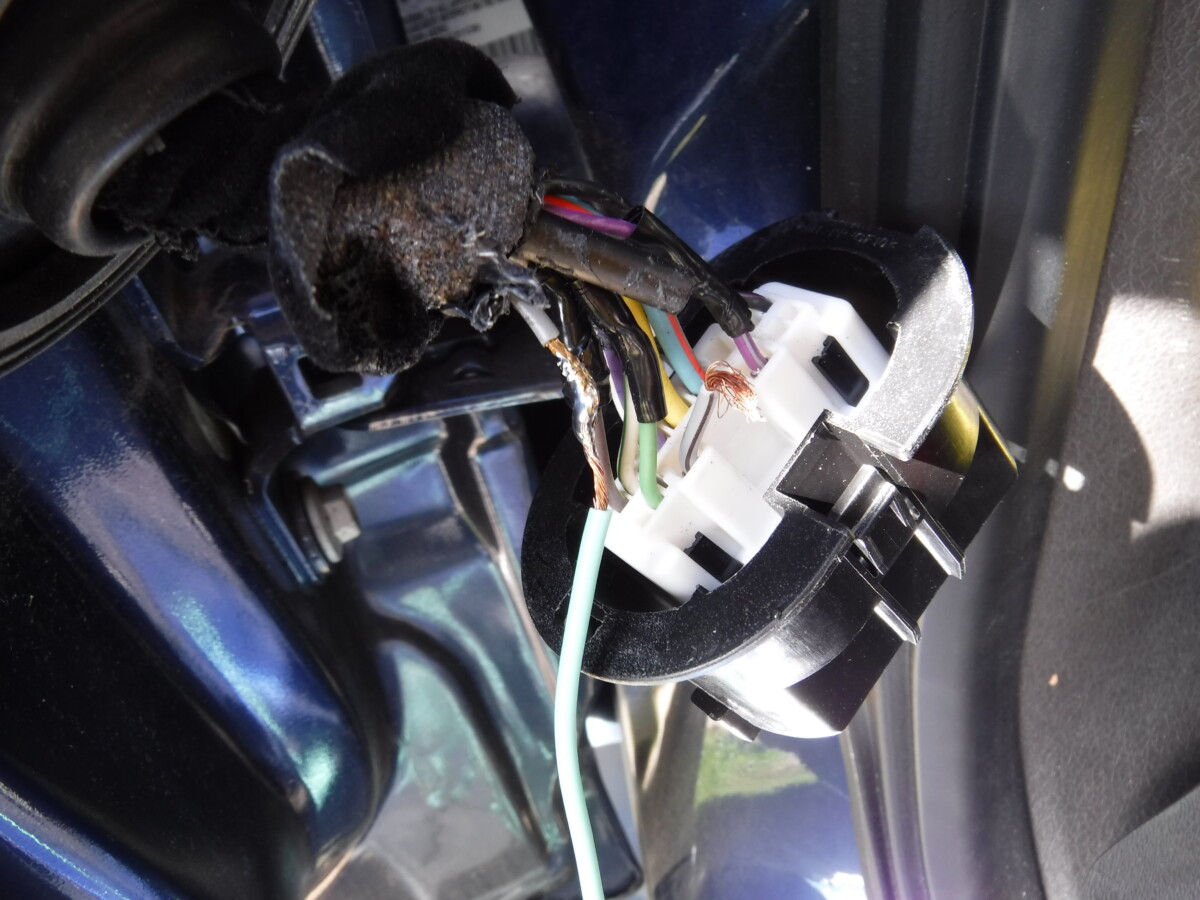
The broken wire needed more work. I probably could have used a butt crimp here with a good set of crimpers

In any case, I took a piece of same-gauge wire I had in my toolbox and soldered it to one of the broken wires.
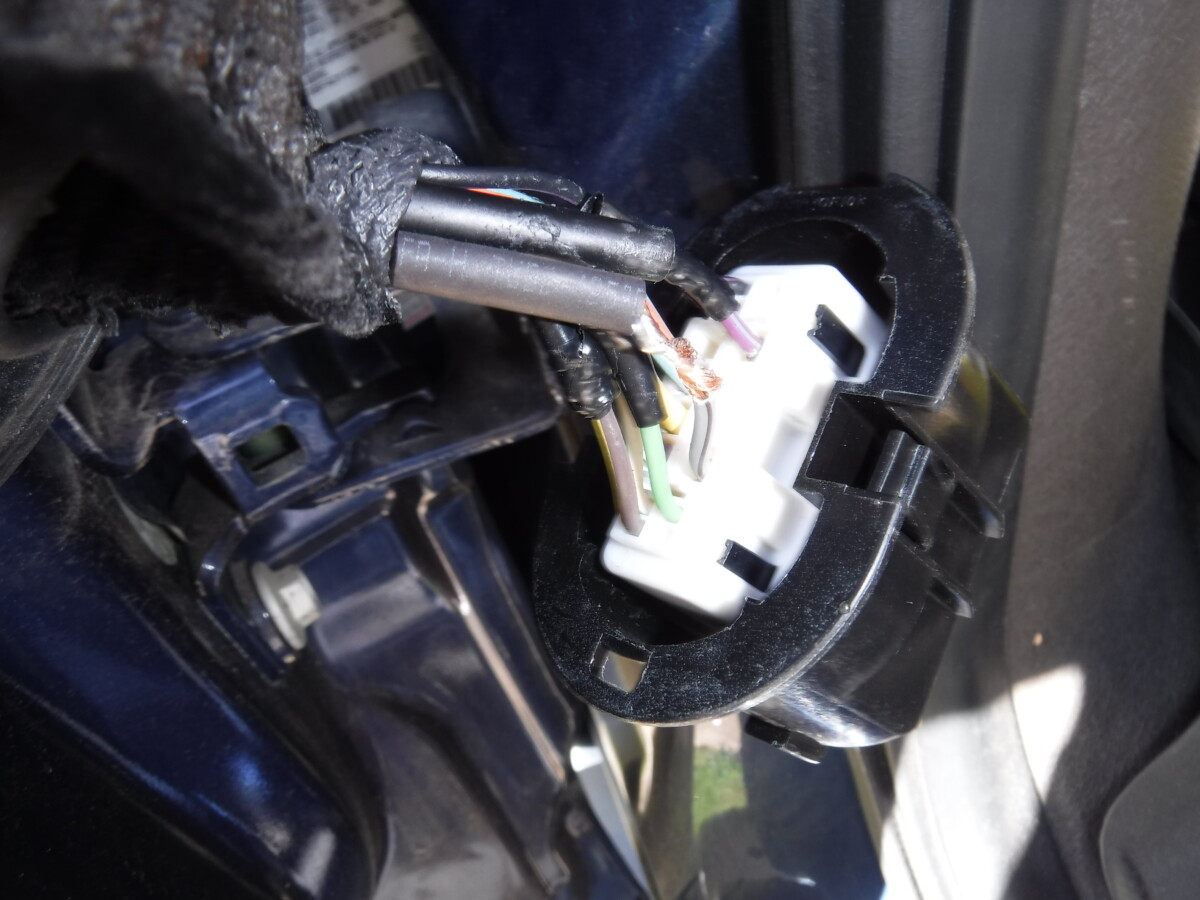
I then slid on some heatshrink and soldered it to the other wire. This is before soldering, of course. It's kind of ugly, but it's connected.
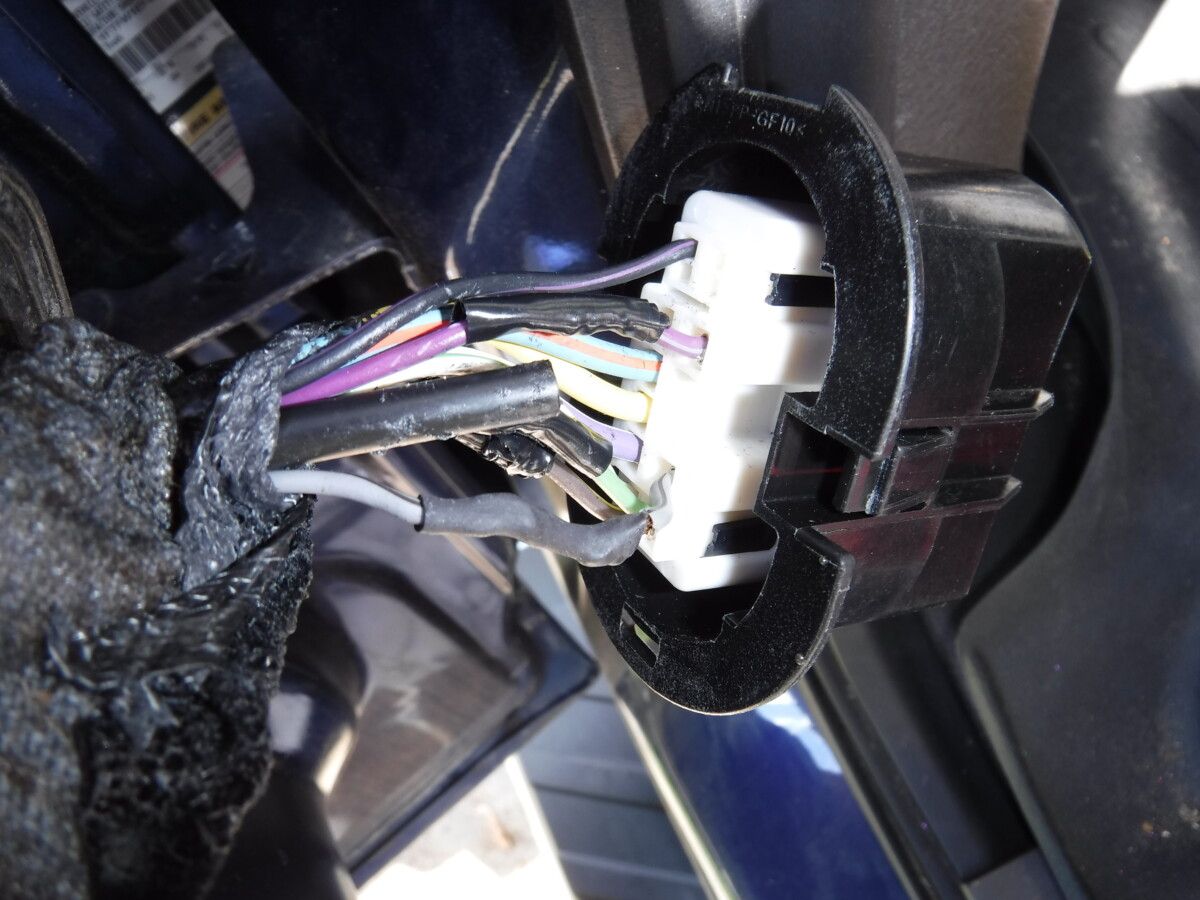
And then of course I shrank the heatshrink over the connection. Unfortunately, my ugly glob was too big for the tubing to fully slide over.
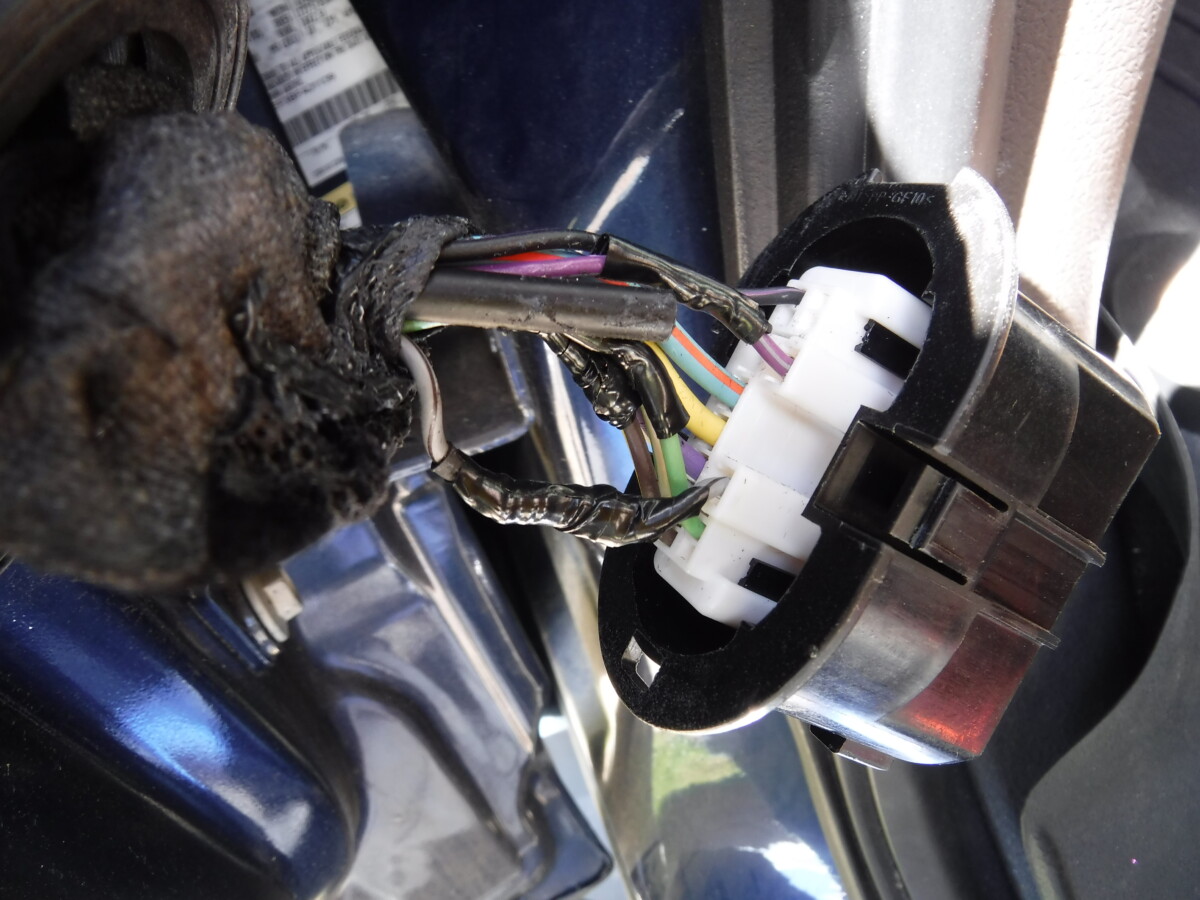
To make sure this was sealed, I went back with liquid electrical tape on the gap, followed by real electrical tape.
Preventing Future Issues
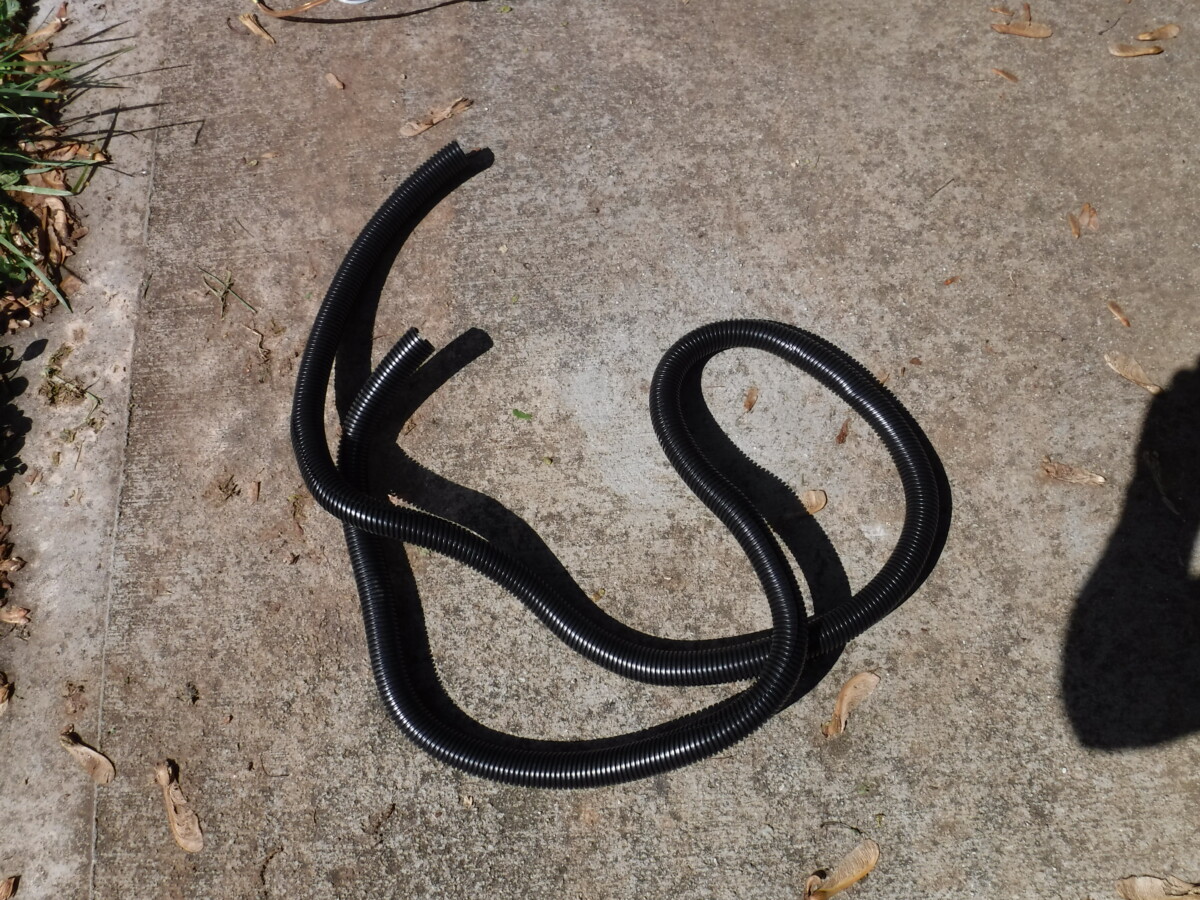
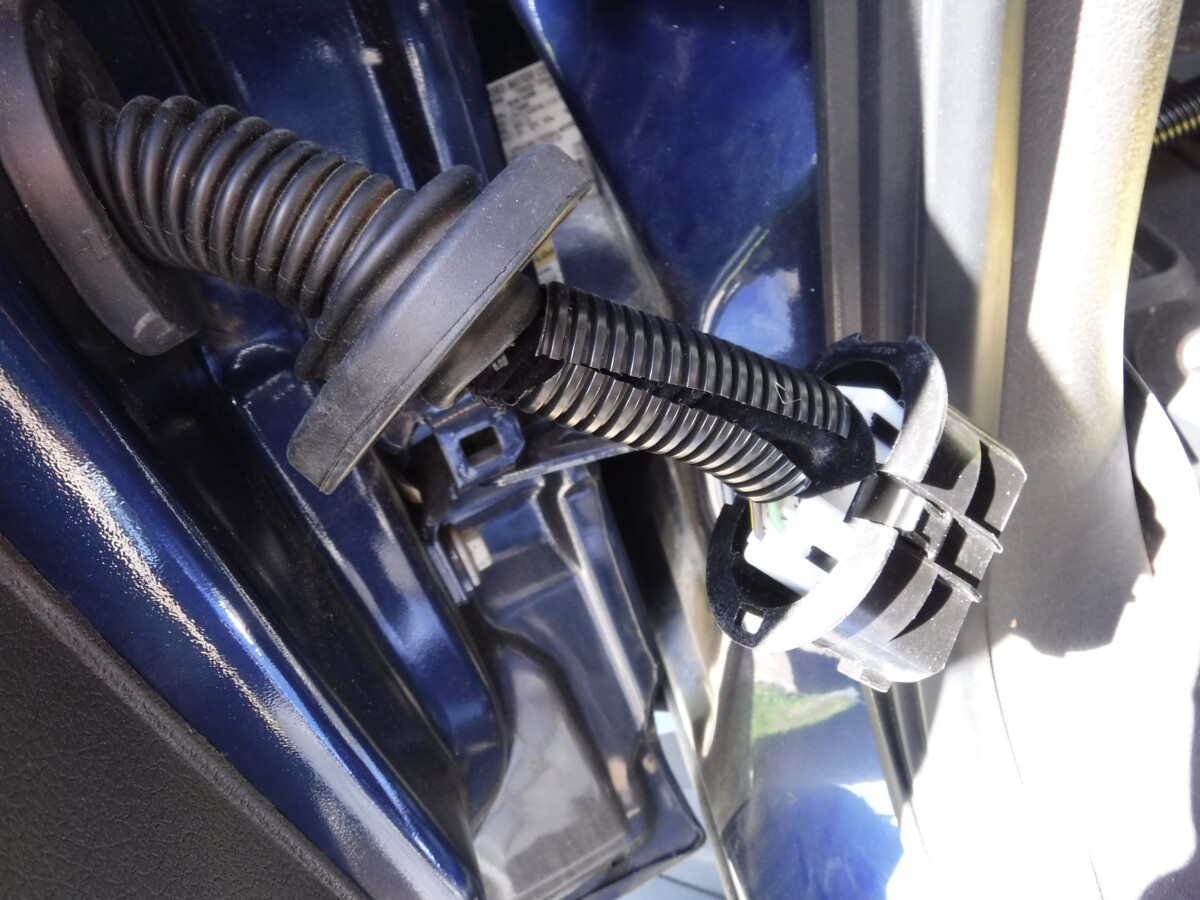
I can't redesign Ford's door, but I did add some extra split loom conduit around the wires. Hopefully, the tubing will help protect the wires against further kinking, although time will tell.
Wrap-up
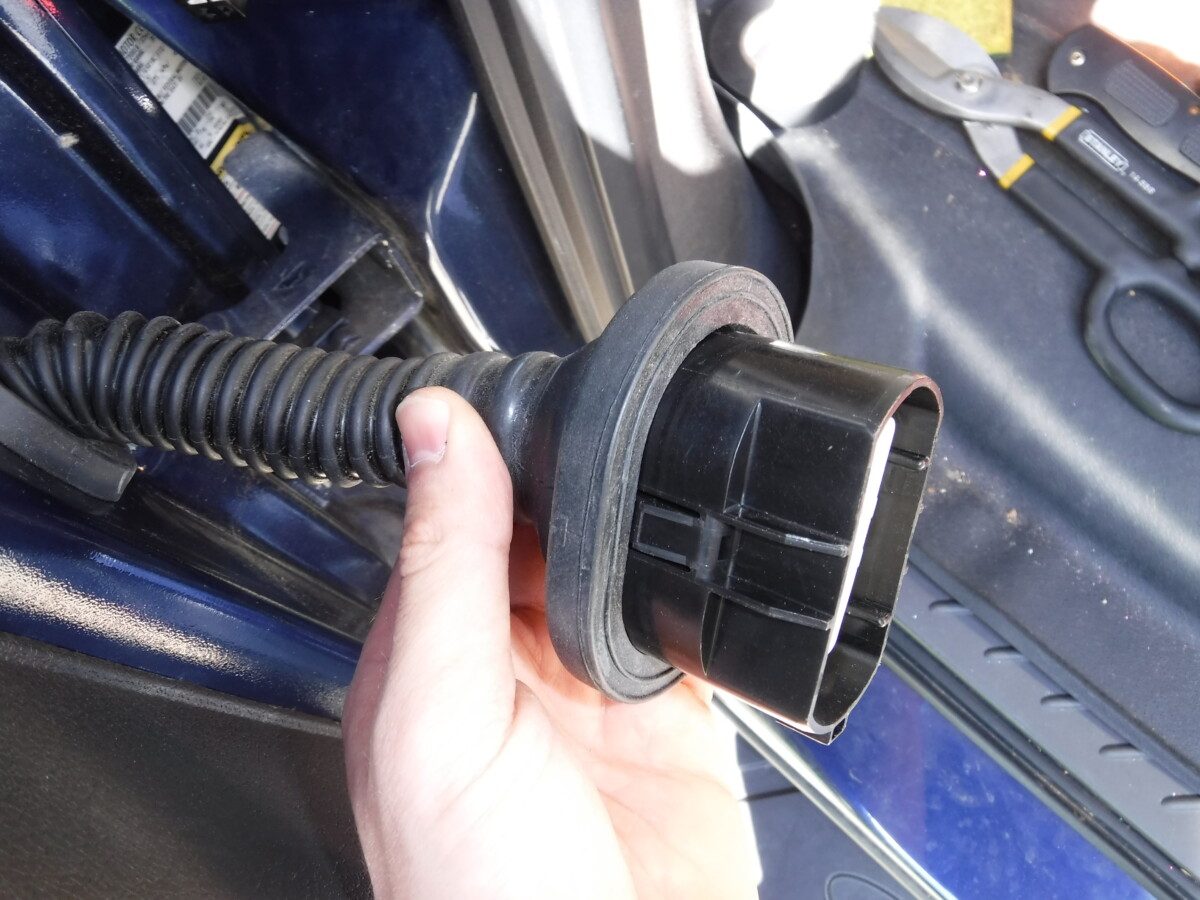
I pulled the cover back up over the conduit, and that's a wrap. I did this about a year ago, and I haven't had a problem out of this door since then. If this does happen again, fixing F-150 door wiring is fortunately pretty easy.