Drill Battery Power for a TS-100 Soldering Iron
Portable Soldering Setup
For most soldering, I use a Hakko FX-888D
Alternate Options
I initially got a Hakko FX-901
I also looked into butane soldering irons, like a Portasol
What is the TS-100?
The TS-100

Because the hardware design is open source, anybody can manufacture it. As a result, you can buy either one from the usual import electronics sources quite inexpensively.
TS-100 vs TS-80
The TS-80
Either of These vs Hakko Soldering Station
As an aside here, a lot of folks recommend these soldering irons over a traditional station like the Hakko FX-888d
Plus, the station still simply has more power and heat capacity than the TS-80. Even the TS-100 doesn’t match it unless you manage to supply 24V power, which the average drill battery won’t do. So they’re good little irons for what they are, but I don’t agree with the rave reviews saying you’ll never need a station again. I love my Hakko. For a lot of soldering jobs, these open source irons can certainly get a lot done, though.
Making a Drill Battery Adapter
Space terminals and 3d printed adapter

3d printed drill battery adapter
There are oodles of 3d printed battery to generic wire adapters for all sorts of tools. I have Milwaukee M18, but this would work fine for Dewalt, Makita, etc by substituting the correct adapter. To start, I printed this adapter from thingiverse. I won’t delve into that in this article, but if you don’t have access to a 3d printer, you can buy them on Amazon
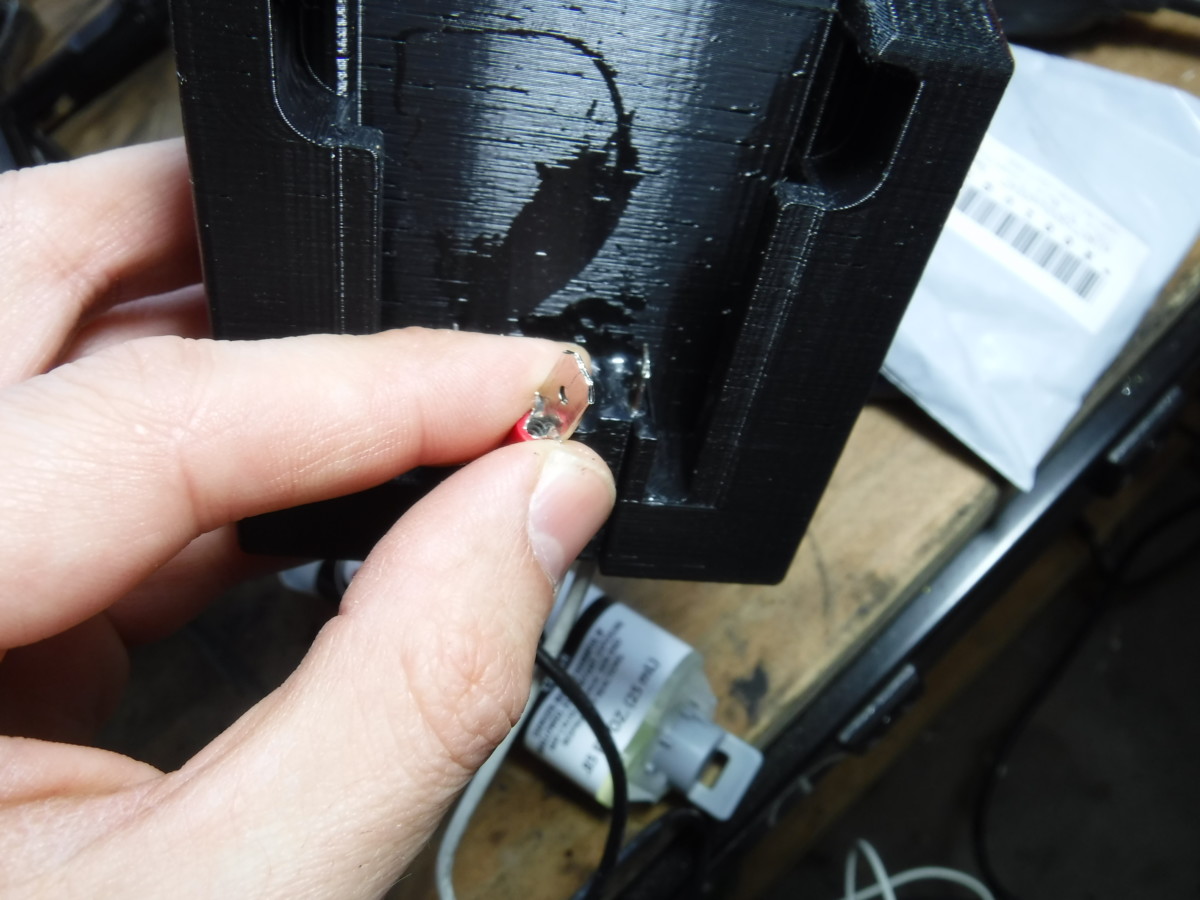
In any case, once the battery adapter is printed, you put spade terminals

Any two part epoxy will do the job
Epoxy from the back
With the spade terminals where you want them, add a generous amount of two part epoxy from the back to hold them in place. I have found that I like JB Weld MinuteWeld
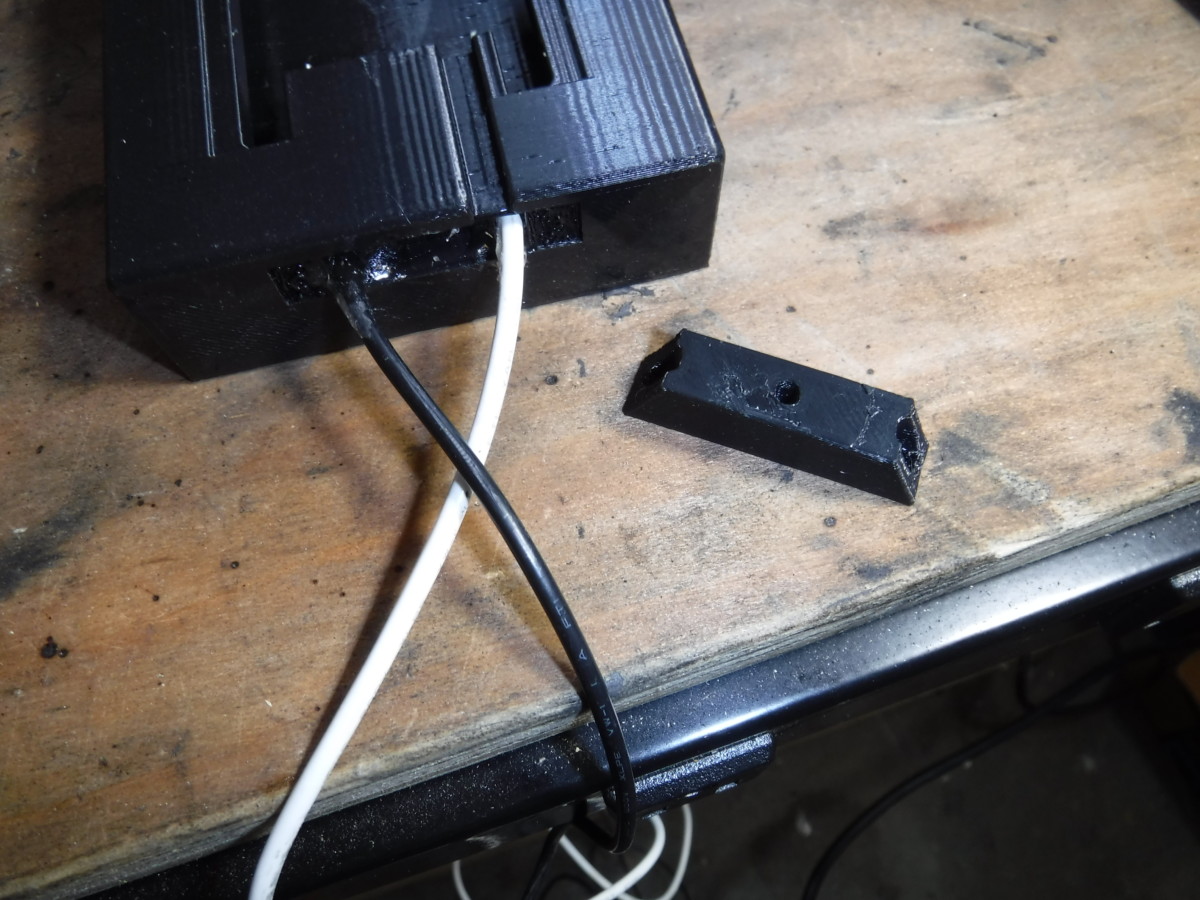
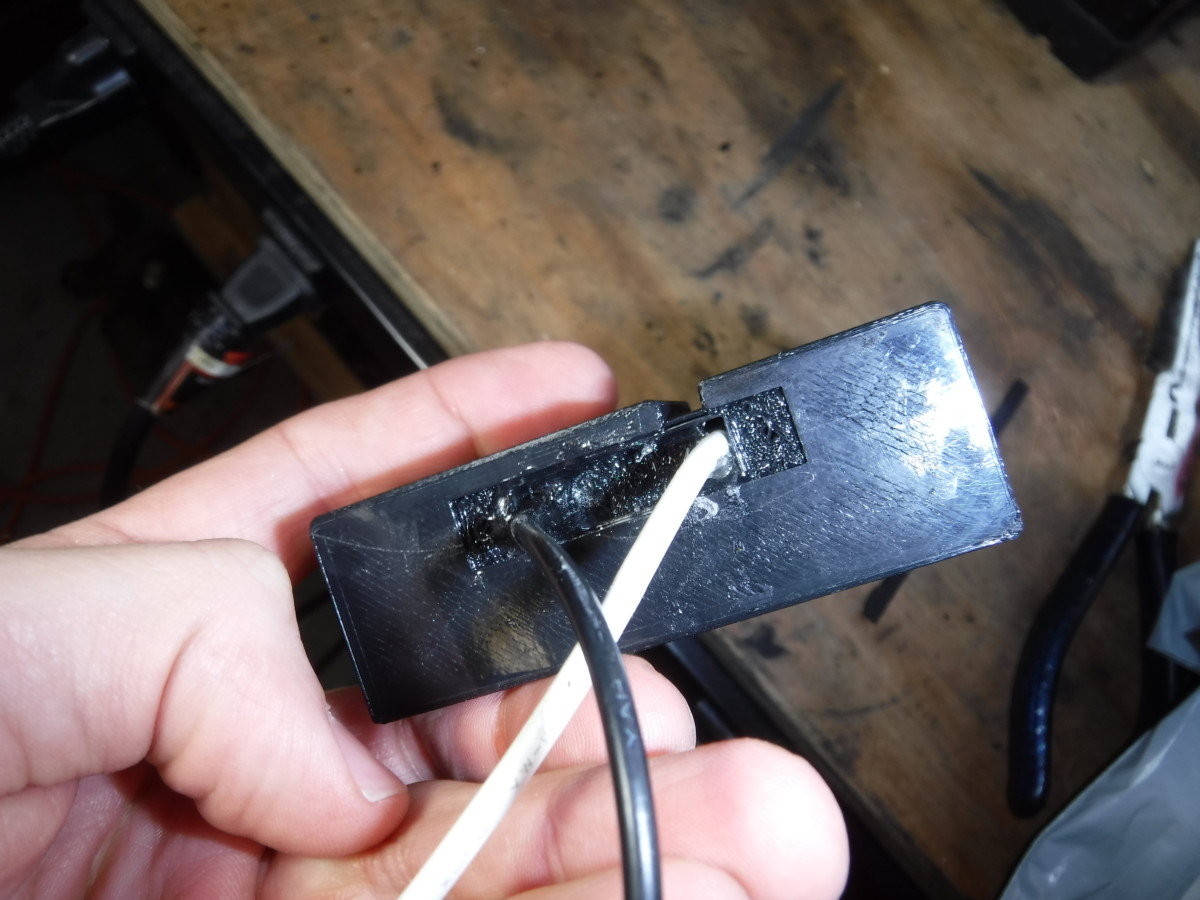
Printed this back piece but didn’t use it
The thingiverse link includes the back piece for the adapter pictured. I think it’s supposed to provide some strain relief, but I found that the wire didn’t route through it very easily. I chose to not bother using this piece and haven’t had a problem.
Wiring the Adapter
Barrel Connectors
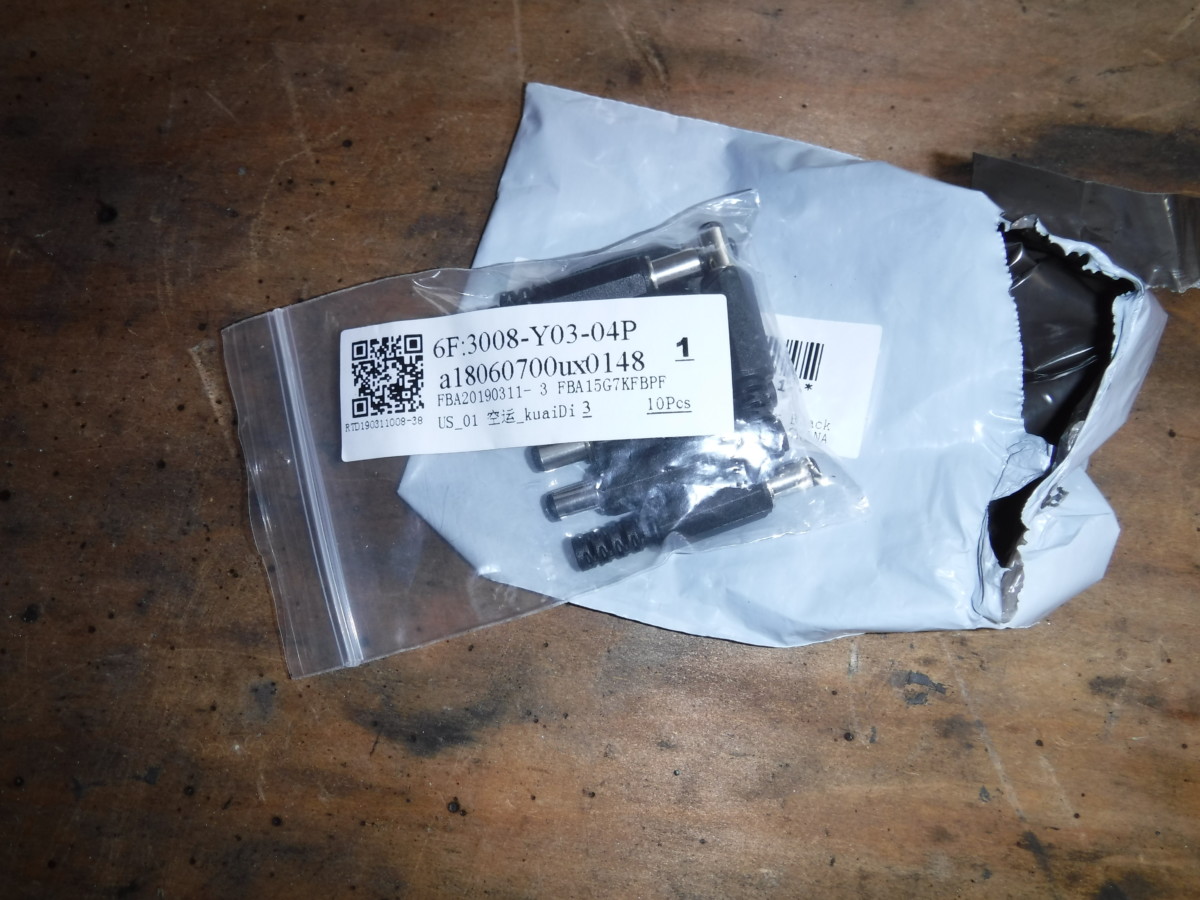
The TS-100 has a 5.5mm x 2.5mm DC barrel connector. This is somewhat common on certain laptop supplies, and if you have one, you can use it directly. To wire my iron, I ended up getting a package of female connectors

3 Core Silicone Wire Cable
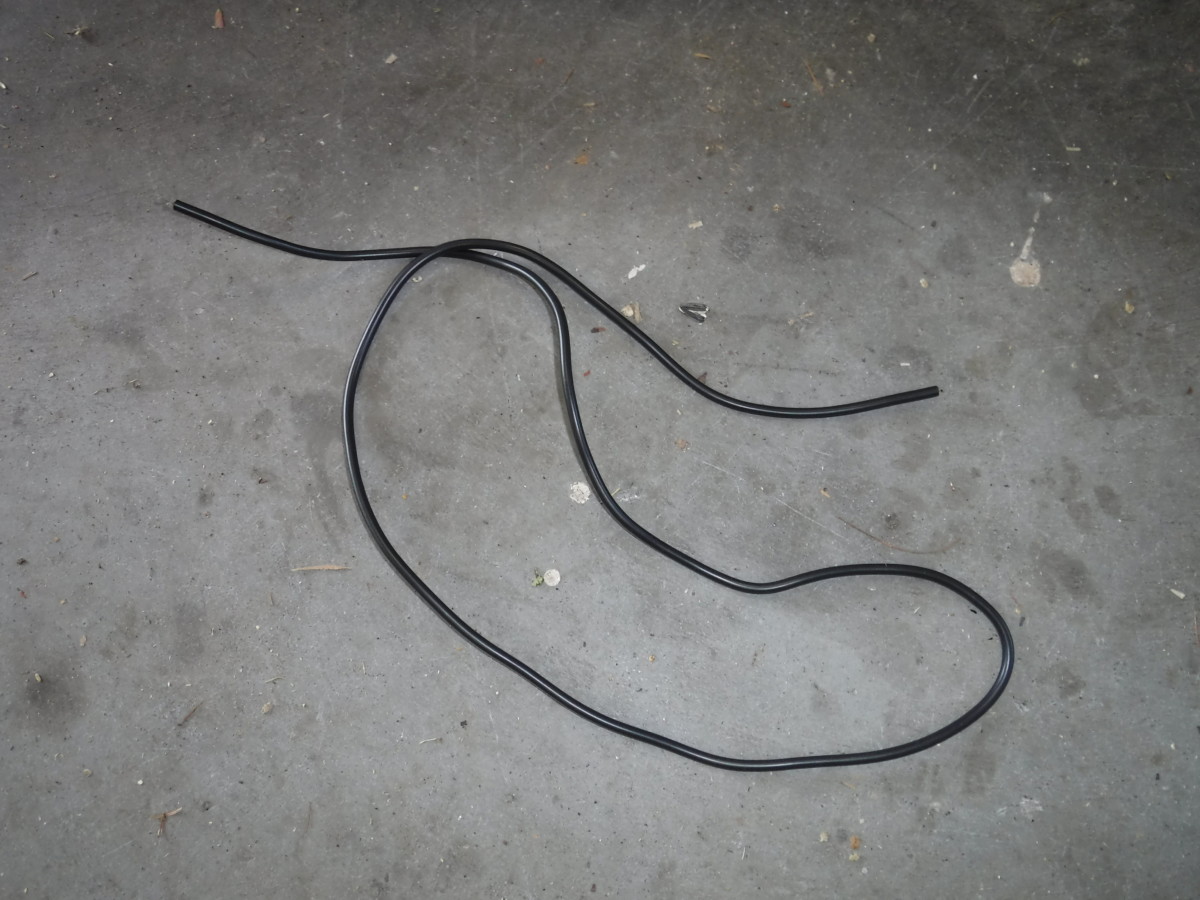
For one of the extension wires, I used some nice 3-core silicone wire I found cheaply on Banggood. Note that two core would have been fine. I would have preferred to order from somewhere else, but Banggood was the only place I could find this wire inexpensively.

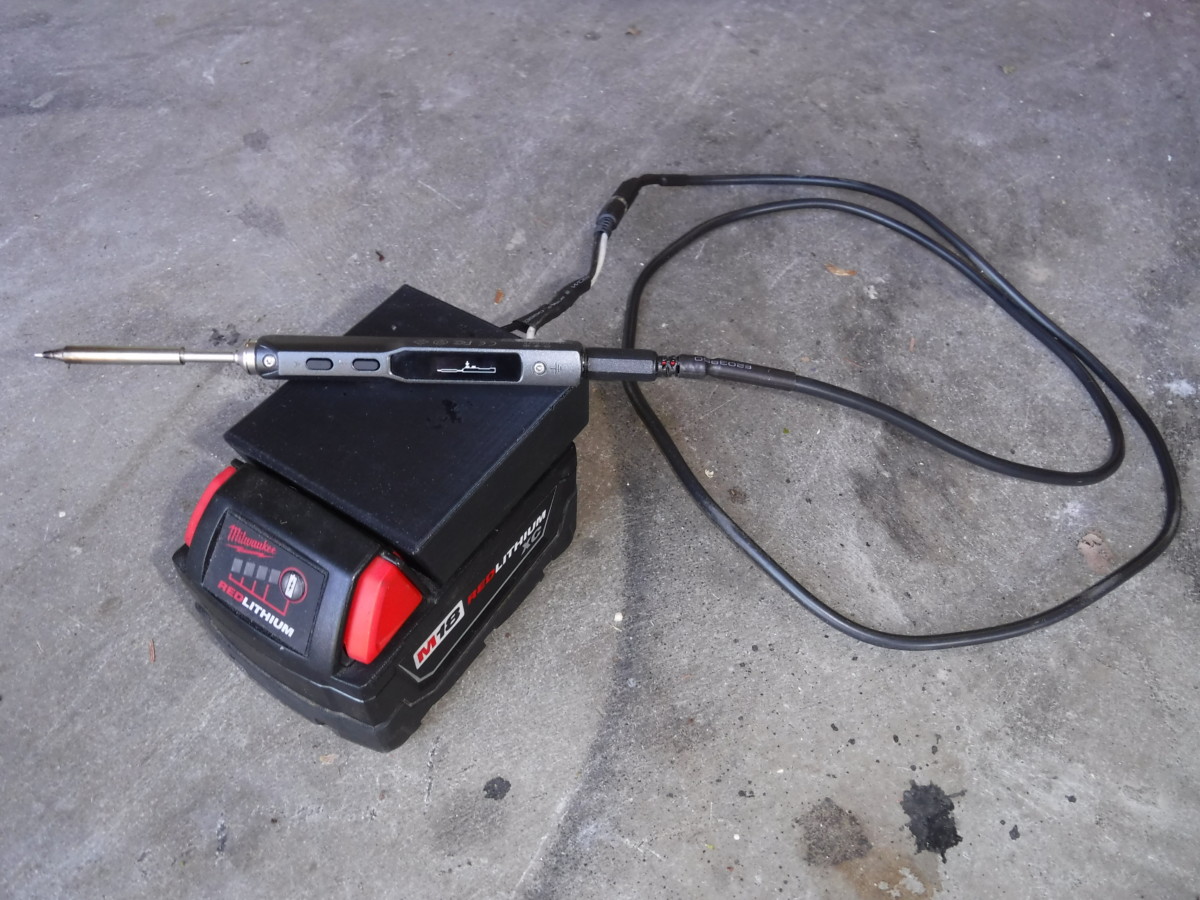
Overview of the entire setup
Rather then go over each soldered connection individually, this picture shows an overview of the whole setup. I put a male connector on short wires from the Milwaukee adapter. One 6 foot “extension” has a male connector on one end of some speaker wire and a female on the other. I did another one of these using the nice silicone wire; this extension is for nearer to the soldering iron, because the silicone jacketed wire is much more flexible. Lastly, I put a male connector on the 12V car adapter. The point is, mix and match to your heart’s content.
Stretching the Barrel Connector Housing
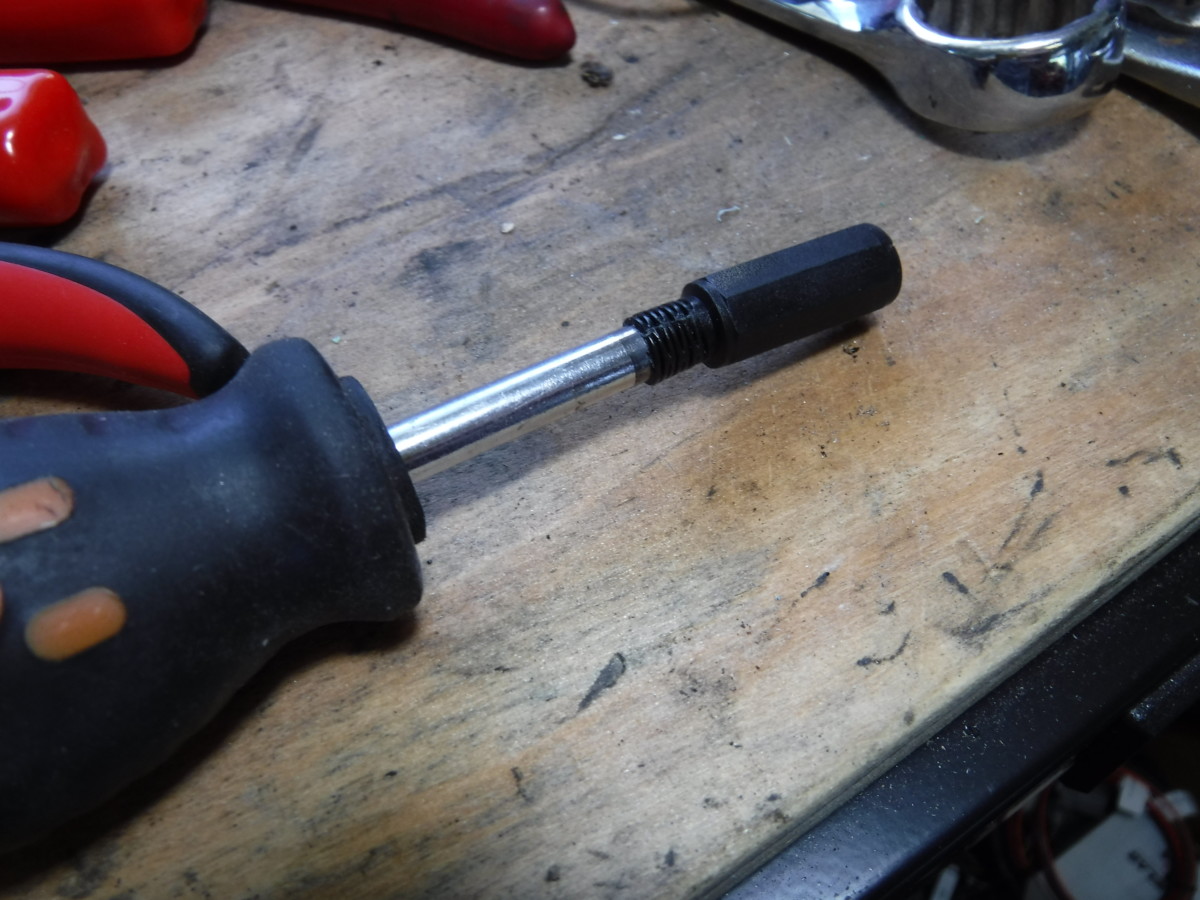
A thick screw driver stretched the plastic enough to fit
It fit on after stretching
The Banggood 3 core wire was just slightly wider than these barrel connector housings. One trick I found was to use an appropriately-sized screwdriver to force the plastic housing to be just a bit wider. Doing this, I was able to slip the connector housing over the outer jacket as shown for a cleaner install.
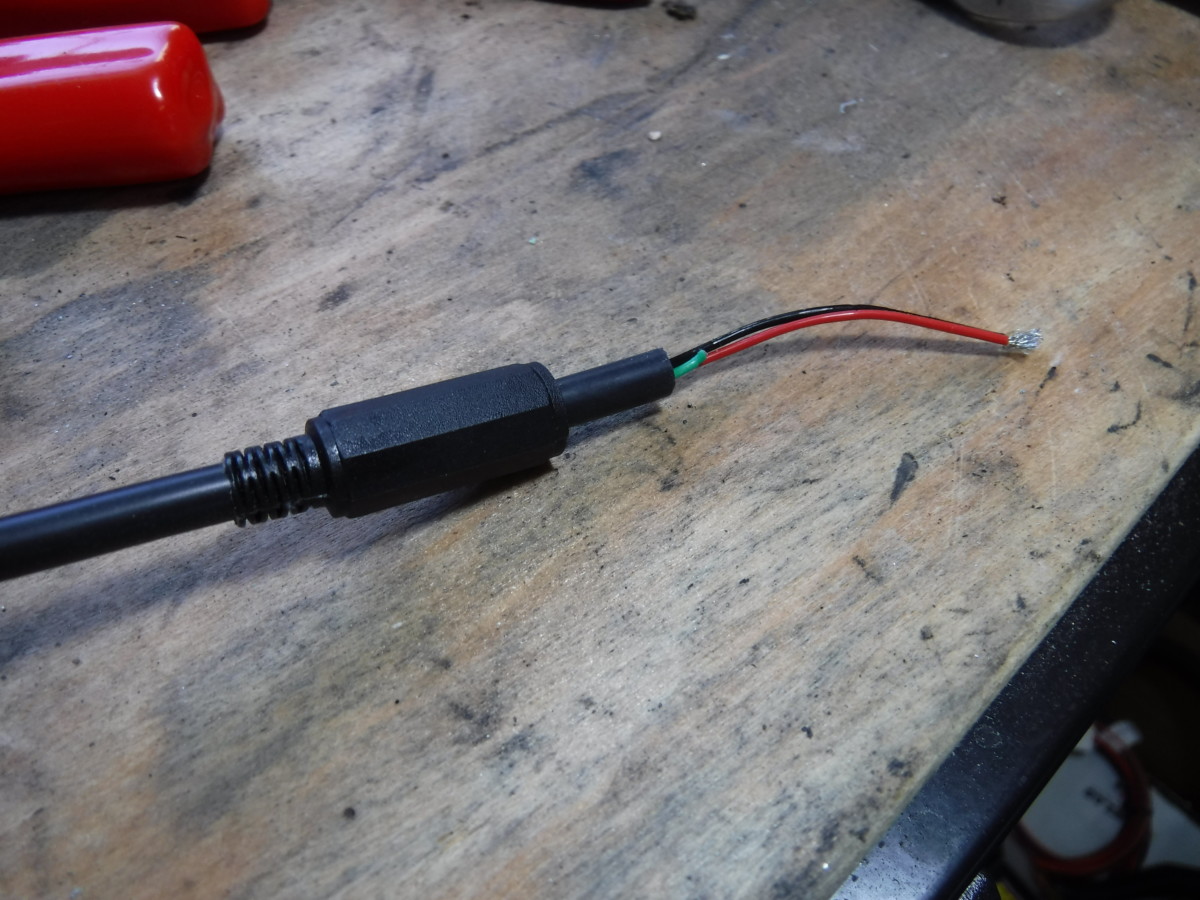
Soldering a Male Barrel Connector
Wire stripped
Third wire is not needed
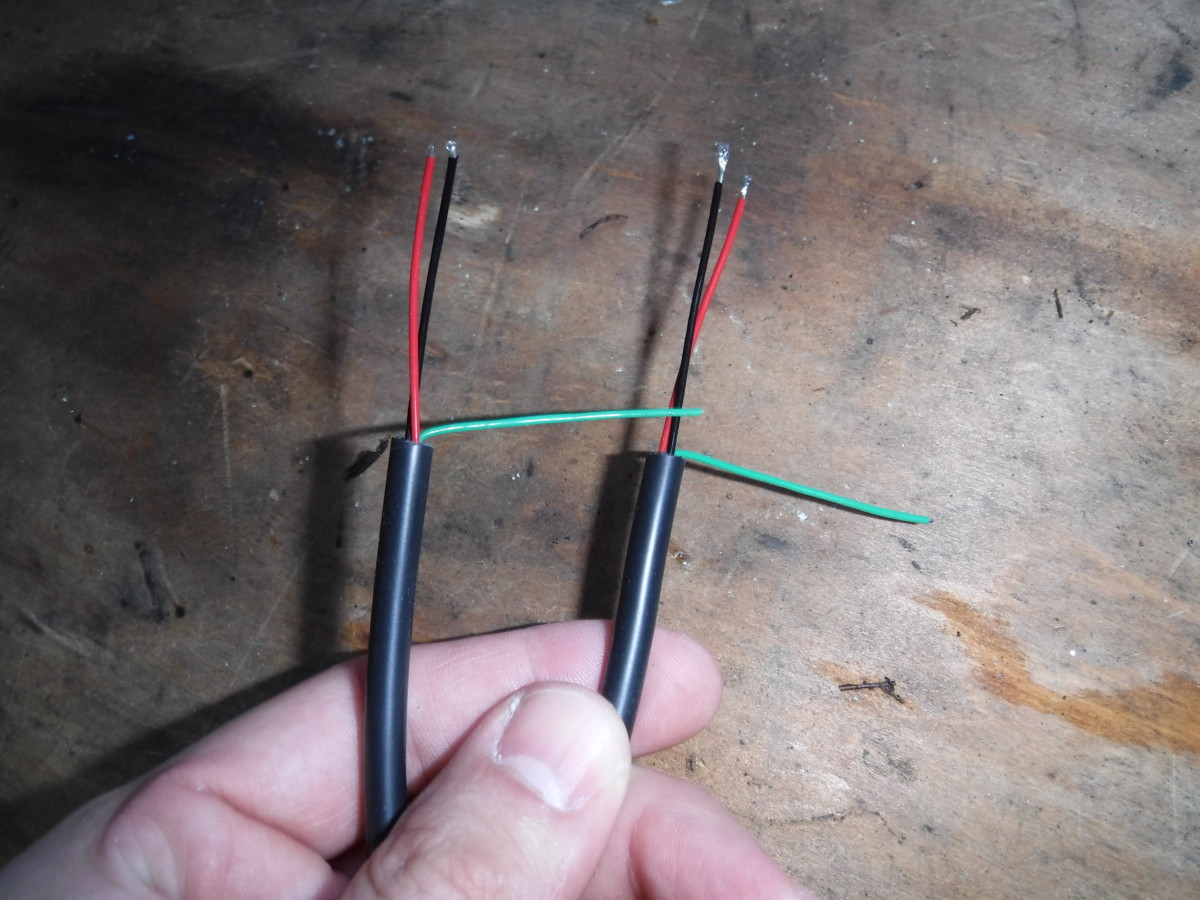
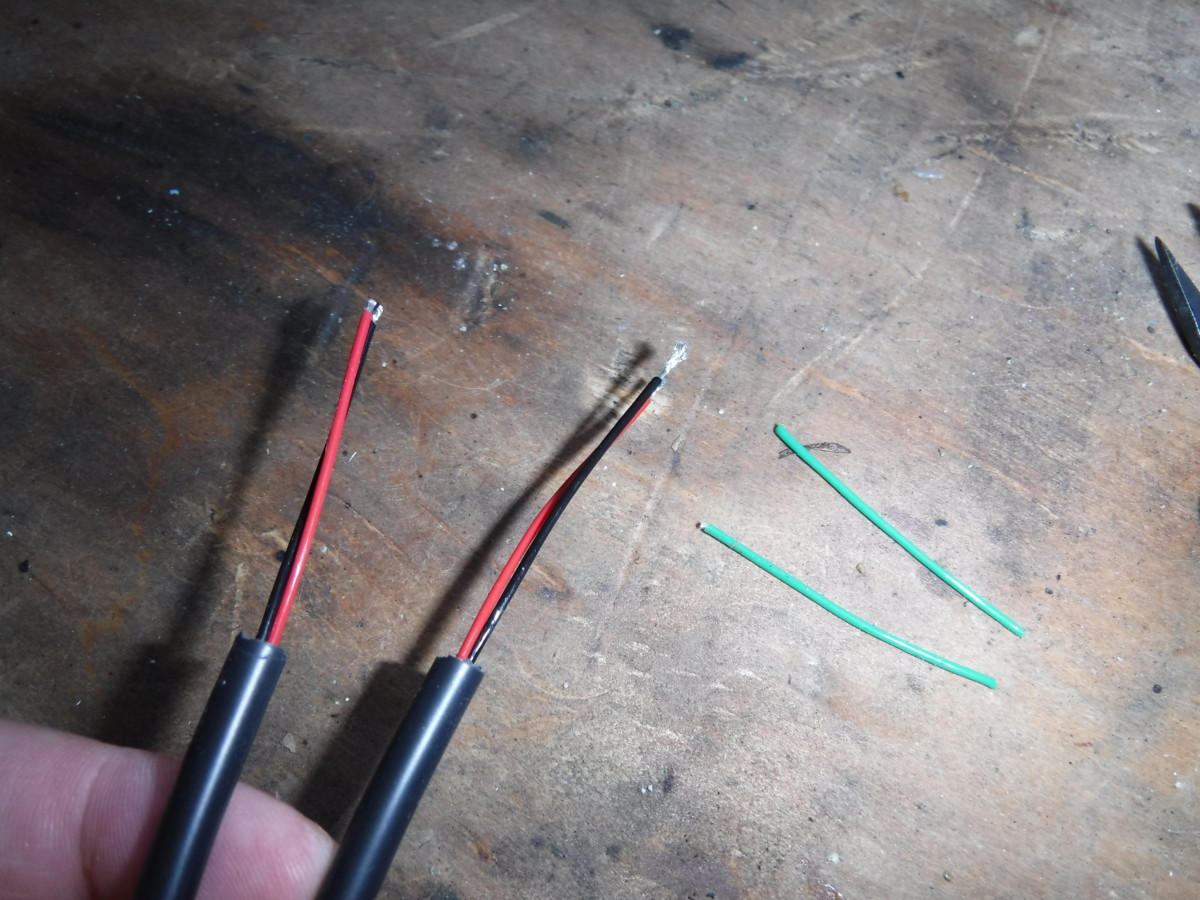
To attach one of these connectors, strip the wiring first. Only two wires, positive and negative power, are required. As such, I clipped the third wire in the 3-core silicone wire short, as shown.
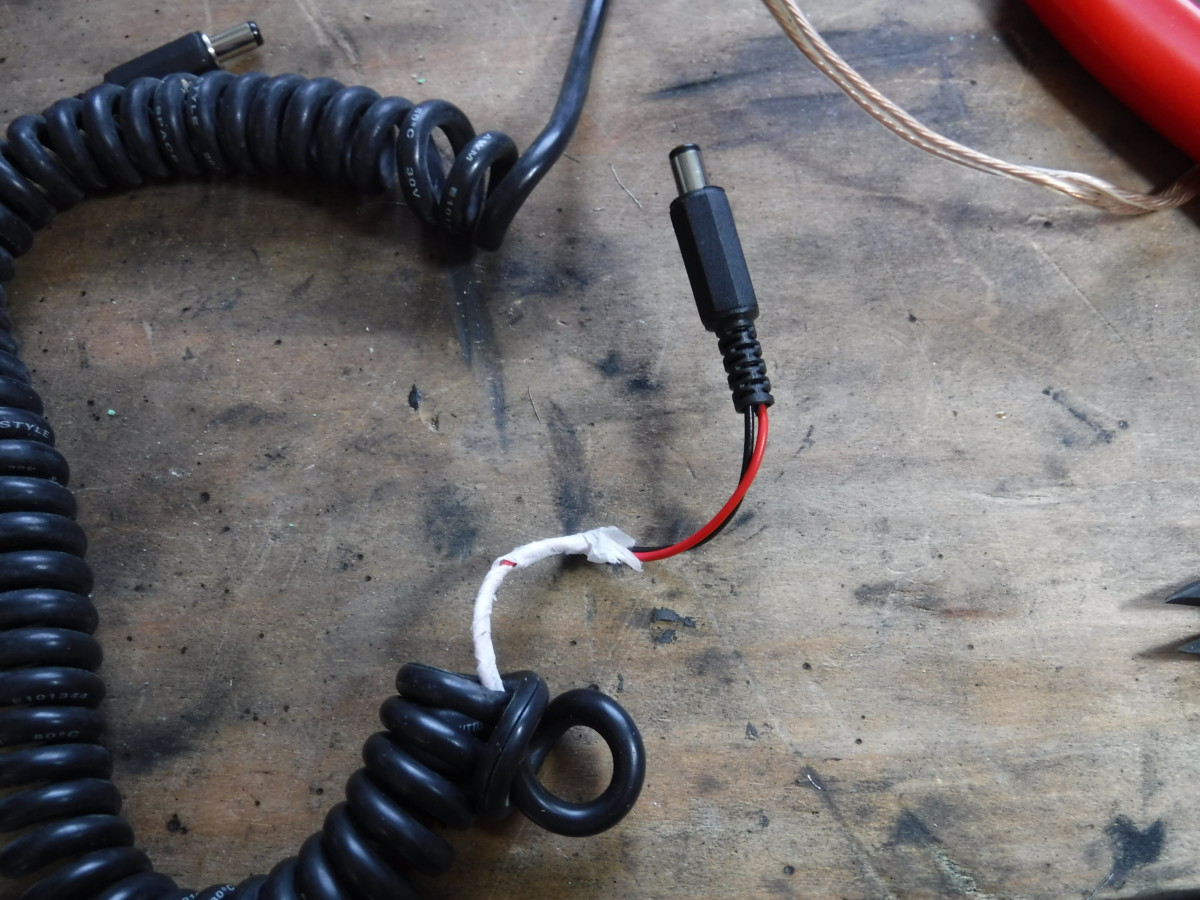
Ready to wire the 12V car power
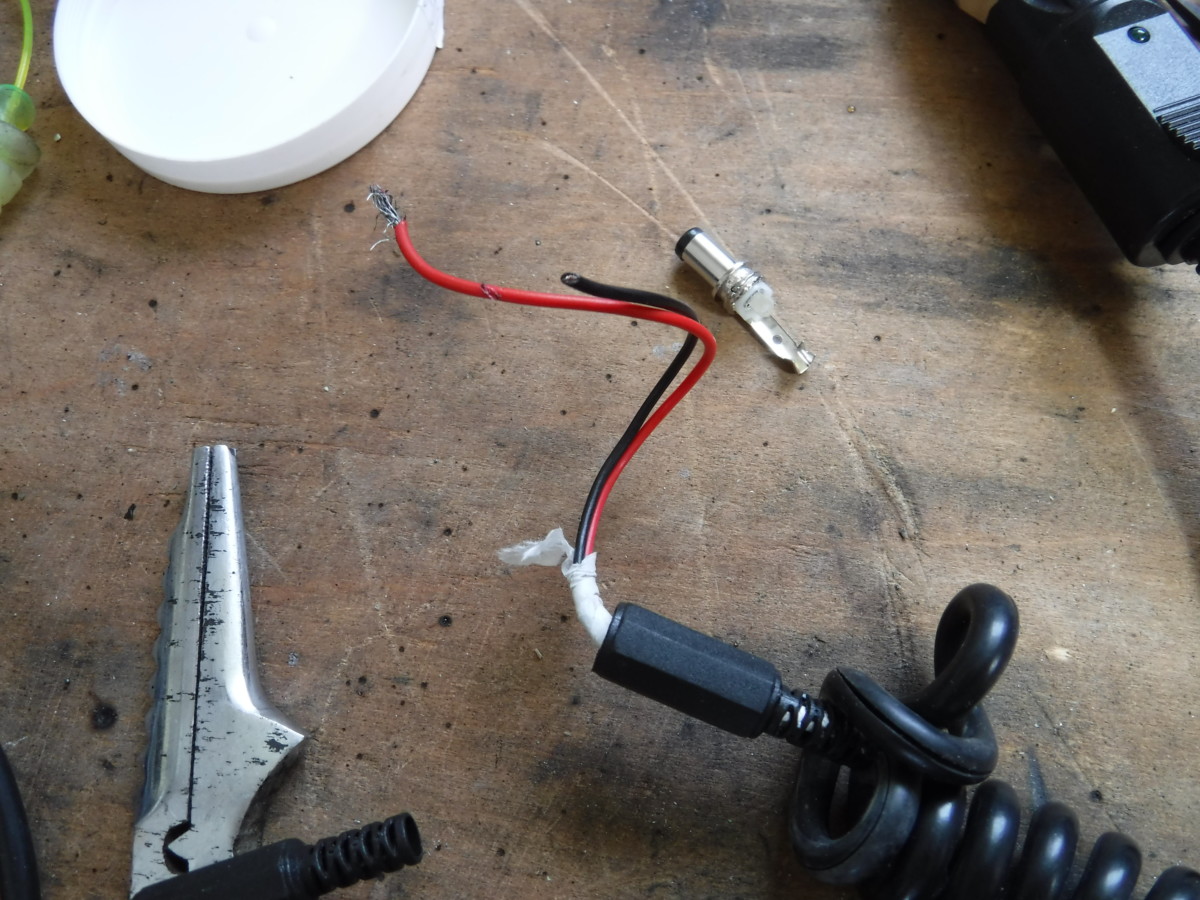
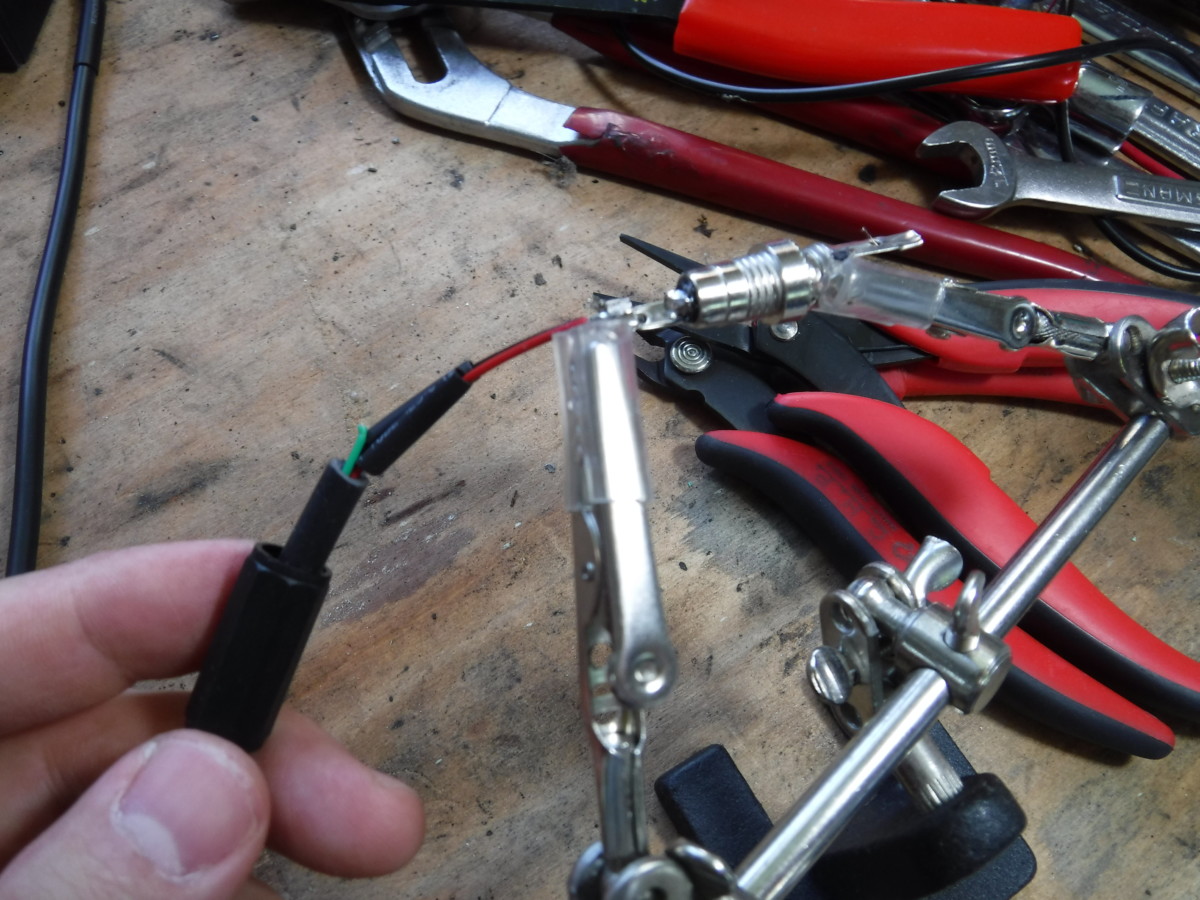
This picture shows the 12V car power outlet in progress. I unscrewed the black plastic connector housing and slid it down the cable. If the cable is thin enough, it can be pulled on from the other end.
At this stage, I would also slide some heat shrink down each wire.
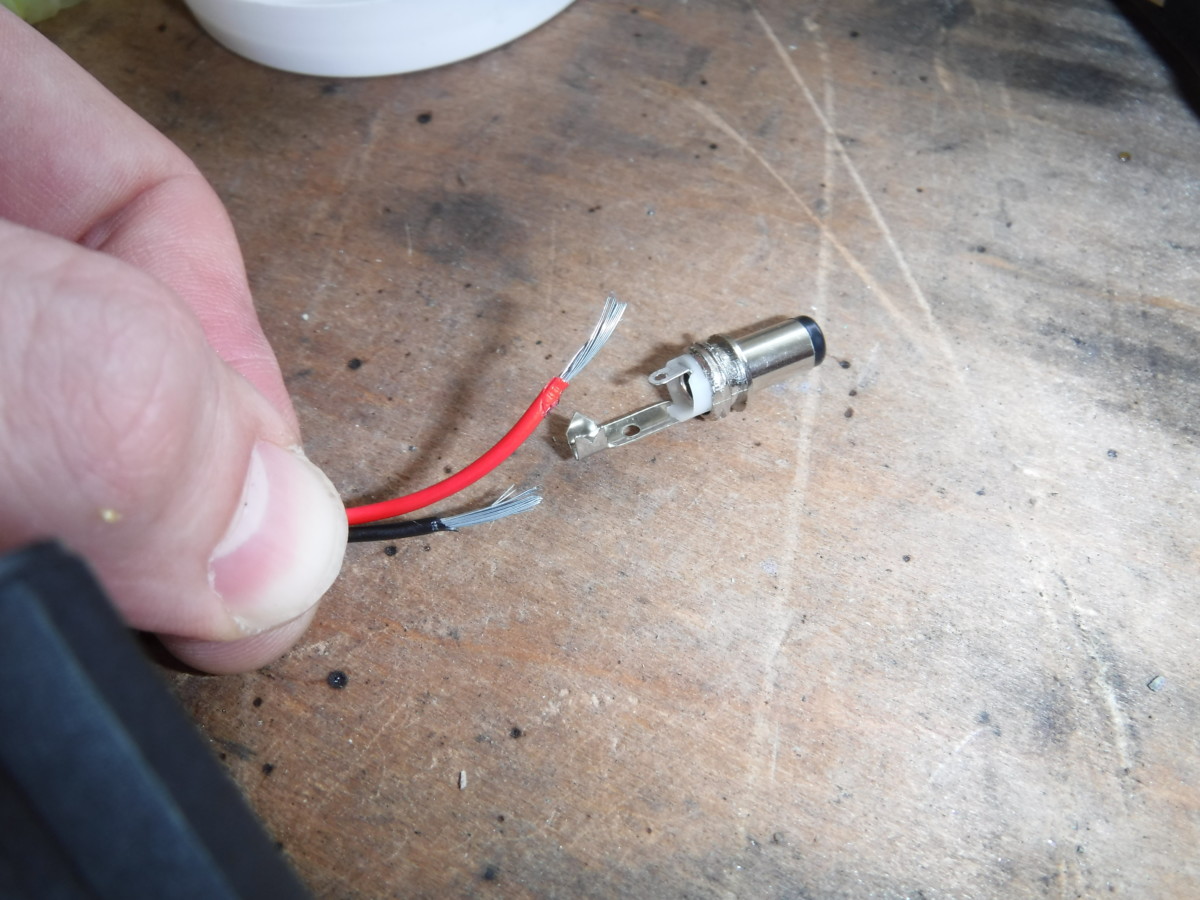
Wires stripped and ready to install
Hopefully, the picture is good enough that you can see the barrel connector has two tabs. Each of them has a very small hole to thread the wire through.
Threading the ground wire
Crimping it down
The ground wire goes through the longer tab on the outside. Once through, some small pliers
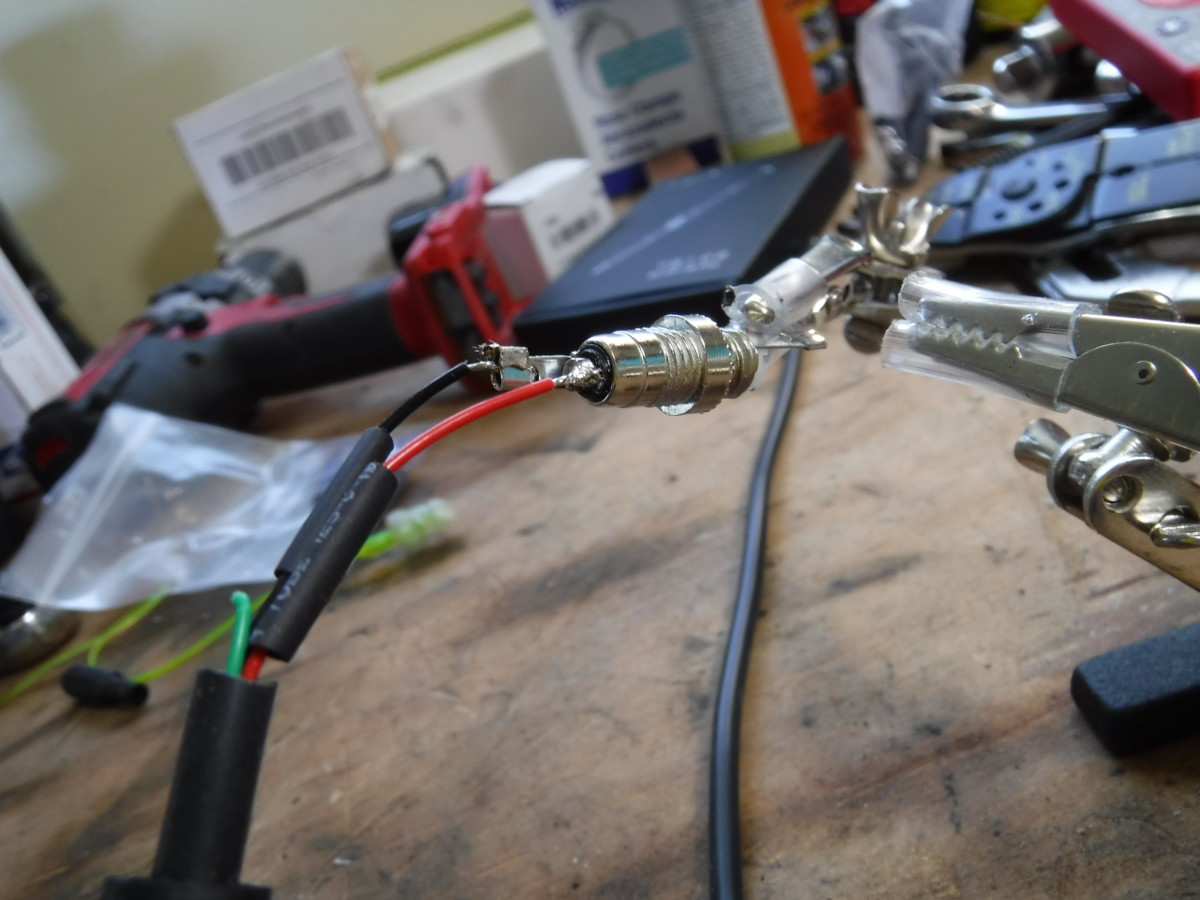
The positive wire also loops in place
This shows the positive wire in place as well. I got them both lined up and then soldered.
Solder
Heat shrink
Here both wires are soldered, with heat shrink applied. I didn’t put heat shrink on the ground wire for this connection, but I probably should have.
Screwed plastic housing on
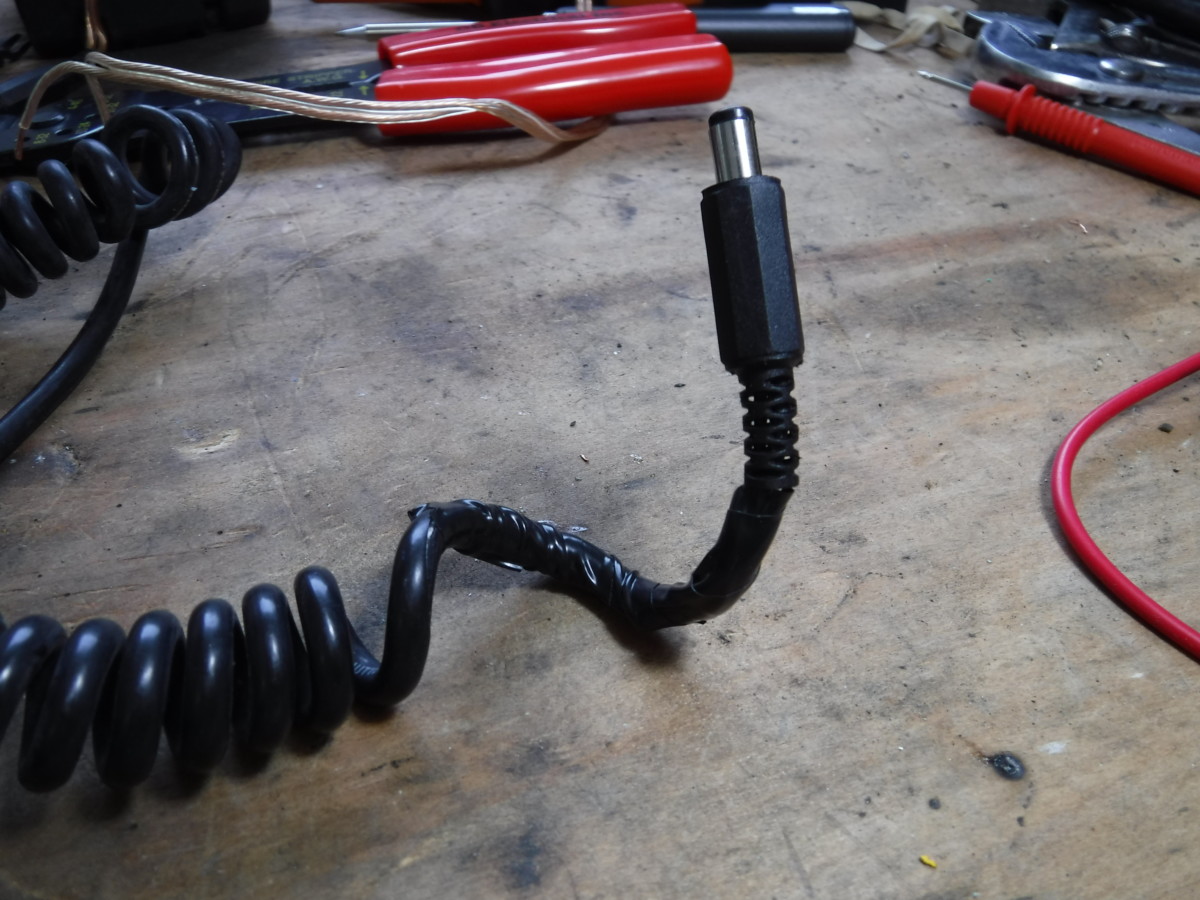
Pulled the outer jacket back around the wires and taped it up
After solder and heat shrink, I screwed the plastic connector housings back on. Lastly, I pulled the outer wire jacket back up and taped it to seal.
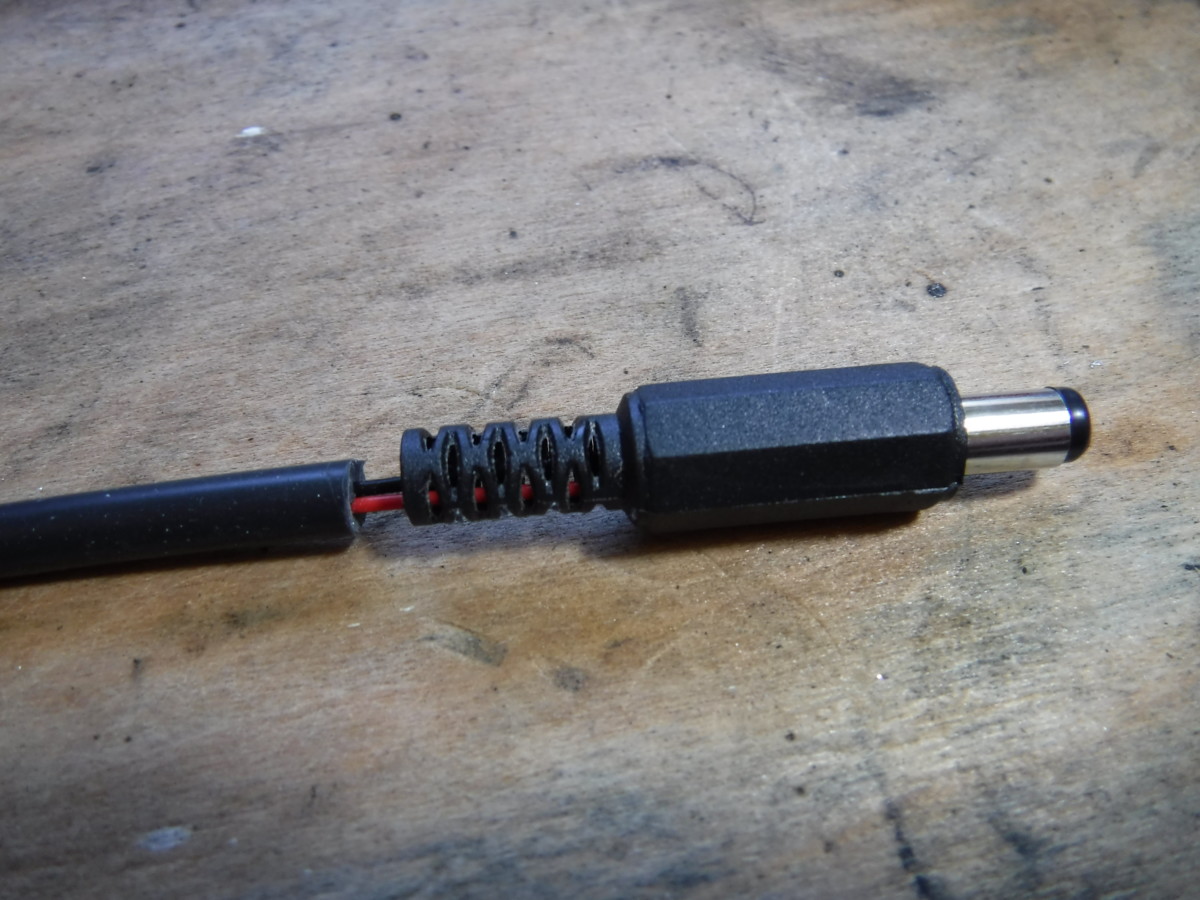
Same procedure for 3 core silicone wire
Also used some heat shrink between connector housing and wire jacket
Repeat for all male connections. On the three core wire, I added some heat shrink to neaten it up.
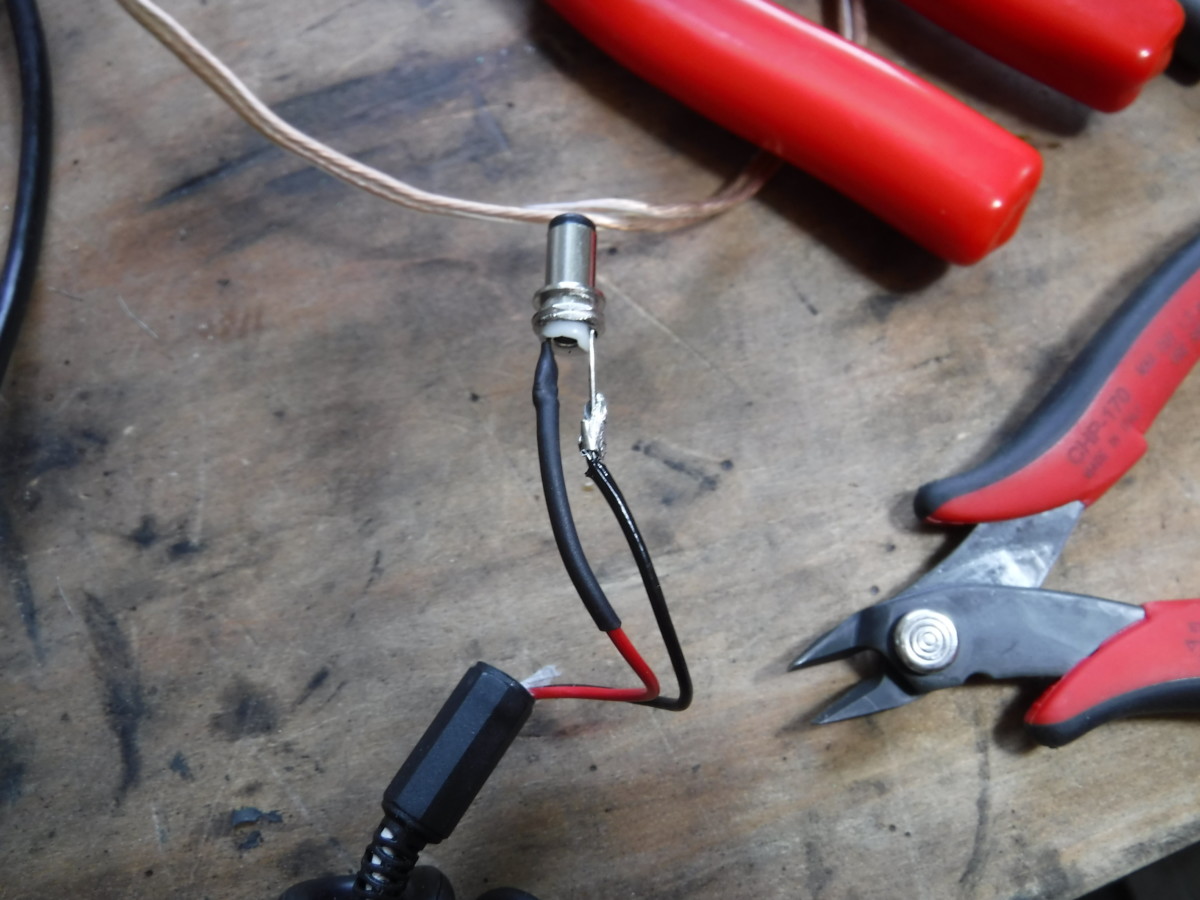
Soldering a Female Barrel Connector
Inner tab is like a cup
The female barrel connectors are very similar, two with slight differences. The inner connector has this cup shape, as opposed to the tab style of the other connector. This requires putting a blob of solder in the cup and on the wire, then melting them together.
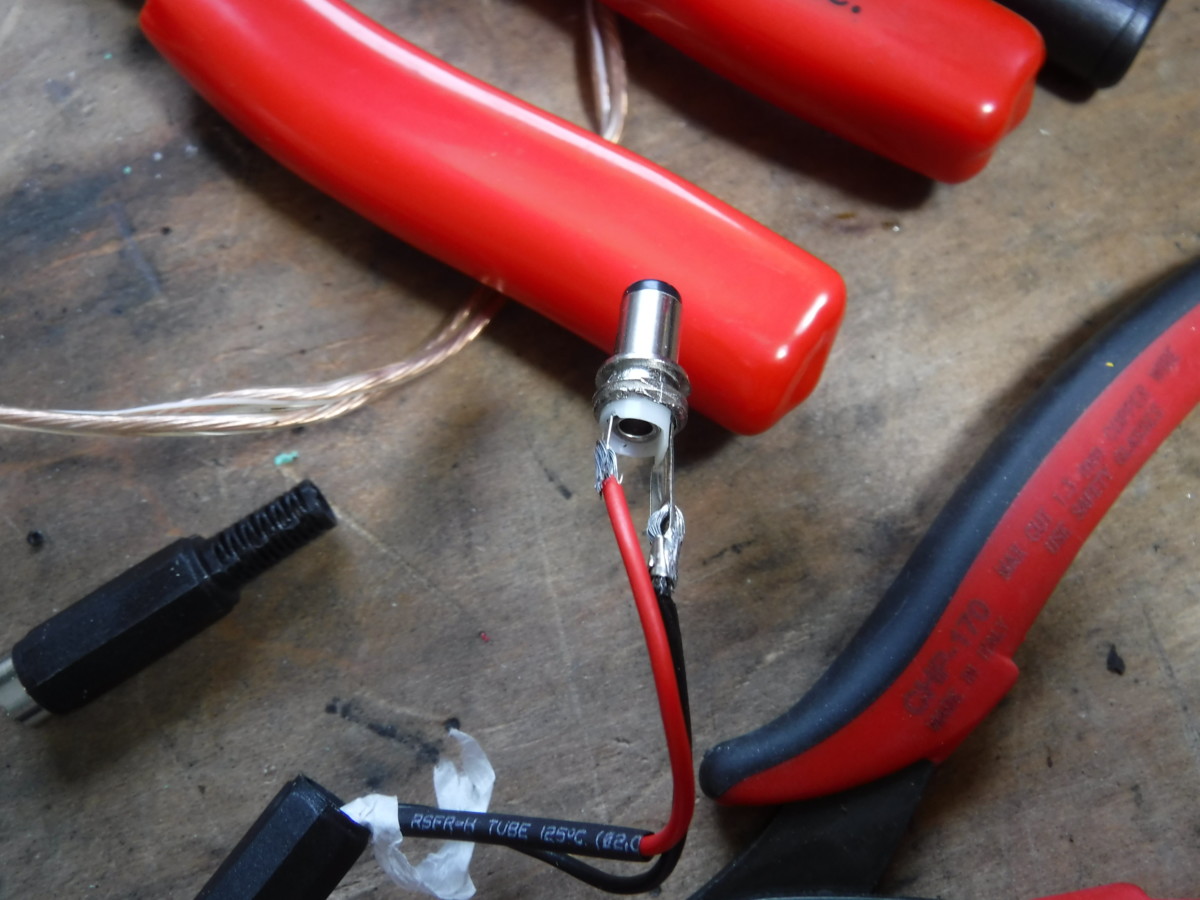
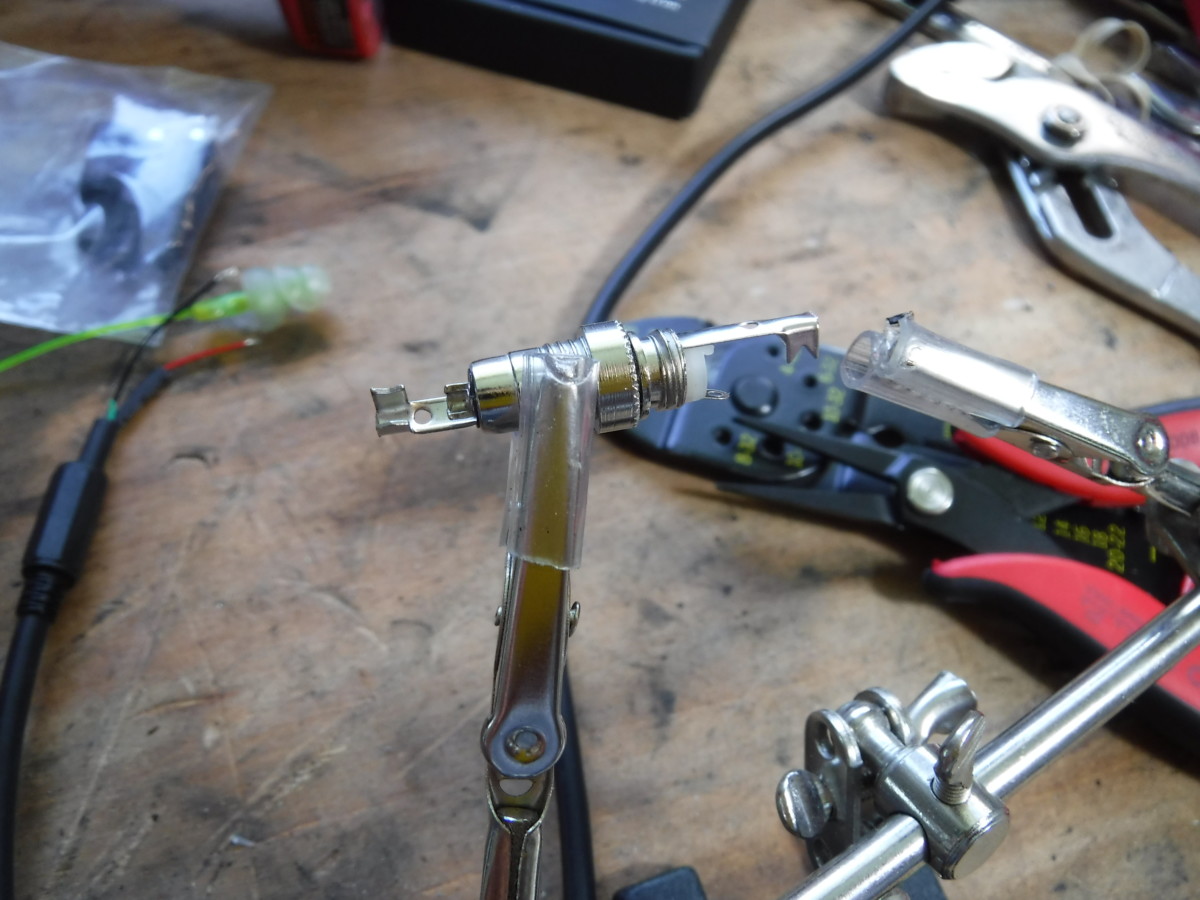
The second difference involves the female connector’s assembly. The middle pin can float around when heat is applied and get misaligned. To combat this, I have simply plugged a male connector in, visible in the picture. This will hold the positive pin in place even if it heats up.
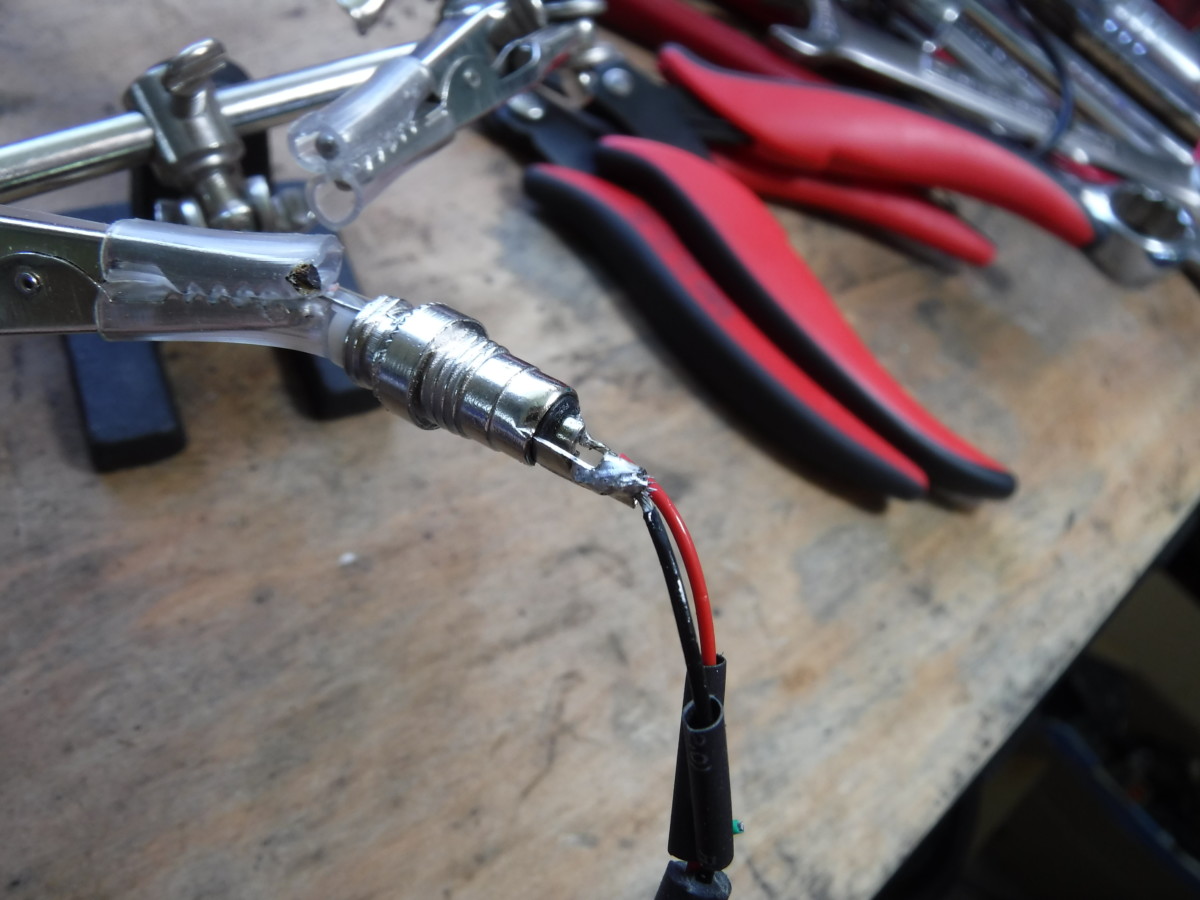
On a relevant note, the helping hand
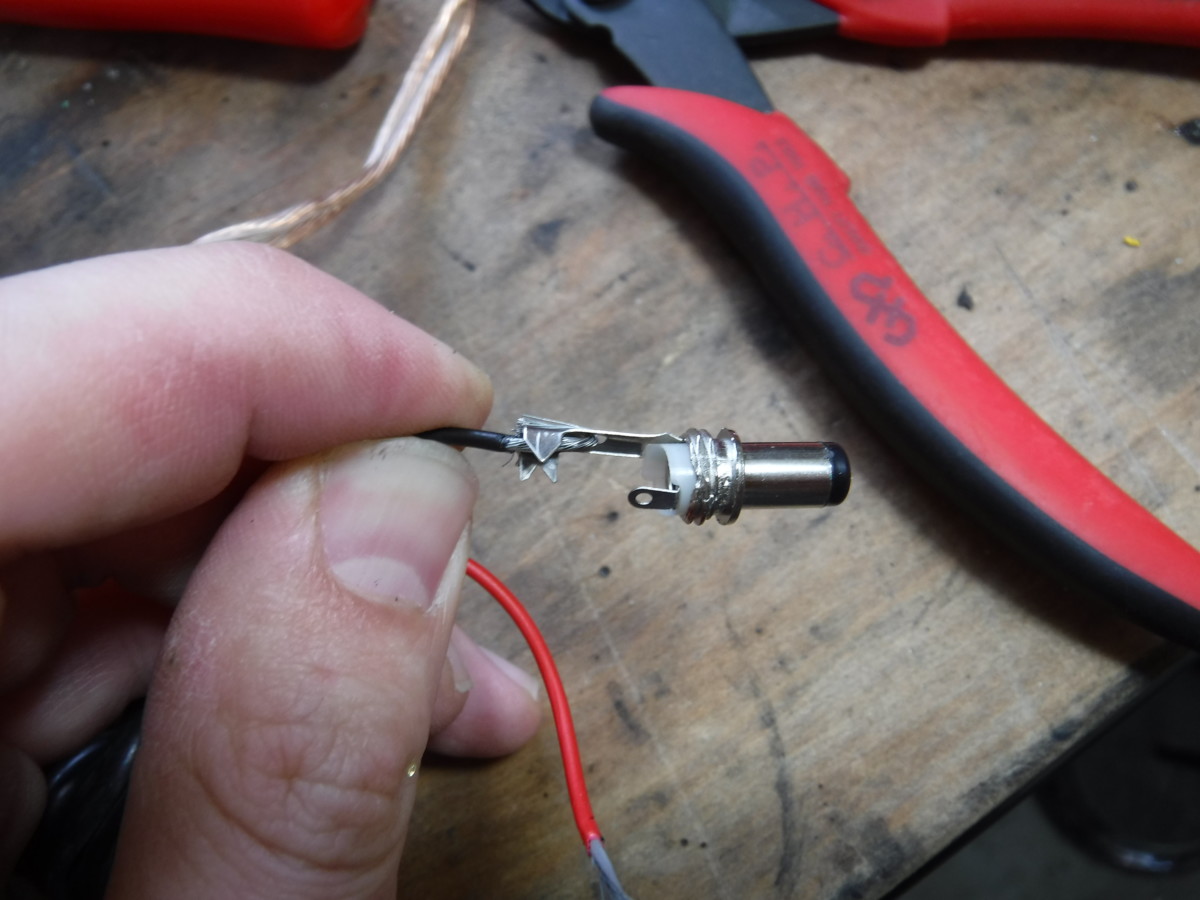
Heat shrink applied, barrel connector housing on, solder blob on pin
This is just before soldering the center pin. I have slid heat shrink on both wires, put the barrel connector housing down the outer wire jacket, and crimped the ground in place. I have also applied a blob of solder to the pin and tinned the red wire.
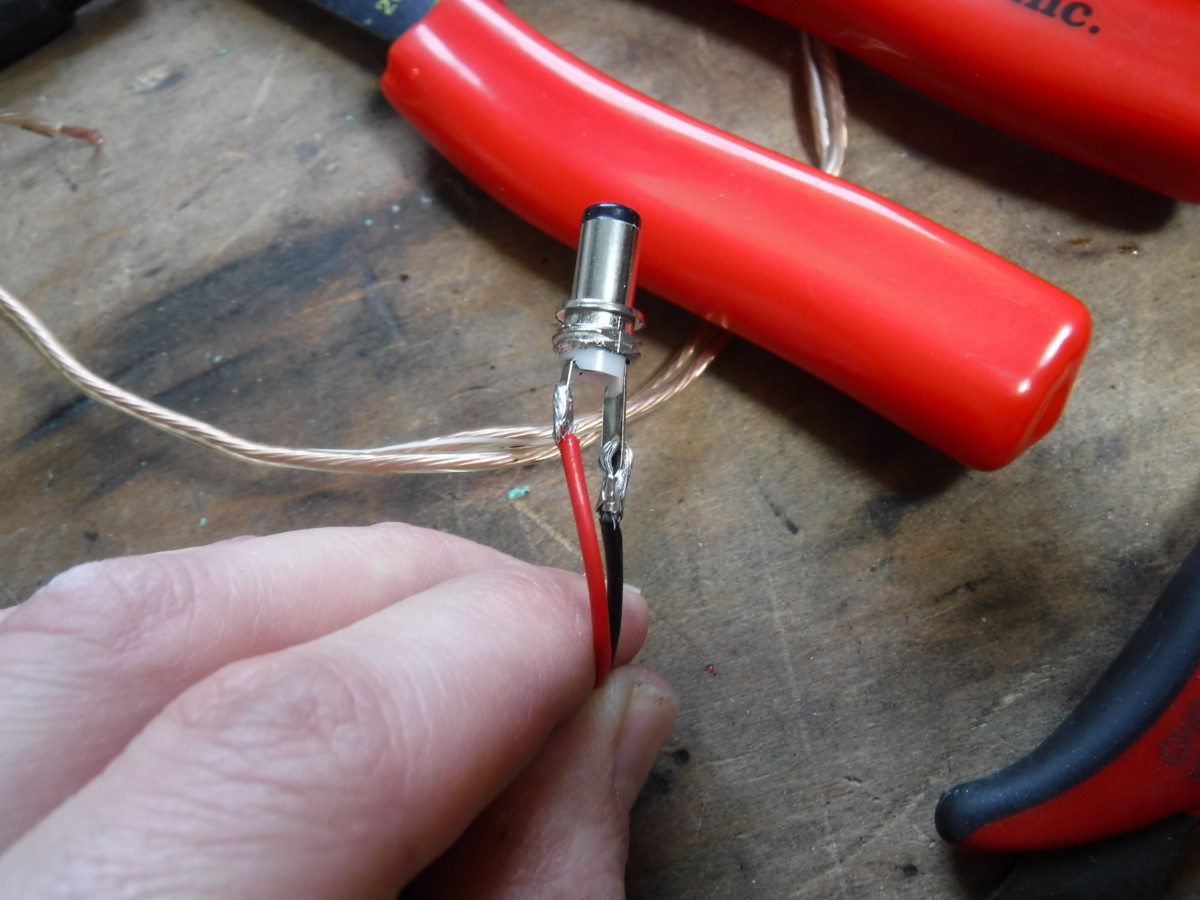
The positive wire is soldered
To solder the positive wire, I simply heated the tinned wire against the blob of solder on the connector until they sank together firmly.
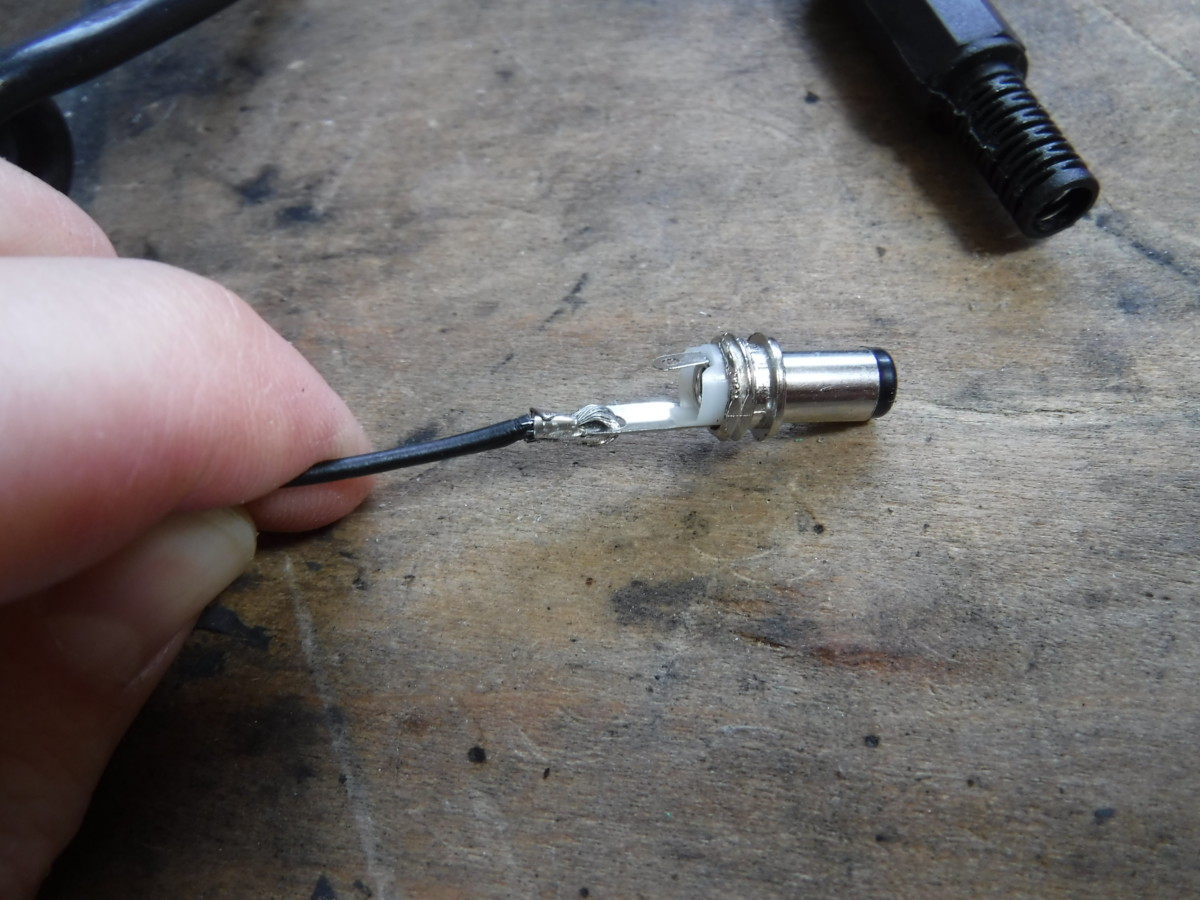
Solder on ground wire
This picture shows the ground wire soldered more clearly.
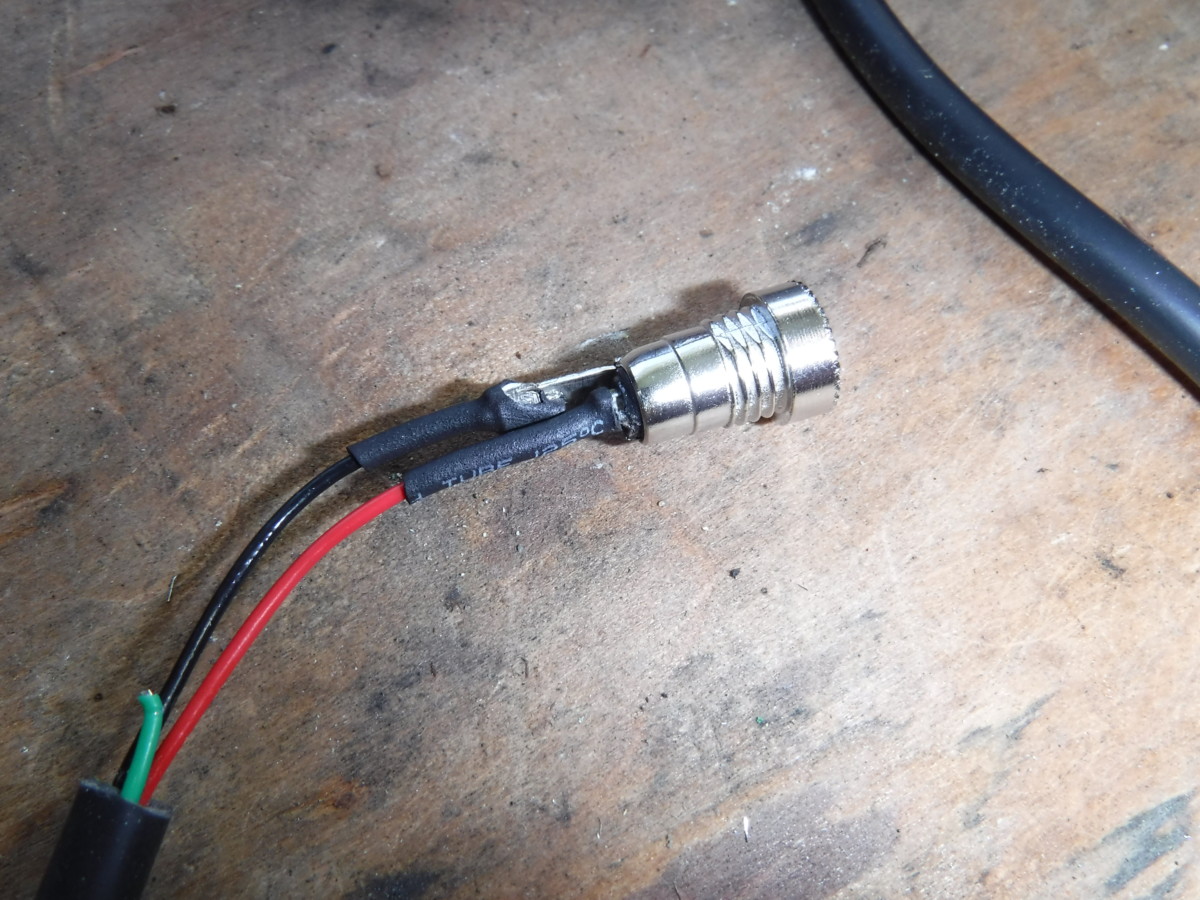
Removed male connector, applied heat shrink
After I took out the male connector, I applied some heat shrink. The ground wire heat shrink ended up being a little bit snug and tearing on some extra solder, but oh well.
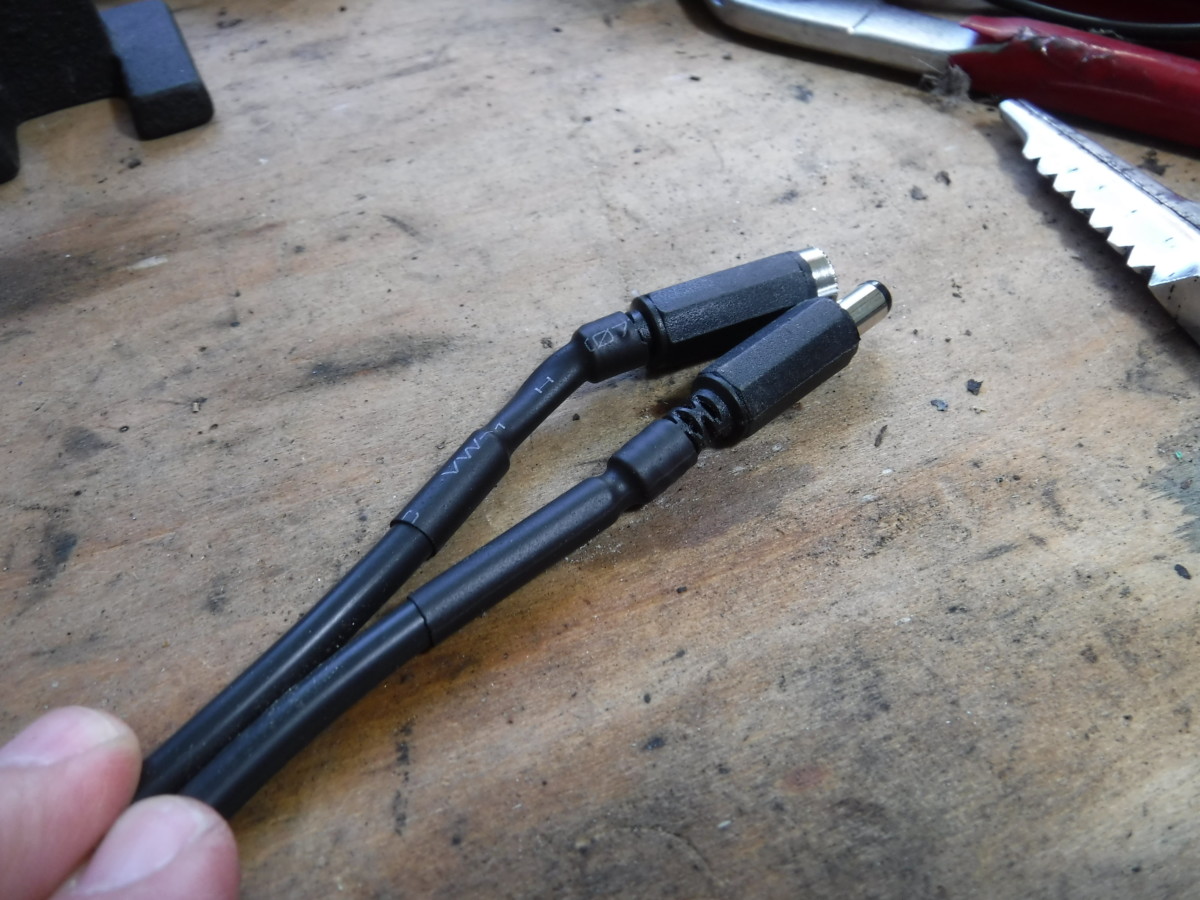
Both ends finished up
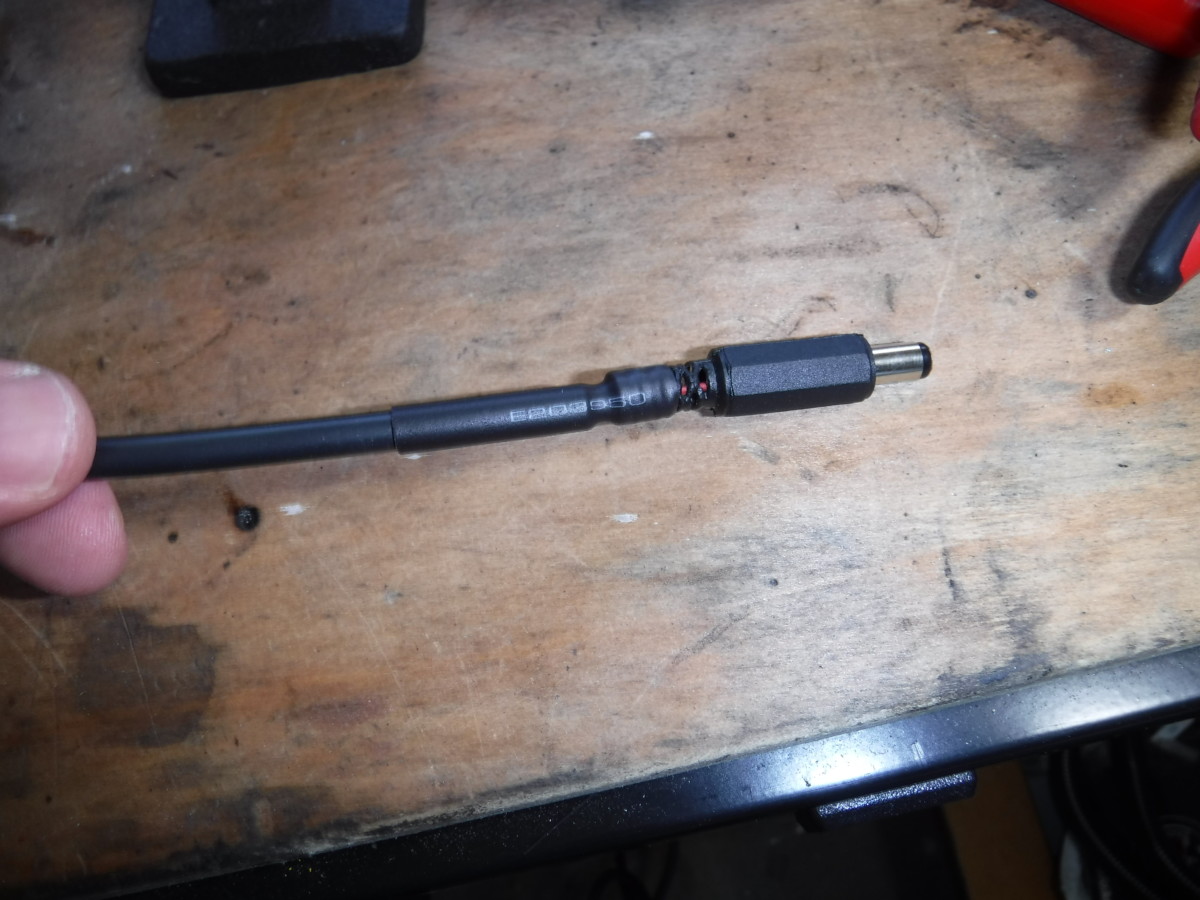
Here is the final extension wire. The male end plugs into the TS-100, and the female end goes to a male connector on the battery or 12V car power. The silicone jacketed wire is much more flexible than standard, so it doesn’t pull on your hand when you’re trying to carefully solder something.
Wrap-Up
Overview of the entire setup
I thought I would show the overview shot one more time. I ended up making a battery adapter for the Milwaukee M18 battery with a male connector on a short wire. The long section of speaker wire has both a male and a female end to act as an extension cord. The silicone wire also has a male and a female end and is used to provide a flexible connection to the TS-100. Lastly, there’s even a 12V power adapter for use in the car. It should be noted that you should not solder something plugged to the car’s battery while powering the iron from the car battery.
Portable Soldering Setup
This is the setup I use the most. Drill battery, adapter, flexible cord, and TS-100. This setup has proven extremely handy for soldering in the car or anywhere away from my work bench, while handling wire down into the 10 to 12 gauge range without issue.