Fixing an F-150 Third Brake Light Leak
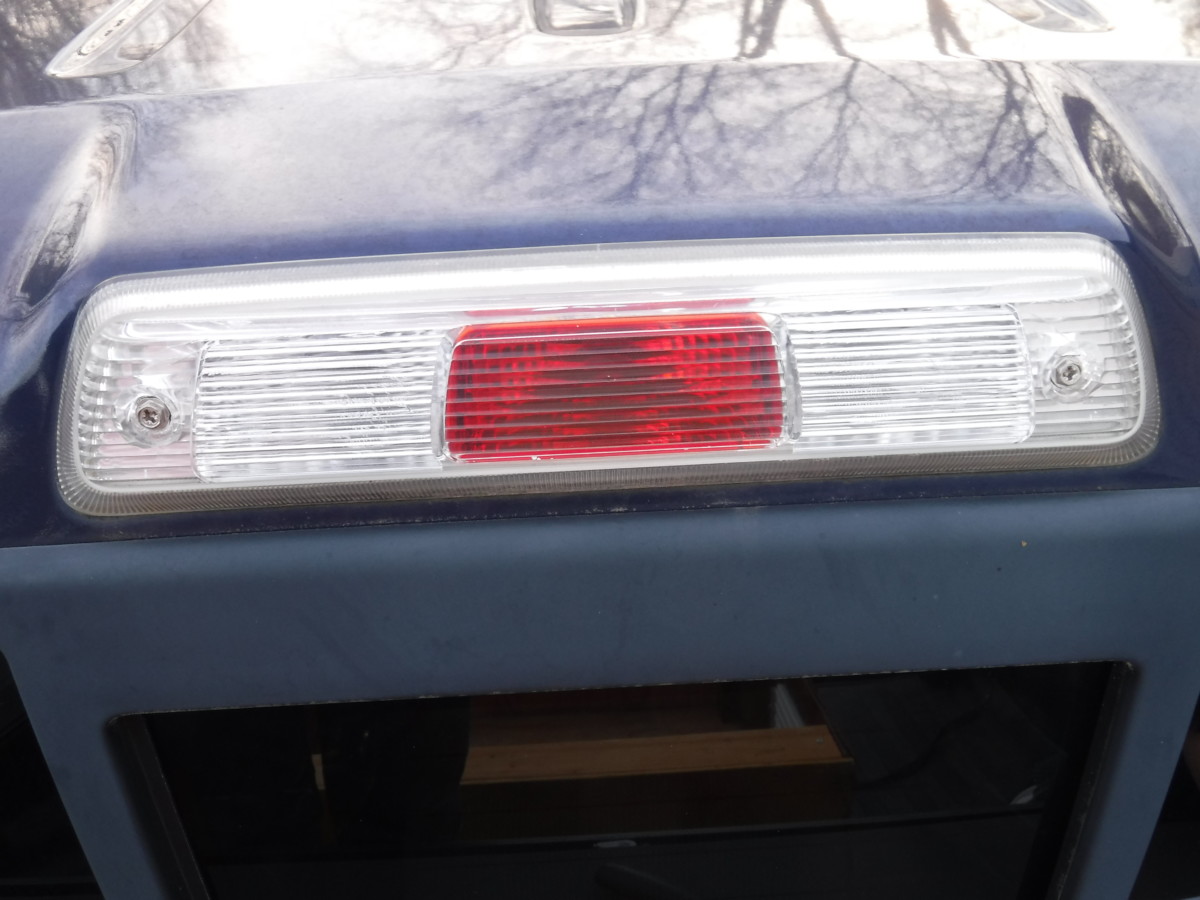
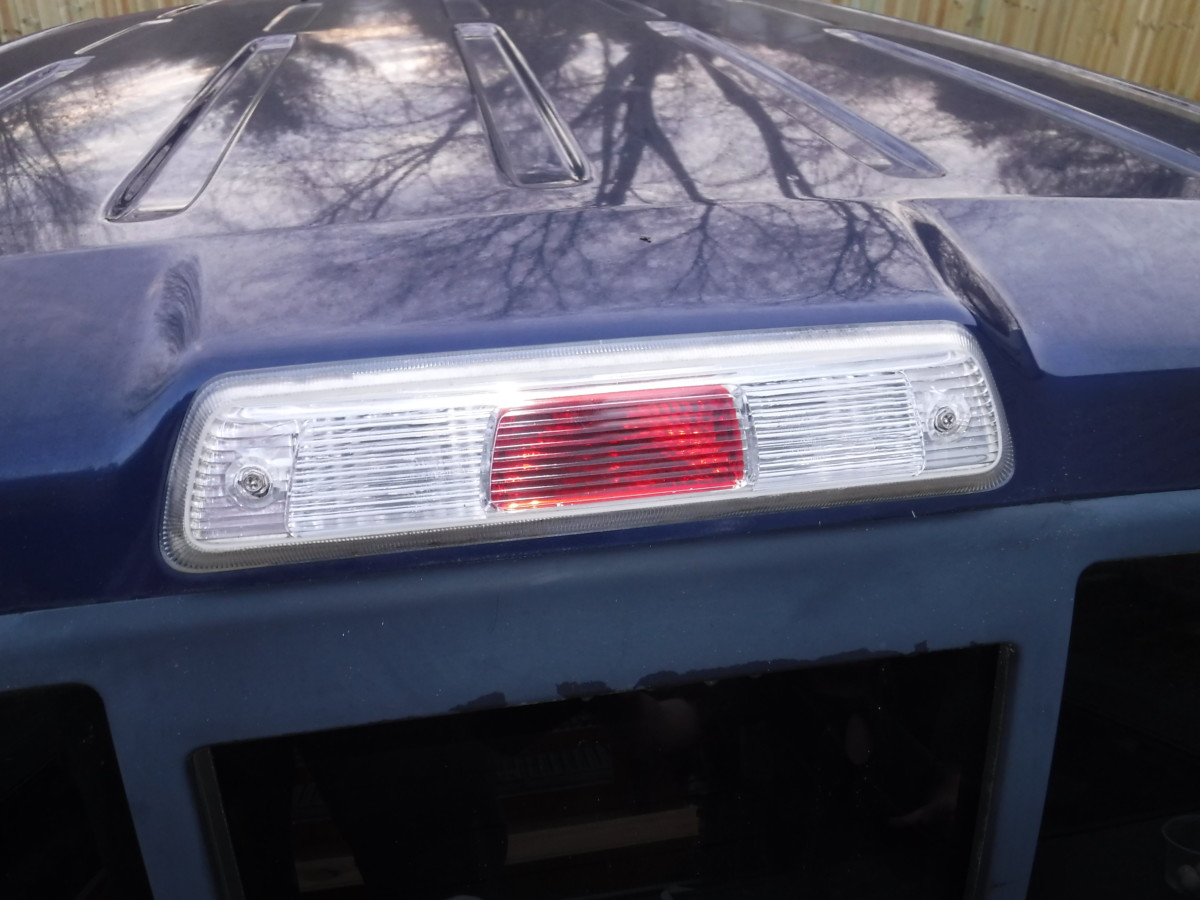
The leaking braking light on my F-150
We had a crazy downpour in February that led to flooding in our area. It also made my F-150’s third brake light leak water into the roof of the cab. You’ll know if this happens because you start to see water accumulating above the rear passenger seat on the headliner. Fortunately, I caught this problem early, and it is a fairly easy fix.
This guide is for a 2009-2014 F-150, but the same concept applies for any year.
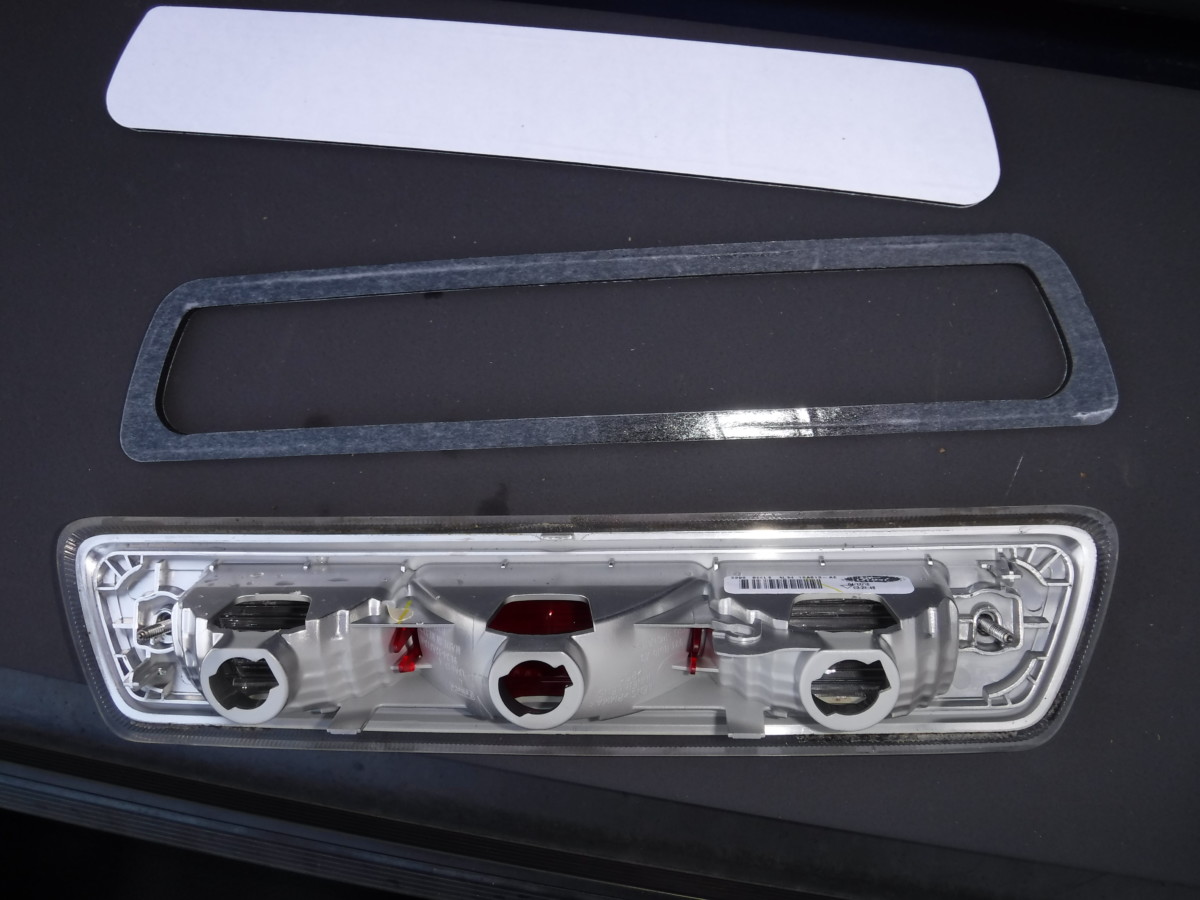
Replacement Gasket
The only part required is a replacement gasket
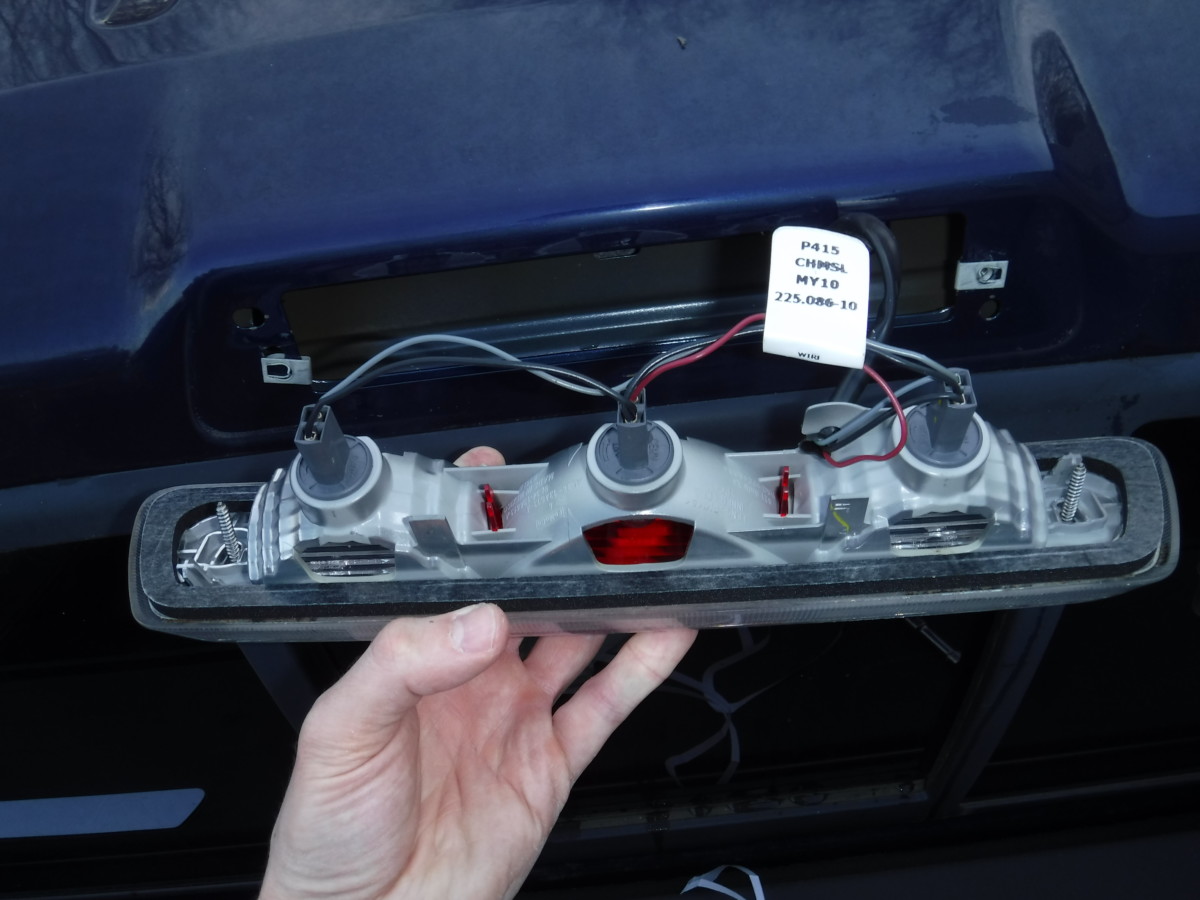
Removing the Brake Light
The brake light removed, old gasket visible
Unscrew the two mounting screws visible on the front of the old brake light. Once you do this, it’ll pull right out. When you turn it around, you’ll see your old gasket. In my case, this moldy, nasty, 8 year old gasket is the cause of my brake light leak.
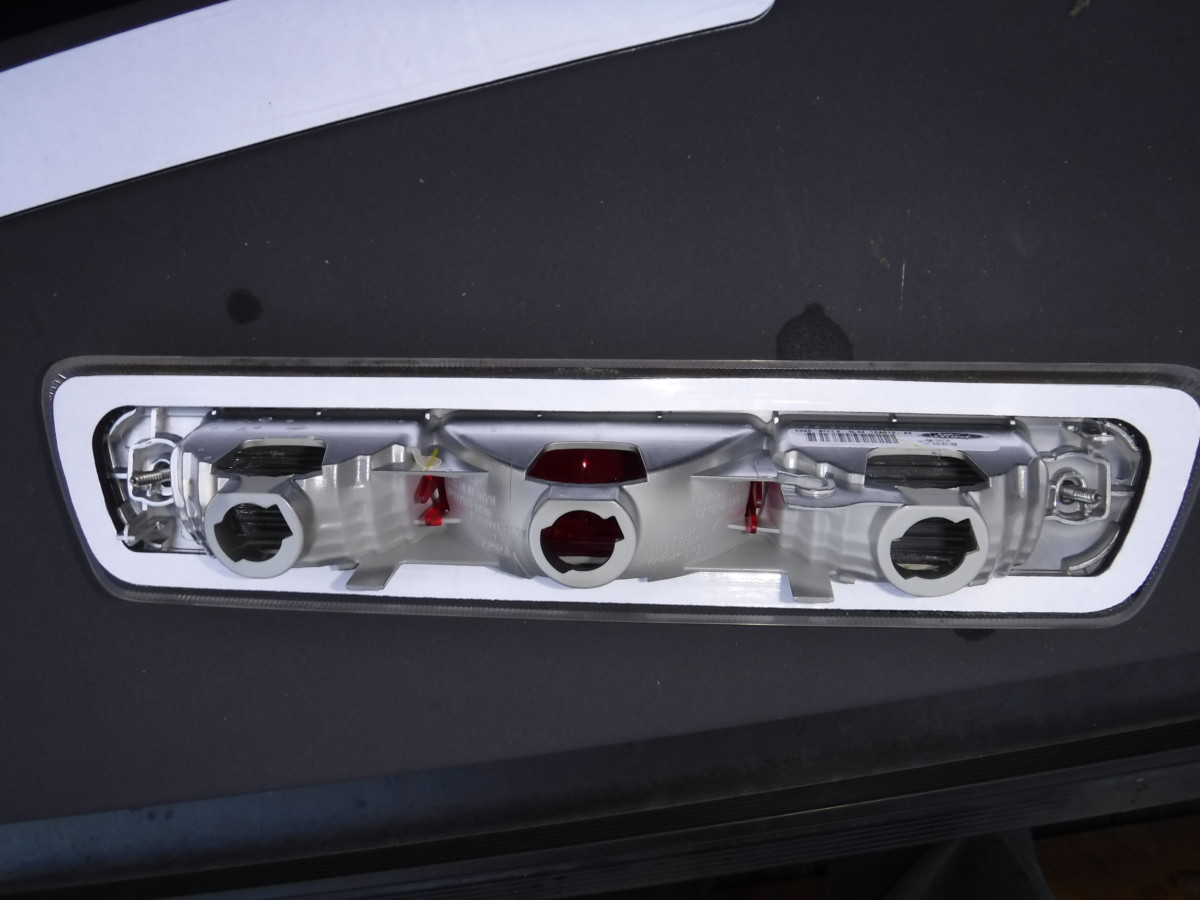
Unplugging the Brake Light
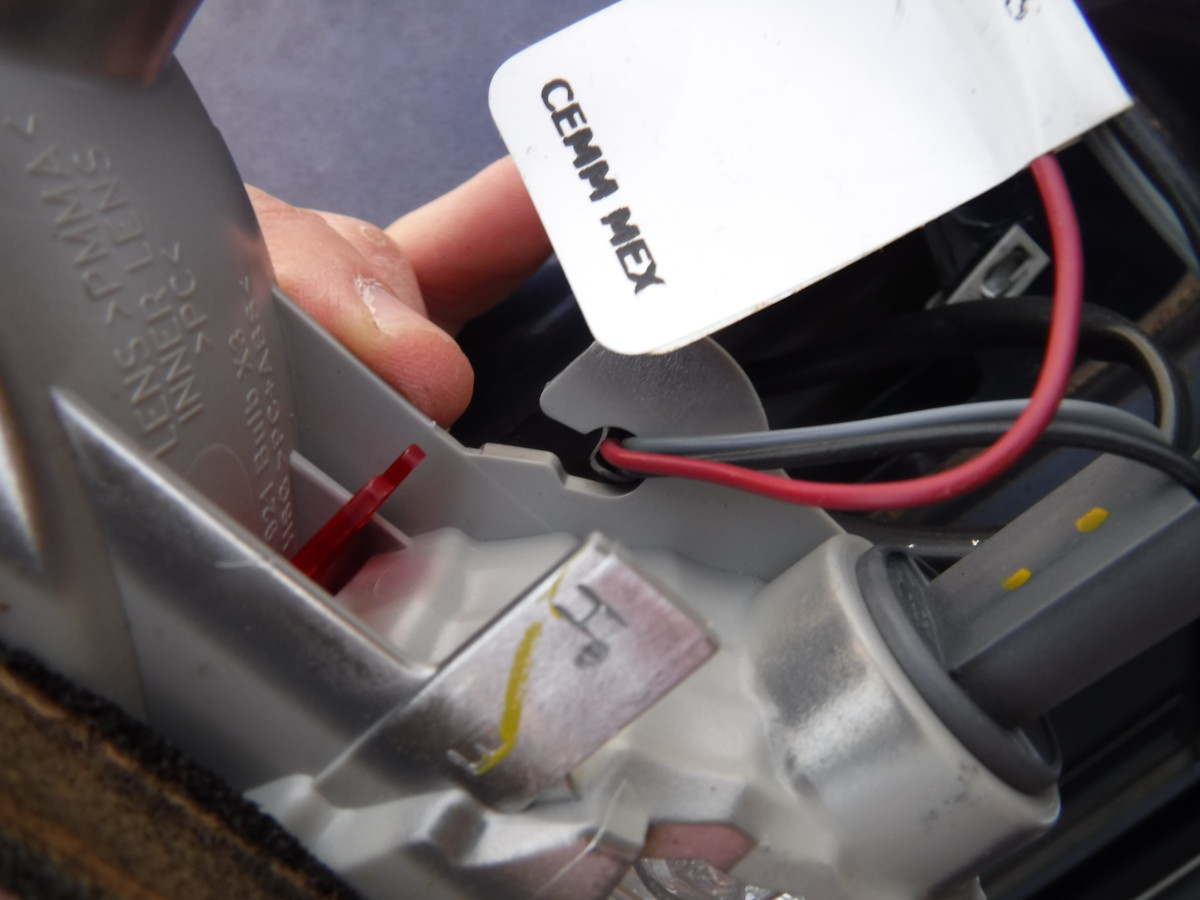
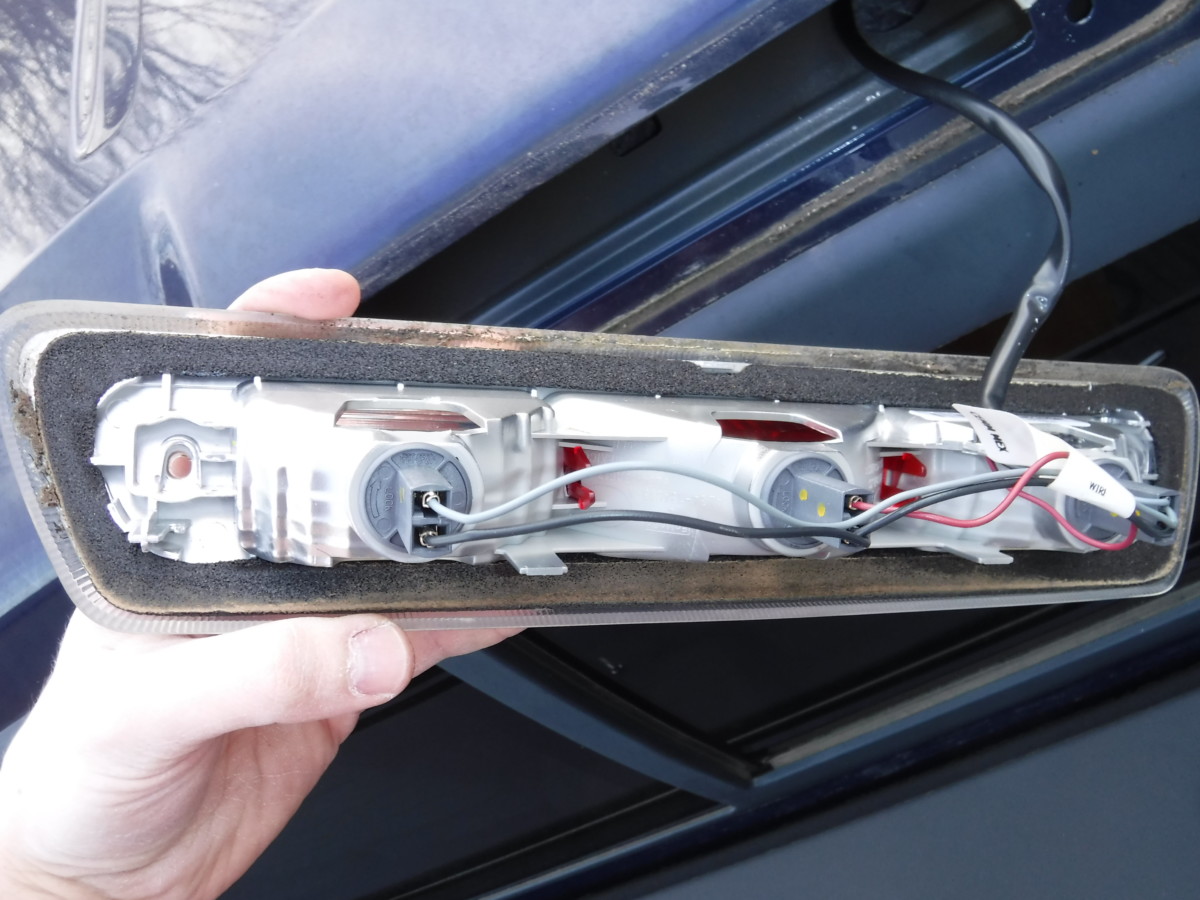
Unhook these wires from this retainer

Unscrew the bulb from the housing and pull
Unplugging the brake lights is quite straightforward. Some of the brake light wires go through a retainer clip like the one in the first picture, so pull them out of that first. Then, each of the three light bulbs turn and pull straight out.
Removing the Old Gasket

You can see why this didn’t seal anymore
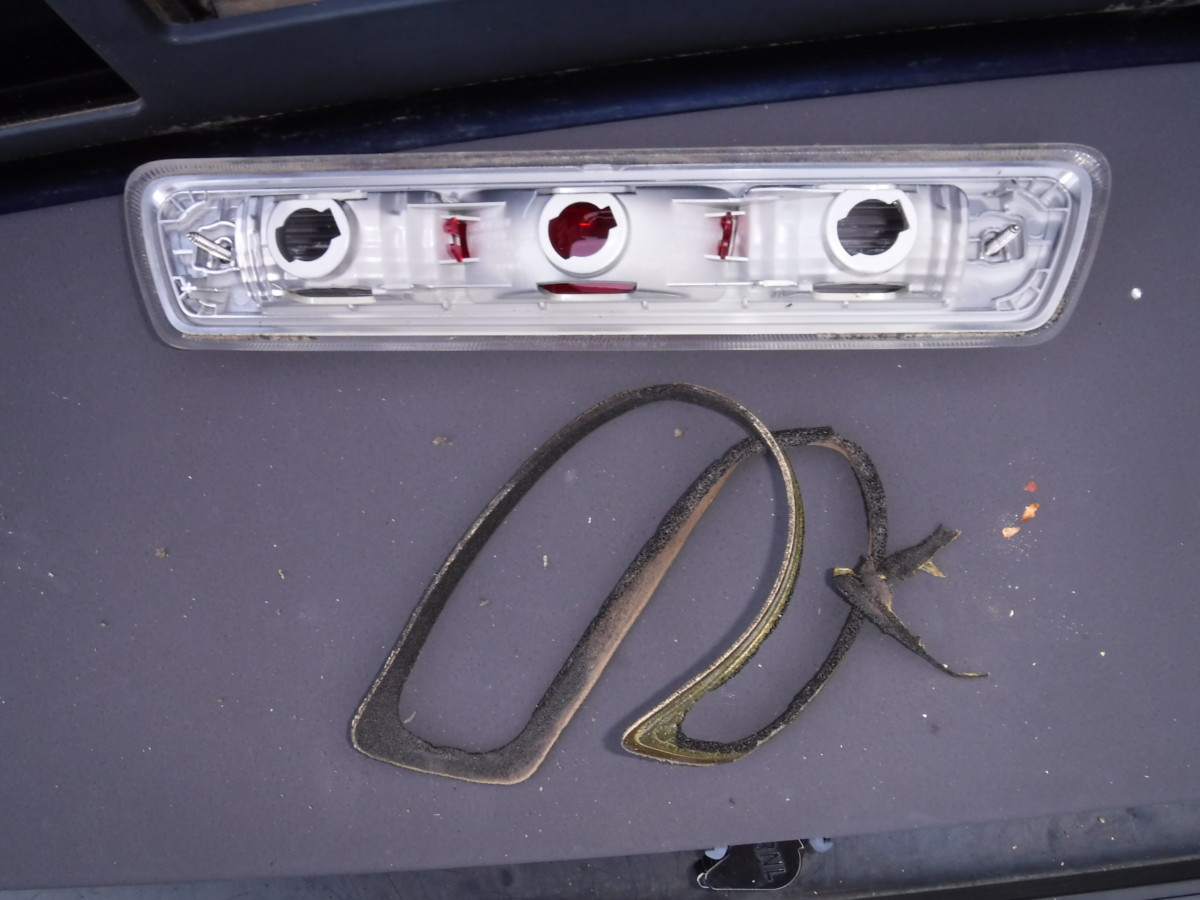
It mostly just peeled right off
The housing is upside-down in this picture, but you can see that a large portion of the factory gasket is covered in dirt and gunk, ruining its ability to seal. Fortunately, removing the old seal is very easy. I simply ripped it off, and barely had to do anything to clean up the mating surface. If necessary, you can use a little bit of brake cleaner and a sponge or rag.
Cleaning the Mating Surface on the Truck
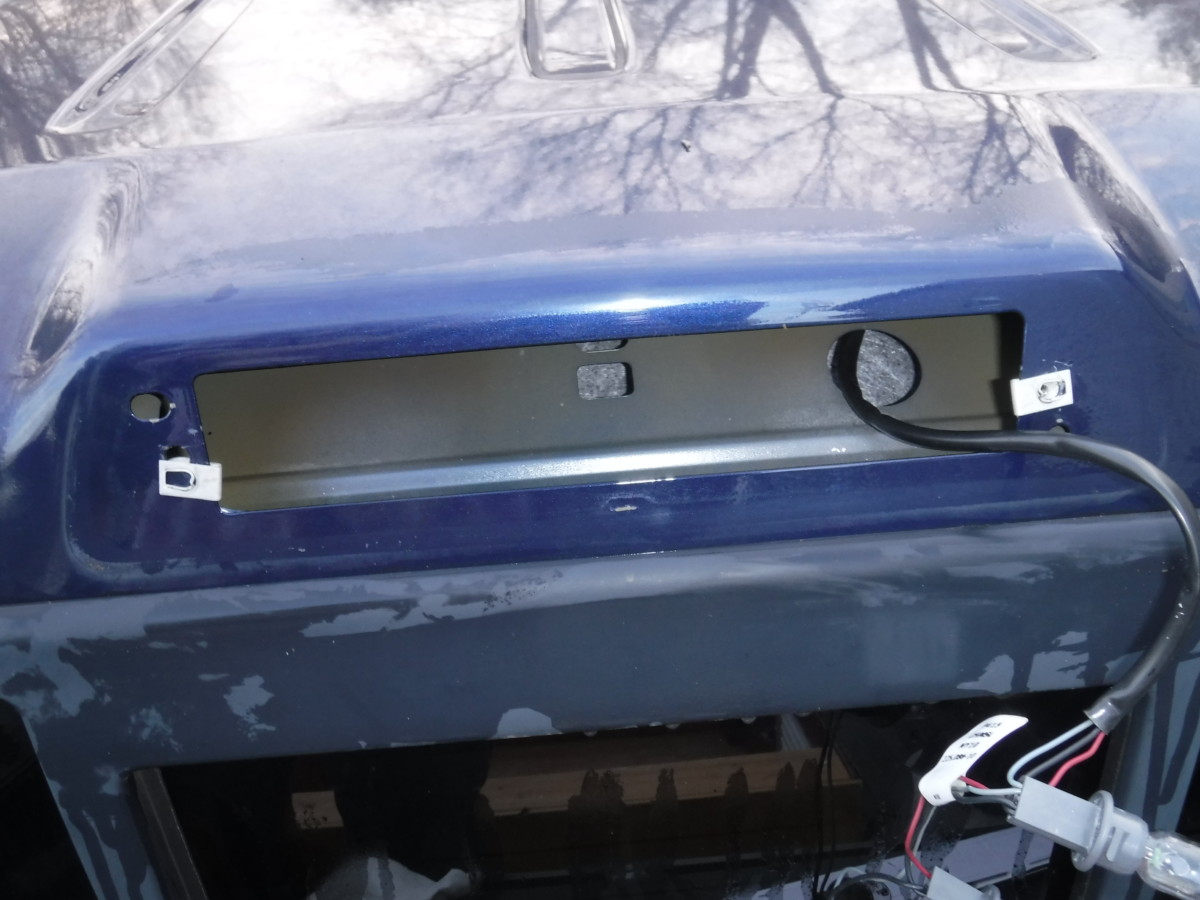
Be sure to clean the mating surface on the roof as well
You also will want to clean the roof of the truck where the brake light goes. A damp cloth suitable for cleaning your car should do the trick, although you can use some cleaner if you’d like.
Applying the New Gasket

We only care about the outer part of the new gasket
If you got the same gasket I did, it comes with the inner portion cut but not removed. You can throw that away; we just need the outer portion.
Peel the first side and stick
I did a test fit to make sure I got the right gasket. After that, peel the cover off of one side of the gasket and stick it to your now-clean brake light housing. I considered adding RTV, which it says you can, but decided against it. I didn’t want to add more mess if this sealed by itself, which it did.
Ready to mount
This housing is ready for reinstallation. Before installing, I’ll peel the cover off of the second side and stick it to the truck.
Reinstallation
Reinstalled bulbs and peeled cover off adhesive
Here’s the housing with the bulbs reinstalled. I also put any wires back in their retaining clips. The cover has been peeled off this side of the gasket, and I can now put this back in the truck. Try to put it directly against the truck in a straight shot, so you don’t tear the gasket or mess up the adhesive. I stuck the screws out as far as they would go, lined those up, and then pressed the whole thing against the truck. It worked fairly well. Don’t go too crazy on the screws, either, or you can crack the housing. Just snug them down.
Finished
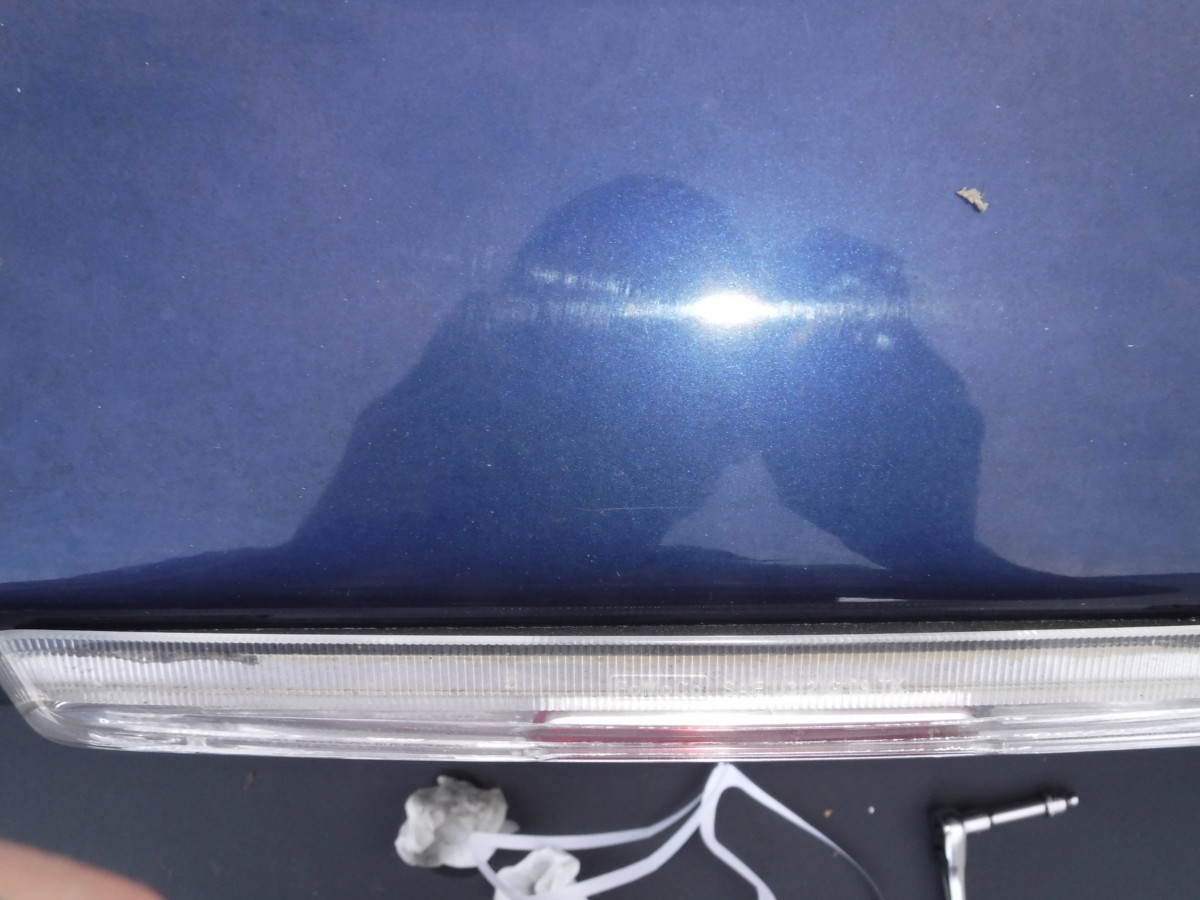
You can see how much gasket there is
And here’s the final product. The next day, I sprayed it pretty hard with a hose to make sure I no longer had a brake light leak here. It performed great. The new gasket is also a bit thicker than the old one, easily taking up the space you see in the second picture.
Eventually, just about any vehicle with this sort of brake light will develop a brake light leak. The gaskets simply don’t last forever. Fortunately, it’s a quick and fairly cheap fix.
What Brand and Where did you buy? Thanks