2012 Toyota Camry Brake Light Replacement
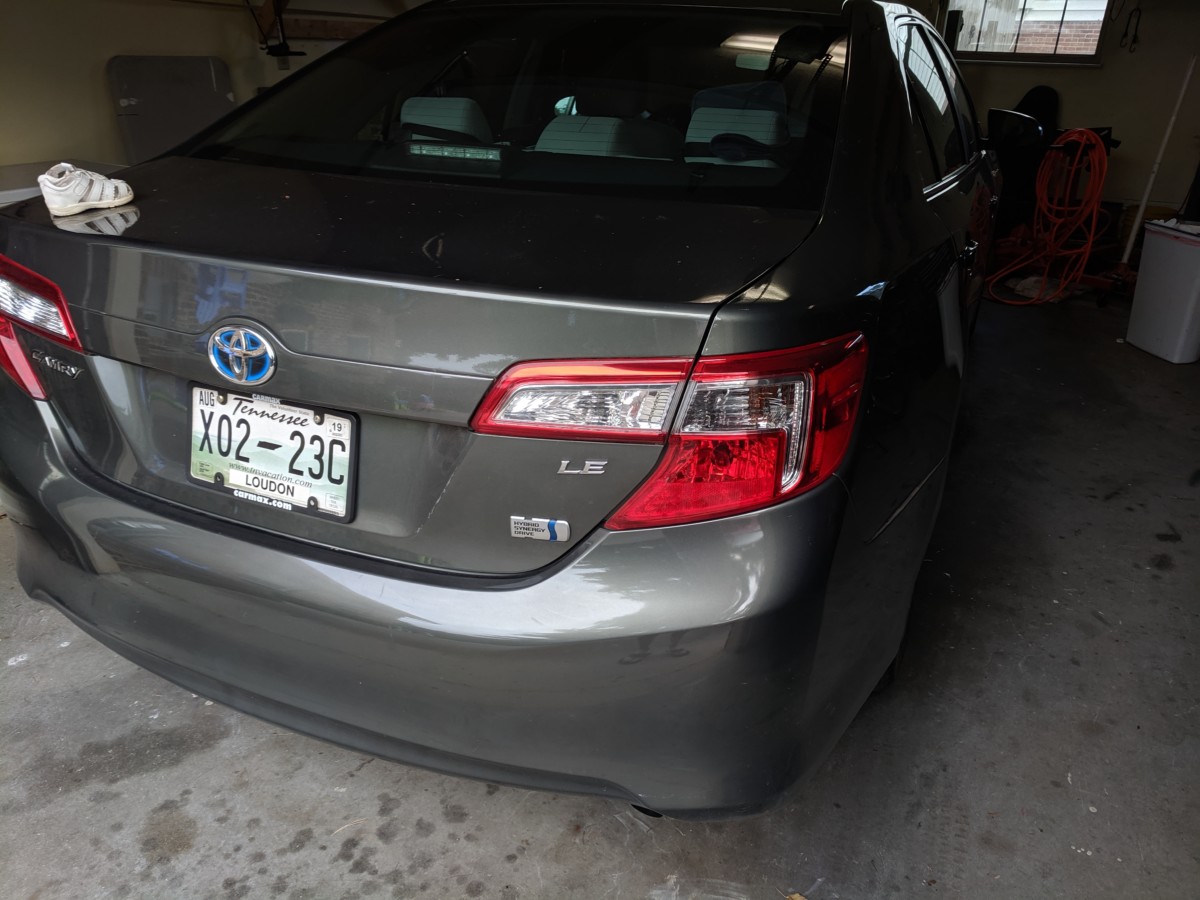
The Camry Hybrid in question
One of the brake lights went out in my wife’s 2012 Toyota Camry hybrid, so I thought I would write up a quick guide to brake light replacement for one of these. The job is easy, with the only trick being getting the plastic off without breaking anything. I’ve documented how to do this below.
Tools and Parts Required

Replacement bulb, note the 7443 marking indicating the size
- 7443 brake light bulb
– Available at most auto parts stores
- One of these fastener removal tools
– Also at most auto parts stores
- A pair of needle nose pliers

Removing Three Plastic Fasteners
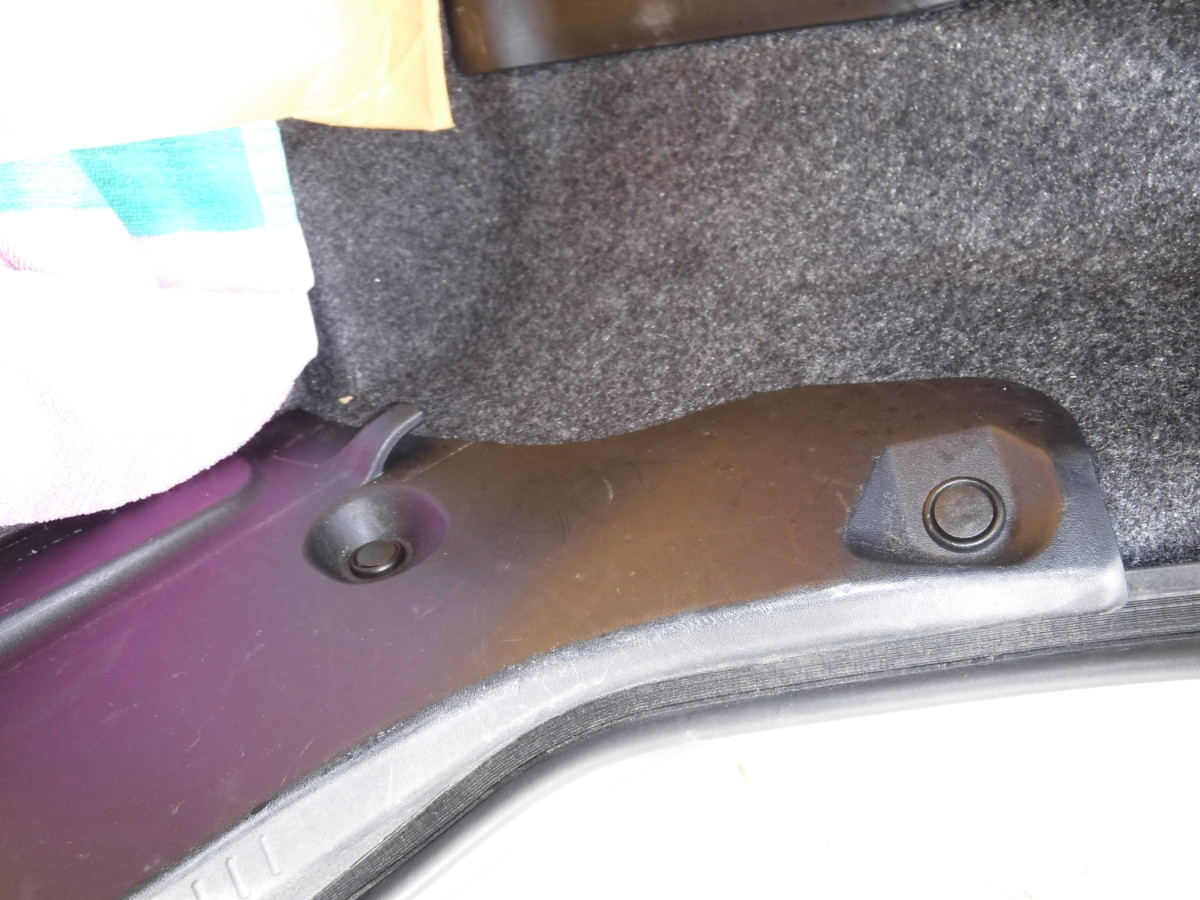
Access the brake light behind this trim panel
Most cars these days bury access to the tail lights under trim pieces like this, using these fragile little plastic push pin clips. These actually aren’t hard to get out, but a fastener removal tool
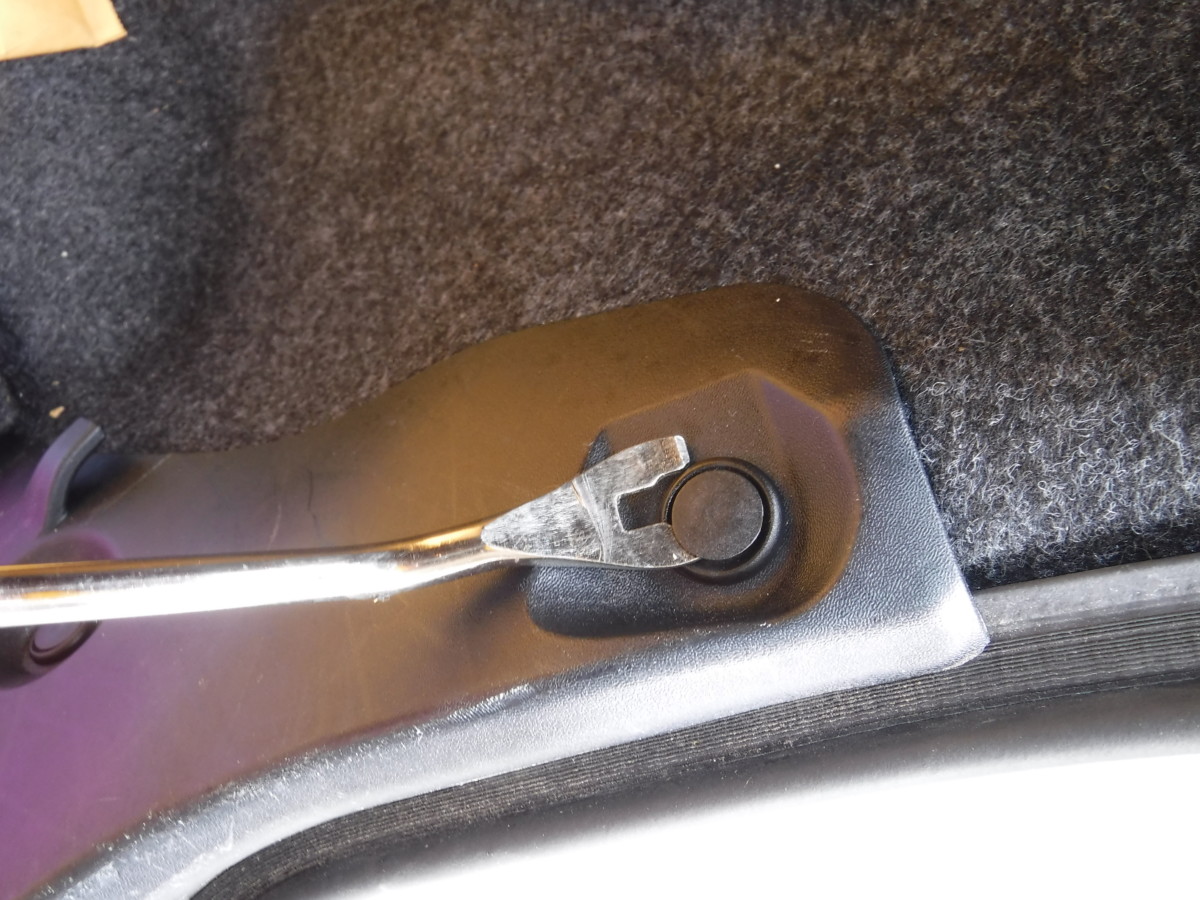
Pry it up a bit

Hook it and pull
Use of the tool is straightforward. Gently pry the fastener up enough to get the tool under the lip, and then push it in all the way as shown. At this point, just put a little leverage on the tool, and the fastener will pop up.
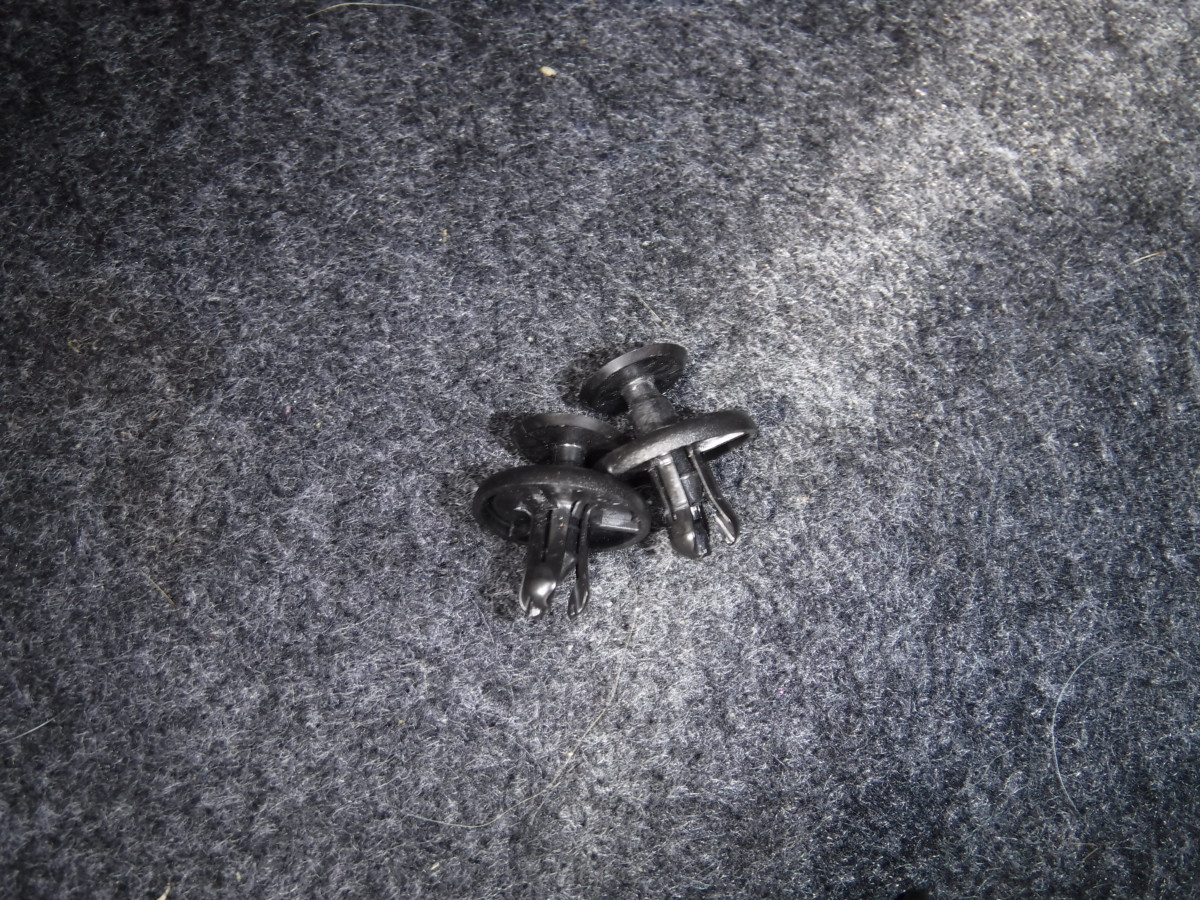
They look like this
Once you get the first two out, you’ll have two hopefully-unbroken fasteners that look like this.
Final one is higher up on the trunk
There one more higher up, pictured. You use the same removal procedure.
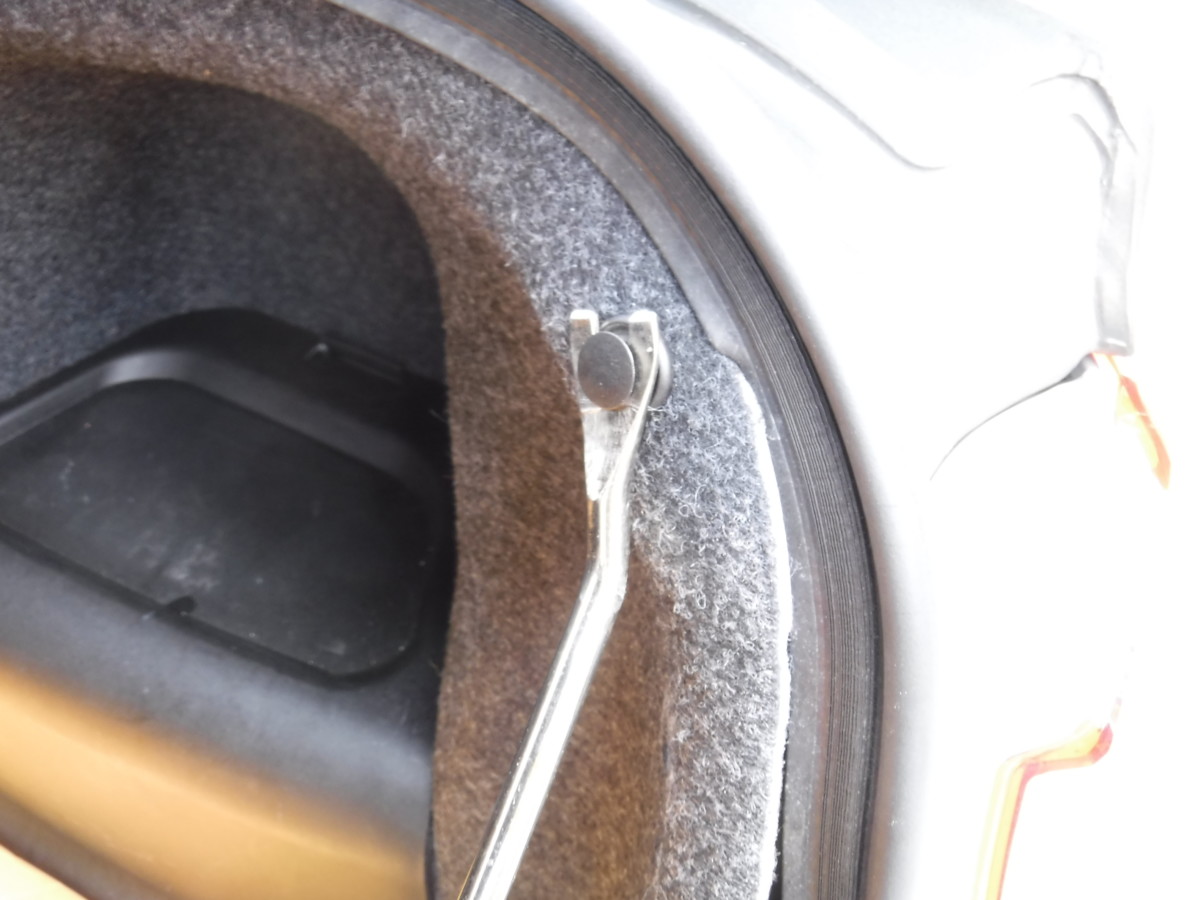
Removing the Webbing Retention Thingy

Pull back the carpet to access the clip for this
I don’t know what this plastic hook deal is called, but it needs to come out too. With the other plastic fasteners removed, you can peel back the carpet enough to expose this plastic barb.

Sneak in with needle nose pliers
A pair of needle nose pliers can sneak in between the carpet and the car. Pinch these barbs and this piece pulls right out.
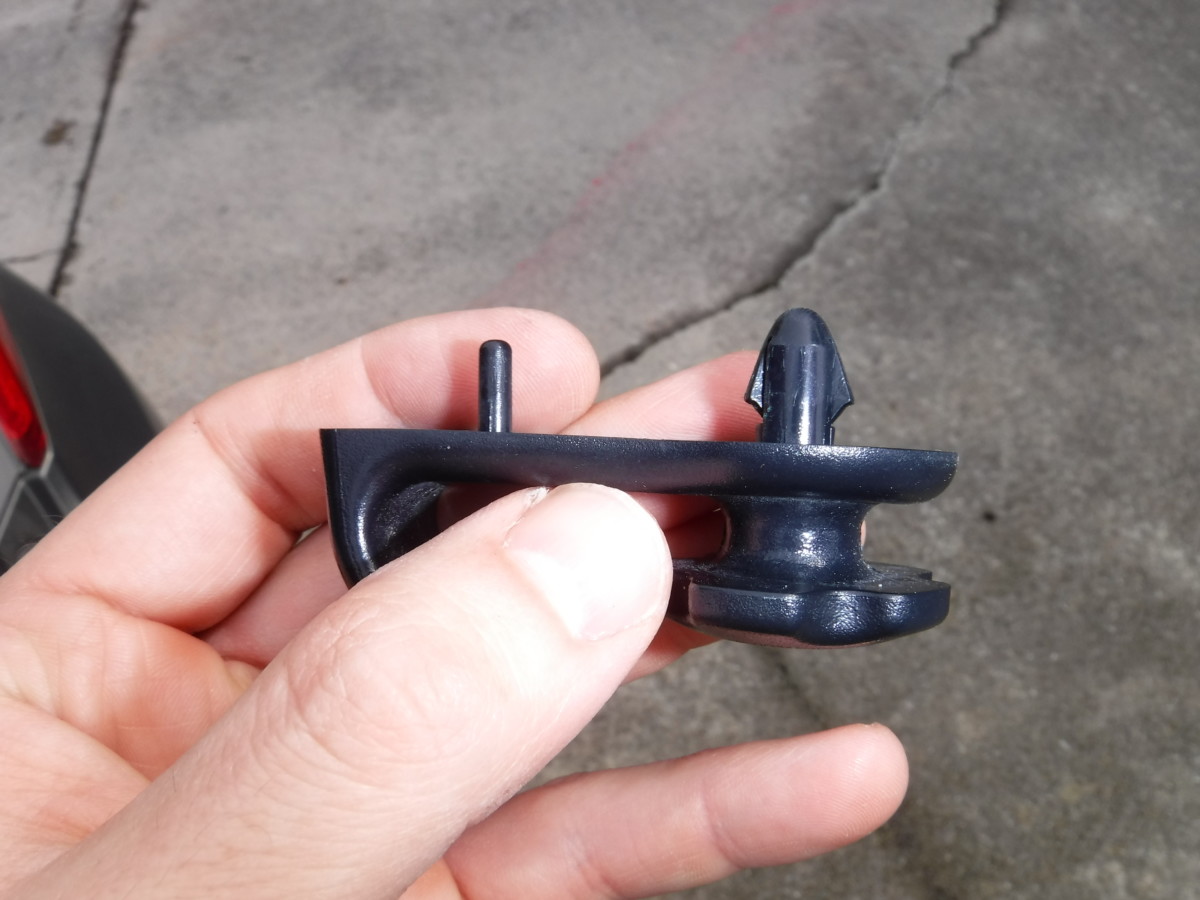
Here is what you’re pulling out
It was hard to get a good picture of this thing in situ, but here’s what it looks like once it comes out.
Unplug the Brake Light

Here’s the plug to the brake light

Pinch the tab and pull it out
With the fasteners out of the way, you can pull the carpet back enough to access the brake light area. Unplug the brake light connector, pictured, by squeezing the little retention tab and giving it a pull.
Remove the Brake Light
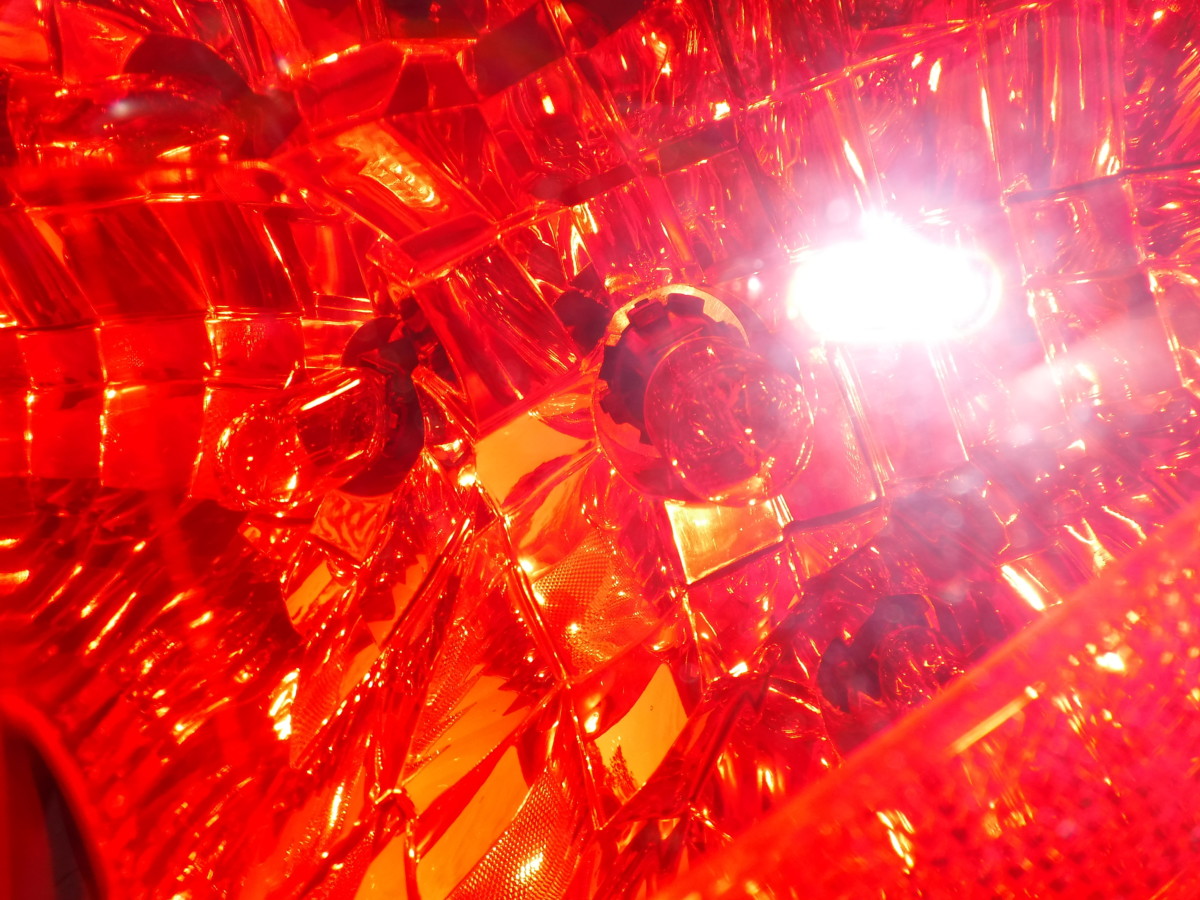
Twist lock locked
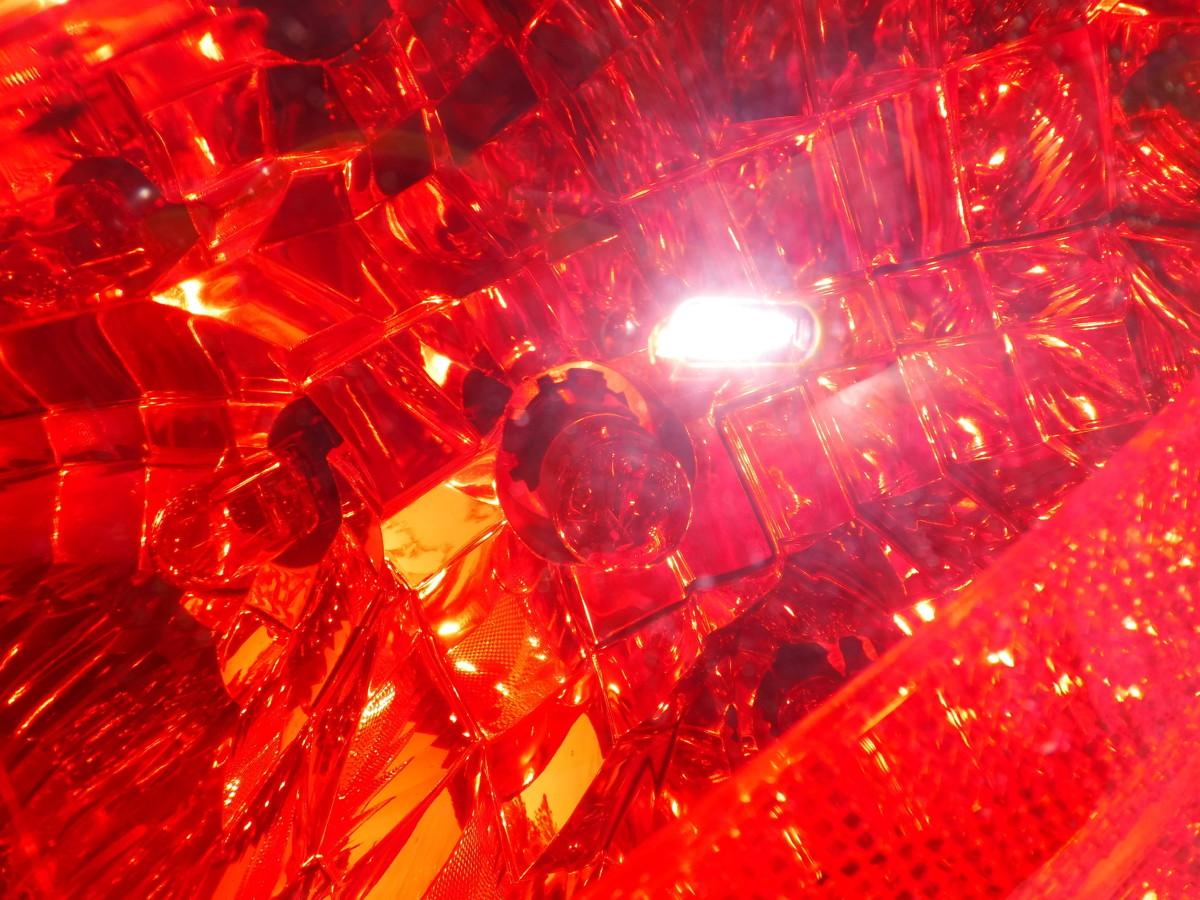
Twist lock unlocked
With the plug removed, you can directly grab on to the brake light socket. Here’s a view through the lens of what’s going on. The first view shows it installed, with little plastic flanges on the socket holding it in place. These are indexed. You rotate the bulb clockwise, as you’re looking through the lens, to get the second picture. Then you can simply pull the socket out.
Replacing the Bulb
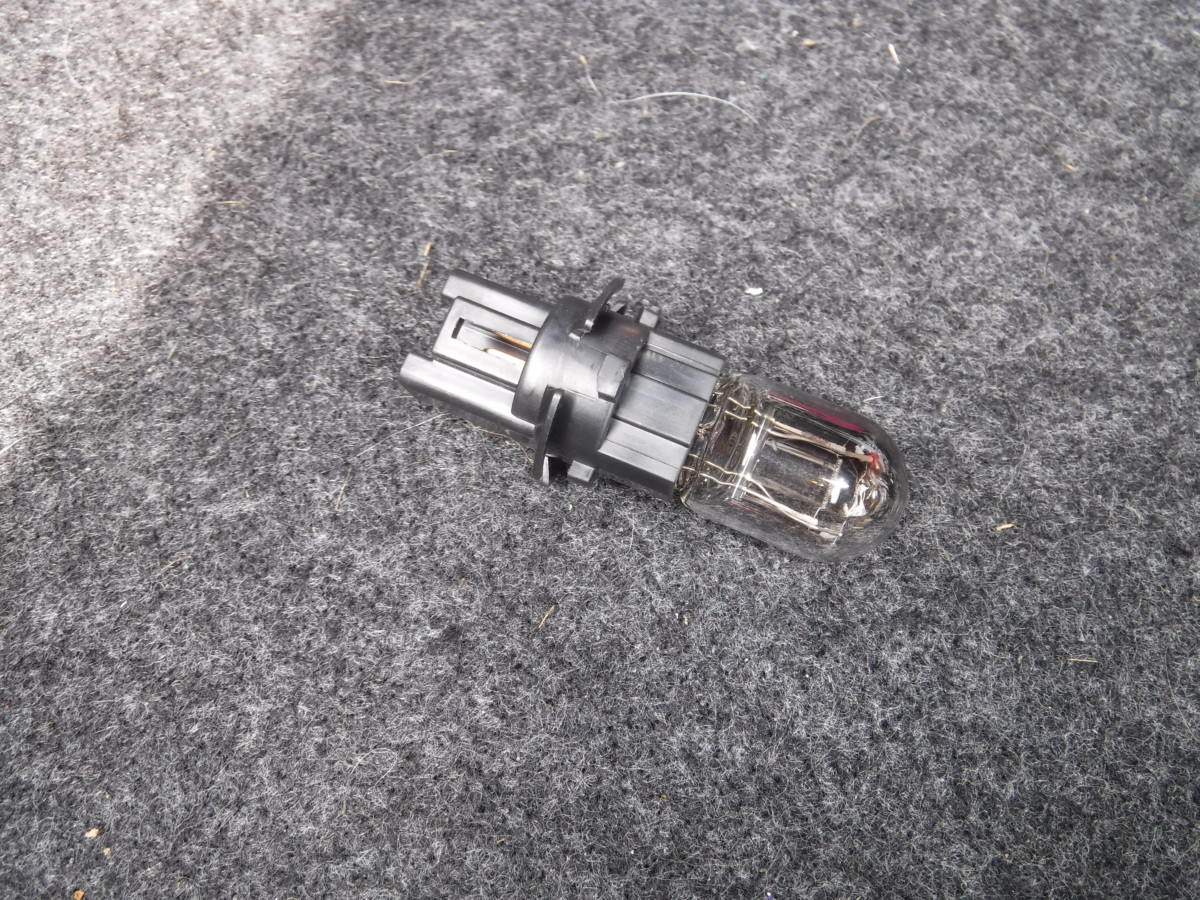
The socket with the blown bulb in it
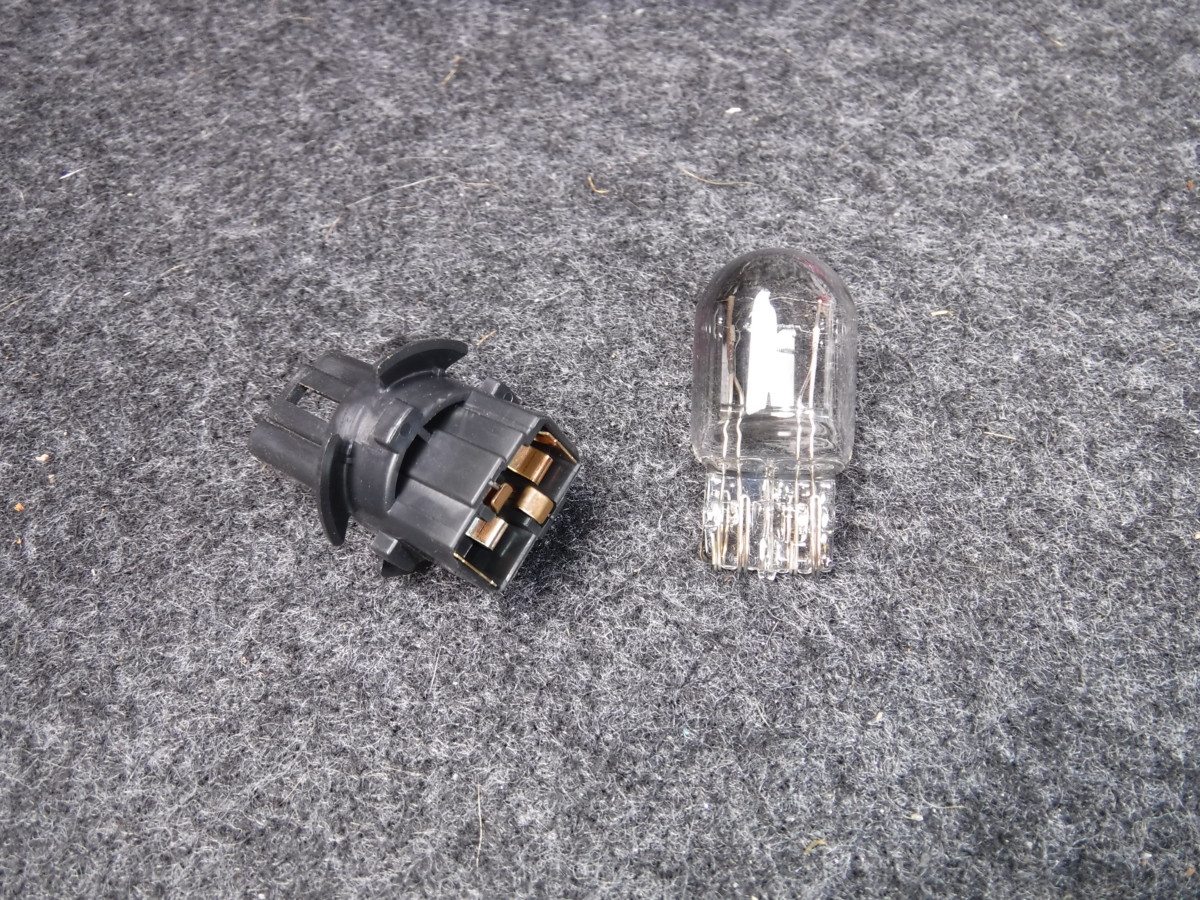
They simply pull apart
And the job is finally about done. Pull the old bulb out of the socket, put in the new one, and follow the directions in reverse to reinstall. Brake light replacement on these cars is not difficult, but as usual for car makers these days, getting past the trim panels is the main trick.
This was SUPER helpful! Thank you!