Recharging Car Air Conditioning
When I first got my car, I knew the AC didn’t work. A mechanic tried to evacuate and refill the system and discovered that pressure on both sides was equal. This meant either the expansion valve or compressor wasn’t working, and both parts are fairly expensive for him to fix. Rather than spend the estimated thousand or two dollars having him do it, I ended up replacing the expansion valve ($20 or so) and getting a used known-good compressor ($100), and recharging the system myself. I saved a significant amount of money, and I now have the tools to fix it in the future.
How AC works
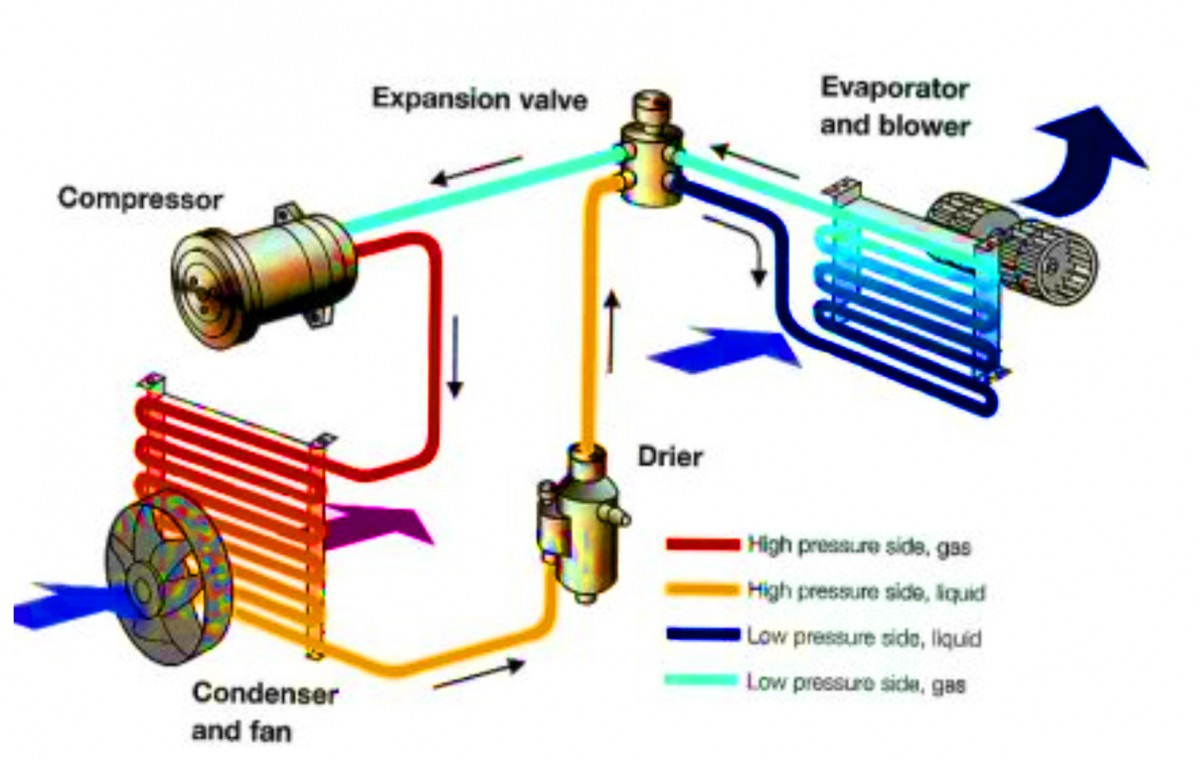
AC Diagram source: http://lvvtrimandtechnical.com/wp-content/uploads/2013/03/aircon1.jpg
Before you can start recharging car air conditioning, it’s important to understand how it works. Your car AC is a closed system, meaning it never needs “topping off” or “charging up” if it’s working properly. It does not use up refrigerant. If you find it is low, you have a leak that you should eventually fix.
The sealed system has a few major components: the compressor, condenser, receiver/drier, expansion valve, and evaporator core. The entire system has refrigerant in it under high pressure, about 40psi or so at rest. There are two “sides” to the AC system, the high and low. The compressor will take refrigerant from the low-pressure side and compress it, pushing it into the high-pressure side, which also makes it heat up.
The warmer, higher-pressure refrigerant then flows through the condenser, which is basically a radiator. The condenser will cool the warmer refrigerant as much as possible before it flows into the drier. The drier filters moisture and humidity out of the line.
Then, the refrigerant goes into the expansion valve. The expansion valve is a one-way valve that allows the high-pressure refrigerant to expand and become lower-pressure. This shift in volume, if you recall from physics, will result in the refrigerant becoming very cold. The cold, low-pressure refrigerant passes through the evaporator core, which is also basically a radiator. A fan blows over the evaporator core and hopefully cools down your car. It then continues back to the compressor, where it is compressed again.
As you can see, there is no need to ever refill the refrigerant in a properly sealed system. If you have a leak, you can find it by adding UV dye and use a blacklight to find the source.
Equipment required
Short List:
- AC Manifold Gauges
- Vacuum Pump
- Cans of Plain Refrigerant
- Can Tap
- New Receiver/Drier for your car (Always replace if the system was opened)
- PAG Oil (Only required if replacing system components)
- Oz Scale
(Optional)
- Bag of AC O-Rings (Needed if the seals in your car are old)


Extended explanation:
AC Manifold Gauges
Recharging car air conditioning requires a few specialized tools. The most important thing is a true set of manifold gauges, pictured above. I have a set of Mastercool gauges that I got for about $70 on Amazon
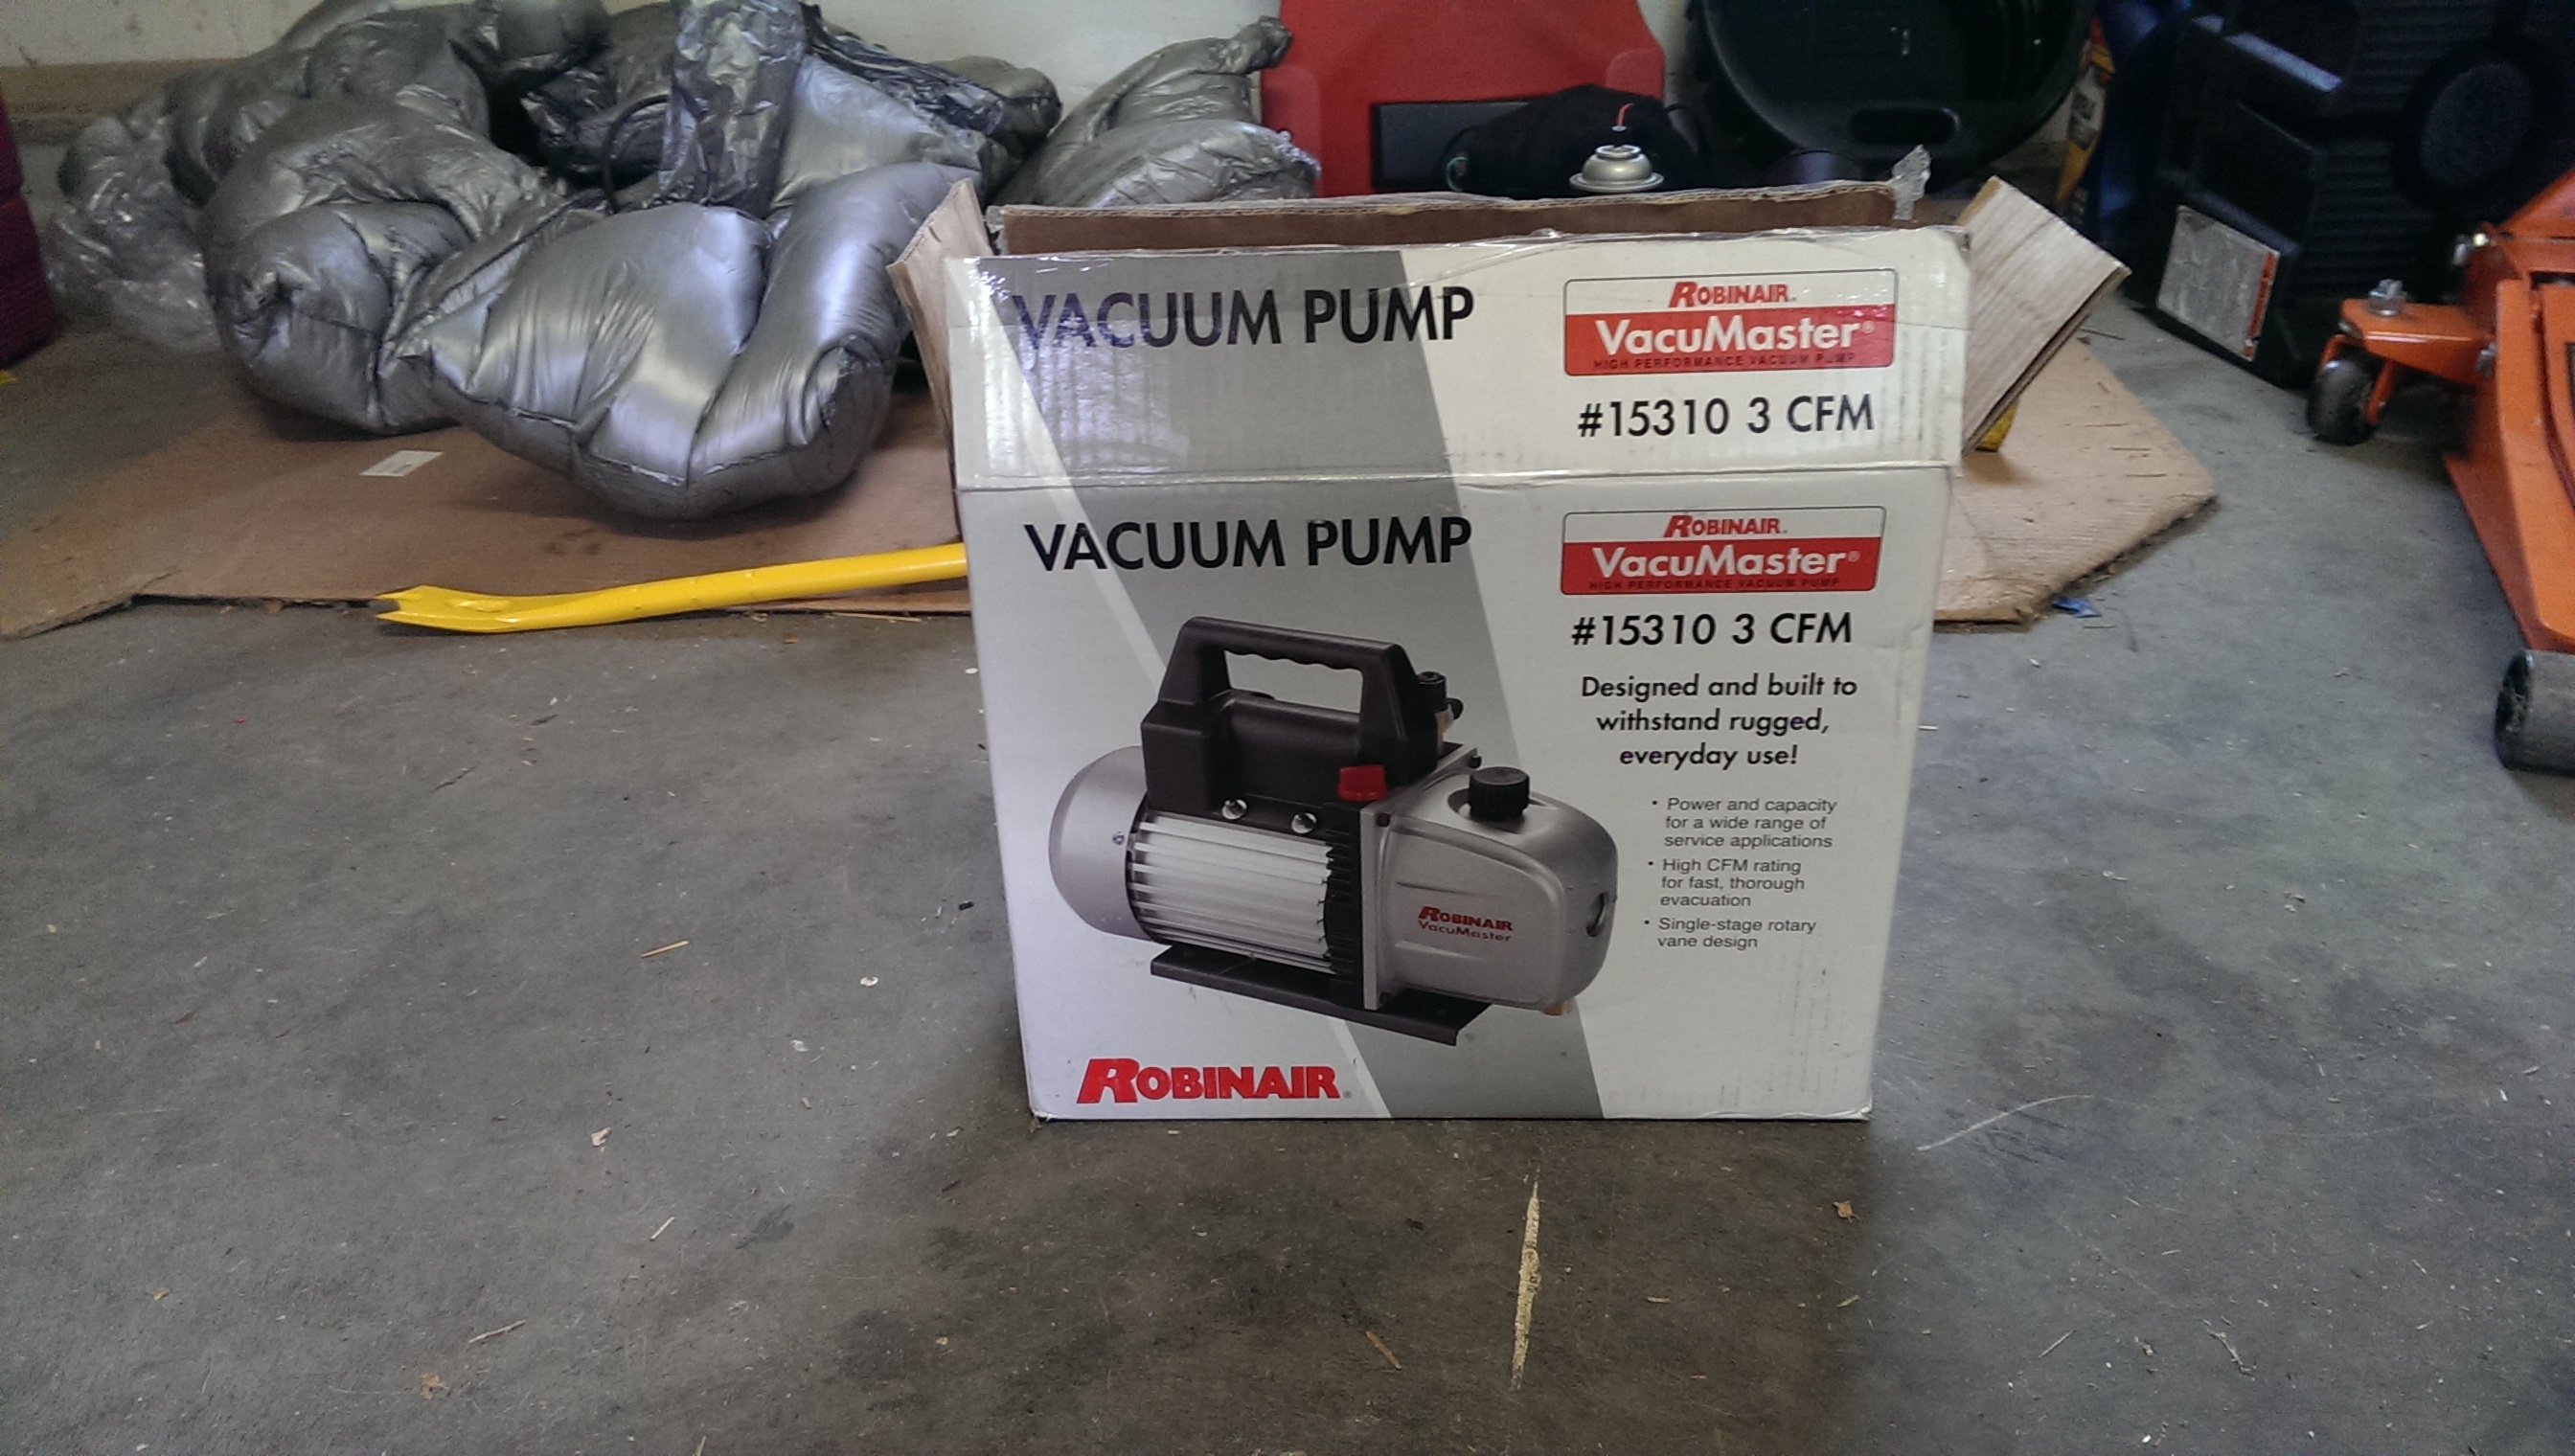
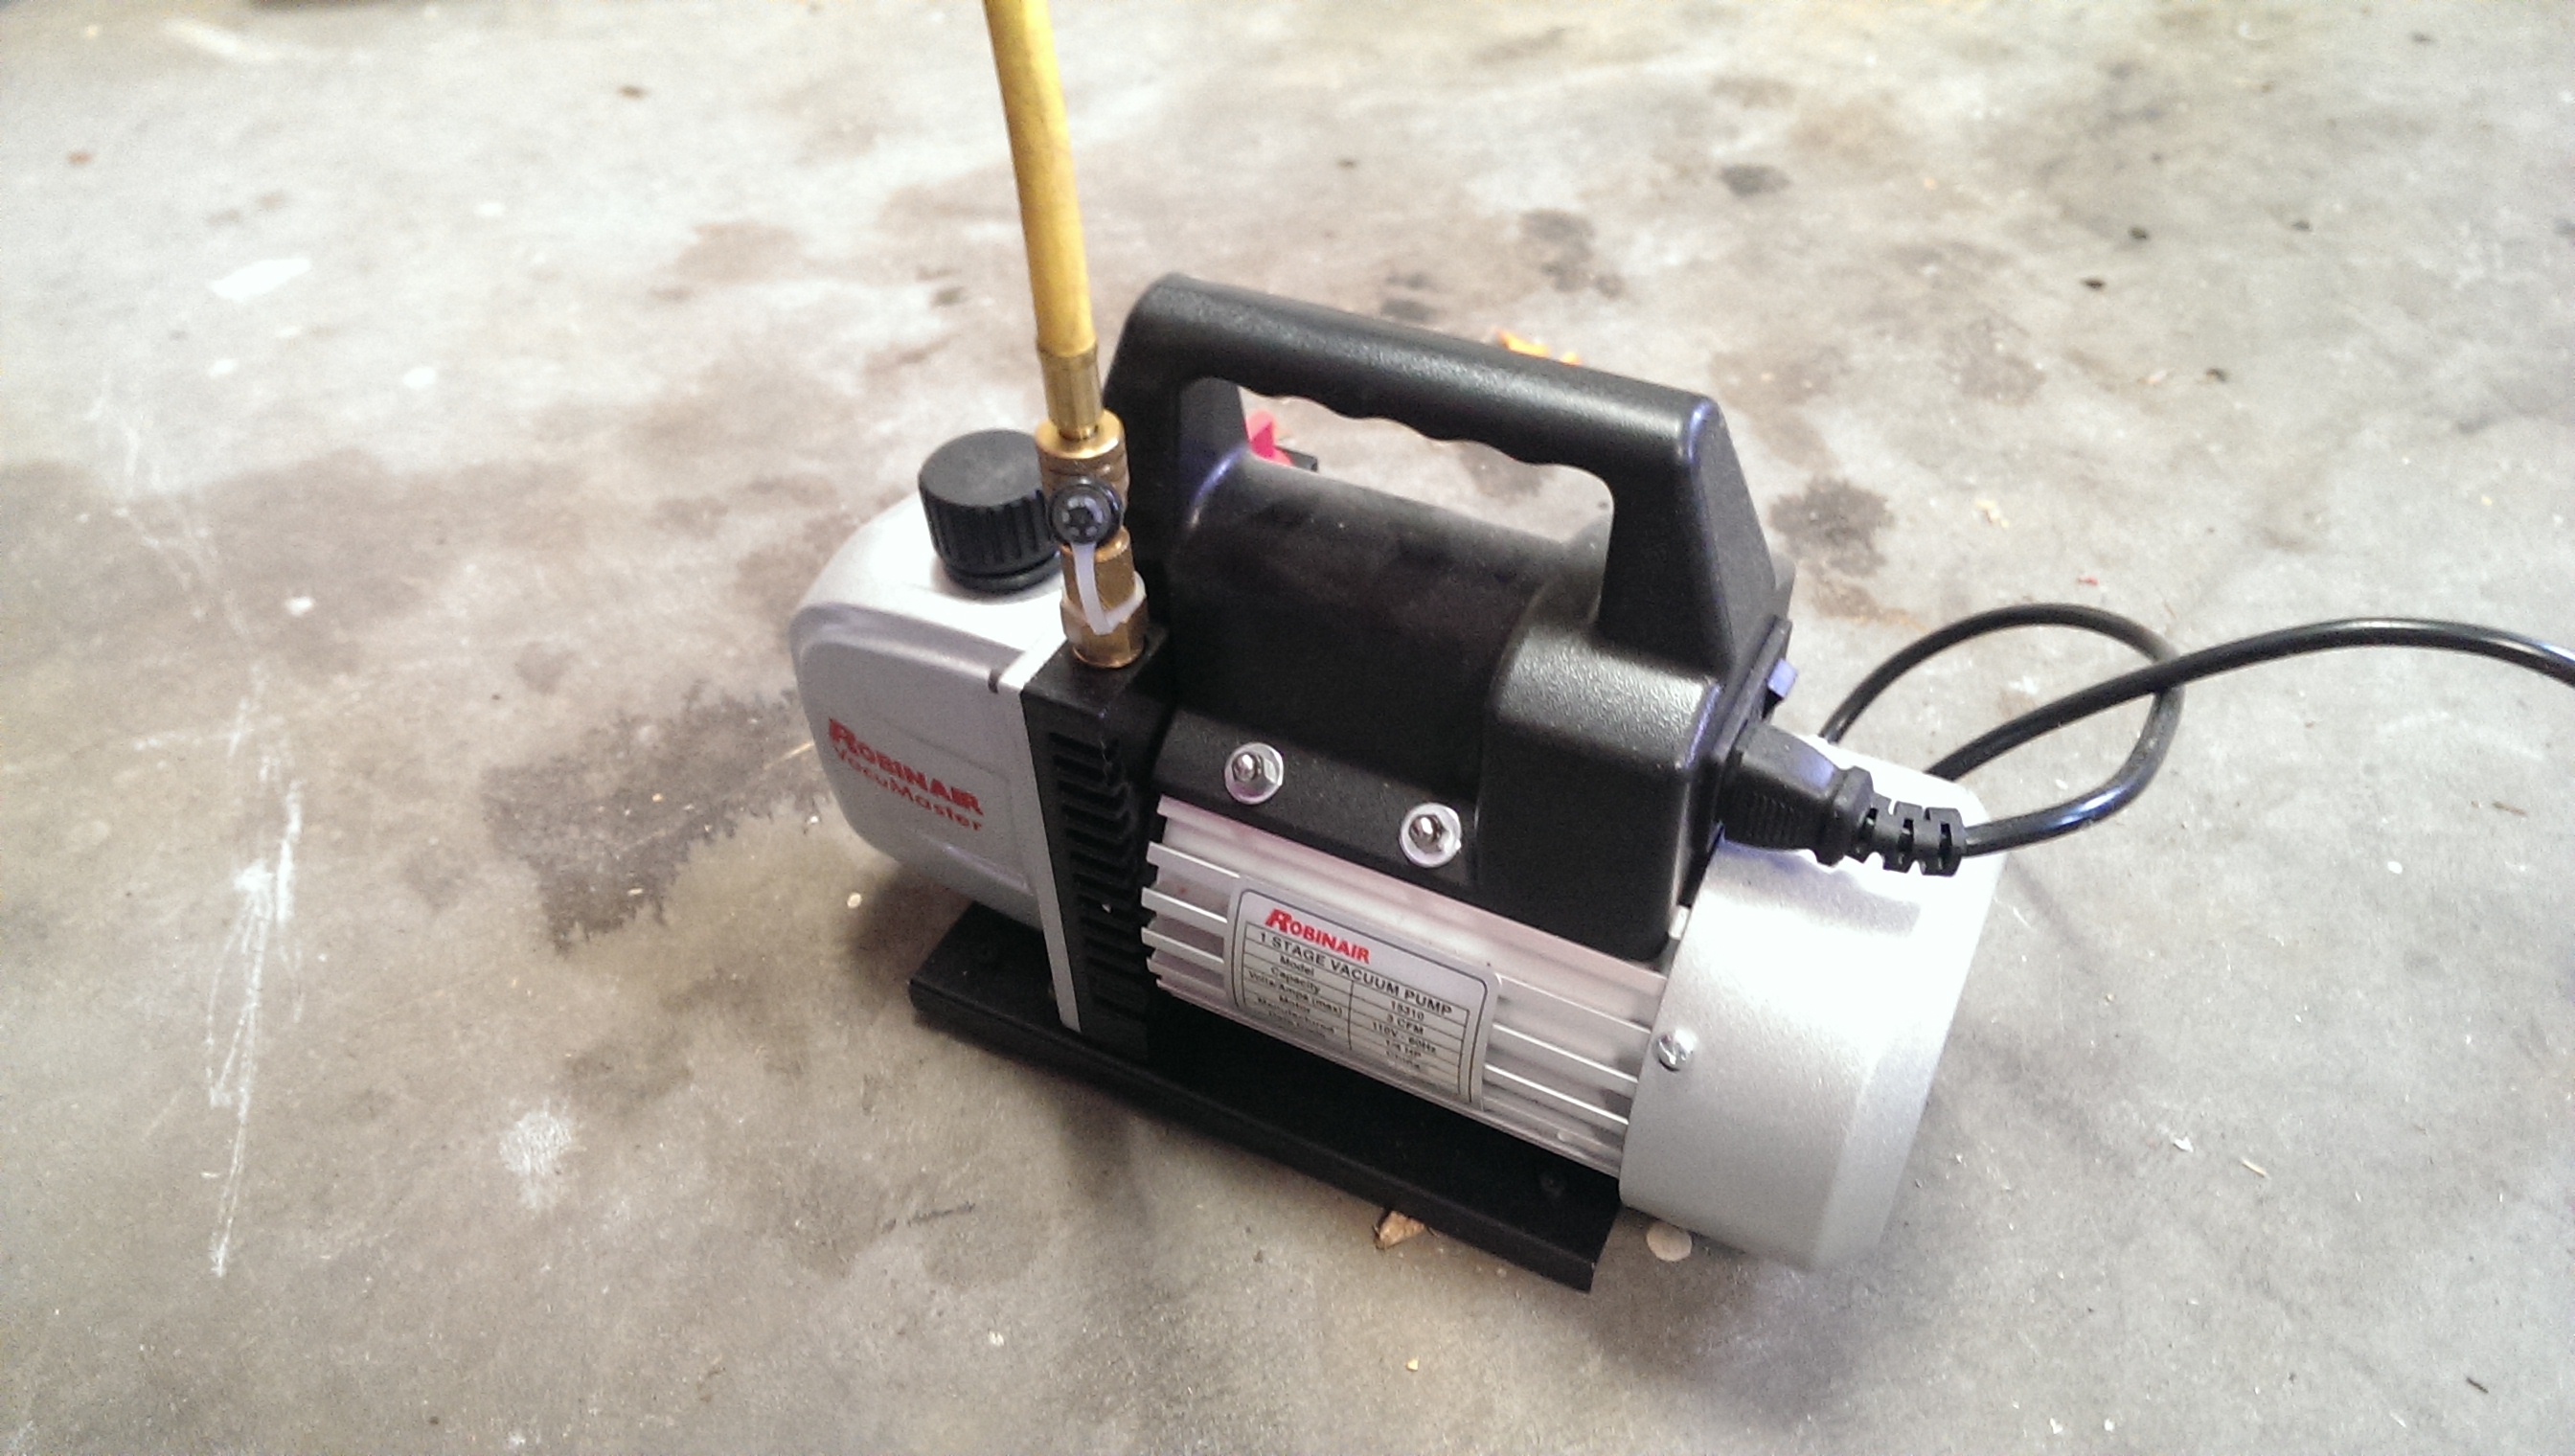
Vacuum pump
You also need a vacuum pump
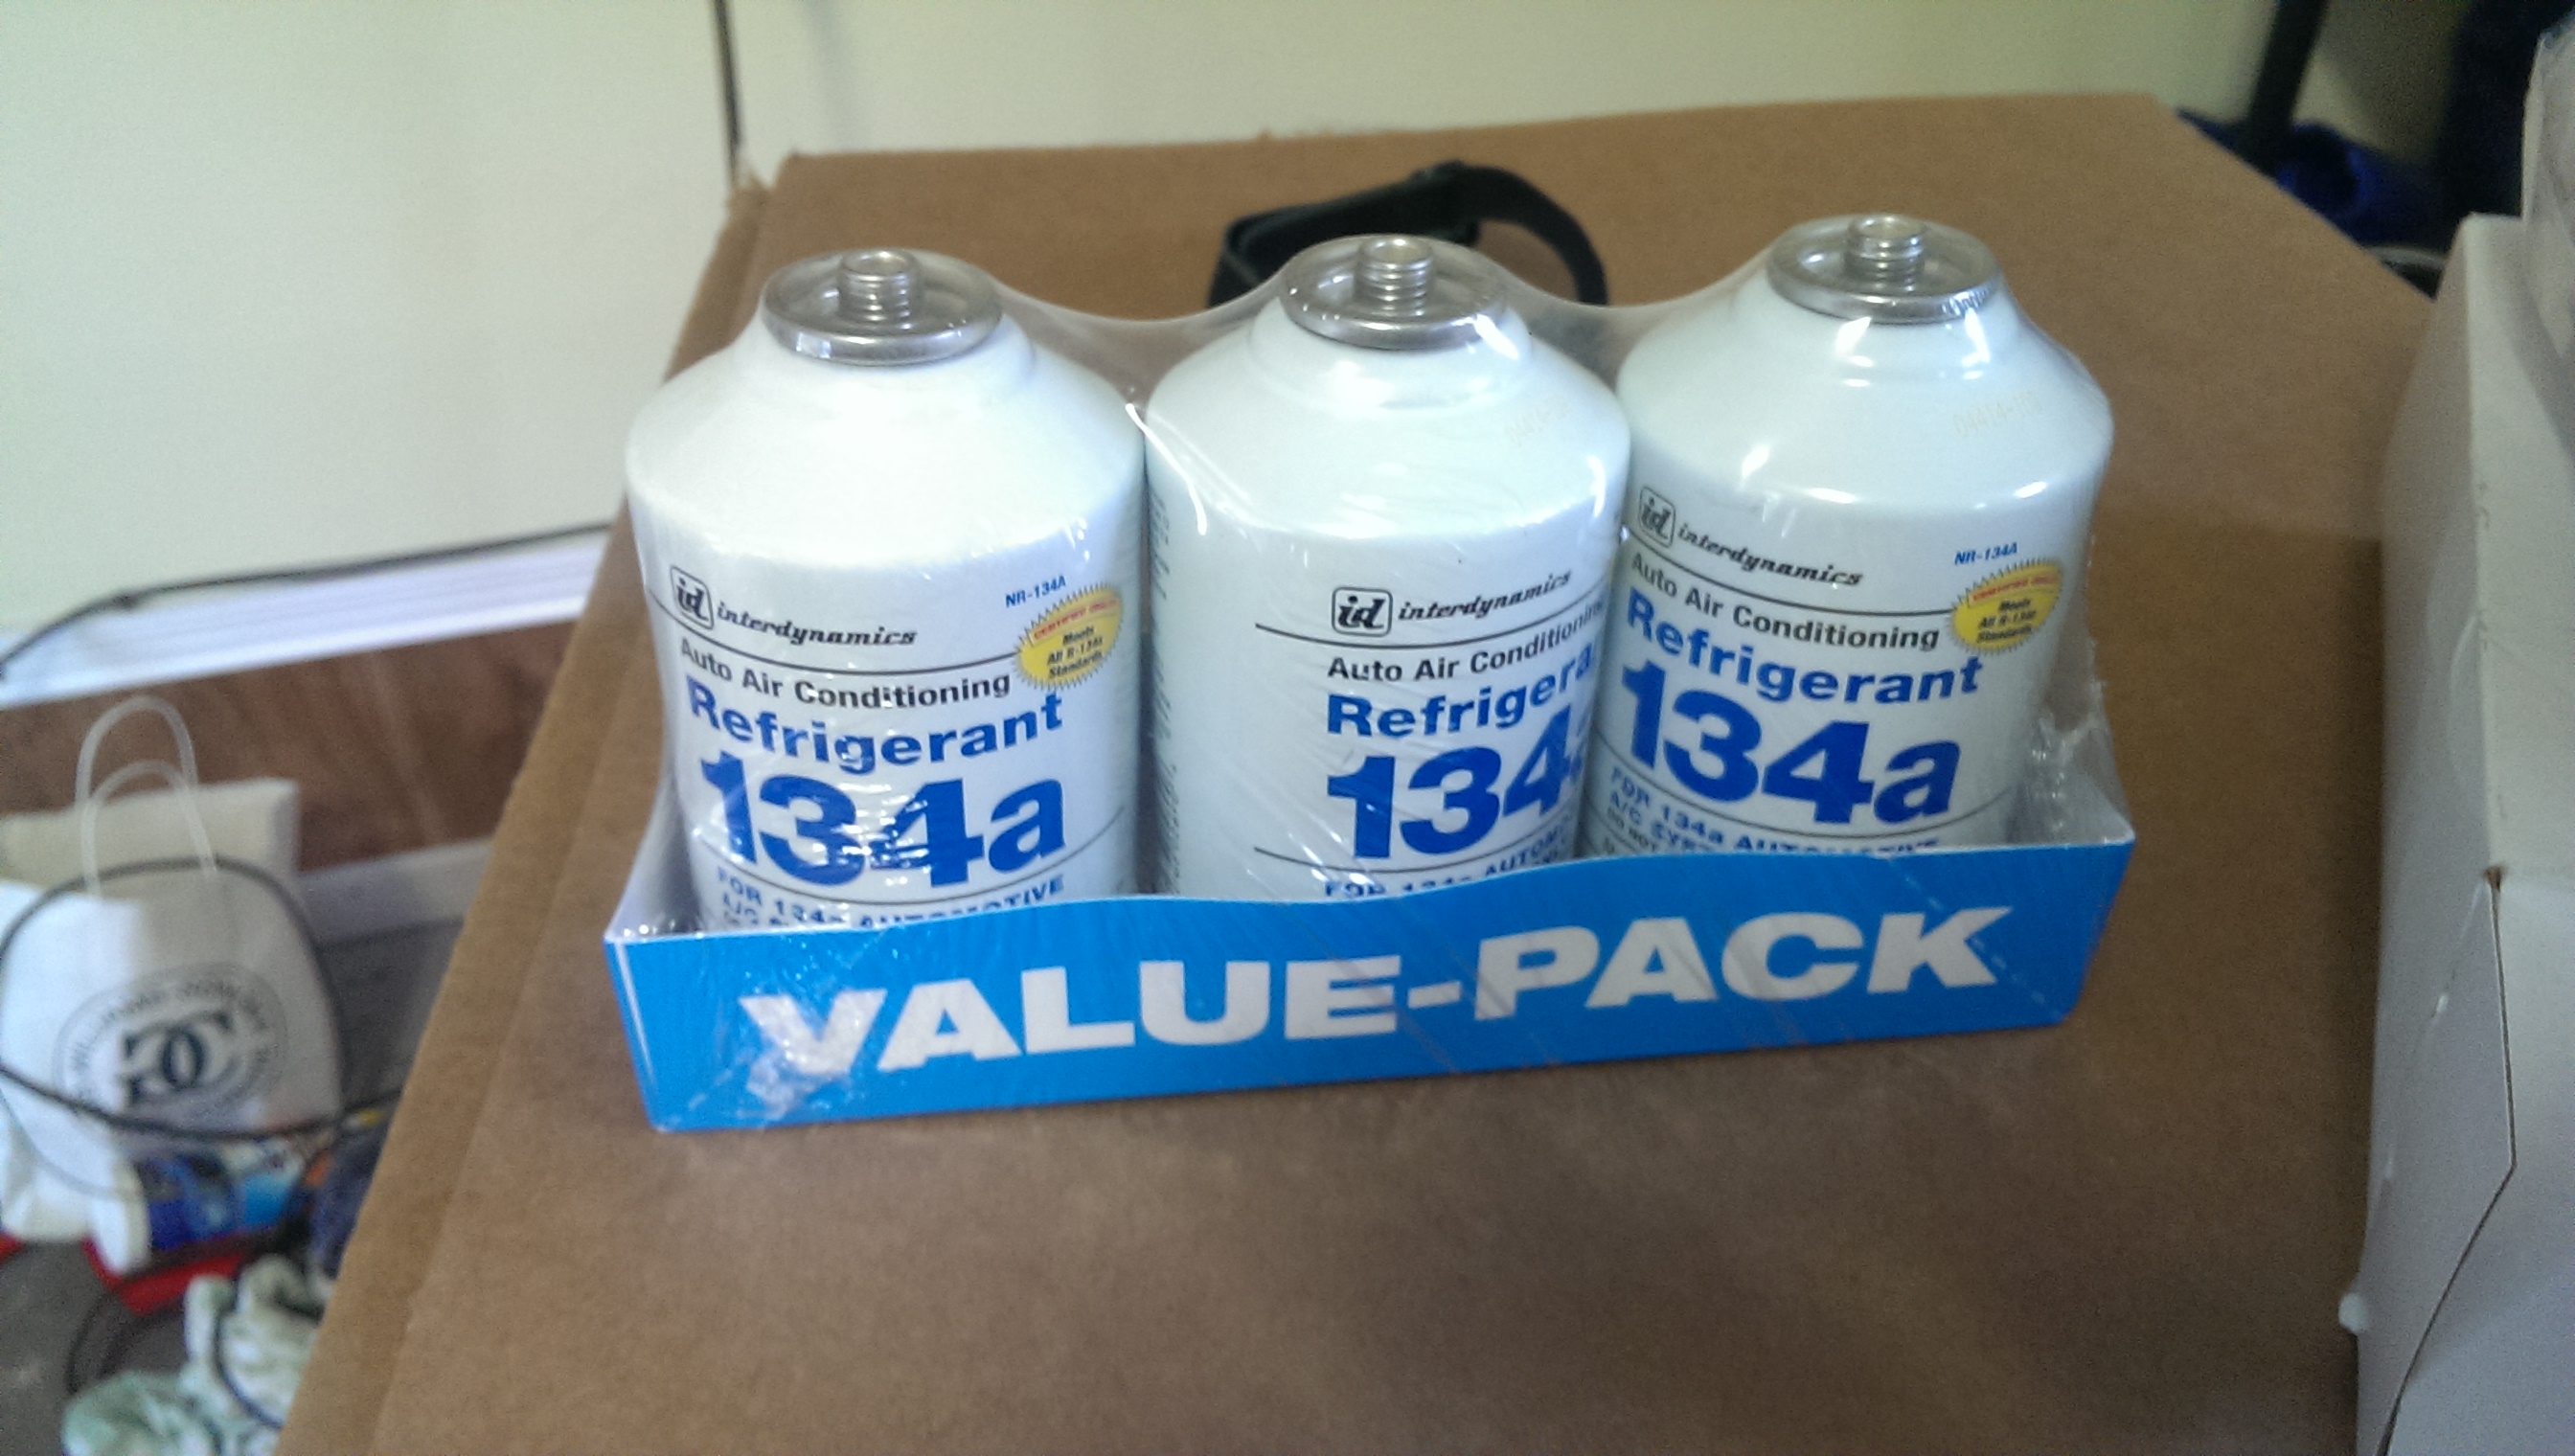
r134a Bottles
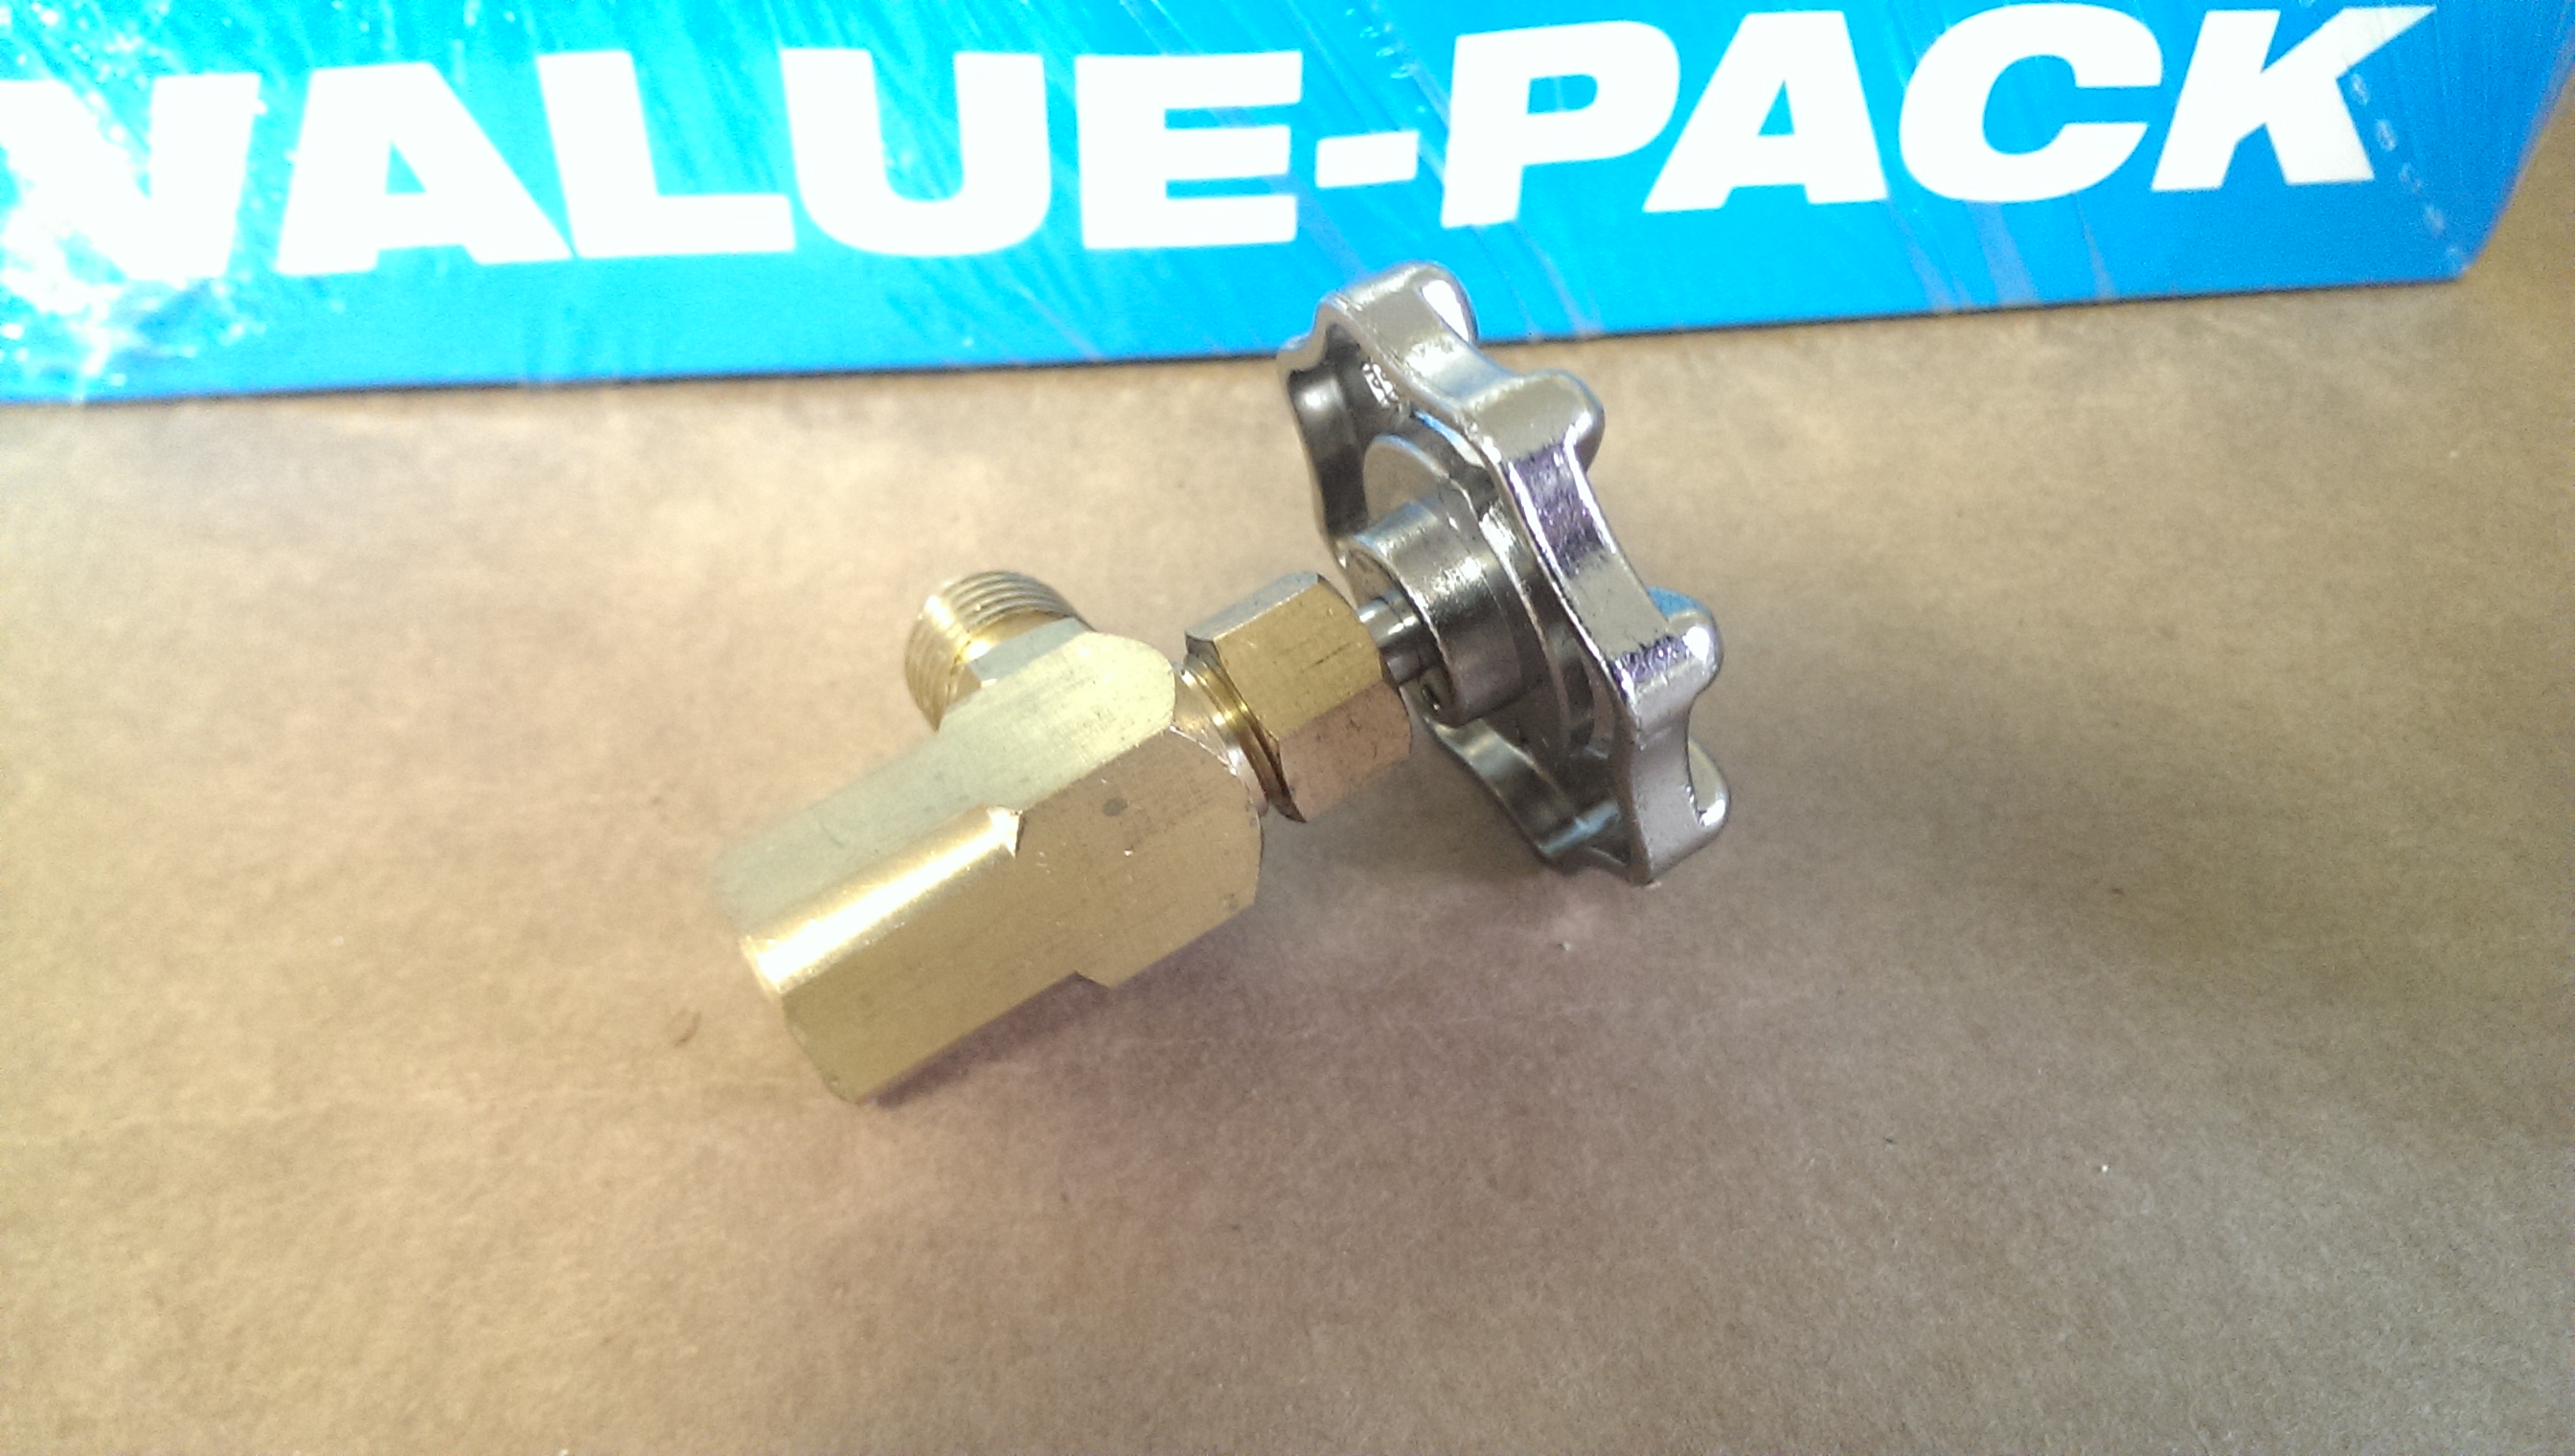
Can tap
You also, of course, need refrigerant

When you buy r134a, make sure you buy a can that doesn’t have any stop leak! Stop leak is great for gunking up your expensive AC parts and ruining your repair. Just say no. The above pack of cans was from Walmart, but all the parts stores carry plain unadulterated r134a. Also, if you are putting in a new compressor or replacing other components, you may need more PAG oil. AC requires a small amount of oil in the system. You can google how much oil to add for your car depending on which parts you are replacing. If you are doing a simple refill, no additional oil is required.
The can tap allows you to connect the can to your manifold gauges.
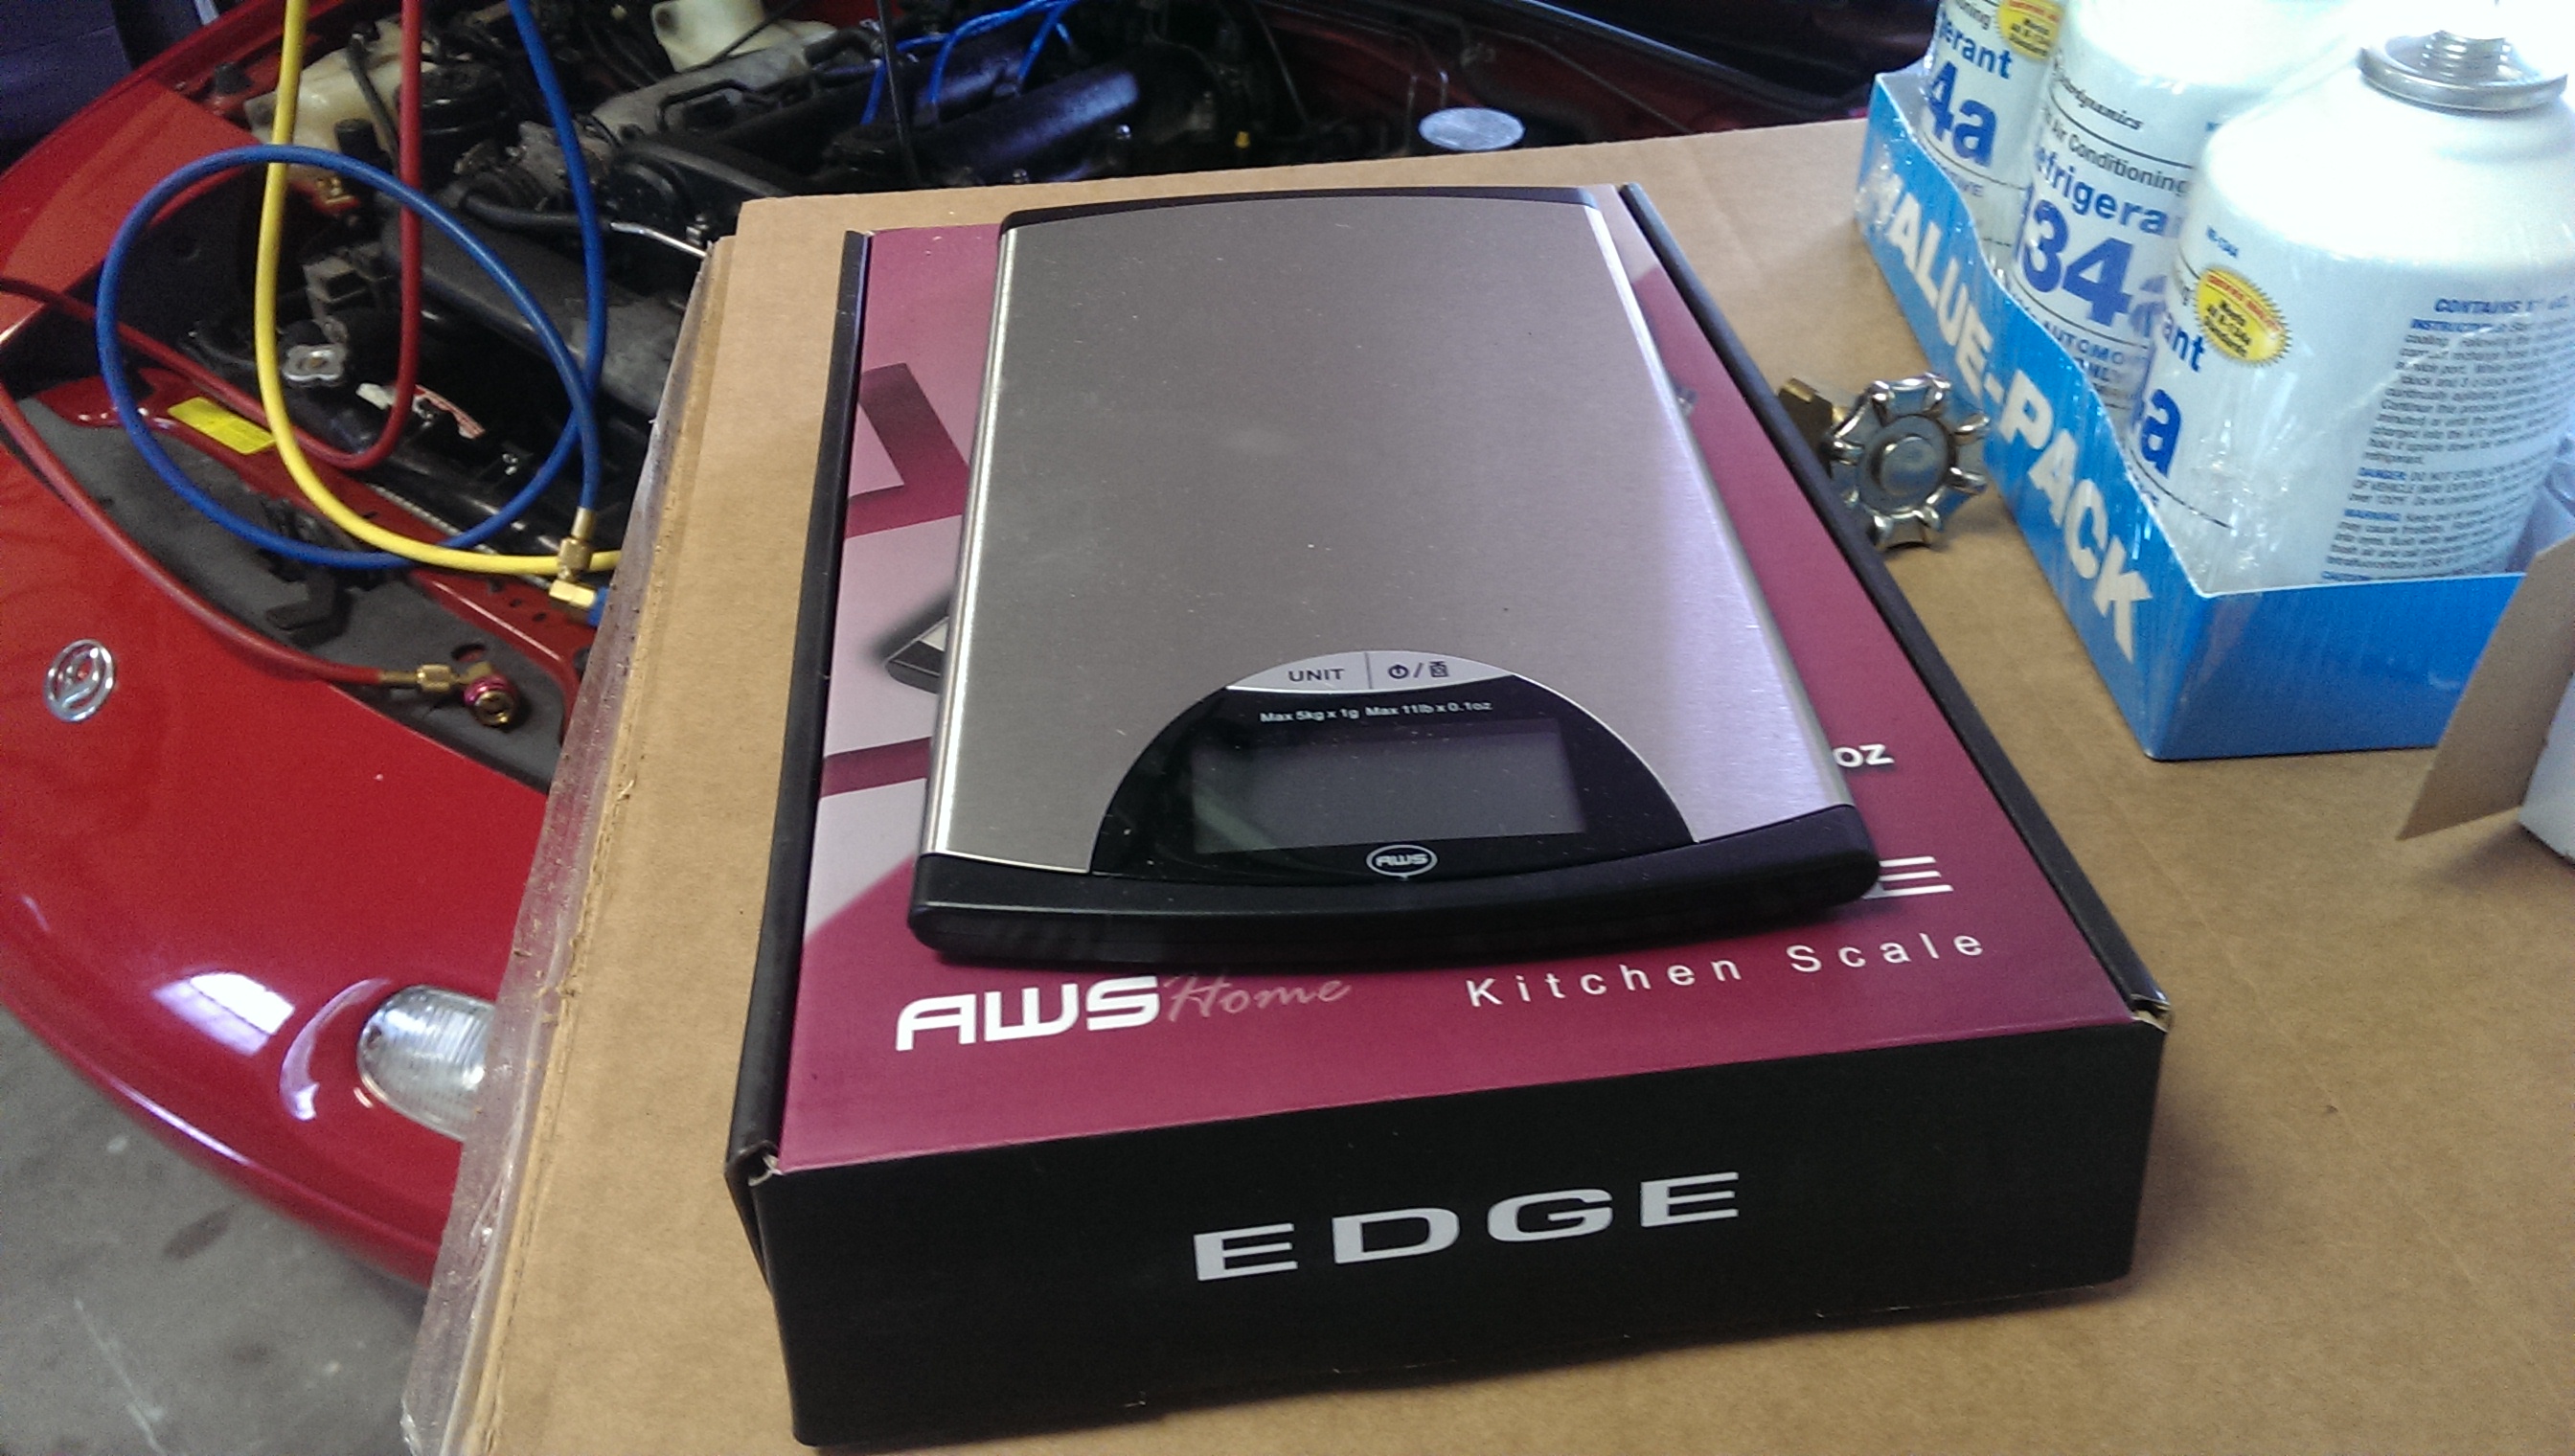
Scale that reads in ounces
This is optional, but really helpful. If you are filling an empty system, your car will have a specific amount of refrigerant to put in, in ounces. The Miata I’m working on takes 21. I found that a simple kitchen scale like this one allows me to zero out the scale with the can on it prior to filling, and then ensure I’m putting in the right amount. You can also fill to a given pressure (like this one), depending on ambient temperature, but putting in the right amount of refrigerant is the right way to do it.
Lastly, you may want a bag of o-rings for your car. Every connection in the AC system has an o-ring on it. If you know yours are probably all original, getting a mixed bag of replacements is a good idea. You may fix some small leaks you don’t realize you have, and it helps keep you from repeating this procedure.
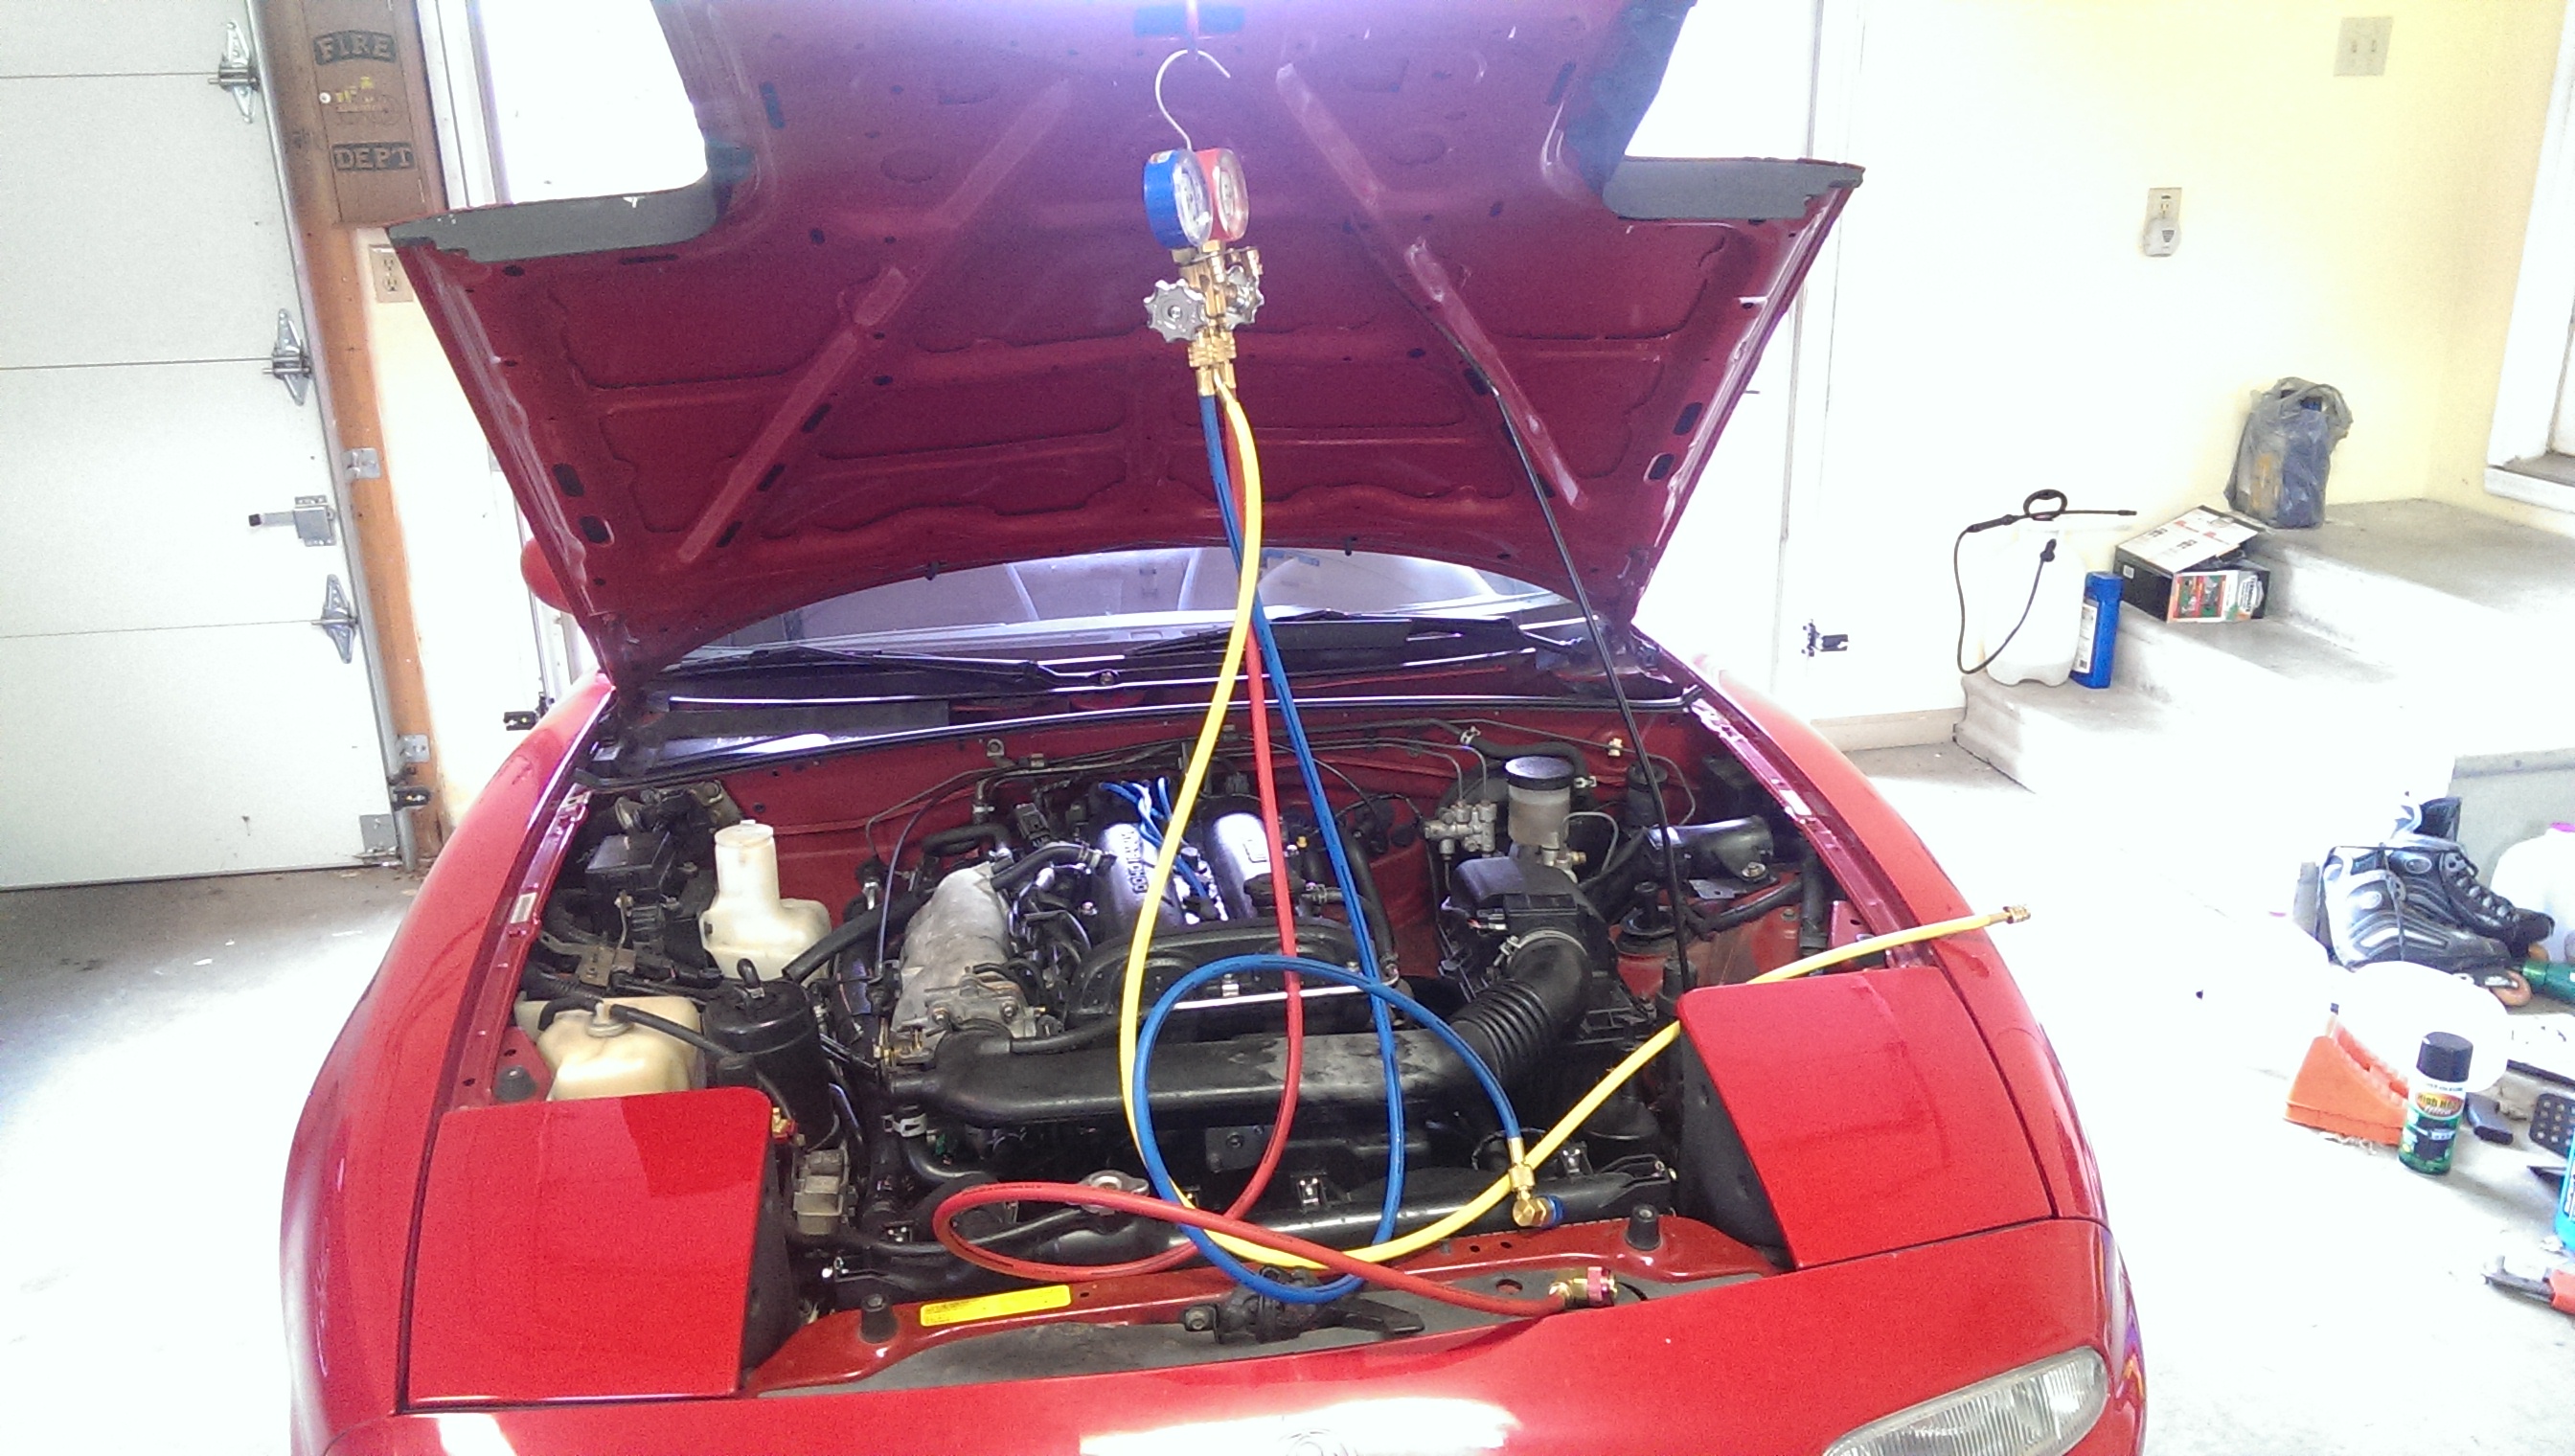
Hooking up the gauges
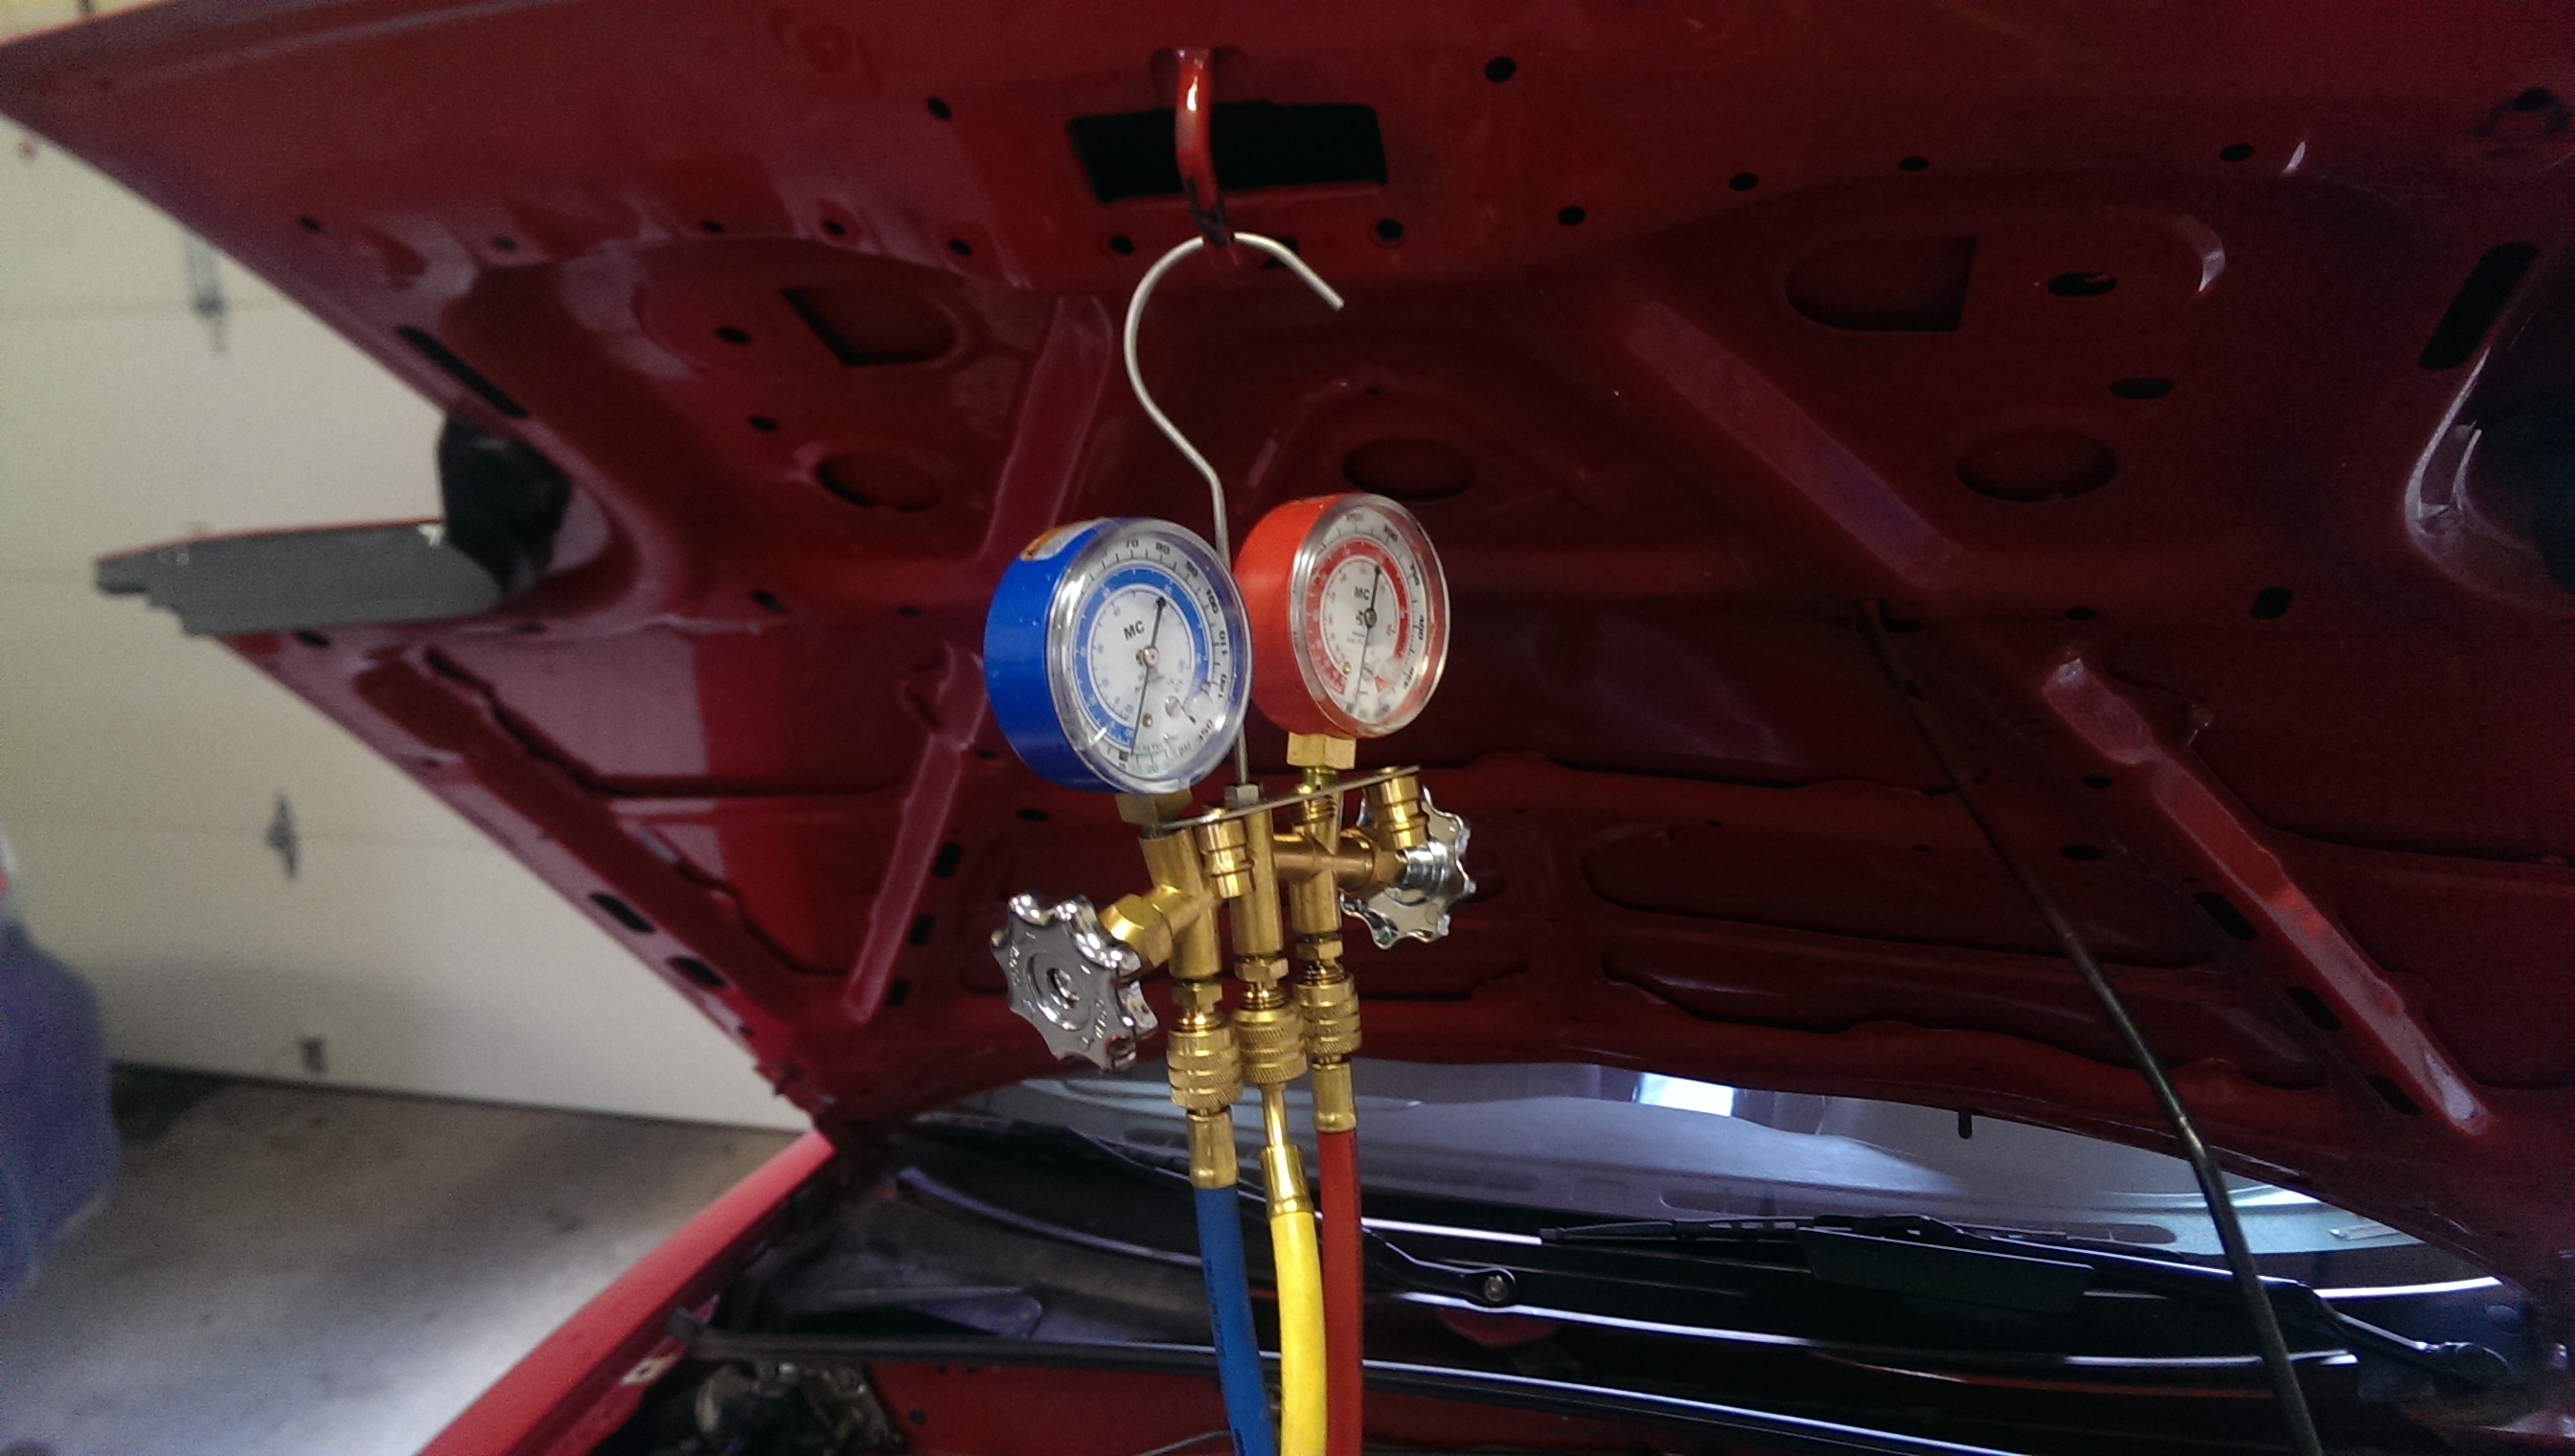
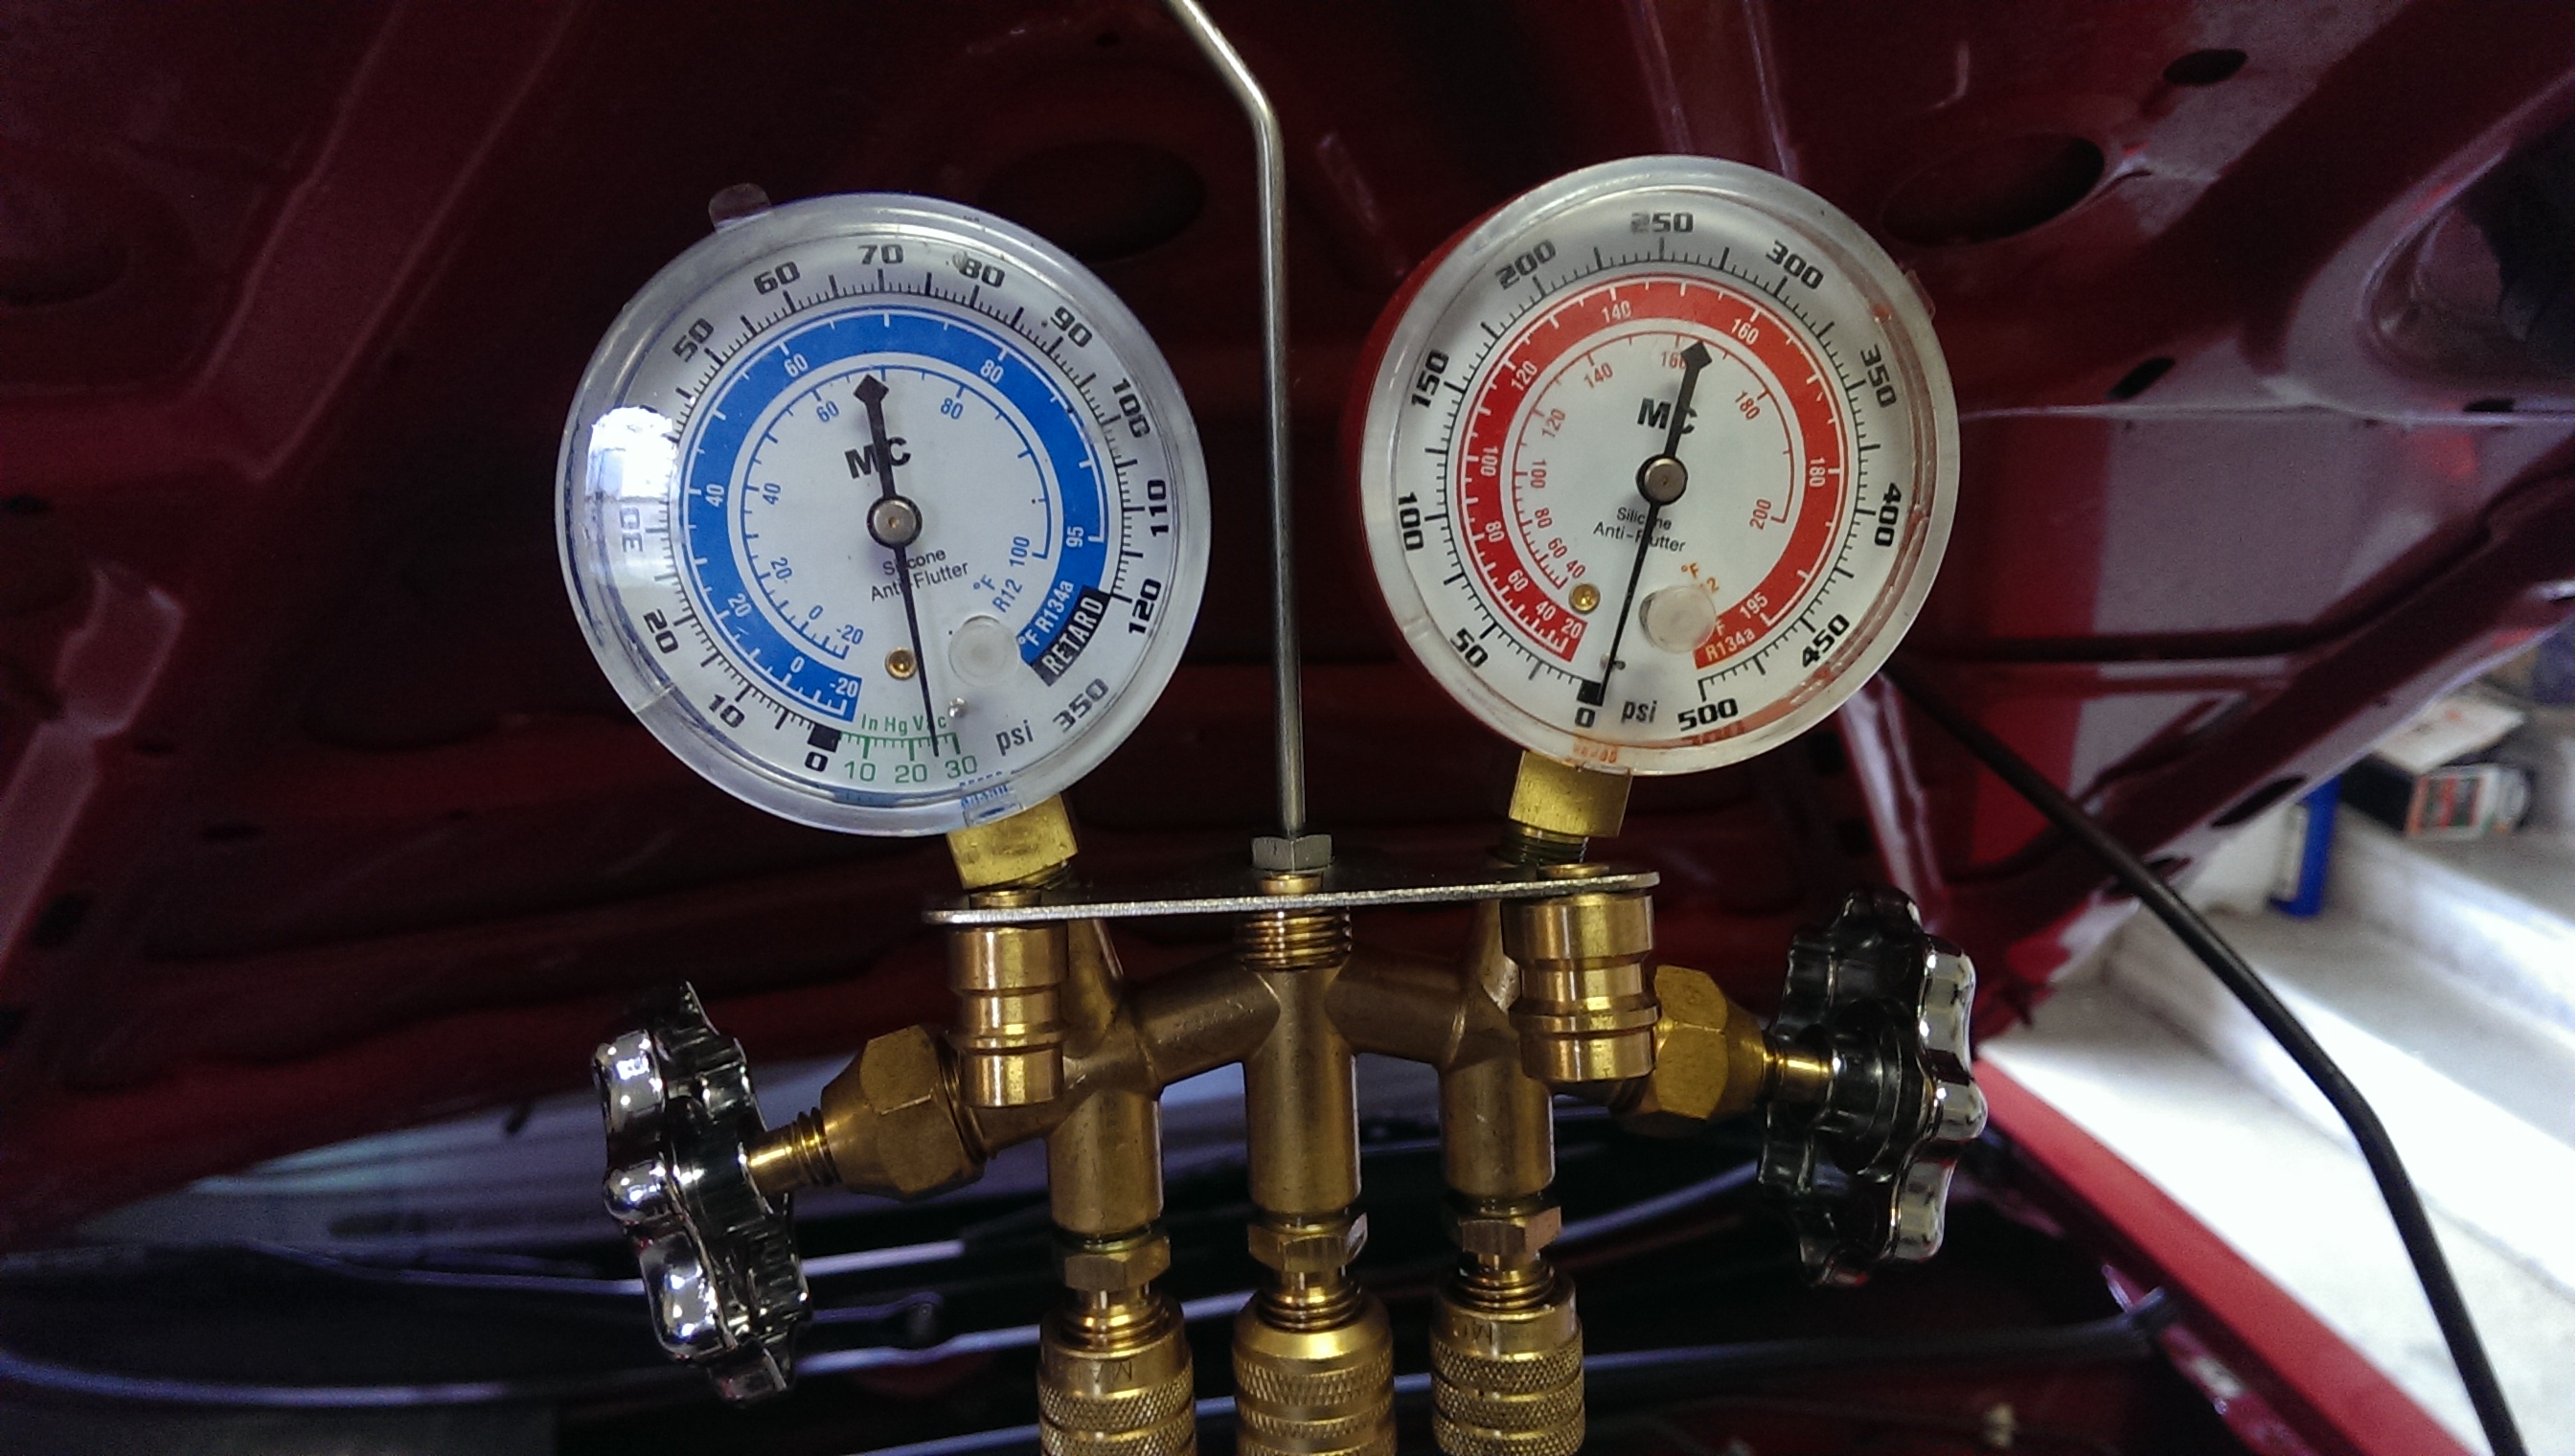
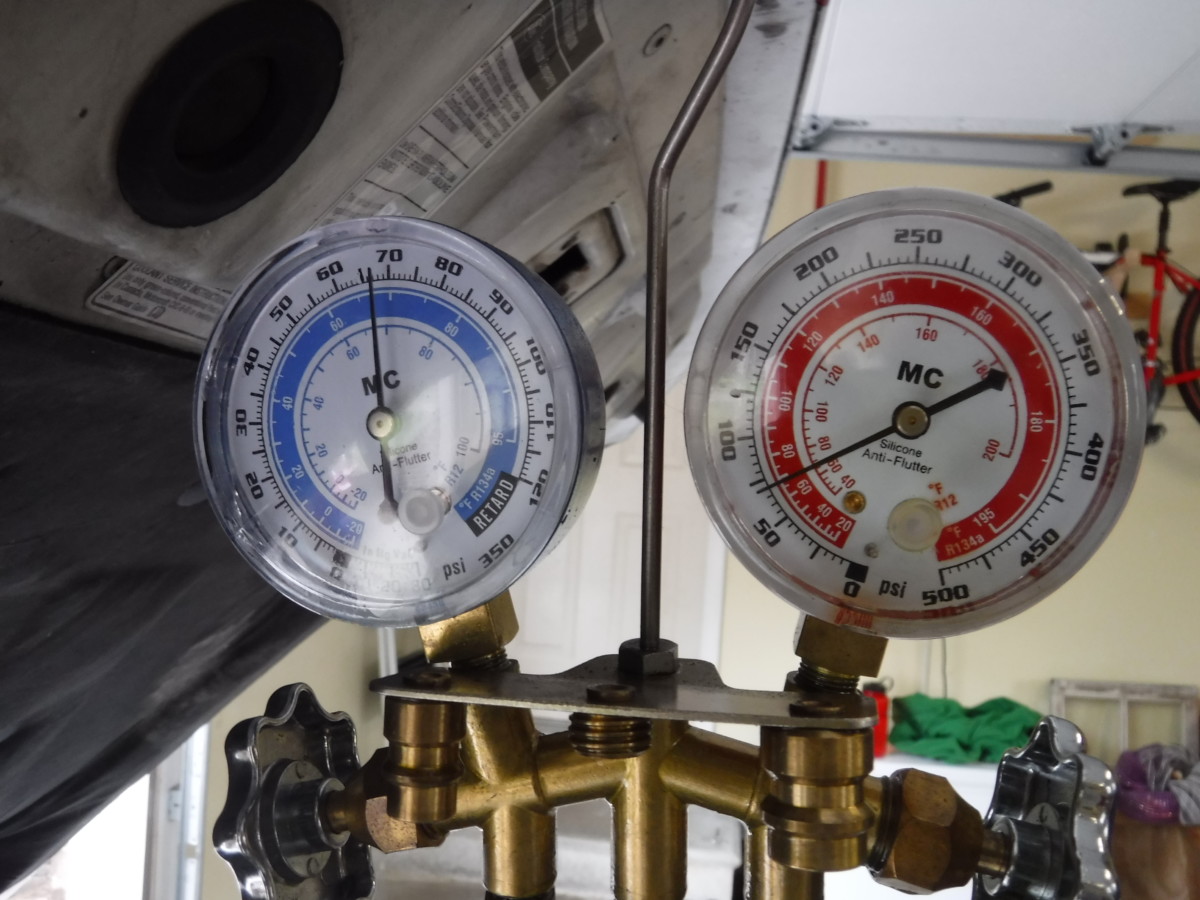
Gauges up close
The first thing to do is hook up the manifold gauges. As shown in the picture, there are three hoses, two gauges, and two valves. The left gauge, left valve, and blue hose hook up to the low-pressure side. The right gauge, right valve, and red hose hook up to the high-pressure side. The yellow hose connects to both sides through the valves. To start, make sure both valves are turned all the way to the right / closed.
Hooking up the low pressure side
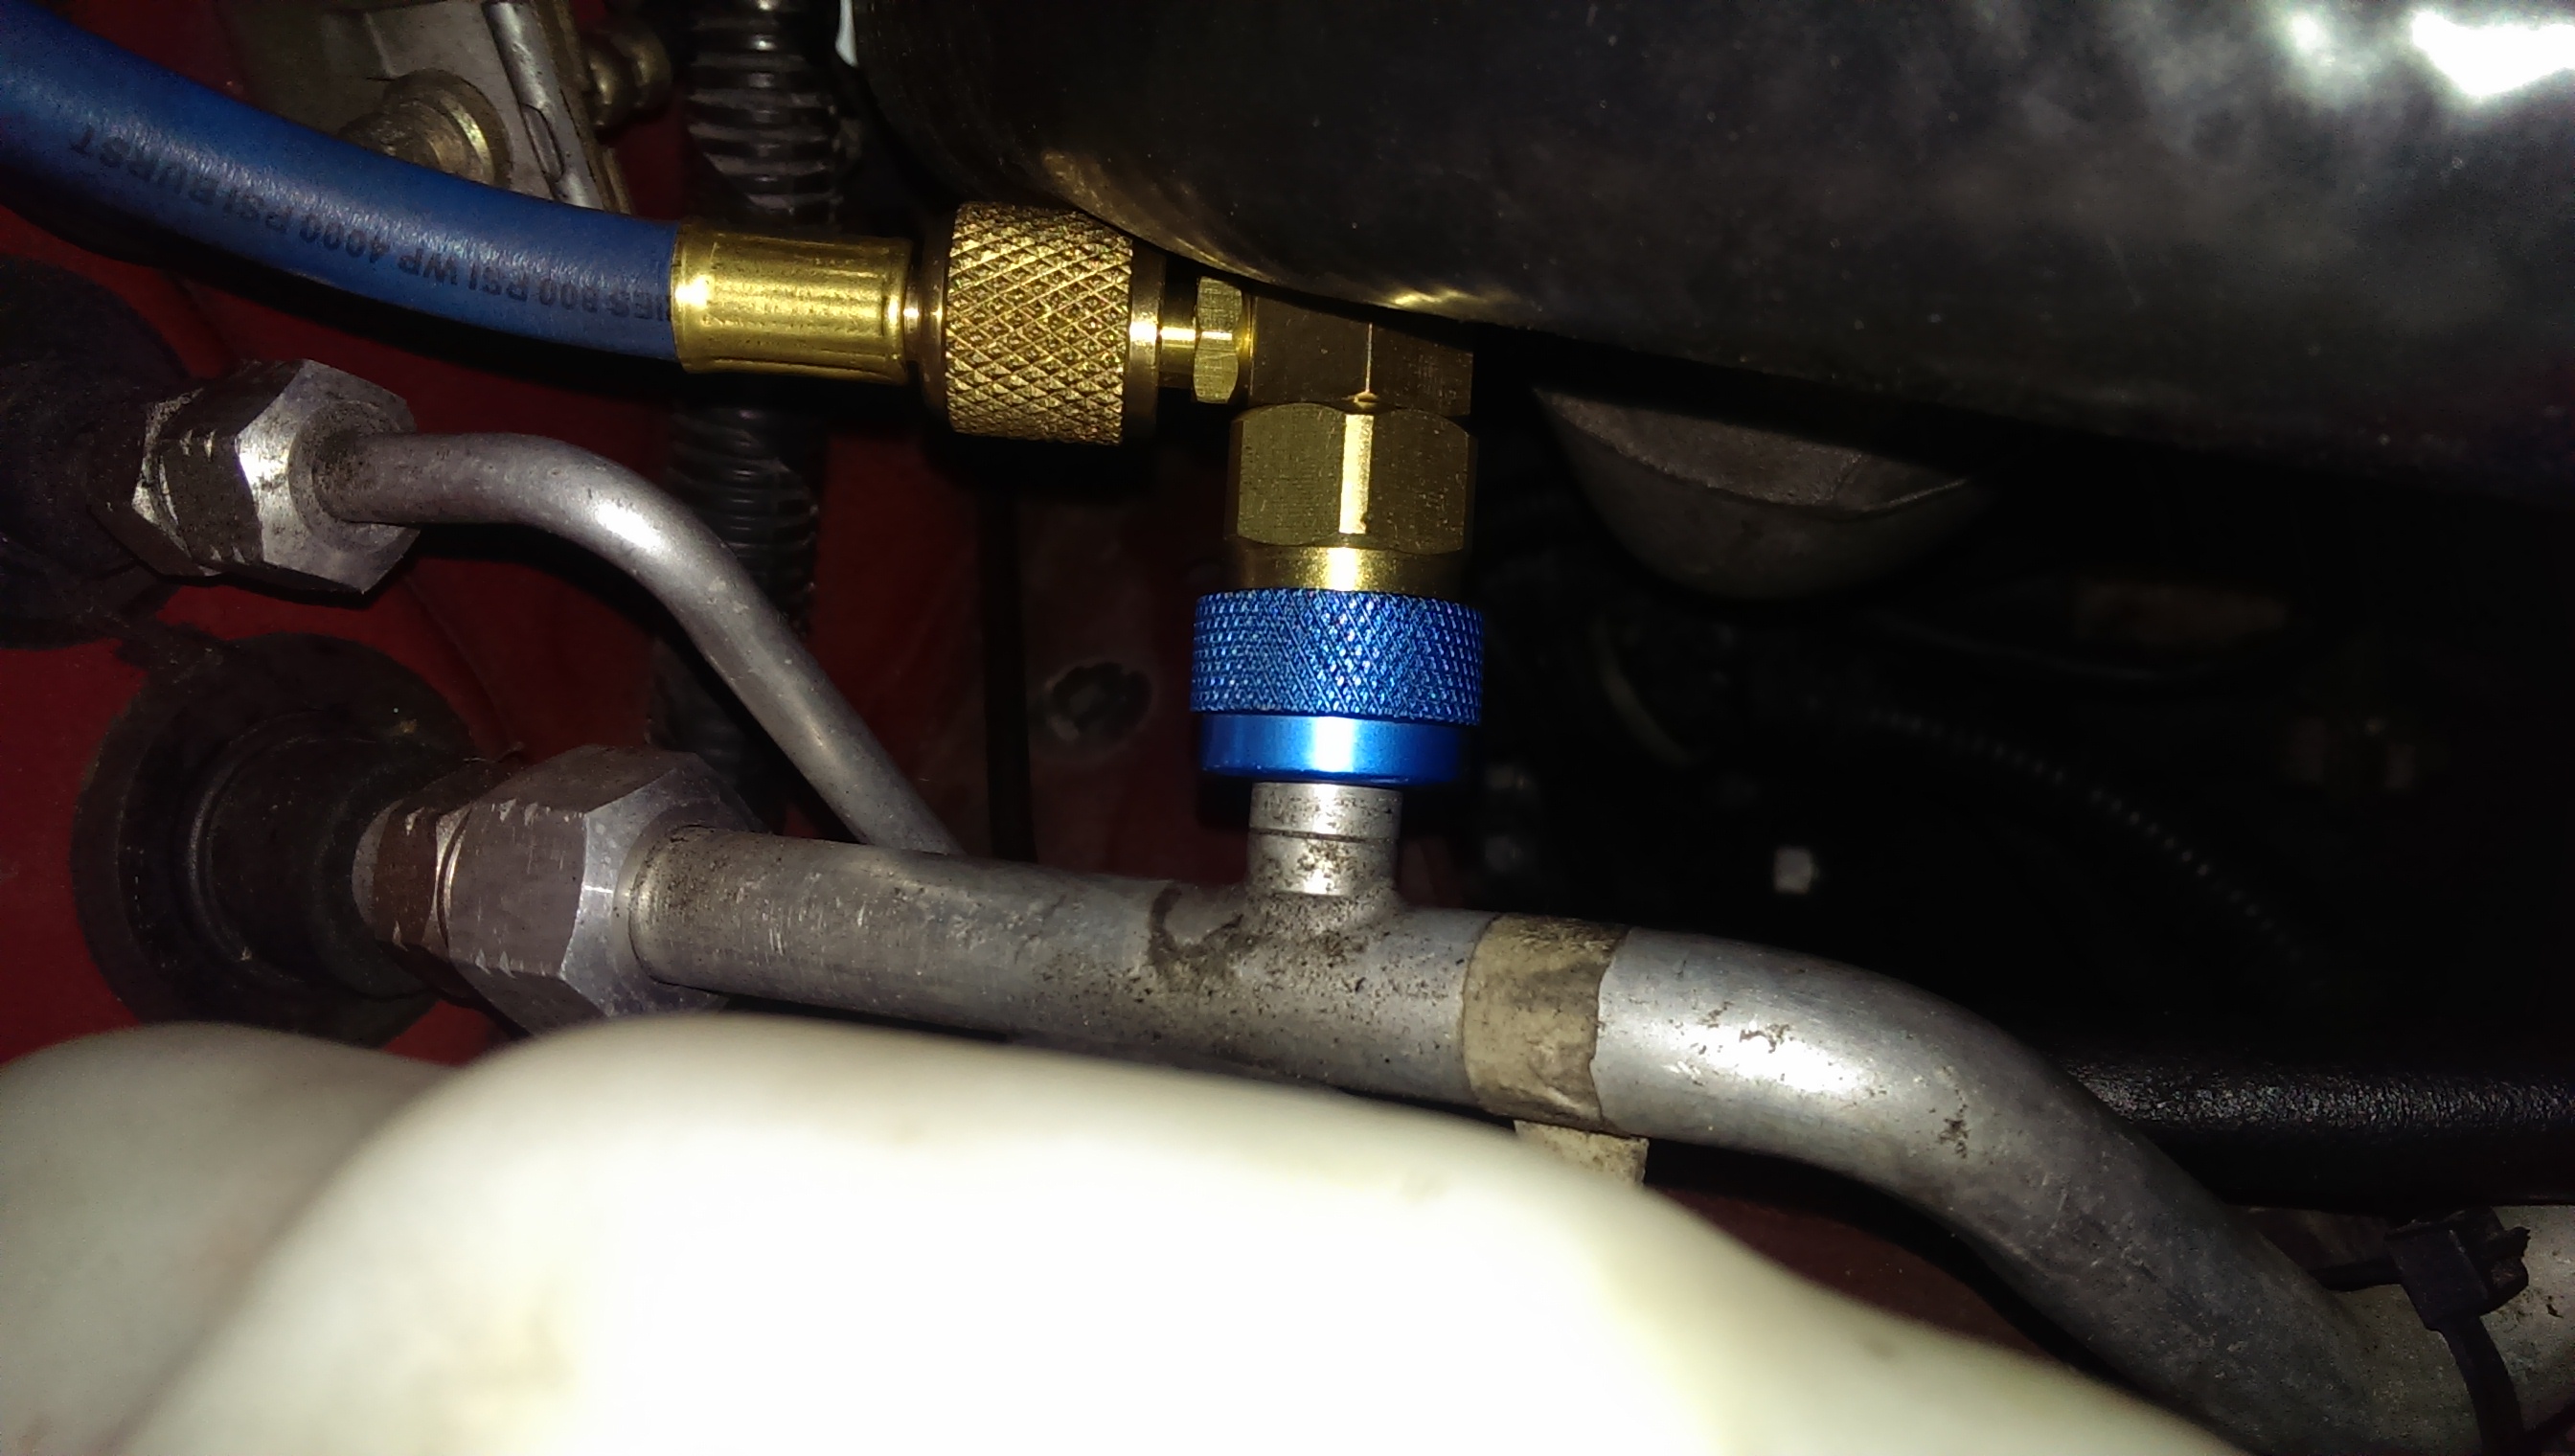
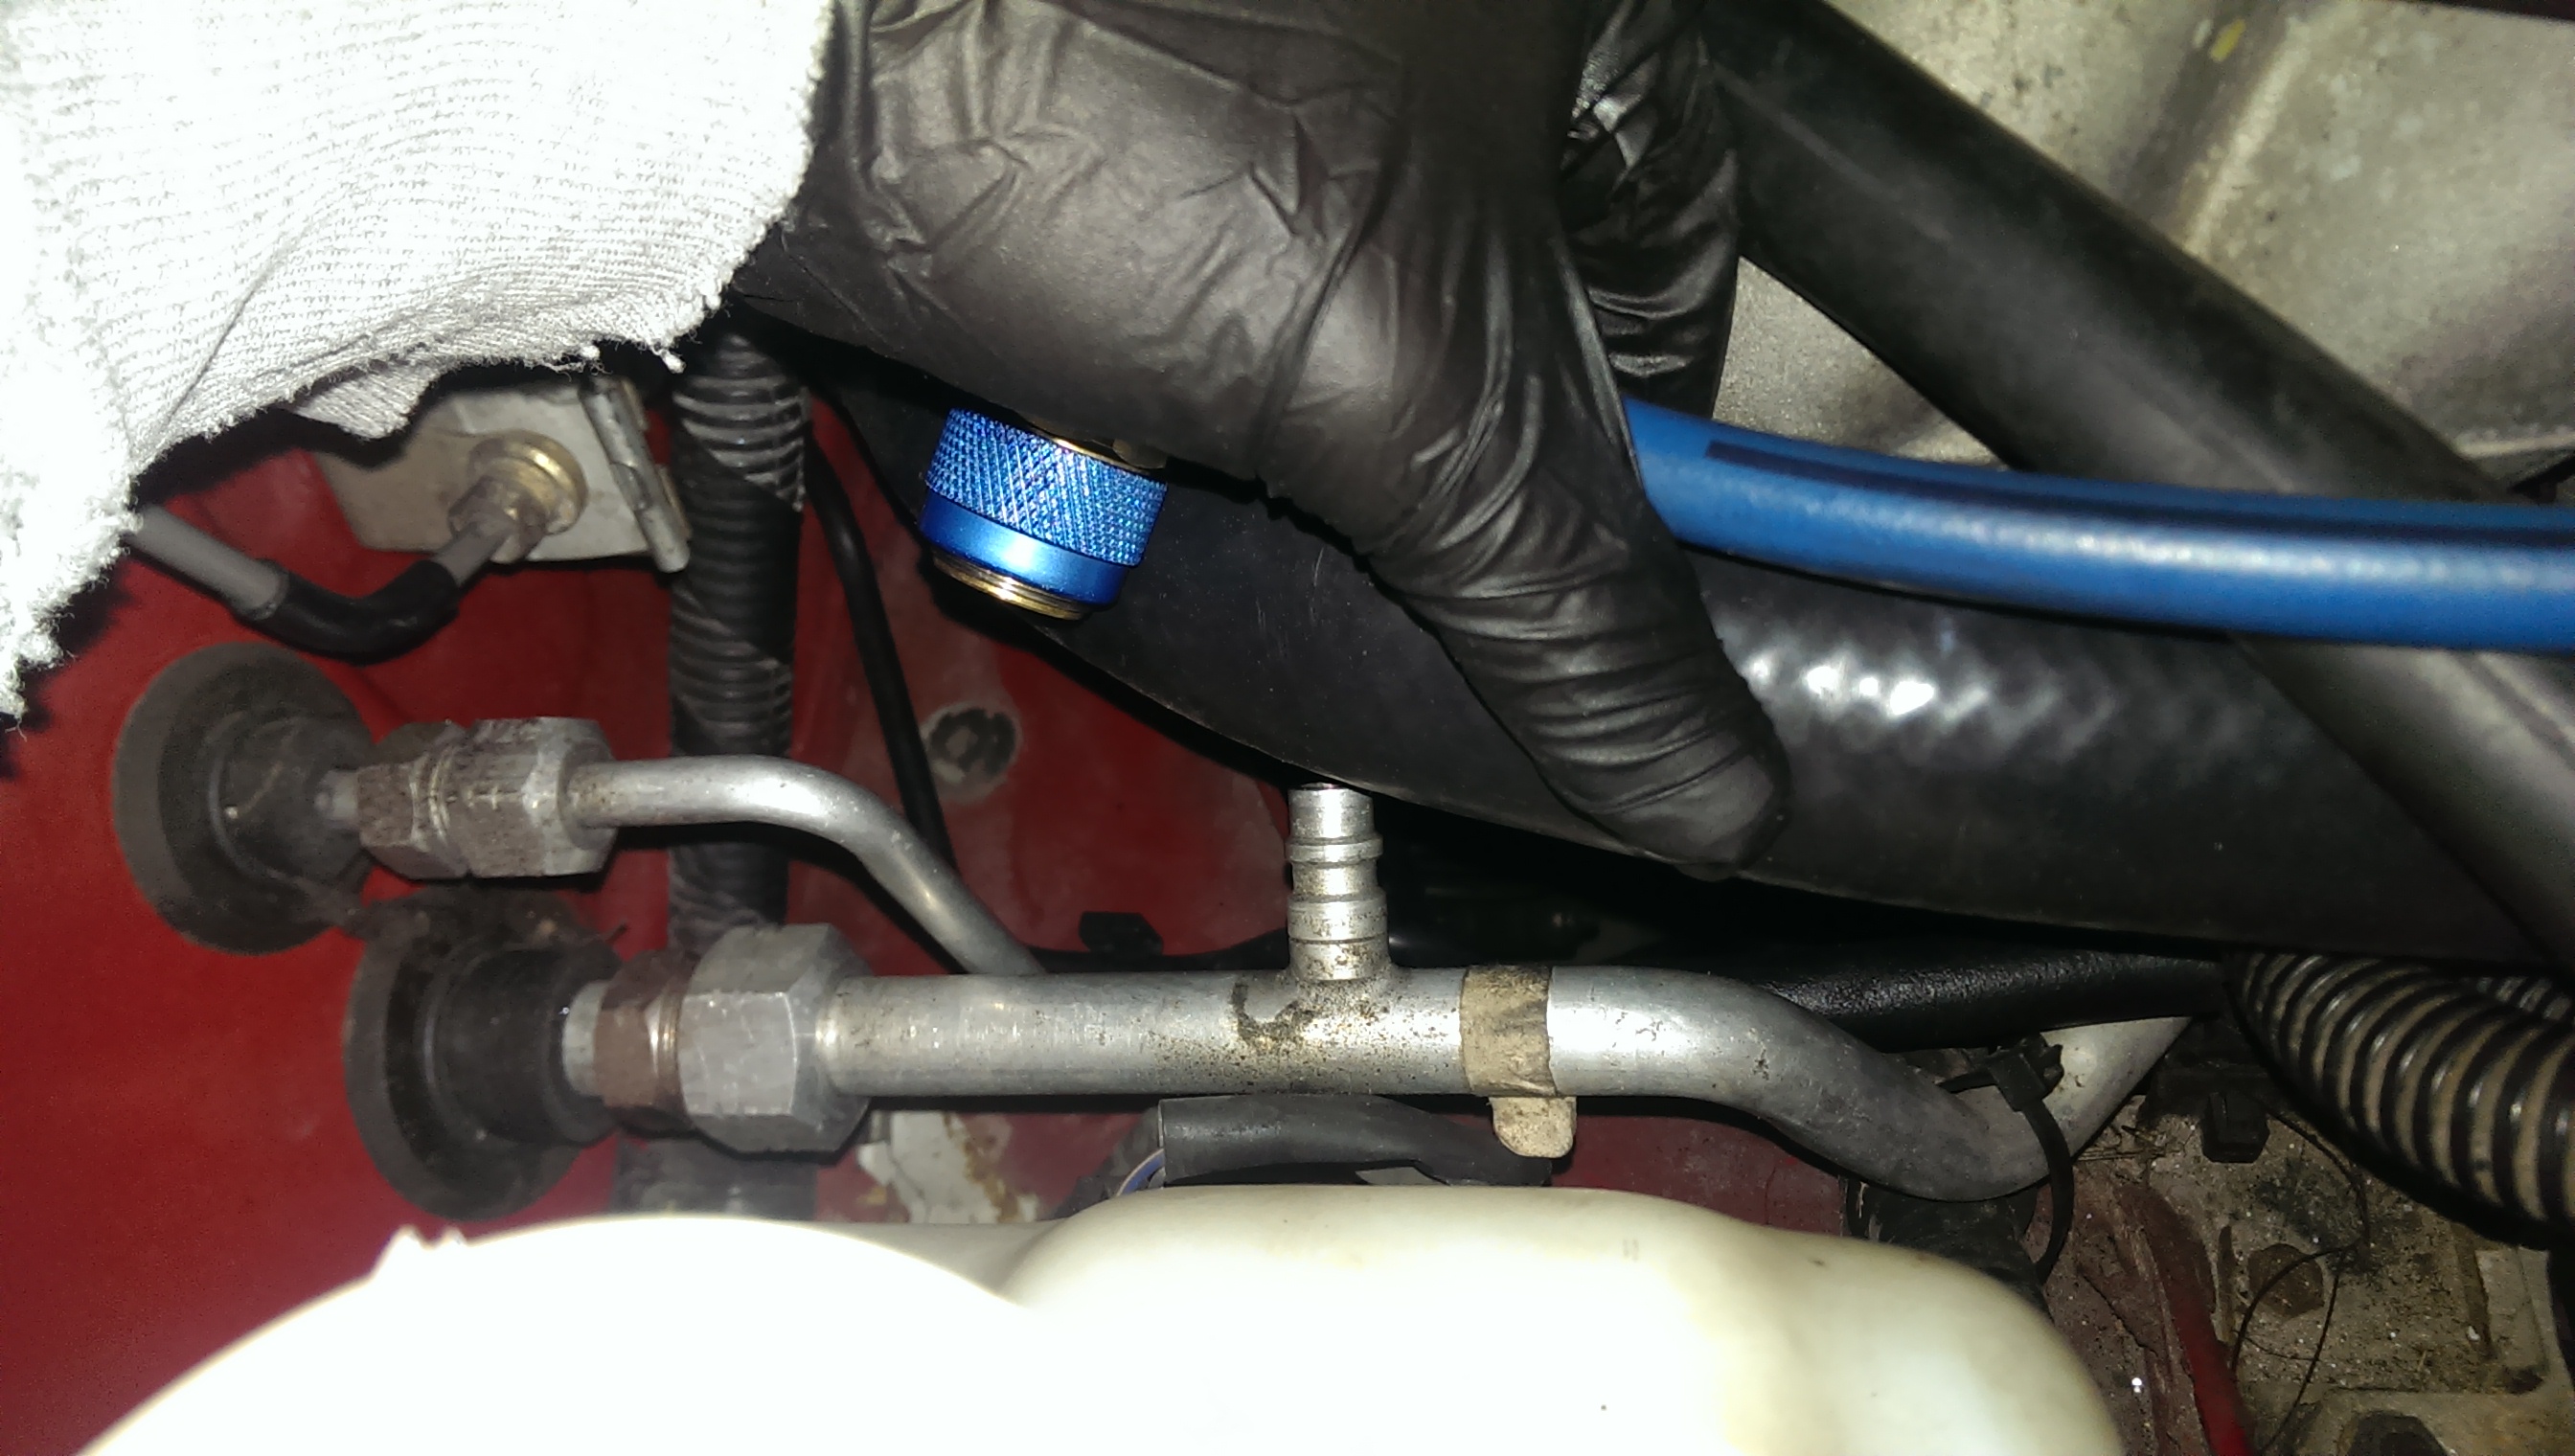
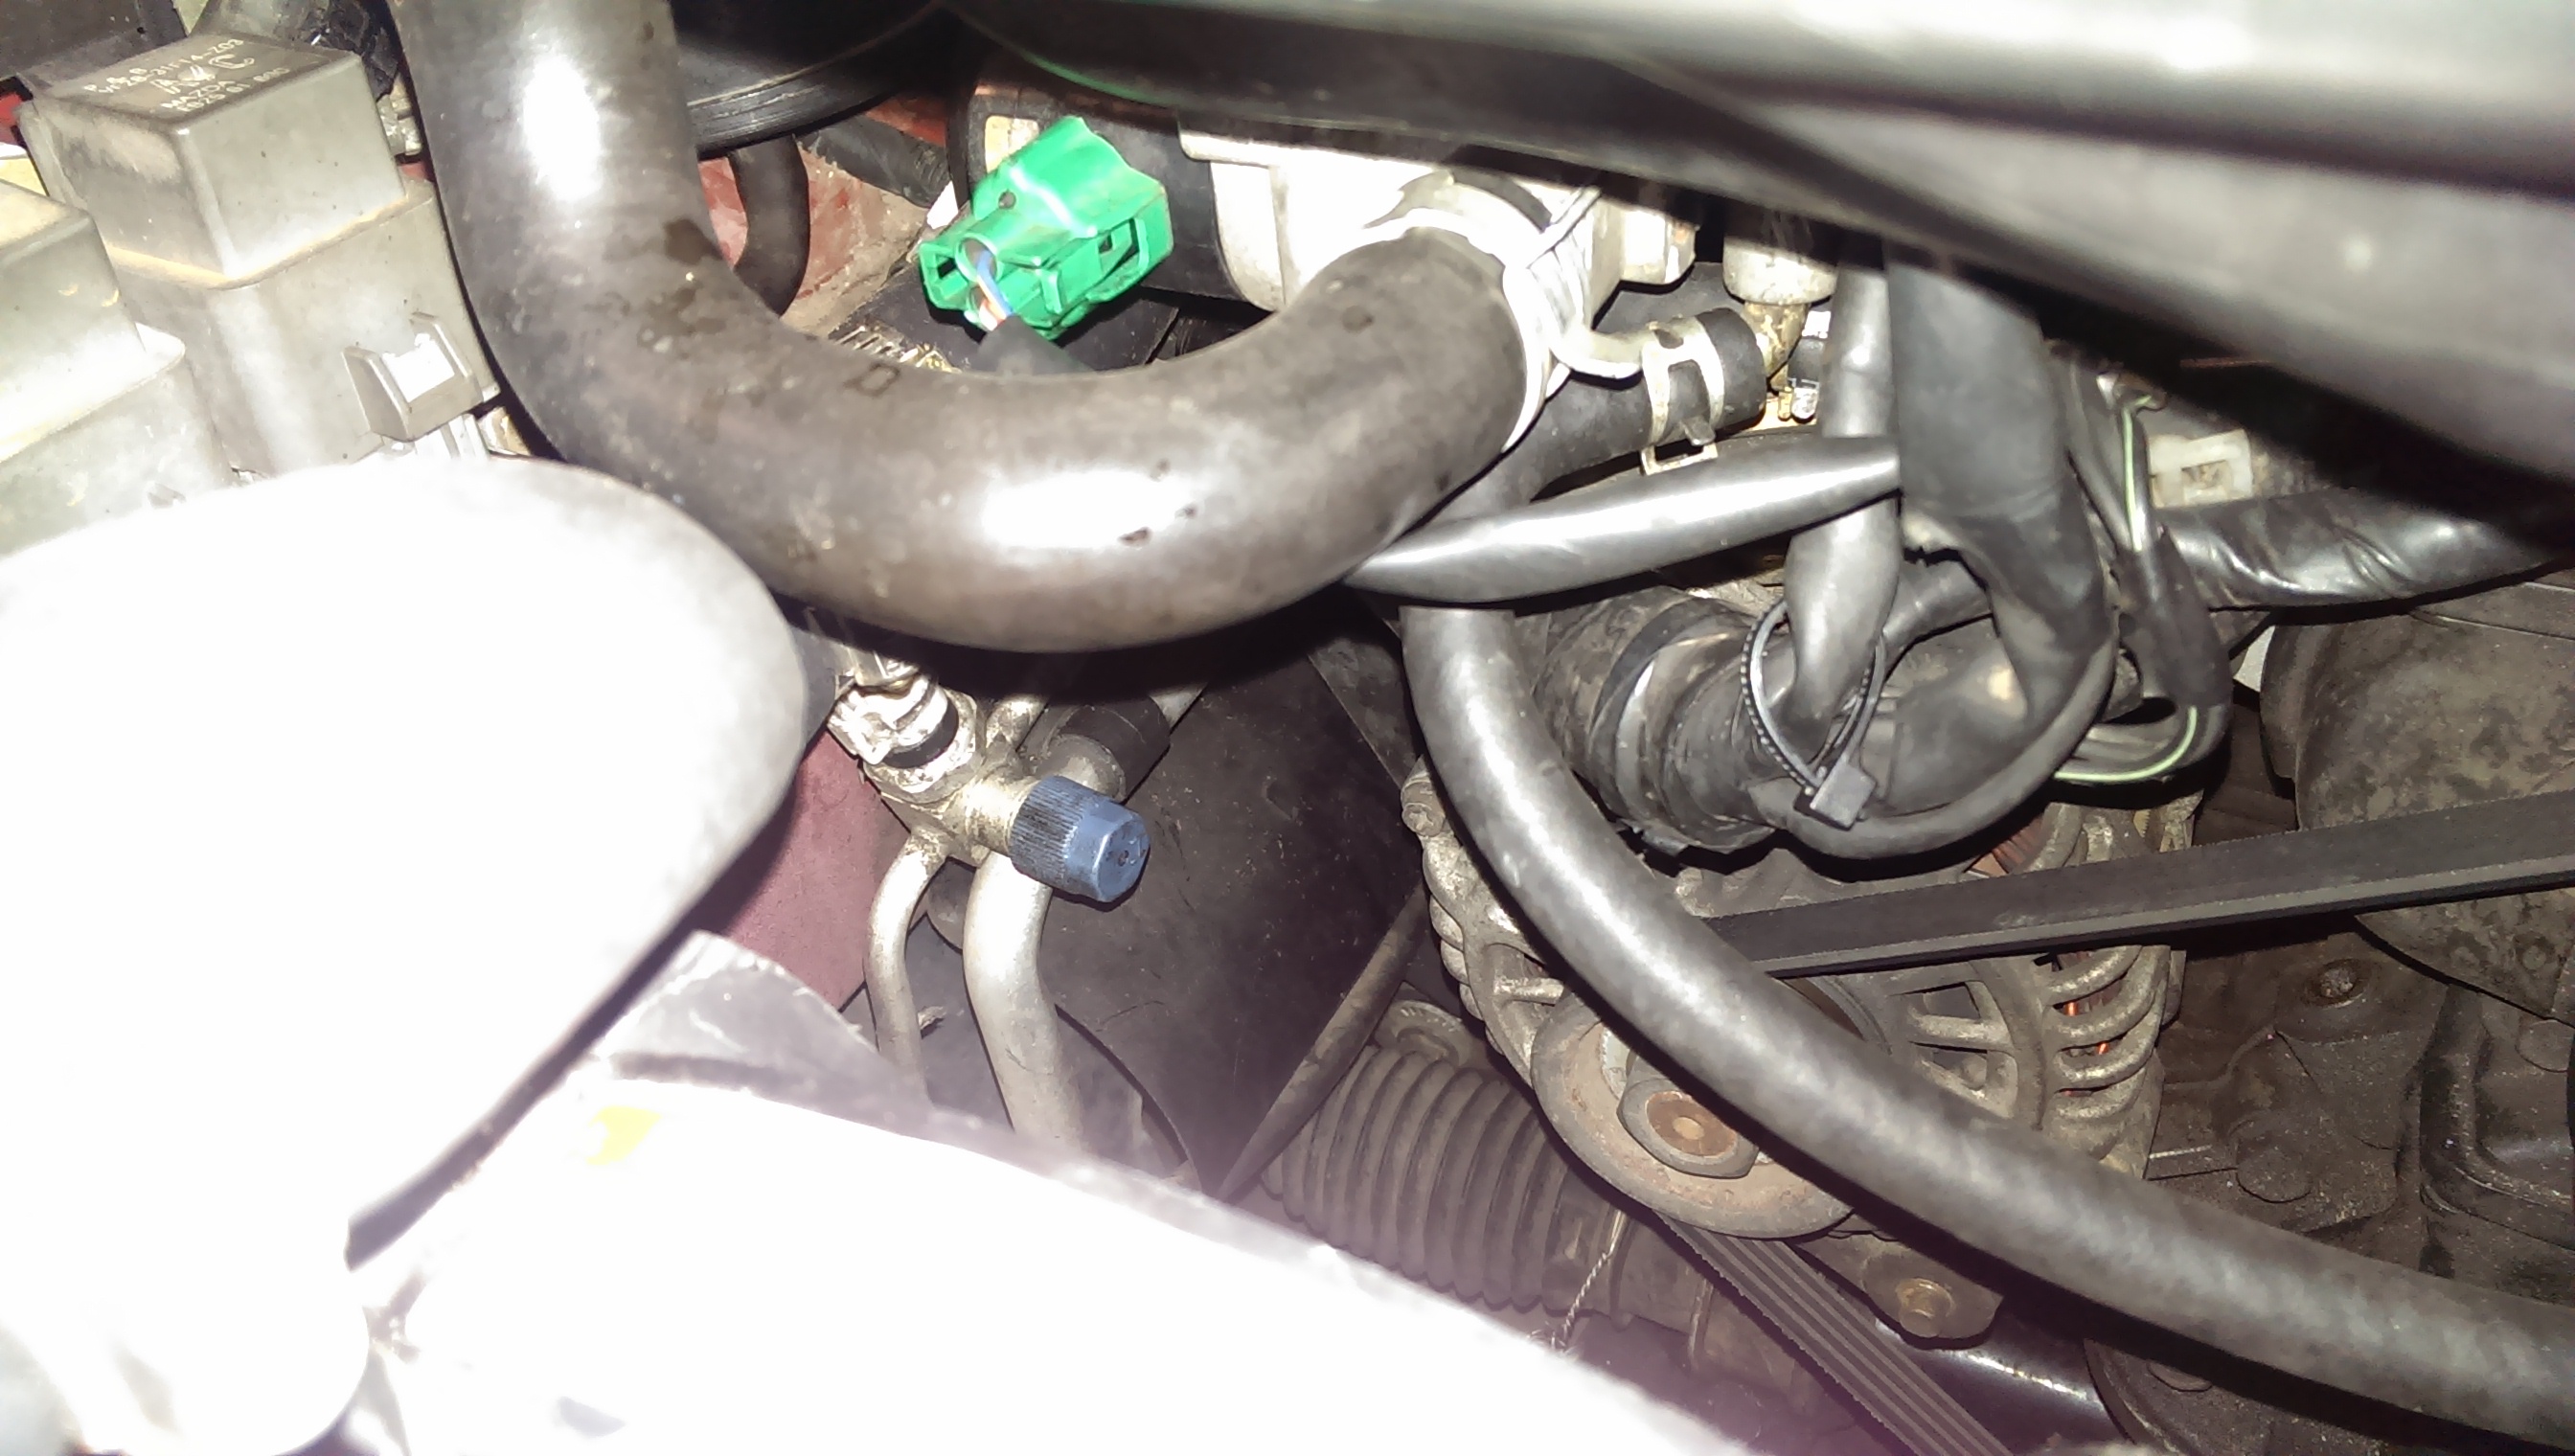
Blue line on
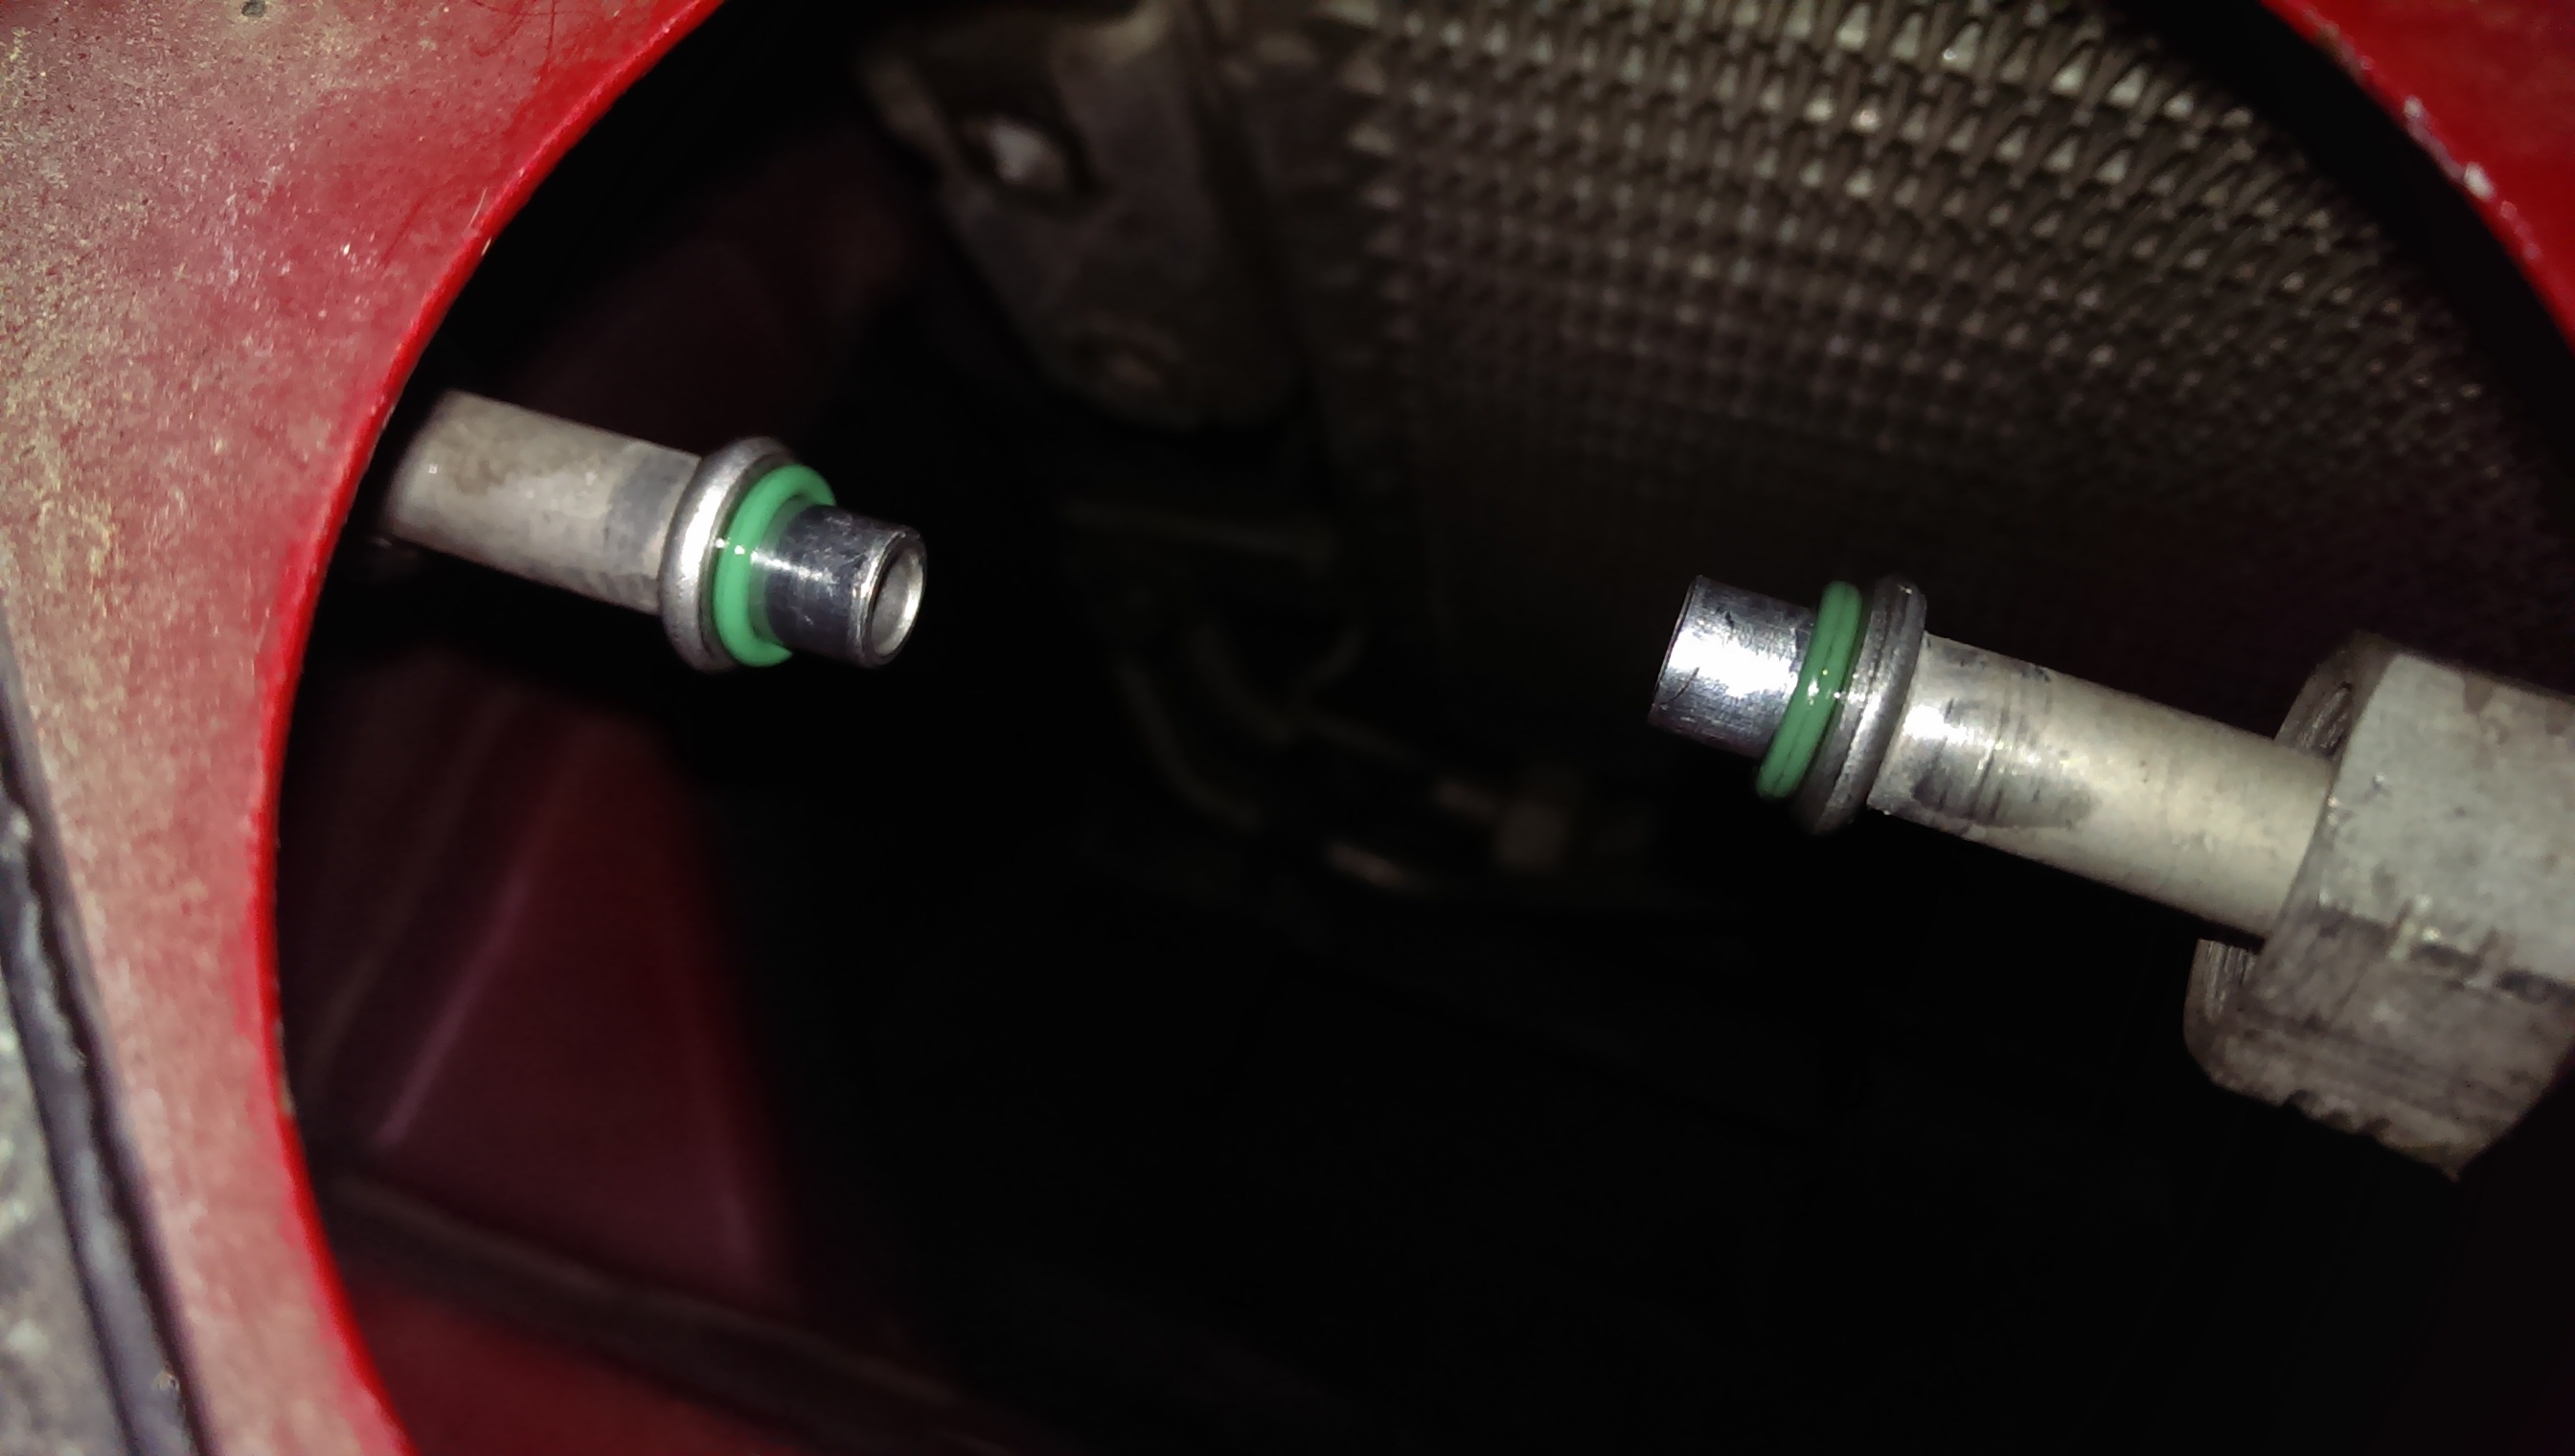
There will be two blue plastic caps on two different lines going into the firewall somewhere in the engine bay, typically on the passenger side. The thinner line will be the high pressure side. You can remove the plastic dust cap and snap your blue line onto the schrader valve underneath.
High pressure side
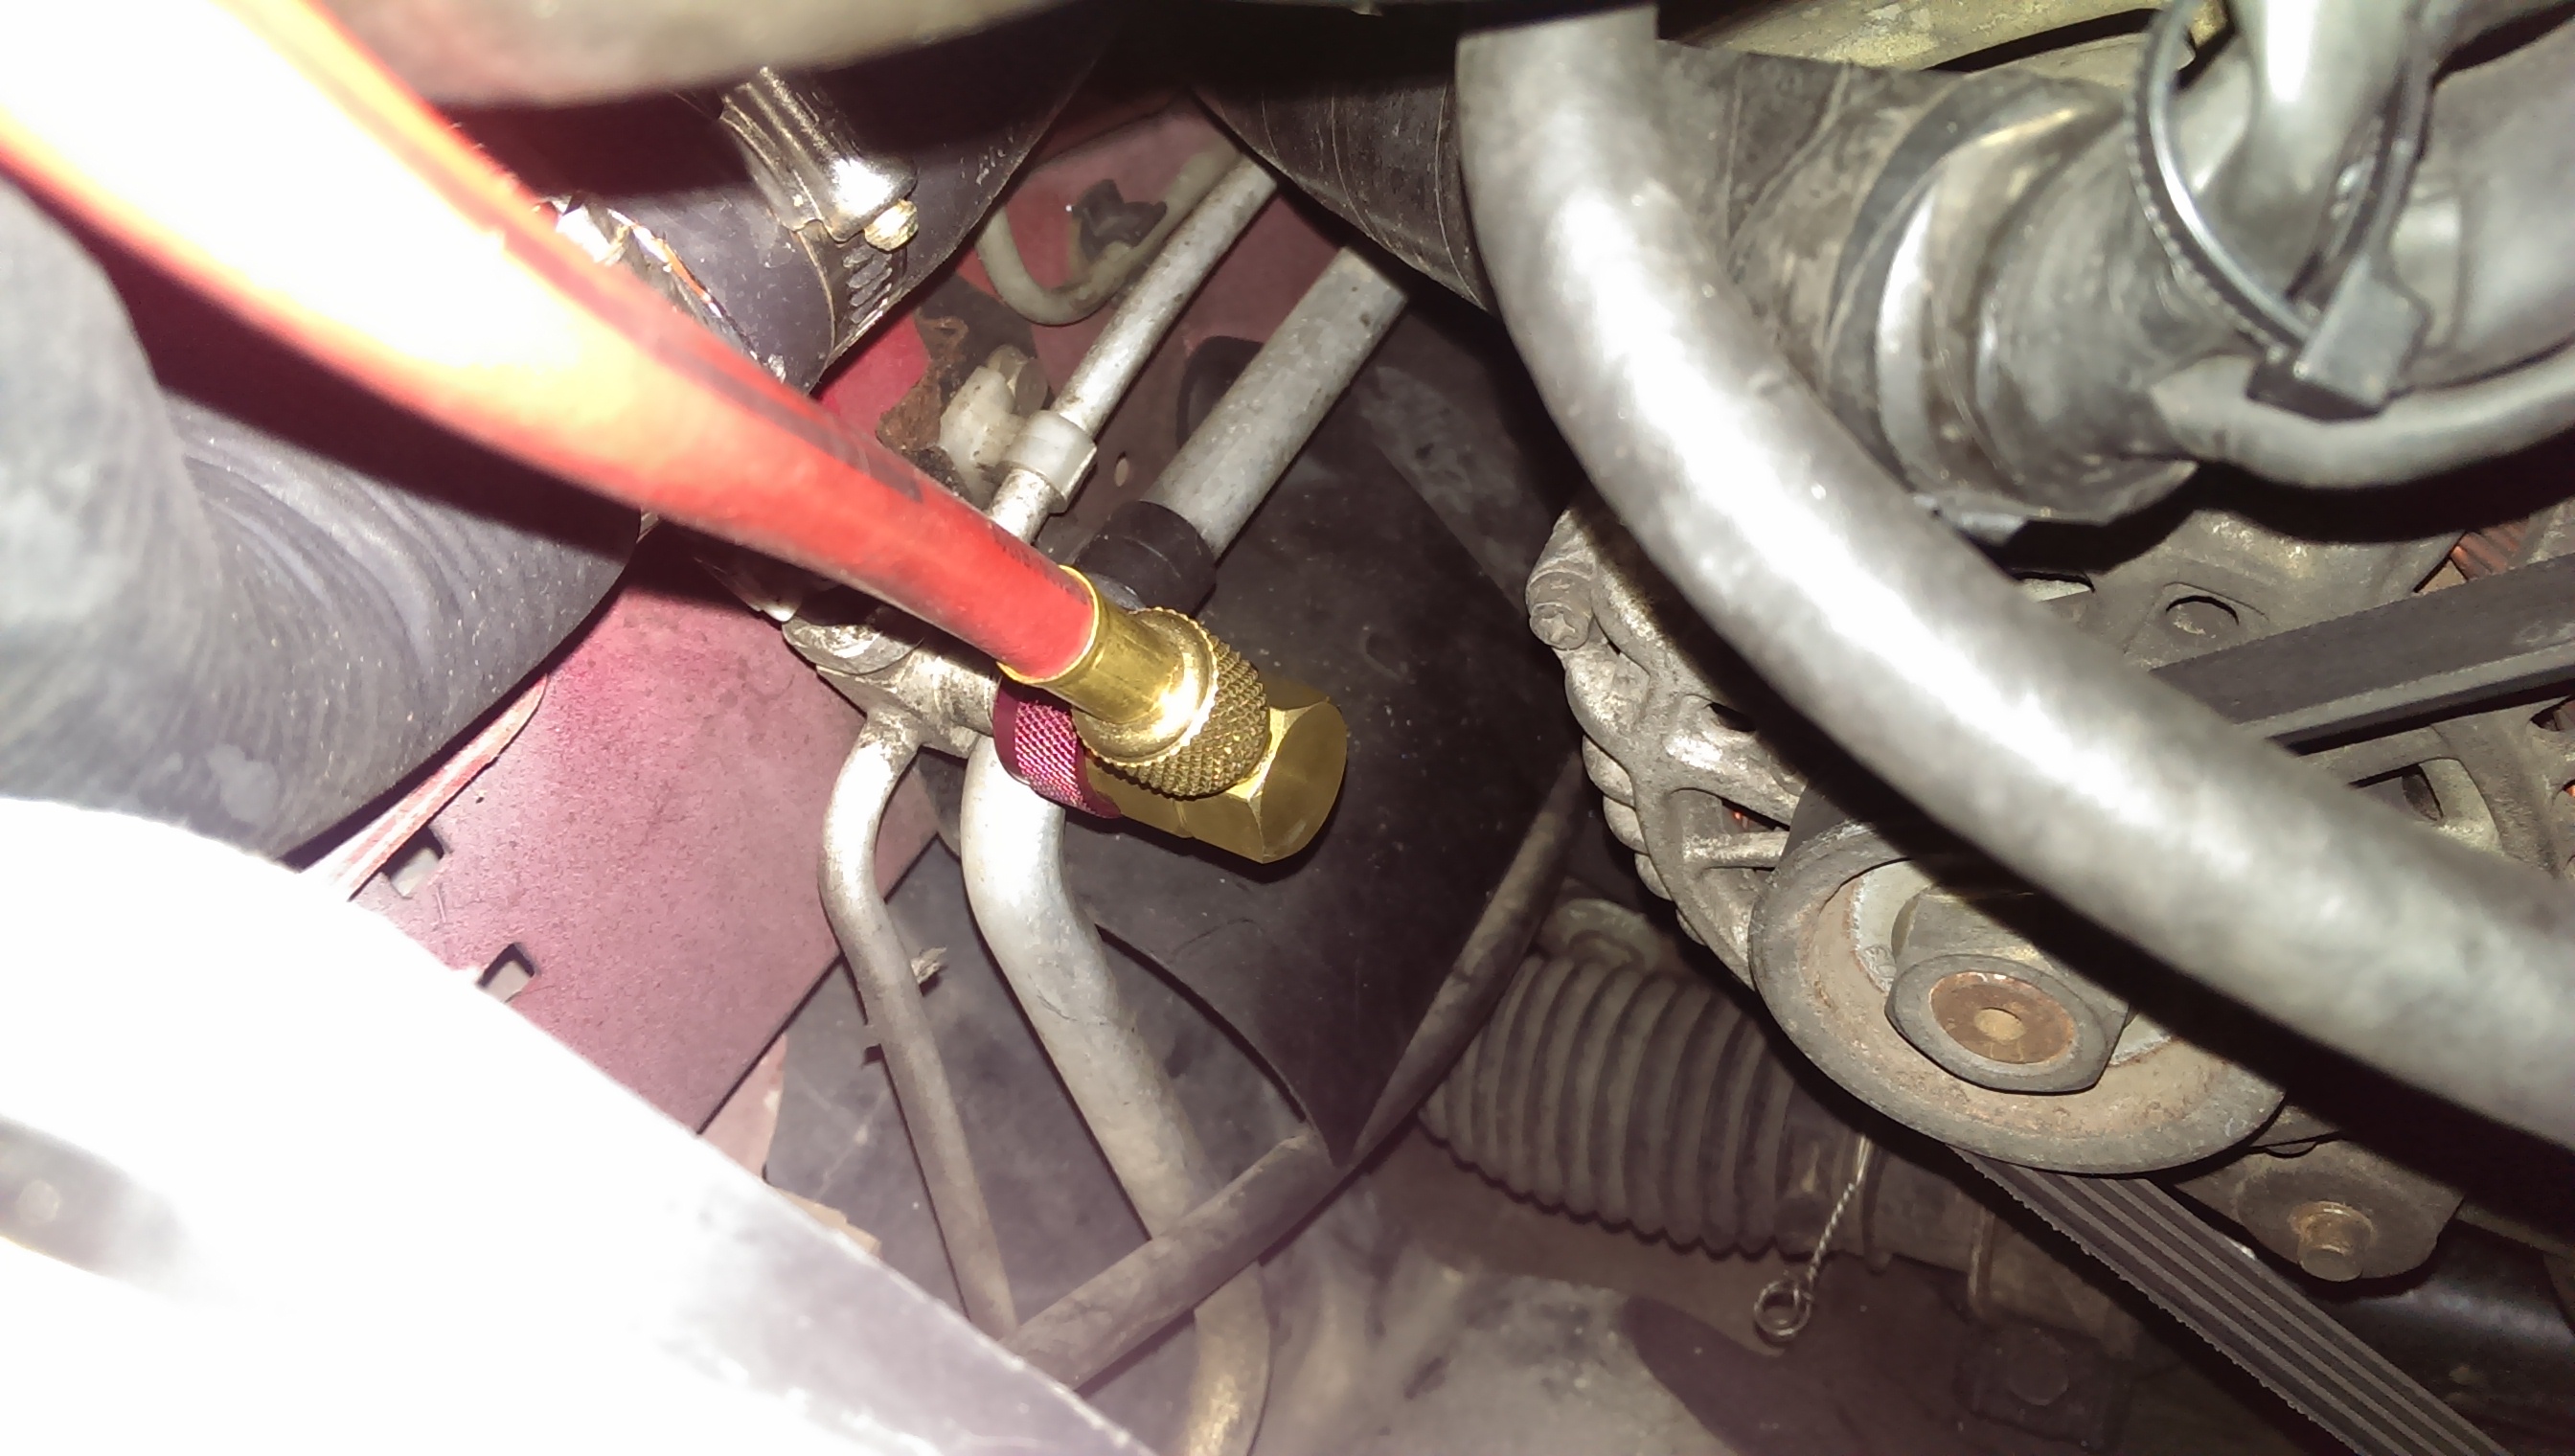
Red hose on
Then, do the same thing on the high pressure side. On an r134a system, the valves are different sizes so that you can’t accidentally mix them up. This may not be the case with other types of refrigerant.
Verify the system is empty

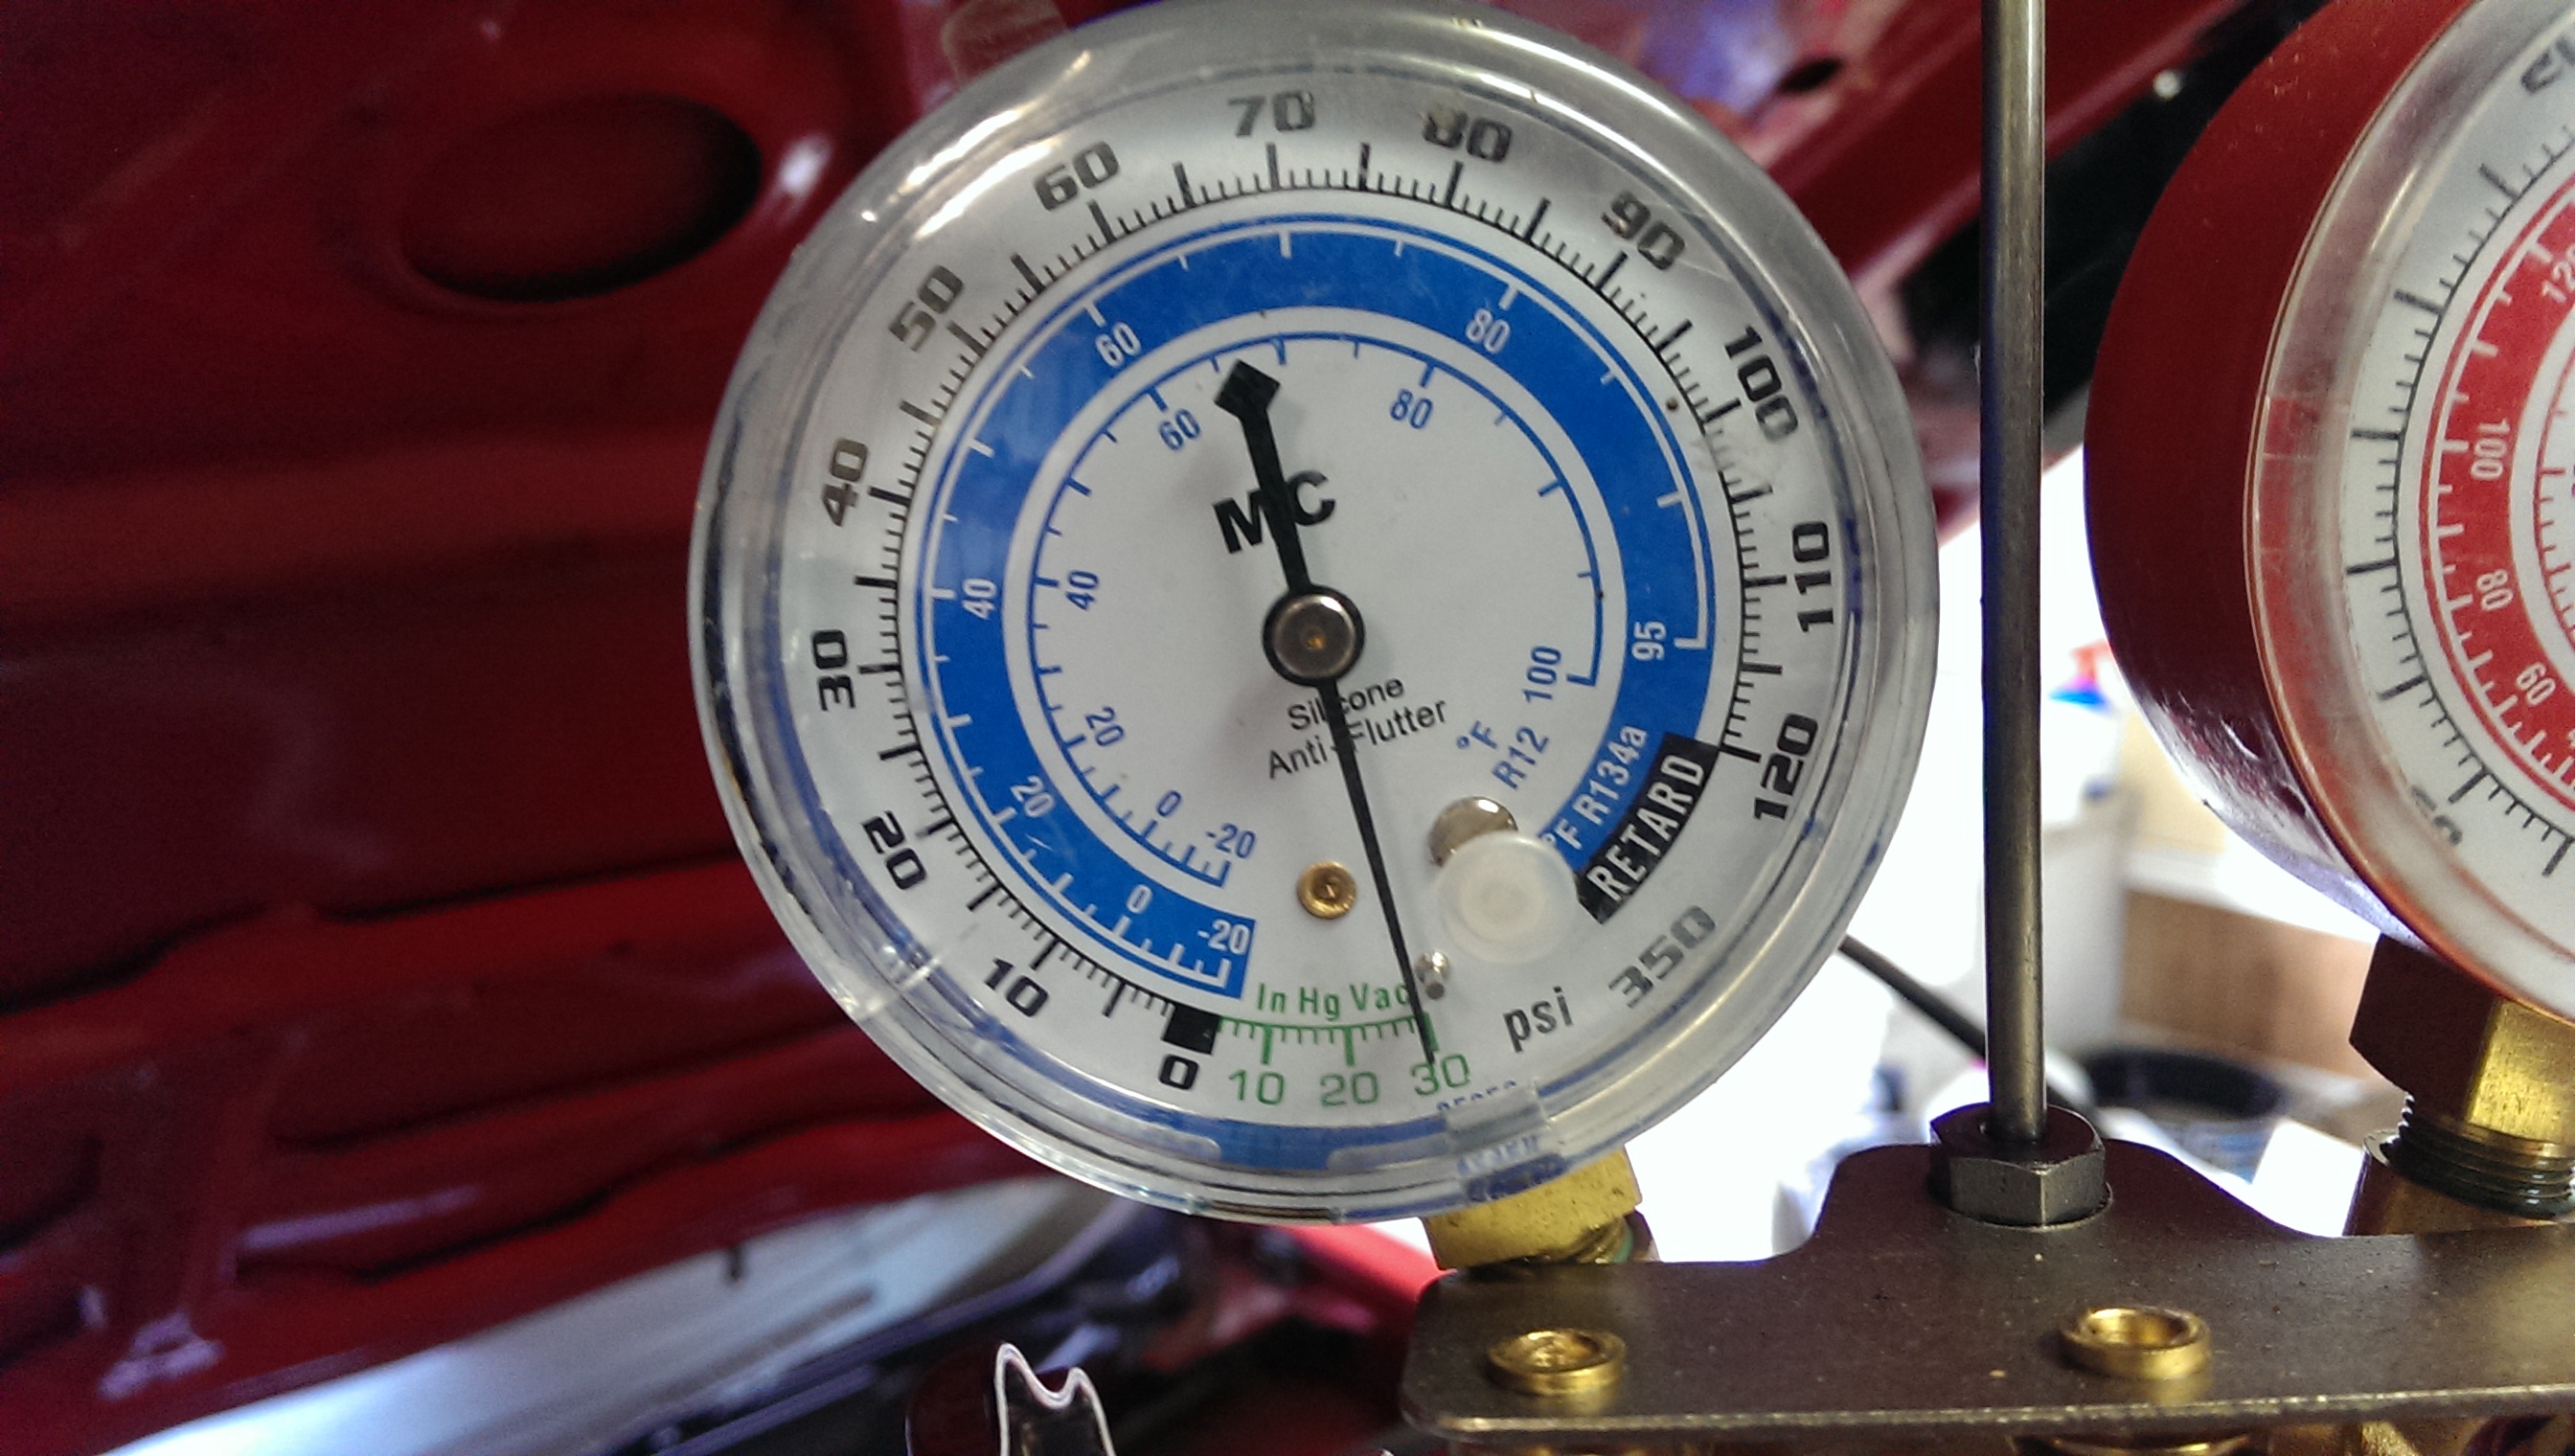
Gauges at 0 psi
Presumably, you’ve discharged the AC system to make some repair and so you already know that it has no refrigerant. It’s still worth verifying that before proceeding. At this point, both gauges should read 0psi. Note that you do not need to and should not open the valves. Do not open the valves.
The gauges will show pressure if there is any by virtue of being connected. If the pressure is higher than 0 on either side, you have refrigerant in the system and need to get it extracted by a professional. A mechanic should be able to recover the r134a for you fairly inexpensively, since he gets to keep the refrigerant to reuse for another customer.
Replace the Receiver/Drier
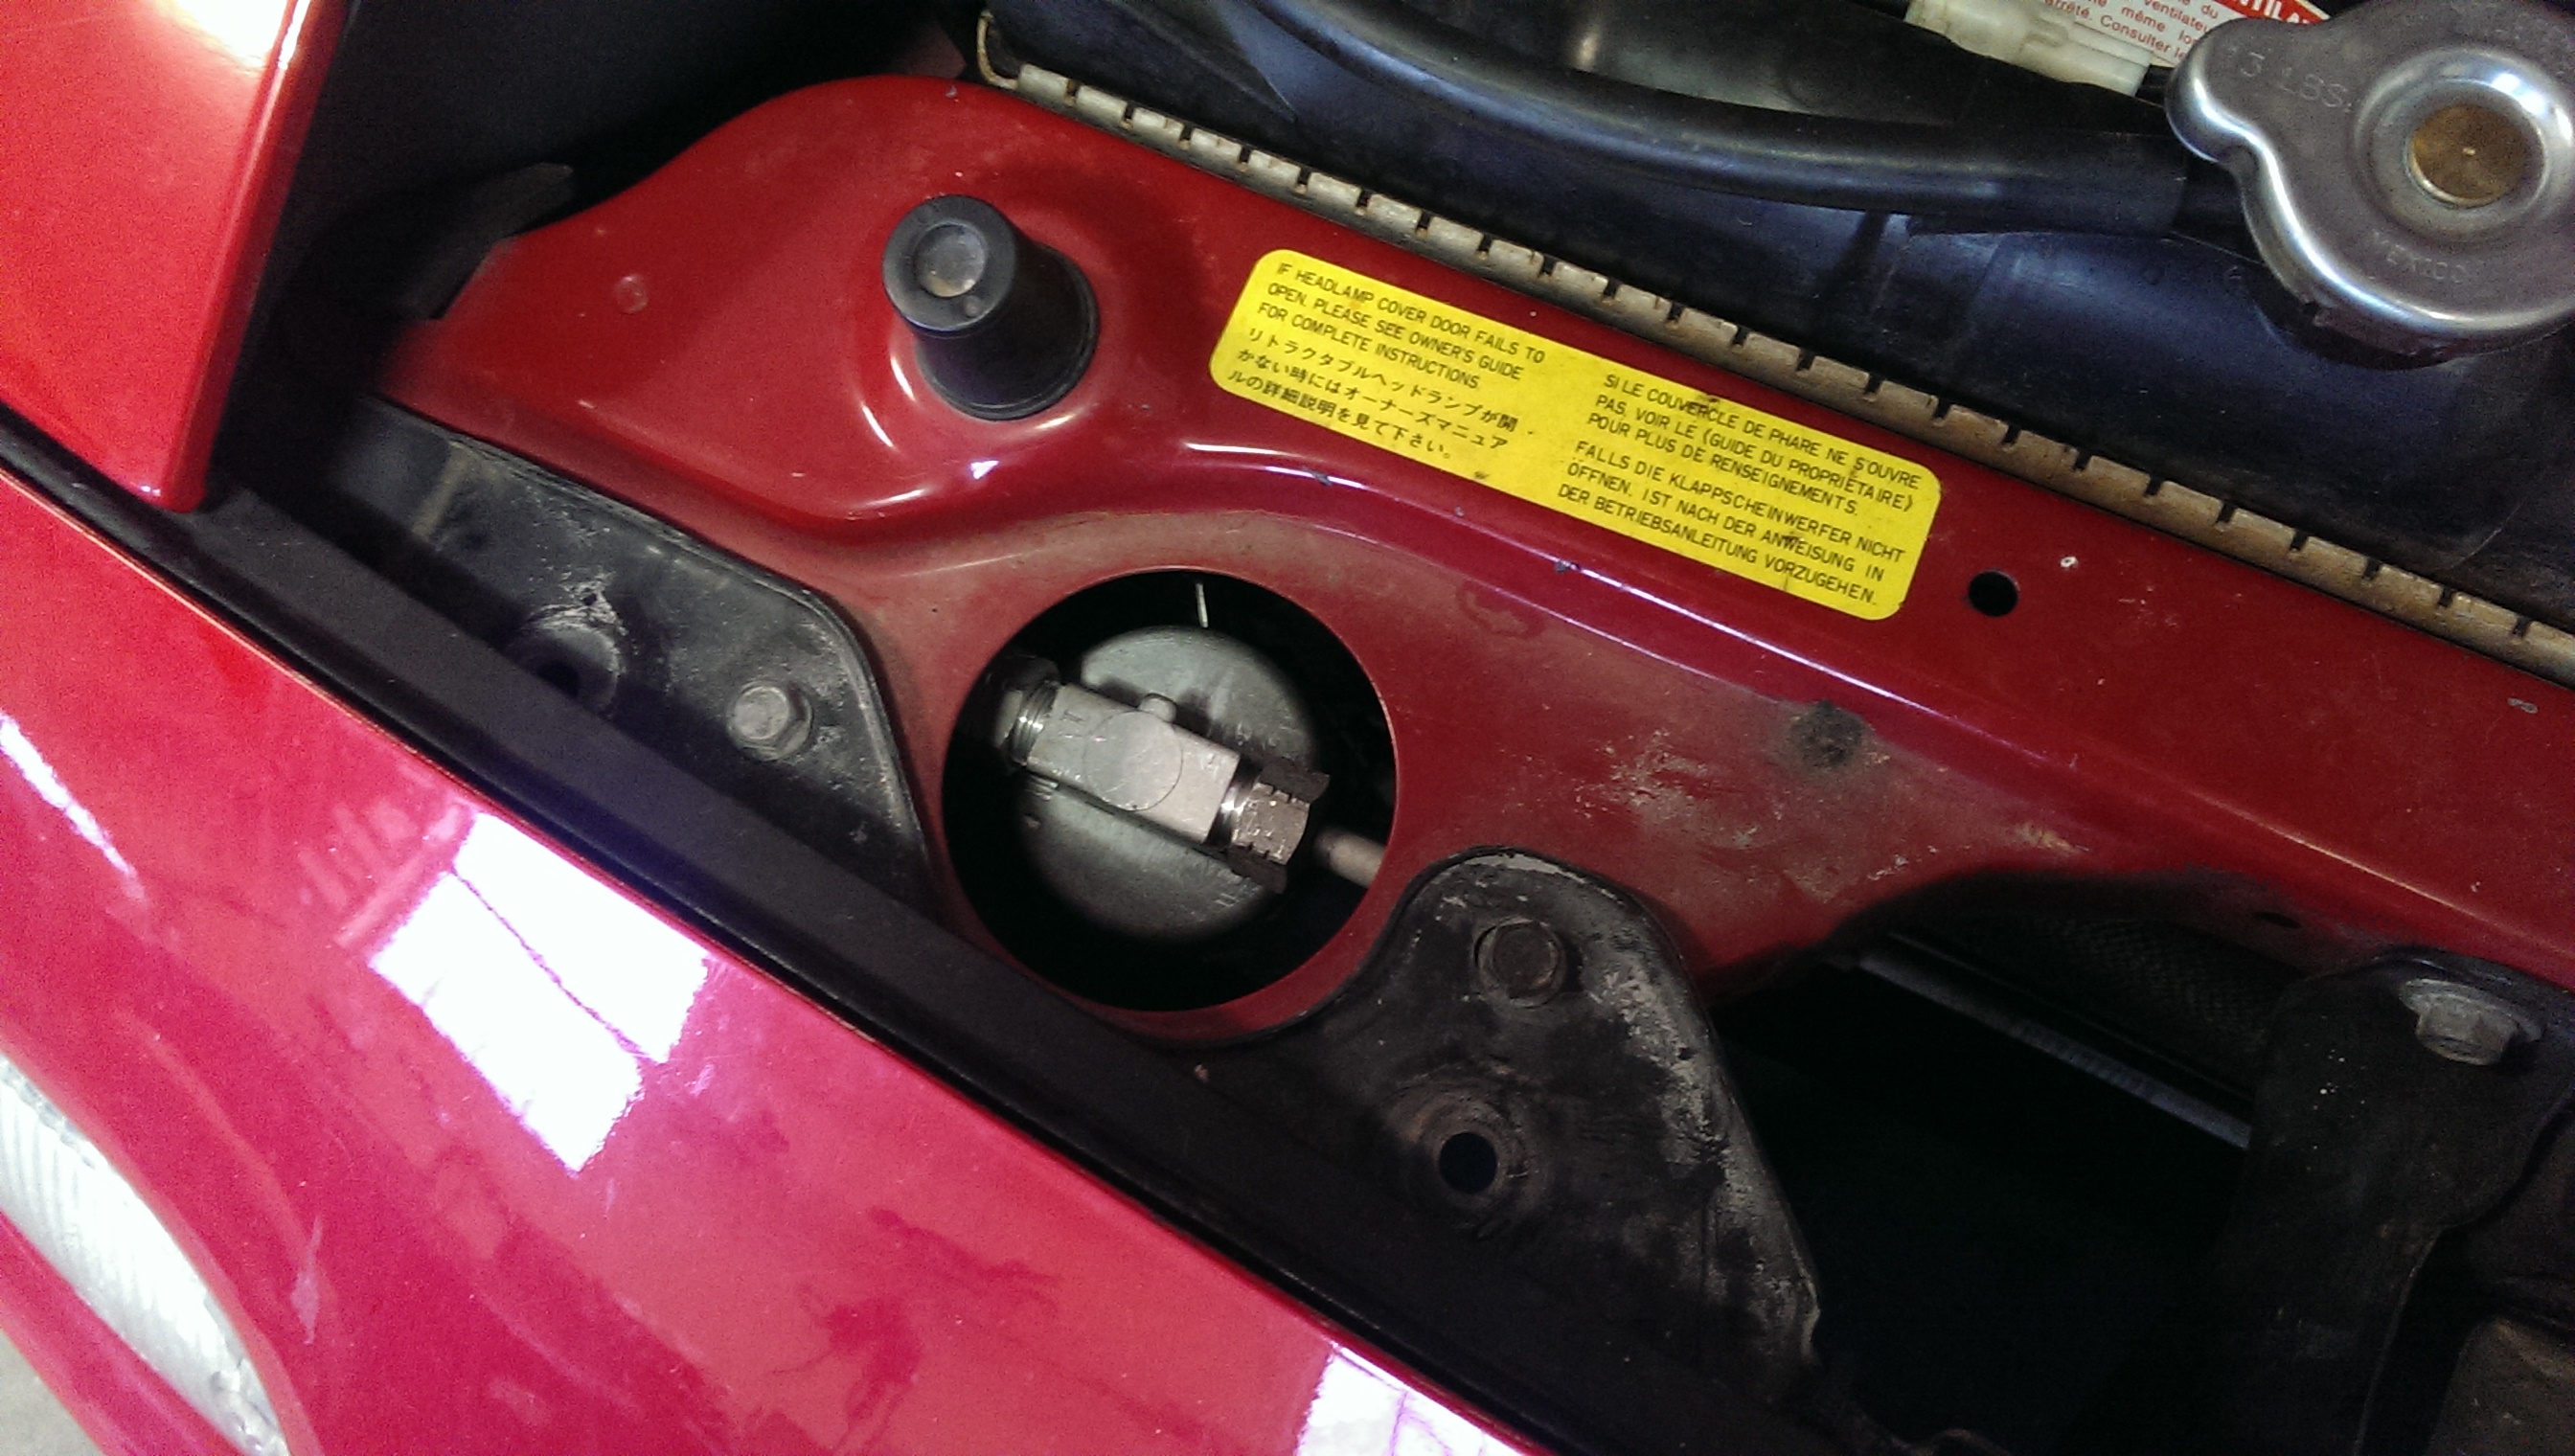
Receiver/drier location in a miata
Whenever you open the AC system, you should replace the receiver/drier. It is sensitive to moisture, and replacing it with a fresh one will ensure your AC system works properly. It will always be located close to the condenser. In a miata, it is located through this hole under the plastic in front of the radiator.

Getting wrenches on the receiver/drier

Receiver/drier almost out
Getting to it can be a bit of a pain. There are two mounting holes on the side of it in addition to two lines connecting to it. You should use two wrenches to undo the lines connecting to it – you can put pressure in opposite directions so you don’t stress the lines. The two mounting bolts need to be reached creatively through the bumper. Having small hands on loan and various length socket extensions helps a great deal.
Lines free after drier removal
Once you have all 4 bolts / nuts undone, you can pull it out. Replacing it is the reverse of removal. In my case, this is the second time I had opened up the system, so I knew those green o-rings were fairly new. When I first did it, however, I replaced the originals with these. If you have a bag of o-rings, you can go ahead and put some new ones on here. When you do that, adding a little bit of oil to the o-rings helps them seal and keeps them from tearing when you torque down the nuts connecting the lines to the drier.
Vacuum the system
Vacuum connected
Now that you know the system has no refrigerant, you can begin pulling a vacuum on it to refill. Vacuuming out the lines both ensures there is no moist air in the system. To do this, connect the yellow middle line to your vacuum pump. Plug in the pump and start it running, then open both valves on the manifold gauges fully.
Vacuum pulling
You should see the pressure rapidly drop on the low pressure side. The high pressure gauge likely can’t read lower than zero, but the low pressure side should go down to -28 or -30 inches of mercury (inHg). If this doesn’t happen, you’ve got a big leak somewhere. You should also verify that the hoses are fully seated on the schrader valves.
Keep the pump running for at least 30 minutes. Constantly pulling a vacuum on the lines for a decent period of time will boil moisture in the lines and dry them out as much as possible. Once you’ve done this, close the valves on the manifold gauge and then turn off the pump. At this point, you wait for 30 minutes or an hour to see if the vacuum holds.
Cold side 60 minutes later
30 minutes later, you want your cold side to still be as low as it was when you first pulled a vacuum. If you see the pressure go back up any significant amount, you have a smaller leak. If possible, it is nice if you can find it before recharging the system so that you don’t have to get refrigerant extracted again. If not, you can always charge it and use a UV light to look for leaks.
If your system held a vacuum properly, you’ve passed the vacuum test. Your system is vacuumed out and ready to recharge.
Charge the AC
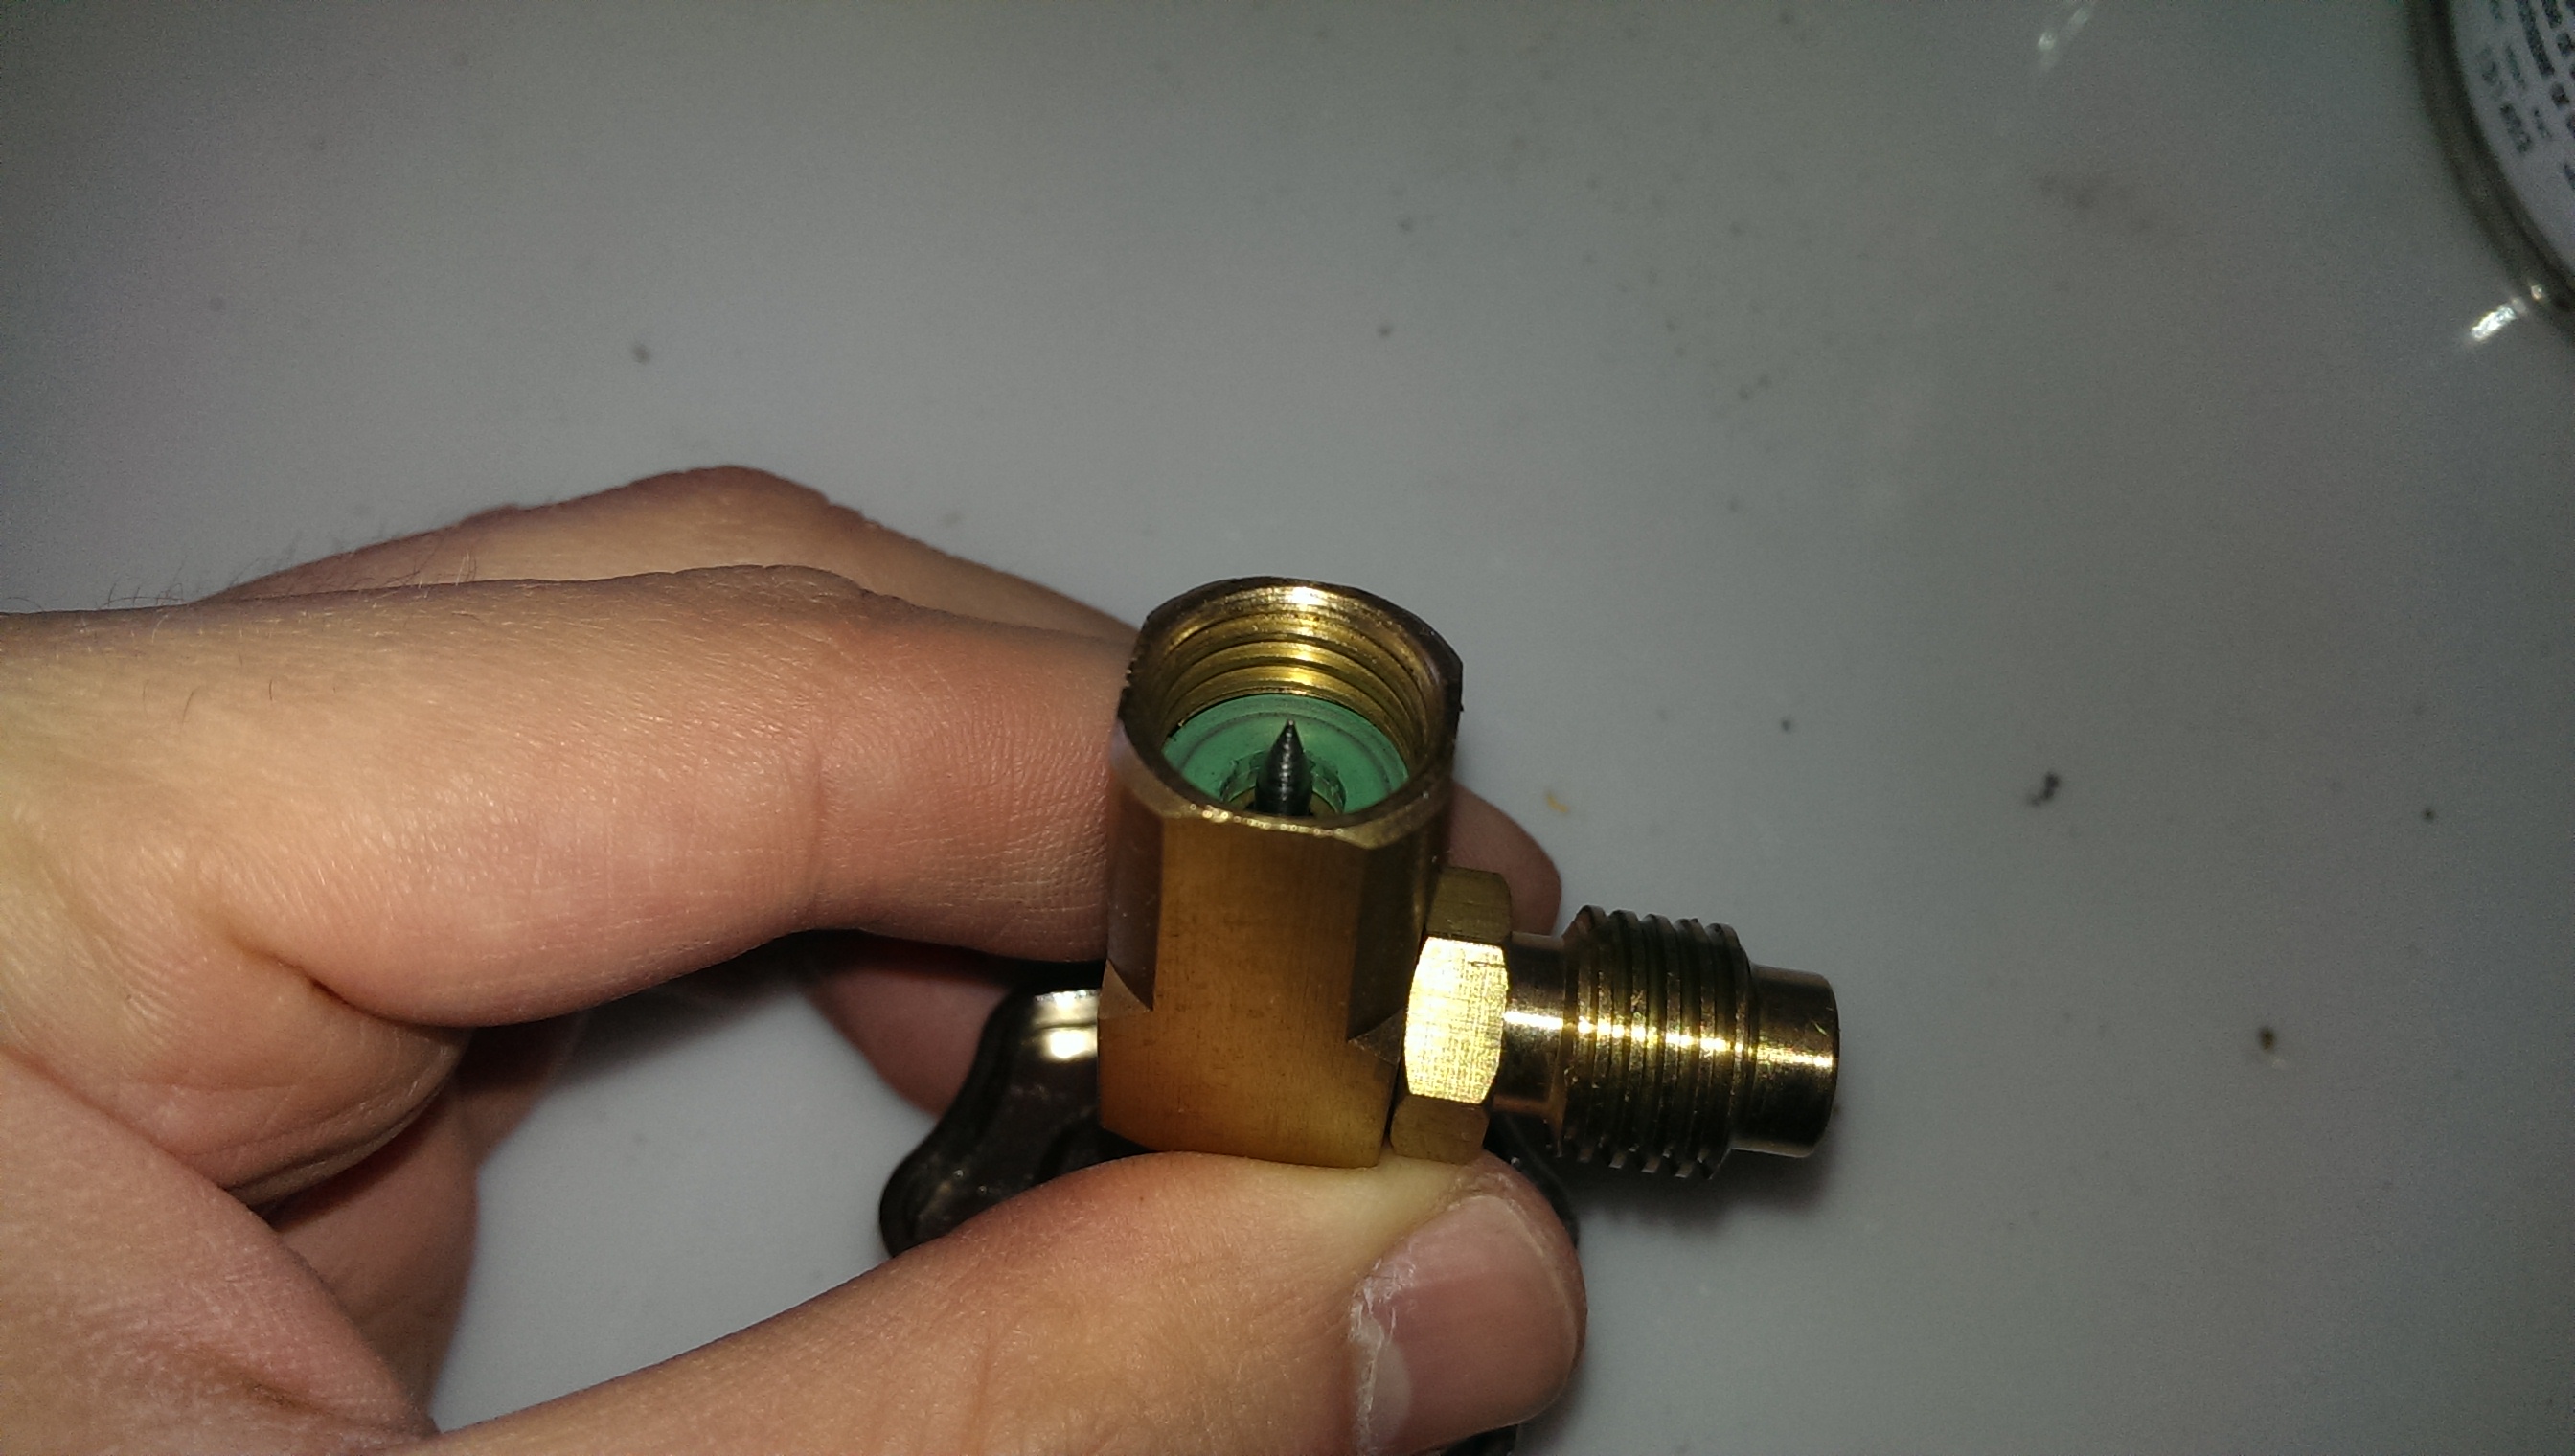
Can tap closed
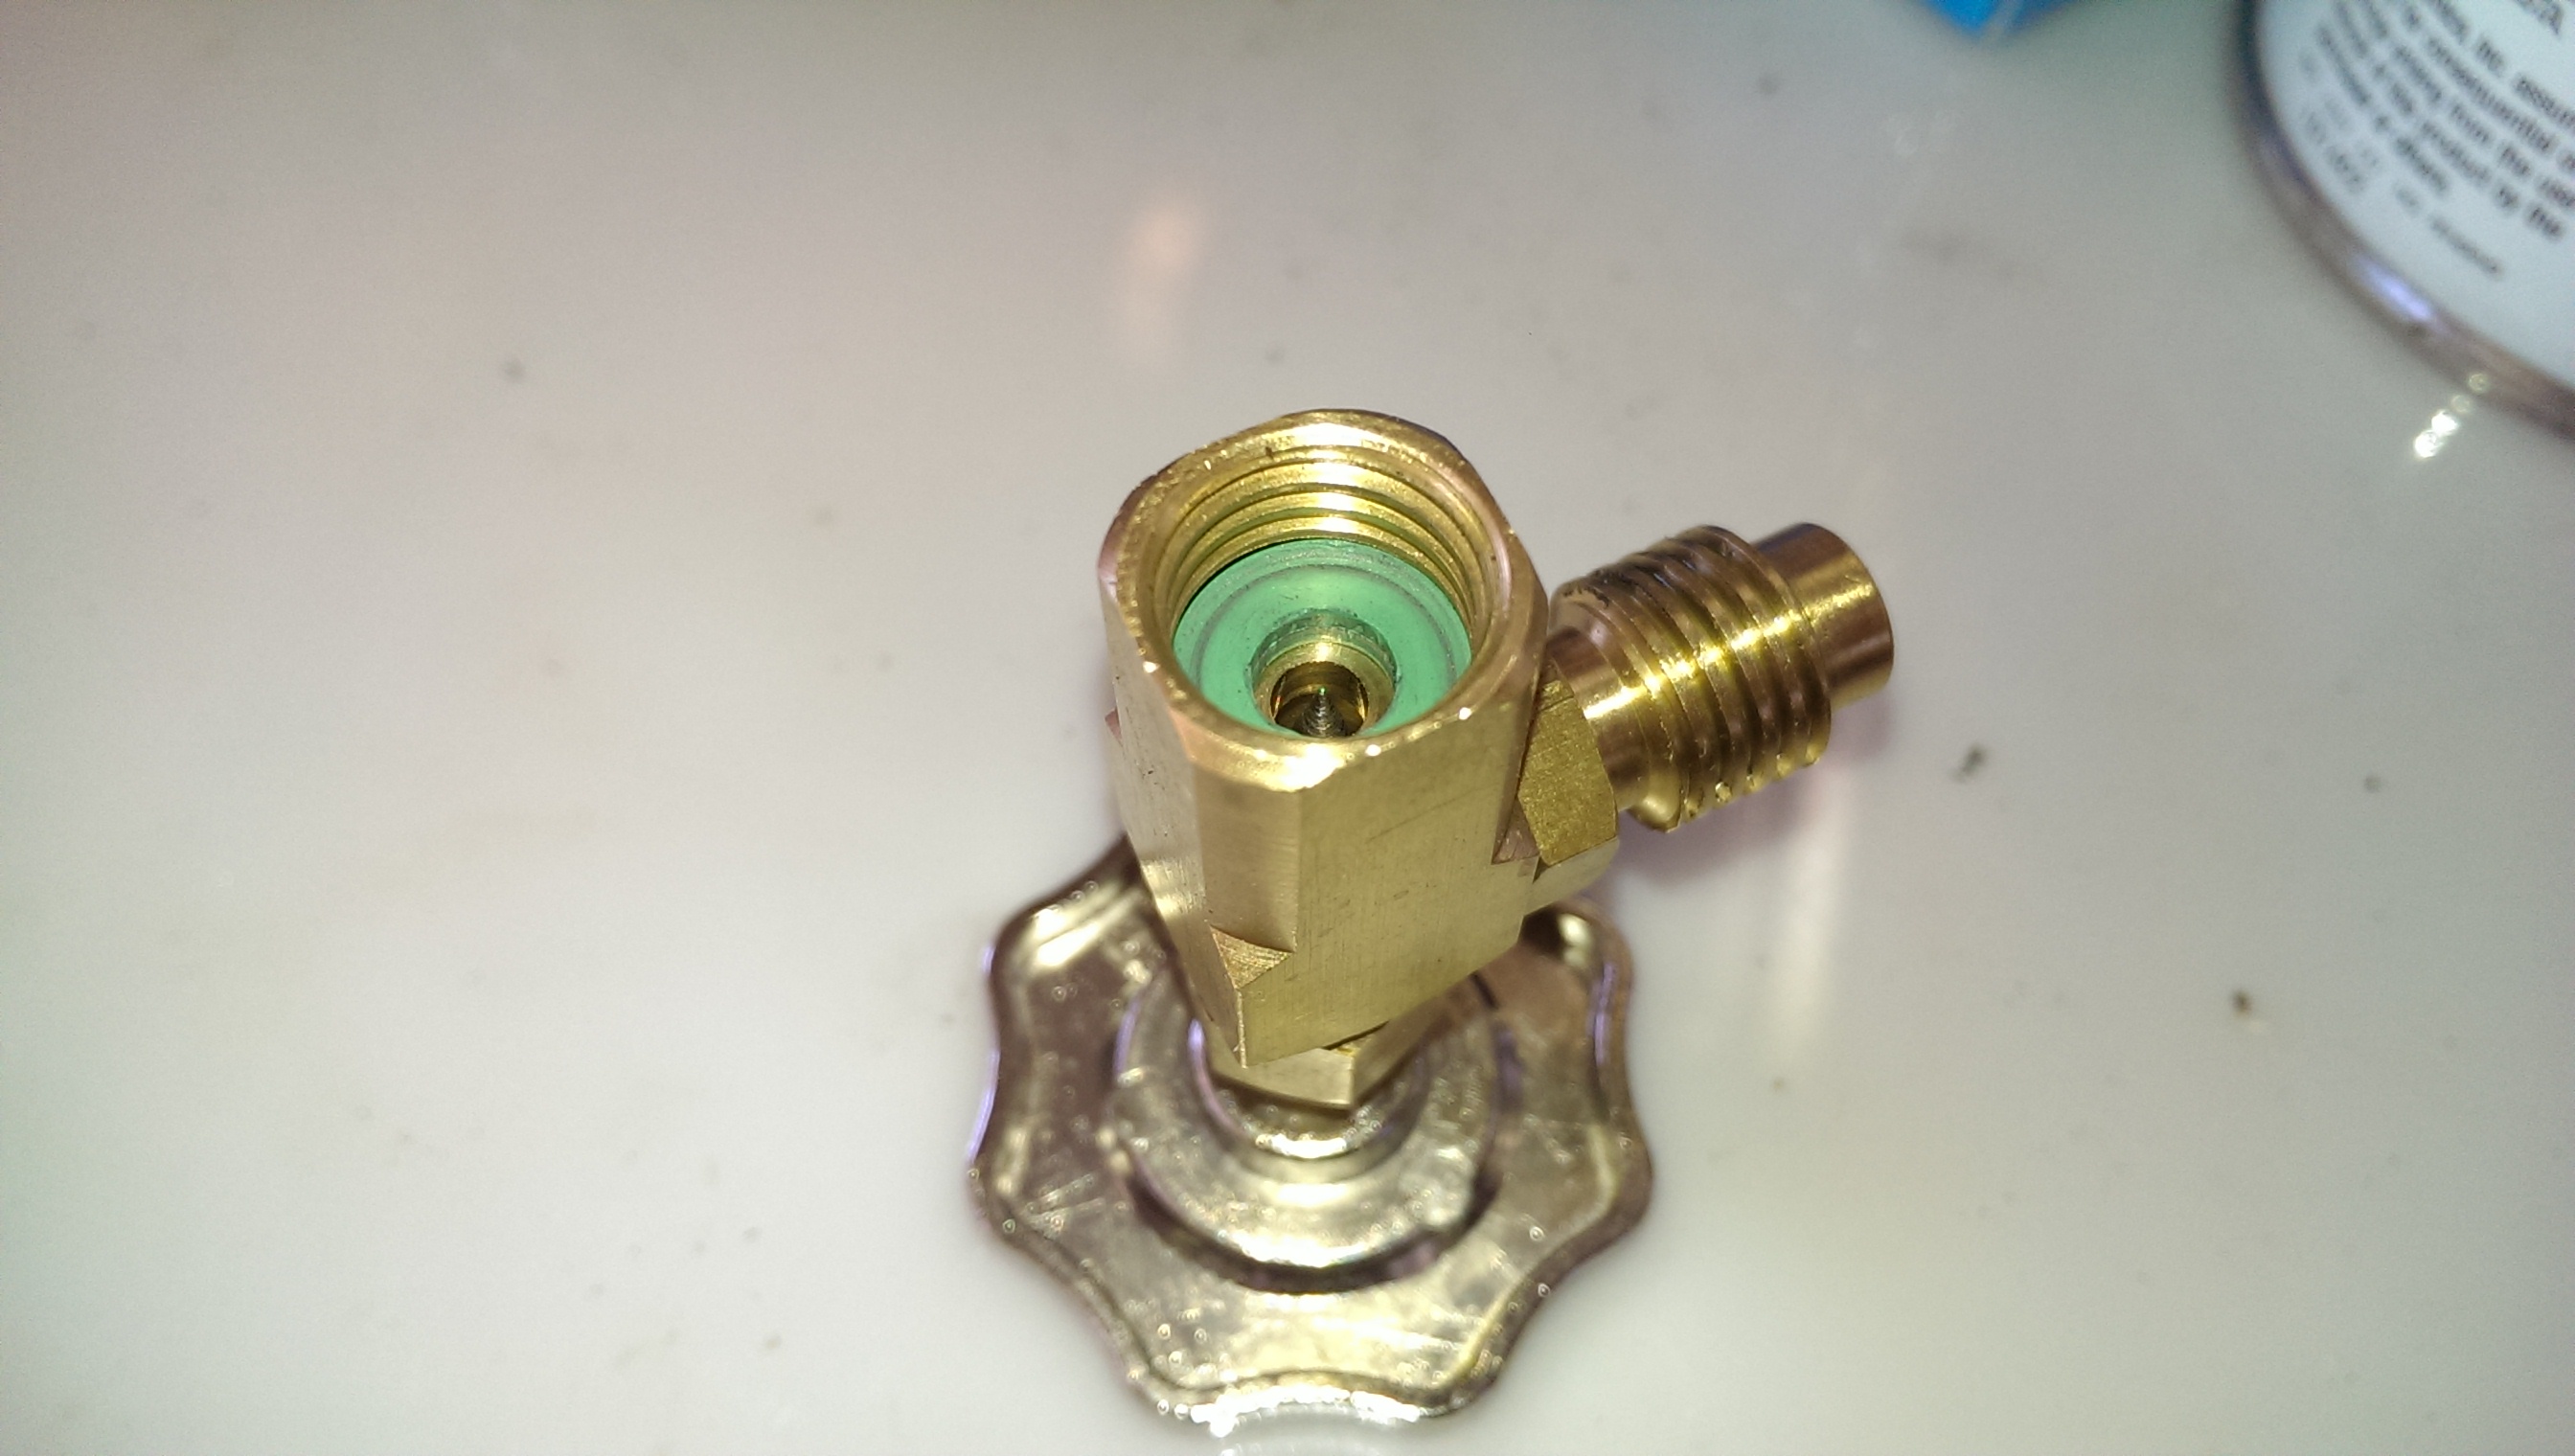
Can tap open / ready for initial install
The can tap needs to be hooked up to a can of refrigerant. To do this, first make sure the valve on the can tap is all the way turned left, as in all the way unscrewed. This keeps the spike away from the can to start. The first picture on the left shows the tap fully tightened, which is NOT what you want initially. The second picture on the right shows the spike retracted with the valve fully loosened. Have it set this way initially. When you’re sure the spike is fully retracted, screw the tap onto the can.

Can tap hooked up
With the can tap screwed on the can, you can screw the can tap valve fully to the right (tighten). This will force the spike into the can and pierce it, but if you keep it fully tightened it will keep it sealed. At this point, do not unscrew the valve or refrigerant will go spewing everywhere. Instead, unhook the yellow hose from your vacuum pump and hook it into the can tap as pictured. You are nearly ready to go.

Zeroing the refrigerant
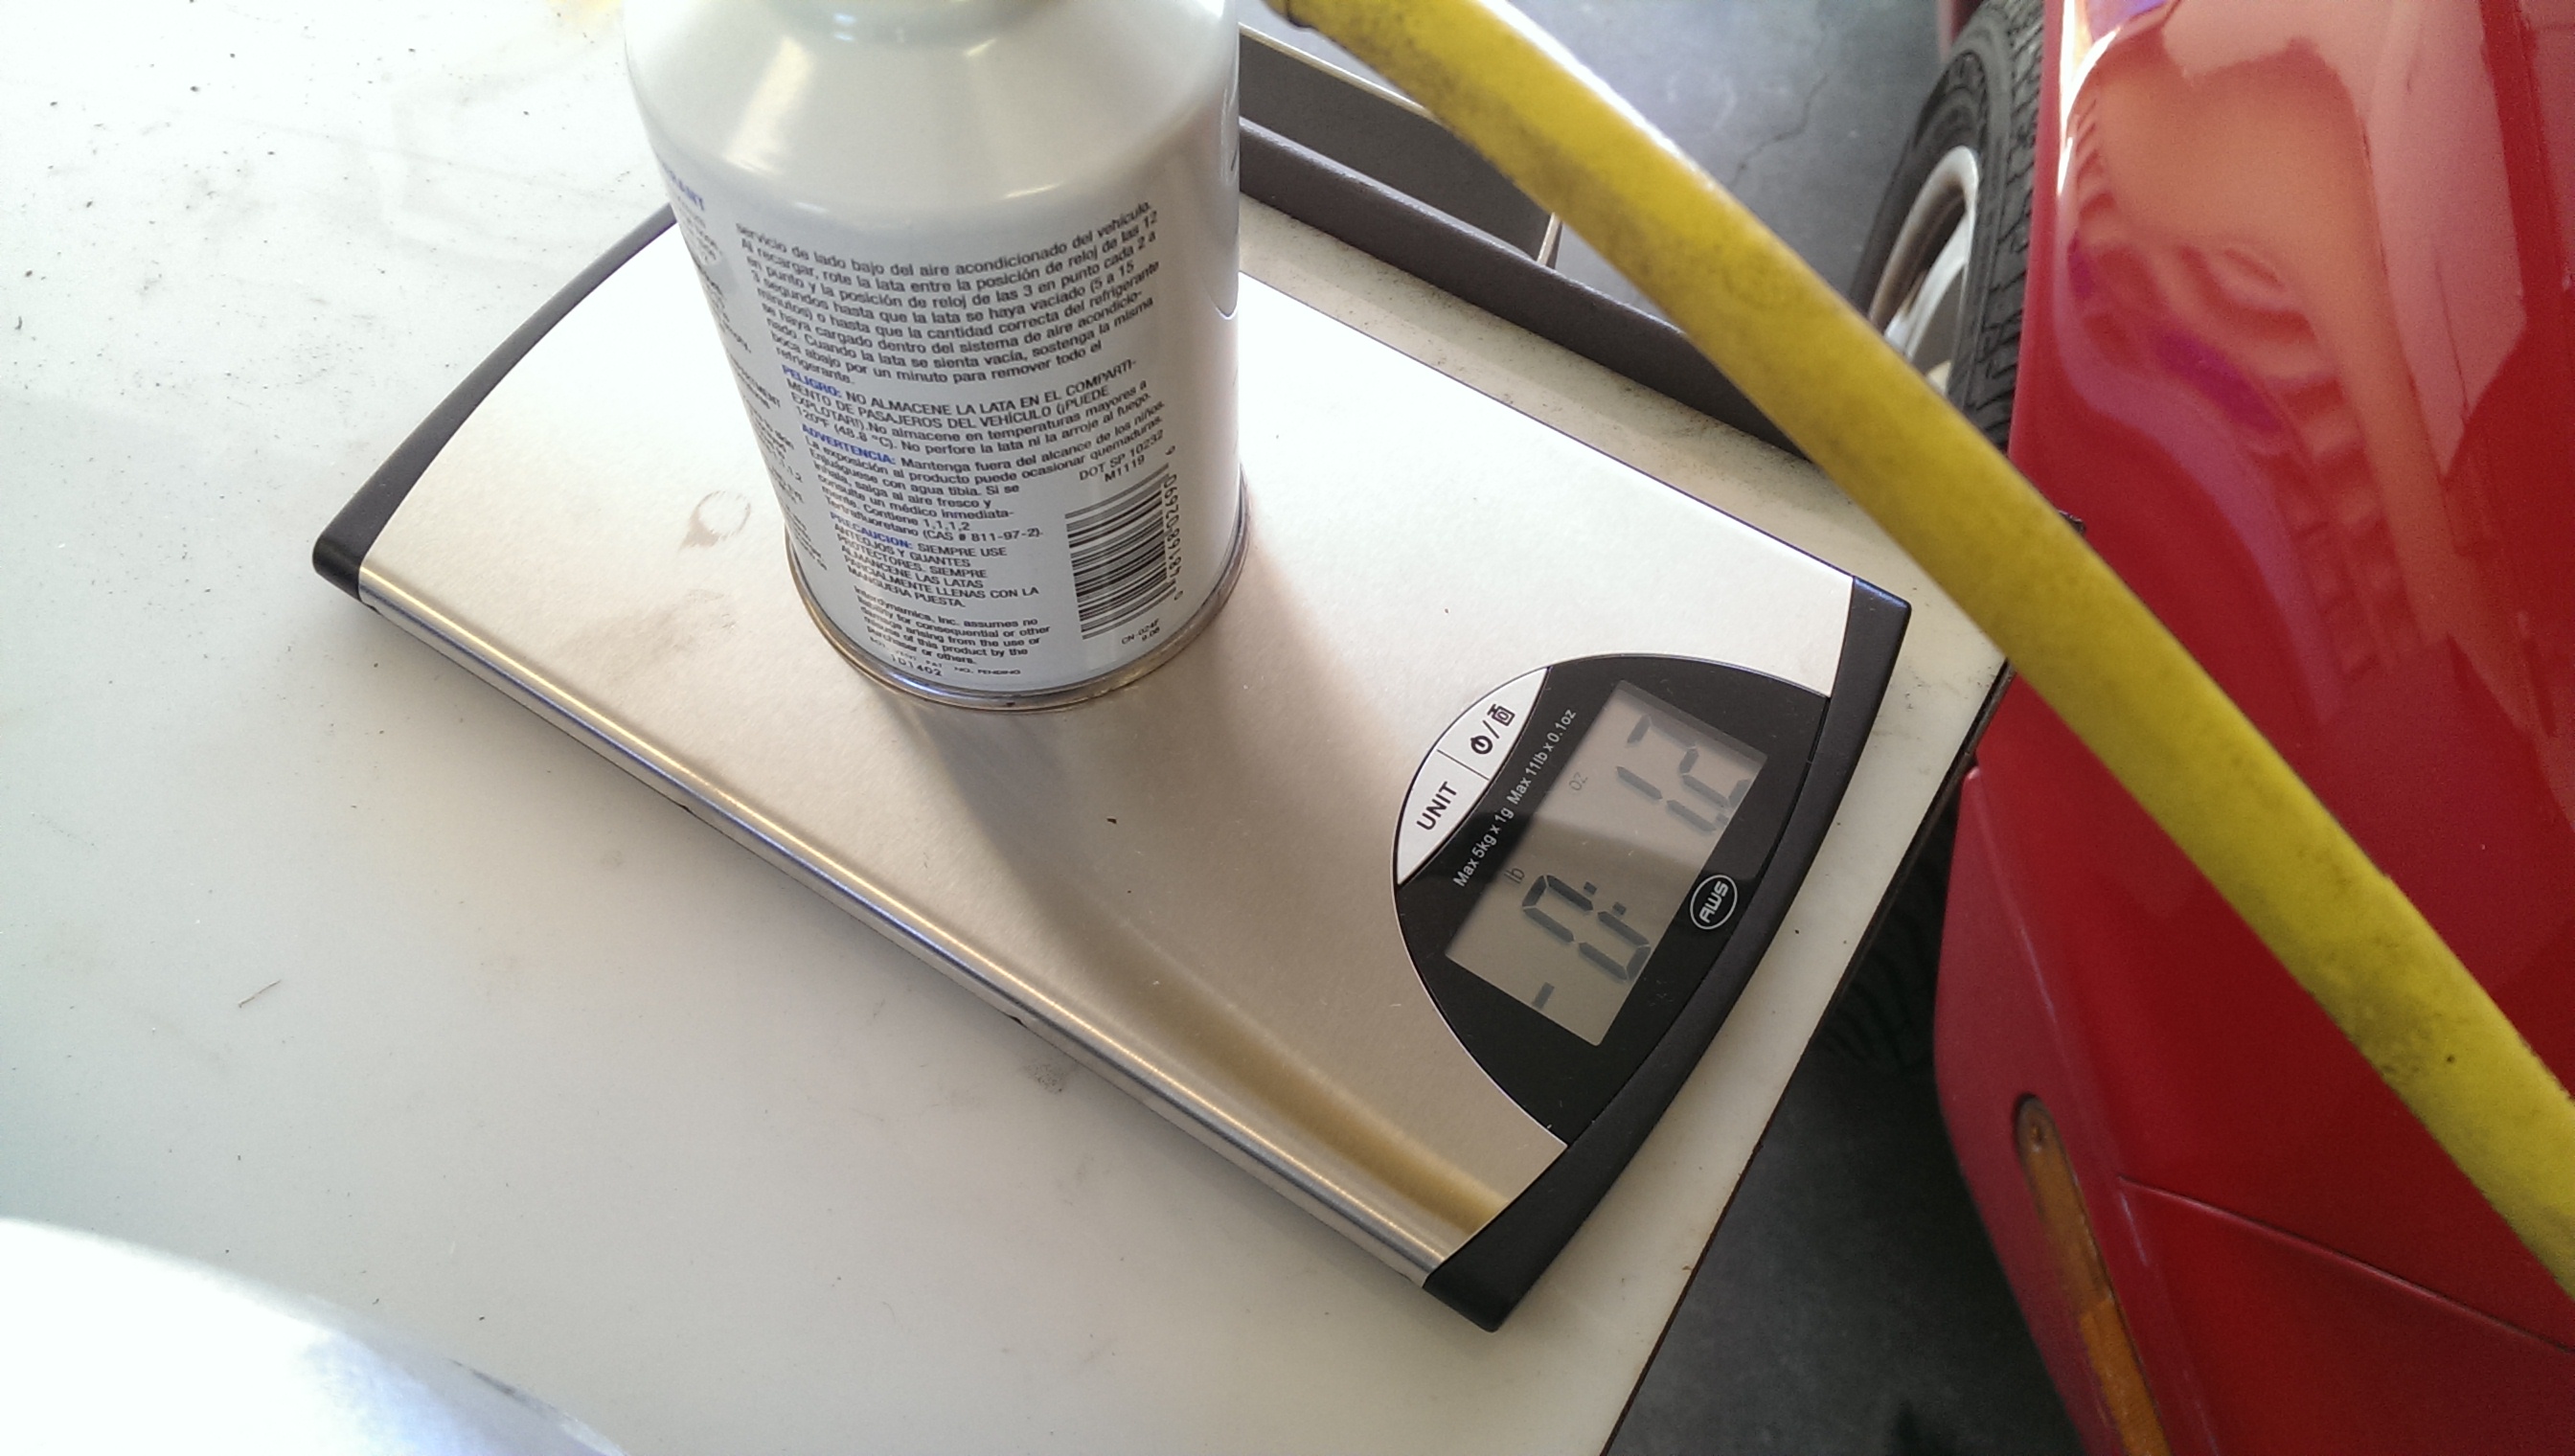
Refrigerant going out of can on scale
The next step is to set up the scale to account for the weight of the can and tap. As I mentioned, I use a simple kitchen scale for this purpose. The can goes on the scale, and gets zeroed.
Compressor off – gauges read approximately the same
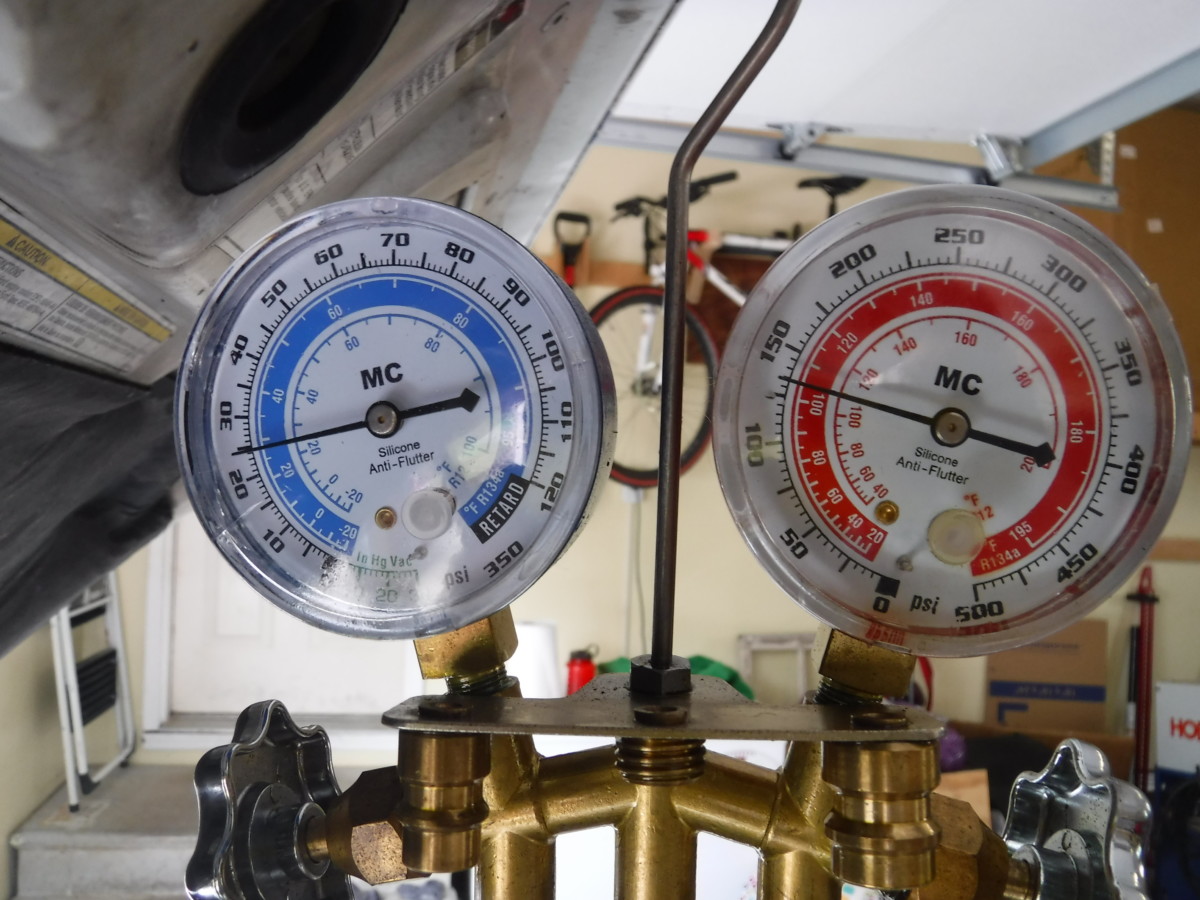
Compressor kicked on – high gauge goes up and low gauge drops
At this point, you can open the low pressure side only, and then open the can tap valve. This will cause a sudden spike in the low side pressure as refrigerant rushes from the pressurized can into the system. It is worth repeating that you ONLY introduce coolant to the cold side. If you attempt to open the high side, the pressure could make the can explode. Do not open the high side valve.
Once that has settled, go ahead and start the car, turning the AC on and the fan on full blast, fully cold, set to recirculate. (Max AC mode, basically.) At this point, you can watch your gauges. The compressor will eventually cycle on. When it does, you will see the low pressure side drop and the high pressure side rise. This action will draw in more refrigerant from the can. You will see both sides fluctuate, with both sides coming to about the same pressure when the compressor shuts off, and then the high side going up and cold side dropping when it kicks on.
Periodically, you can place the can on the scale. It will get very cold, so don’t leave it sitting there. In my case, I knew I was adding a can and a half, so I didn’t worry about this until I was on my second can. The reading, though negative, will tell you how much refrigerant you have put into the system so far, more or less.
Follow the instructions on the can as it drains. Most cans tell you to periodically sort of rattle / shake them between the 1 and 3 o’clock position (as in, don’t go nuts!) to help the refrigerant come out. Once you’re done, simply close off the can tap and the manifold gauges, and disconnect everything. You’ve got AC.
If your AC isn’t blowing cold, you can use the gauges to trouble shoot. This is beyond the scope of this article.
Thank you for the read
Ripper, I can see it took a lot of work to create this article. Very generous of you and very helpful.
Great Article here..love it
tahirumohammedbalabbasa12@gmail.com
I think your pictures with the captions of ‘Compressor off’ and ‘Compressor kicked on’ may be swapped. As you have the pics labeled, with the compressor off the low gauge reading is ~25psi and ~135psi on the high side.
Thanks for catching that! It’s fixed now.
Great write-up, thanks for taking the time to do this
You’re welcome, thanks for the kind note!
It’s refreshing to be able to learn something from a how to do article. Thank you for being so thorough!
You’re welcome, kind feedback like this makes me keep posting!
i dont know how old is this information but thank you for taking the time to do it. THANK YOU.
Interesting post explained the steps to recharge car Air conditioning system. Thanks for sharing the post
Very well written article with good pictures. However, when you describe hooking up the gauges you said the thinner line was the low side when it is actually the high pressure side. They won’t fit if someone tries to hook them up backward, but you might want to fix that error to avoid some confusion. Again, an excellent and helpful article!
Oh, oops, thank you for catching that. I corrected it.