Building a Cedar Bird Feeder

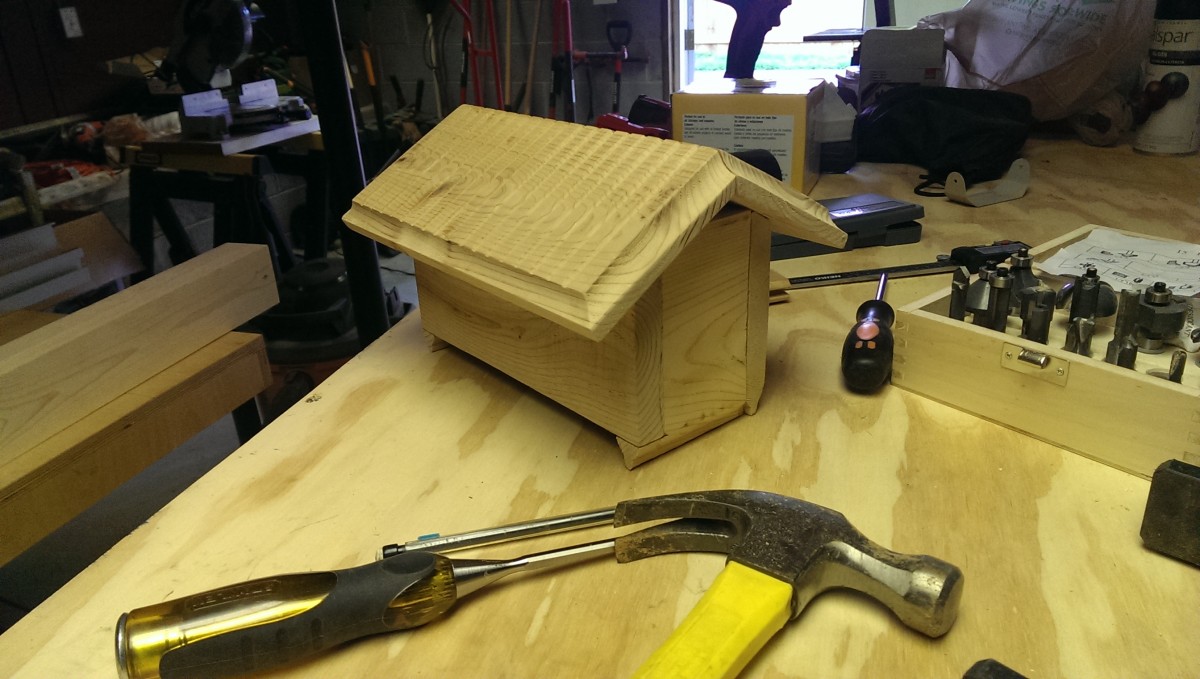
Finished bird feeder
There was some leftover tongue and groove cedar from a project finishing a room in a house. I opted to use some of it for some outdoor projects. Cedar is a popular wood for fences and outdoor furniture because it is naturally water- and rot-resistant without any finish. The small scraps left from the project were the perfect material to recycle into a small bird feeder.
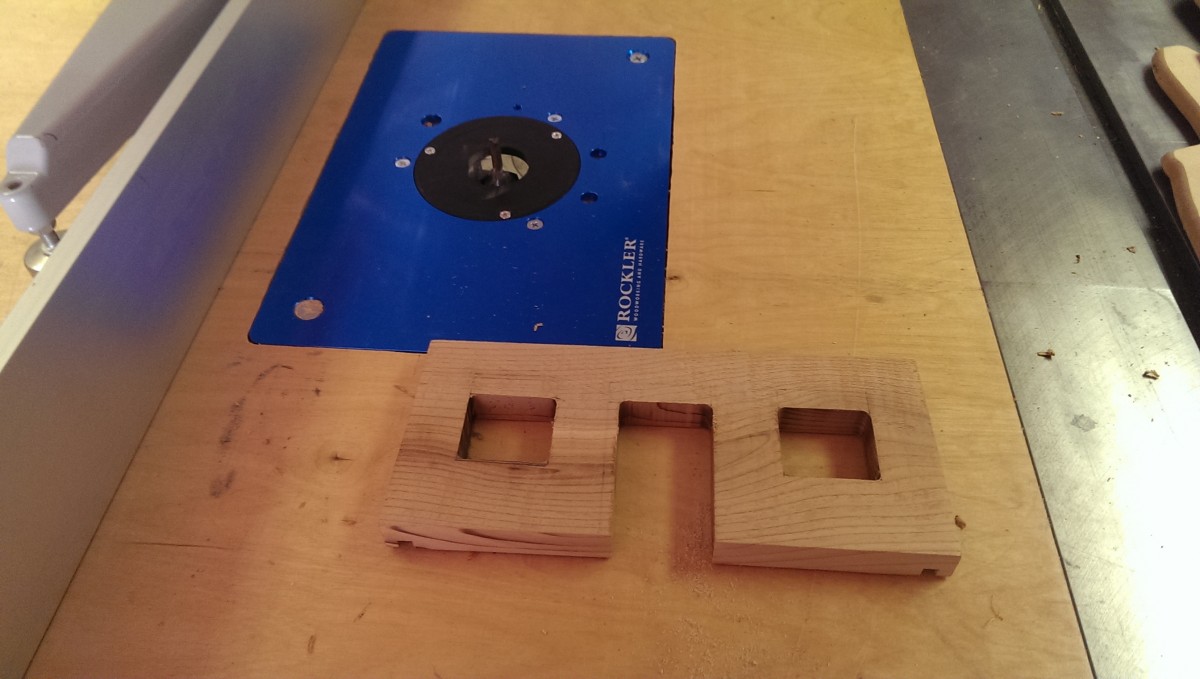
I had just gotten my Bosch router and added a router table extension to my table saw, so I wanted to do a small project that was router-heavy to play with it. Without further ado, here’s building a cedar bird feeder.
Building the Roof
I was somewhat limited in this project in that I was using tongue and groove cedar paneling that was maybe 8-10″ wide. This meant that the overall dimensions of the feeder were restricted to what I could put together with pieces of that size. I could of course have glued up multiple boards if I had wanted, but I didn’t own a jointer and planer at the time, and frankly the feeder ended up big enough as it was.
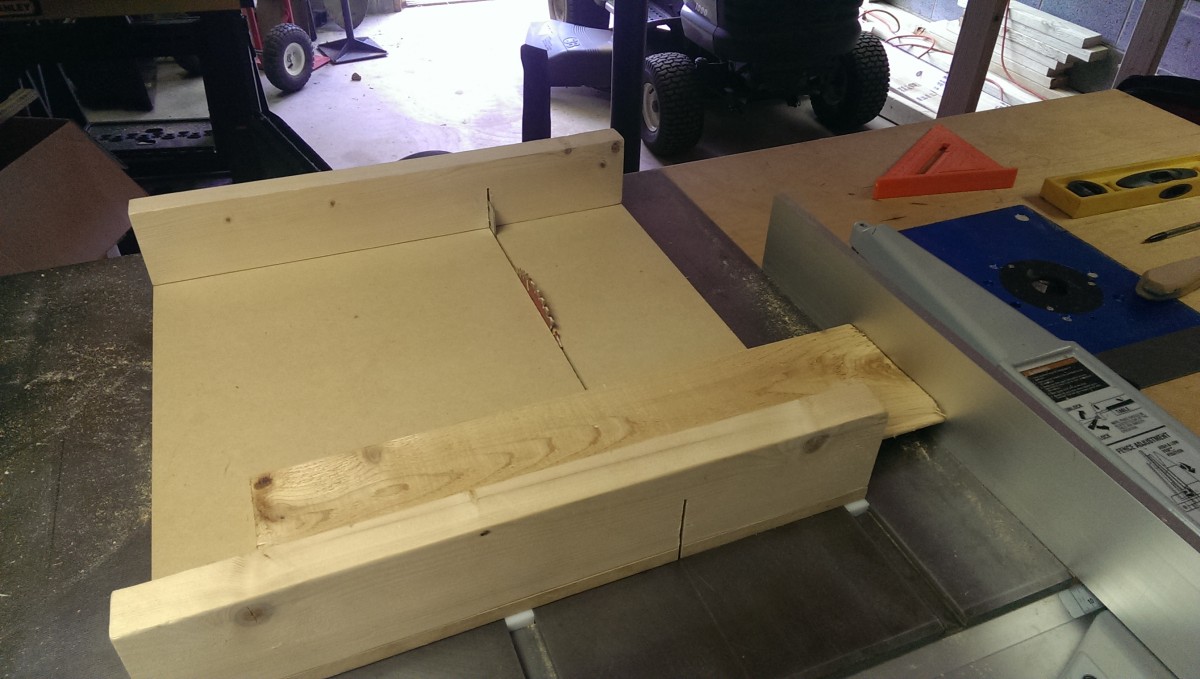
Be sure to use a crosscut sled
The groove had to come off for the roof
Therefore, I started by making the roof as large as I could, and going from there. I just sort of arbitrarily picked a length that looked good, and cutting two pieces of cedar. I also went ahead and cut the groove off of the bottom, as I didn’t need it.
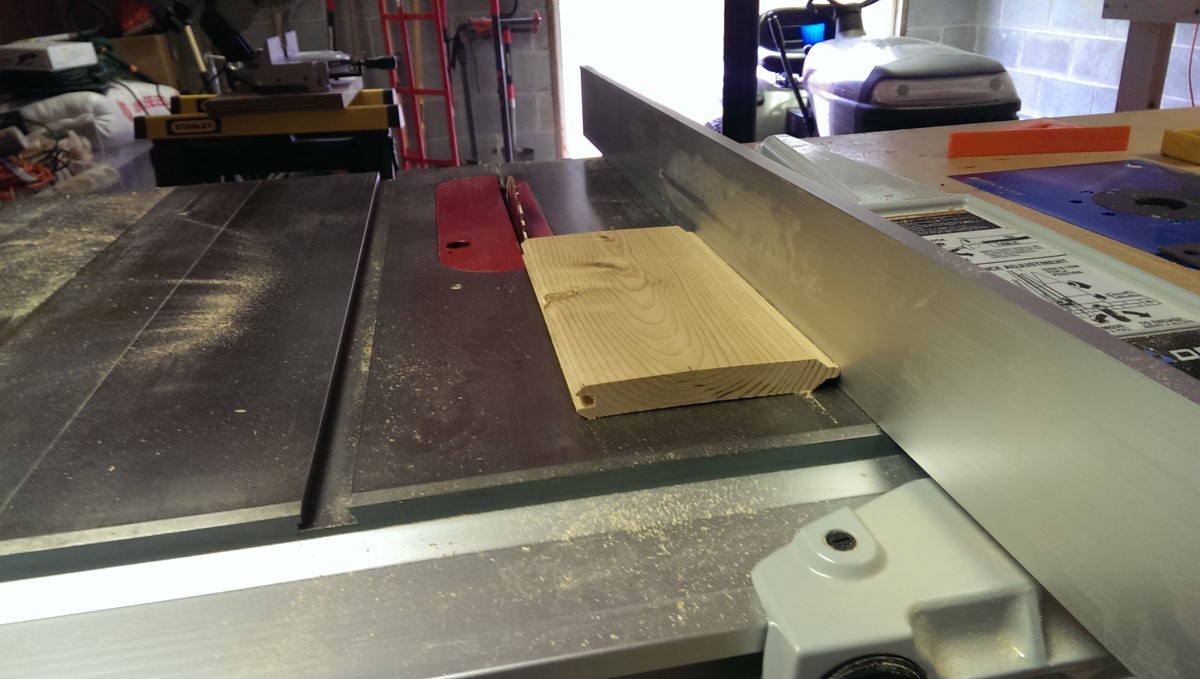
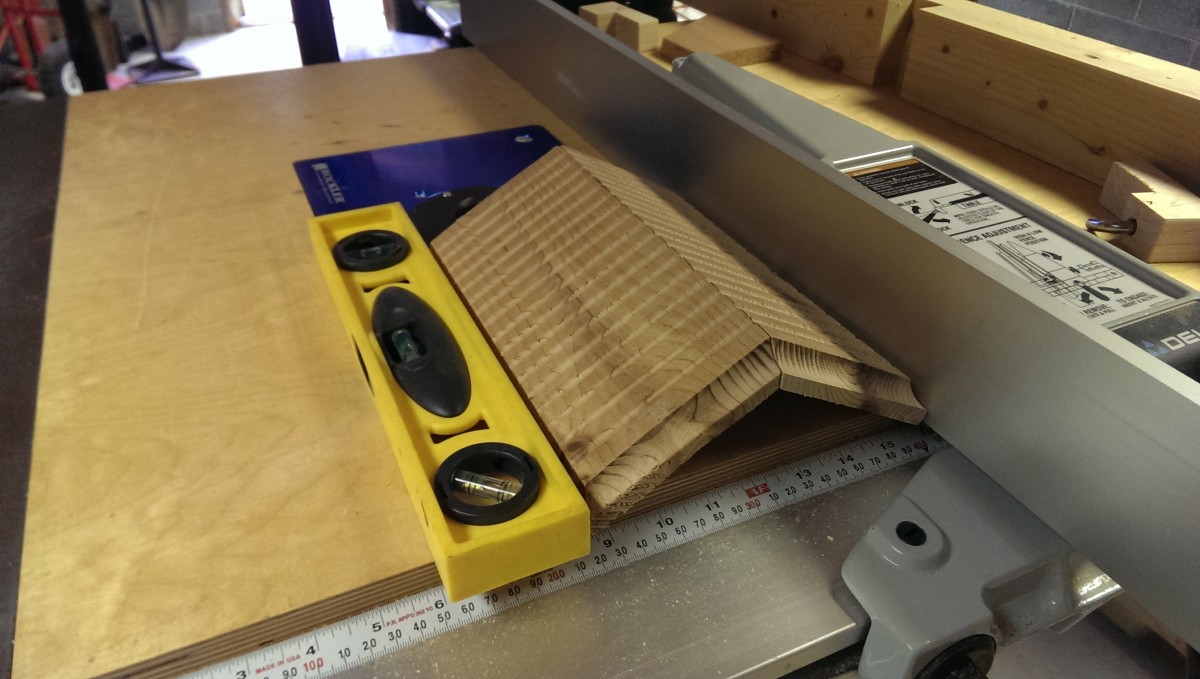
Angling roof by eye
The angle was simply eyeballed
I ended up just eyeballing an angle for the two halves of the roof. Roughly 30 degrees gave me the slope pictured, which was enough to maximize the depth of the feeder and give a nice shape. The only important thing is that both pieces are cut to the same size and angle.

I used a cove bit around the edge

A round nose bit made these channels in the roof
Final roof pattern
I ended up doing a little bit of router work on the roof, simply to dress it up. A cove bit around the edge gave a nice little gutter-like decorative effect. I also used a round nose bit set very shallow to make incremental vertical stripes, sort of looking like a spanish tile roof or something. I would do a pass across the router table on each side of each piece of the roof, 4 passes in total, and then bump the fence 1″ over, and repeat.
I thought about trying to do more of a stepped cut to try to emulate shingles but decided it wasn’t worth the effort. This was easy, and I think it adds some extra decoration.
Roof glued with a brace for reinforcement and rain protection
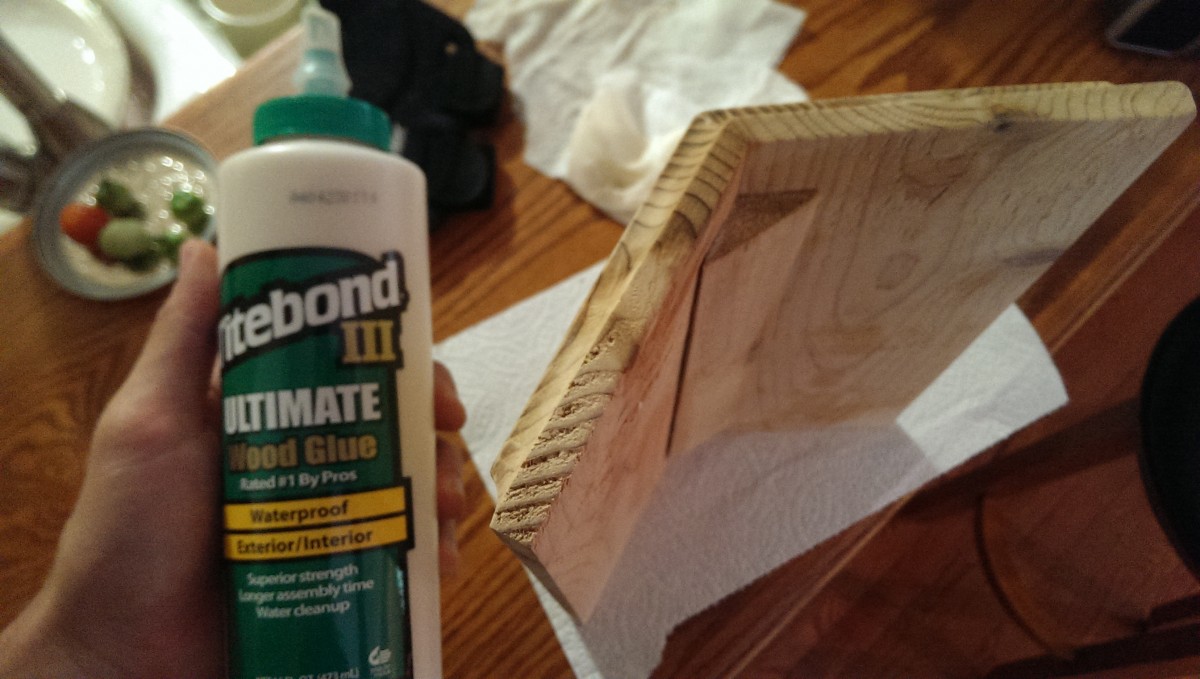
I finished up the roof by cutting a small piece to run down the center for bracing and rain protection. My idea was, even if the seam in the roof isn’t totally perfect, a piece glued in would help stop water from coming in there. It’s just a bird feeder, so I wasn’t concerned about it being totally water-tight. I could have used a spline or something here instead, but this was easy and works well. Doing this brace also made clamping during glue-up much easier. I used Titebond III for the whole project due to it being waterproof.
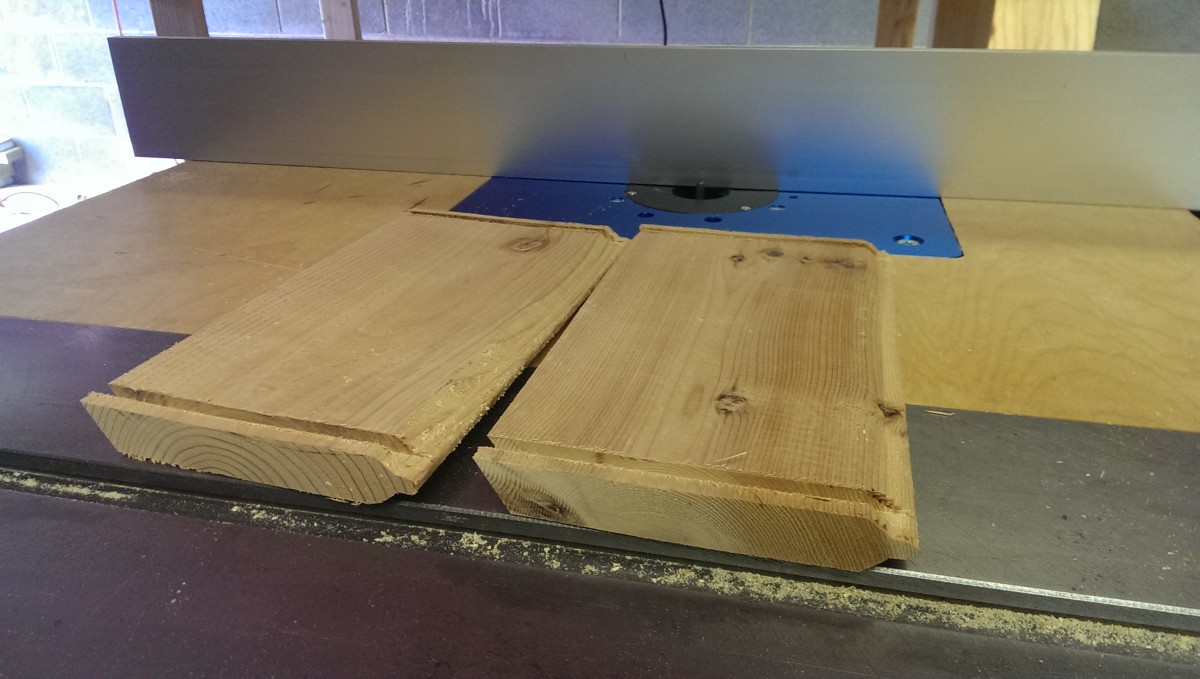
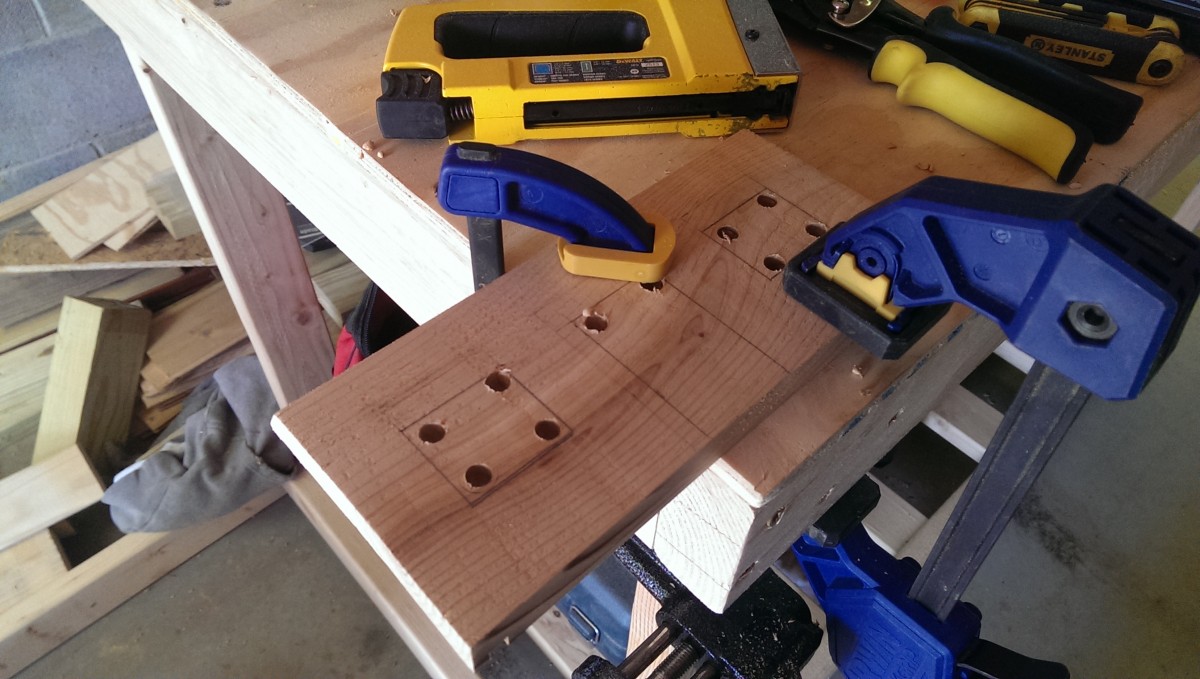
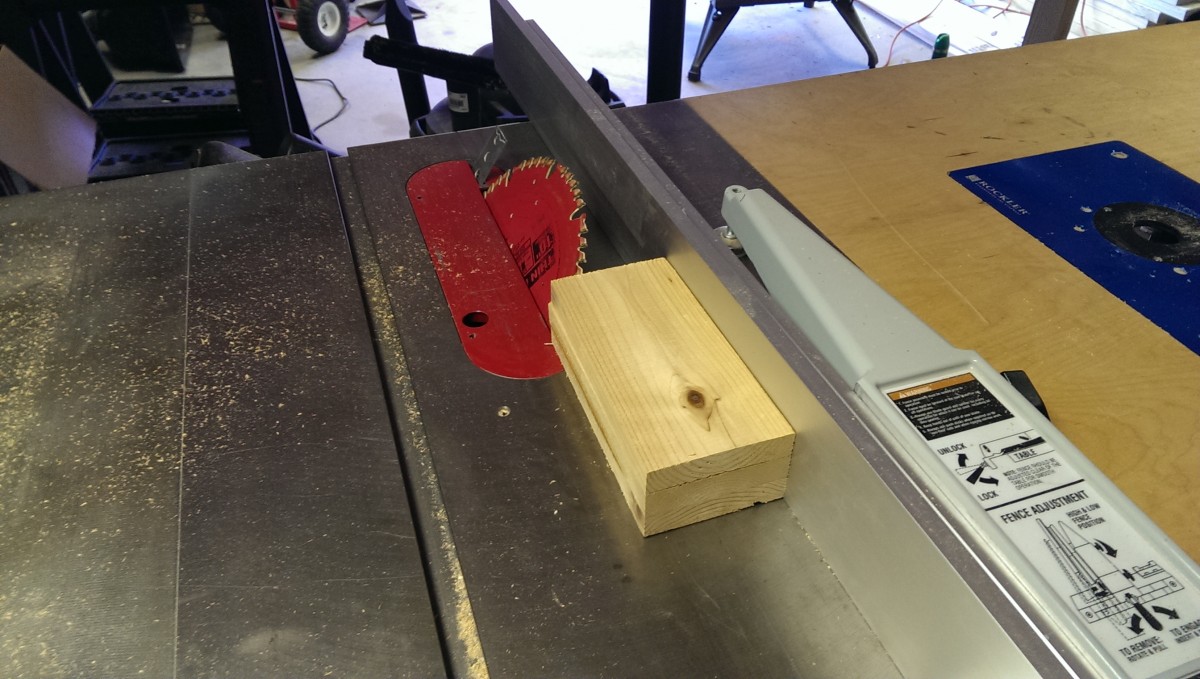
Cutting the Front and Back
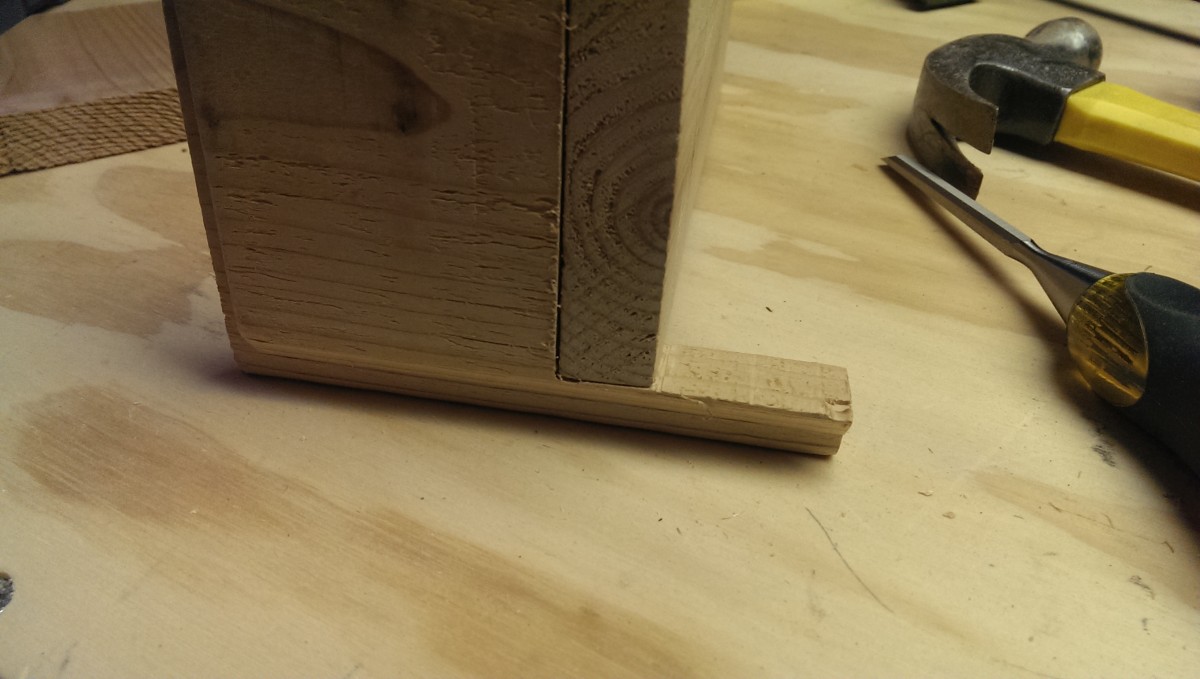
For some reason, I decided to keep the tongue from the tongue and groove pieces for the back. I used it to hook the back wall into the bottom of the feeder. This allowed me to make the feeder a little taller with the material I was working with, and give me a little effect on the sides and back. All that said, I probably wouldn’t do this again; I would just lop it off and use a proper joint.
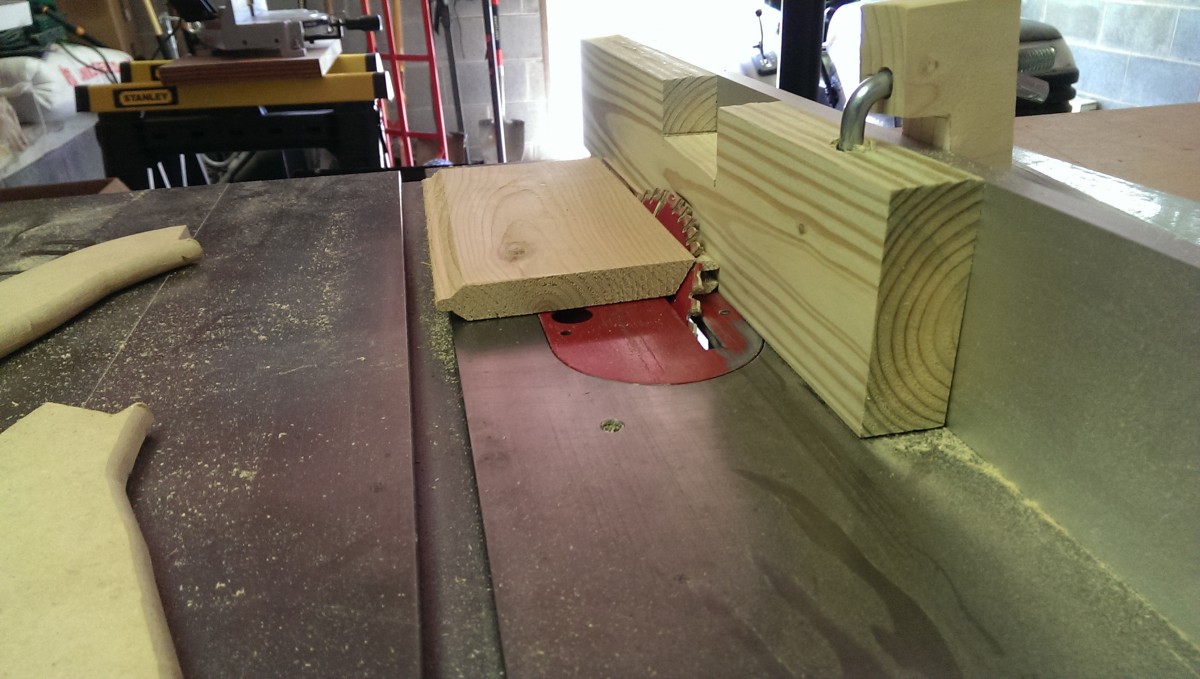
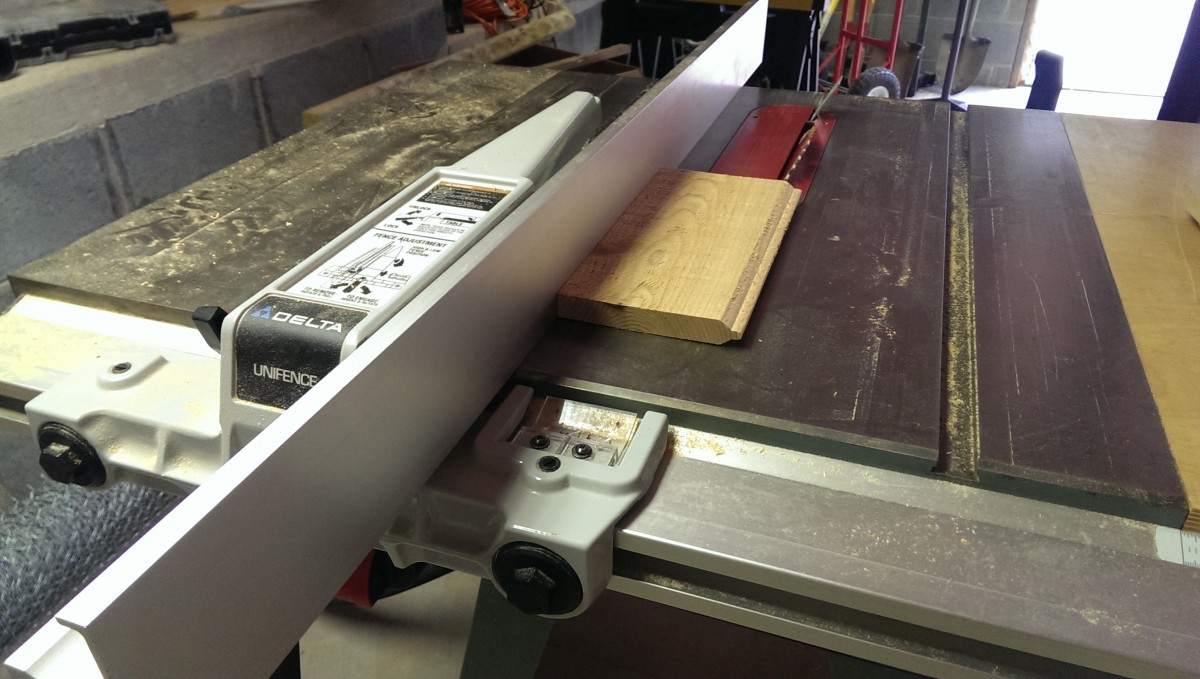
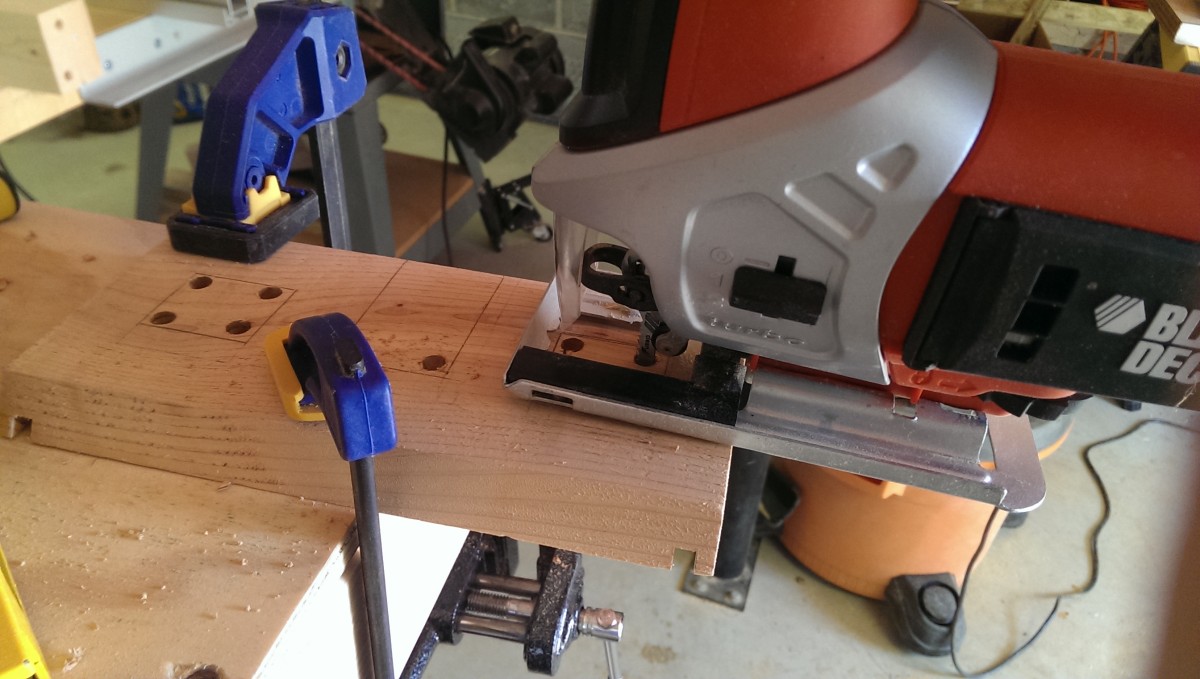
Cutting the roof angle on the front / back
I used a sacrificial fence clamped to the table saw to put angled cuts on the front and back of the feeder. I was able to hold this up to the completed roof to test fit. The front wall will have to be further shortened so that seed can come out through the bottom, but I waited until the sides were complete to make that cut.
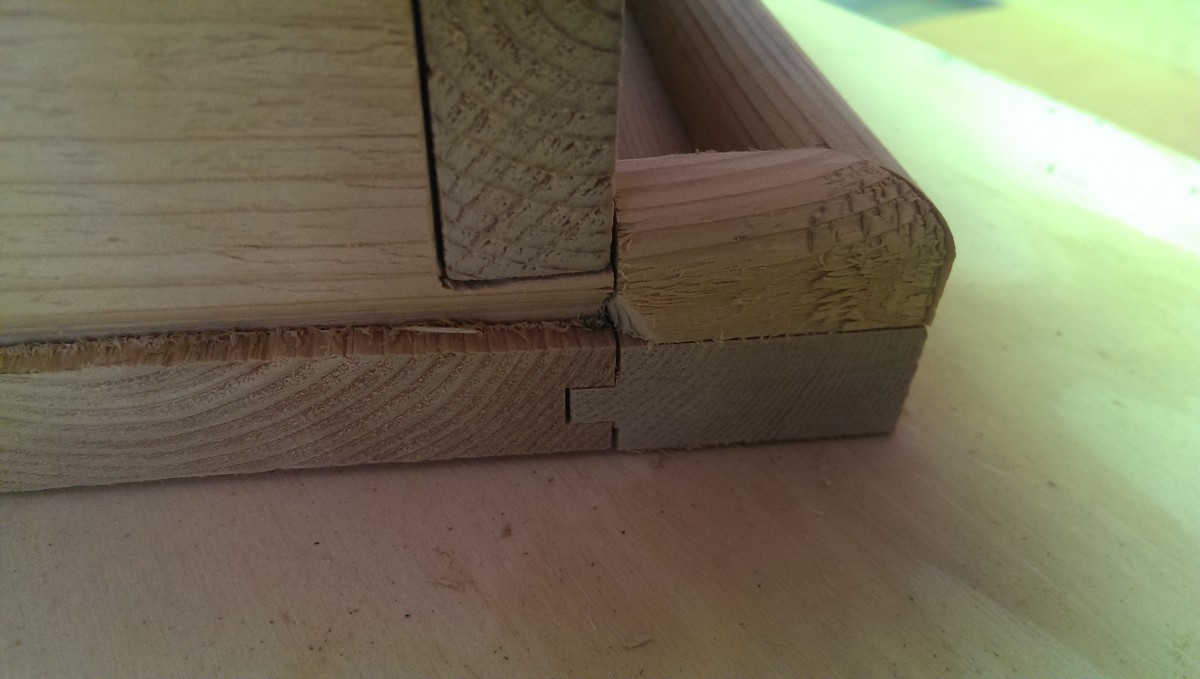
Dadoes in the front and back
I also went ahead and made dadoes in the inside of the front and back pieces. These are used to join the walls together – the side pieces slot into the front and back. I did this on a router table, but now that I have a dado stack for my table saw, I probably would have preferred to use it instead. Cedar tore out pretty easily on a router cutting across the grain like this, so I had to do multiple passes increasing depth. It was hard to use a sacrificial piece because of the odd shape of the tongue, as well.
Cutting the Sides

FInishing a side on the router
Skipping ahead to the completed goal for reference
The sides ended up being this wonky sort of L-shape. Basically the back wall came all the way down, and attached to the sides that are of the same height. The front, however, needs a gap for seed to come out, so I ended up making this shape so that the sides could be glued to it with as much surface as possible while making everything even.
It was easiest to rough cut the L cutout on the band saw, and then finish on the router table as shown. The router cleaned up the edge and made it straight, and then I was able to use the router again to cut two stopped rabbets. The resulting chunk sticking out on either side of the piece slots directly into the dadoes cut into the front and back pieces earlier.
The tongue should also be lopped off of the front piece at this point. I simply made the front piece from the top of the angled portion to bottom, as tall as the side piece from top to L shape. The tongues on the sides naturally provided about enough elevation off of the floor for seed to flow.

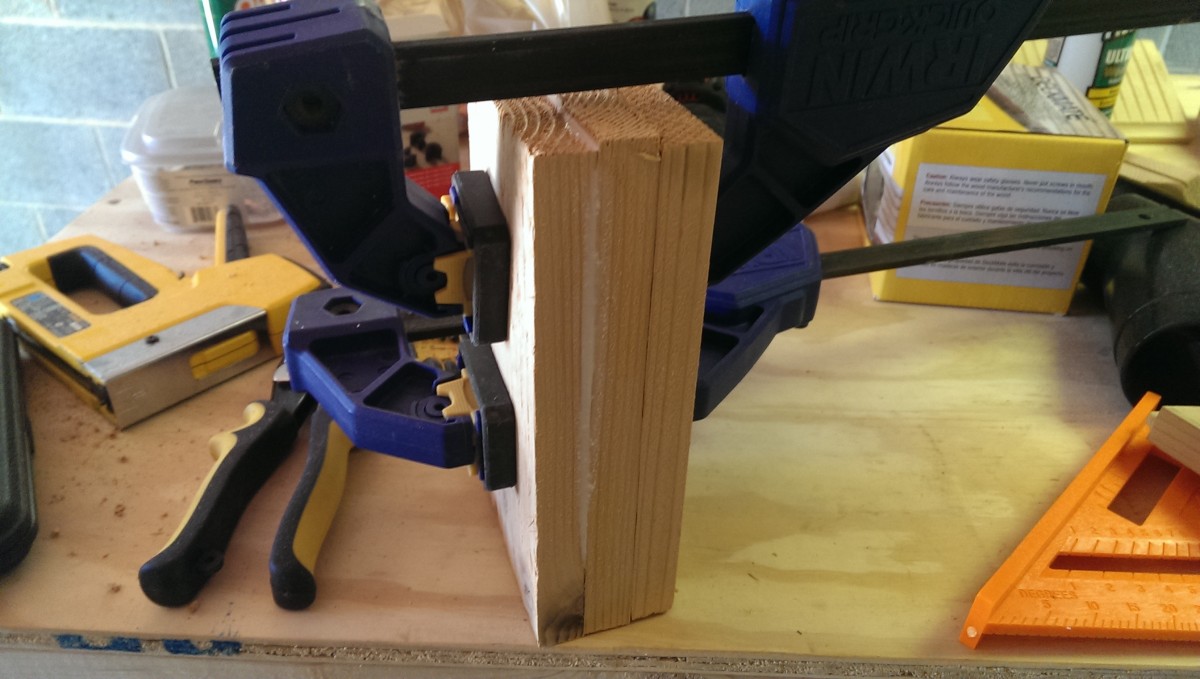
The router will round off the stopped rabbet

A chisel easily makes this square
The joint is tight (ish) after the chisel work
As anyone who has done a joint like this already knows, the router is going to leave a rounded edge on the stopped rabbet. This means that when you try to hook the front piece in, it won’t fit snugly. You could simply cut farther with the router, but that will leave a gap in your joint. An easy fix is to simply grab any chisel and gently trim the rounded edge square.
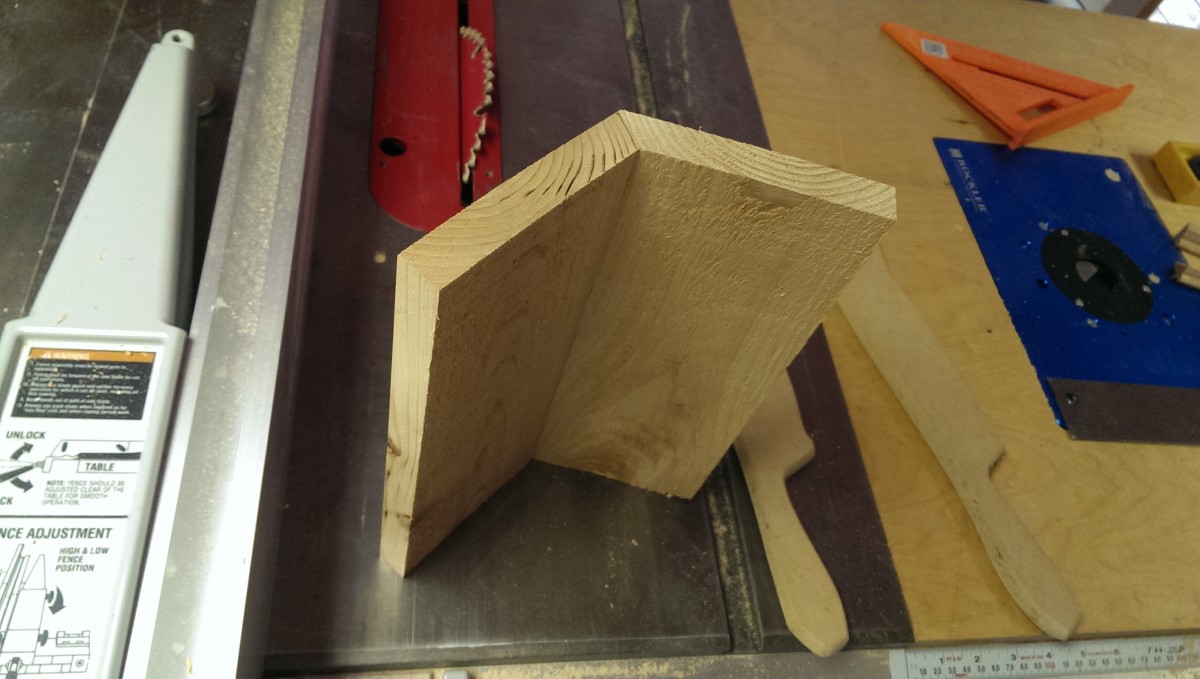
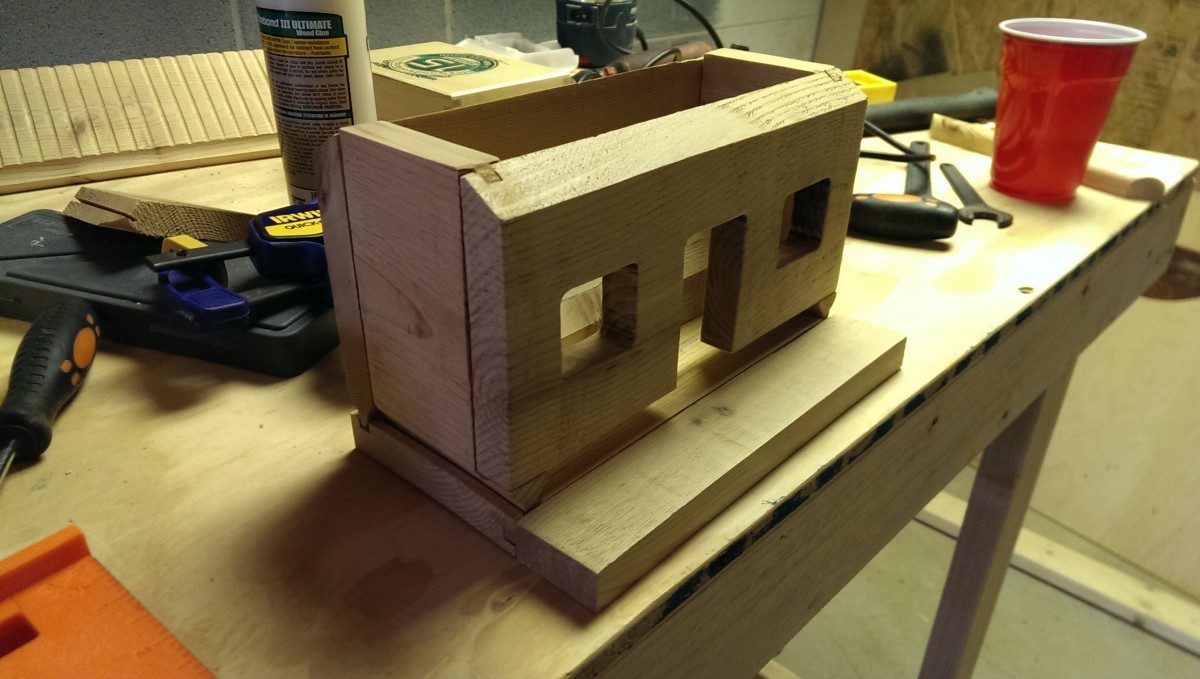
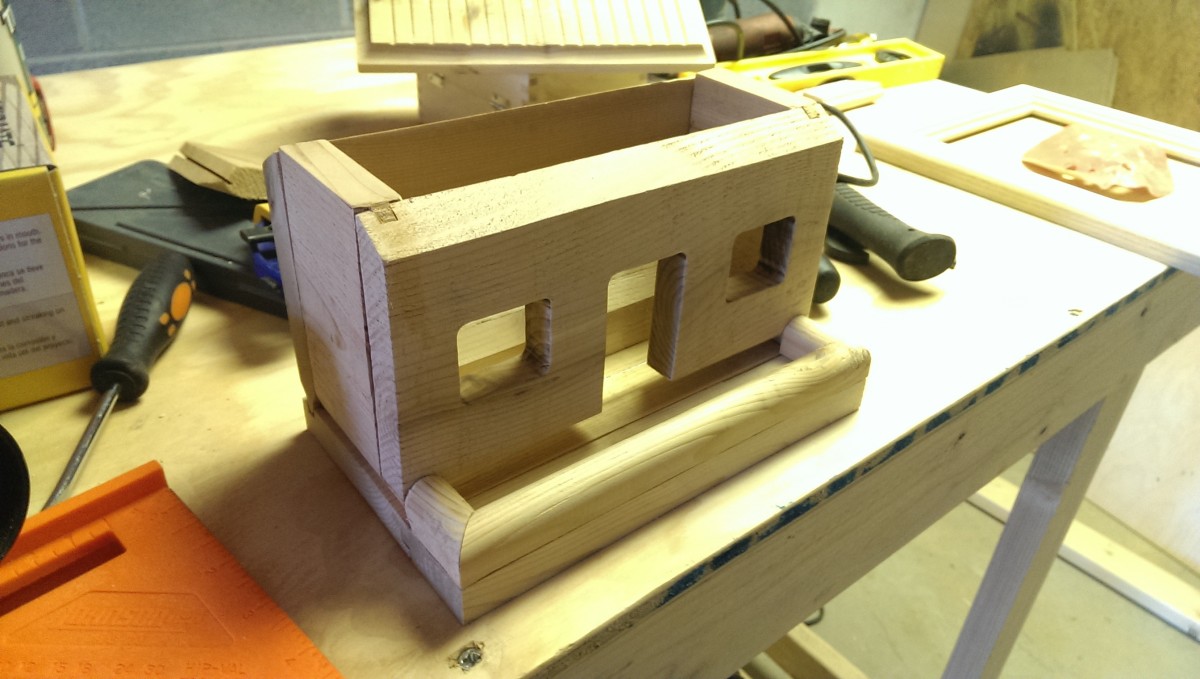
Completed sides and roof
Completed sides and roof with roof removed
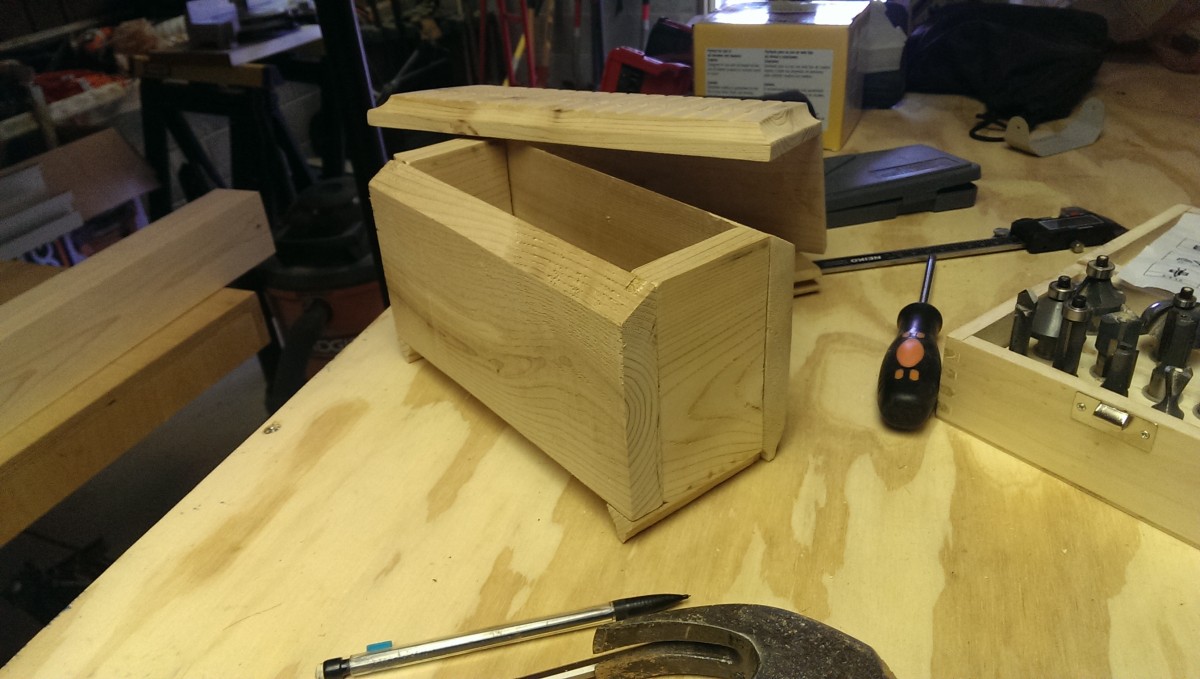
At this point, the sides, front, and back should all fit together via rabbet-and-dado joints. The roof should sit flat on top, as well. There is a little bit of a gap between the side of the wall and the roof. I was OK with that; I figured there was enough overhang to keep the seed from getting wet, and that that could even help things air out.
Cutting the Bottom

Test fitting the bottom
The initial part of the bottom involved simply lopping the tongue and groove portions off of a piece of cedar, and cutting it to the right size rectangle.
Fitting the “porch” area where birds can eat the seeds
Because the cedar planks I was using are only so wide, I had to actually use two pieces and joint them together. I used a rabbet and dado joint again. A small piece cut to hang off the front, allowing another half inch or so for space that will be lost from the dado joint, did the trick.
Also pictured are the reference lines I used to cut 3 dadoes around the sides and back. These were where the tongues from the walls fit into the floor. I simply traced the tongues with the walls on the floor, and used my calipers to pick a dado size.
Finishing the Front
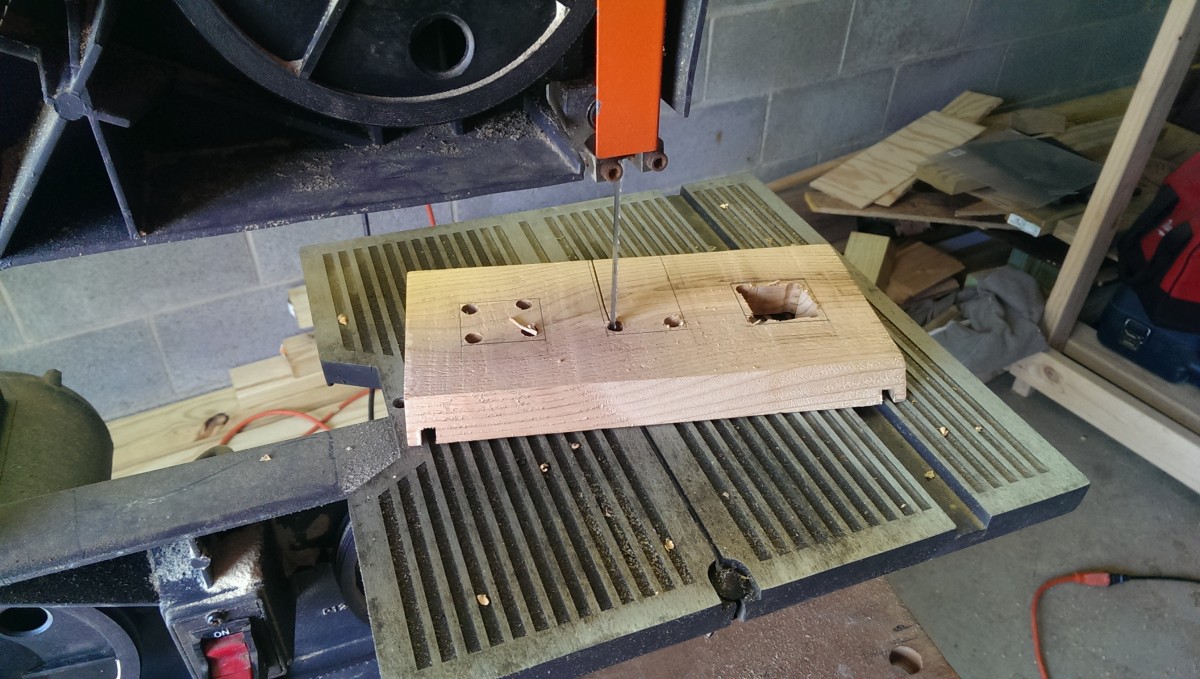
Tracing the doors and windows on the front
At this point, I needed to put the door and windows on the front, and cut a piece of acrylic to back it. This is all optional decoration, of course, but it does allow you to see how full the feeder is. I traced some simple door and window shapes with a ruler. I made them square knowing that the router would make them gently rounded. Then, it was a matter of drilling pilot holes, particularly for the windows.
The windows require a jig or scroll saw
The windows can’t be cut on a bandsaw, since they go all the way to the edge. I used a jigsaw instead, although a scroll saw might do the job as well. As with everything else, the cuts will be finished on the router table, so they don’t have to be perfect. I can never cut a straight line with a jigsaw anyway, no matter what kind of straight edge guide I use.
Bandsaw works for the door
The door, on the other hand, can be quickly cut out on a band saw. A jigsaw works for this as well, of course.
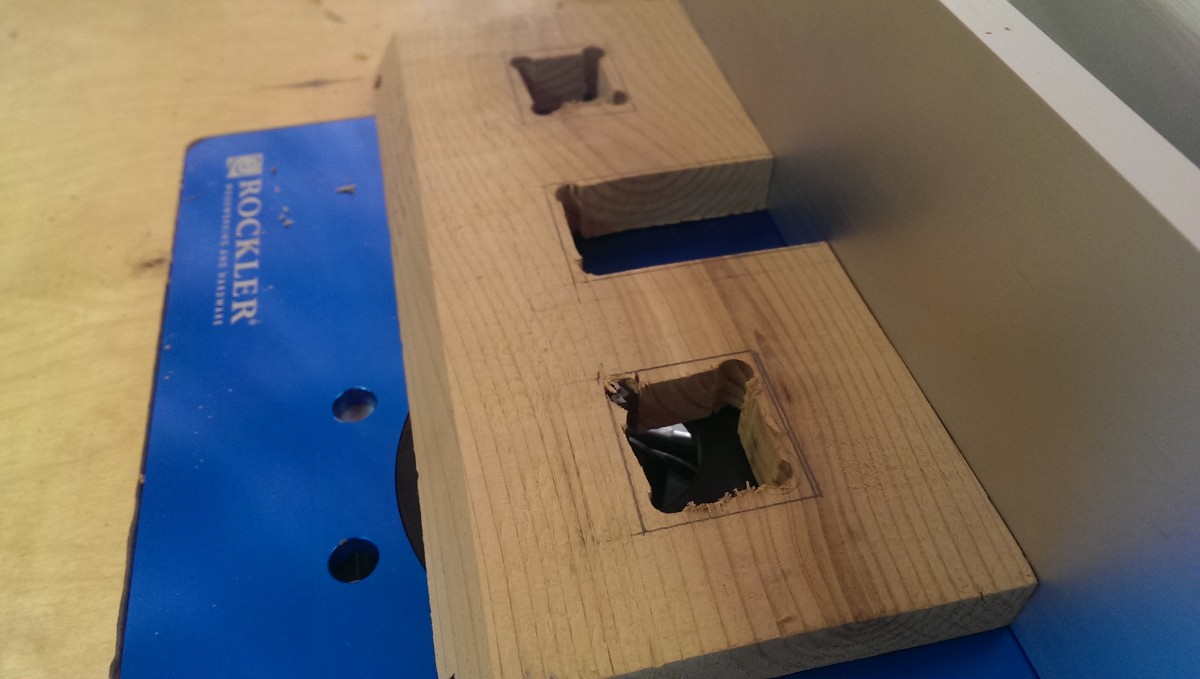
Finishing front on the router table
Front all trimmed up
Then, I took it over to the router table to finish up. The router table automatically provides nice rounded edges; the size bit used determines the radius of the edge. The fence on the table made it very easy to get nice, perfectly straight cuts. Light sanding makes short work of the remaining pencil marks.
Use a high-tooth-count blade to cut the acrylic
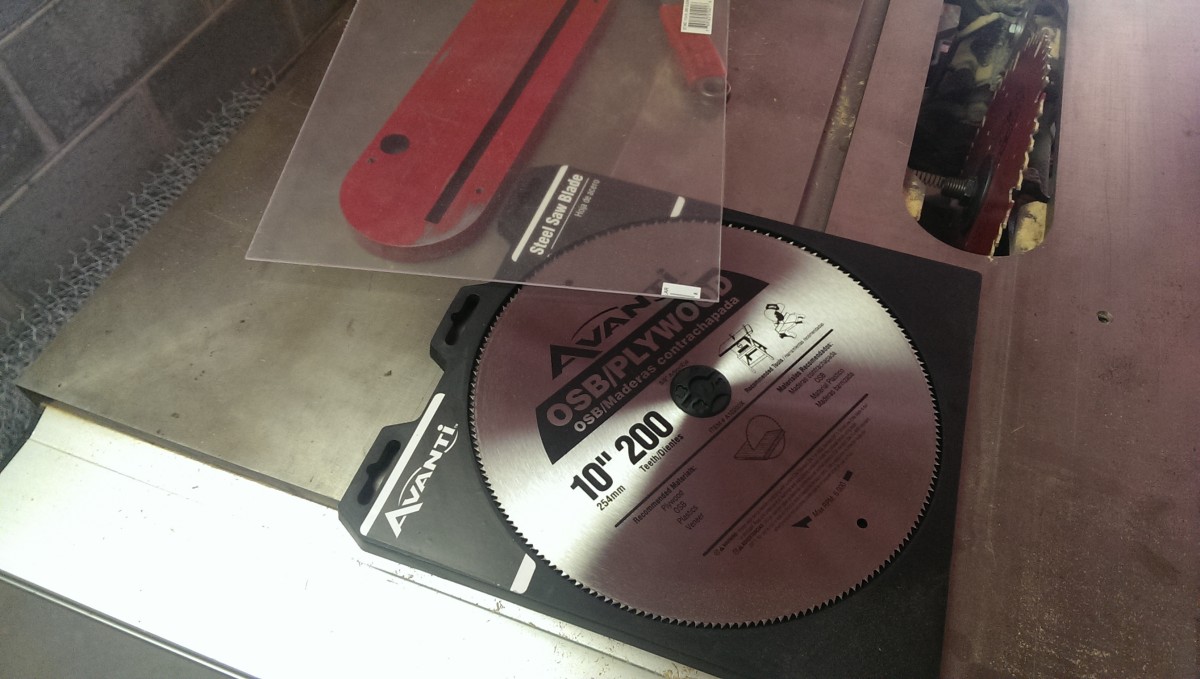
Then, I had to put an acrylic backing behind the doors and windows so the seed wouldn’t fall out everywhere. I chose acrylic over glass because I can cut it in the shop, as well as drill through it. It also is supposed to work better on the table saw than lexan, and I think it was cheaper as well.
I did have to grab a 200-tooth blade for my table saw. If you use a regular wood blade, it will crack and shatter. The budget brand blade pictured did a great job. In case it isn’t obvious, be sure to keep the plastic film on the acrylic until final installation. This keeps it clean and free of scratches.
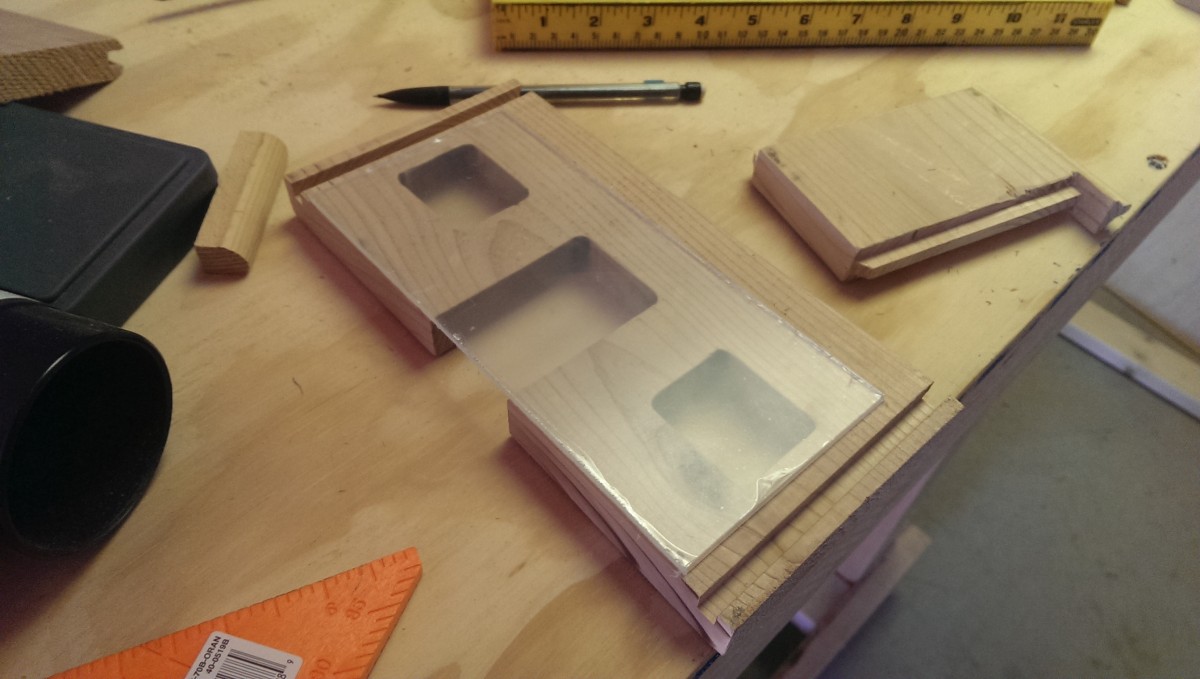
Test fitting the acrylic
Pilot holes prevent cracking
Finished piece
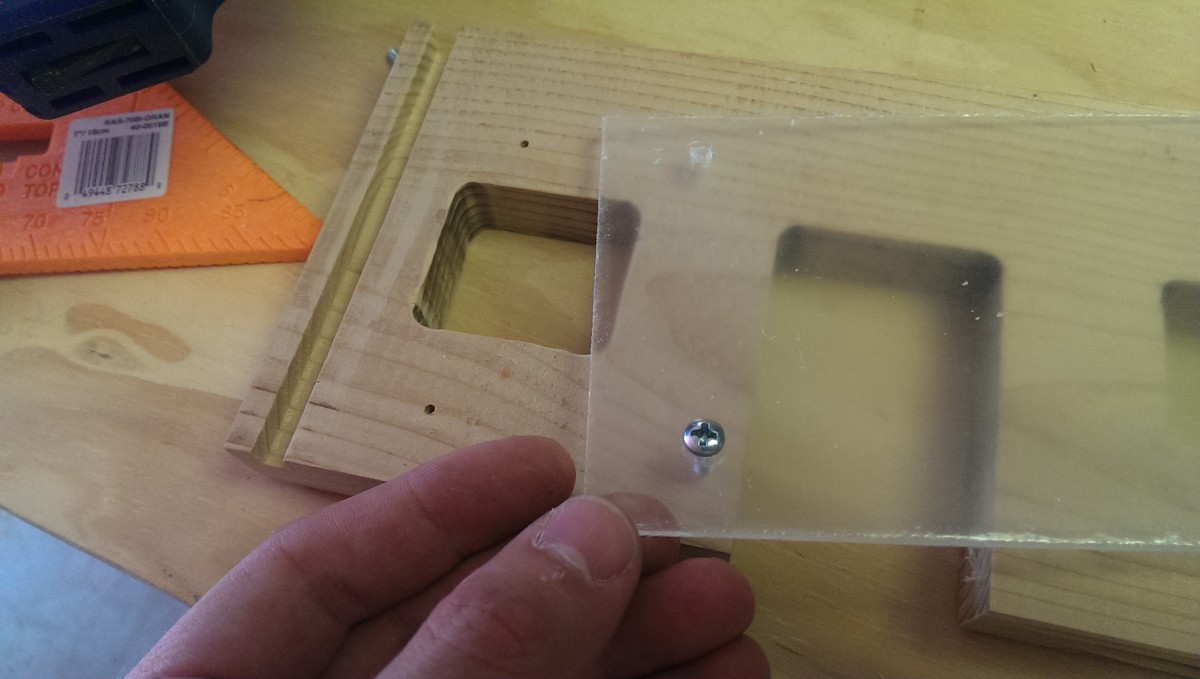
With the piece cut to size, it was a simple matter of drilling pilot holes and using machine screws to secure it to the front piece. I lightly clamped the acrylic in place, and drilled small pilot holes through the acrylic into the wood. The bit was about as big as the inside of the screw, not including the threading. This gets the holes lined up perfectly.
The acrylic should then be removed and have larger pilot holes drilled through the original holes. The goal here is to widen the holes enough so that the body of the screw goes through, including the threads, but the head doesn’t. If the threads of the machine screw turn inside the acrylic, they can crack it.
I also only lightly tightened the machine screws. They’re in there enough not to come out, but you don’t want to torque them down too hard or, again, you’ll crack the acrylic. With the acrylic on the inside, the seed itself will apply pressure holding it in place. Therefore, you don’t need a whole lot of screws here either.
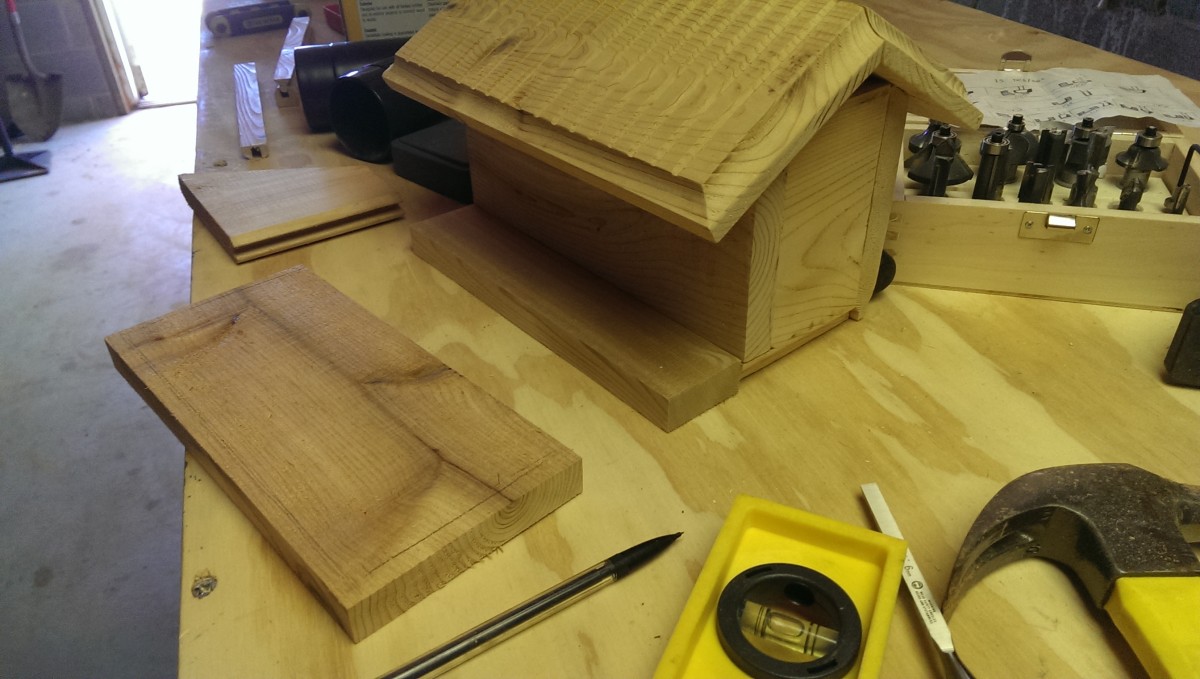
Finishing the Porch
Cut porch lip pieces with a cove bit
The porch area needs a lip on it to hole the seed in. Now that the front is finished, the porch can also be finished while being able to see what the final results will look like.
A little notch helped the groove look better
After a bit of messing with it, I settled on some simple cove bit pieces, mitered in the corners, cut to fit. I also trimmed a little corner off of two of the pieces to help it line up better with the groove from the tongue on the sides. As I said earlier, if I did it again, I’d probably skip leaving the tongues on altogether. You can also see the rabbet and dado joint that will hold the front porch onto the rest of the bottom.
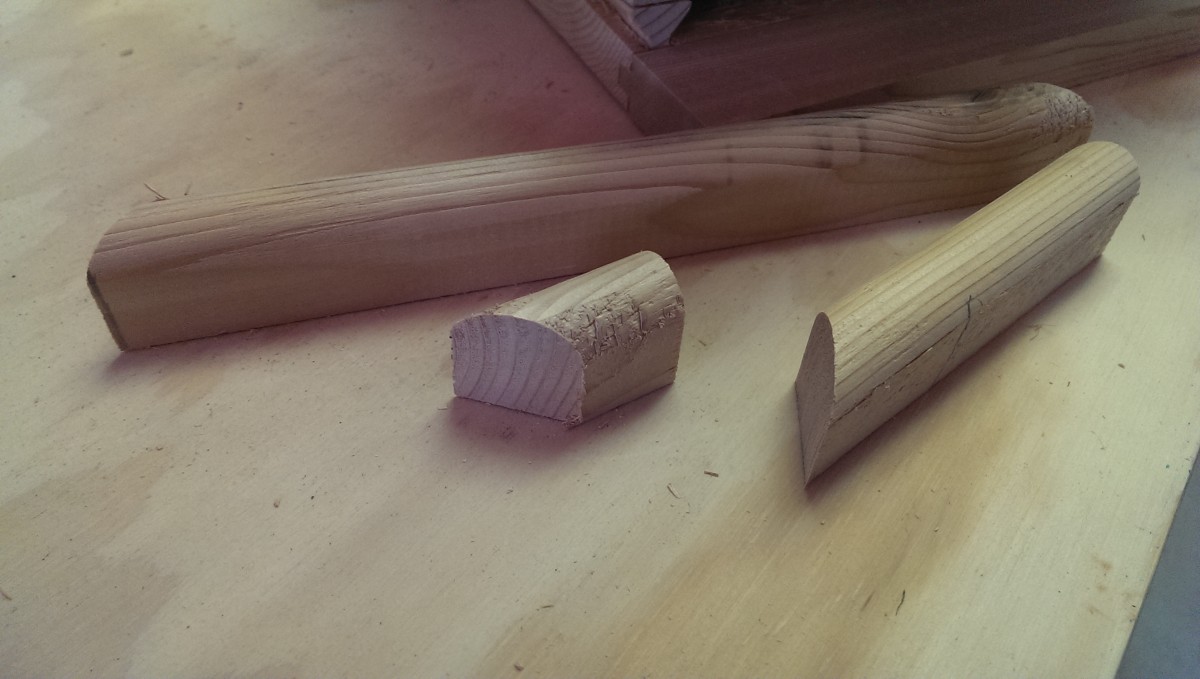
Seed Funnel
I glued together an oversized stack of wood, then cut it down
Maybe there’s a technical term, but I’m calling it a funnel. Most bird feeders have some sort of something that funnels seed toward where the birds can eat it. In my case, this both helps seed come out into the porch as well as optimizing. When the seed gets low, it isn’t all sitting at the back of the feeder where they can’t reach it.
After trimming three sides, I was able to cut the angle on the table saw

Where seed gets funnelled
It was really easy to make this. First, I did a quick job gluing together 3 pieces of cedar intentionally cut a bit larger than they needed to be. After this dried, I was able to run them over the table saw to clean up the edges to be smooth and fit correctly into the space required. Lastly, I cut a wedge off to give it the funnel shape.
Final Glue-Up
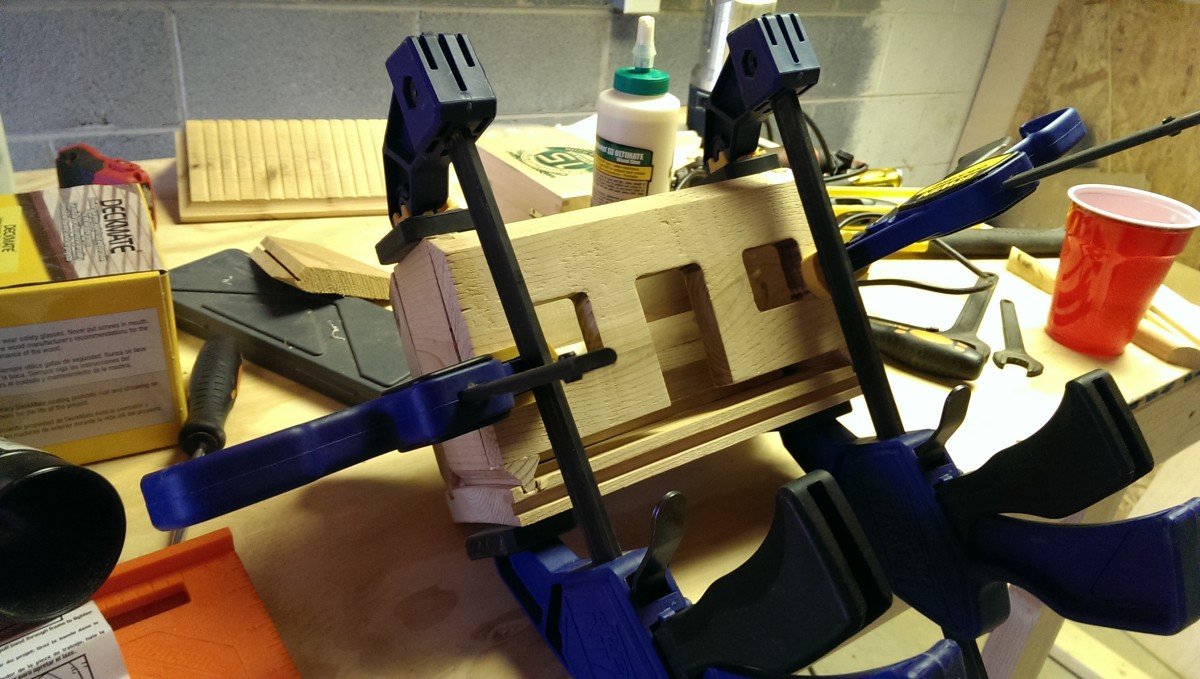
Gluing the walls and floor together
Gluing the porch on
Gluing the lip on the porch
I did the final glue-up in three phases, all with Titebond III. (Any exterior wood glue will work.) I first glued the walls and floor together, clamping it in several places. Then, I glued the base of the porch on. Trying to use a clamp here ended up preventing the floor from sitting flat, so I instead just let it sit on the bench and dry. Lastly, on went the lip pieces for the porch. I didn’t let the glue fully dry in each phase, I simply let it sit for an hour or so in between.
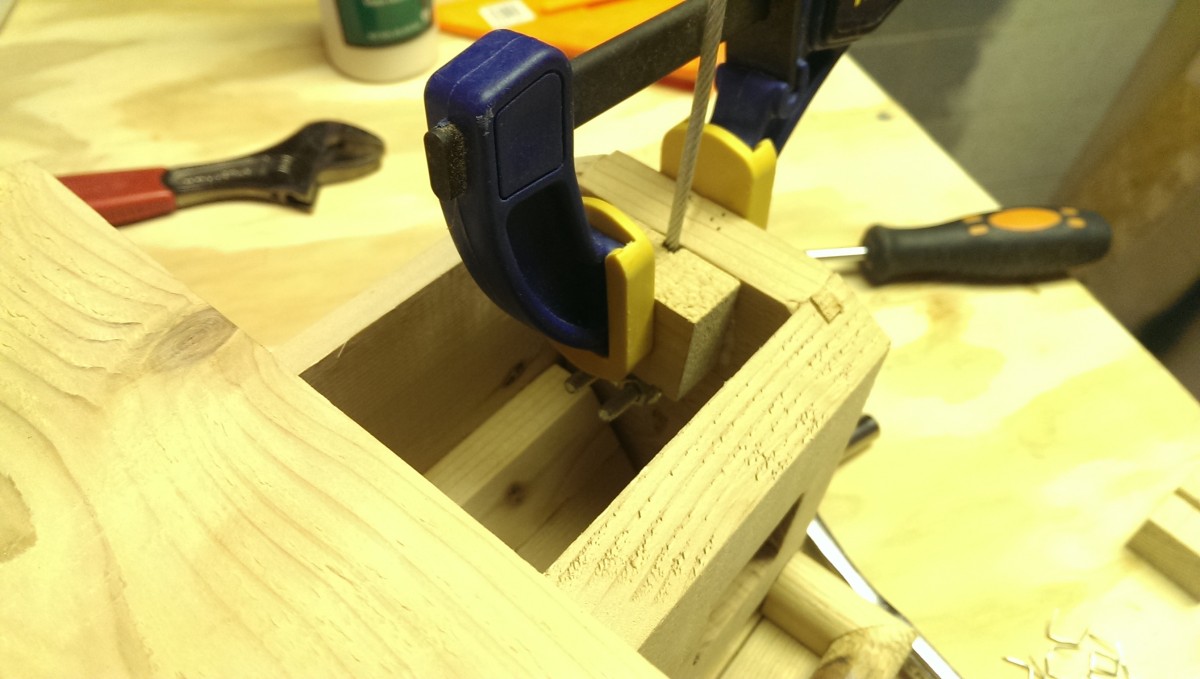
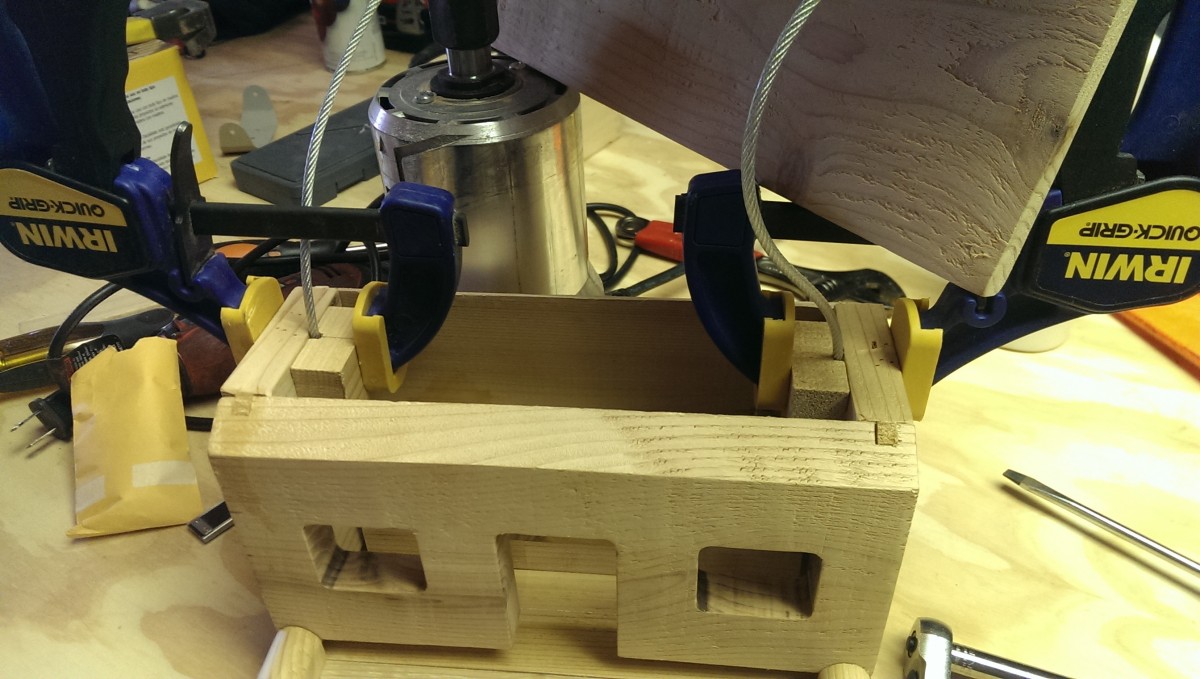
Adding Hangers
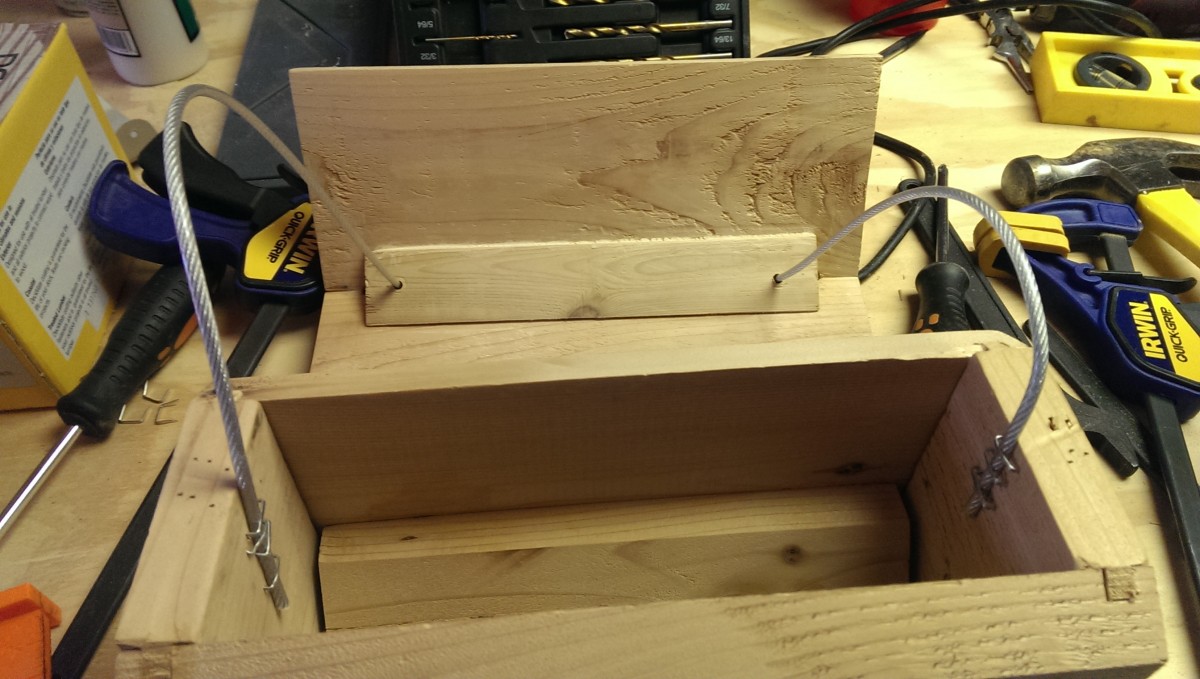
I drilled holes in the roof and threaded some coated cable through them
Now that both parts of the feeder are done, the final step is to make it hang. Like a lot of feeders, this one is filled by simply raising the roof. (Sorry, horrible joke.) I got a few feet of coated cable from the local hardware store, drilled two holes through the roof roughly where the inside of the walls were, and pulled the cable through.
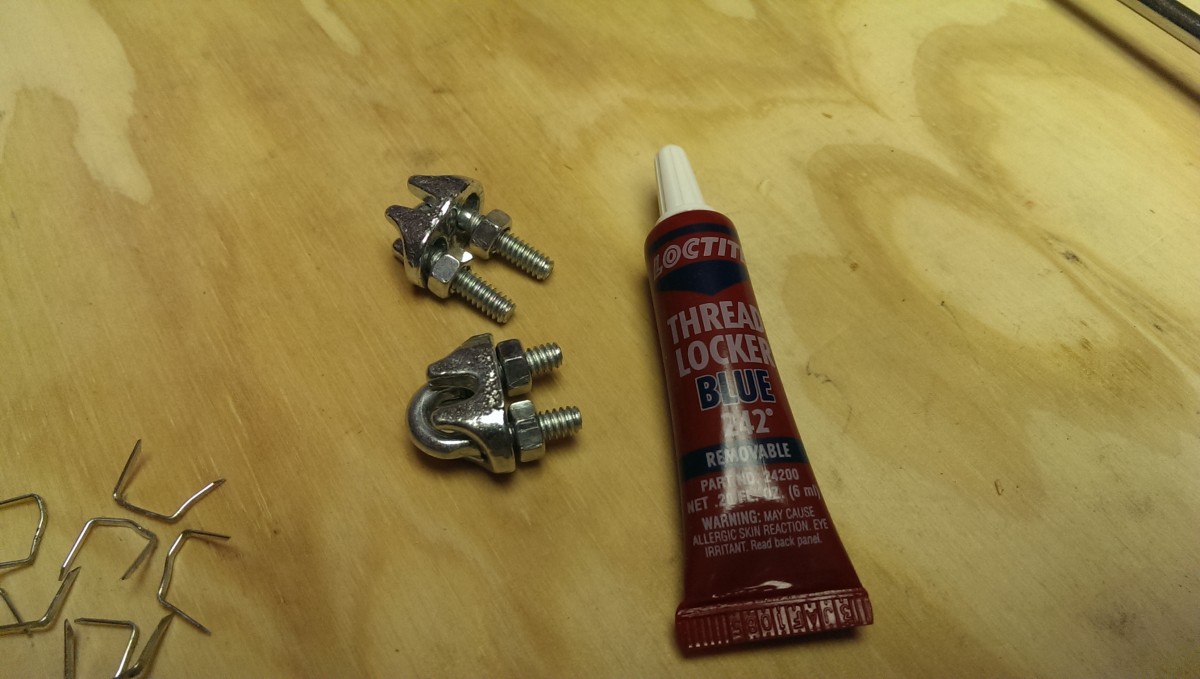
Cable clamps and thread locker
Brackets for cable
I let it dry overnight like this
I cut some wood blocks and used the band saw to make a groove in them about the same size as the cable. I put some cheap cable clamps on each end of the cable, pictured on the left. I used some thread locker when I tightened the clamps down to make sure they wouldn’t loosen up over time. Lastly, I simply glued a wood block to each of the feeder walls, with the wire inside of it simply to make it easy to install, and let that dry overnight.
Wrap-Up
Finished bird feeder
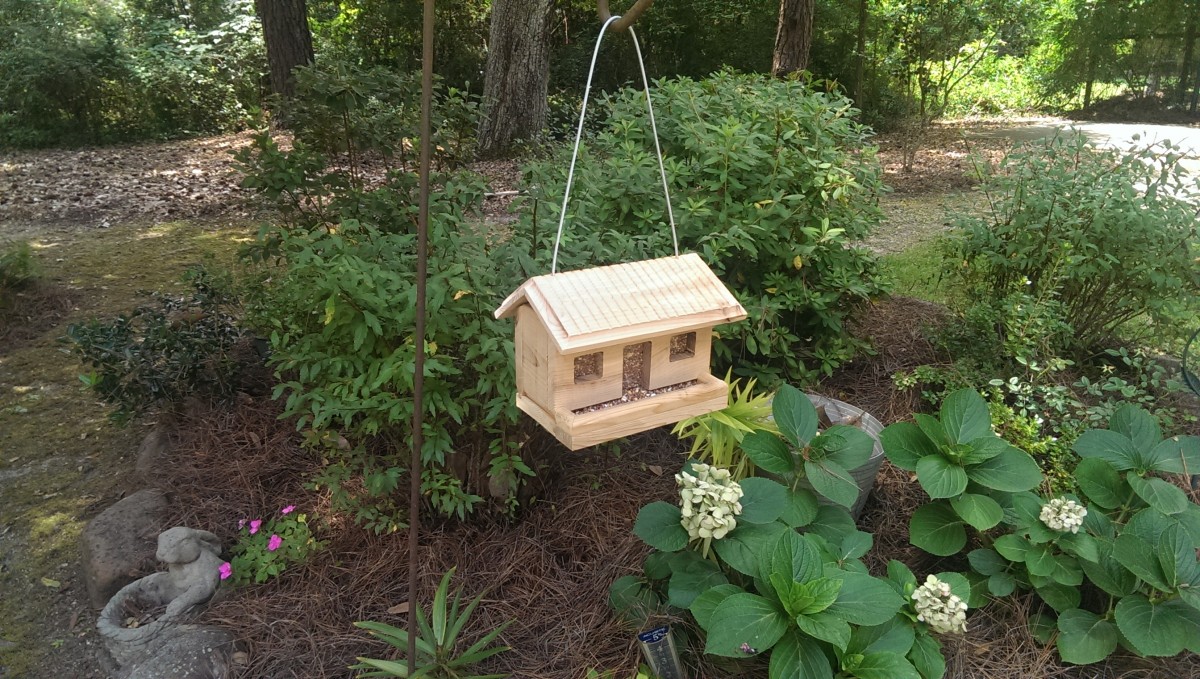
Hanging in my grandmother’s back yard
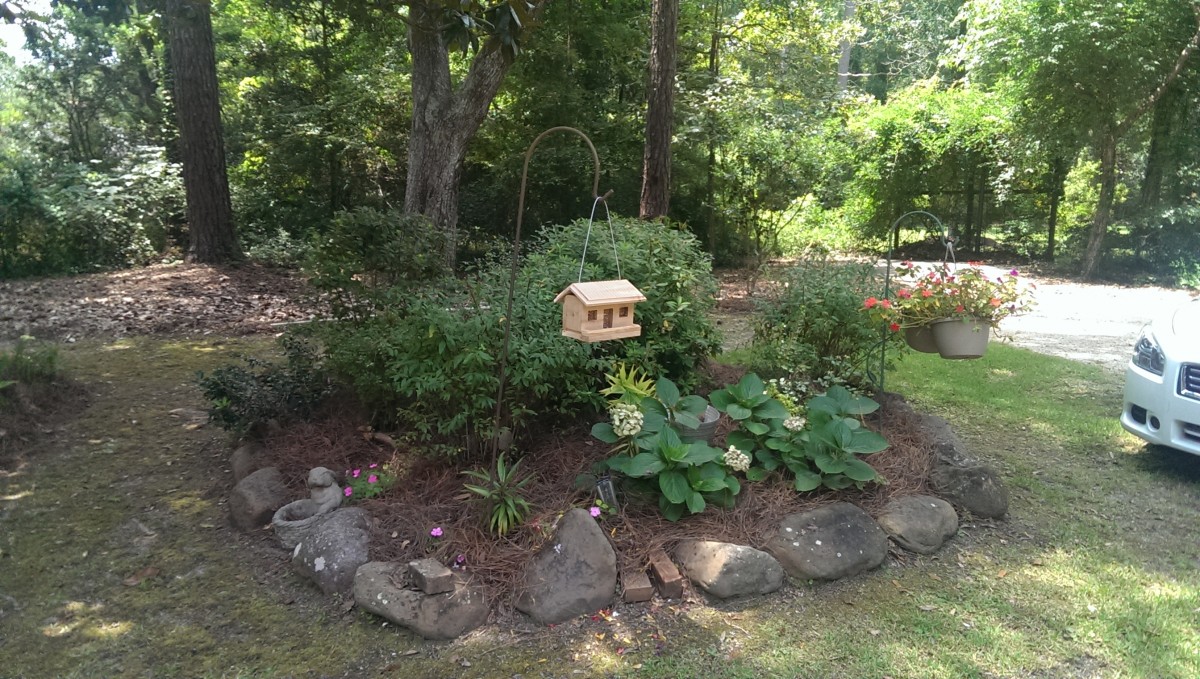
Far-away shot
This ended up being a present for my grandmother. The cedar will eventually turn a greyish color, but it should hold up outdoors for a long time. The birds love the design, and so do the squirrels, unfortunately. Pro tip: if you put grease on the pole the feeder hangs from, the squirrels slide down like little firemen, it’s great.
Here it is in her yard. She seemed genuinely happy with it as well; hopefully she’s not just saying that.