94-04 Mustang Rear Differential Oil Replacement
The Mustang had about 118,000 miles on it at time of purchase, which meant it was nearly due for a differential oil change. 94-04 Mustang rear differential oil replacement should be done about every 60,000 miles. This is true for any other Ford 8.8″ differentials, which are extremely common in Mustangs, F-150s, and other vehicles. The job is fairly easy, although Ford did not include a drain plug, making it slightly more difficult.
Parts/Tools Required
- 4oz Ford Friction Modifier
- 2 quarts of 75W90
or 75W140
Synthetic Gear Oil – I used Mobil-1 75W90, but use 75W140 for high-heat applications like racing, etc
- Some kind of fluid transfer pump
to get fresh oil into the differential
- RTV Ultra Black
– Some disposable nitrile gloves
are very helpful in keeping your hands clean
- Basic mechanic’s socket set
- Jack and jack stands


- (Optional) Replacement differential cover with drain plug
– This makes replacing the fluid easier, as you can just remove/replace the drain plug. I didn’t think the expense was worth it.
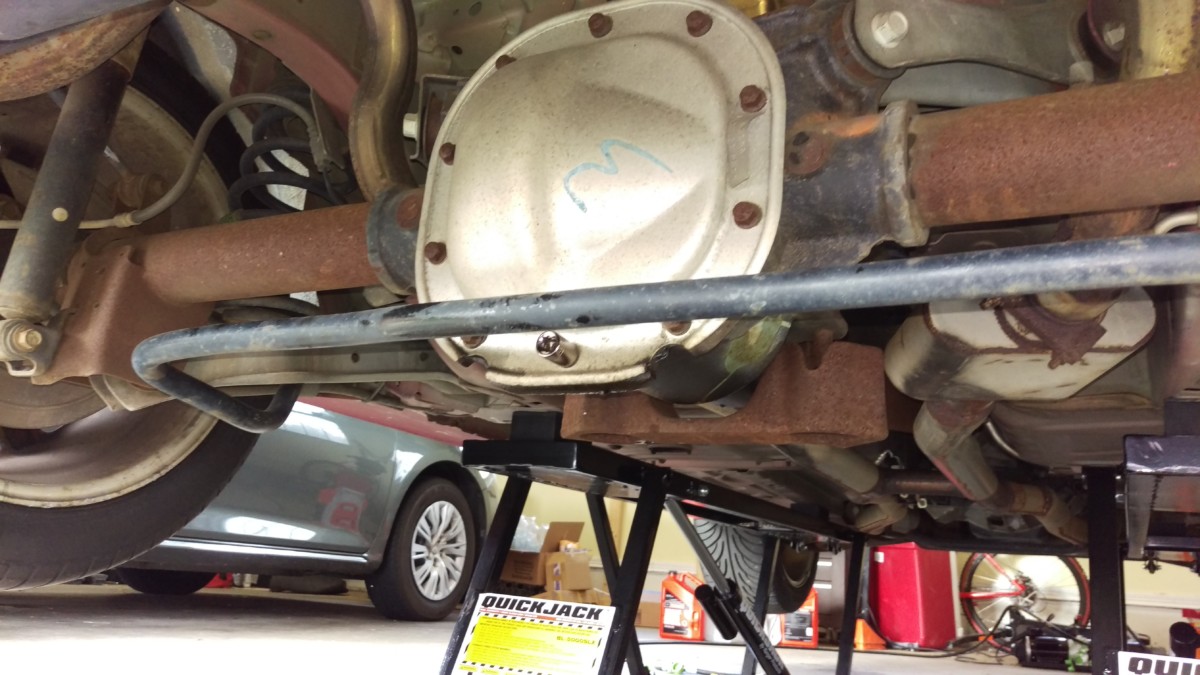
Put the Car in the Air

I used a Quickjack, but jack and jack stands work too
The first step is to get the car in the air. To maintain access to the differential, I’d use a floor jack on the differential itself and then place jack stands under the point where the LCA meets the body. Fortunately, I have a Quickjack BL-5000SLX
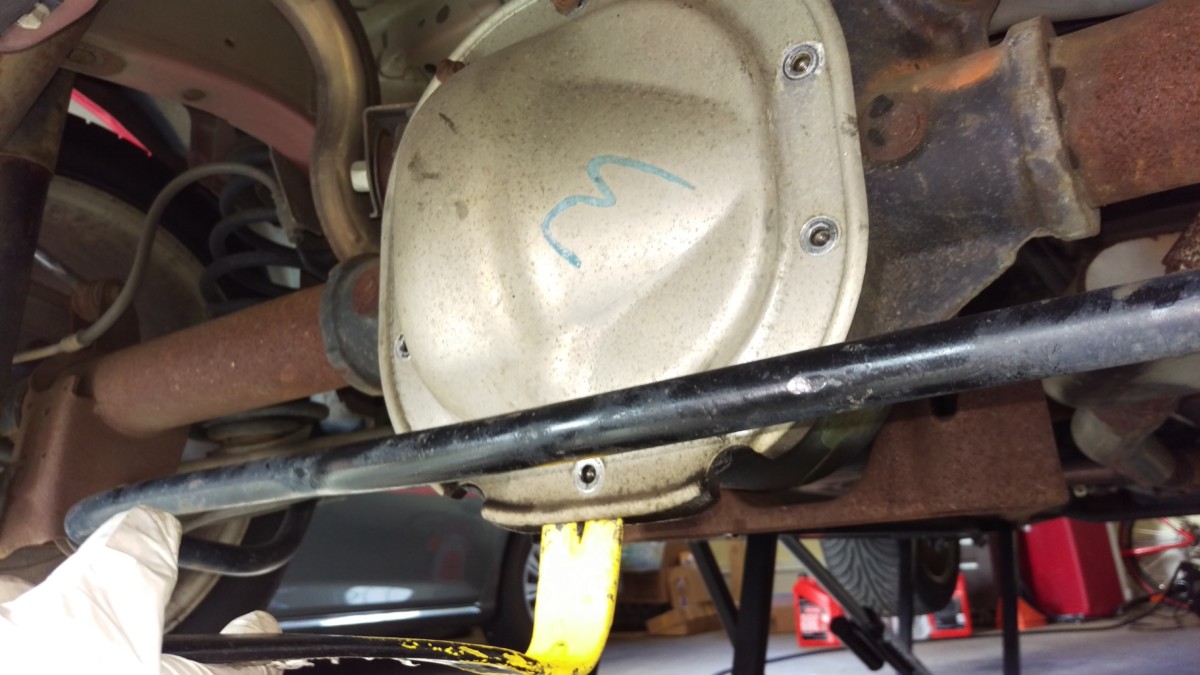
Remove the Fill Plug
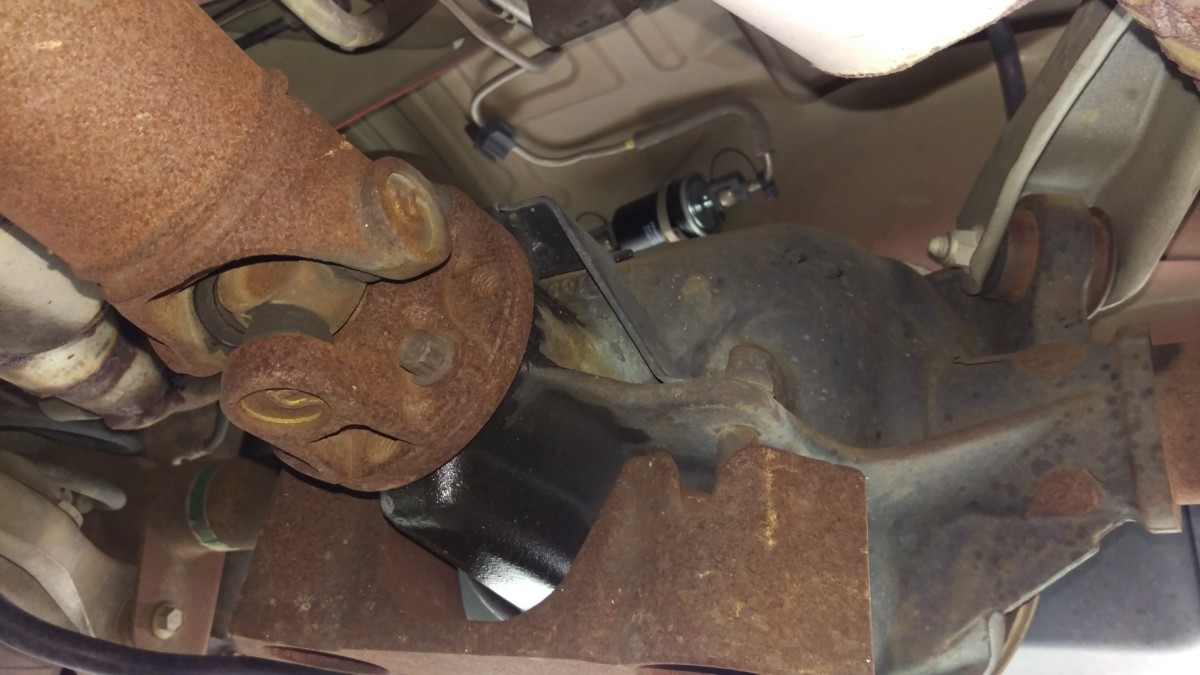
Location of fill plug in relation to rear axle
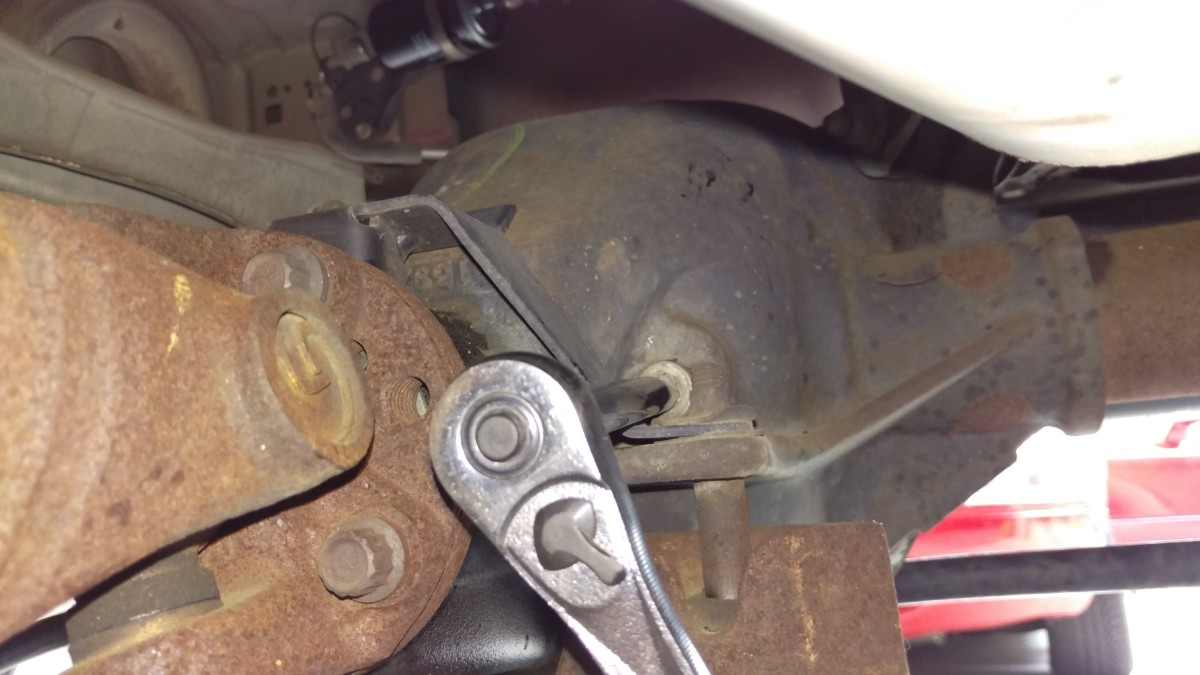
3/8″ wrench on the fill plug
With the car in the air, the first thing to do is make sure you can remove the fill plug. If it’s too stuck to remove, you want to find out before you empty the differential of oil, so the car is at least still drivable. In a typically odd Ford fashion, the fill plug has a spot to take a 3/8″ ratchet and extension
Clean the Fill Plug
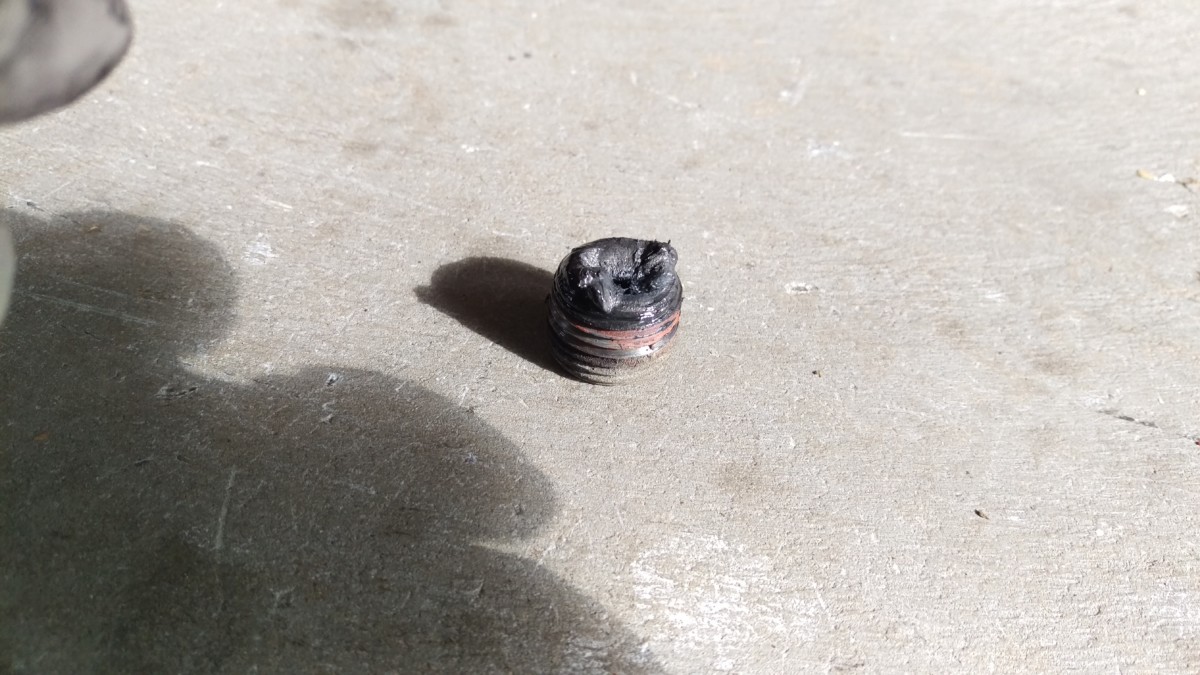
The fill plug has a magnet with crud on it
The fill plug may have a bunch of metal shavings on it, especially if the differential has been neglected like this one probably was. The plug itself has a magnet to attract shavings, in order to keep them out of the diff. You’ll want to clean this gunk off before reinstallation.
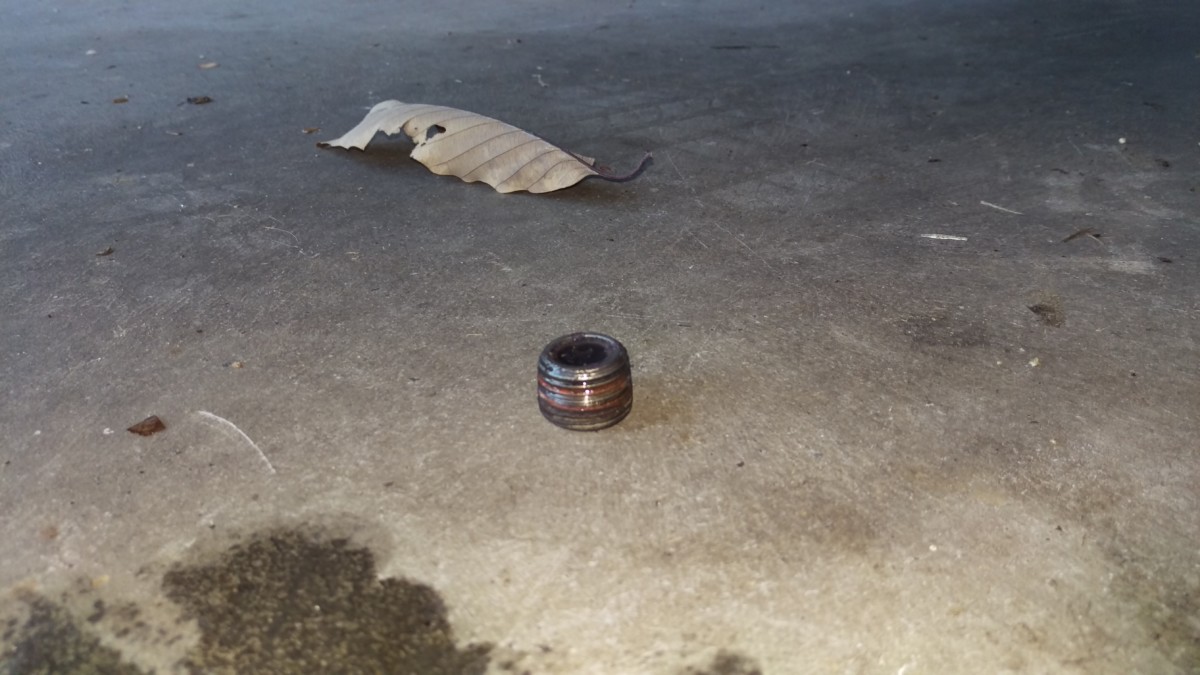
A little degreaser and a towel clean it right up
Mild application of a degreaser or brake cleaner and a rag clean it right up.
Drain the Differential
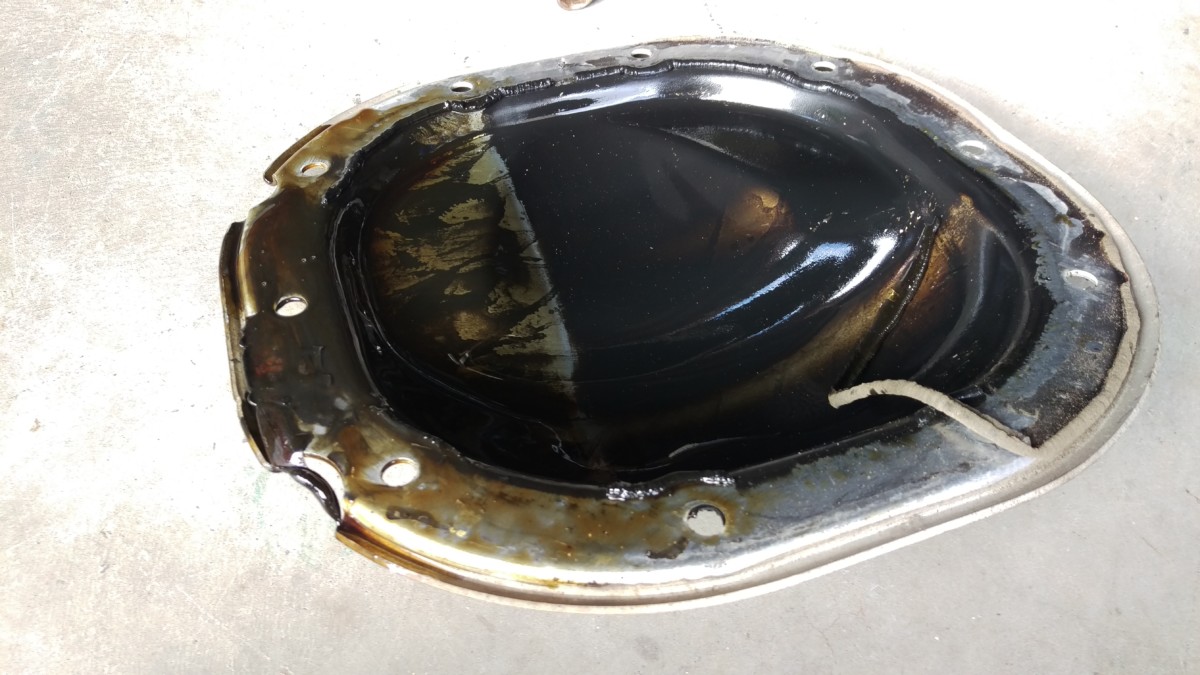
The rear differential cover

Pan in place to catch oil
You’re now ready to drain the differential. Since there is no drain plug, you’ll have to simply unbolt the cover. Before grabbing the wrench, place a pan or bucket underneath to catch the oil that will pour out.
Remove the lower bolts, leaving one or two loosely on the top
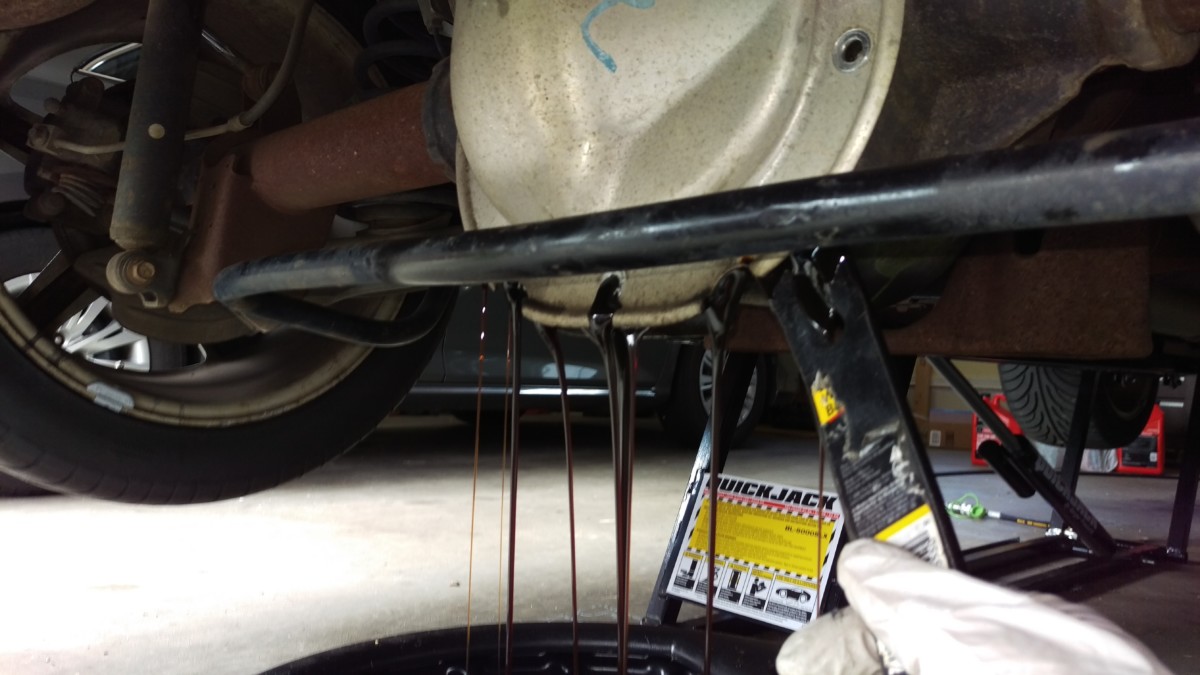
Pry the cover away from the differential and oil will pour out
With the pan in place, you can begin loosening the bolts holding the cover to the differential. I don’t remove them all at first. Instead, remove the lower 7 bolts, leaving the top 3 loosened but still in place. Then, using some kind of pry bar
Clean the Cover and Mating Surfaces
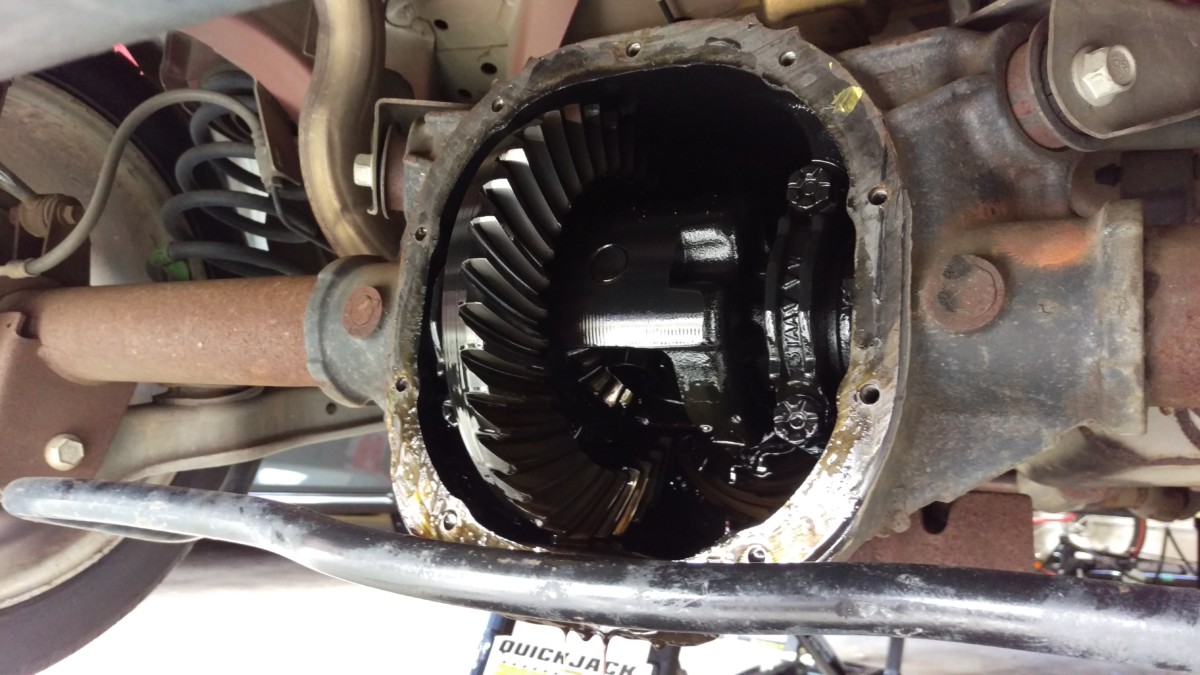
Inside of differential
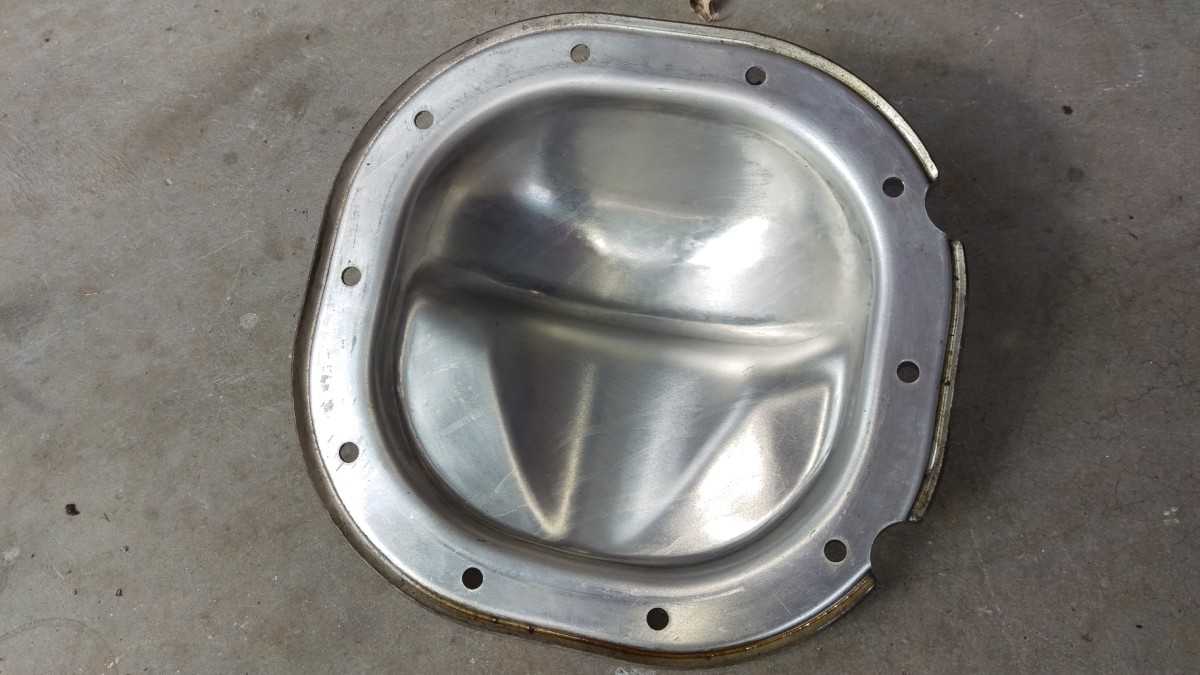
Cover after removal
Once the majority of the oil has come out, you can remove the final 3 bolts and pull the cover off. The cover itself will have a bunch of dirty grease on the inside, which can be cleaned before reinstallation to ensure it seals properly. This also goes for the surface around the differential, which will have residue from the old RTV on it.

The surface is scraped clean enough to seal
To clean the mating surface on the differential, I simply scraped it with a plastic gasket scraper

Cover after cleaning with brake cleaner
If you chose to get a replacement cover with a drain plug
The cover needed a heavy application of brake cleaner
Reinstall the Cover
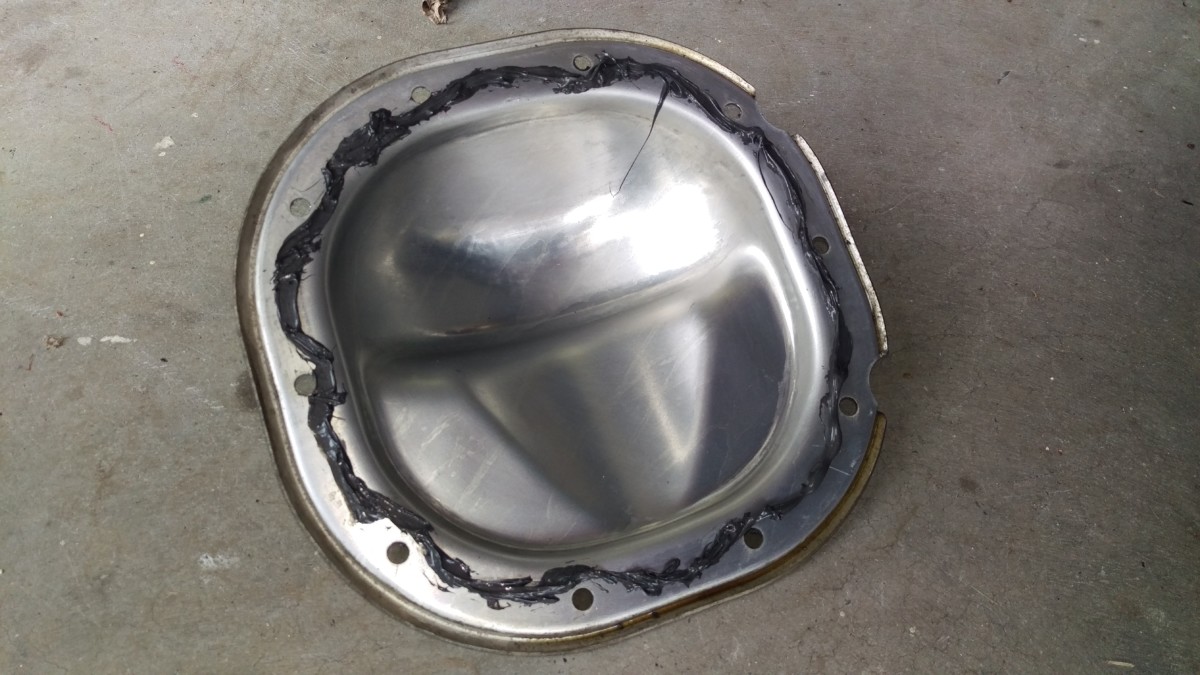
Put a bead of RTV around the edge of the cover
Once everything is clean enough, the cover can be reinstalled. First, a 1/4″ or so bead of RTV goes around the edge of the cover as shown. There needs to be enough to give a good seal, but there’s no point in making a huge mess. You also do not want chunks of RTV circulating inside the differential. I use Permatex Ultra Black
Once the cover is ready, gently place it against the differential and begin putting the bolts back in. I put the bolts on in a star pattern, like you would tighten lug nuts. This means start with, say, the top bolt. Tighten that one, then the bottom, then the left side, then the right side, etc, moving across the cover to the next bolt to tighten it evenly. This will prevent leaks.
I do not fully tighten it immediately. Instead, I snug them down to maybe 15 lb-ft at this point and give the RTV a half hour or so to set up a bit. Then, I use a torque wrench and torque the bolts to 25 lb-ft in the same star pattern.
Refill the Differential
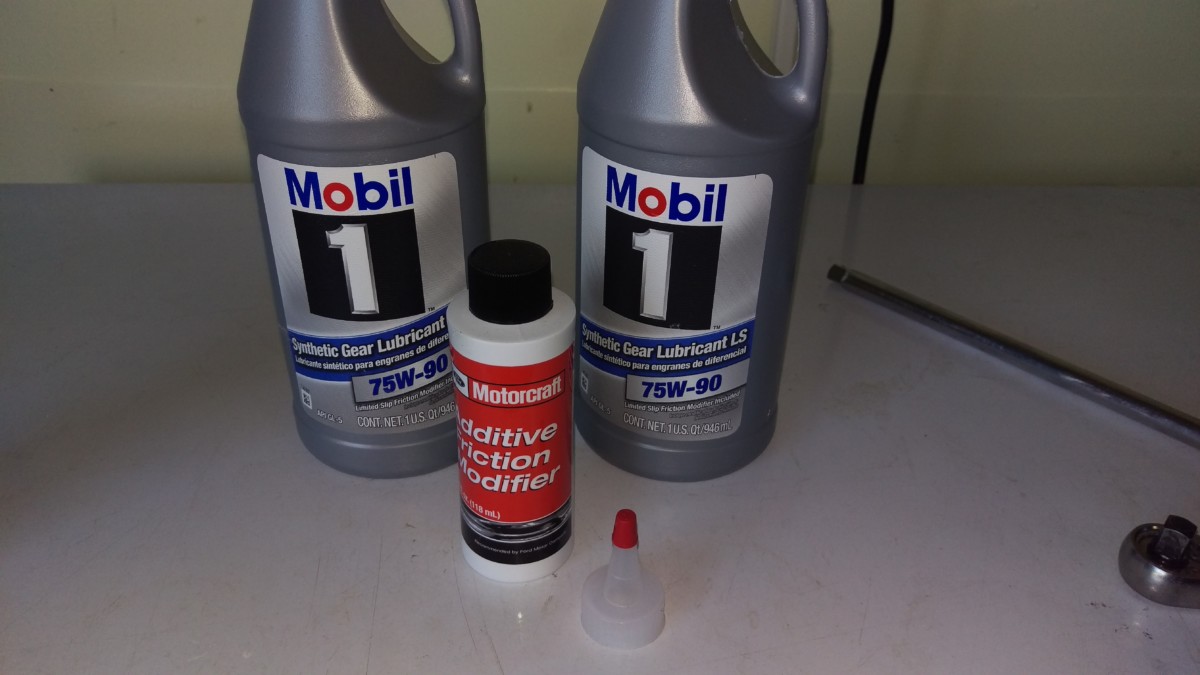
Two quarts of 75W90 and a bottle of Ford Friction Modifier
I waited until the next day to refill the differential, just to make sure the RTV set. This probably isn’t strictly necessary, especially with the fast cure time of Ultra Black. I would still give it at least a couple of hours, though.
There’s some question over whether RTV is necessary with something like this Mobil-1, since it says “LSD
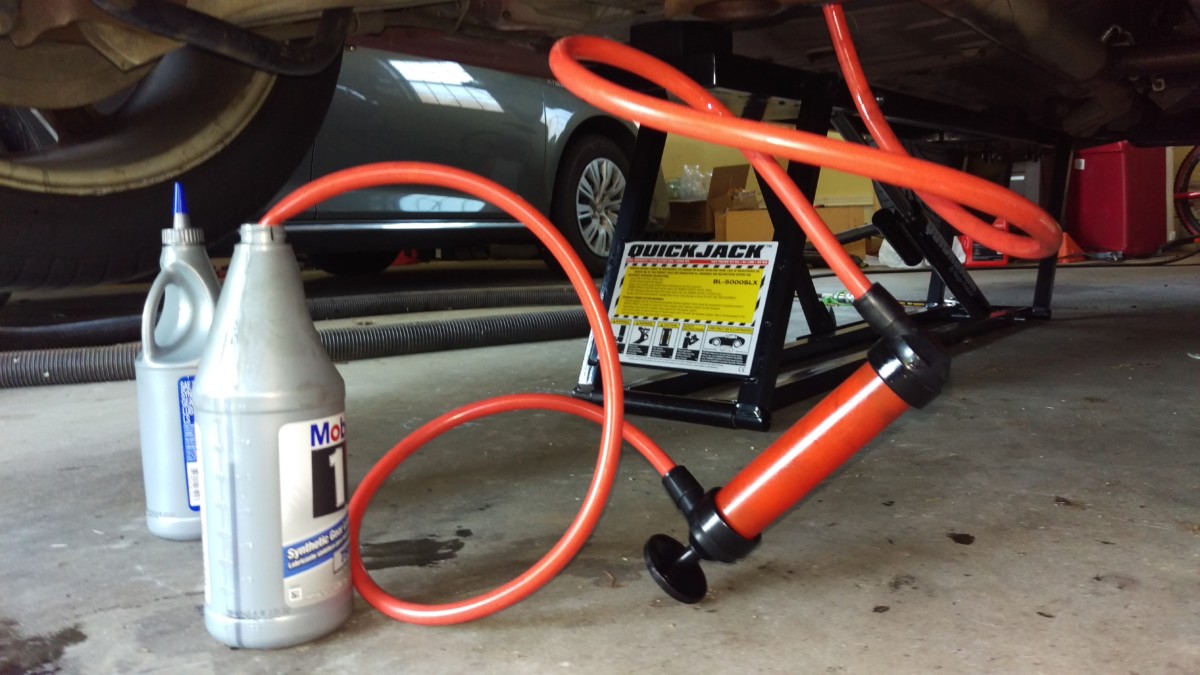
Pump in bottle

Hose in the differential
I used this style of fluid transfer pump

Once that’s done, you can add the friction modifier one of three ways. Either add it to a partially-empty bottle of gear oil and use the pump, use the pump directly on the friction modifier bottle if you can, or try to pour it directly in the fill hole. It’s a smaller bottle, so direct pour may work. The easiest is to add it to one of the quart-sized bottles when they’re partially full.
Either way, add the modifier and the second quart of oil. Once that’s done, put the fill plug back in. I didn’t bother with a torque wrench, but just snugged it down reasonably tight. And that completes the job.
Thanks for the indepth information,it really helped
Hey Carlos is this you?
Thank you so much I will be using this!