99-04 Mustang Idle Air Control Valve Replacement
My 99 Mustang GT was hesitating on startup. One morning, it refused to start at all. I replaced the fuel filter, one possible cause, but was also concerned the fuel pump might be going out. On impulse, I held the gas down while starting the car, and it roared to life with a puff of black smoke.
99-04 Mustang idle air control valve replacement is a simple job that can be done in a few minutes. If the IACV starts to stick, as mine did, it won’t let enough air in for the engine to idle. The car may stall at stoplights, refuse to start, and idle poorly.
Parts and Tools Required

Replacement IACV if your model has this big intake hose port
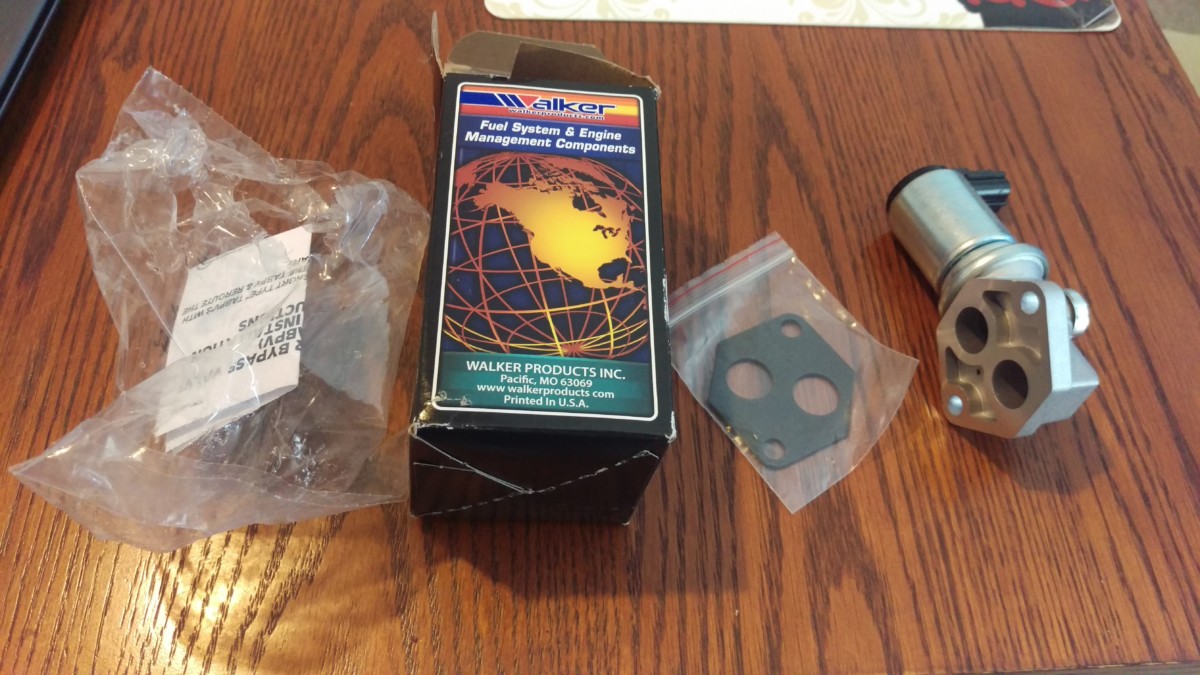
Replacement IACV and gasket if your model only has an electrical plug
A basic socket wrench set

There are two main types of IACVs for 96-04 Mustang GT’s and Cobras, as far as I can tell. The first, like mine, has the big vacuum hose port on it. You can buy it from Amazon here for about $35

These instructions will focus on the first type, because that is what I have. The other type is just as easy to replace, however, and the procedure is almost identical. You simply don’t worry about the vacuum hose.
Removing the Old IACV
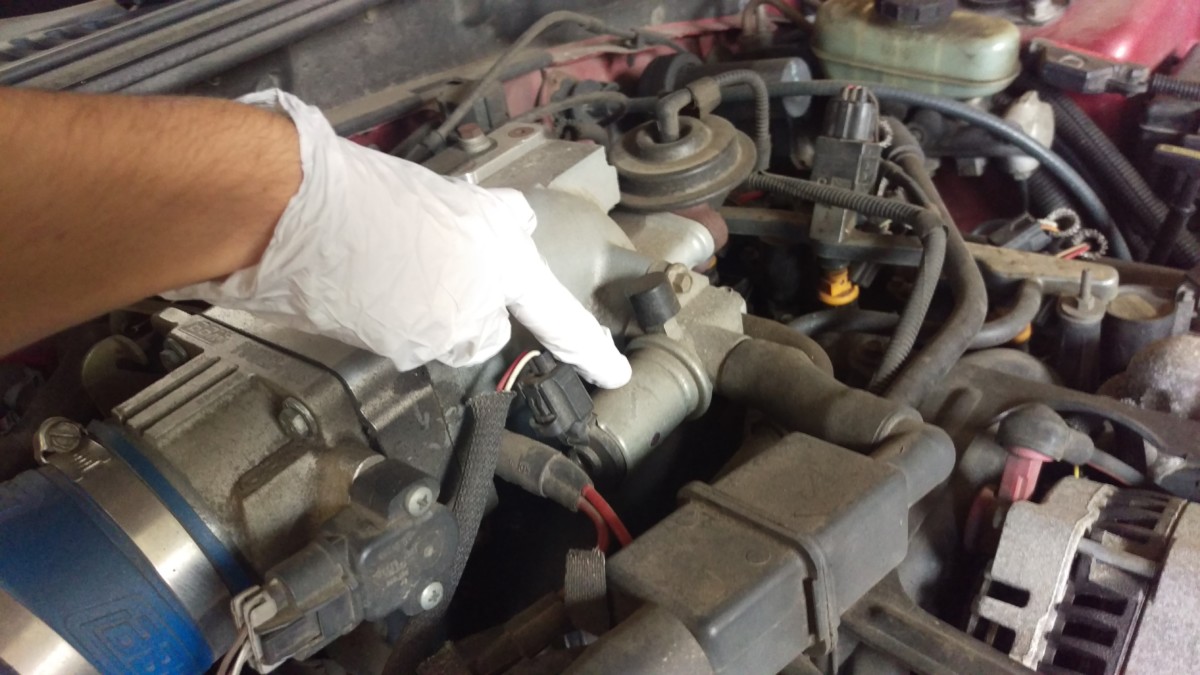
IACV on the car
If you pop the hood, the IACV will be sitting directly on top of the engine. It bolts into the intake plenum after the throttle body.
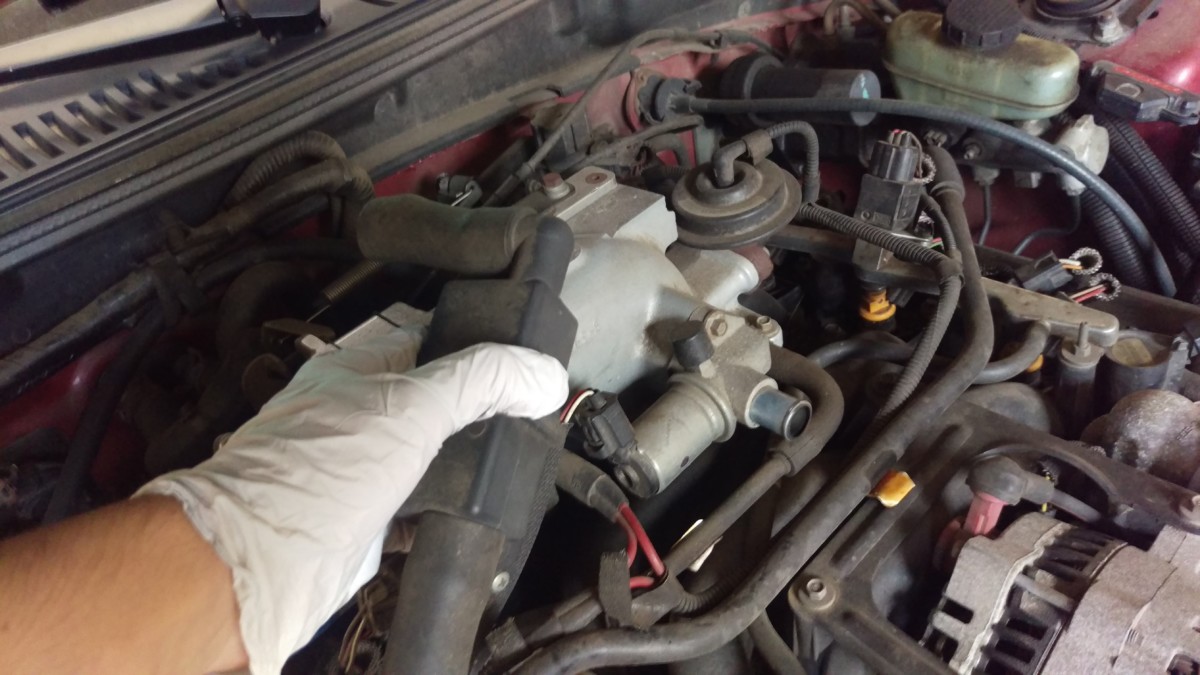
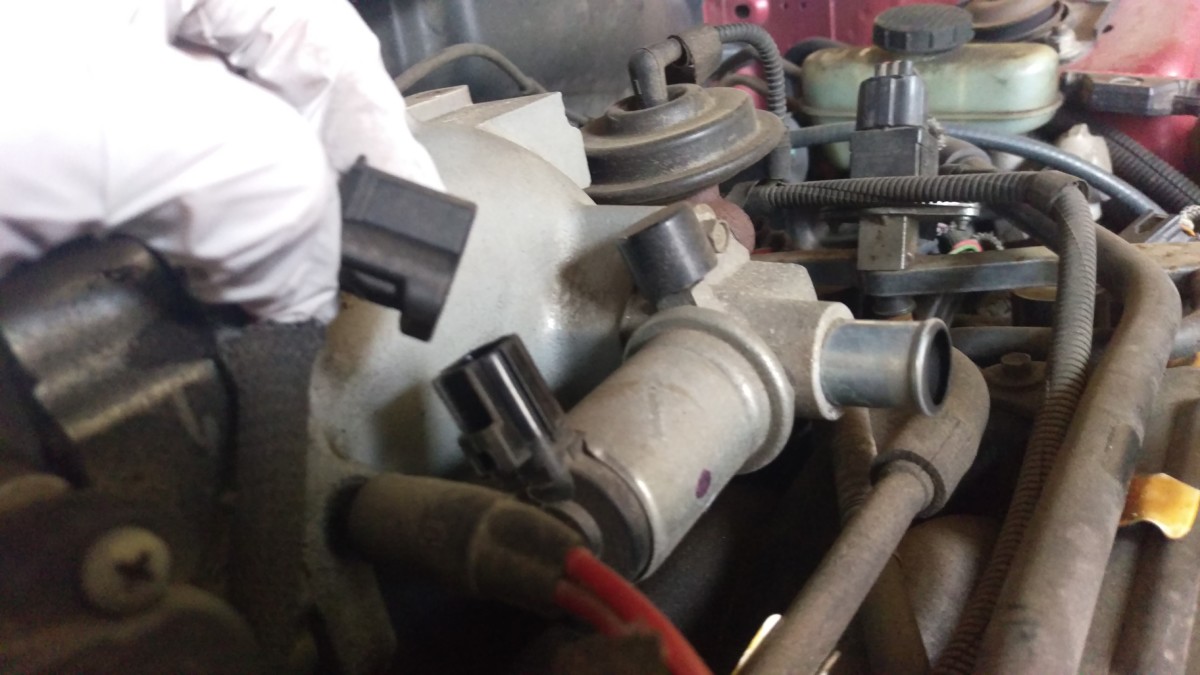
Remove this hose that connects the IACV to the intake
There is a fairly large-diameter hose that connects the IACV to the intake. Go ahead and pull this off.
Plug connecting IACV to wiring harness
The IACV also has a plug from the wiring harness. A small tab can be depressed to let this thing pull out.
Two small bolts (8mm?) hold the IACV to the intake plenum
Finally, there are two small bolts holding the IACV to the intake plenum. They’re 8mm heads, I think, but I didn’t write it down. They both come out.

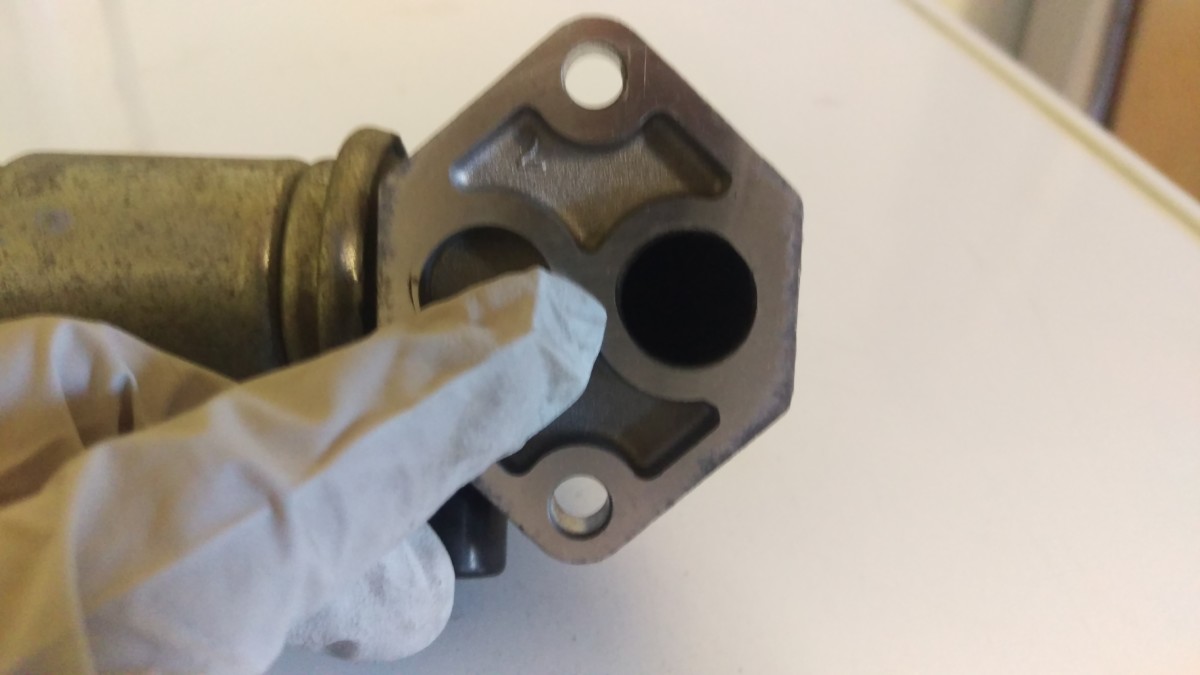
Removed and on the bench
With both bolts out, you may have to pry a little bit to get the IACV off. Random gunk might be sticking it to the gasket. Be sure to pull the gasket off as well.
Clean IACV Mating Surface

Clean the mating surface before installing the new IACV
The mating surface for the IACV may have some crud built up on it. Now is a good time to spritz it with some throttle body cleaner

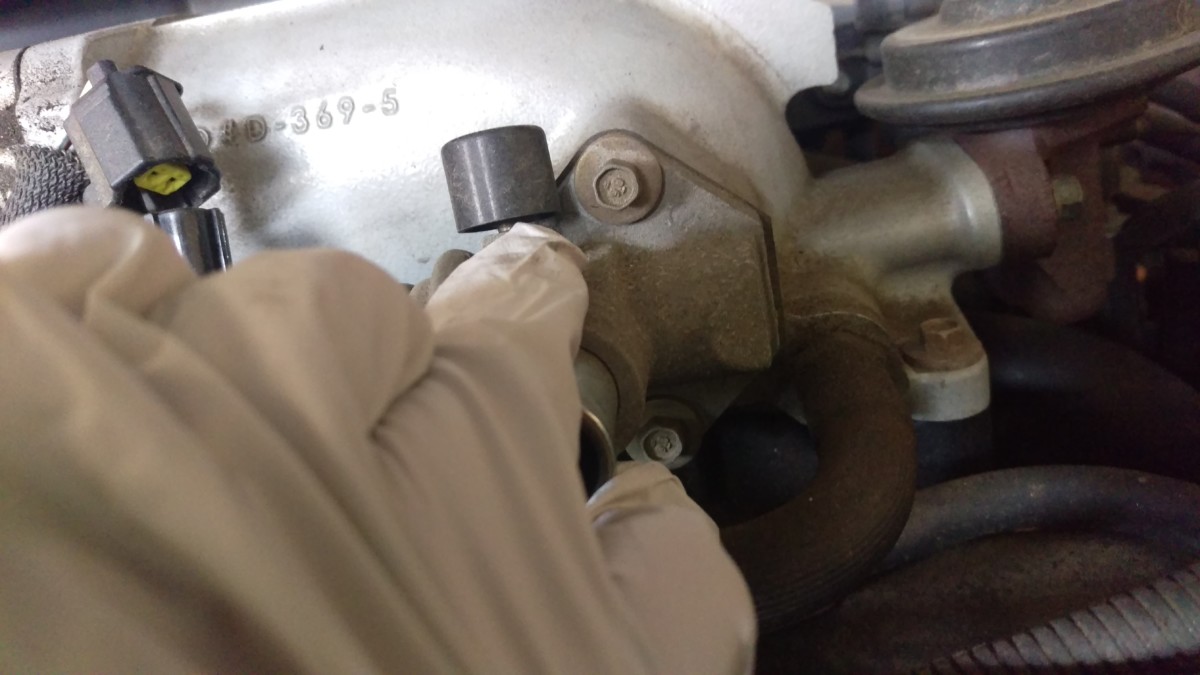
Optional: Attempt Cleaning Old IACV
Hole to clean out with valve inside
If the IACV quit working, it’s usually because the valve gets gunked up and sticky. The actuator is then unable to open the sticky valve, and the engine doesn’t get enough air at idle. If you want to verify your diagnosis before spending $35 on a new actuator
Install the New IACV
Replacement IACV if your model has this big intake hose port
The new IACV will come with a new gasket included, at least if you ordered either of the ones I linked to earlier. With the mating surface on the intake plenum clean, you can simply bolt the new IACV in place. It’s a good idea to alternate tightening the bolts down, so that you get even pressure. This means tighten both bolts to barely tight, then alternate adding torque to each bolt until they’re snug. They don’t need much torque; the specification is 10 lb-ft.
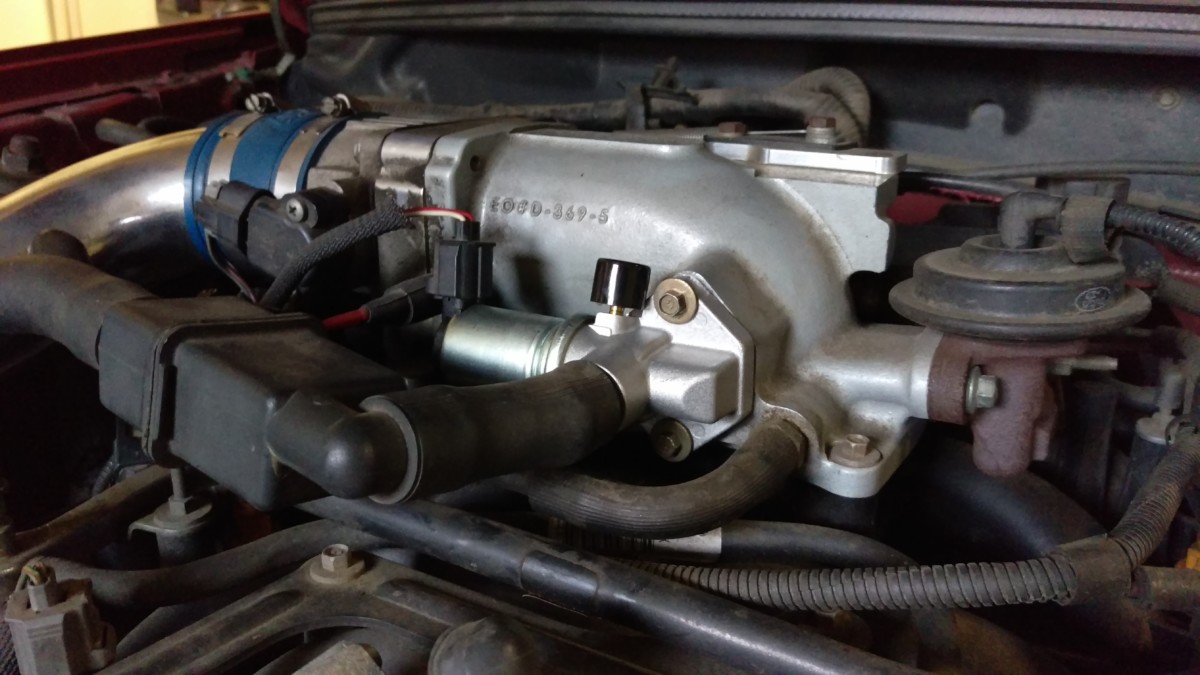
New IACV after installation
After torquing, reconnect the electrical plug and the vacuum hose, if applicable. If you did this right, the car should start up and run without stumbling at idle any longer. It may take the ECU a little while to relearn now that it is getting more air at idle.
Thank you for the description. One question, where did you find the torque spec? I tried but couldn’t find it anywhere online.
It’s been a few years, so I forget, but I think I went off of the Haynes manual. If you’re in a pinch on something like this, you can also get a decent estimate based on the diameter of the bolt with a chart like this: http://www.dansmc.com/torque_chart.htm
In this case, if it’s an 8mm bolt, 10 lb-ft is right on the money for “low grade”. If you followed the 17lb-ft guidance for grade 8.8, I doubt it would hurt anything. Hope that helps!