Replacing Spark Plugs on a 99-04 Mustang
My 1999 Mustang GT was bought with 118,000 miles on it. Spark plugs should be changed every 60,000 miles, so it was just about time. Fords of this vintage get a bad rap as far as spark plugs go, because the 05+ Mustangs had a terrible two-piece plug design that could break apart, leaving chunks of the spark plug in the cylinder. Fortunately, all you have to worry about with the earlier 4.6 V8’s is spark plugs blowing out of the hole. (I guess.) Aside from this concern, replacing spark plugs on a 99-04 Mustang is a fairly easy job.
While this is a little scary, reports indicate that as long as you properly torque the plugs with a torque wrench, and check them after a couple thousand miles, there shouldn’t be an issue. If a plug were to blow, it can generally be fixed with a helicoil. This repair is outside the scope of this article. So with that, here’s how I changed the plugs on this car. This procedure should be done ever 60,000 miles.
Replacement Plugs
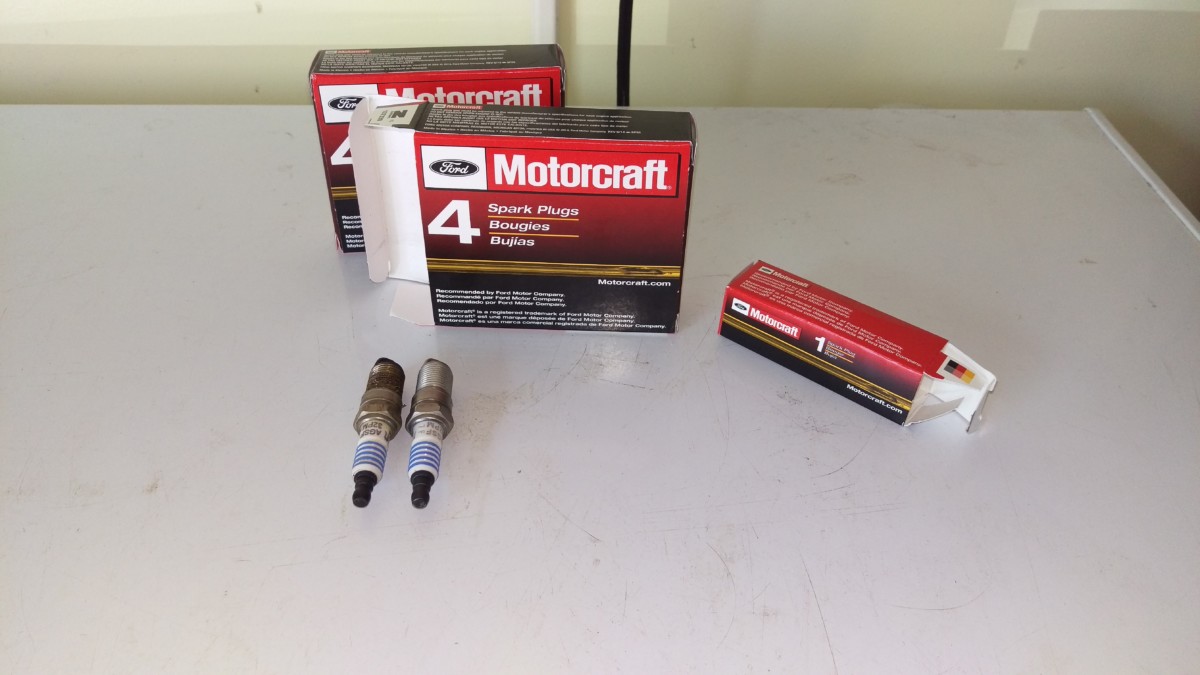
I went with Ford-brand plugs
I went with Motorcraft SP-493 plugs
Other Items Required
Besides plugs, you need some anti-seize


You also must use a torque wrench. Guessing at how tight you’re getting the plugs will lead to them shooting out. Ideally, you’d use an inch-pounds torque wrench


Optional: Clean Rat Shit Off the Engine

Shop vac + a piece of scrap tubing helped suck up dirt
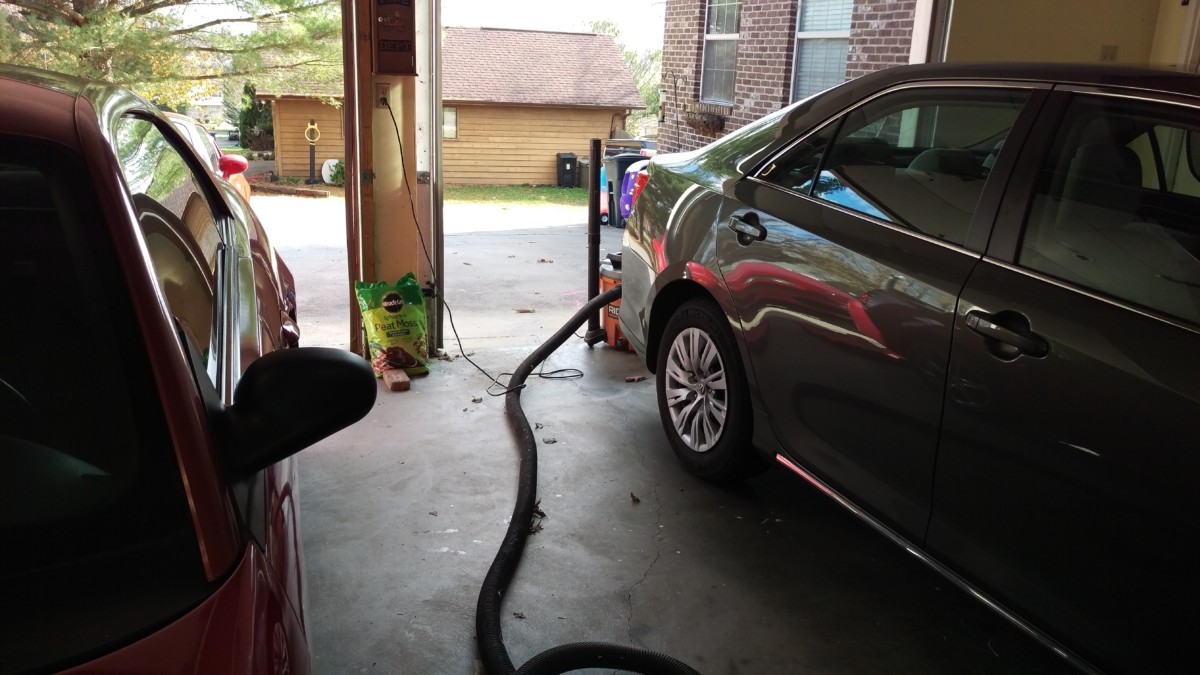
I used the long hose for reasons I still don’t understand
The previous owner stored the car outside, and there was a cornucopia of rat shit and other debris on the engine cover. I didn’t think about it until I started the job and realized enough debris falling down into the plug well could actually cause damage. To prevent this, it’s better to use a handy dandy shopvac
Remove the Coil-On-Plugs
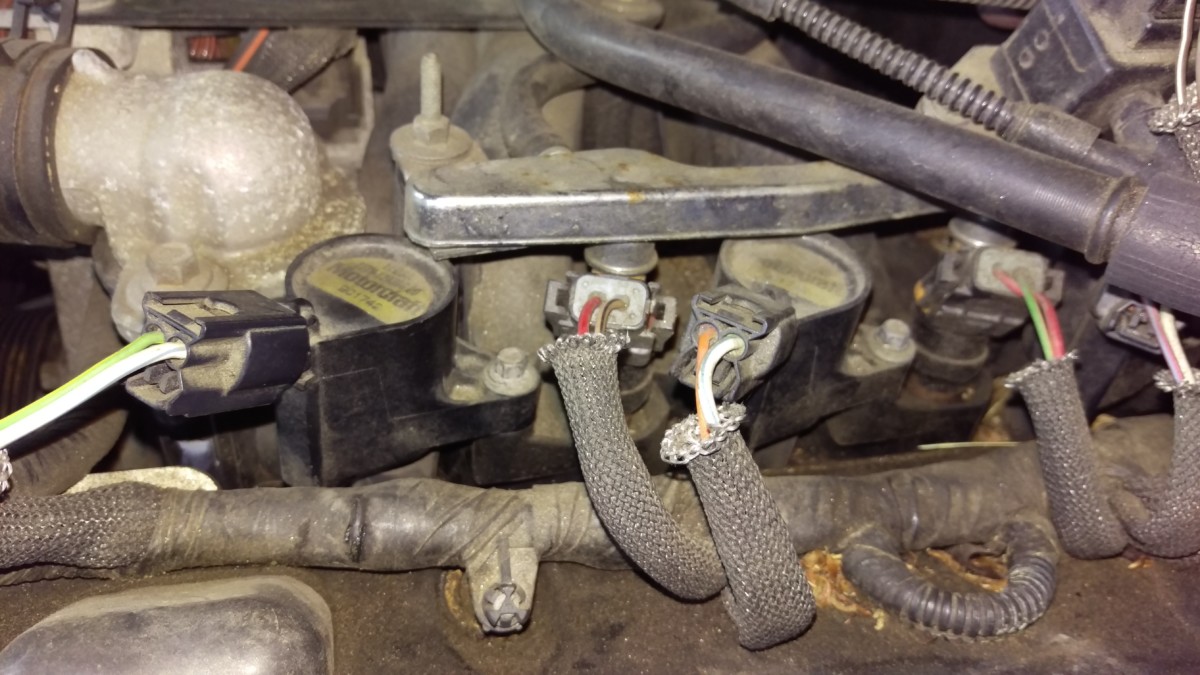
Two of the coil-on-plugs
These Mustangs have coil-on-plugs. Where older designs will have a coil pack with plug wires, most modern cars have a coil sitting directly on top of the plug to fire it. Each coil-on-plug must be removed to access the spark plug it covers. Fortunately, the fuel rail and injectors do not have to come out to do this.
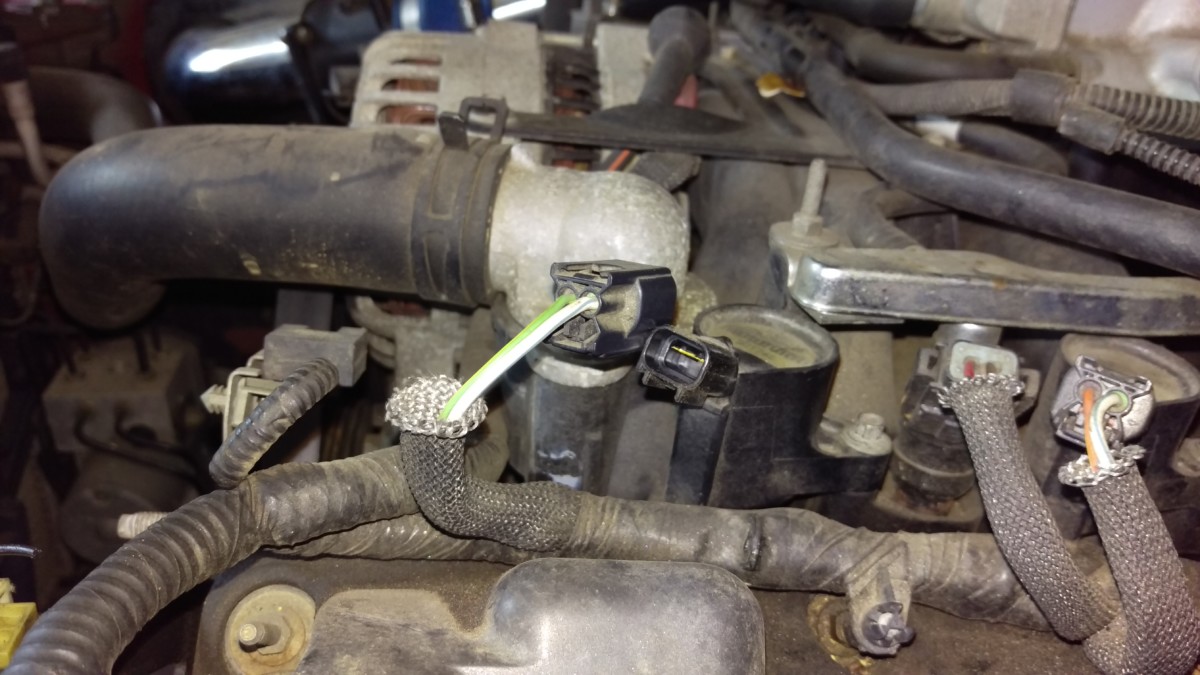
Unclip the electrical plug
While the plug is still screwed in, unplug the electrical connector.
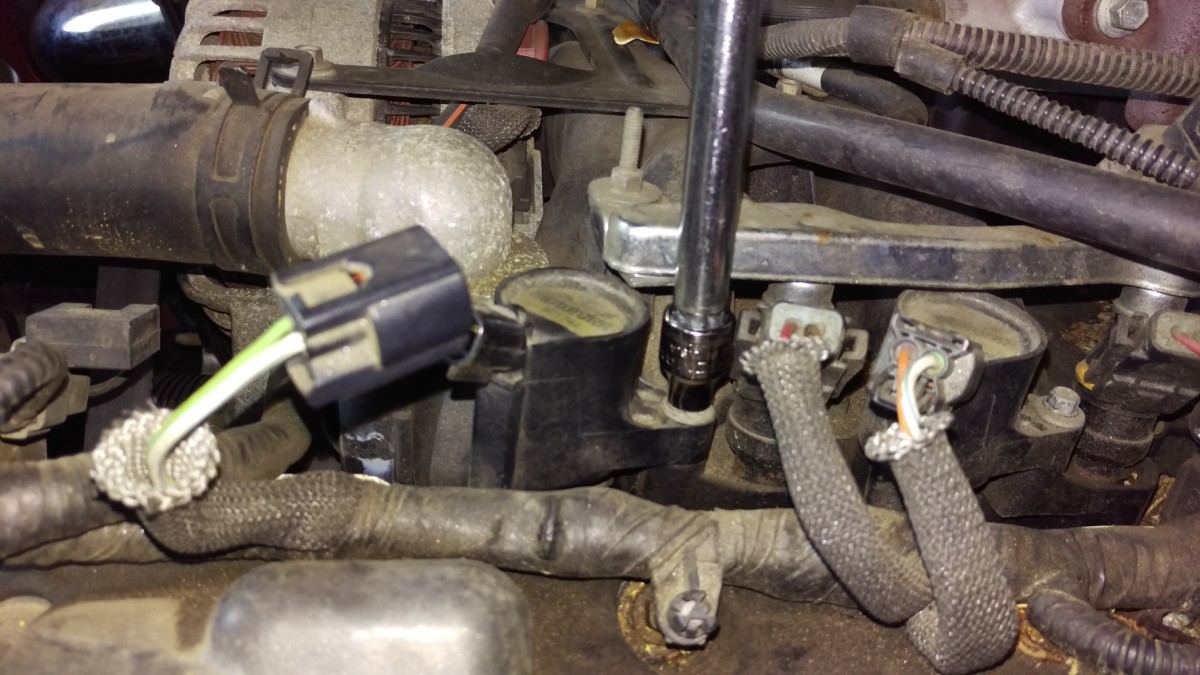
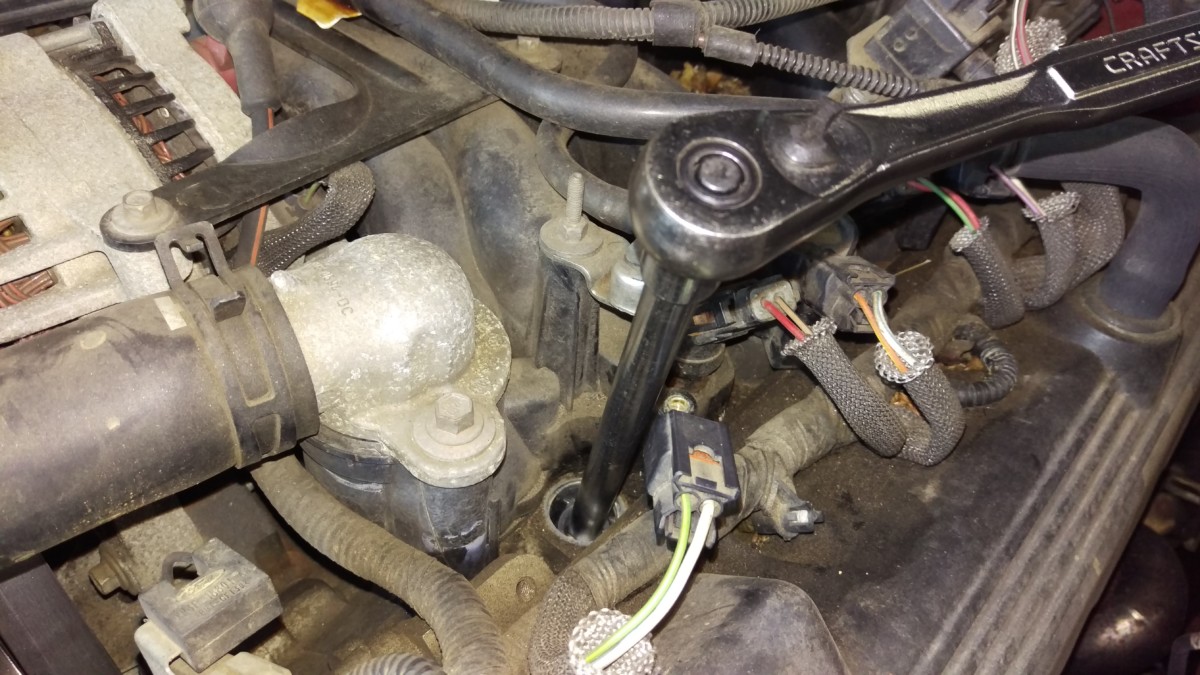
Screw for the COP
There is a 7mm bolt holding the COP in place. This comes out next.
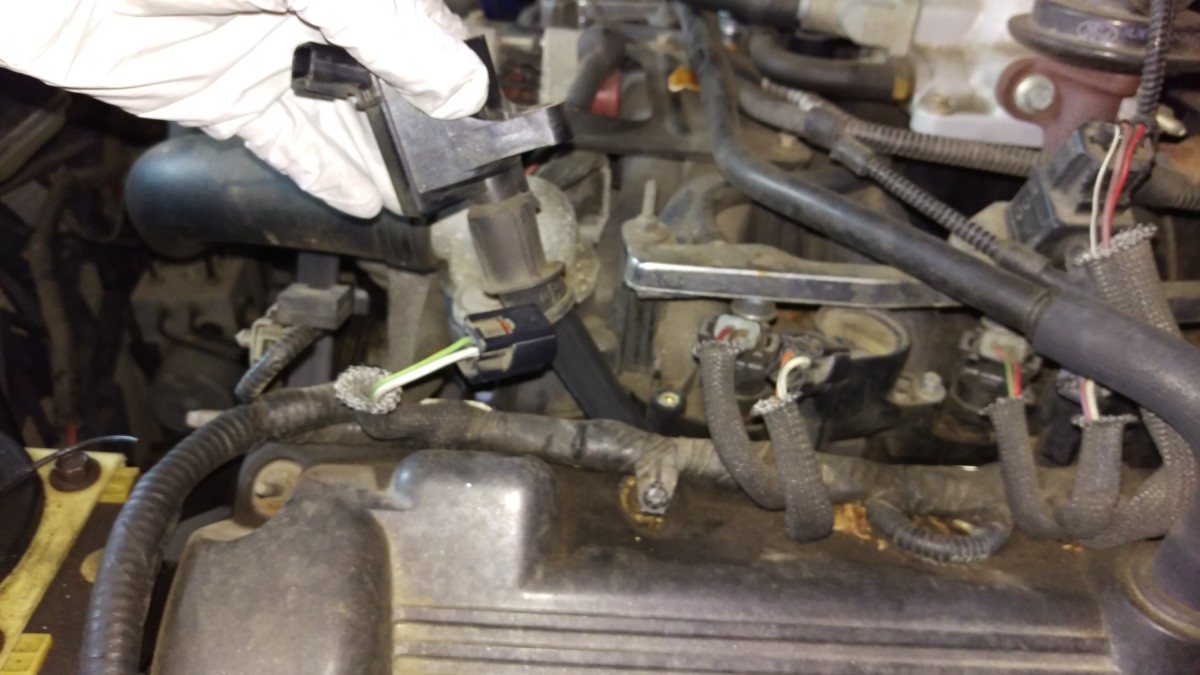
Pull it free, it is flexible
Lastly, pull the COP free from the plug well. It should come out fairly easily. The cylinders towards the back will require a little bit of bending, but the plug boot is plenty flexible enough to get out.
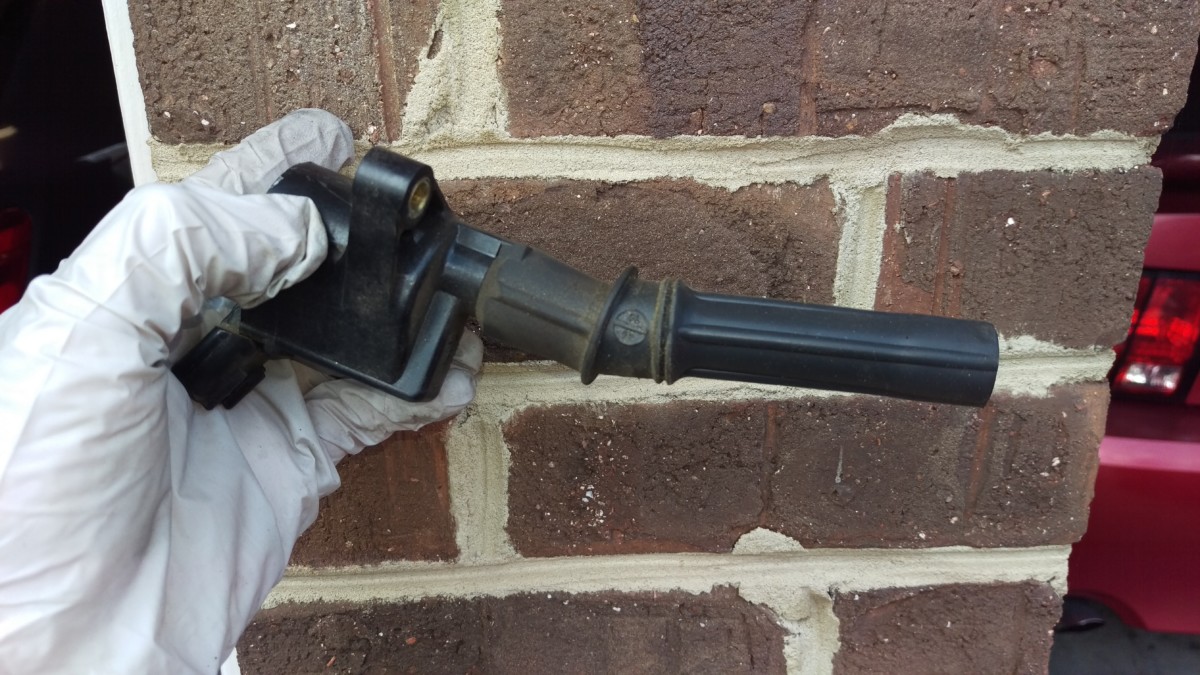
COP after removal
Finally, here is a shot of the removed COP for clarification. There will be 8 of these to remove, one per cylinder.
Remove the Old Plugs
5/8 spark plug socket and extension
With the COP out, the spark plug itself can now be removed. I used a 10″-or-so 3/8″ extension along with my magnetic 5/8 spark plug socket. I didn’t need anything more than a 3/8″ ratchet to break the plugs loose. They should not be in there all that tightly, unless the previous owner used Loctite or some other insane solution to keep them from backing out. If they’re too difficult to remove, I would consider letting a mechanic look at it. Breaking the plugs trying to remove them is going to cause a world of problems.

Removed plug stuck in socket
Here is the plug after removal, stuck in the socket via the magnet.

Old vs new plug
Lastly, here is one of my old plugs versus a new one. You can examine your old spark plugs to get an idea about the health of your engine. Ideally, the firing end will be brown or light grey without carbon, oil, or other deposits fouling it. Also, the electrode should still be intact, without having melted or broken. This plug is in decent shape to my eye, although the plug has more carbon deposits on it than I would like to see. It was probably time to change them.
Getting to the Spark Plugs Under the Throttle Body
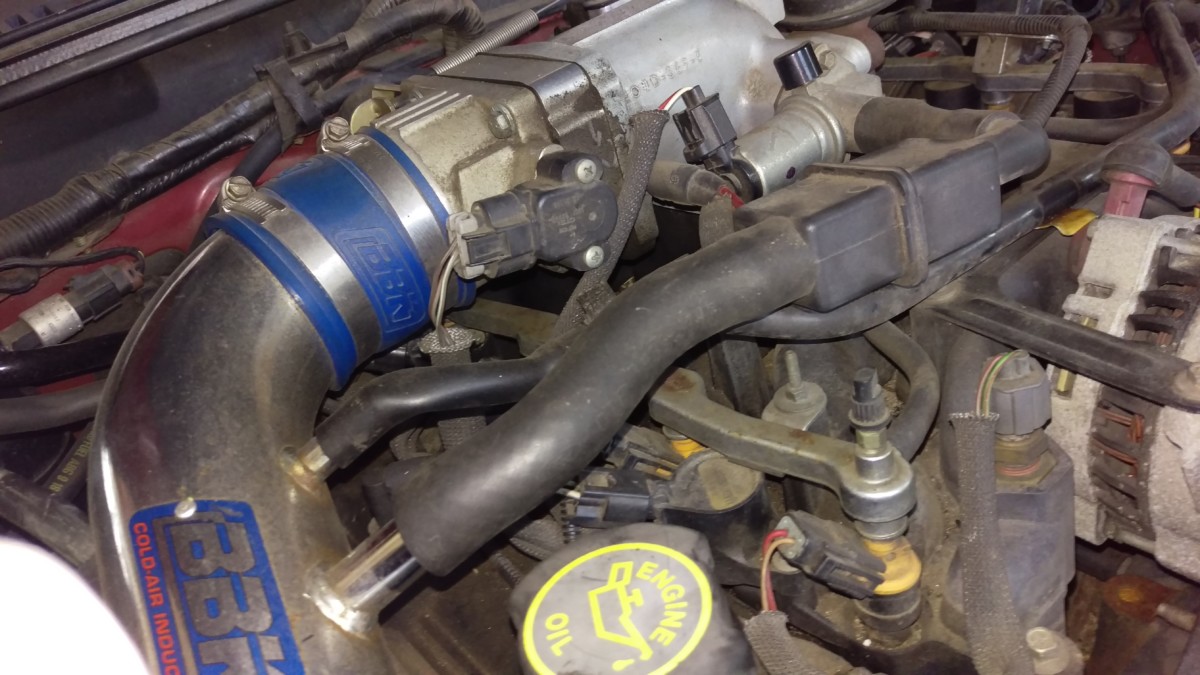
A couple of plugs on this side are blocked by the intake
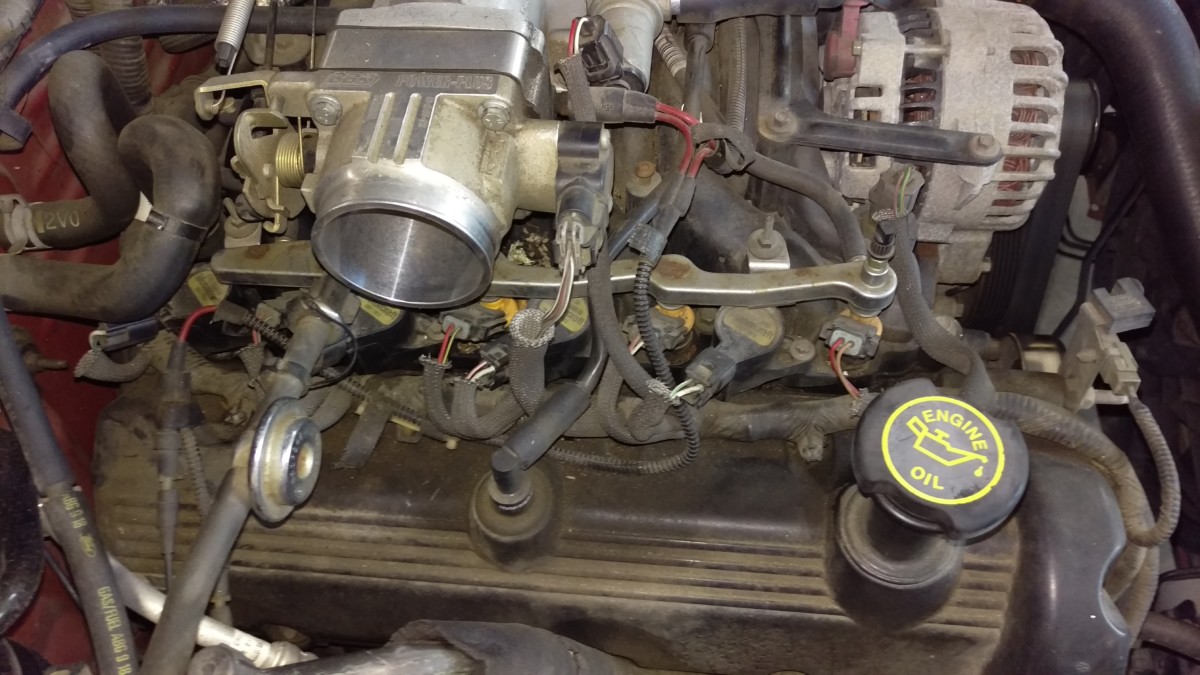
On the passenger side, a couple of the plug wells are blocked by the intake. Unbolting the intake from the throttle body provides enough clearance. My car came with an aftermarket intake, but the stock version should come off similarly.
Removing the intake provides enough clearance
The hose clamps were stuck to the blue silicone tubing. After removing them and the two intake hoses, the intake comes off easily.
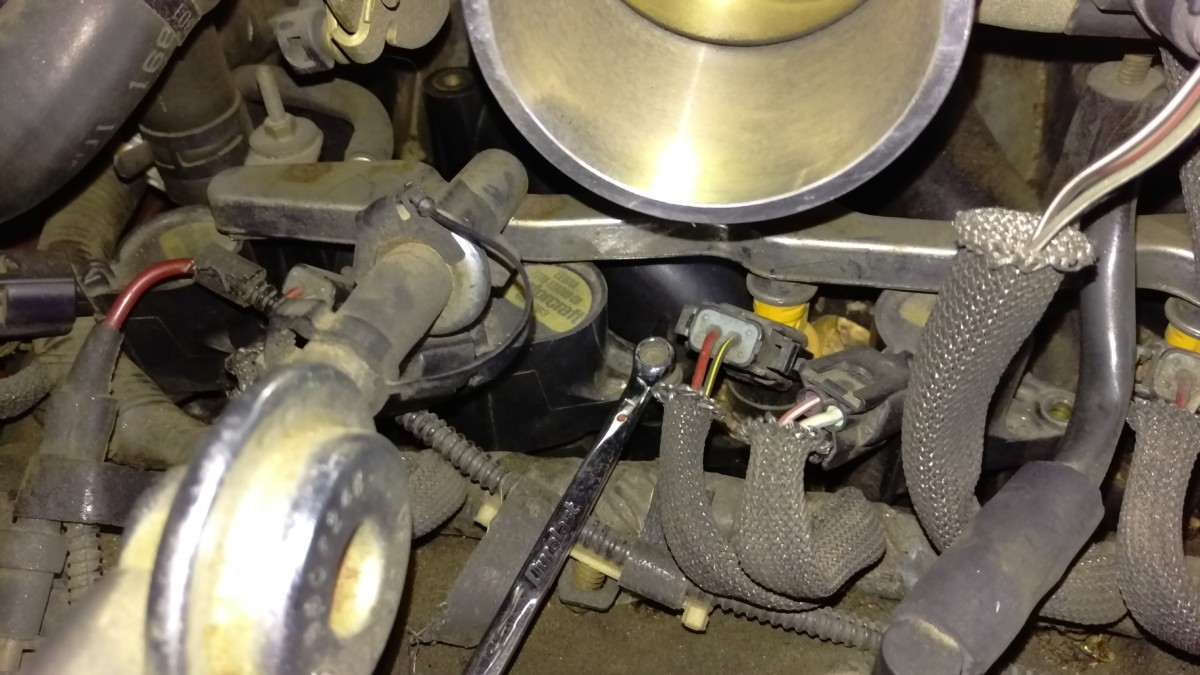
Using a box wrench to remove the COP bolt
The socket wrench didn’t fit under the throttle body to remove the COP bolt, but a box wrench did. If you don’t have a 7mm box wrench

Removing the COP
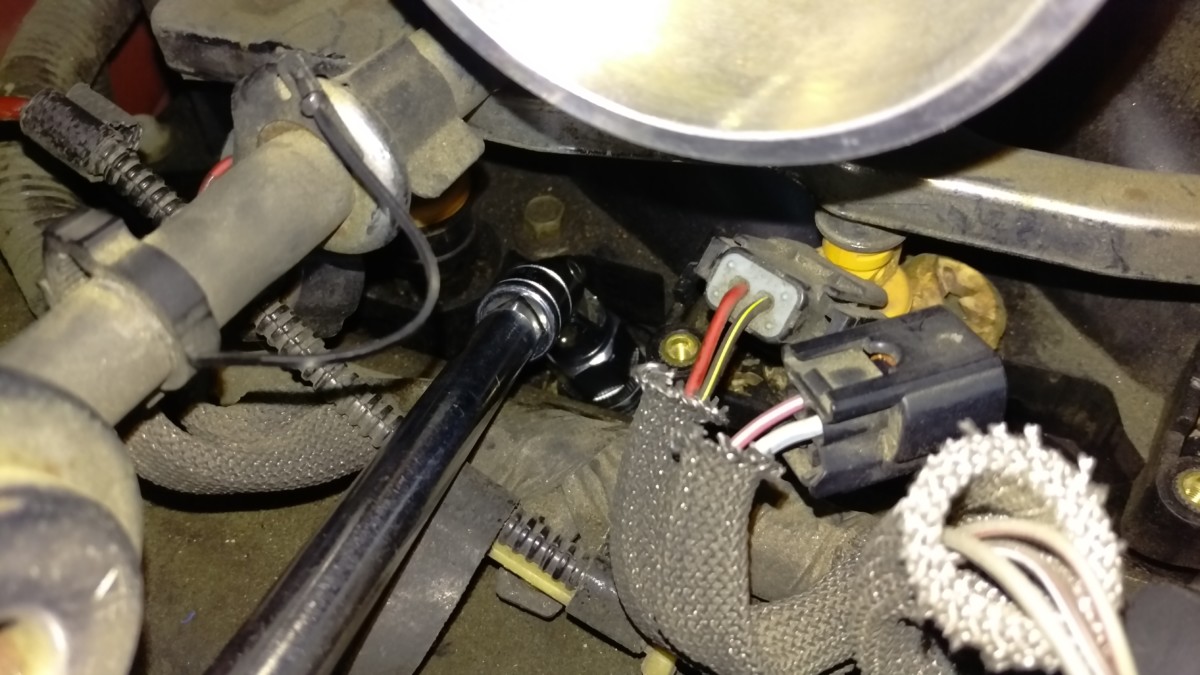
Spark plug came out fairly easily with a u-joint socket
The coil and spark plug came out just like the others.
Old Spark Plugs
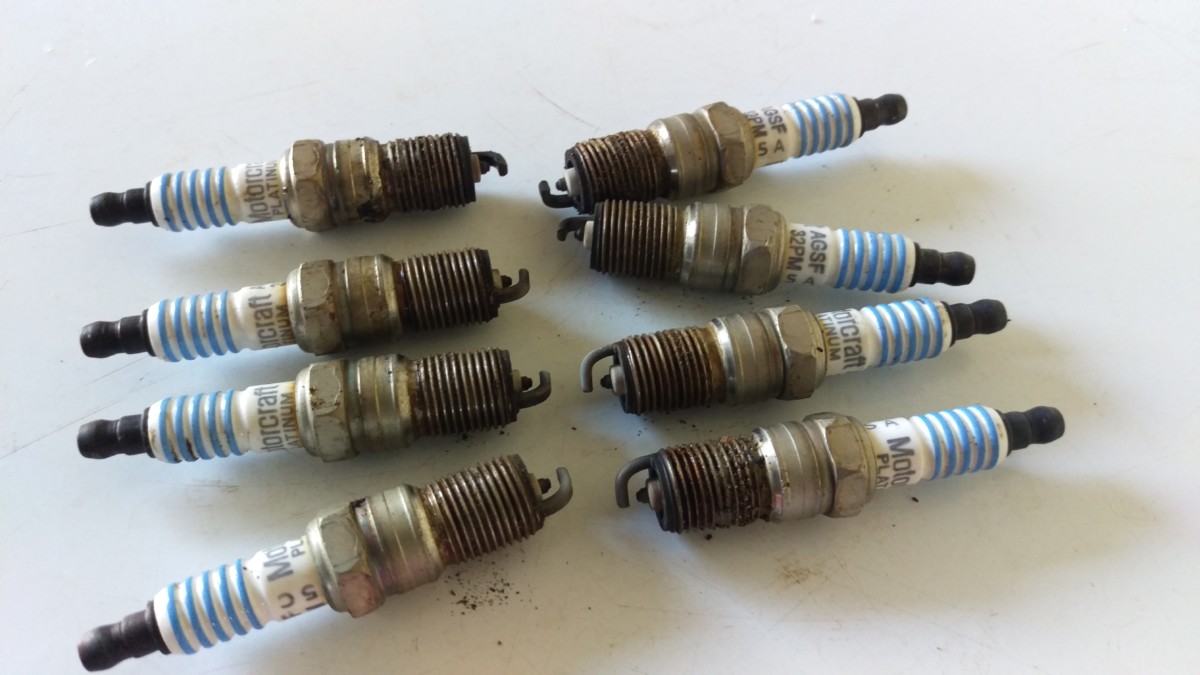
The old plugs from my car
Here are all eight of the plugs I pulled from my car. They all look to be in fairly good shape, aside from carbon build-up.
Reinstalling the Spark Plugs

Put a small amount of antiseize on the plug threads

A little bit goes a long way
The new plugs should have a dab of antiseize put on them. This is somewhat controversial, as some people think it will increase the chances that the plug will loosen up and shoot out. YMMV. Still, I think I’d rather have my plugs back out on their own than be stuck in the engine.
You can gap the plugs again with a plug gap tool
Drop the plug into the hole using the magnetic socket and an extension. I don’t use a wrench at this point. Instead, make sure the plug is threading in properly by finger tightening the extension directly. Then, once it’s definitely threading in, grab the torque wrench and torque it to 168in-lbs (which is 14ft-lbs). The actual spec range is 11-15, but anecdotal reports suggest 14 is a good value that keeps the plugs from backing out but doesn’t strip the threads in the head. I’ll again warn against just “snugging it up” on this particular engine. Use a torque wrench.
Before reinstalling the boot, you can put dielectric grease
Finally, stick the COP bolt back through the COP and cinch it down. That bolt can just be made snug; I don’t know if there’s a torque setting.
Follow-Up
After a few thousand miles or the next oil change, it’s a good idea to check the torque on the plugs. Mine hadn’t loosened up at all, but if they have, this gives you an opportunity to get them tight again before they blow out.