Installing Blinds in a Window
When we moved into the house, it had some rickety old blinds in the bedrooms that were mostly bent and broken. Fortunately, installing blinds is a really simple procedure. The only tools required are a drill, a bit to match the drywall anchor, and possibly something to cut down the decorative cover if required, such as a miter saw, multitool, hacksaw, etc. The first step is to get the new blinds. To do this, simply measure the width and length of the window and head to the local hardware store.
Blinds come in a box that specifies the length and a range of widths. Pick one that is the same length or a bit longer than your window. If it’s too short, it won’t cover the window. However, if it’s too long, you simply don’t lower the blind all the way; no big deal.
The range of widths is because you can ask an employee to cut the blind down. Pick one that has a range that includes your window’s width, flag somebody down, and give them your window measurements. They’ll stick the blinds in a machine to cut them down to the size you need.
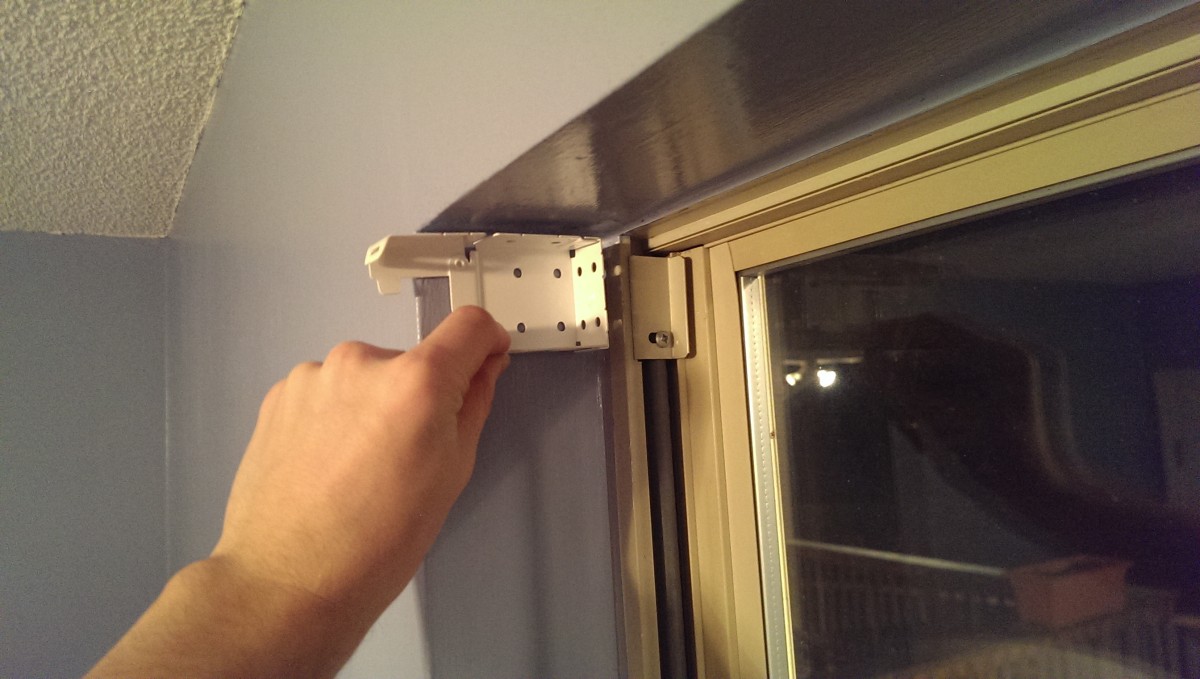
Install the mounting plates
Marking locations for drywall anchor holes
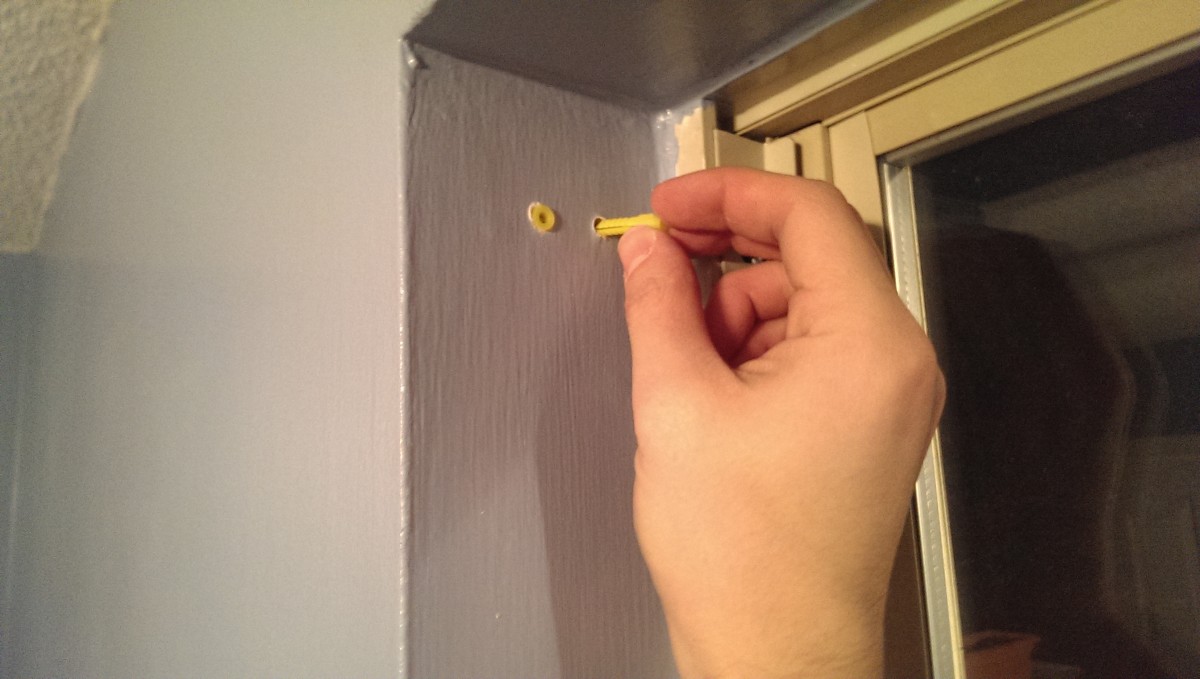
First drywall anchor in place
The first step to installing the blinds is to mount a bracket on each side of the window. This can be done using four screws and drywall anchors, two per side. First, drill a hole to match the anchor. The size bit to use will be printed on the anchor package. Then, push the anchor in place as pictured. Lastly, the screw can be screwed into the anchor.
Note: many people simply drill a screw into drywall. This is not the right way to hang things from drywall! Screws will pull out of drywall very easily over time, and leave a crumbly screw in its wake. Drywall anchors come in inexpensive packs containing dozens of pairs of anchors and matching screws. The anchor itself is a piece of plastic that is barbed on the outside. You drill a hole of the diameter specified on the package and push the barbed anchor in. Then, you put the screw into the anchor. The screw pushes the anchor apart at the back, pushing the barbs into the drywall. In this way, the piece is held against the drywall without pulling out.

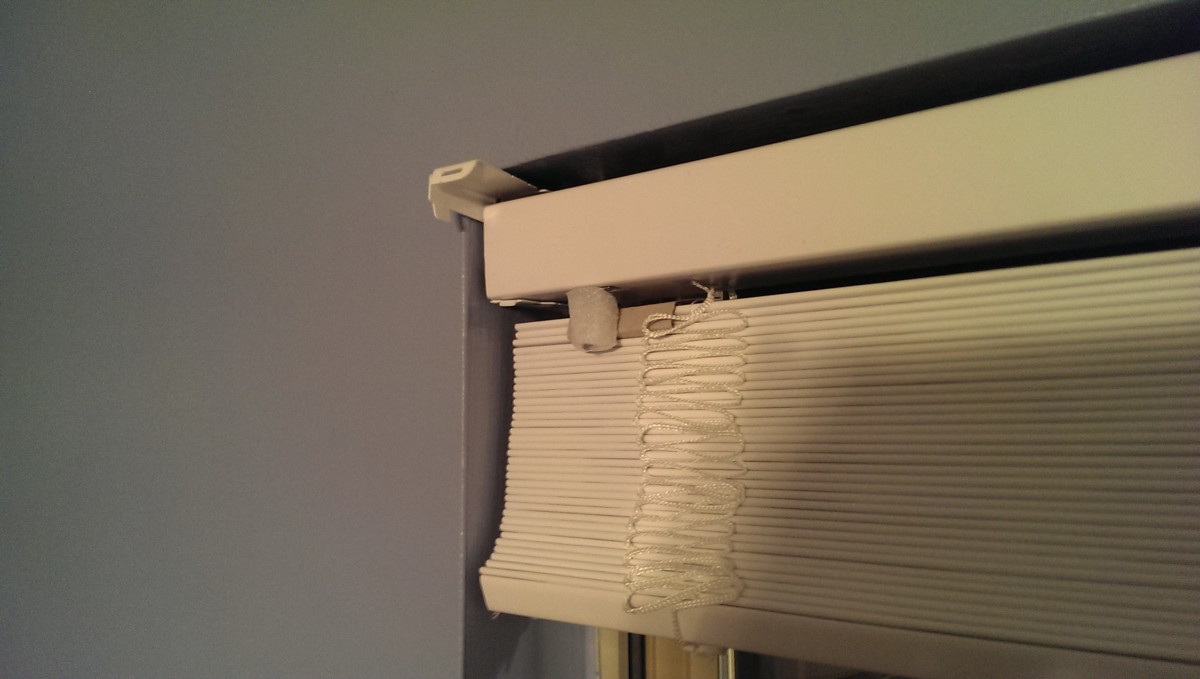
Bracket after mounting

The other side is done identically
I used two drywall anchors and screws on each side, which should be plenty to hold something as light as these blinds without putting more holes in the wall than necessary. Note that the front covers are flipped up. After the blind is inserted in the next step, these will be flipped down to hold it in place.
Adding the blinds
Blind inserted into brackets
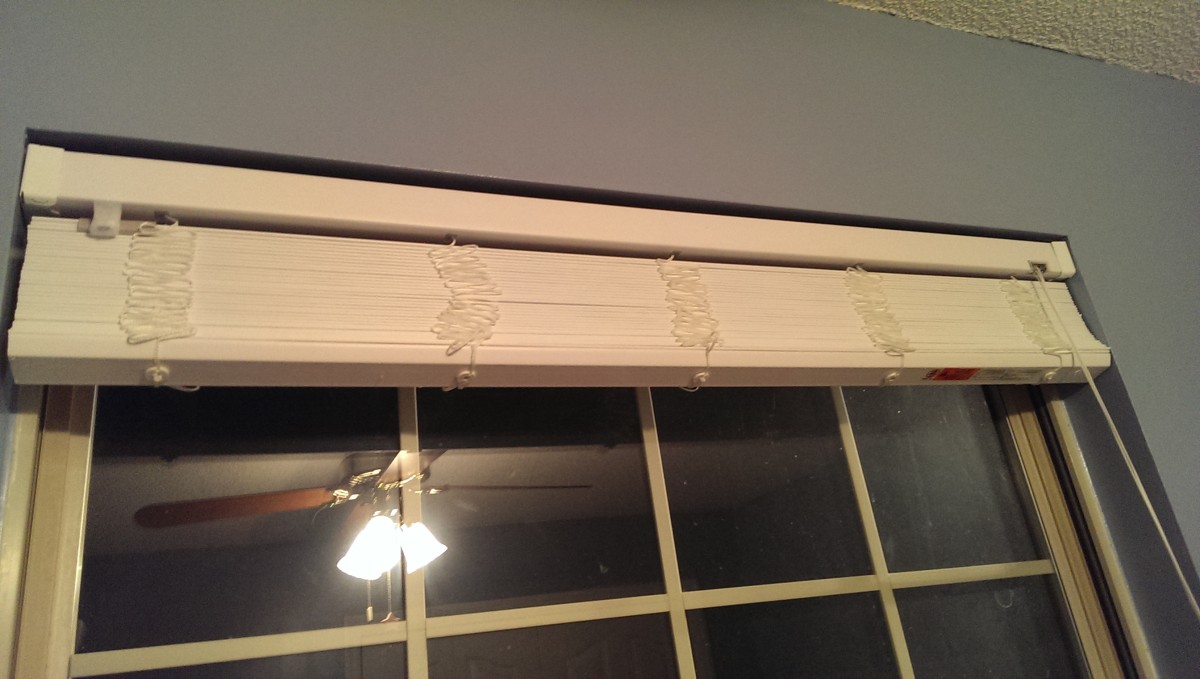
Blinds in place
With the covers for both brackets flipped up, push the blind into place. Then, flip down the covers and lock them. The blind is now in, although there’s a little more decorative work to do.
Adding the decorative cover
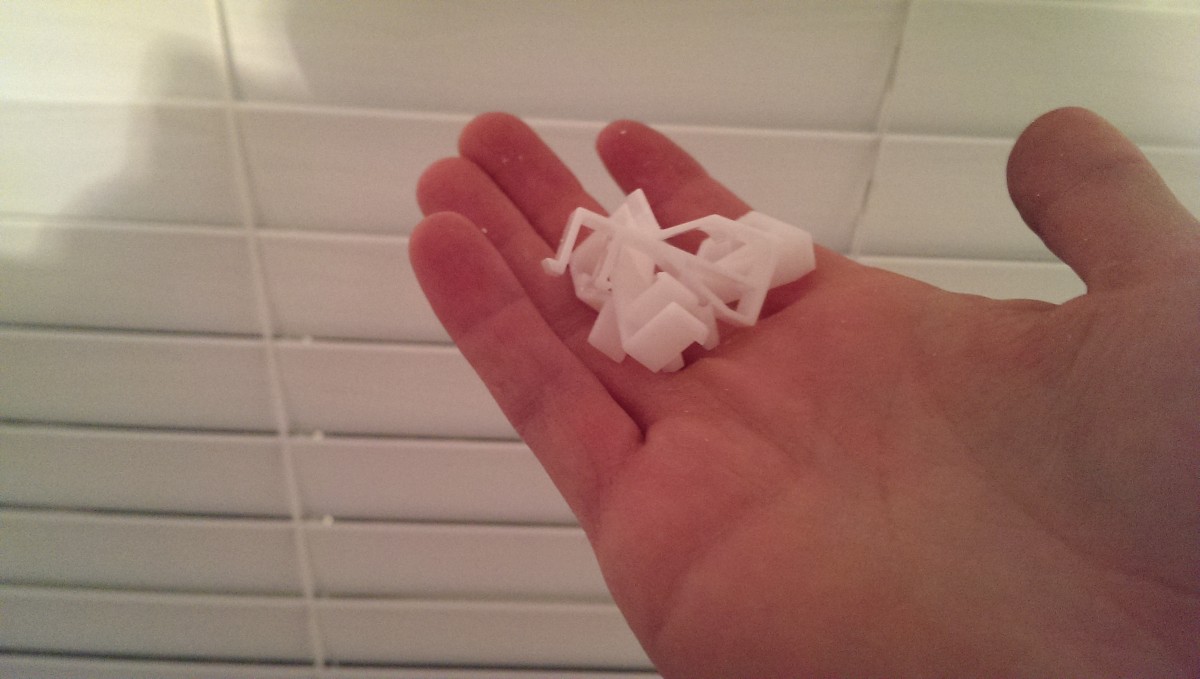
Clips for decorative cover
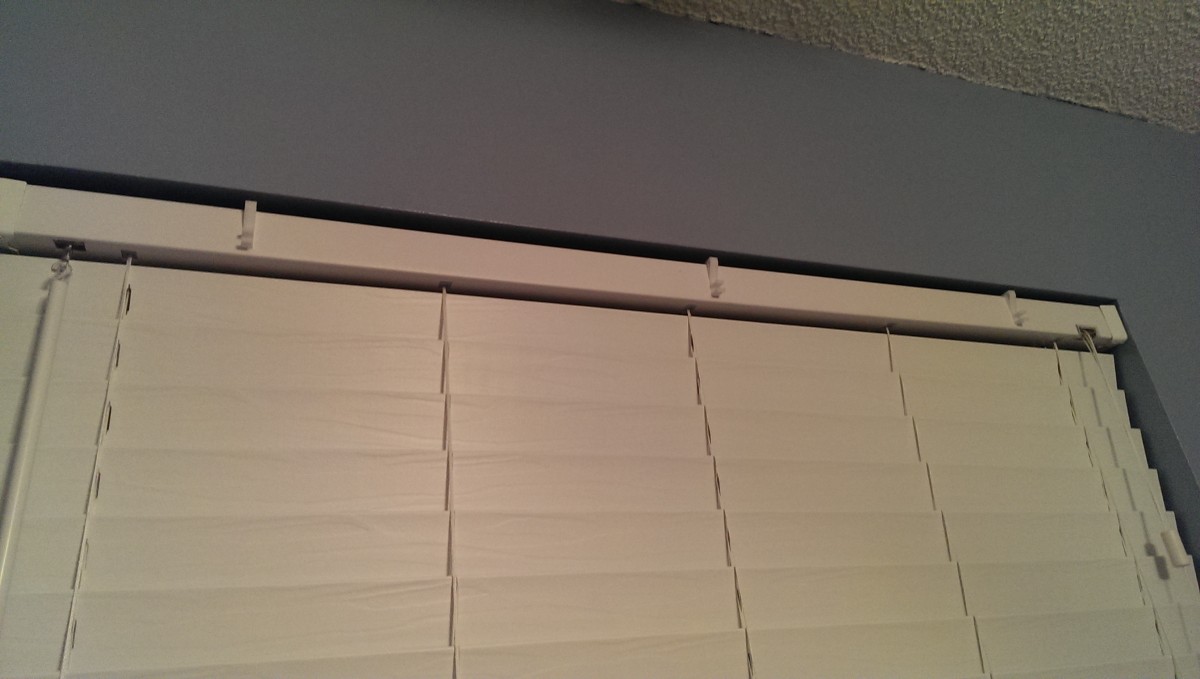
Clips in place
The blinds come with these little clips to hold a decorative cover over the mounting hardware. To use them, they simply slide on the blind as pictured, with the two barbed portions sticking out to hold the cover.
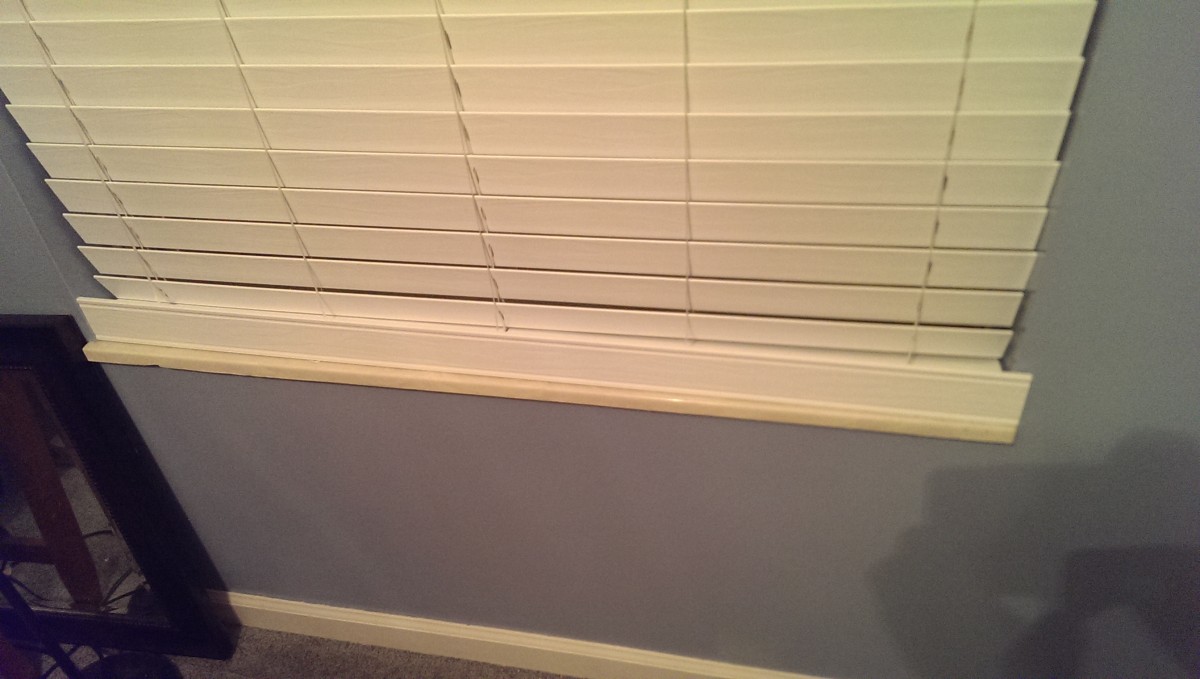
The cover is a bit wider than the window

Trimming the cover with a miter saw
The decorative cover itself can be installed a few ways. If you mounted your brackets sitting a little forward of the window, it can be wider than the window and still work. In my case, I mounted the blinds inside the window, and so the cover was a bit too long for the sills. I have a miter saw, so I simply held it to the sills, marked the excess, and cut it off. You could also carefully use a hack saw, tin snips, or a number of other means to cut this piece – it’s some kind of composite material that cuts easily.

Center slot is the channel that the clips slide into
Cover installed
The cover has a channel in the center that slides over the barbs on the front of each of the clips. To install, you can either slide it over the clips or pinch them and push them in.
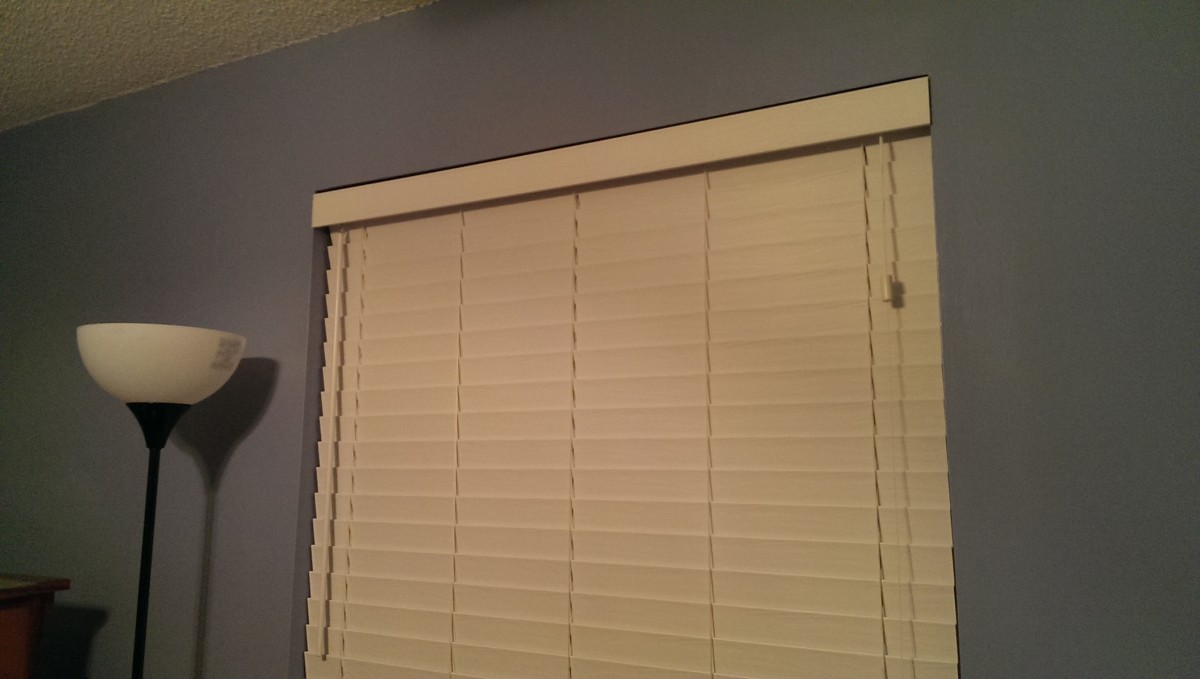
Wrap-up

Done
And with that, installing blinds is done. This is a fairly simple project that makes the windows in a room much more usable.
I was about to install blinds and almost forgot a drill. Thank God I somehow ended up on this page and didn’t forget about my routine. Or else it would’ve been a somewhat awkward situation for me.