Installing a Light Fixture
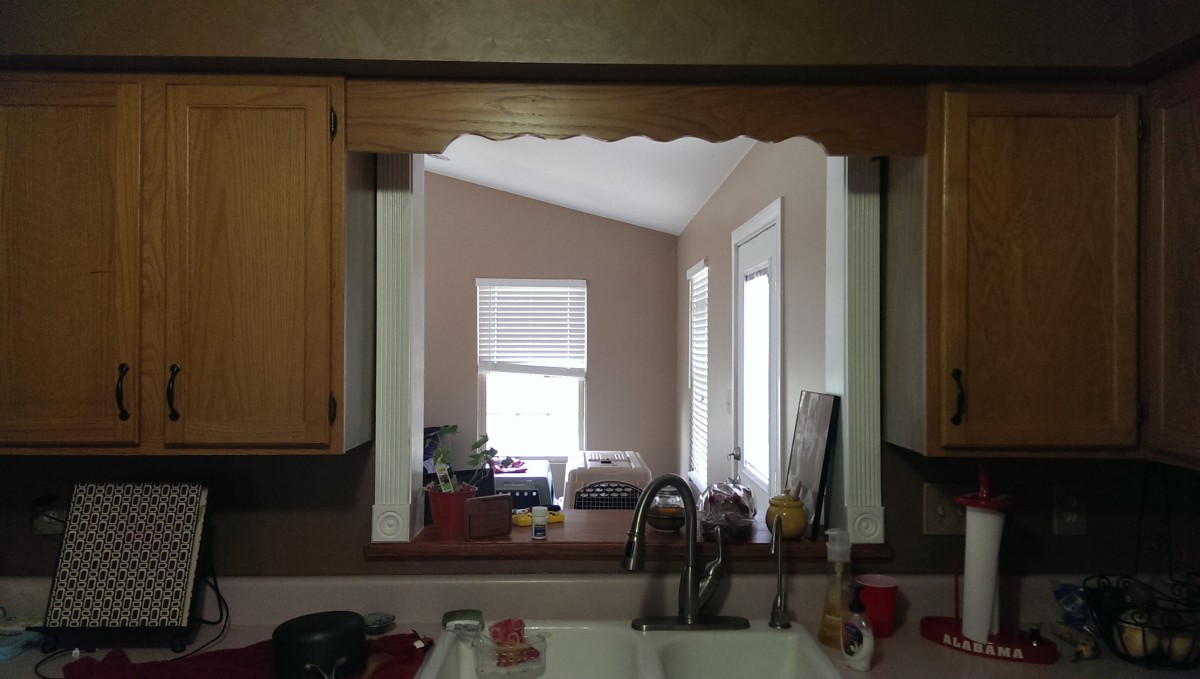
Area where fixture is going to go
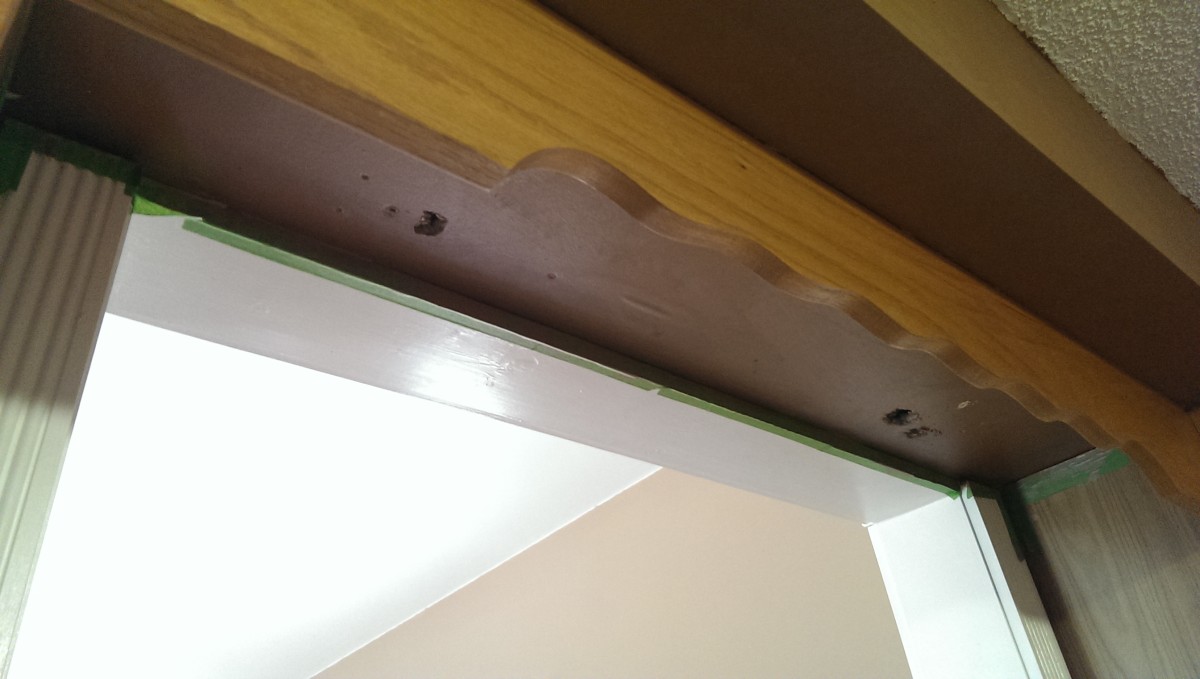
Holes from where screws ripped out – thanks, previous owner!
The kitchen in our new house had a flourescent light screwed in above the sink. It gave off a really harsh light, but what’s worse is that when it was installed, they simply used wood screws into the drywall, so it literally fell out. Obviously, this wouldn’t do, so as a stopgap measure, I removed the old fixture and sealed off each wire that had been powering it in individual shrink-wrap. Fortunately, installing a light fixture isn’t too difficult, as having a light there really helps light up the area during cooking and doing dishes.
Note that where we live, anyone can do his own electrical work, including installing a light fixture. In some places, however, this procedure may require a licensed electrician. Before proceeding, be sure to verify whether you need an electrician or an inspector for the work.
Locating the wiring
The very first step, of course, is to turn off the circuit breaker powering the light. In fact, you’ll ideally simply turn off and disconnect the entire panel. You want to be absolutely certain there’s no current running to the fixture before proceeding. If you’re uncomfortable doing this, you should probably hire somebody to install your fixture or get experienced help.
If you’re installing a new fixture, you’ll have to make a run of appropriate-gauge Romex either from an existing lighting circuit or to your breaker. That’s outside the scope of this article and in many places requires a licensed electrician. If you’re replacing an existing fixture, I’m assuming you’ve already unscrewed and removed it.
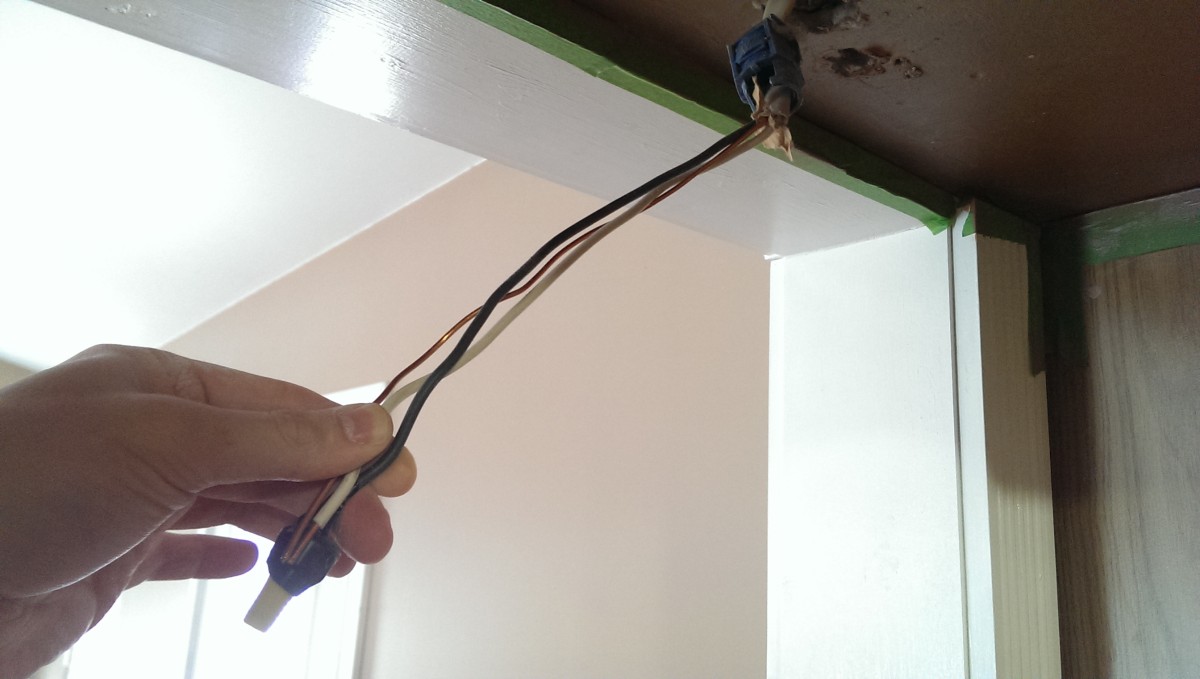
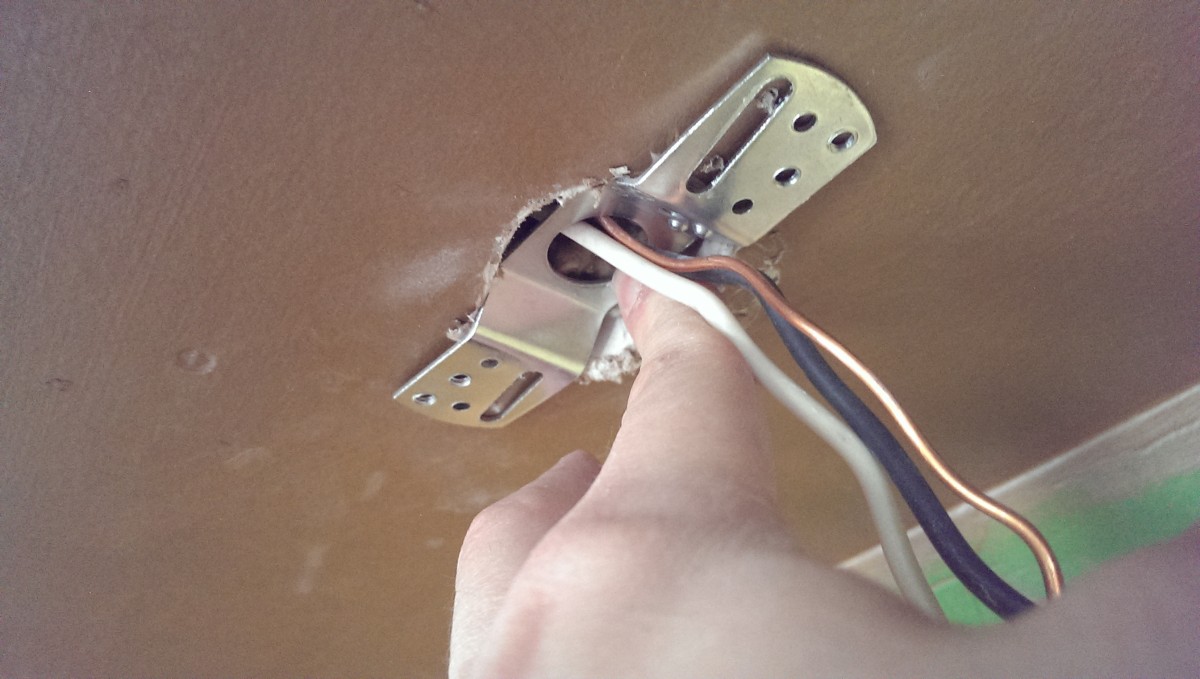
Old wiring needs to move for new fixture
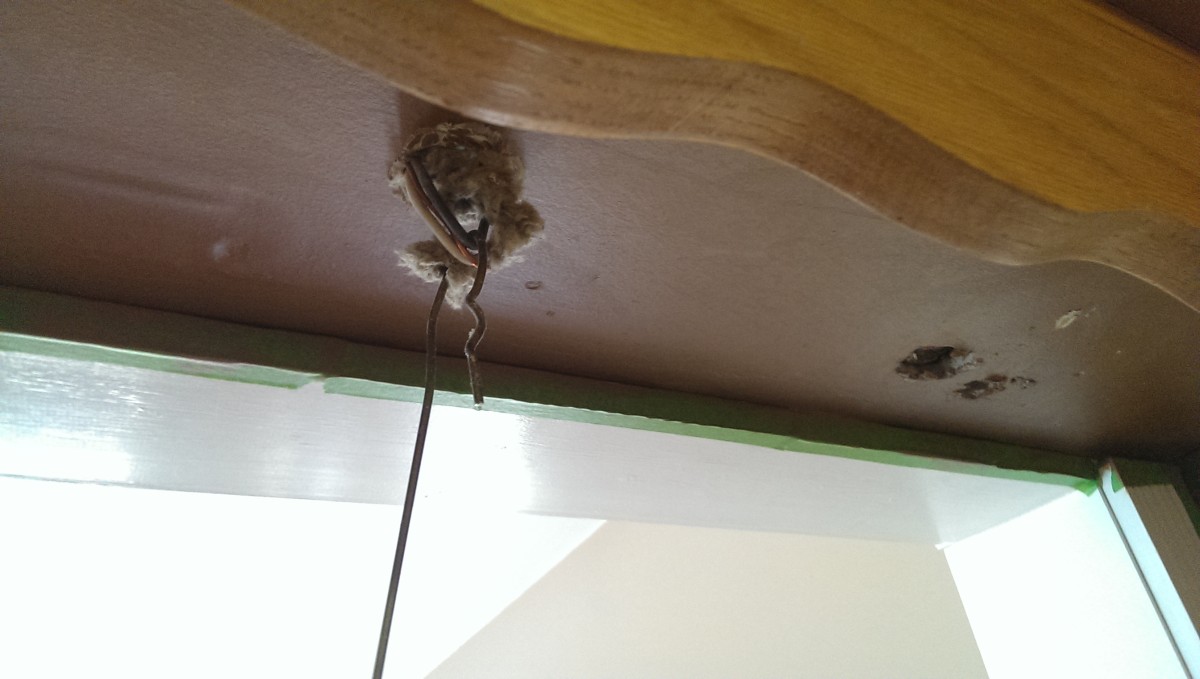
Fishing wire to newly drilled hole for the new fixture
In our case, we had the wiring that had gone to the fluorescent fixture. The new fixture is going to be a smaller single bulb, so we needed to center the wiring above the sink. The previous long fluorescent light had had the run to the right side of the fixture as shown.
I simply drilled a hole right in the middle of the area. Before drilling, an AC-detecting stud finder is a good tool to make sure you won’t hit any live power wires. The circuit breaker should also be off for this operation. Using a coat hanger as pictured, it wasn’t too difficult to fish the wiring over to the new hole. There are a lot of ways to skin that particular cat, including using a wire snake, twine, etc.
Installing the mount
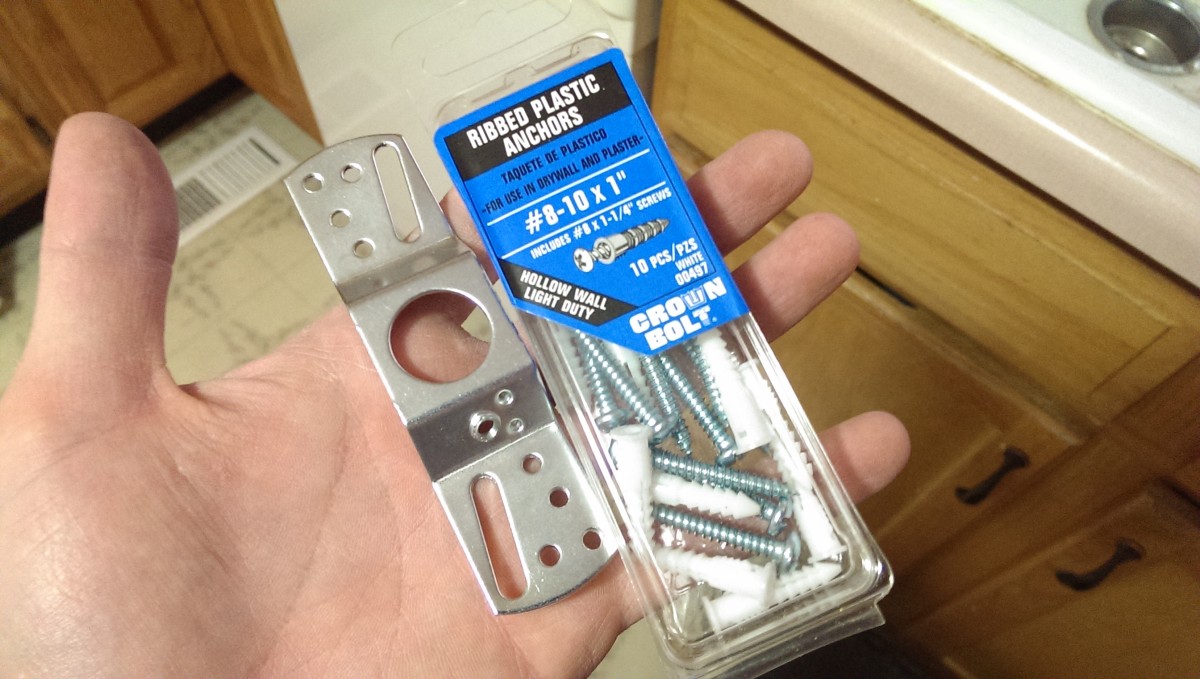
Drywall anchors
Mounting the light can be done two ways. One option is to use a stud finder and screw the mount directly into wood with wood, drywall, or deck screws. For heavier fixtures, this is a good idea. In our case, we were going to put on a compact single-bulb fixture and there weren’t any nearby studs in the center where we needed them, so we used drywall anchors.
Drywall anchors consist of the anchor, which is a piece of plastic, and a matching screw. You drill a hole through the drywall in the specified size, indicated on the packaging, and push the plastic anchor into the hole. The anchor has barbs to hold it in place. The screw then screws into the anchor, forcing the barbs deeper into the drywall. This is a much more secure arrangement than simply putting a screw into drywall, as the previous owners had done – doing that will always pull out eventually. Drywall anchors are still weaker than screwing into a stud, but they can be rated to hold anywhere from 10 to 50+ pounds.
Placing the mount
Next, thread the wiring through the bracket to hold the light. There are several mounting holes to choose from. Using a pencil, you can mark the locations where the holes will go. I used four anchors, which was probably overkill. Then, drill the holes for the anchors.
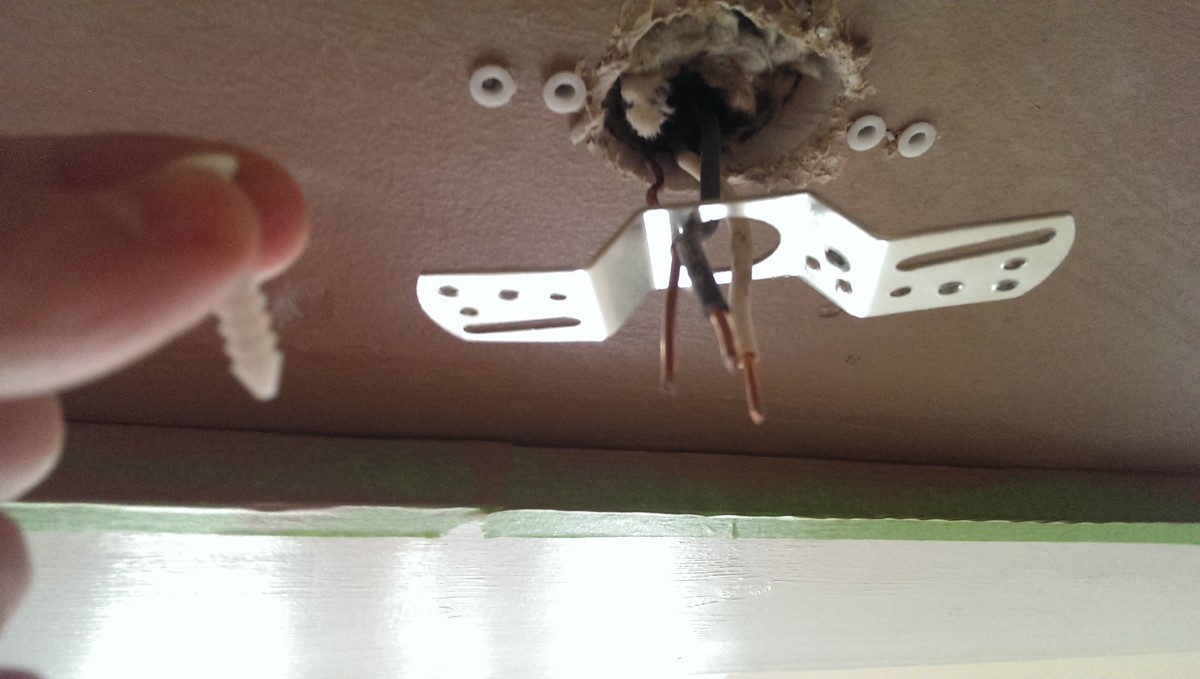
Anchors installed
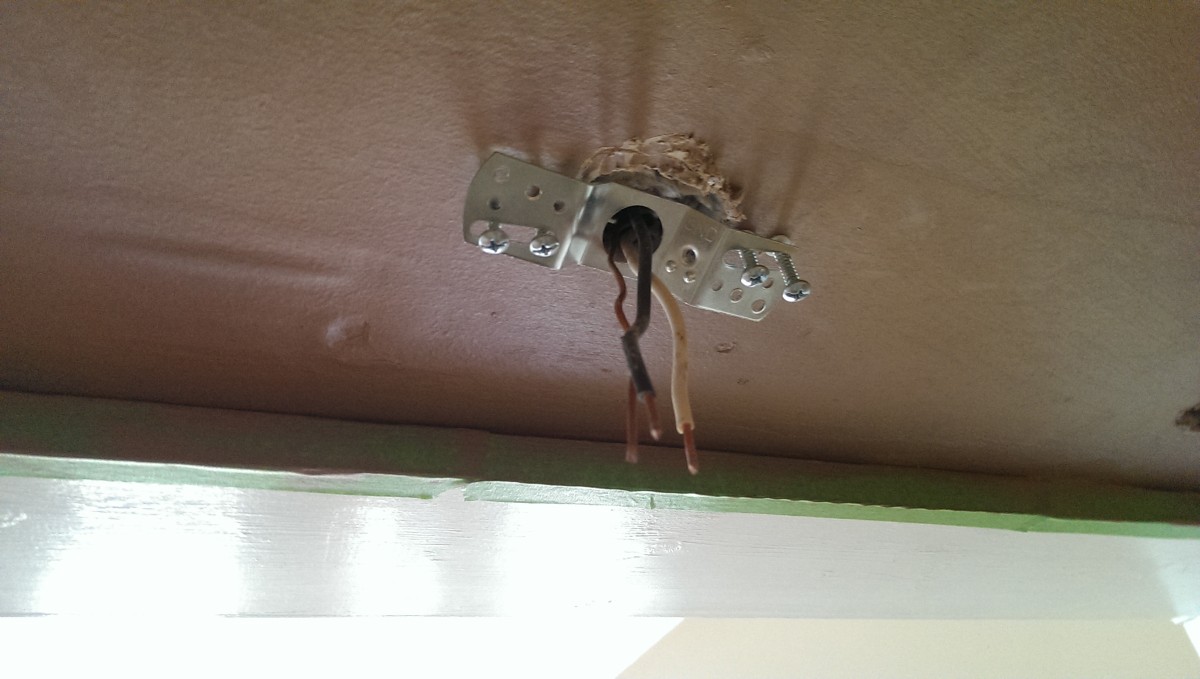
Screwing bracket

Bracket installed
Once the holes are drilled, you can push a drywall anchor into each hole as pictured. They should be able to be pushed in by hand; if that doesn’t work, be sure you’re pushing them in straight. You should not have to use a hammer. Once that is done, the bracket can be screwed down by putting screws into the anchors.
Wiring up the light

The fixture has hot, neutral, and ground wires
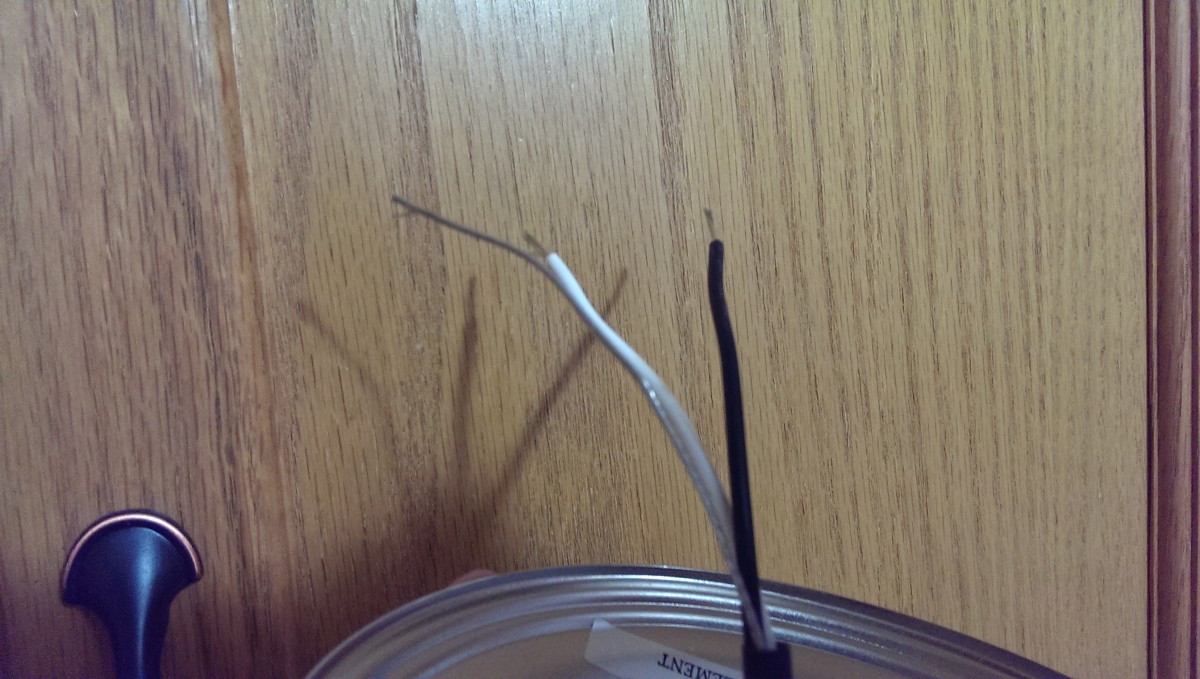
The hot and neutral wires need to be stripped
In this fixture, the wiring sits in the base plate that screws to the bracket that was just installed. There will be three wires: hot (black), neutral (white), and ground (copper colored / bare wire). Generally, the hot and neutral wires will have to have the end stripped a half inch or so from the end as shown. Sometimes these wires come pre-stripped.
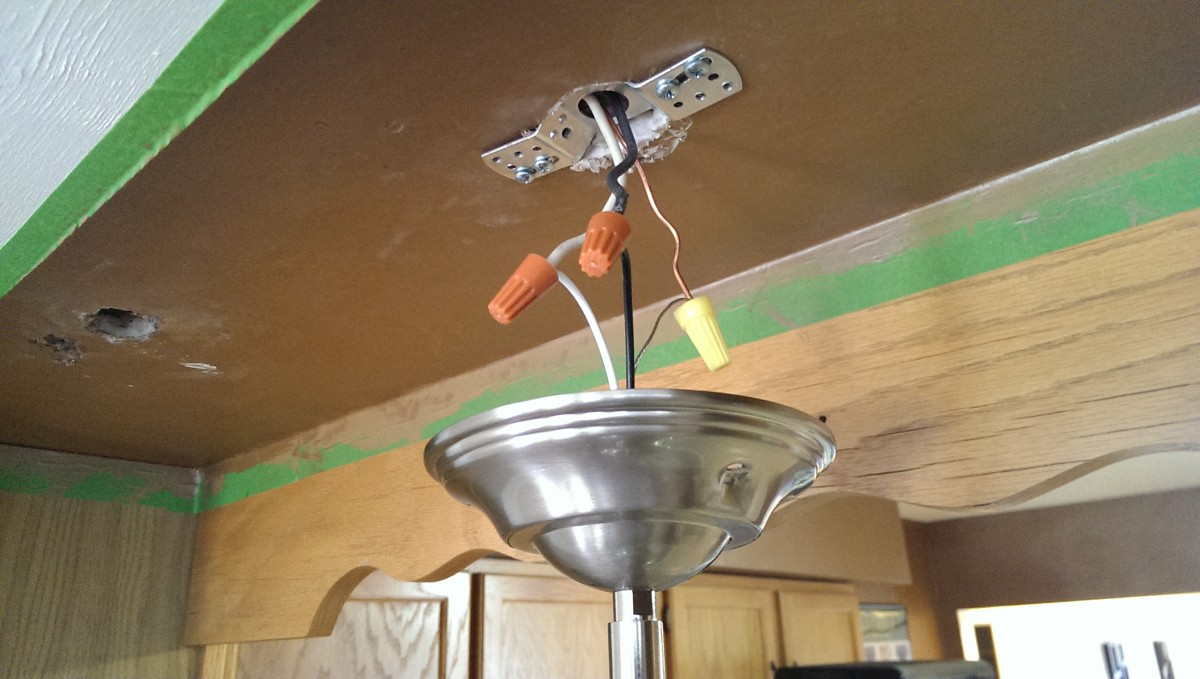
Use wire nuts to connect the wiring
After that, it is a simple matter of matching colors. You should be able to wire nut each of the three wires to its matching color in the run from the circuit breaker as shown. Wire nuts are convenient for this application, since they hold the wires securely inside the wall and prevent shorts if installed properly, but they are also easily removed in the future. It would be difficult to try to solder this wire so close to the drywall.
Installing fixture
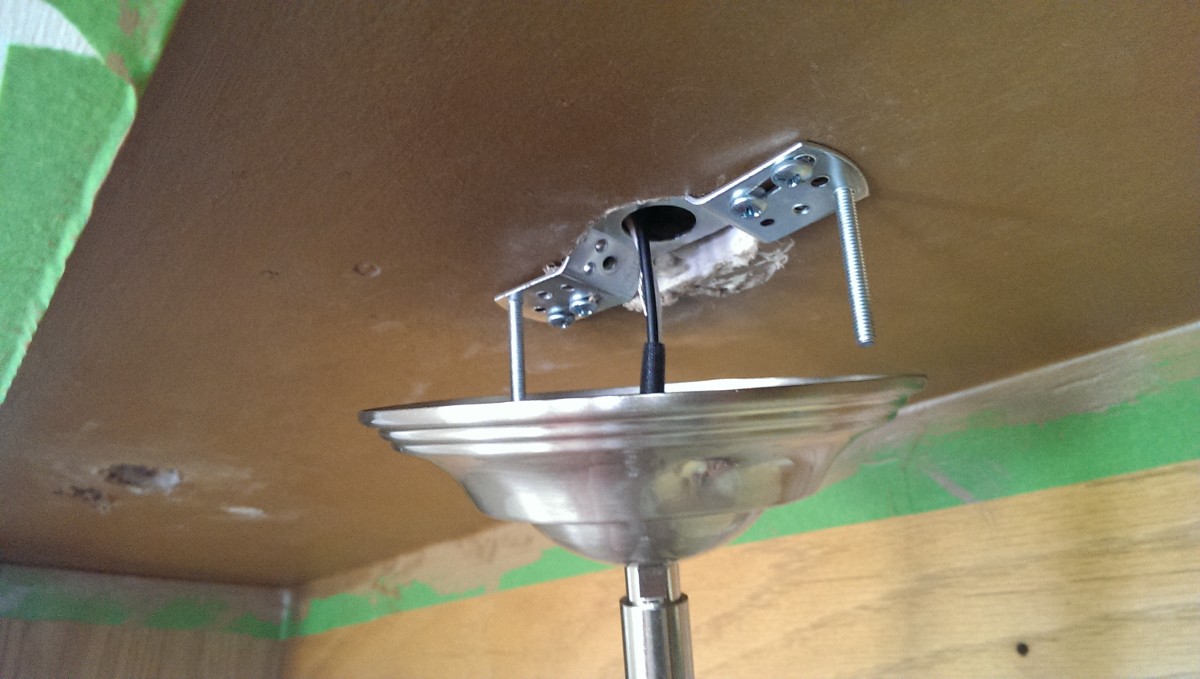
Connecting base to the mounting bracket
At this point, it was simple to use the provided bolts to attach the base to the mounting bracket. Exactly how this works will depend on the fixture chosen. I believe I had to actually unscrew the mounting bracket to put these bolts through, and then screw it back in.
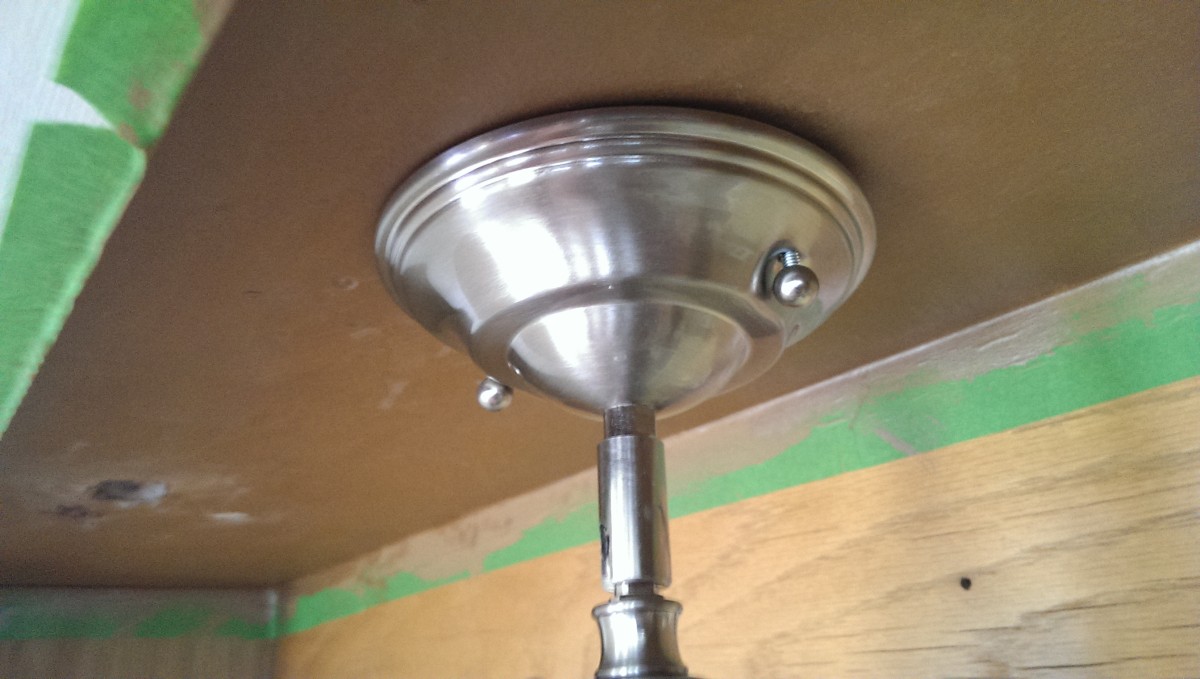
Decorative Nuts
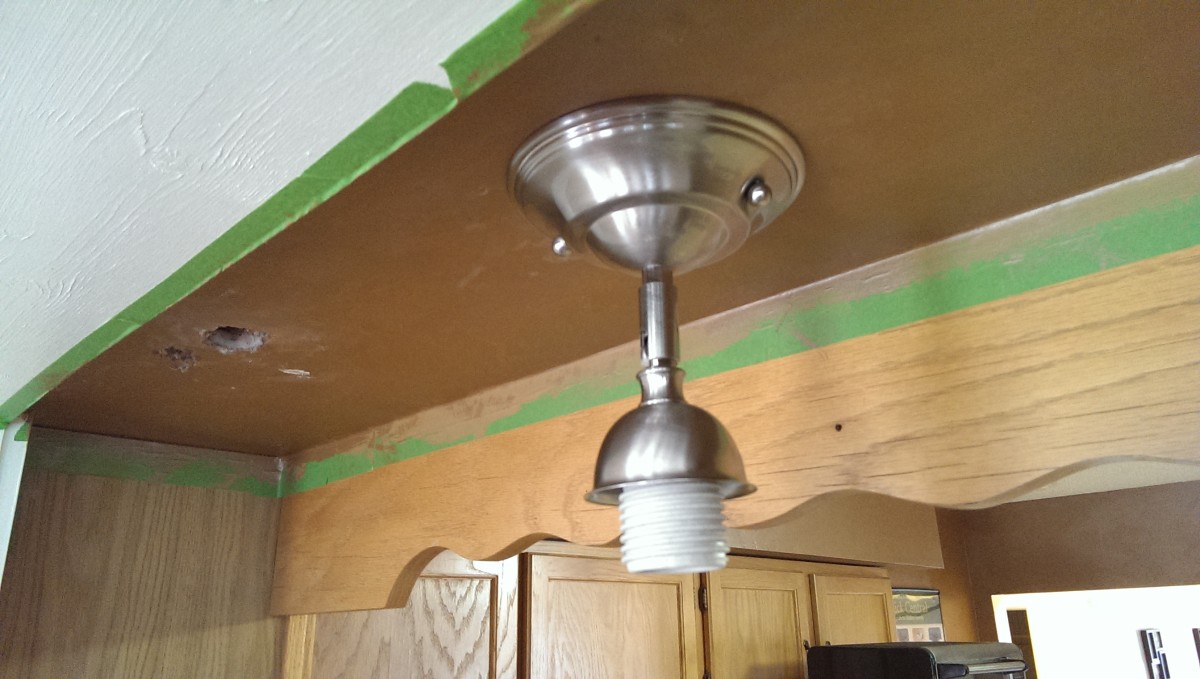
Ready for bulb
Then, decorative nuts cover up the bolts and complete the installation. The bulb gets installed after this, along with a decorative glass diffuser / shade.
Wrap-up
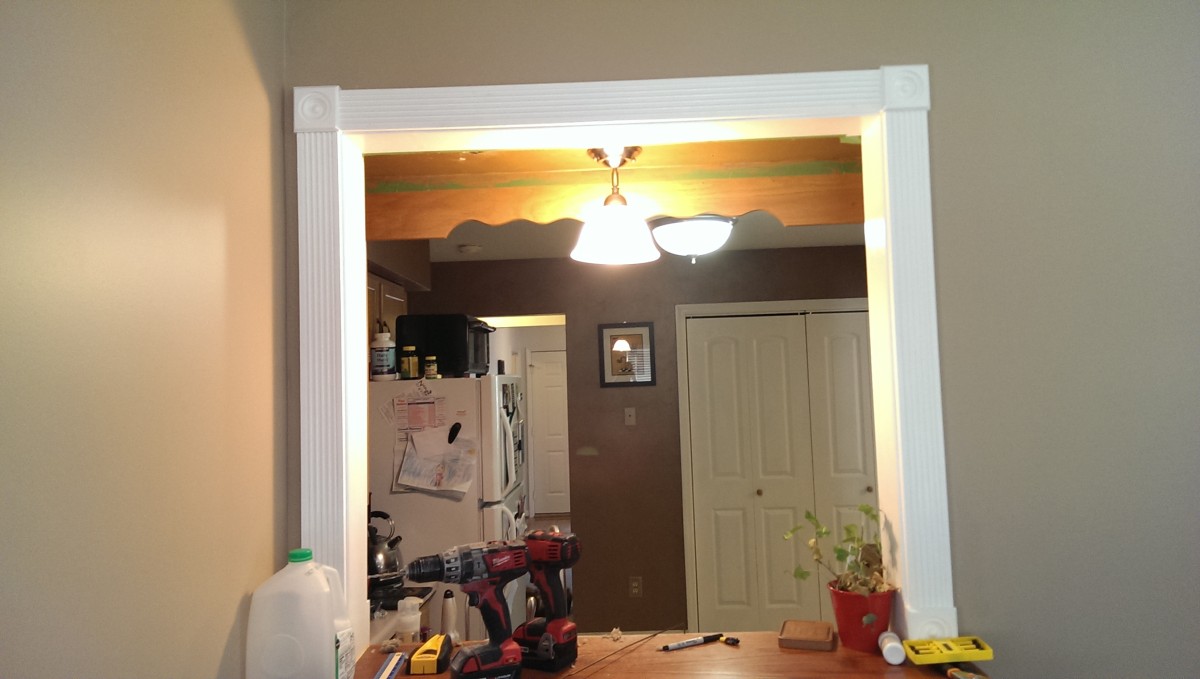
Finished

Finished
And that’s it. Let there be light. We chose to put a Cree LED bulb in for energy savings. We’ve had a lot of luck with their newer bulbs, and the lighting is very close to an incandescent. This was an easy little project that really helped brighten up the kitchen. We also went back and spackled and painted over the holes left by the previous fixture.