Repacking Trailer Wheel Bearings
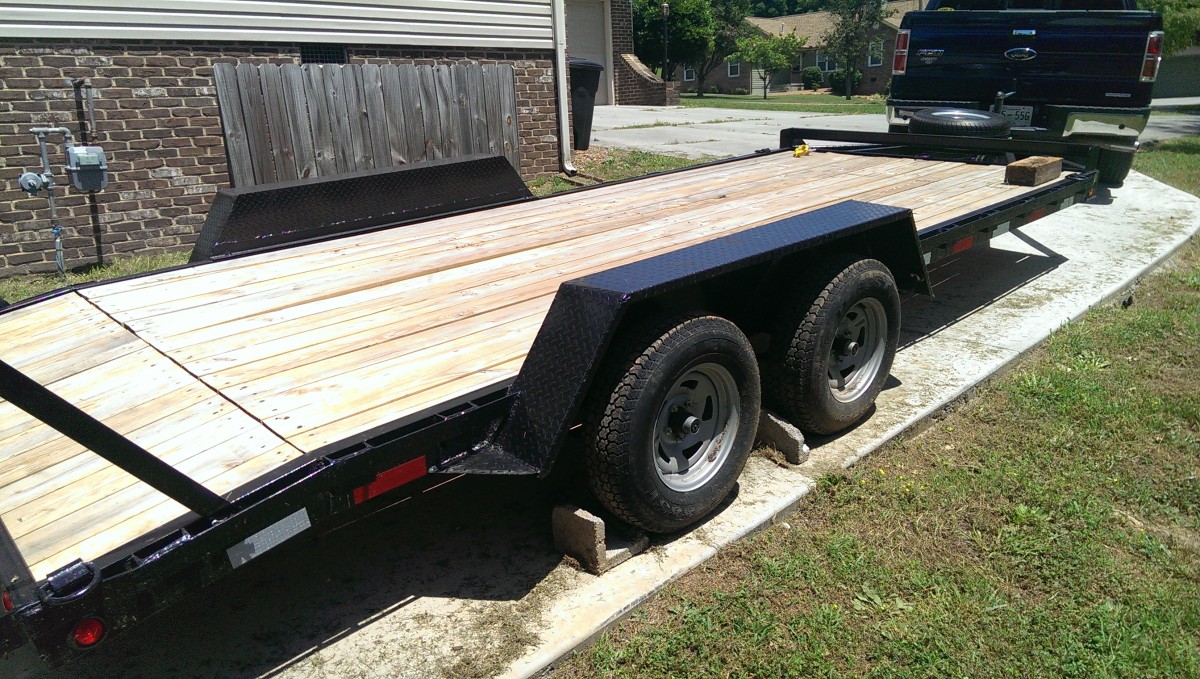
Trailer
If you have any sort of trailer, whether it’s a large car hauler, a boat trailer, or a small 4×8, the wheel bearings should periodically be greased. This means repacking trailer wheel bearings. The trailer’s hub assemblies come apart to do this. Fortunately, unlike a car, trailer hubs come apart extremely easily, and this job isn’t too bad. It should really be done at least yearly, as the old grease will wear out over time, especially for boat trailers that get submerged regularly.
A note about Ez-Lube Hubs
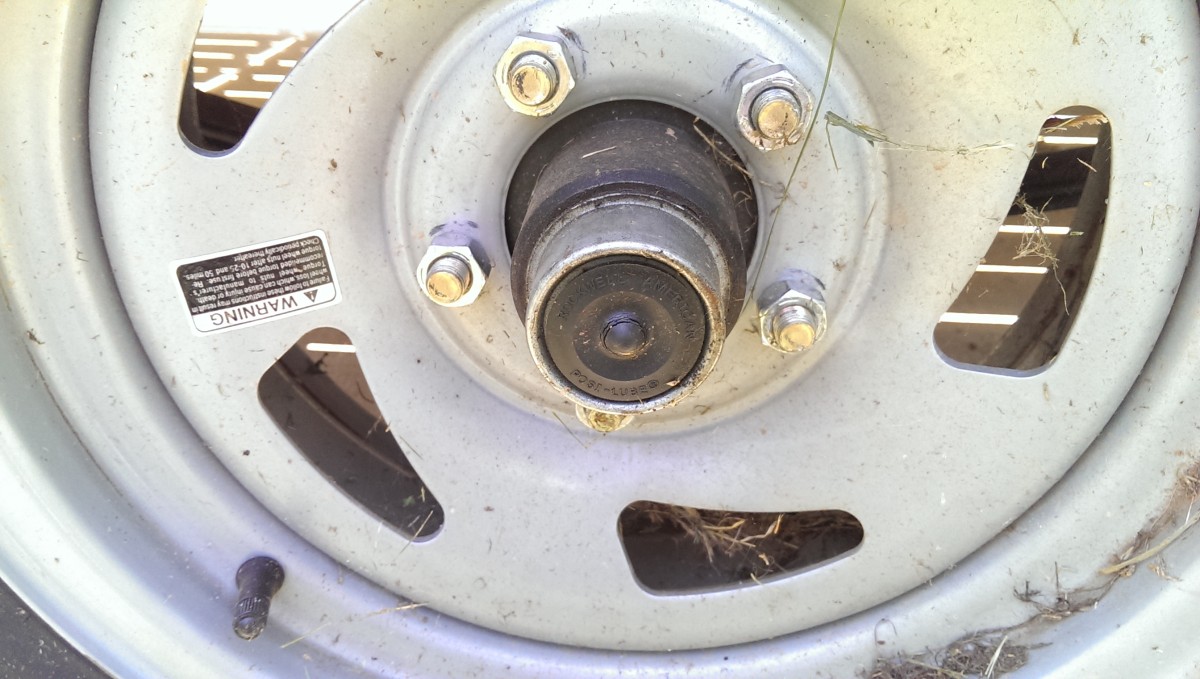
Ez-Lube Cap
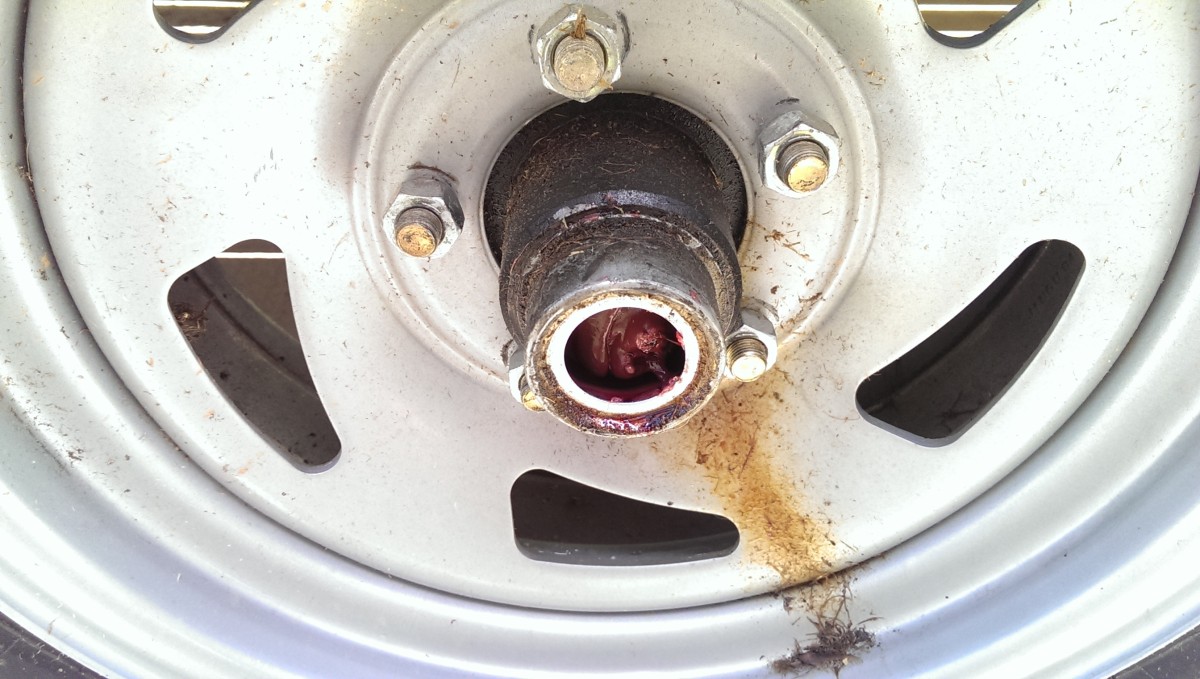
Ez-Lube Cap Off
I’ll make a note about ez-lube hubs. The picture above is terrible, but the general idea is that they have a rubber cover and a grease zerk. You jack the tire up in the air, fit a grease gun to the zerk, and spin the tire while you add grease. Supposedly, this means you never have to pull the hub apart. From the experience I and many others have had, though, this isn’t really sufficient – this doesn’t work as well as pulling out the bearing and repacking properly by hand.
Grease doesn’t penetrate as far, and the old grease doesn’t get removed. However, it does get new grease into the bearing. My plan for this trailer is to alternate each year: one year use the EZ-lube and the next do a proper repacking. I wouldn’t consider the EZ-lube to be sufficient by itself, at least not for a trailer like mine that I use to tow my car a few hundred miles at a time.
Jack up the trailer
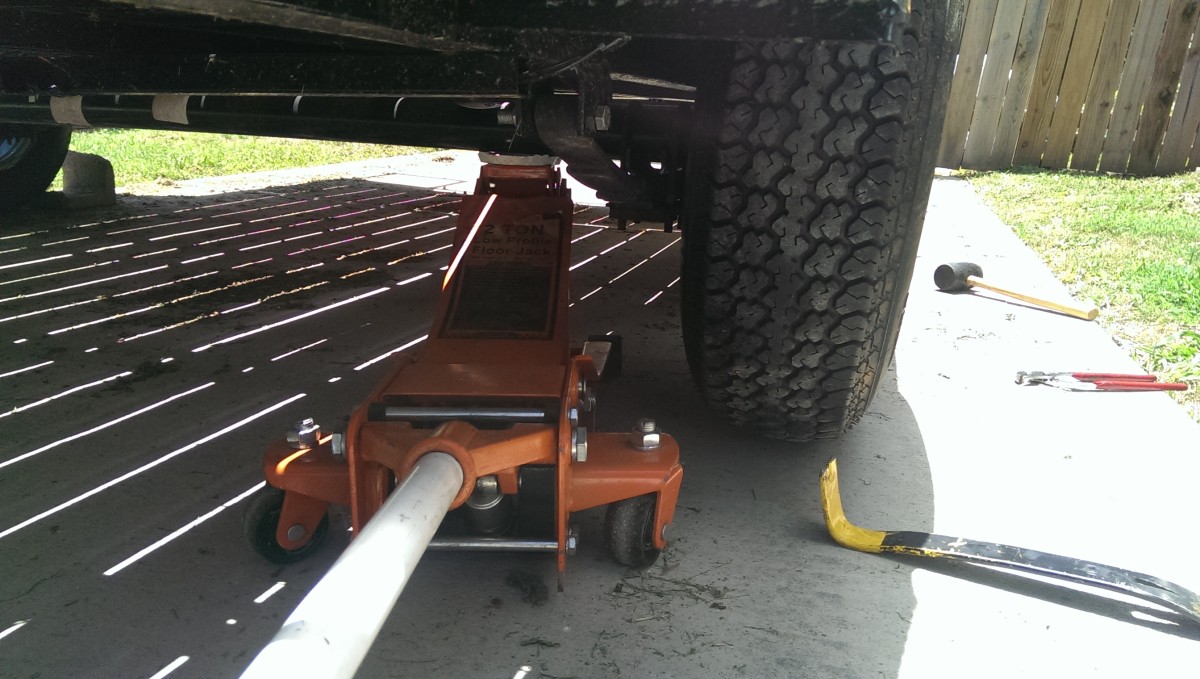
Jack under axle
When repacking the bearings, you will do one wheel at a time. The first step is to jack up the wheel to work on. You could use one of those nifty drive-on trailer wheel jacks
In any case, you really don’t have to lift very far. The wheel just has to be high enough that it can be turned freely without the tire touching the ground.
Remove the hub cap
Ez-Lube Cap
Ez-Lube Cap Off
Hub cover removed
Trailers will have a steel or aluminum cap sitting on top of the wheel hub to keep dirt and contaminates out of the bearing. It just presses in, so you can pry it out carefully with a flat head screwdriver, paint can opener, or any other sort of pry tool. Try not to ding it up or bend it, though. I like to remove the rubber cap as pictured so I can gently lever on the inside of the cap. If you do damage it, you can generally get a replacement
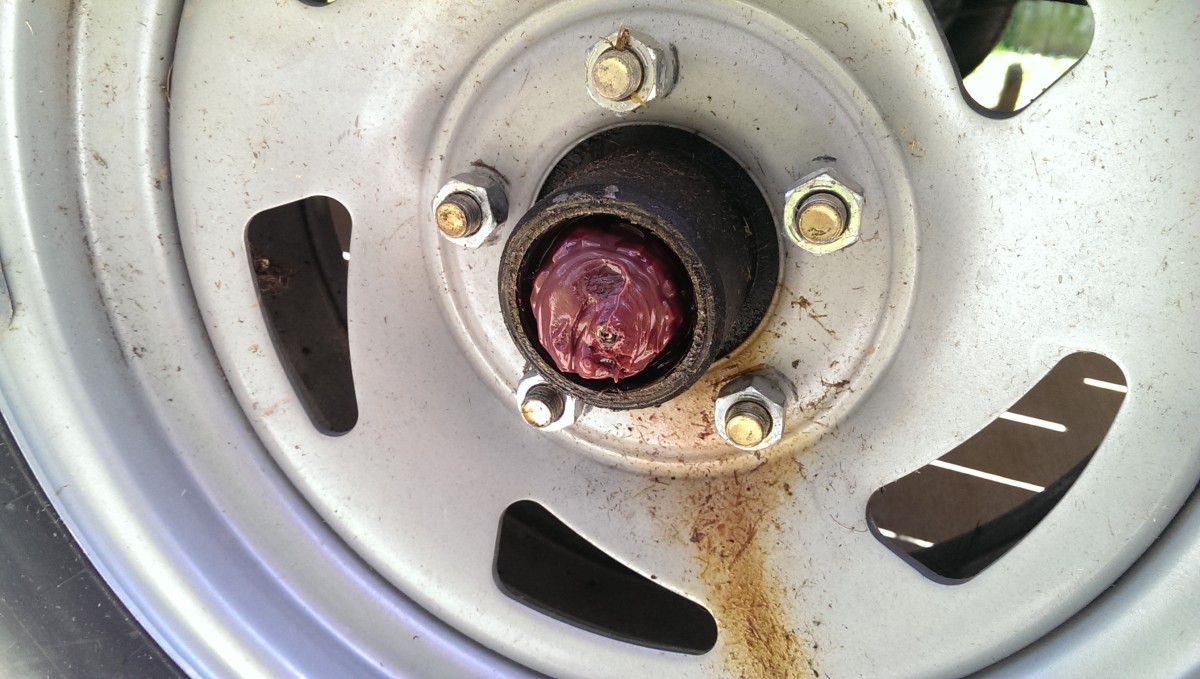
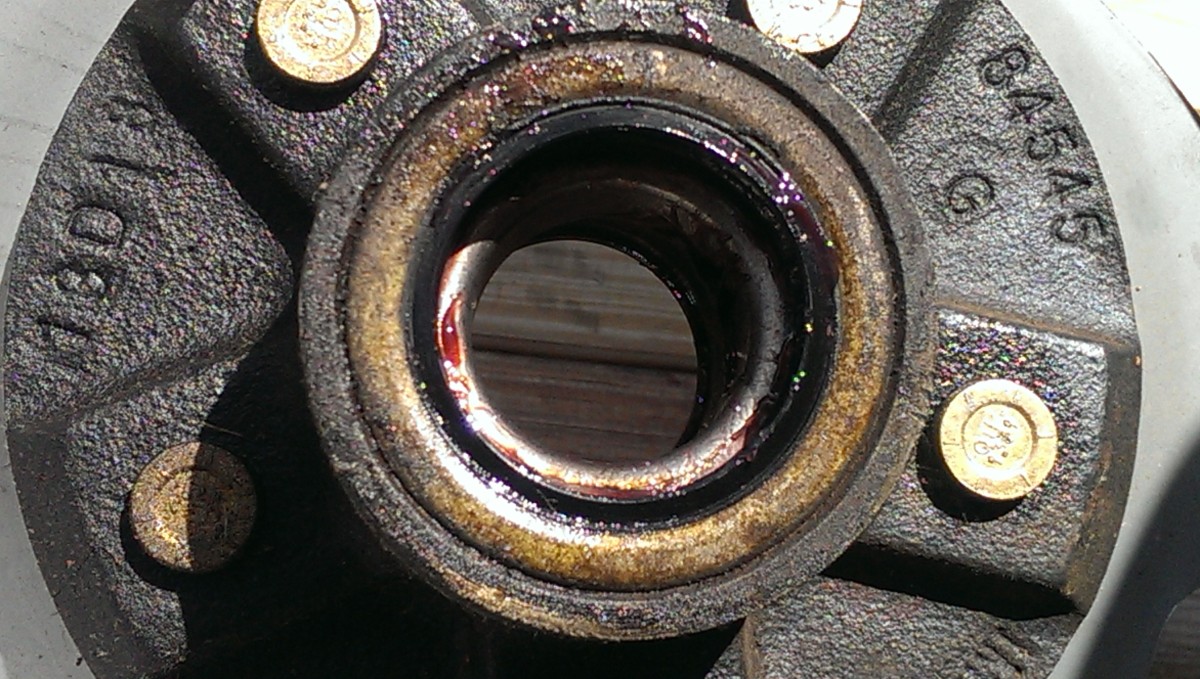
Cap removed
And this is the goal. With the cap off, you can see the nut holding on the hub. This hub still has grease in it, but it’s all waterlogged and goopy. It’s hard to describe, but it clearly no longer has the consistency it should, meaning it won’t lubricate properly.
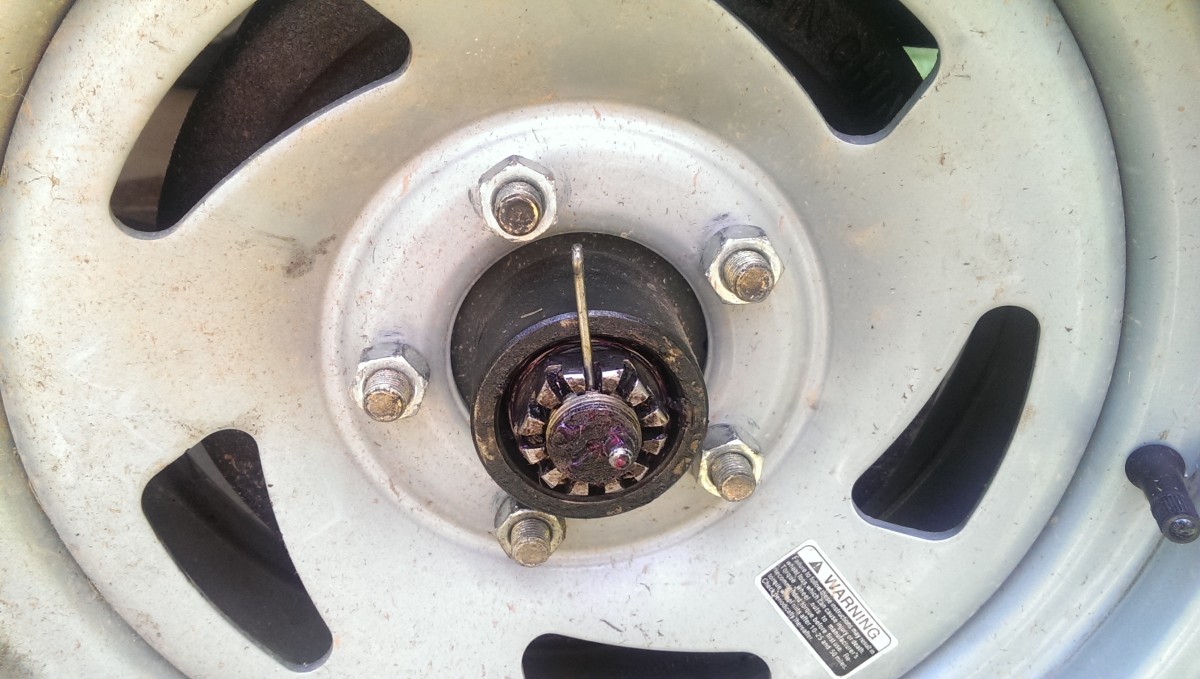
Remove the hub nut

The nut has a cotter pin barely visible at the bottom
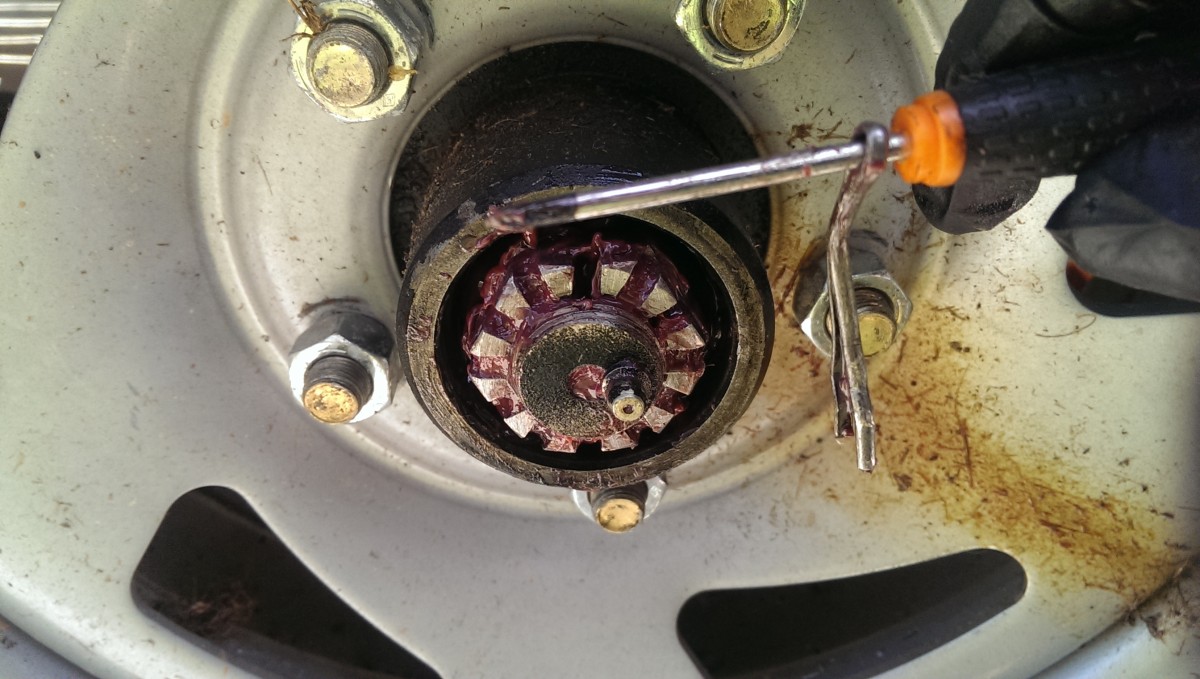
Cotter pin pulled out
The next step is to undo the nut holding the hub to the axle. The hub nut itself will have a cotter pin in it that first needs to have the ends straightened (they’re bent around the nut) and then pulled out. The head of it is barely visible at the bottom of the picture. I just use a screwdriver or anything that will wedge in it to pry it out. You really aren’t supposed to reuse these, and should buy replacements when you put it back together. That said, I have reused them a couple of times with no apparent ill effects, I just wouldn’t make a habit of it as the pin will eventually wear out and fail.

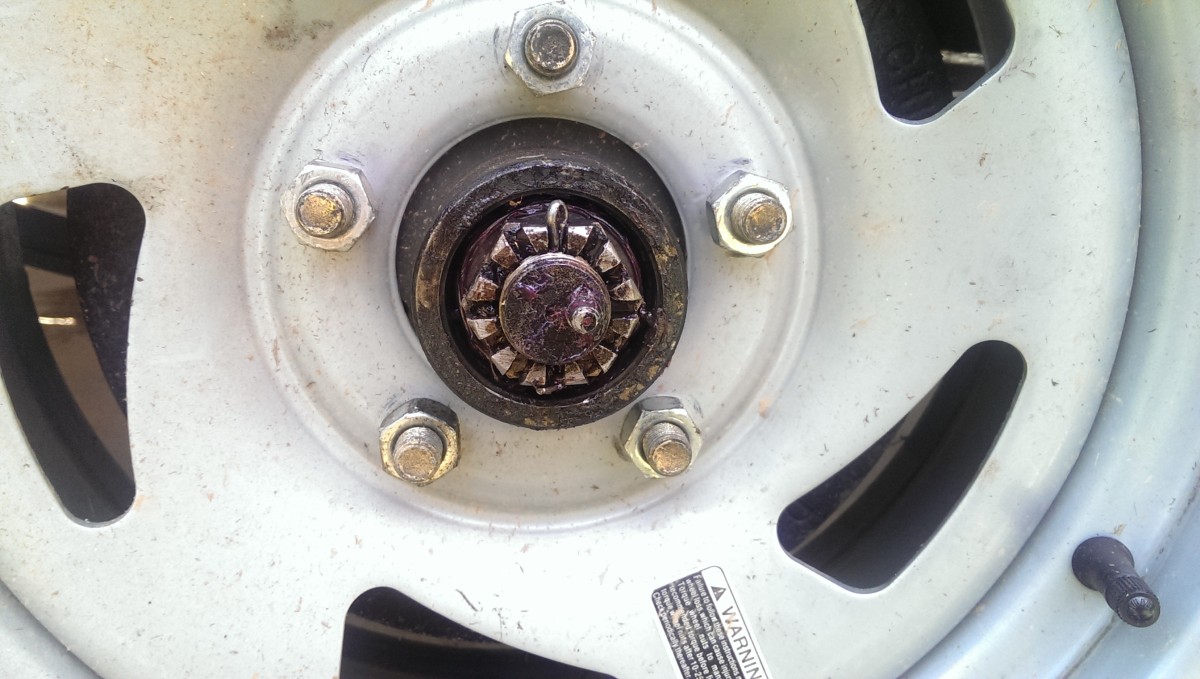
Unscrew hub nut
Hub nut unscrewed
Once the cotter pin is out, the hub nut simply unscrews. You can grab a wrench if necessary, but it should really only be on there finger tight. The cotter pin is there to keep it from backing out. There is a large washer in there somewhere that you want to keep track of.
Remove wheel, hub, and bearing
Bearing fell out
In my case, the bearing then fell out. This may not happen, but if it does, be sure to set it aside and keep track of it. There will also be a washer in there as well, as mentioned a second ago, to make sure you keep track of.
Wheel and hub removed
Hub off wheel
At this point, you can just pull the entire tire towards you. The wheel, still being bolted to the wheel hub, will pull the hub off in one fell swoop. There’s a reason you didn’t unbolt the trailer lug nuts in this article. This picture is actually from after I already cleaned and regreased the hub and axle. Yours probably won’t look this nice until a few steps later.
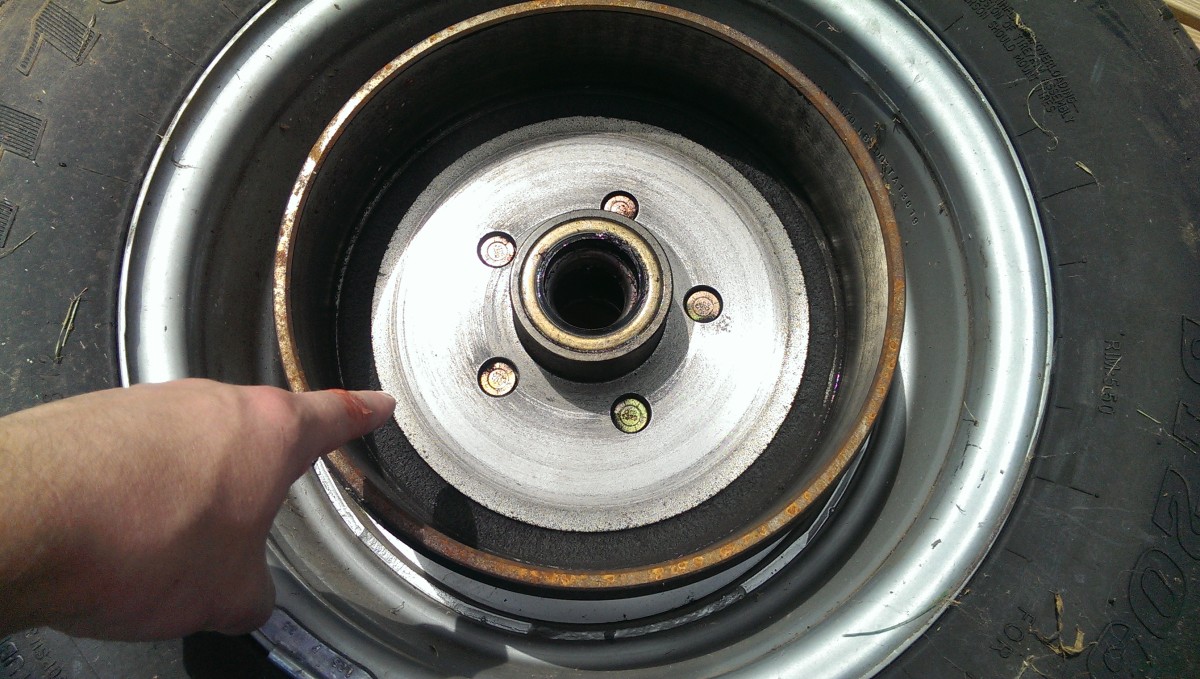
Check your bearing
One of my hubs had lost its cover without me realizing while I was on a long trip. If this happens, the bearing can get contaminated with water and ruin it. Your bearings should all spin freely when they are removed from the axle. This sounds tricky to feel, but it’s actually very easy. If you spin the bearing around in your hand and feel it catching, it is probably bad and should be replaced. If it spins freely, it’s probably OK. Replacement bearings are pretty inexpensive
Clean and re-grease
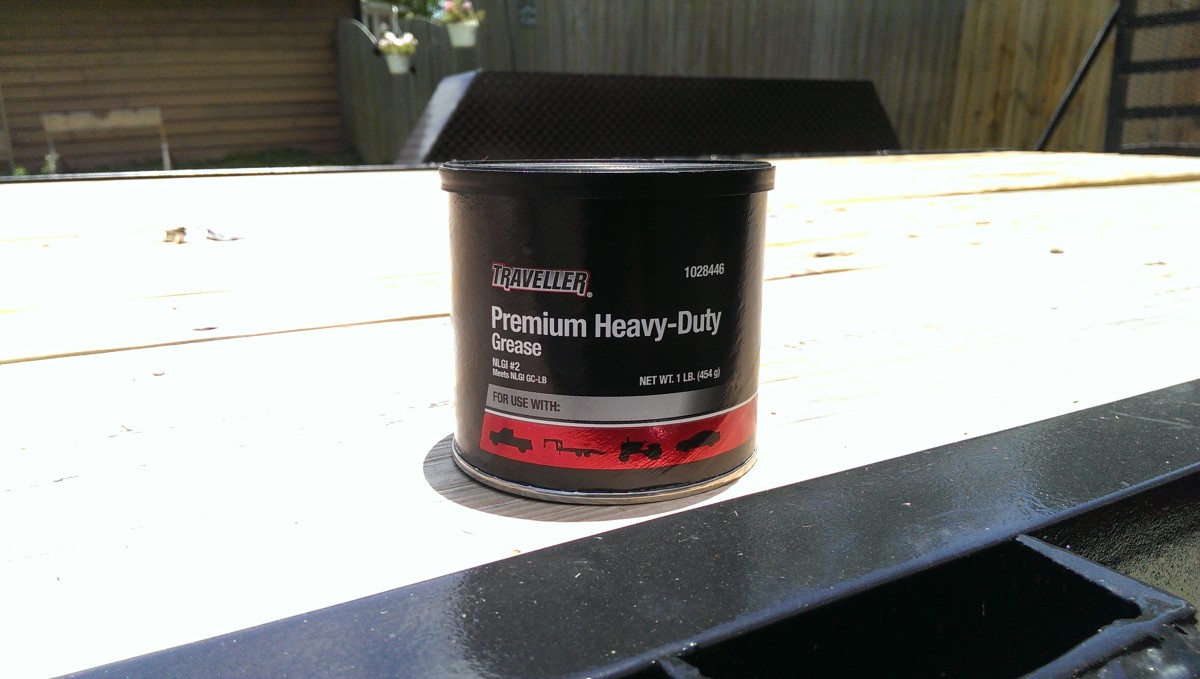
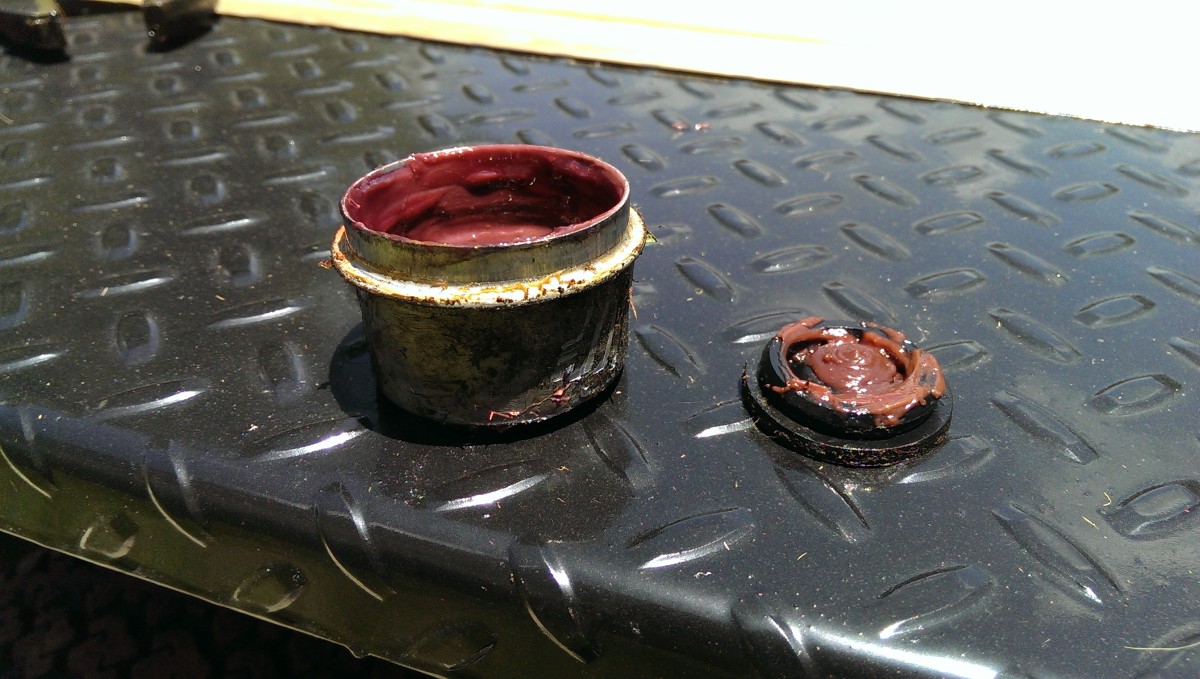
Tub of bearing grease
The next step is to grease all of the parts you have. The easiest thing to do is head to Tractor Supply or wherever and grab yourself a tub of bearing grease. It’s less than ten bucks and will be enough for several of these bearing jobs.
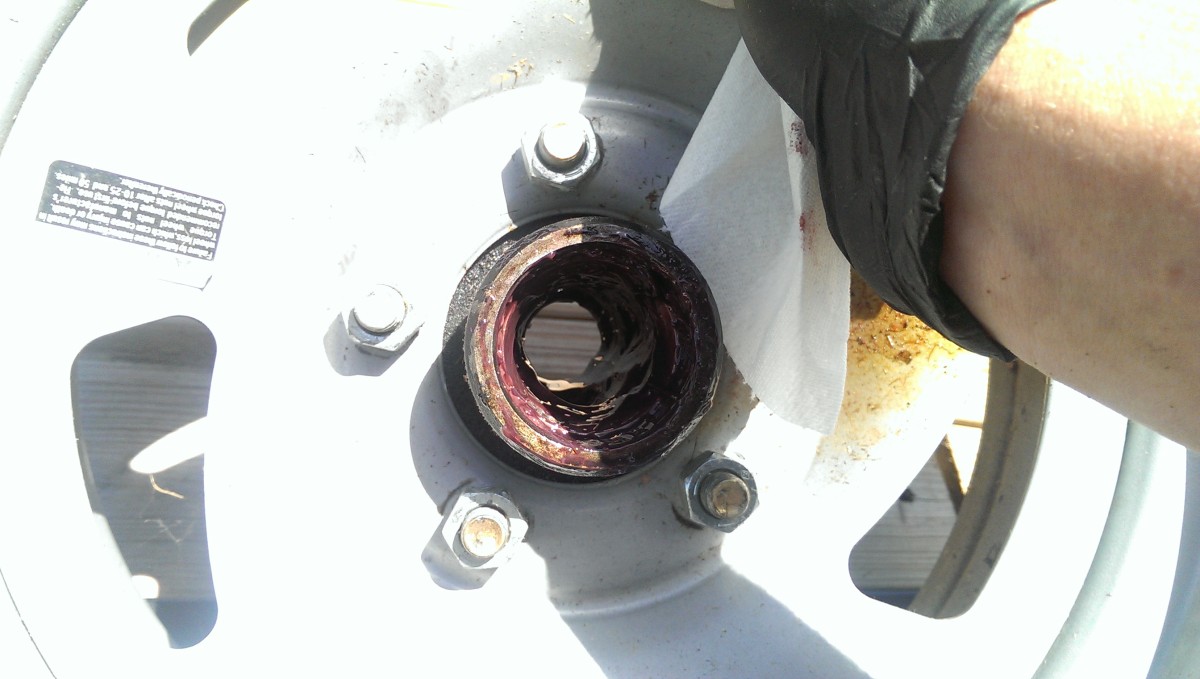
Cleaned out hub

Wiped down parts
Try your best to get all the old grease off of the hub, bearing, hub nut, and washer. I just use a paper towel, shop towel, whatever is handy. It doesn’t have to be sparkly clean, just try to get rid of the worn-out grease to whatever extent is possible.

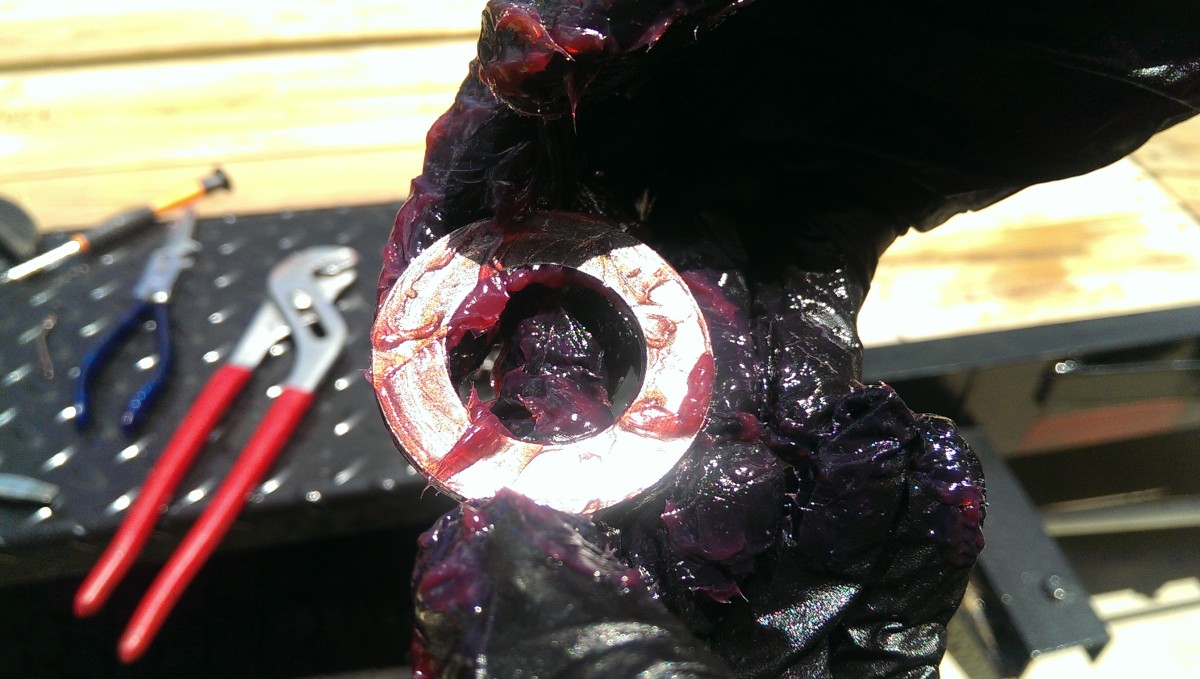
Pack grease into bearing
Then, be sure to pack grease into the bearing as much as possible. In the picture, I’m trying to rub / force it into the groove where it comes together as best I can. The more you can get in there, the better. This is the important part, and it’s also something that doing the EZ-lube method discussed above will not really do.
It would be even better to separate the bearing and race, but mine had come pre-assembled and were so tightly fit I wasn’t sure how to disassemble without damaging it.
Wheel and hub removed
Hub off wheel
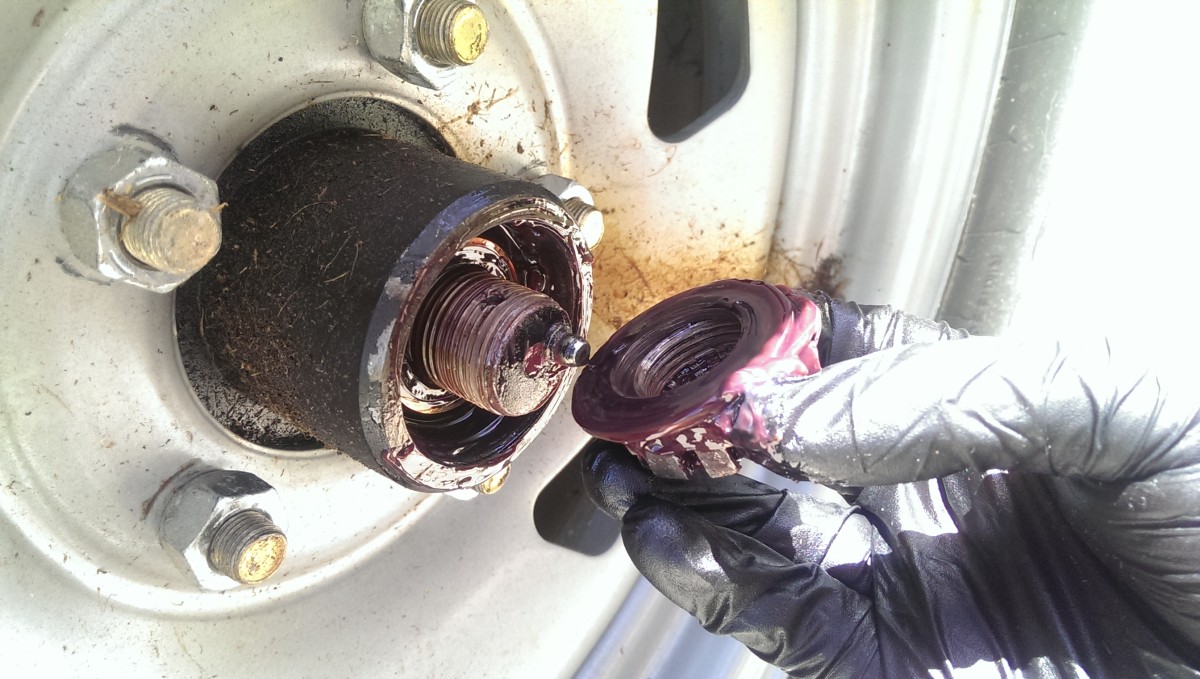
Washer grease
Also go ahead and liberally spread grease on the inside of the wheel hub, the axle shaft, and the flat washer. If you have EZ-lube axles, you don’t have to worry quite as much, because I’ll use a grease gun to add even more grease after doing this. However, if not, you need to get as much grease in there as you can before reassembly, because this will be your last chance.
Reassembly
Cotter pin to wheel nut
Cotter pin to wheel nut installed
Reassembly simply involves putting the wheel and hub, bearing, flat washer, and hub nut on in that order. The hub nut just gets hand tightened, there is no need to take a wrench to it and torque it down. Once it is on, you should install a cotter pin to keep it from backing out. Ideally, you will go get a new one, rather than reusing the old one, as I mentioned earlier. The pin simply goes in and has the bottom end bent around the nut with a pair of pliers as shown.

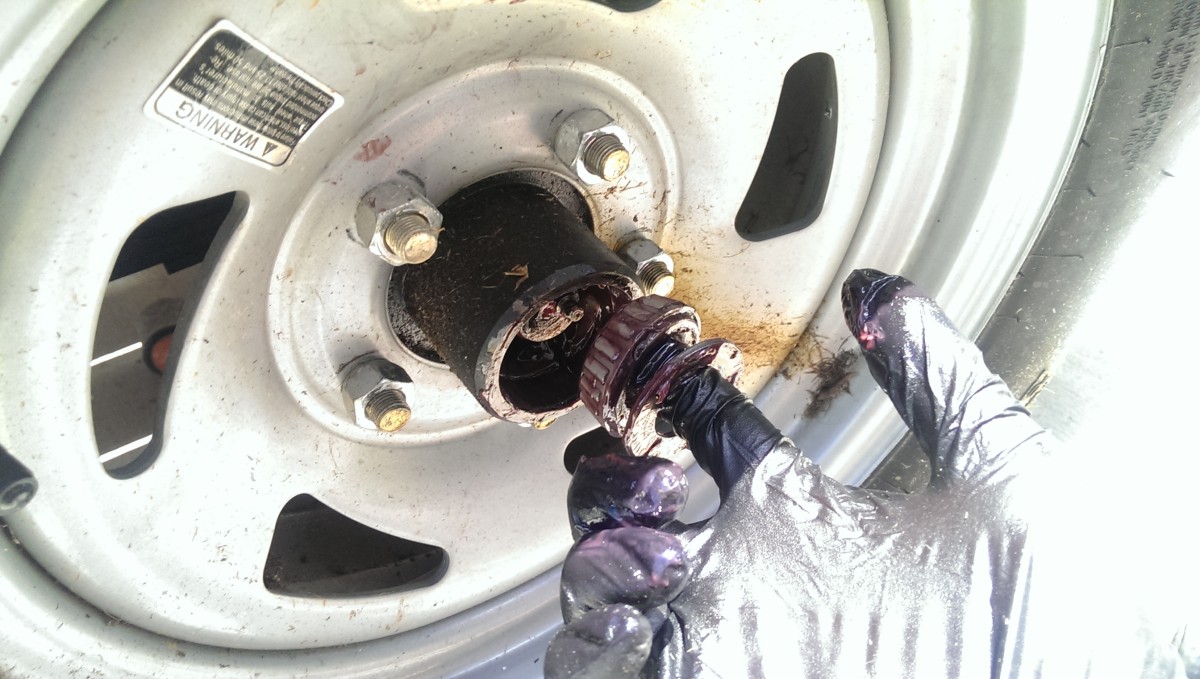
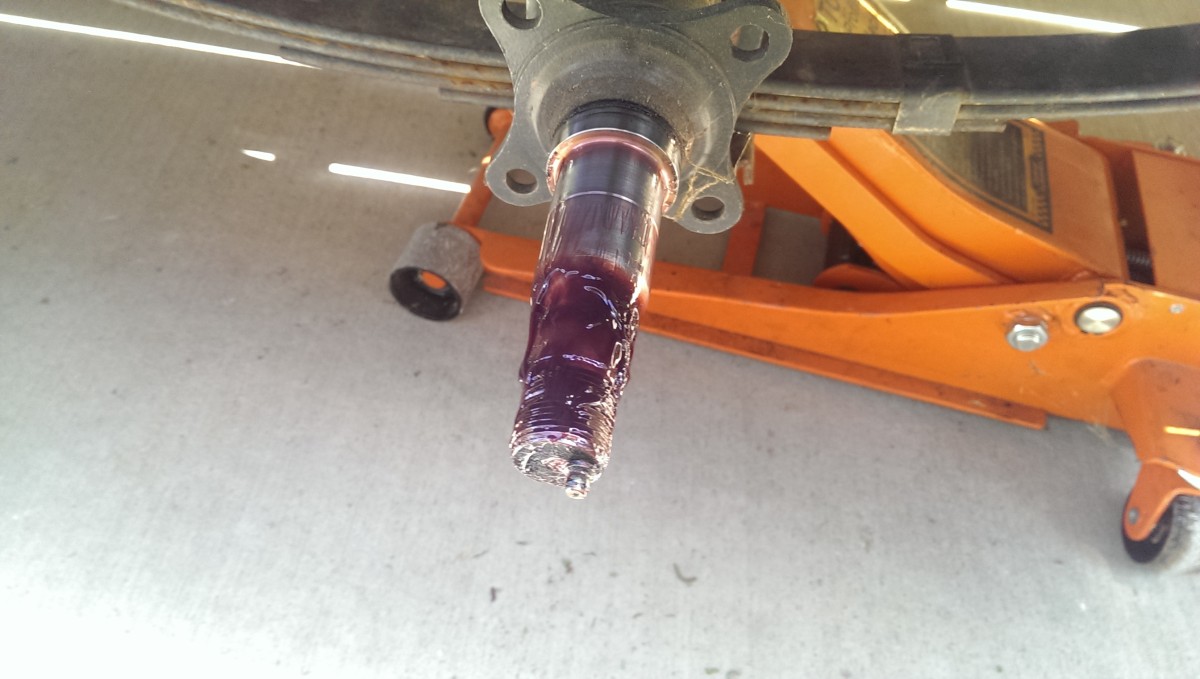
Adding more grease via EZ-lube zerk
If you have EZ-lube axles like this trailer, you can go ahead and top up the grease by hooking up a grease gun as pictured, and spinning the tire as you pump some grease in. Be sure to watch the back of the axle for excess grease to come out. You don’t need to overdo this, I just like to know that my hubs are all topped up. That excess grease will work its way into the bearing as the trailer goes down the road, keeping it lubricated.
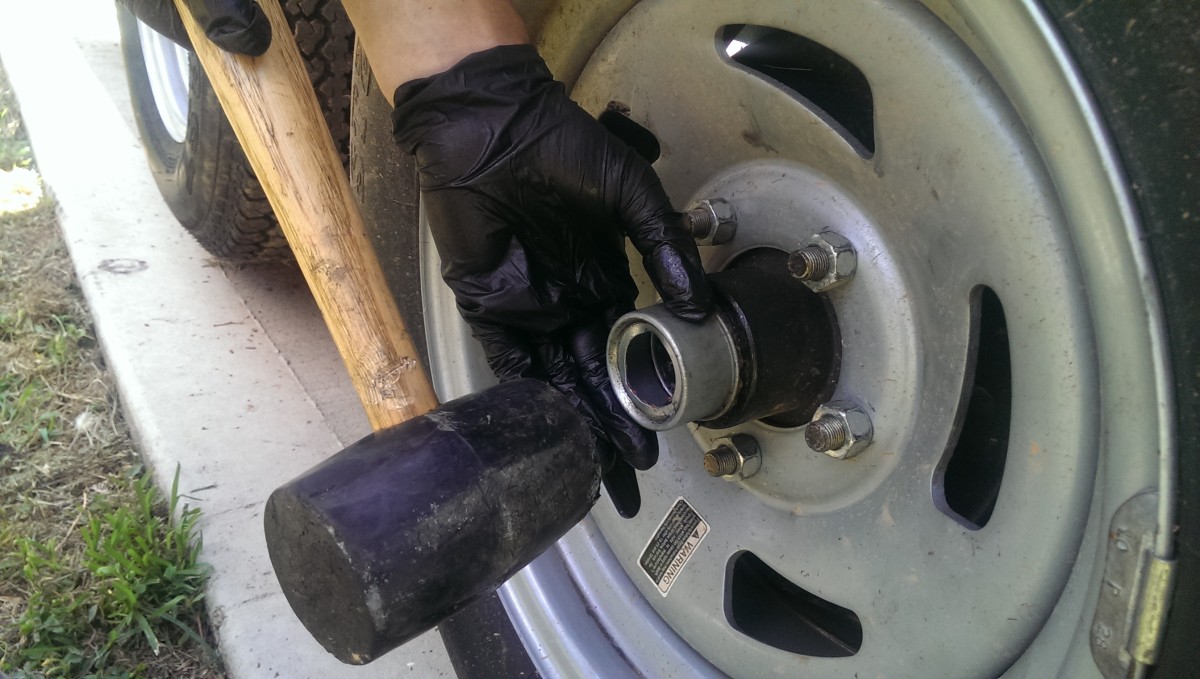
Reinstall cover
Lastly, the cover goes back on the assembly. Simply line it up square on the hub, and use a mallet or hammer with a block of wood to gently tap it in. It’s a friction fit, so no adhesive is required. However, it does have to go in straight or it can be ruined. If it gets bent or won’t go in, replacements are fairly cheap
And that’s really it, your trailer has fresh grease and is ready to go for another year.
A note about trailer brakes
Braked axle
My trailer has one axle without brakes, which I discussed above, and one with. I am a little more careful greasing the braked hubs, and I’ll explain why. Trailer brakes are usually electrically-actuated drum brakes. The drum surrounds the hub. If you overgrease non-braked axles, the grease will just spill out and get on the underside of the trailer, but not actually hurt anything. However, with braked axles, you can get grease inside the drum and ruin your brakes.

Grease on braked axle
This is probably even a little too much grease. When you slide the hub back on, you want to make sure you don’t spit grease out at the back towards the brake assembly here.
[…] days. Trailer maintenance is something people rarely talk about, but it’s really important. Regularly repacking your wheel bearings with grease will help extend the life of your axles and keep your gas mileage up while towing. Likewise, […]
Thanks for an easy to follow practical post….I will now be a do it yourself…on my tandem trailer….
Thanks, I’m glad it helped!