
K24 Miata Swap - K24A2 External Engine Prep
This is the next part of my K24 Miata swap writeup, K24A2 external engine prep. This includes installing the coolant neck, trimming the lower heater pipe, installing a new water pump and thermostat, and adding the new idler pulley.
See All K24 Swap Articles: K24 Miata Swap Main Page
Installing the Coolant Neck
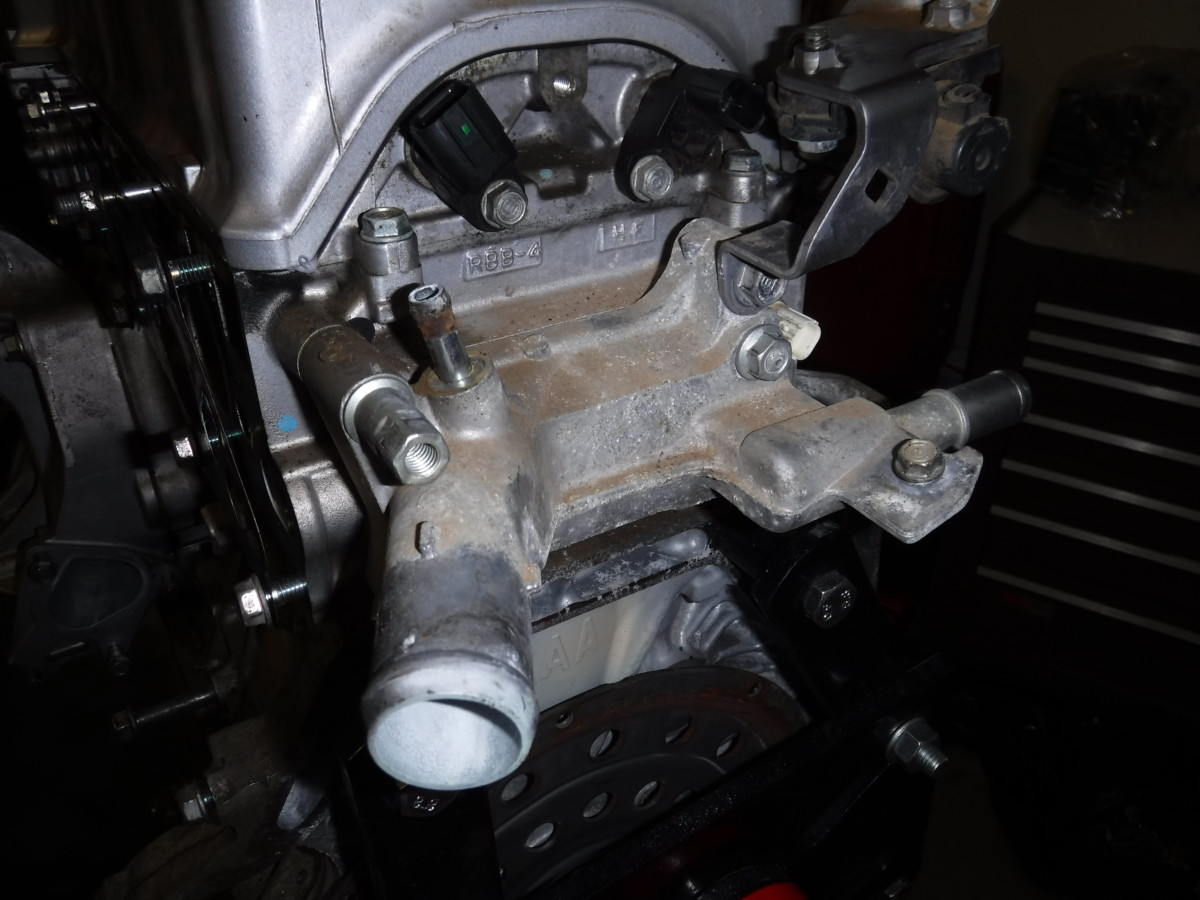
This is the factory coolant neck. The KMiata piece will replace this.
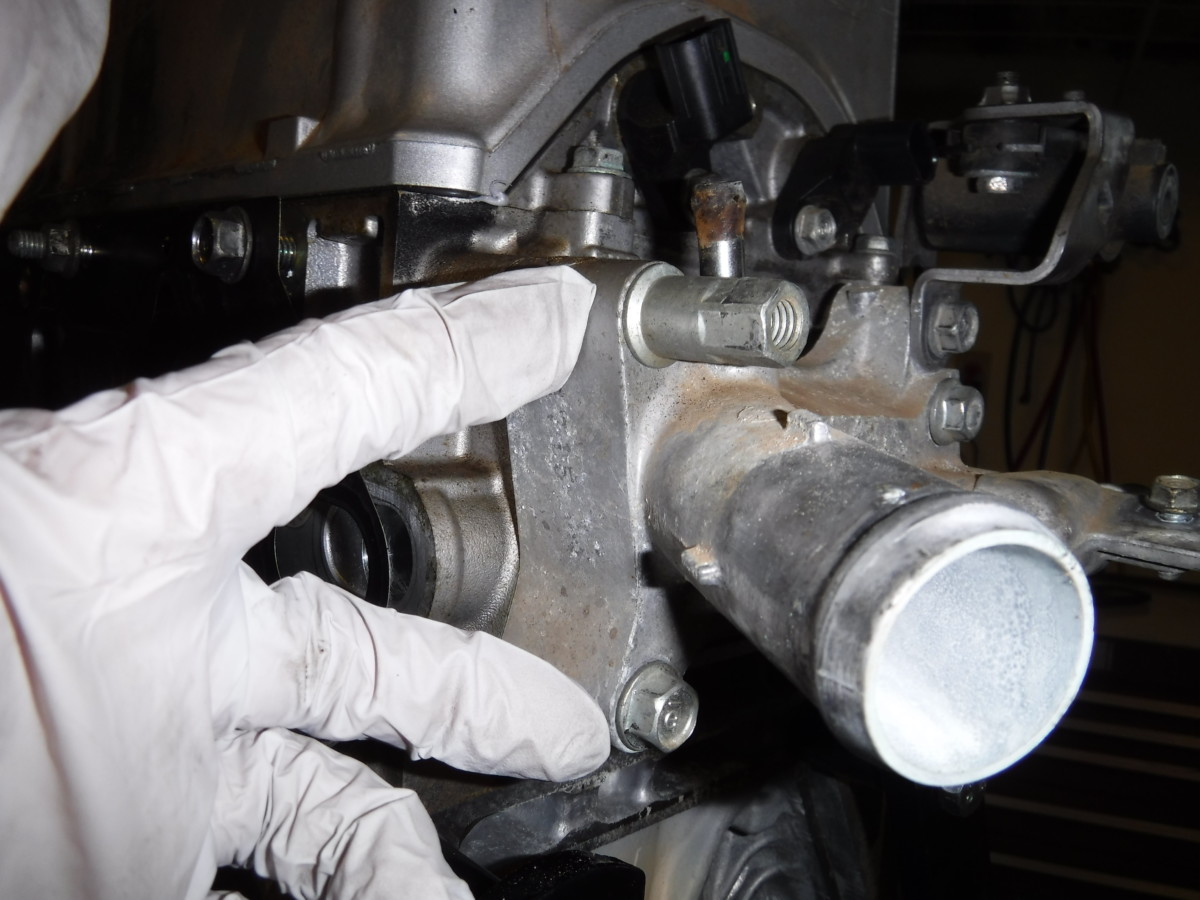
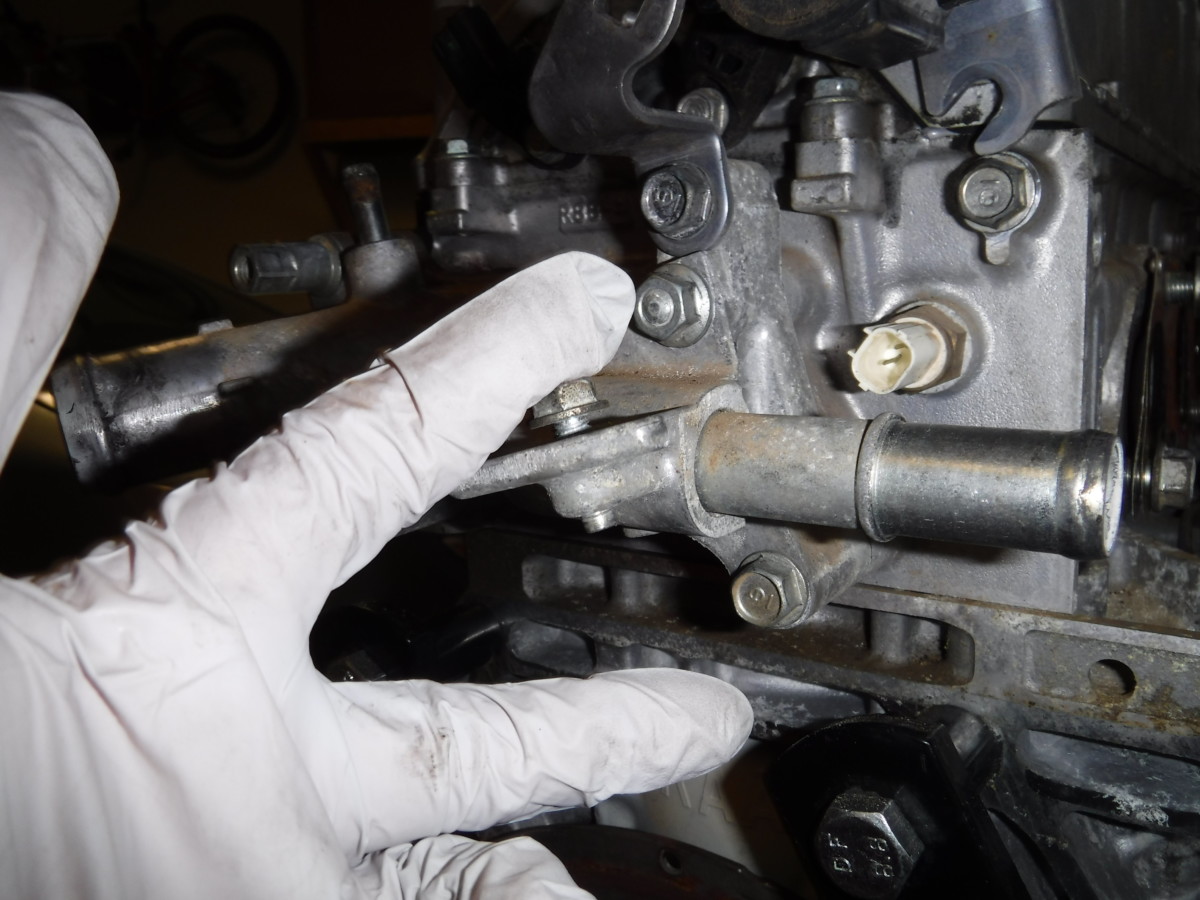
Remove the bolt and nut on each side. I left the studs in for now.
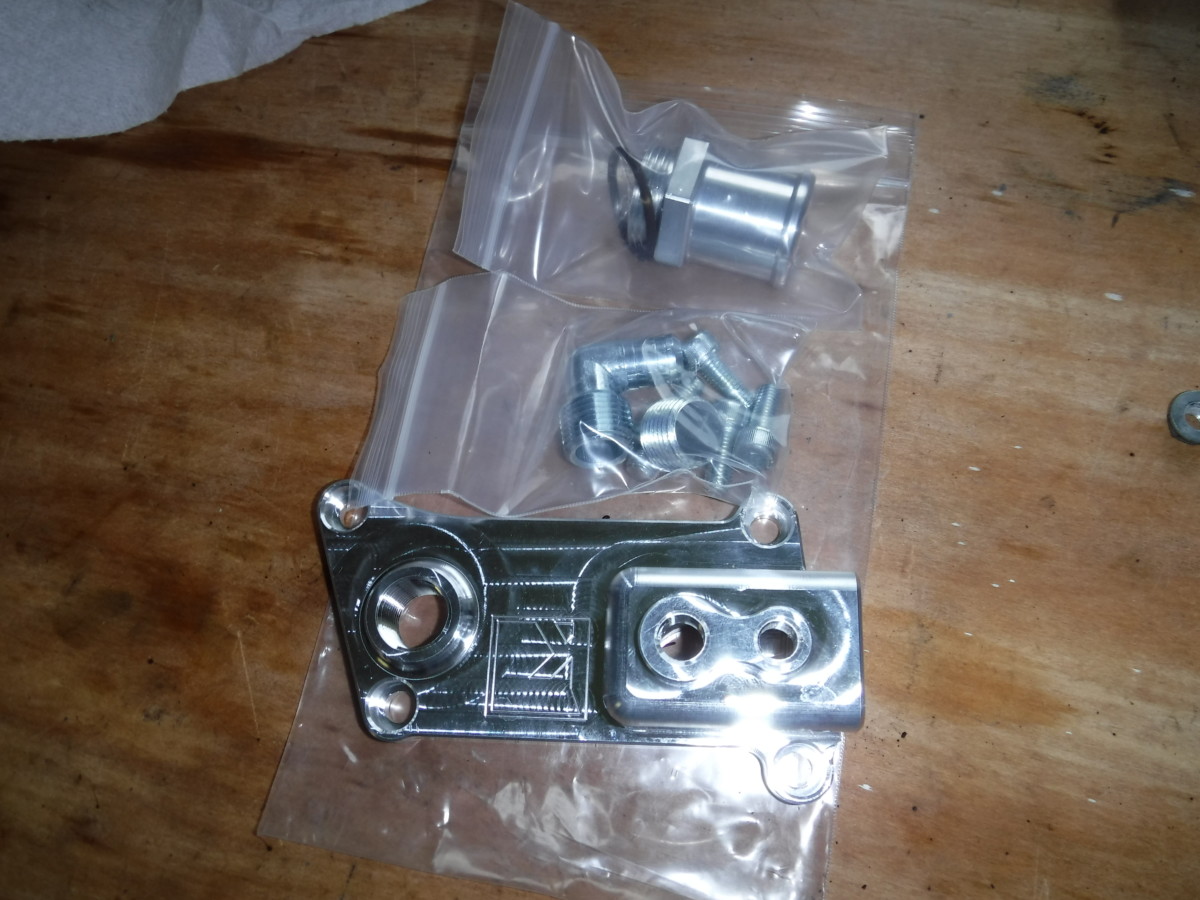
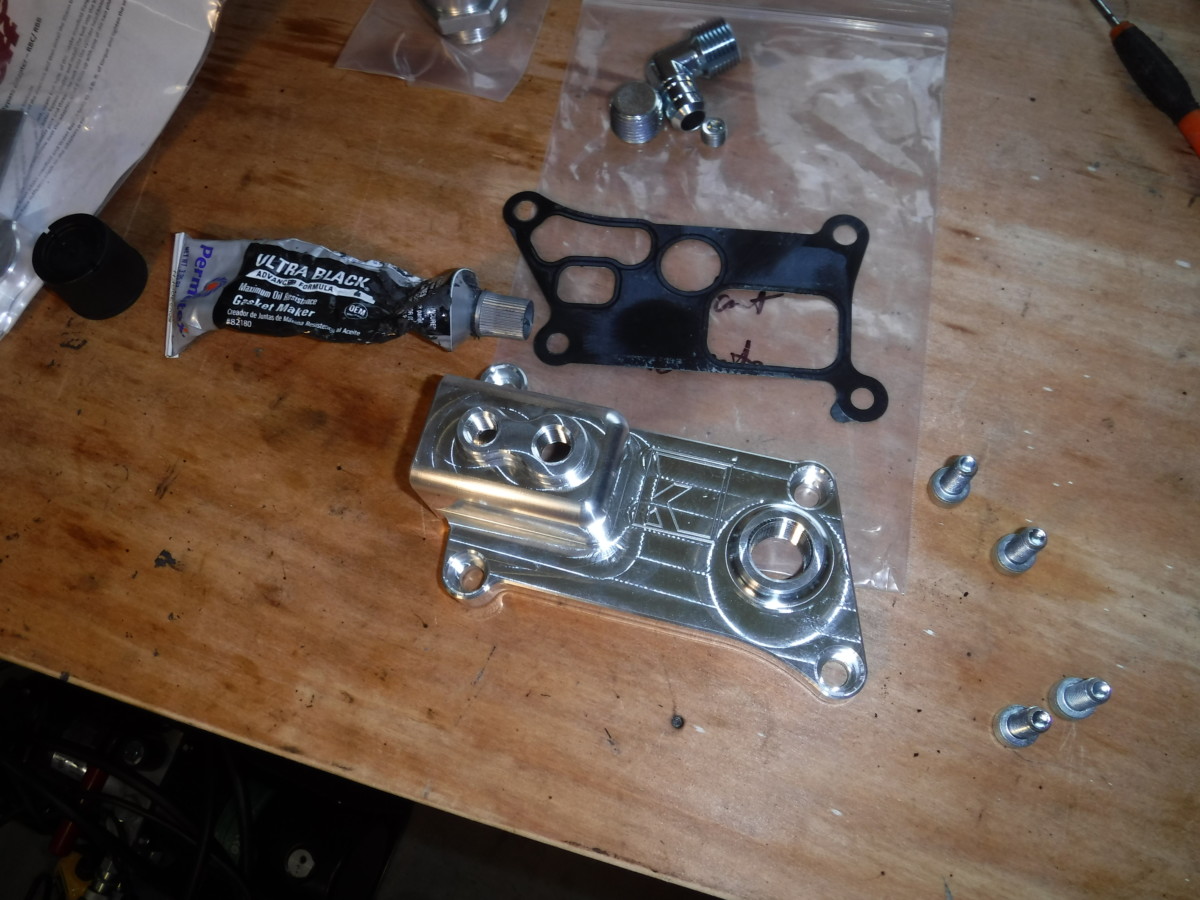
The coolant neck comes with a gasket and should not require RTV. That said, I hate leaks. I went ahead and put a thin layer of Permatex Ultra Black
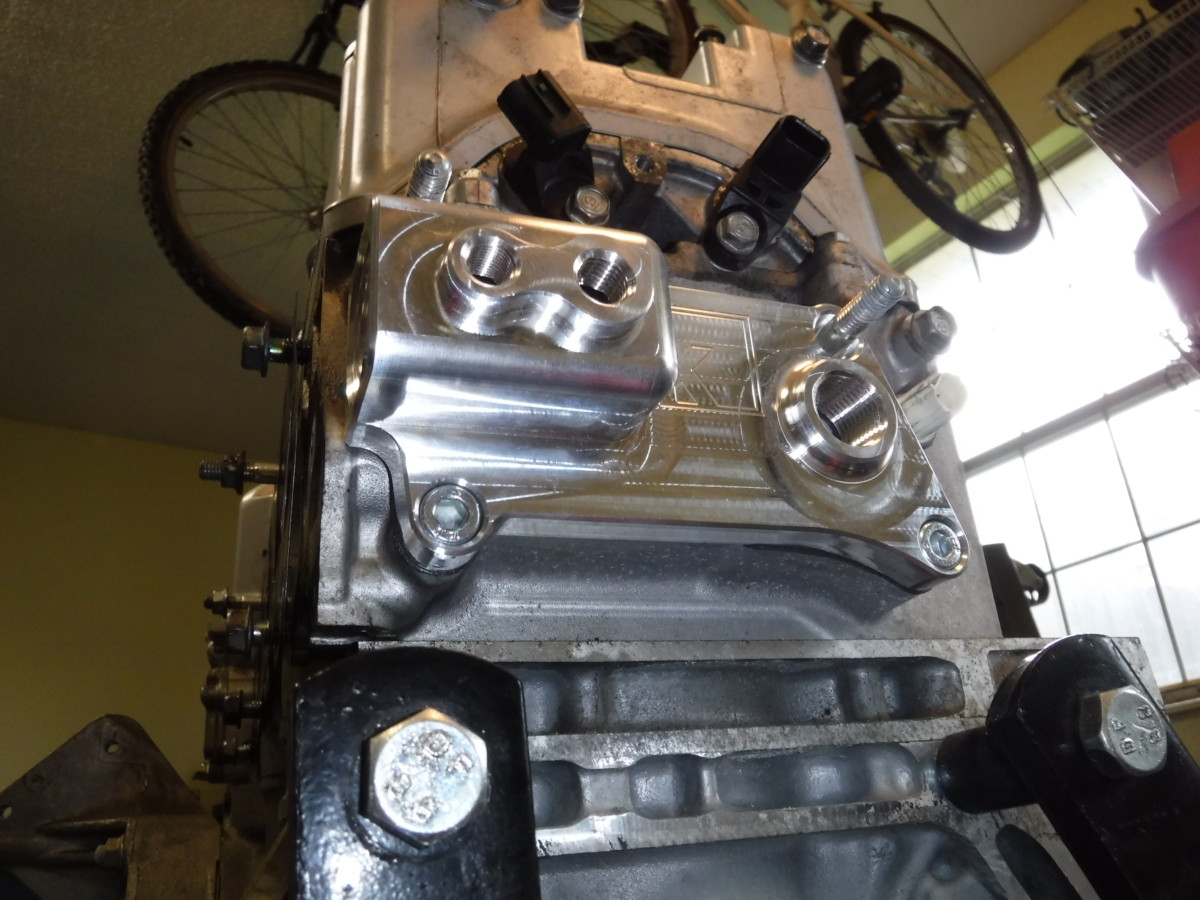
I left the upper studs in for now to help align the coolant neck while aligning it, to ensure I installed it straight. In the picture, the two lower allen bolts from the KMiata kit are loosely holding the neck, but I did not fully tighten them yet.
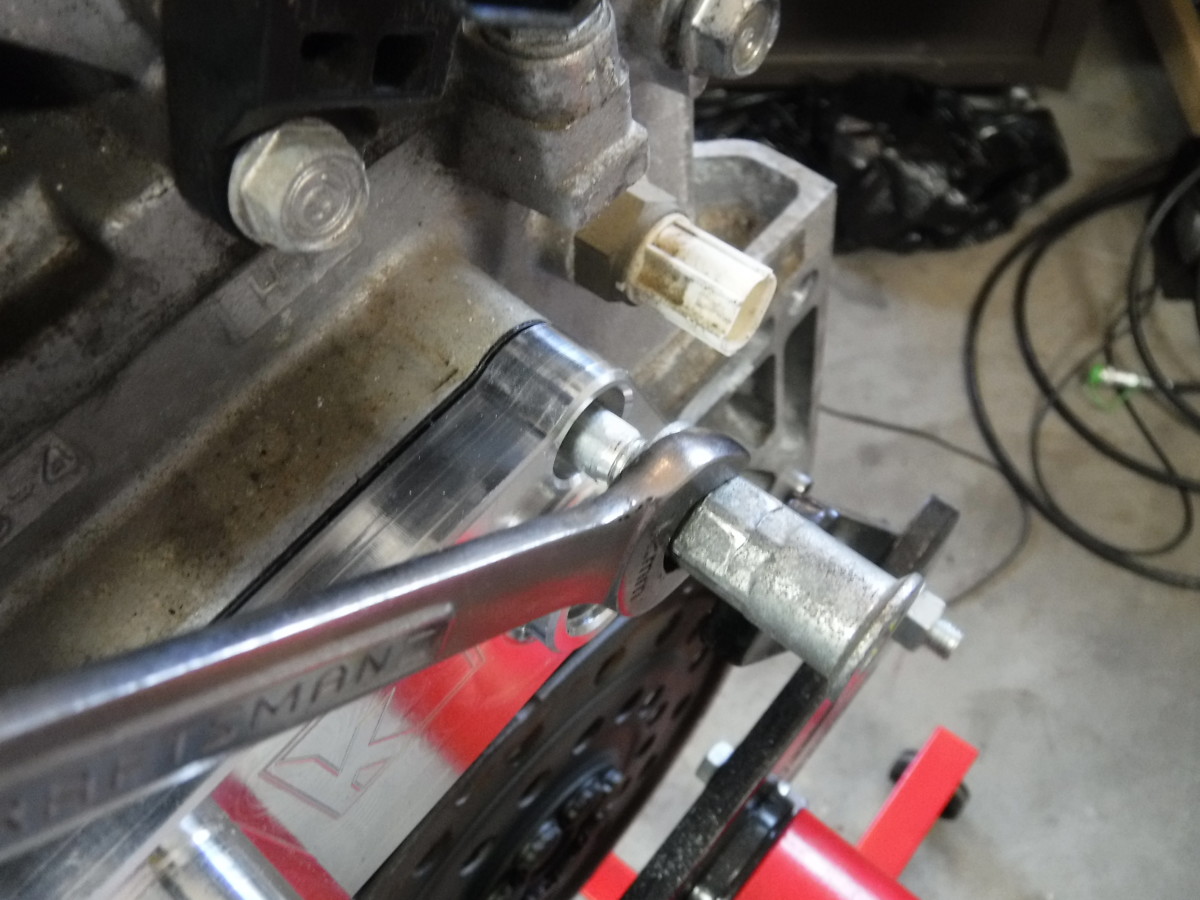
Then, I used an open wrench and two nuts on top of each other to remove the studs. This is a fairly standard trick to do this. The two nuts lock together and allow you to remove the stud as though it were a bolt.
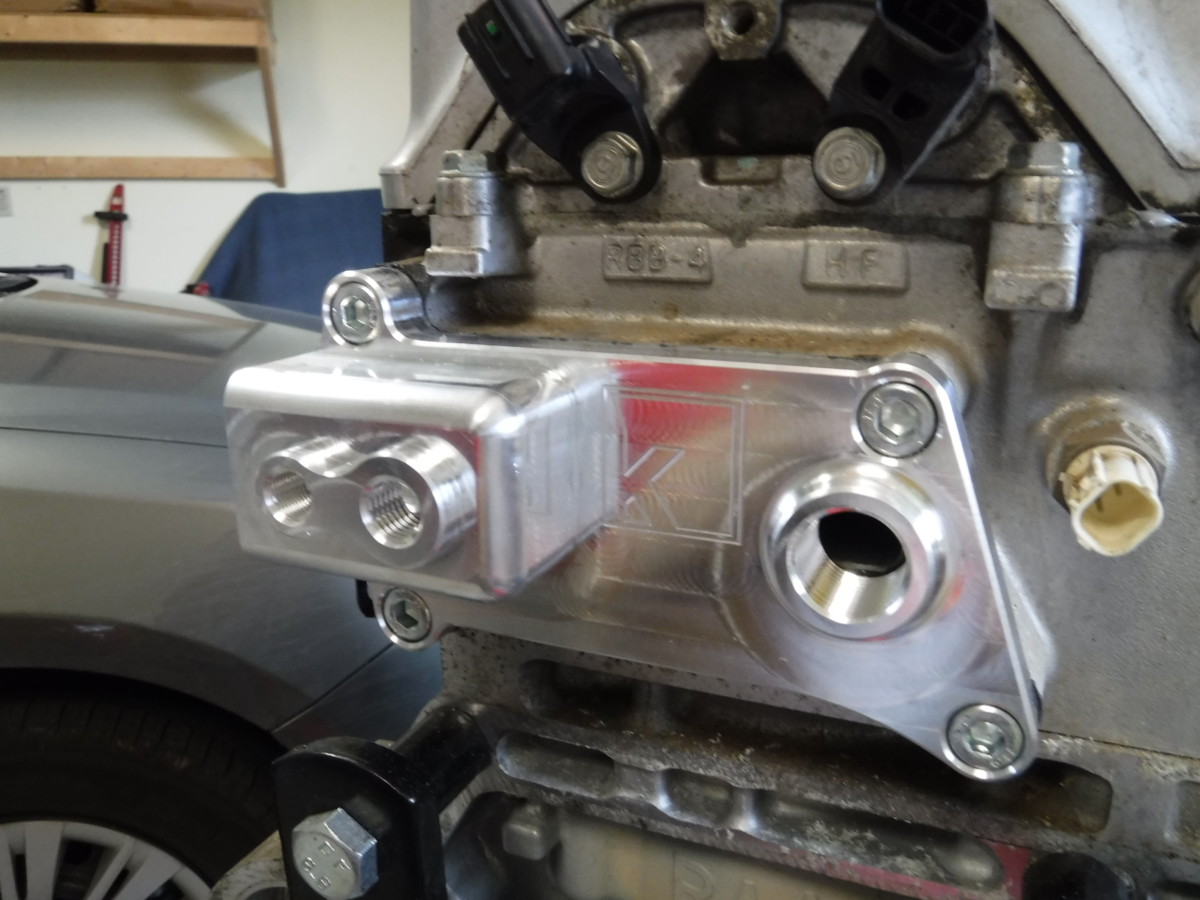
Once both studs are out, you replace them with the other two allen bolts supplied by KMiata. At this point, tighten all of the bolts down evenly.
Coolant Neck Plugs and Outlets

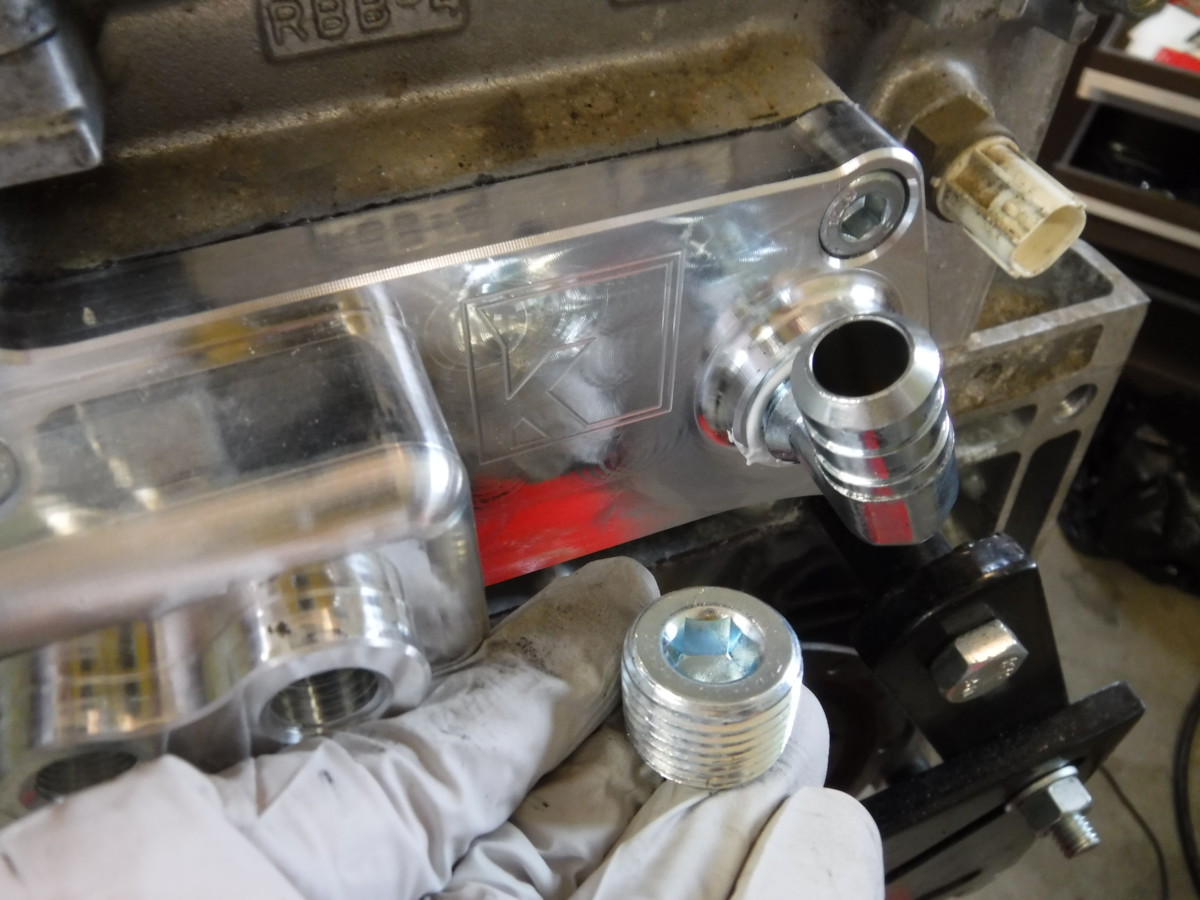
You need to install the heater core outlet now, unless you're deleting heat. If so, you can use the provided plug instead. To install this, I used Permatex High Temperature Thread Sealant
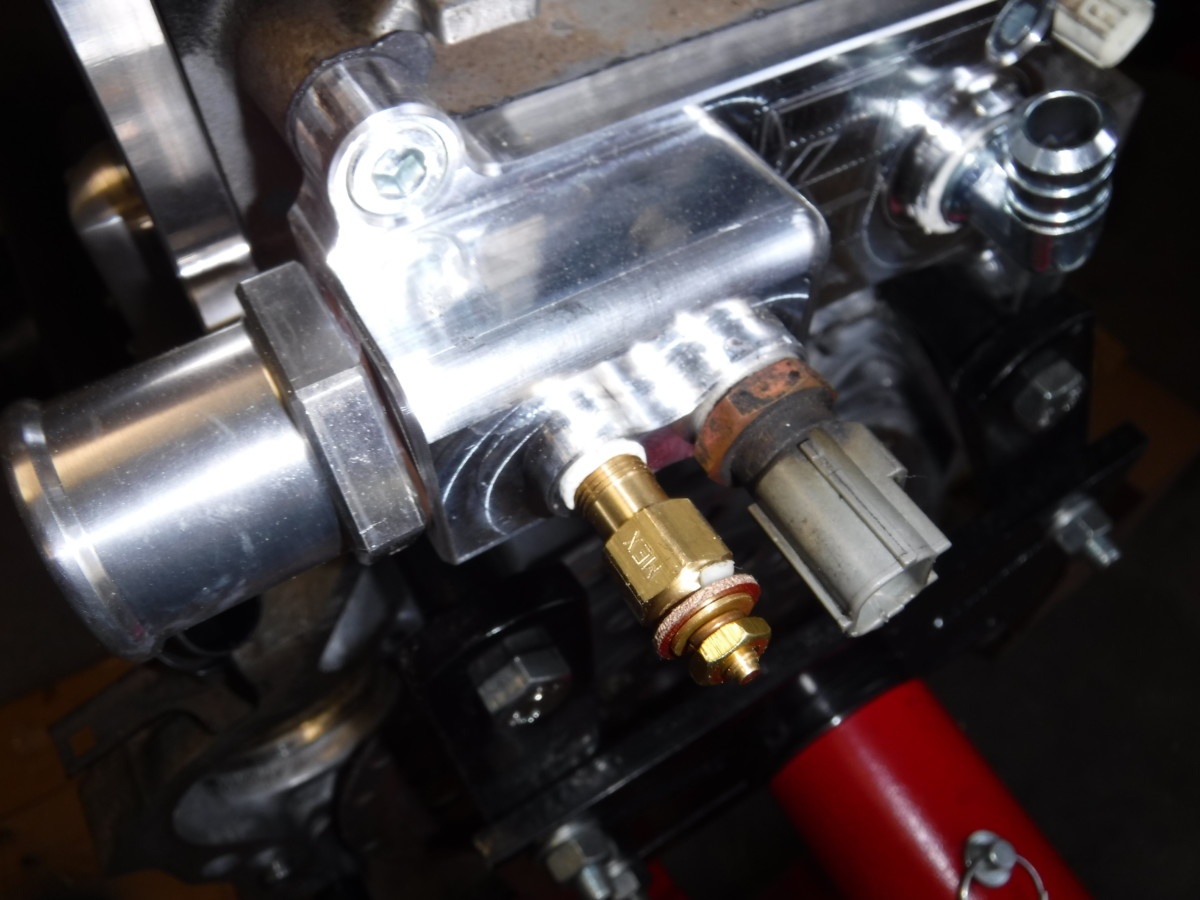
These two ports are for temperature sensors. If you want to keep your factory temperature sensor, it goes on the right. If you have an NA like me, make sure you get the correct factory temperature sensor. There are two. I accidentally installed the one that goes to the ECU, and so my factory gauge doesn't work. I also installed a Vei dual water/oil temperature gauge, and the water temperature sensor went on the left.
Note: At least for a 1997 Miata, this picture shows ECU sensor, not the dashboard sensor.
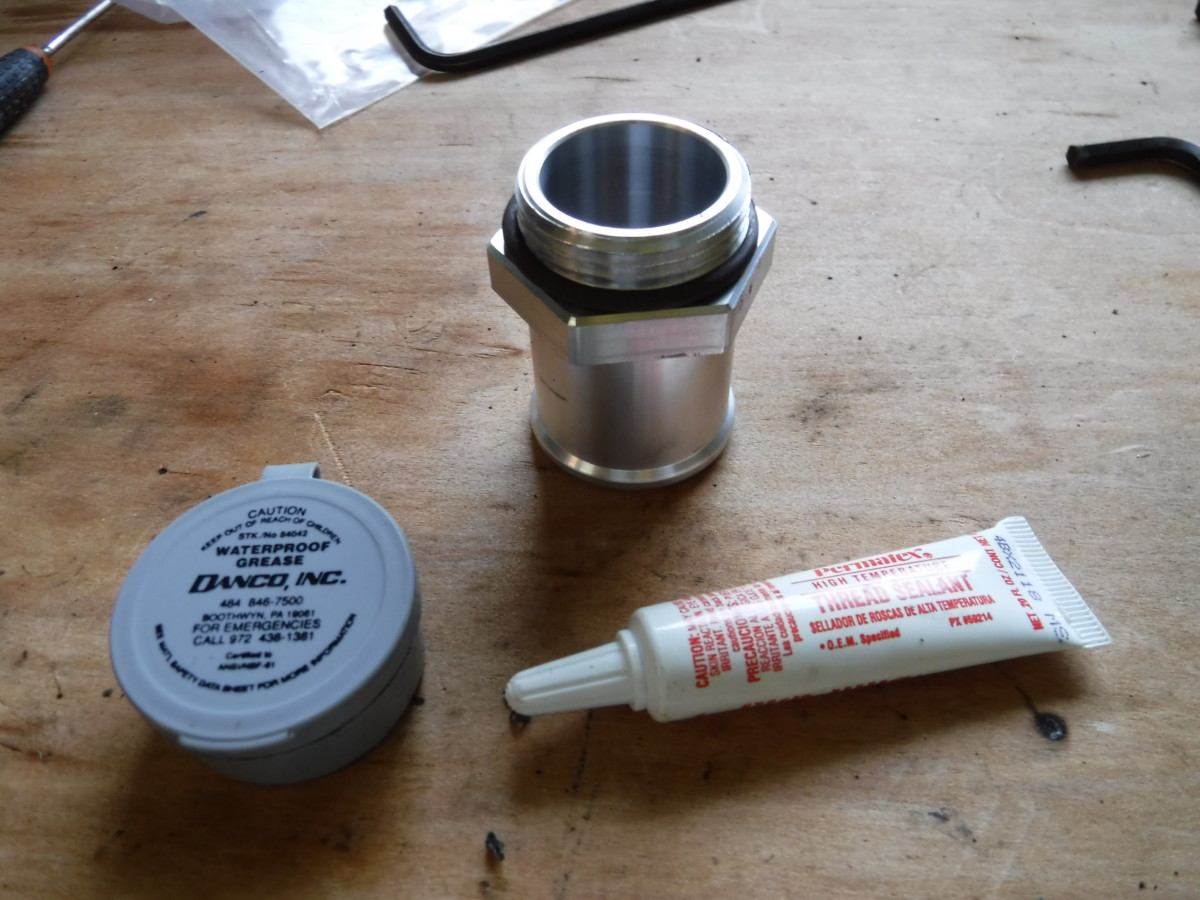
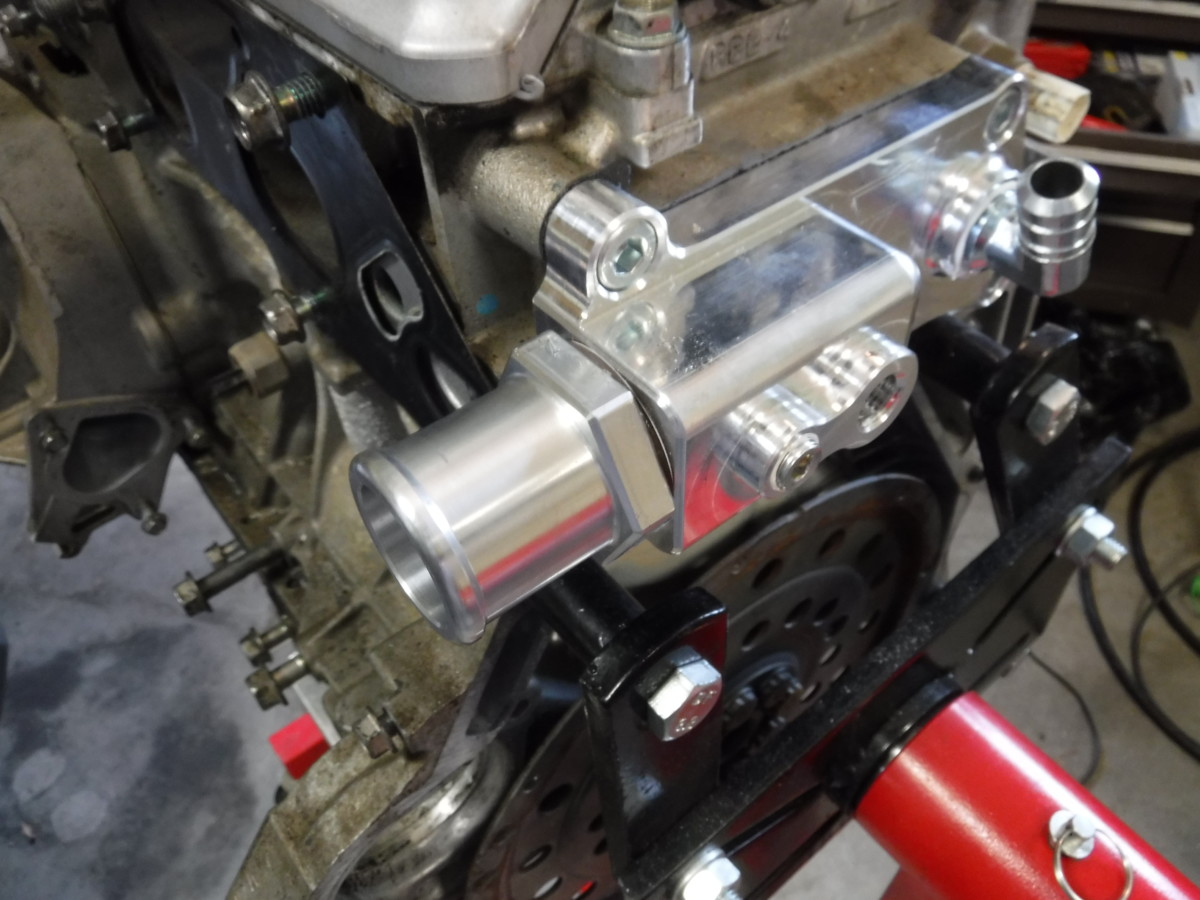
The final thing to add is the main outlet for coolant to flow. This fitting has an o-ring, but keeping with the theme of hating leaks, I greased the o-ring and then also used thread sealant on the threads.
Cutting Heater Pipe
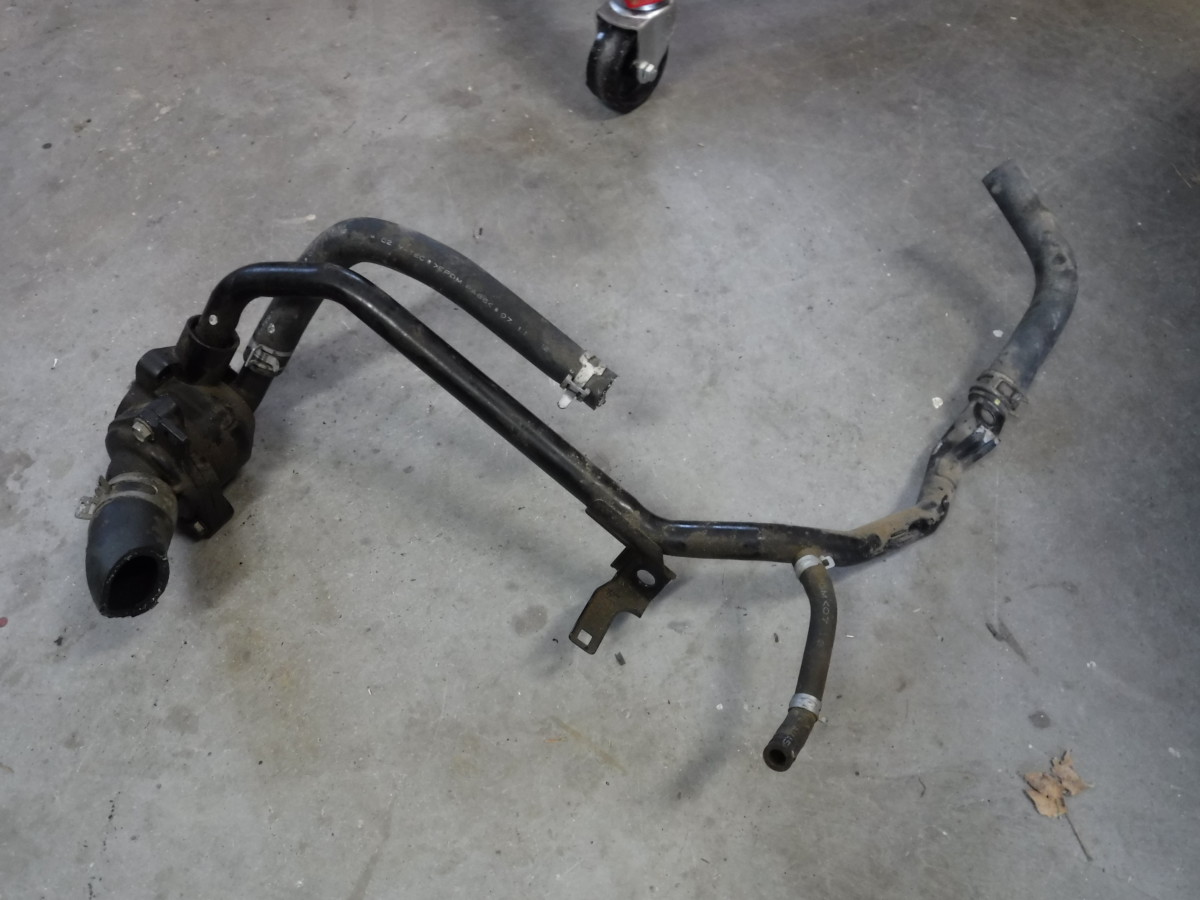
If you plan on retaining heat, you'll need to cut up the factory pipe coming out of the factory thermostat housing.
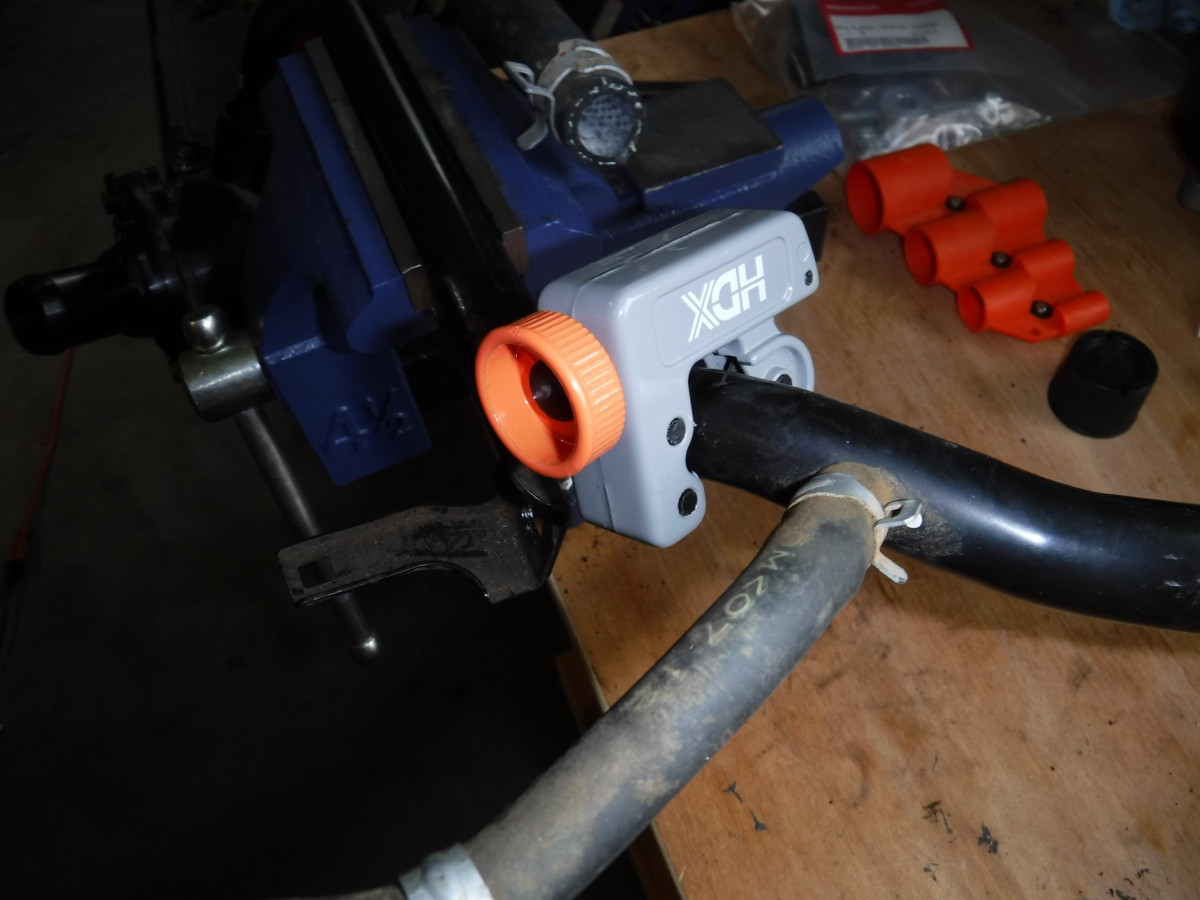
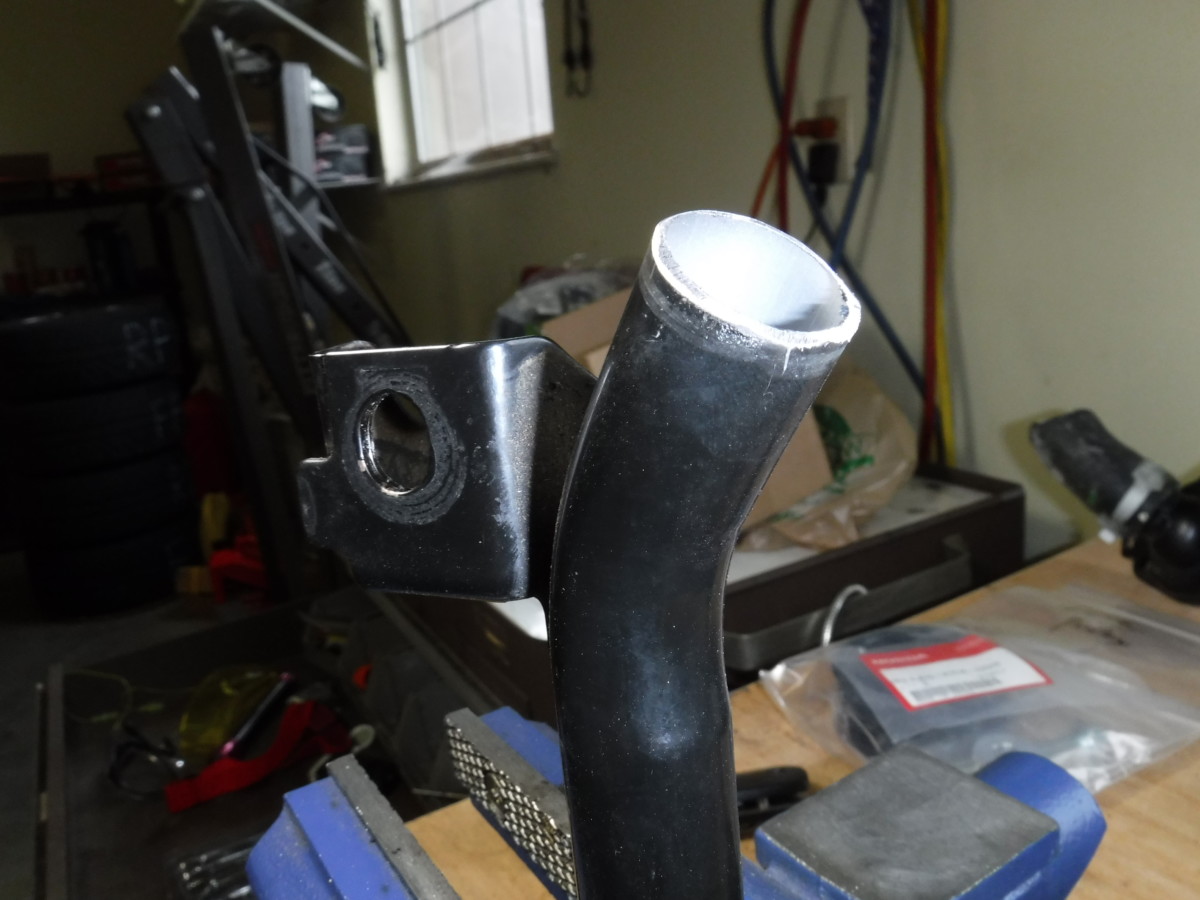
I just used a regular pipe cutter
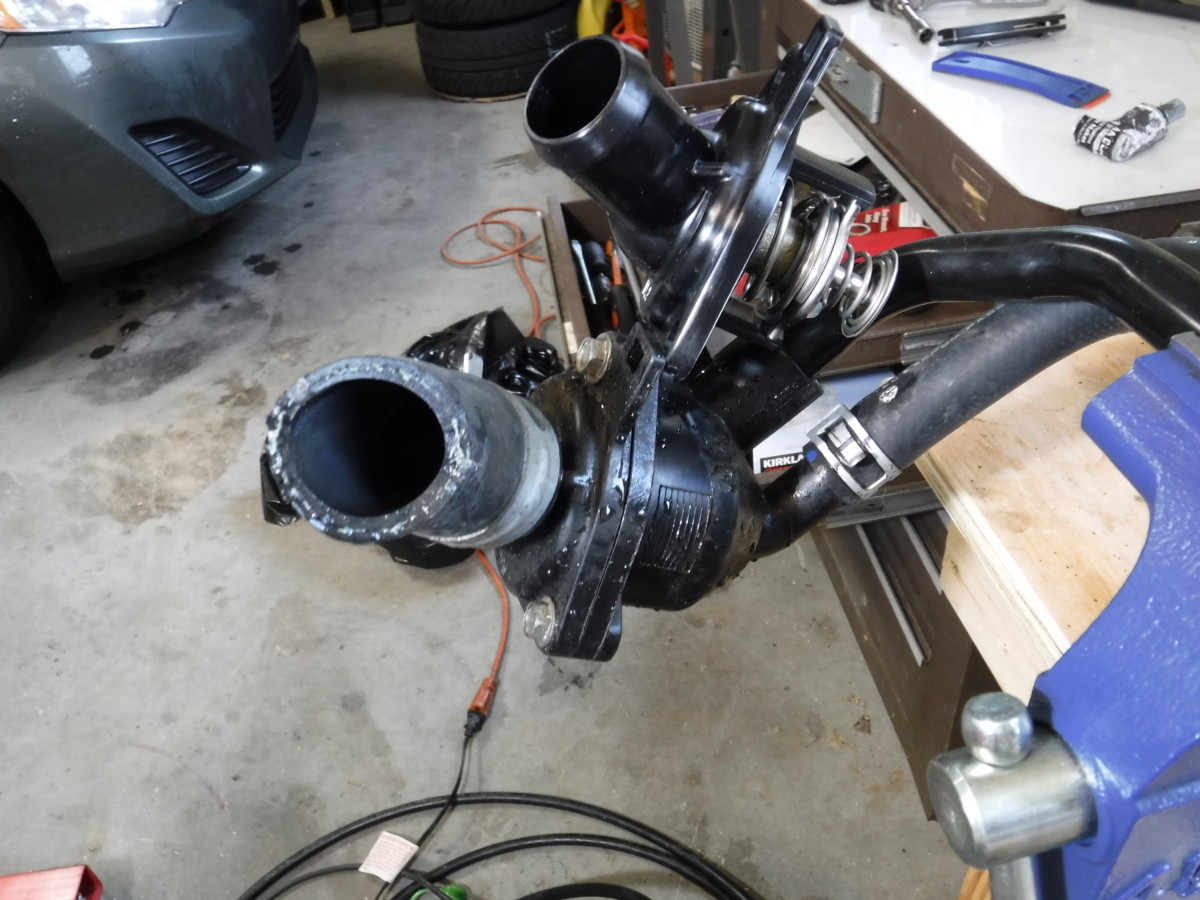
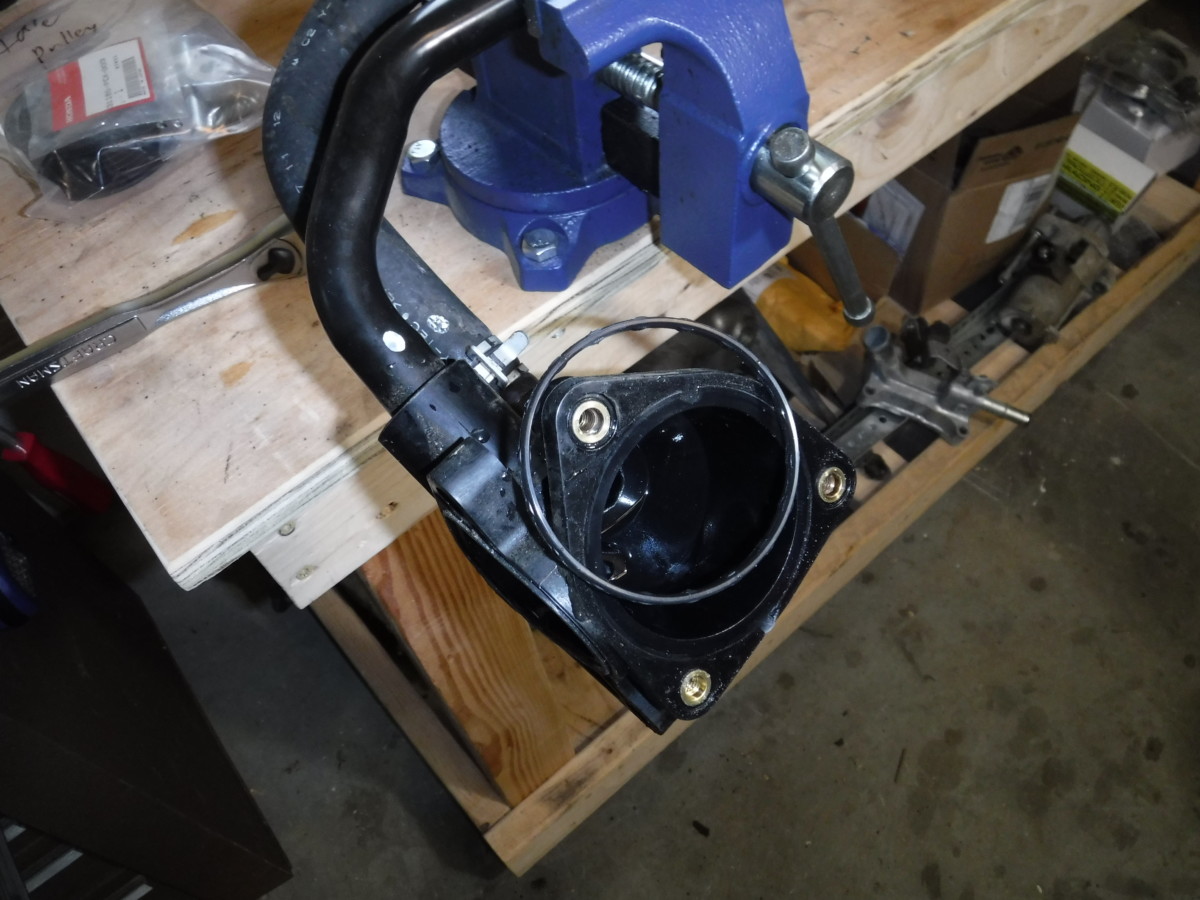
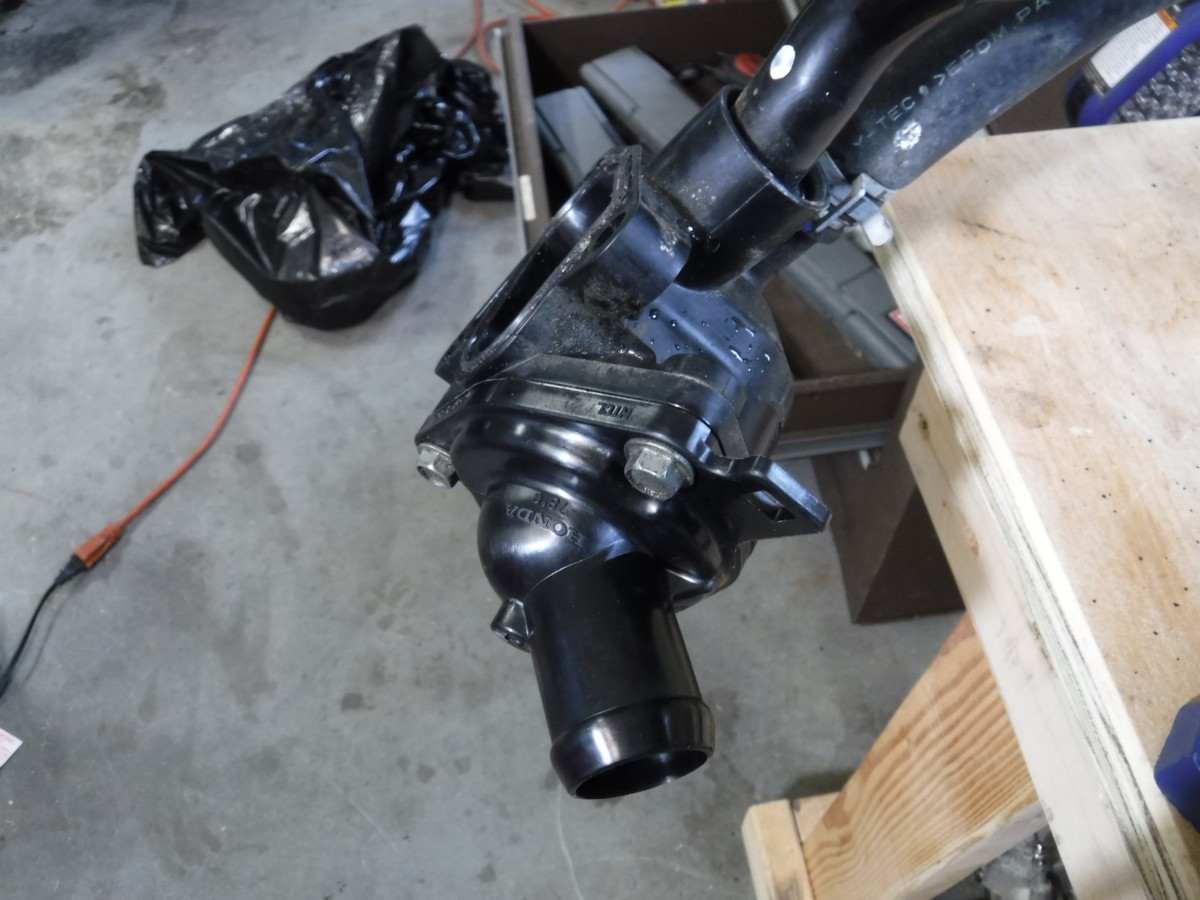
My thermostat housing had junkyard grime all over it, so I took the opportunity to clean it up. I also greased the o-ring and installed a fresh thermostat.
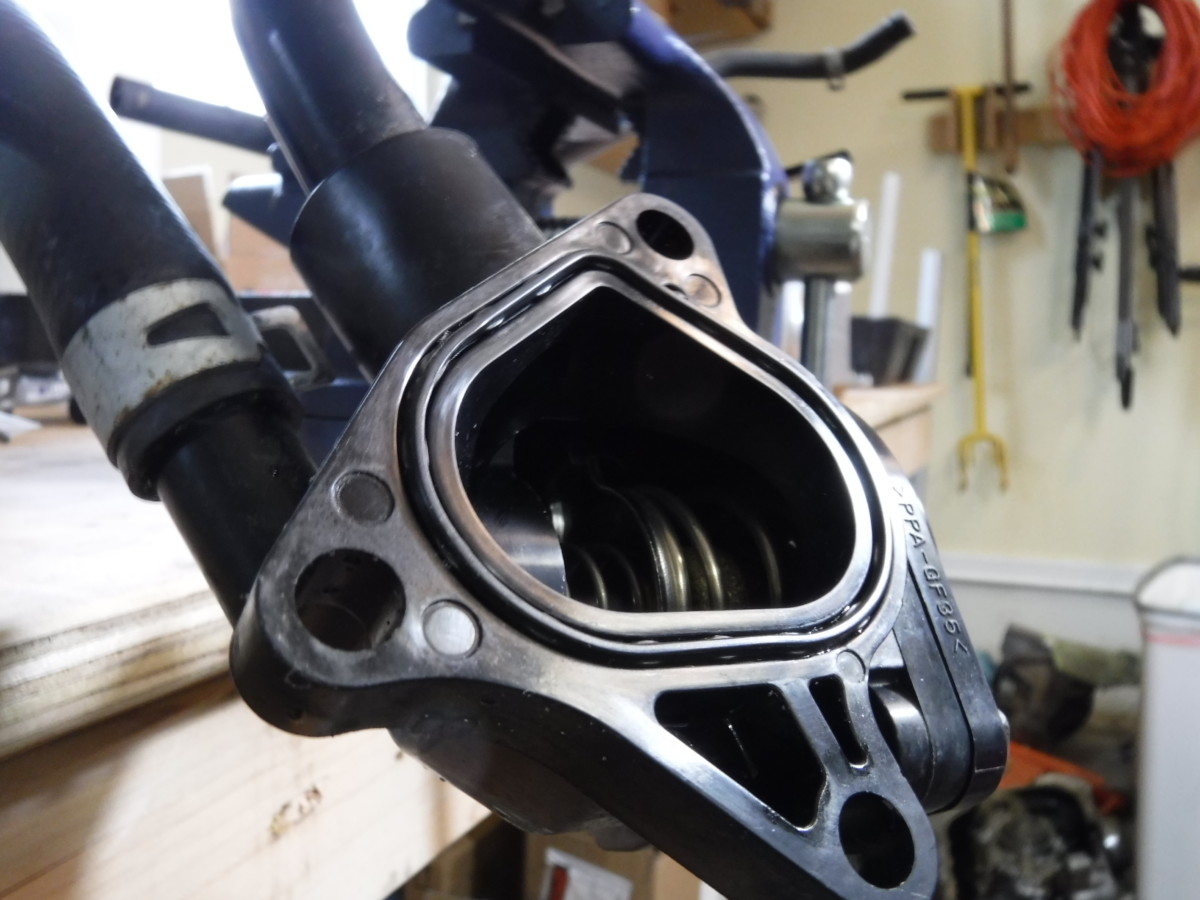
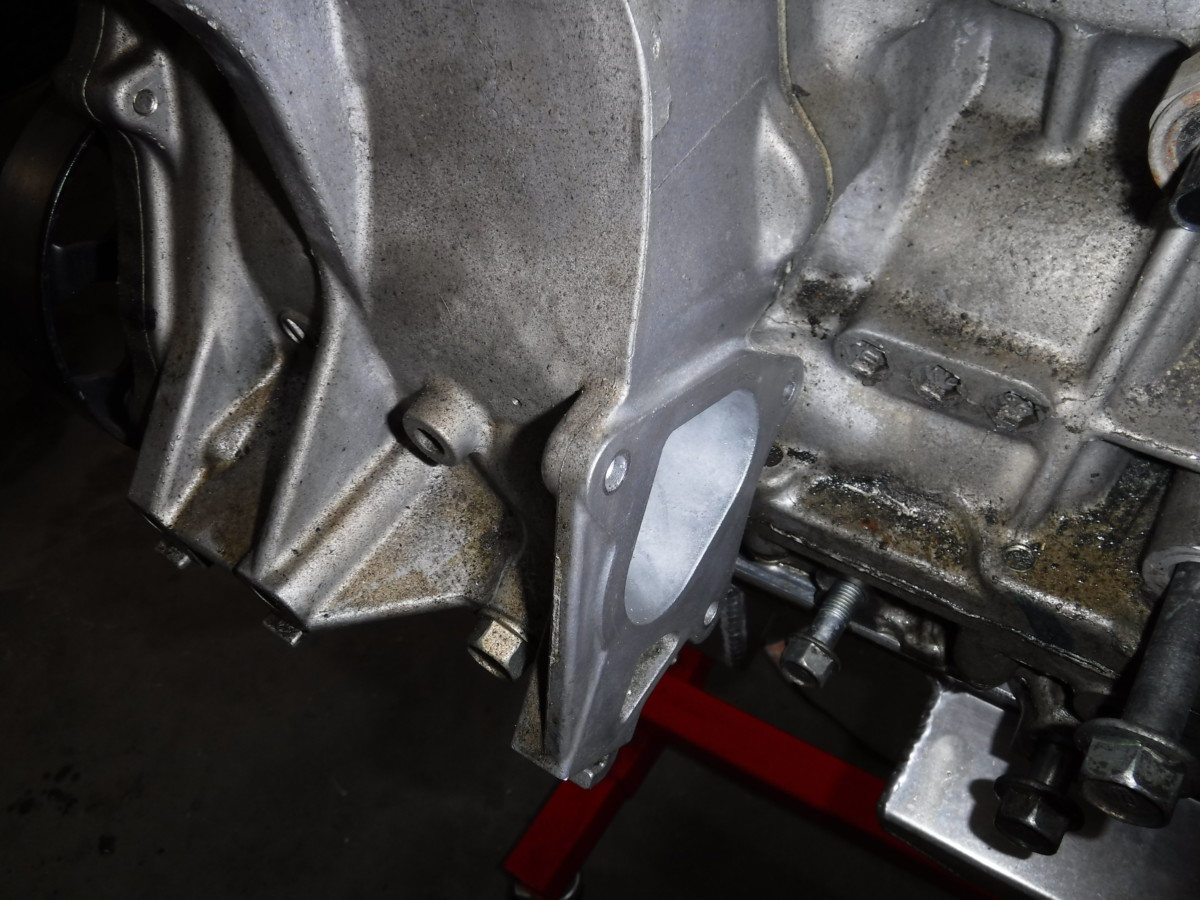
You also want to make sure the mating surfaces for the thermostat housing and the engine are clean. I put some waterproof grease on that o-ring as well.
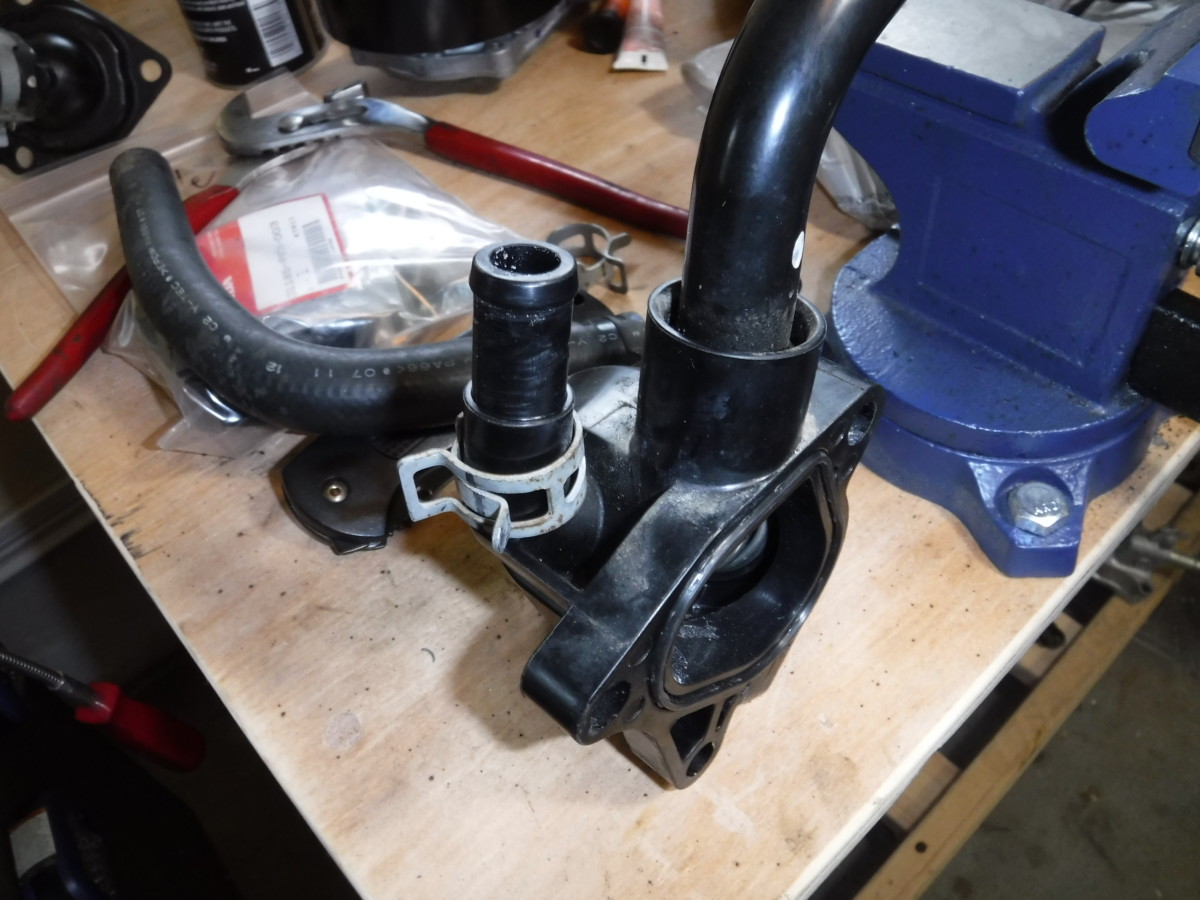
I also removed the factory hose that went here. You do have to replace it, but I'll do that next.
Thermostat Housing Installation
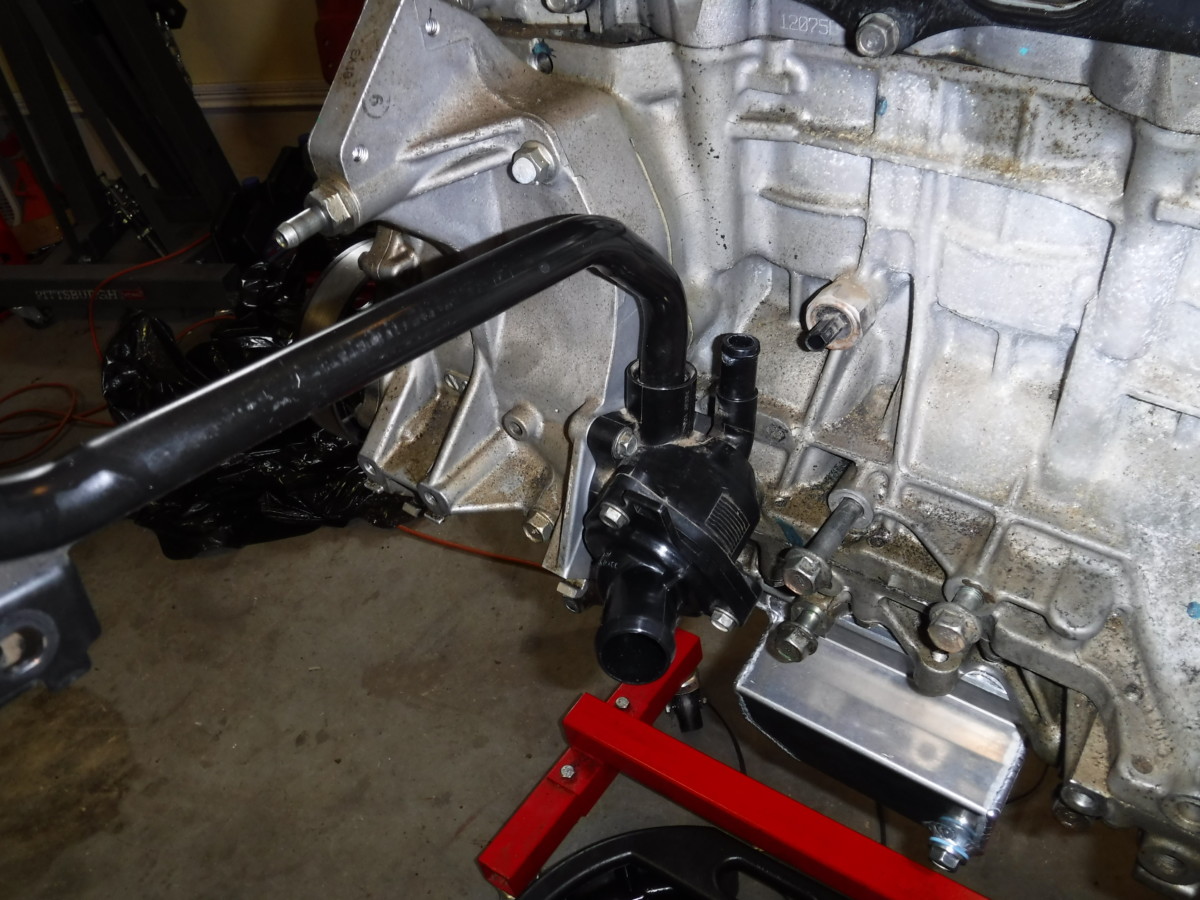
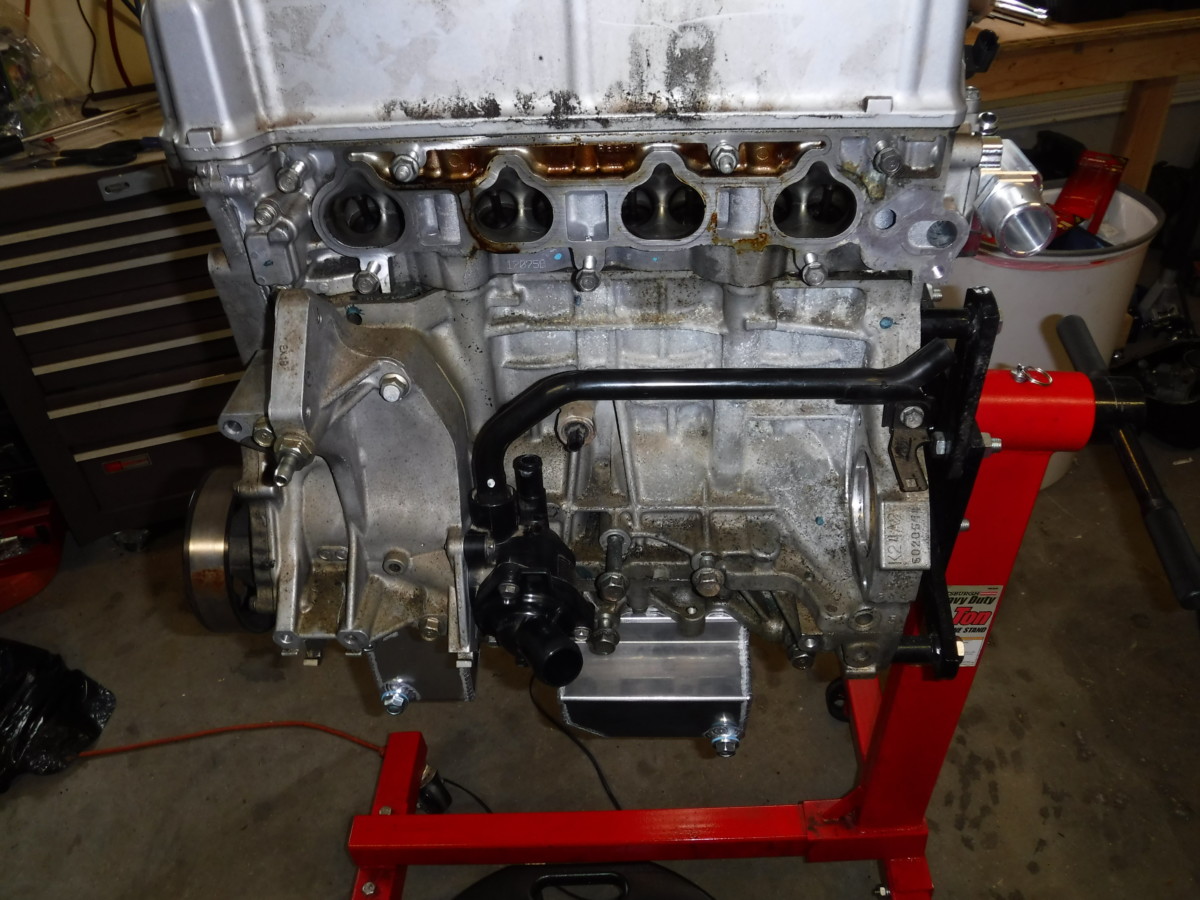
When you install this, you can swing the pipe out of the way to get to the thermostat housing bolts. Once those are evenly torqued down, you can swing the pipe back and bolt up the mounting bracket.
Tractuff Bypass
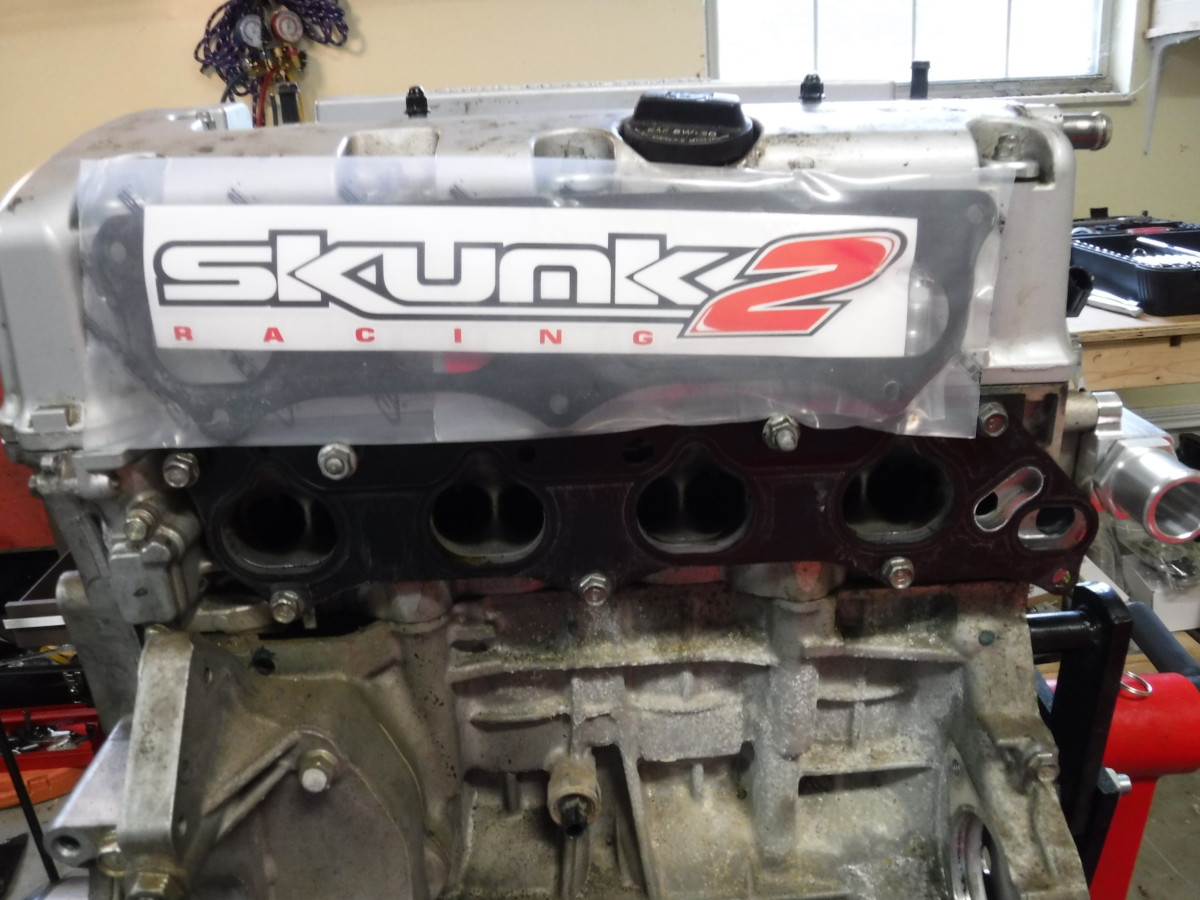
When I started my swap, the KMiata intake manifold didn't exist yet. As a result, I installed the Tractuff bypass and the Skunk2 manifold. Depending on your setup, all of this may not apply. As you can see in the picture above, a k20 intake manifold on a k24 head will not cover the right hand ports, making the bypass necessary. If you are using a k24 manifold, including the KMiata intake manifold, this is not necessary.
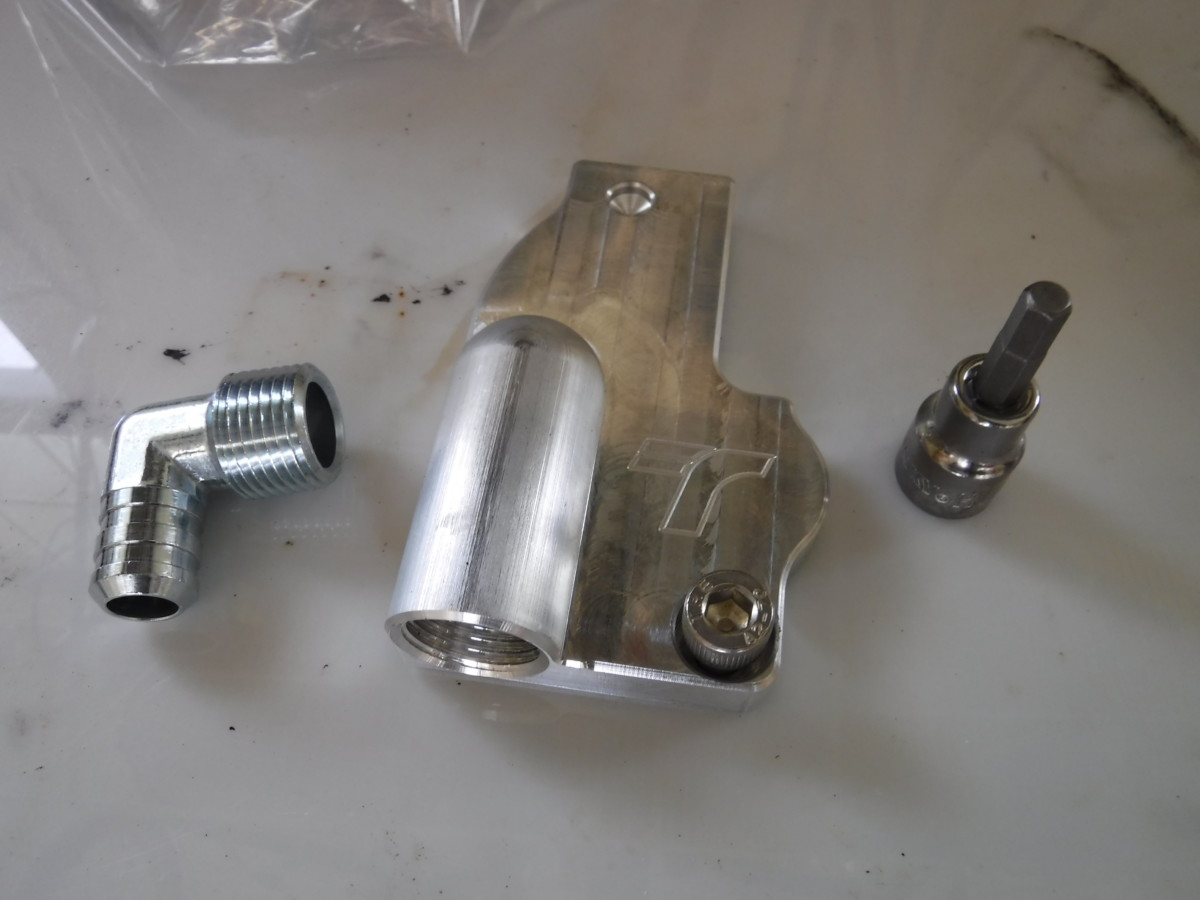
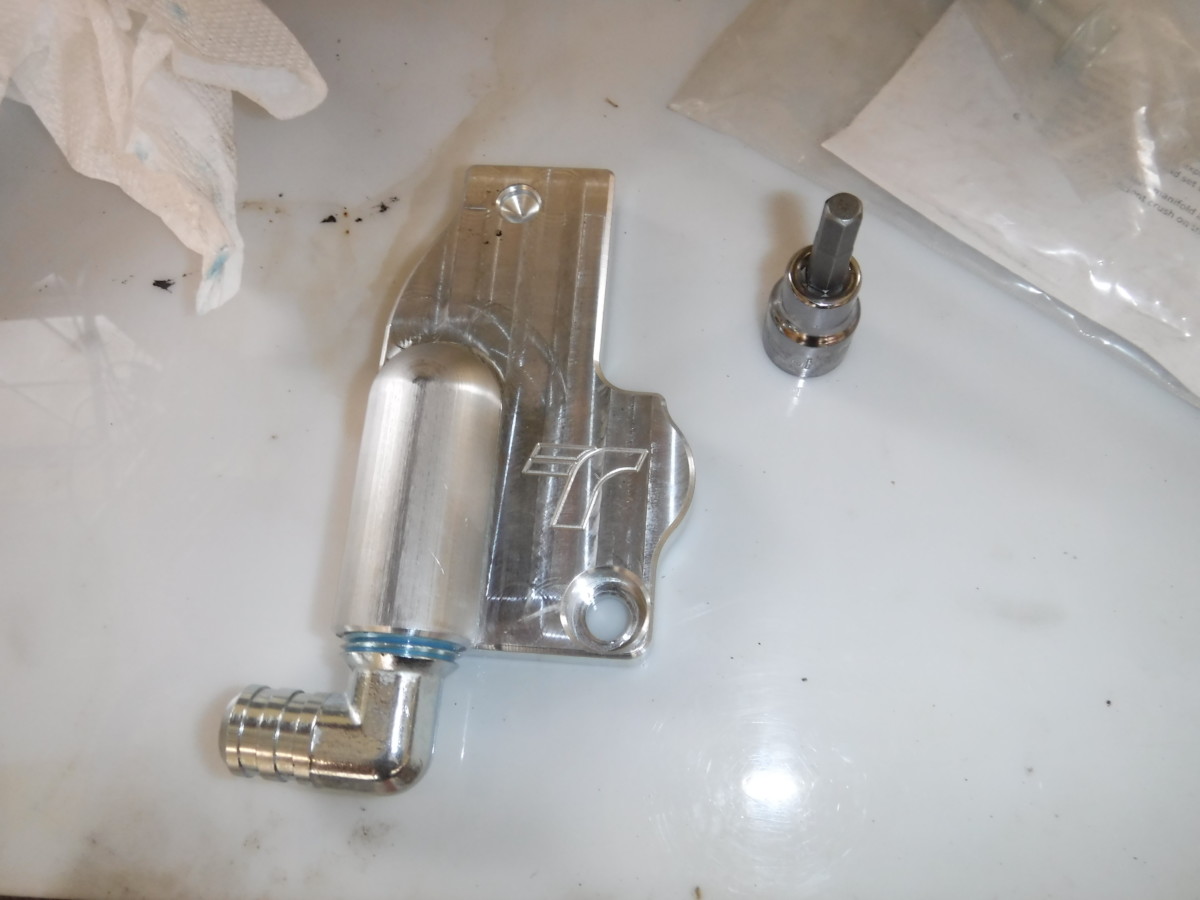
The Tractuff instructions say to use Loctite Blue
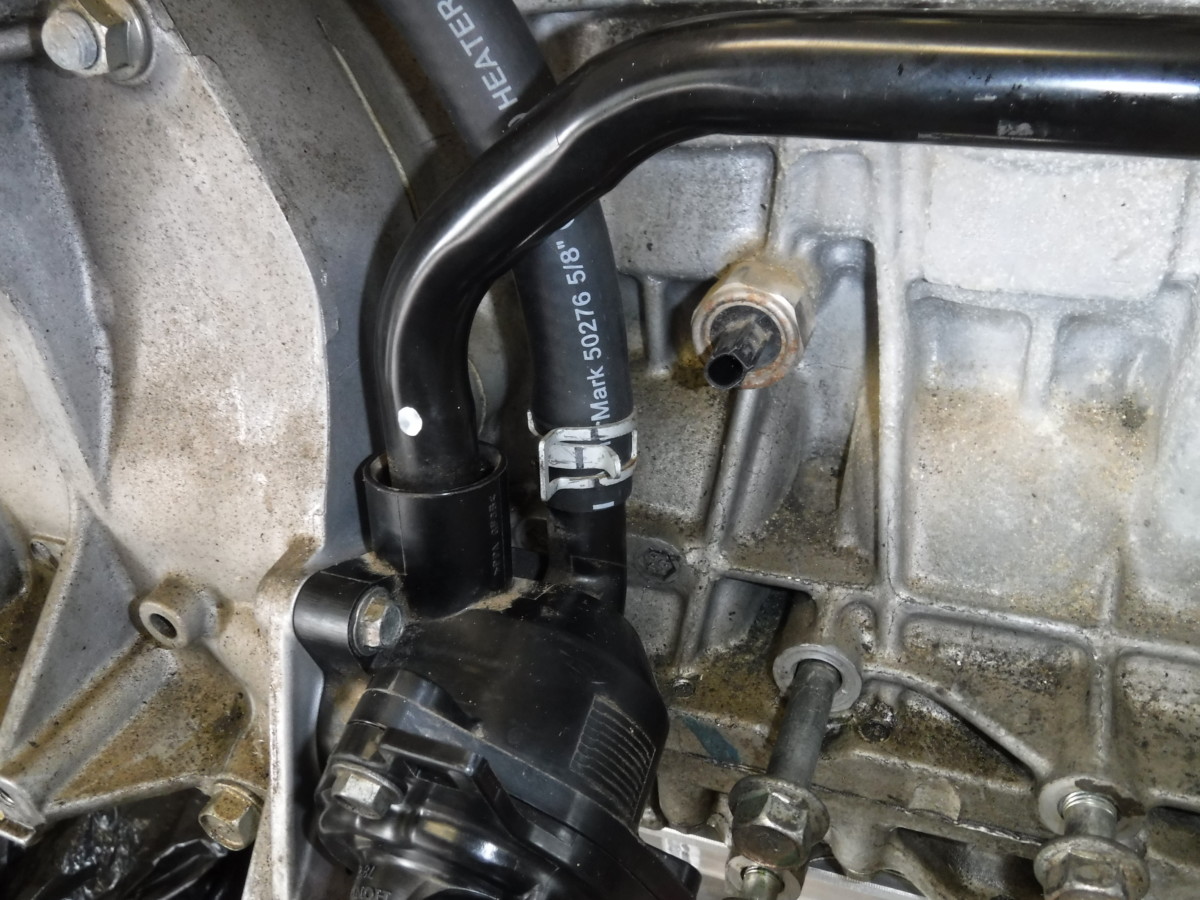
Now you can put the 5/8" heater hose on the housing. I haven't cut it to length yet.
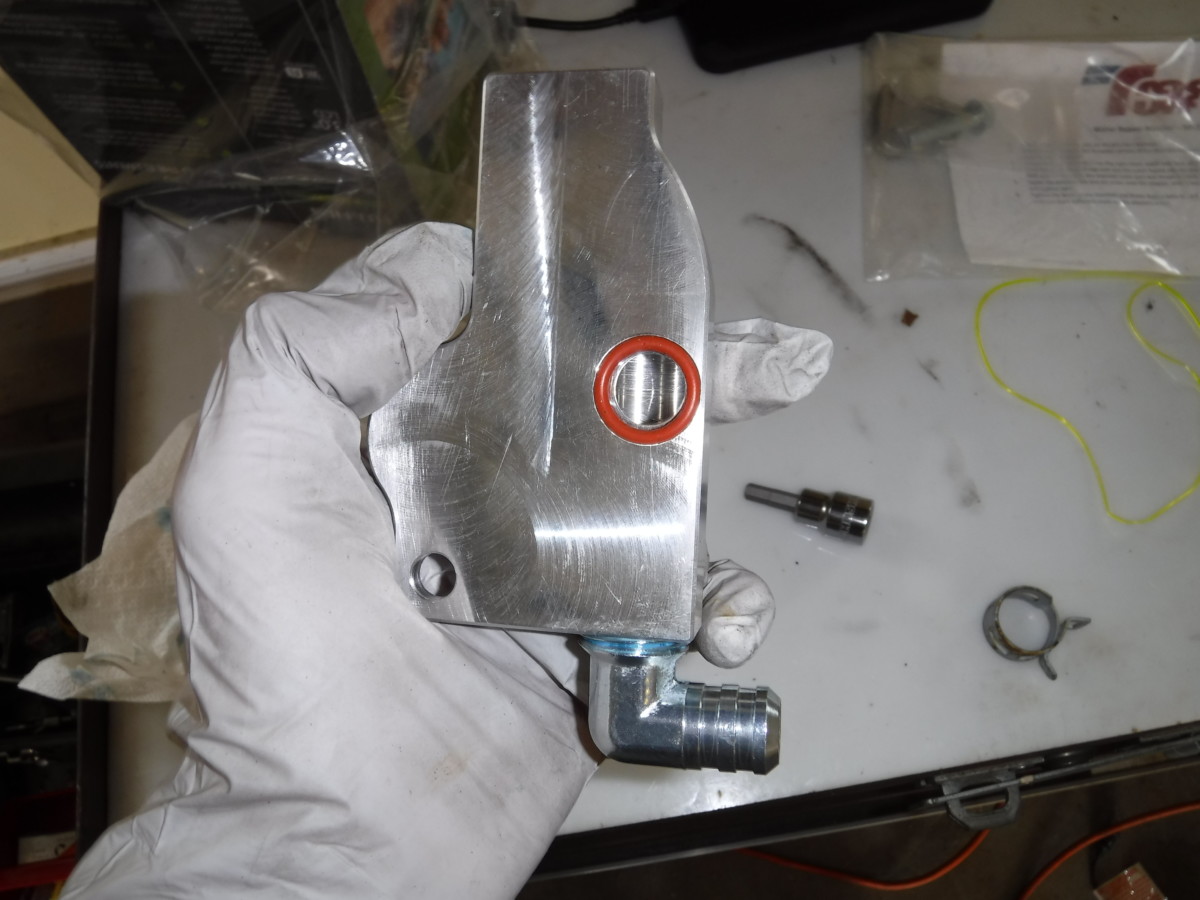
The bypass can now be installed. Make sure you use waterproof grease on this little red o-ring and have it in place before installation.
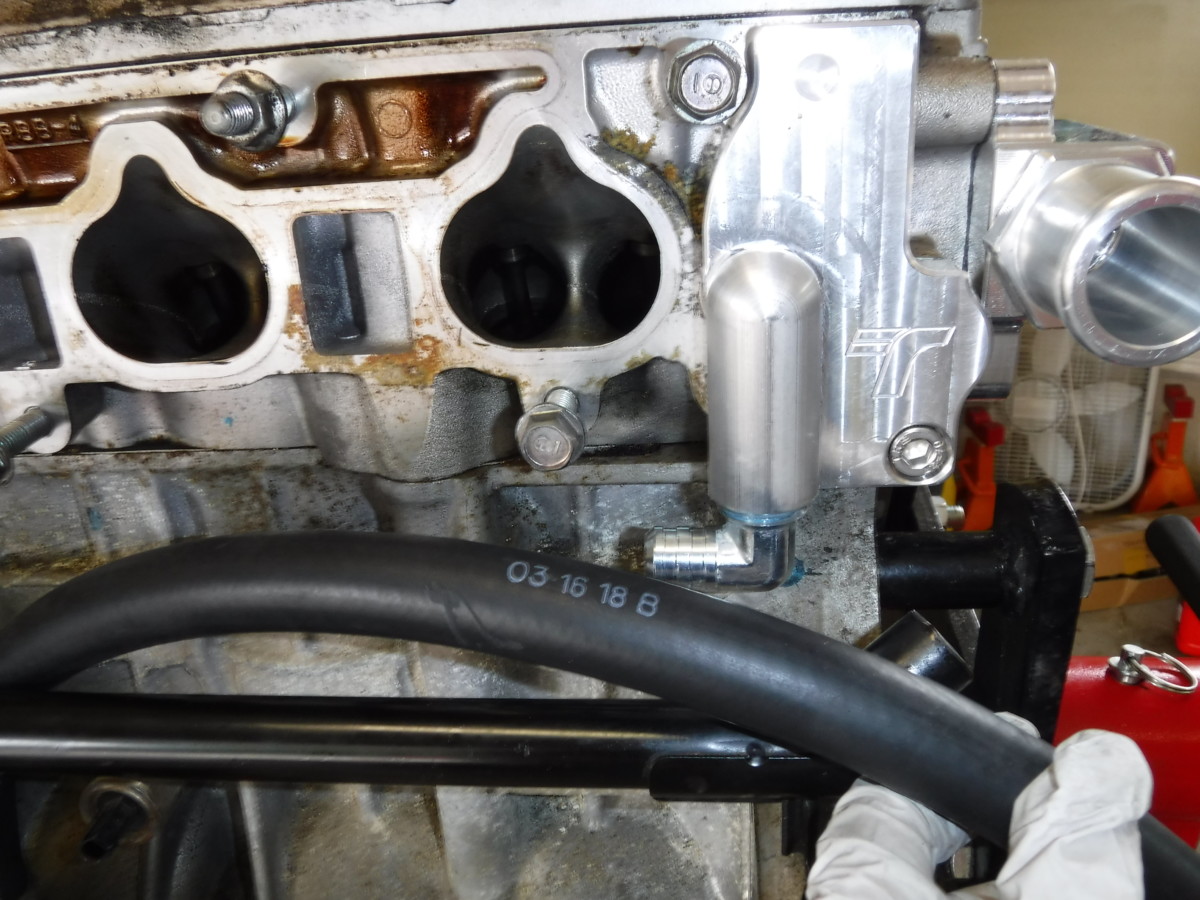
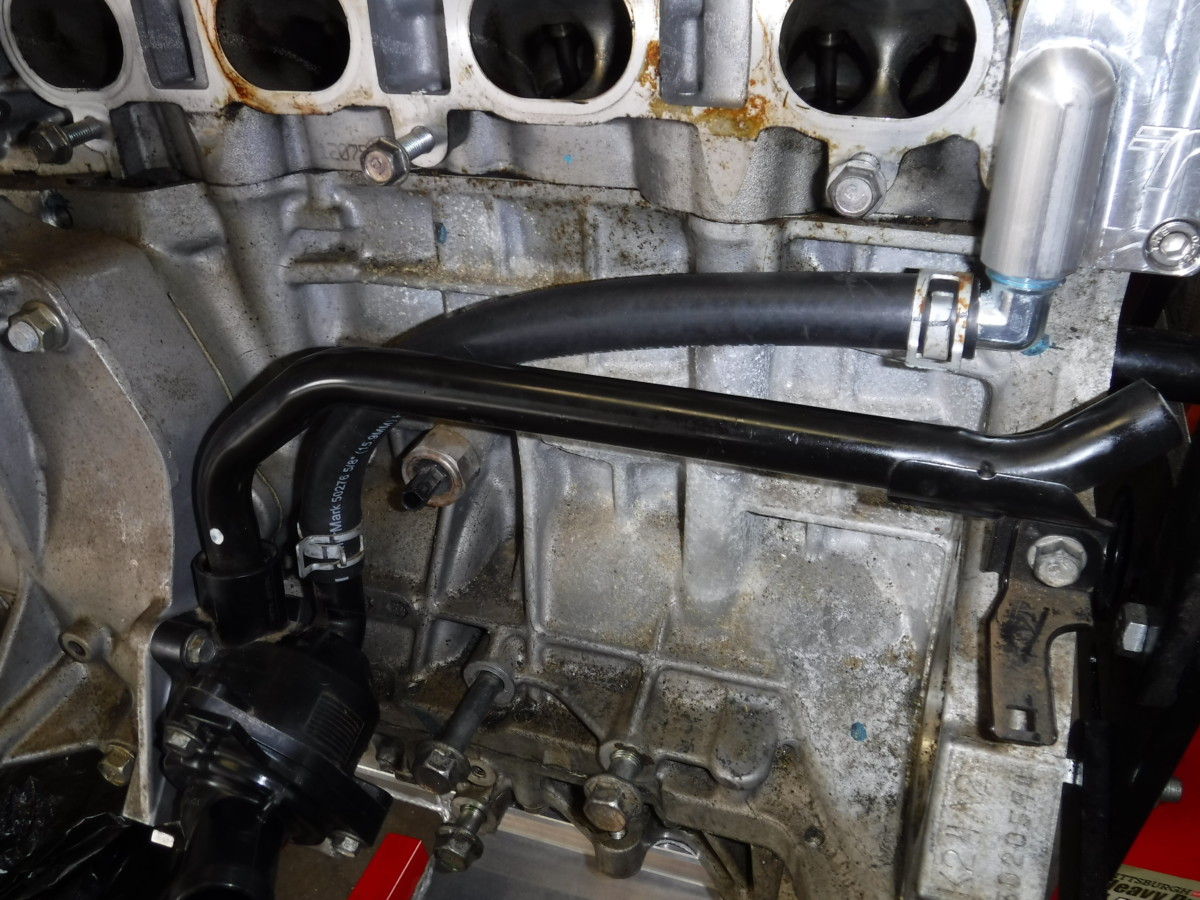
This picture shows the tractuff bypass installed. For now, it is just held with the one allen bolt. Later on, I'll install a second bolt in place of the upper right intake manifold bolt that will secure the top as well, but this will do for now. I cut the heater core hose to length and installed that as well.
Replacing the Water Pump
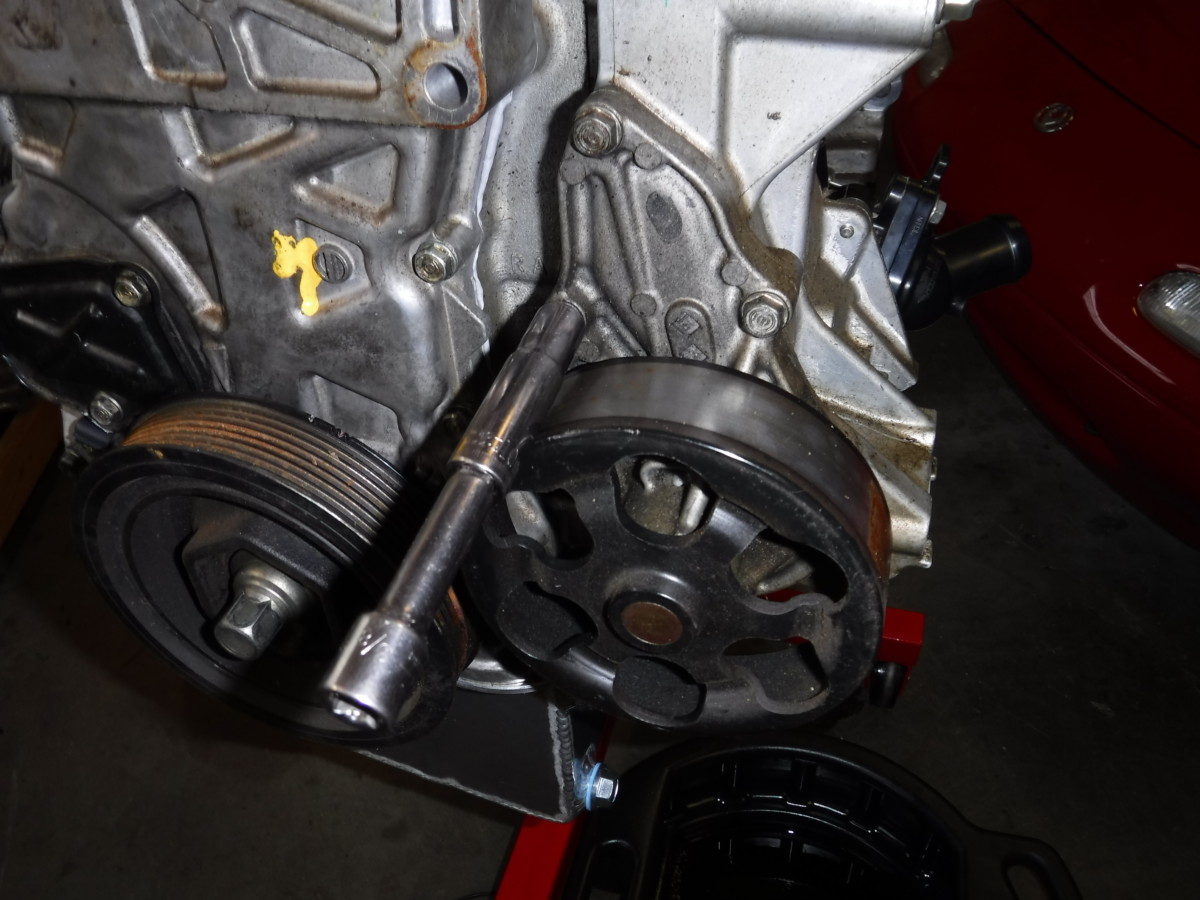
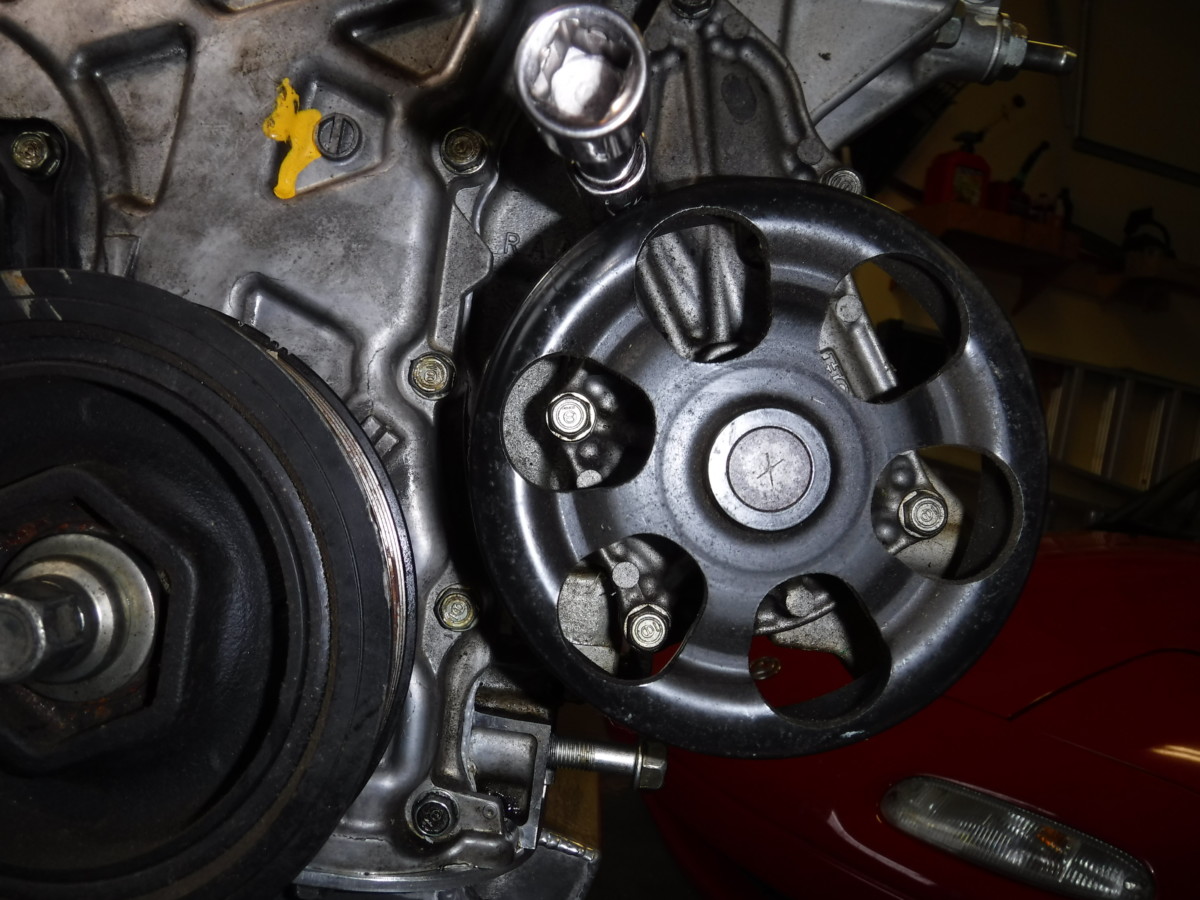
Replacing the water pump seemed like a no-brainer type of maintenance to complete with everything so accessible. In typical Honda fashion, it's a very clean procedure. Simply remove 6 bolts and it drops out.
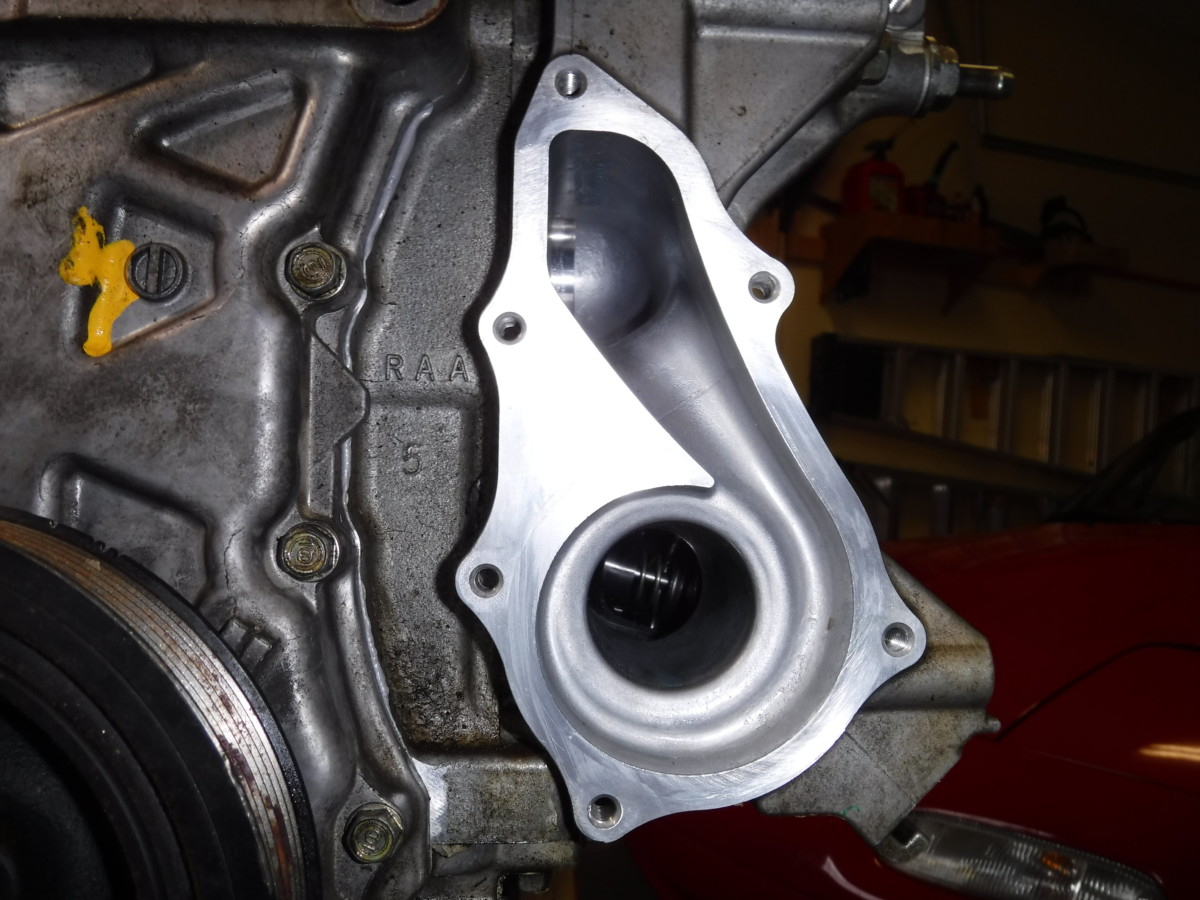
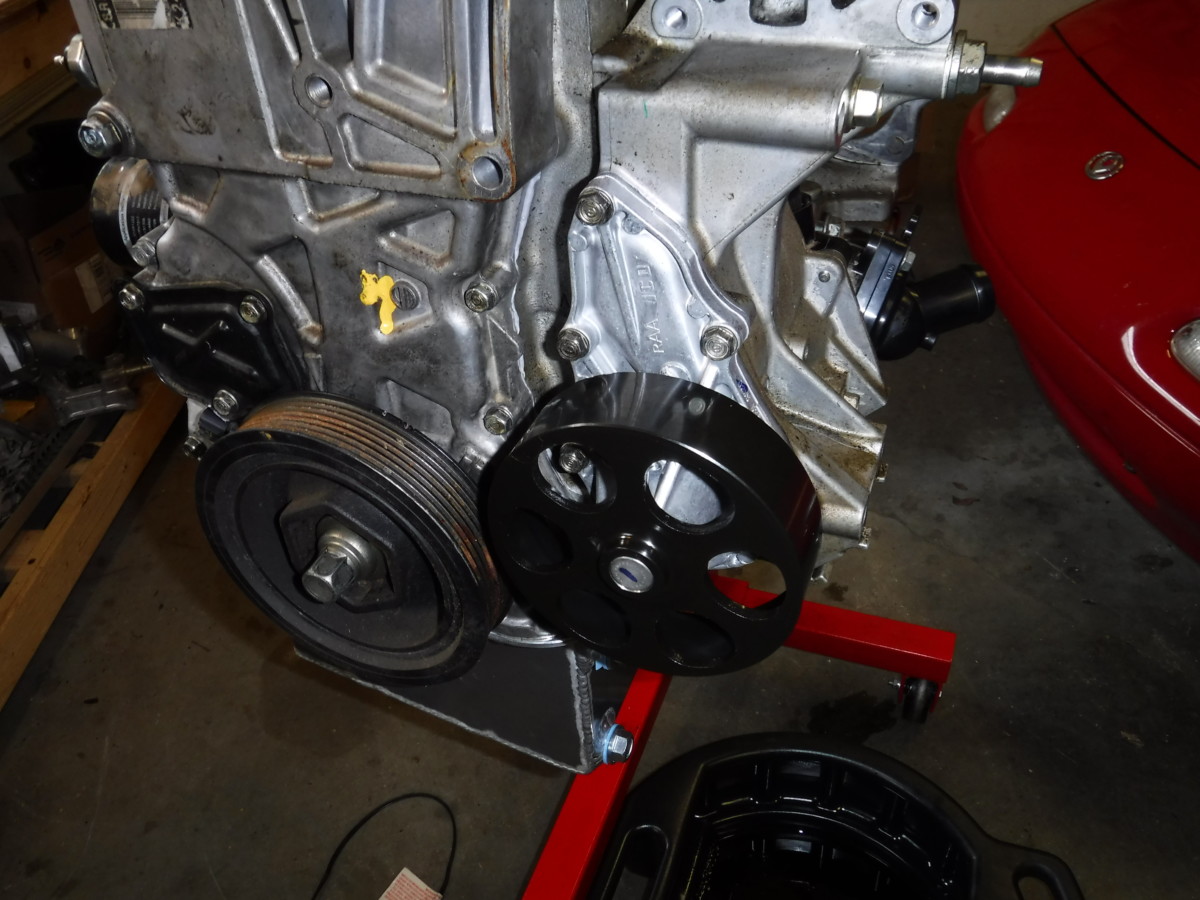
After cleaning up the mating surface, here is the new water pump installed. It only requires 9 lb-ft for all 6 bolts, torqued down evenly.
Installing the Idler Pulley
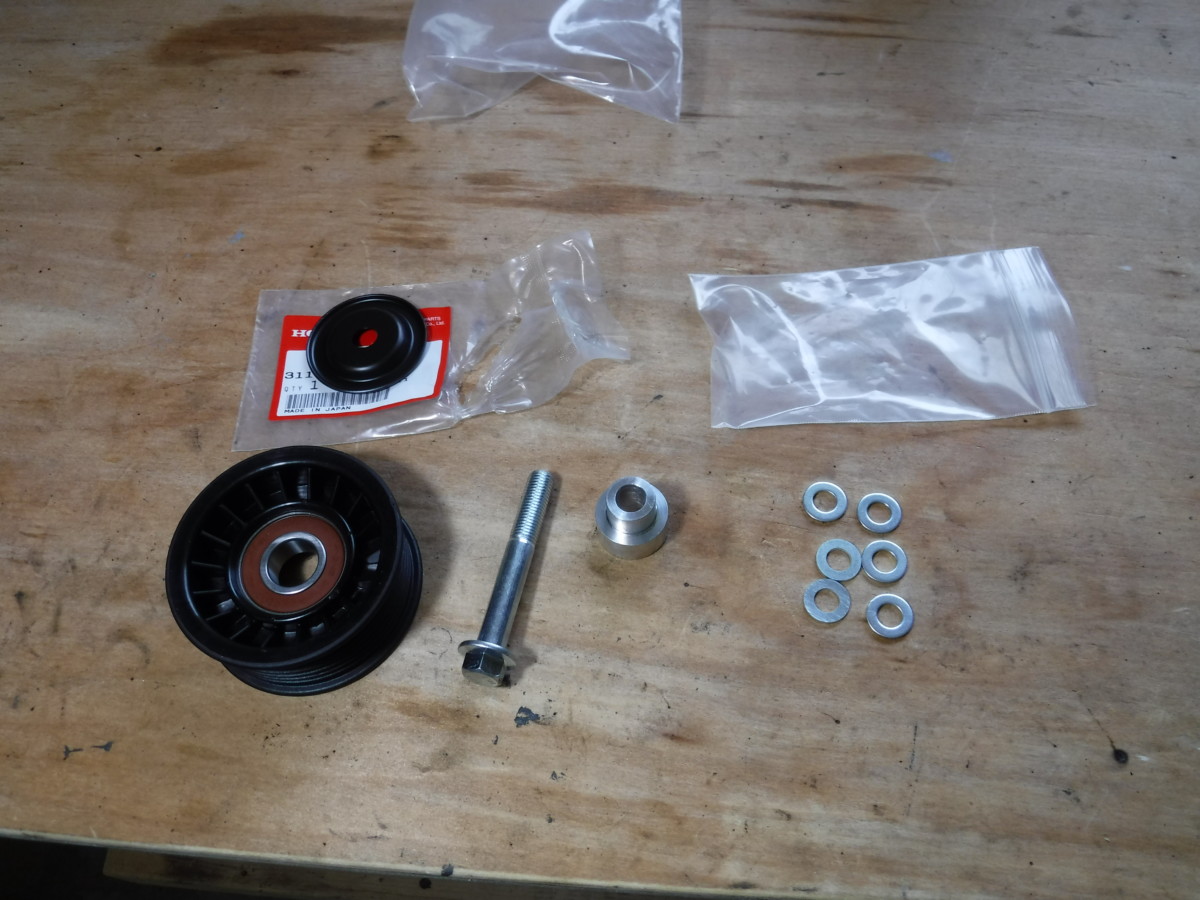
My kit predates the KMiata manifold allowing you to retain the factory tensioner. If you choose to keep the factory tensioner, you skip this step. This is the KMiata idler pulley that deletes the factory tensioner. The tradeoff is that you have to route your coolant lines further around the intake manifold, rather than under it like I do. The resulting tensioning setup is more ghetto here though.
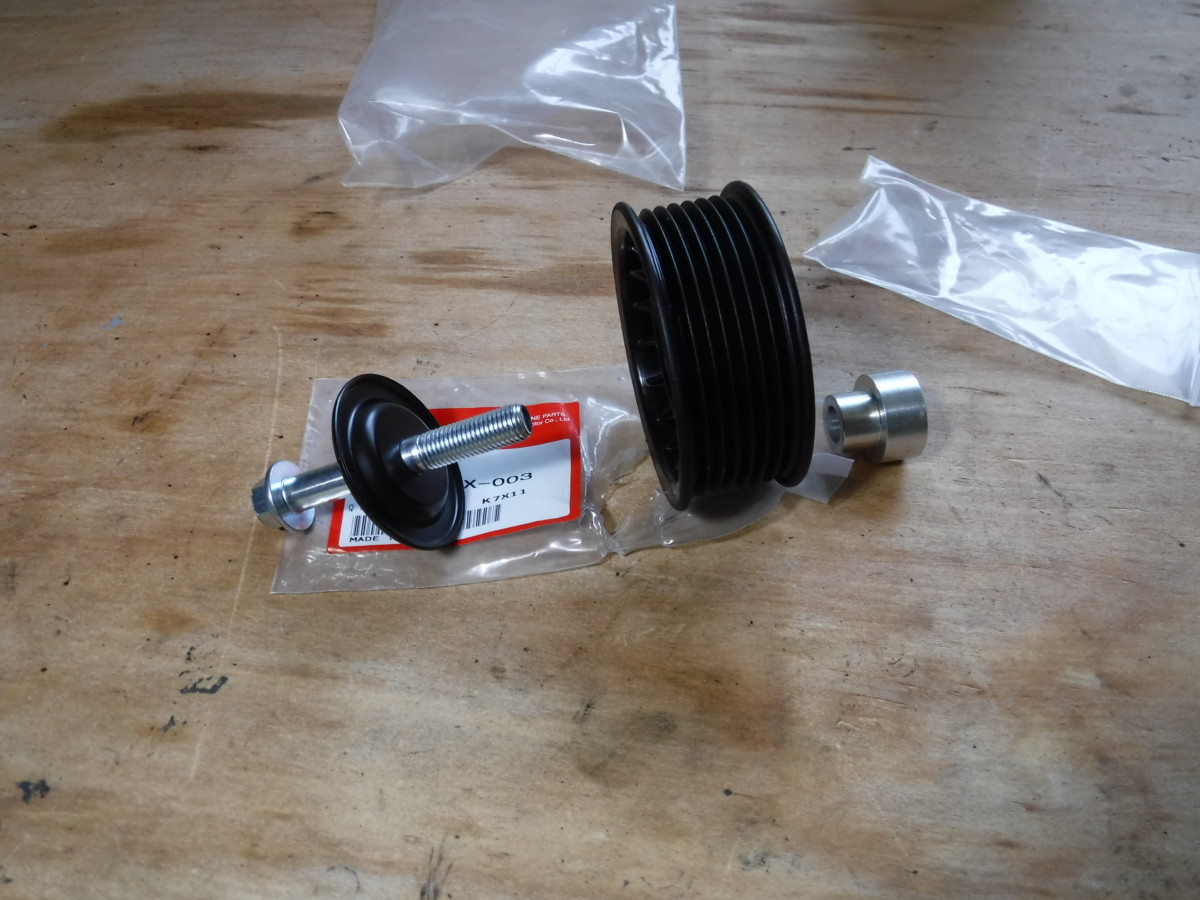
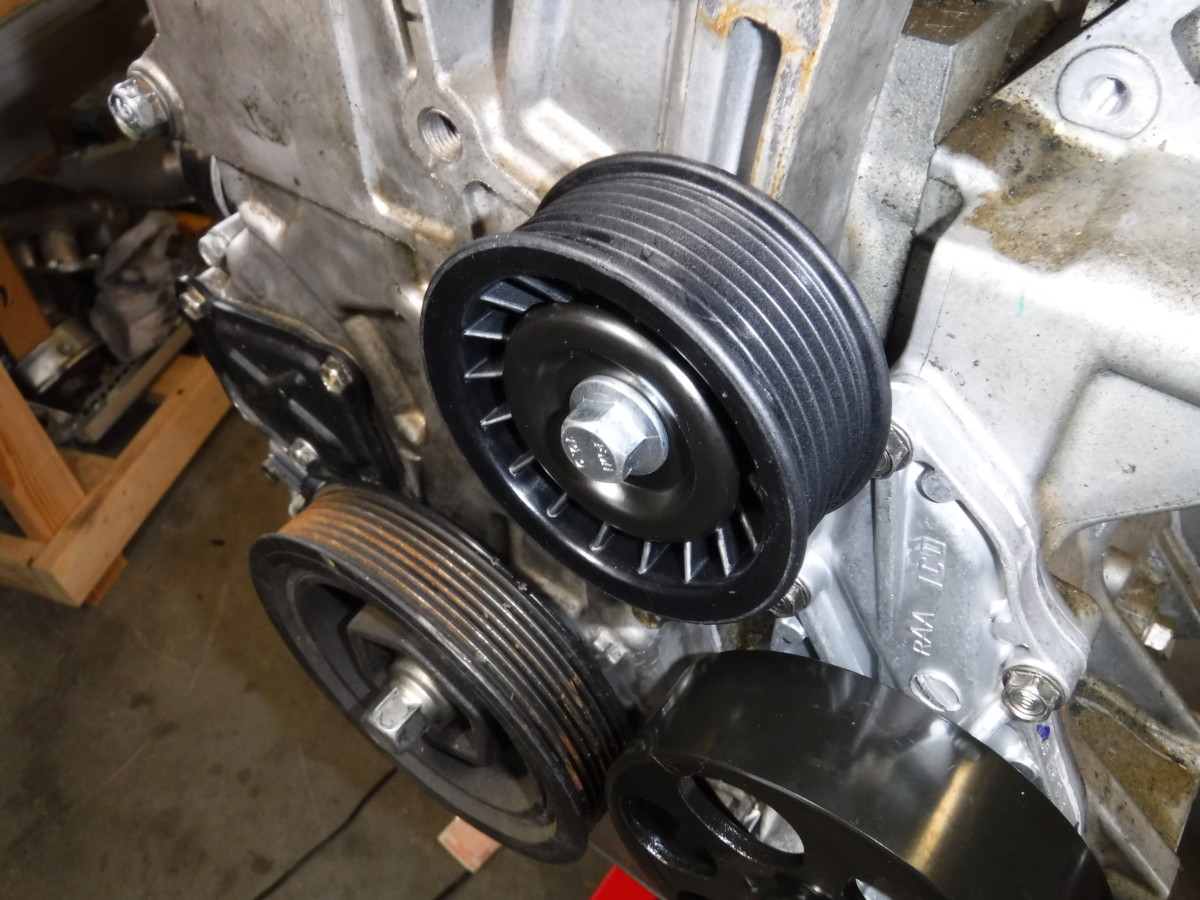
The components for the pulley install in this order. Line it up and torque it down.
Trimming the Dipstick
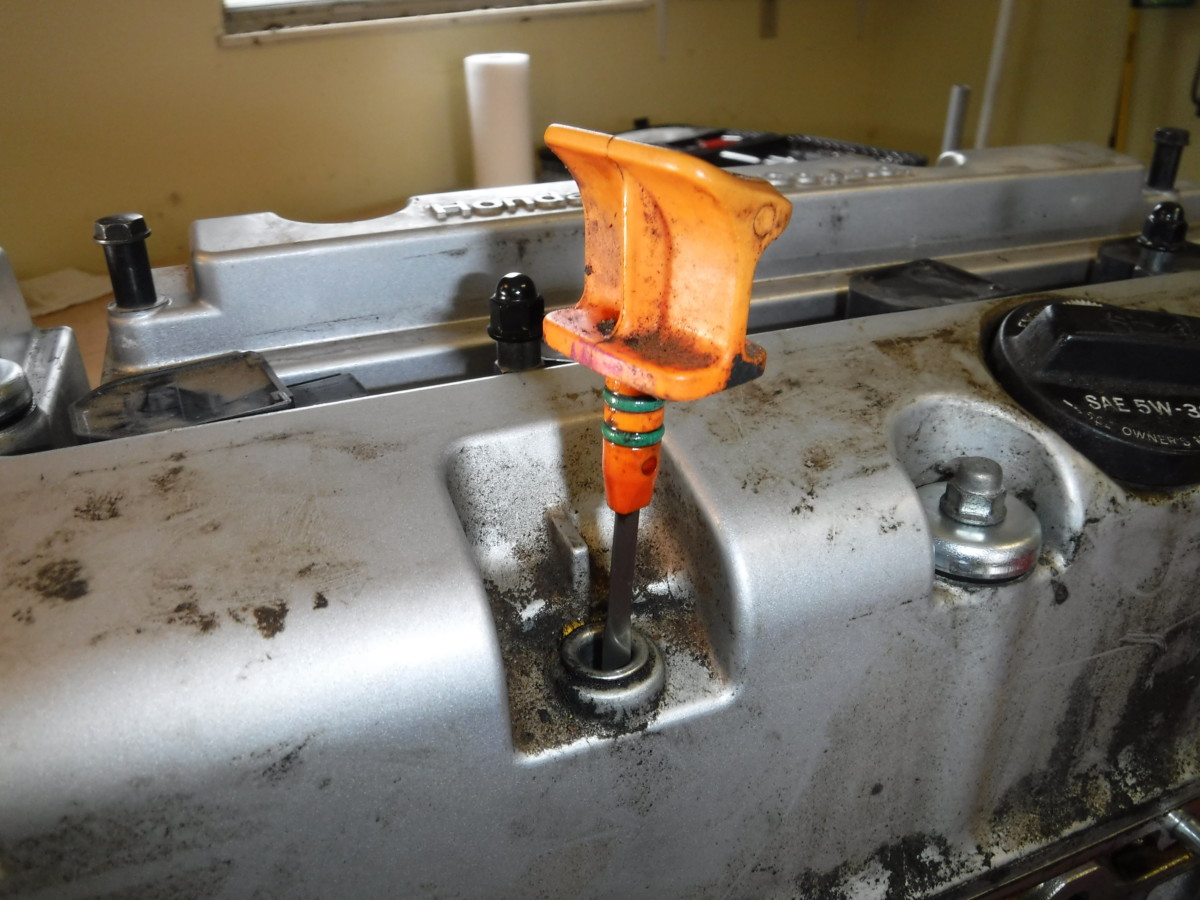
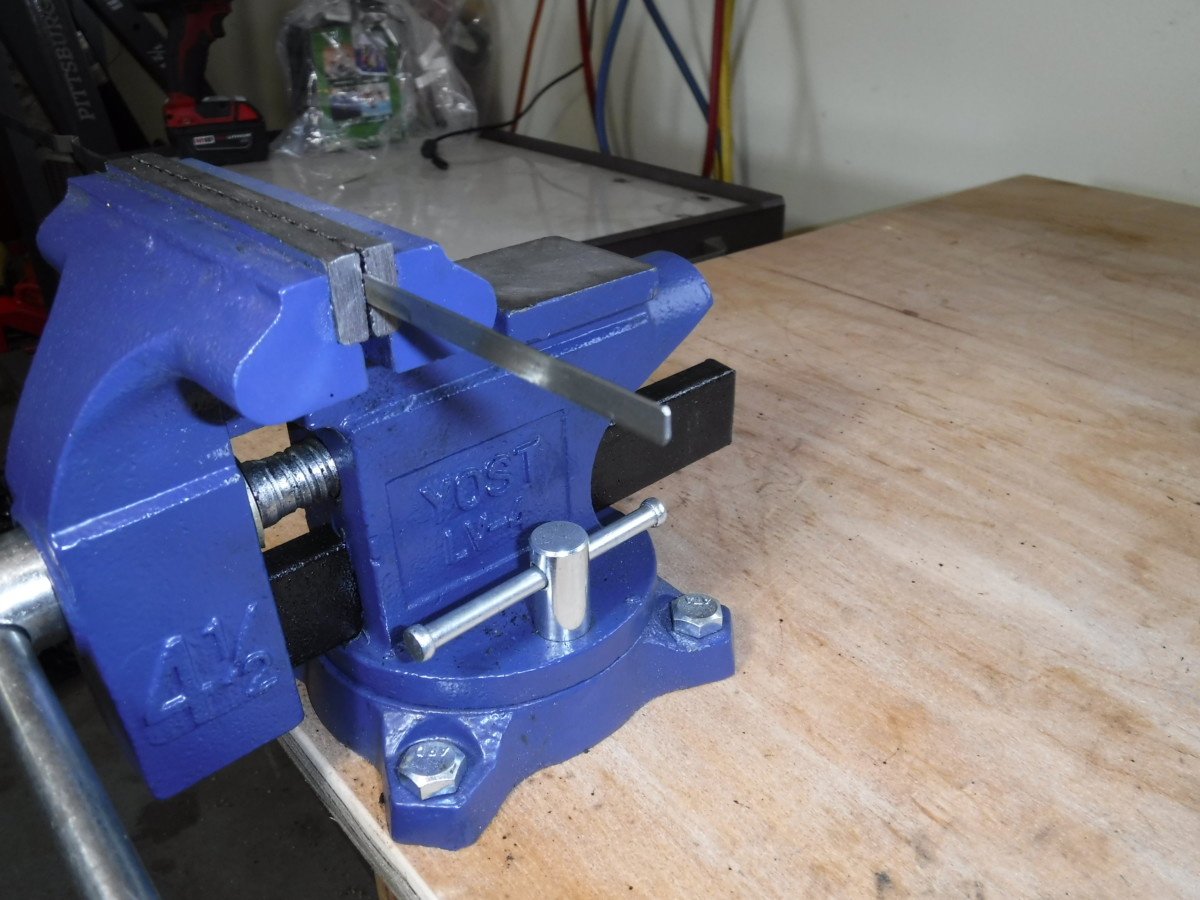
The dipstick from the original motor is too long with the new oil pan setup. I just stuck it in my vise and cut a couple inches off based on how far it was sticking up out of the valve cover.
Eventually, I plan to go back and drill a hole or score some lines to mark where "full" is. This isn't a major problem though, since the new KMiata oil pan has a fill plug.
(Optional) Installing Oil Filter Sandwich Plate
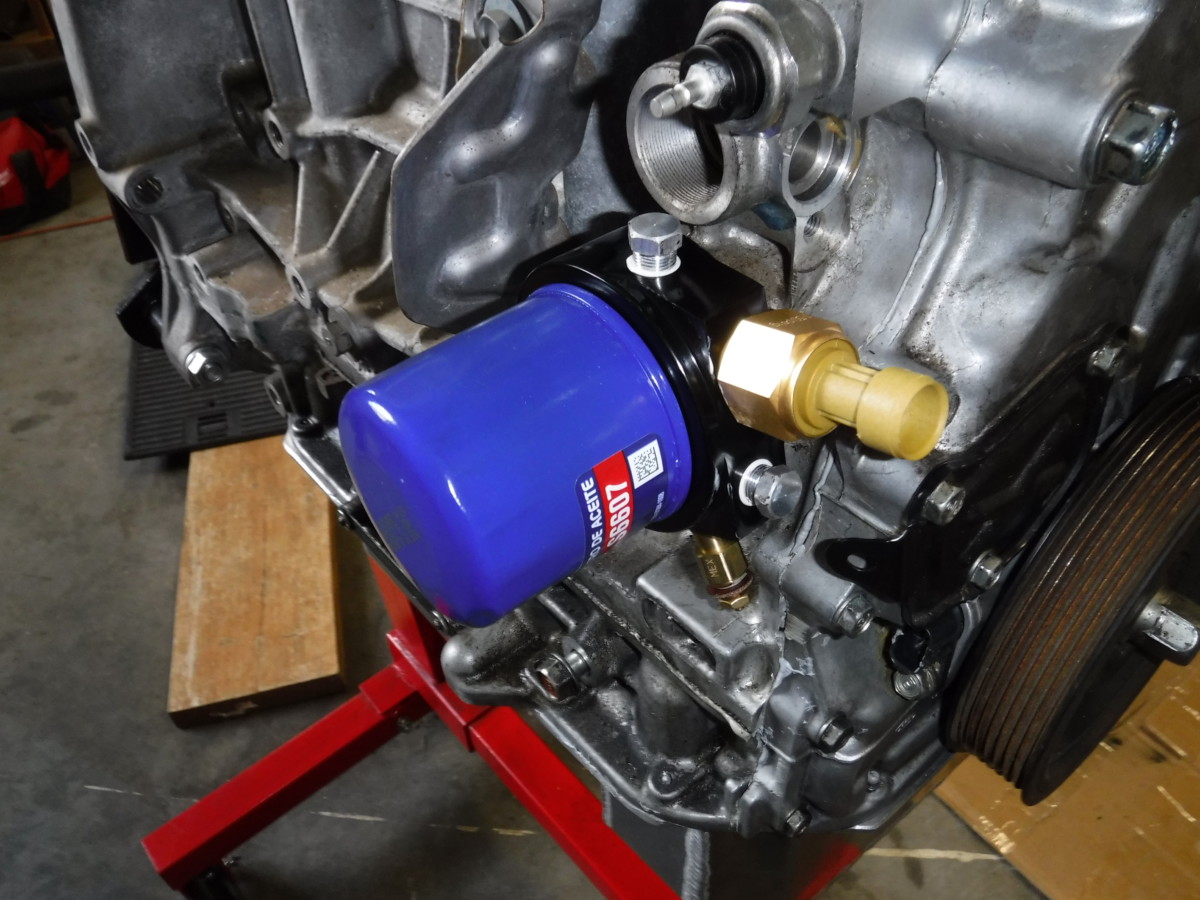
In addition to my Vei water/oil temperature gauge, I wanted to run an AEM 0-150 PSI Oil Pressure Gauge

I could have kept the 90-93 "real" Miata oil pressure gauge, but the sender is very big. I was legitimately wondering about weight and clearances for it, so I figured getting the AEM was the move.
Wrap-up
And that's it for K24A2 external engine prep. Refer to the K24 Miata Swap Main Page for the next steps.
2 Comments
Comments are archived from the previous version of this site and are closed.
Joel March 28, 2023
Hi do you know which sensor we use for the OEM Miata temp gauge? I am struggling to find the right one.
James Spadaro March 30, 2023
So for an NB, there is only one temp sensor and you use that.
For the NA, the right answer is the temp sensor that actually doesn't fit the k-power plate. I never got mine sorted out, but from what I understand, wiring the "wrong" na sensor to the dash gauge mostly works.
In other words, use the gauge that fits the plate, but swap the sensor wires so it goes to the dash instead of the ECU.
Whatever you do, I would absolutely 100% watch your temperatures via OBD2 or KPro to make sure you know where on the gauge corresponds to what temperature.