K24 Miata Swap - Transmission Installation with the KMiata Adapter
Transmission installation with the KMiata adapter for a k24 swapped Miata is pretty straightforward. The full swap kit includes the flywheel, transmission adapter plate, and so on. I used a Flyin Miata Level 1 clutch that I already had, but I've heard great things about SuperMiata's clutch.
See All K24 Swap Articles: K24 Miata Swap Main Page
Kit Parts
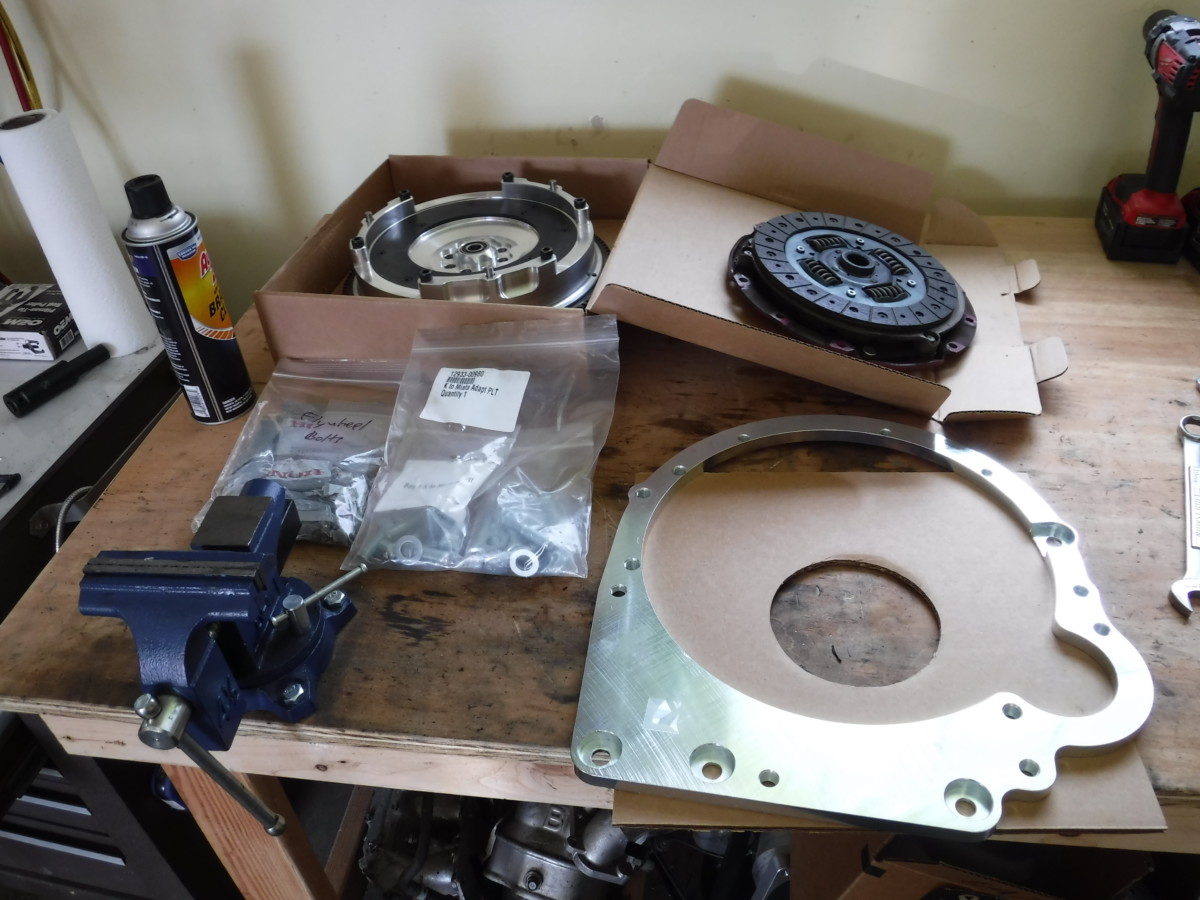
Here are all of the parts required for transmission installation with the KMiata adapter.
Removing the old pressure plate
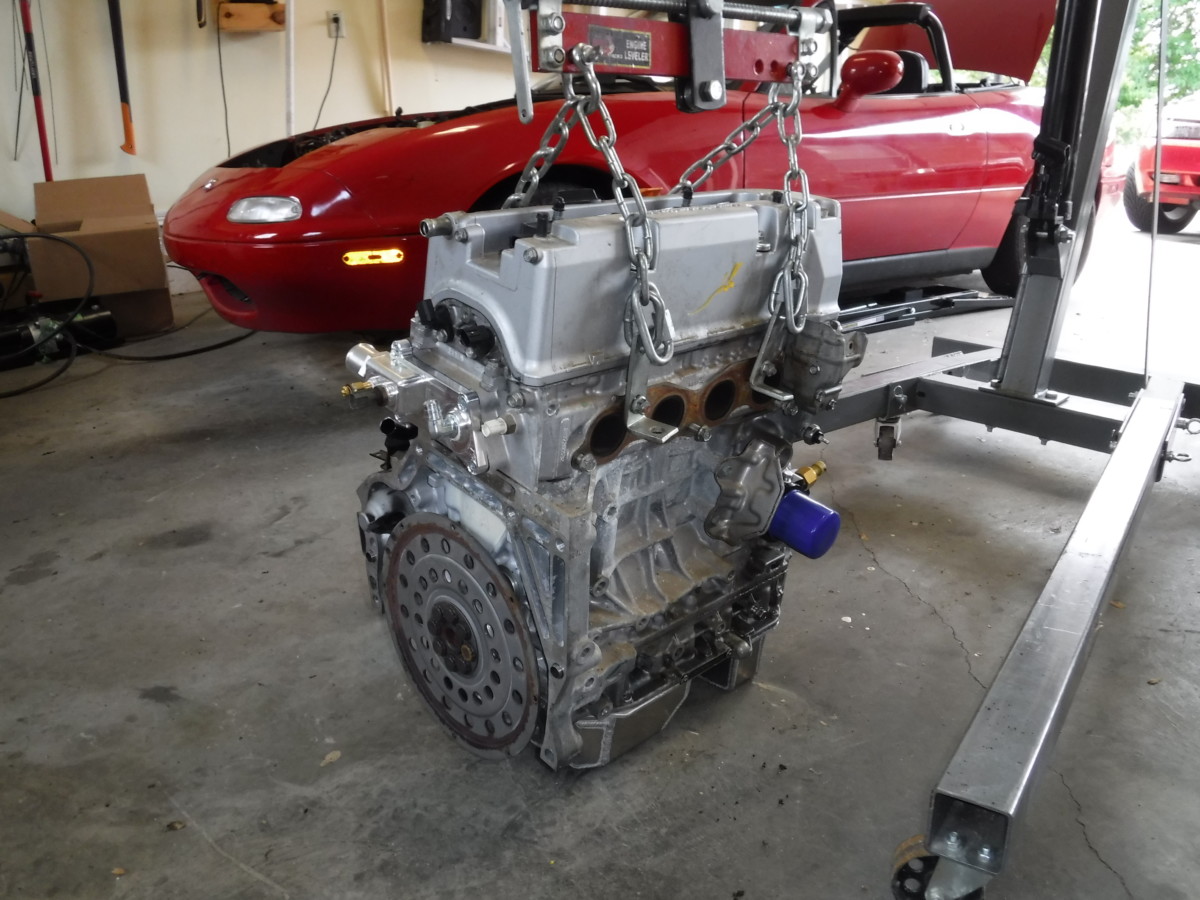
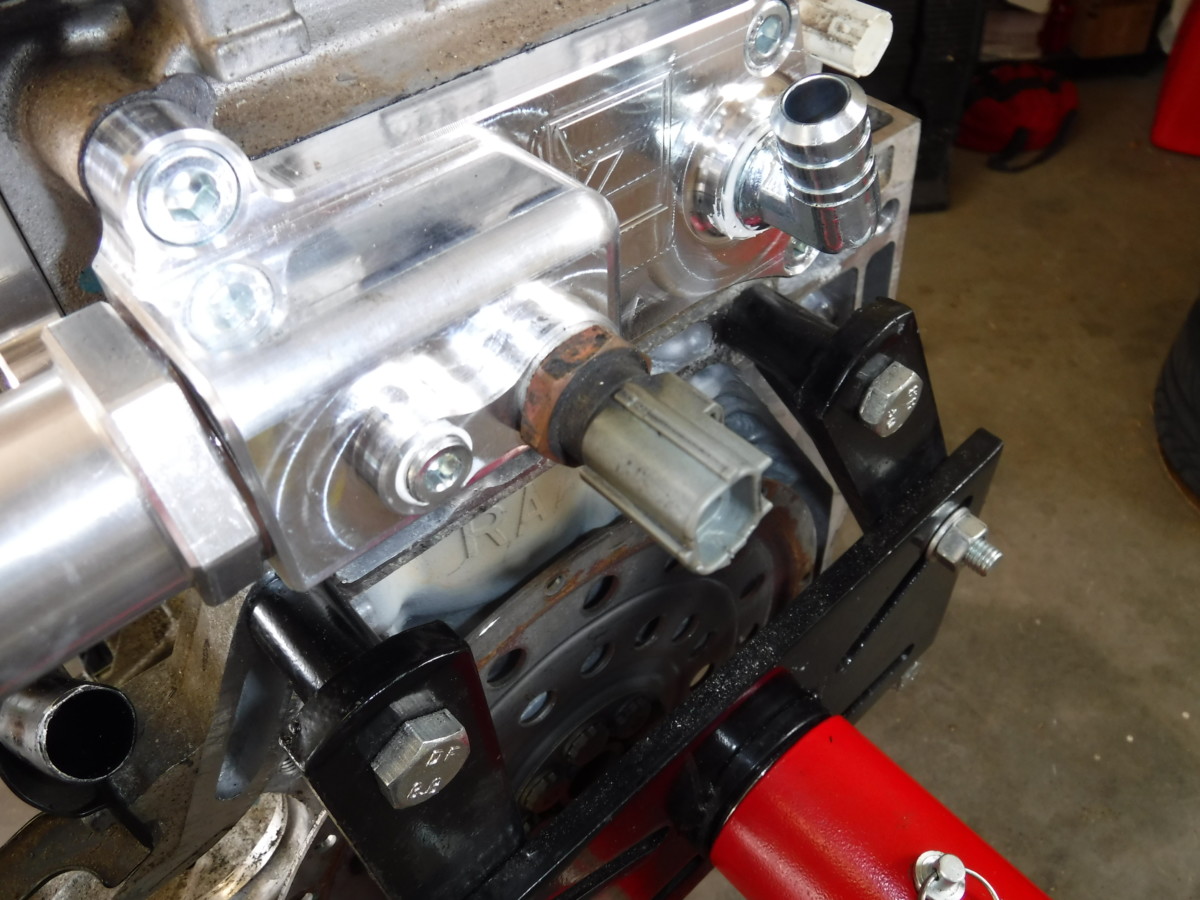
If your motor is like mine, it will still have the old pressure plate attached, assuming it was from an automatic. Of course, this has to go.
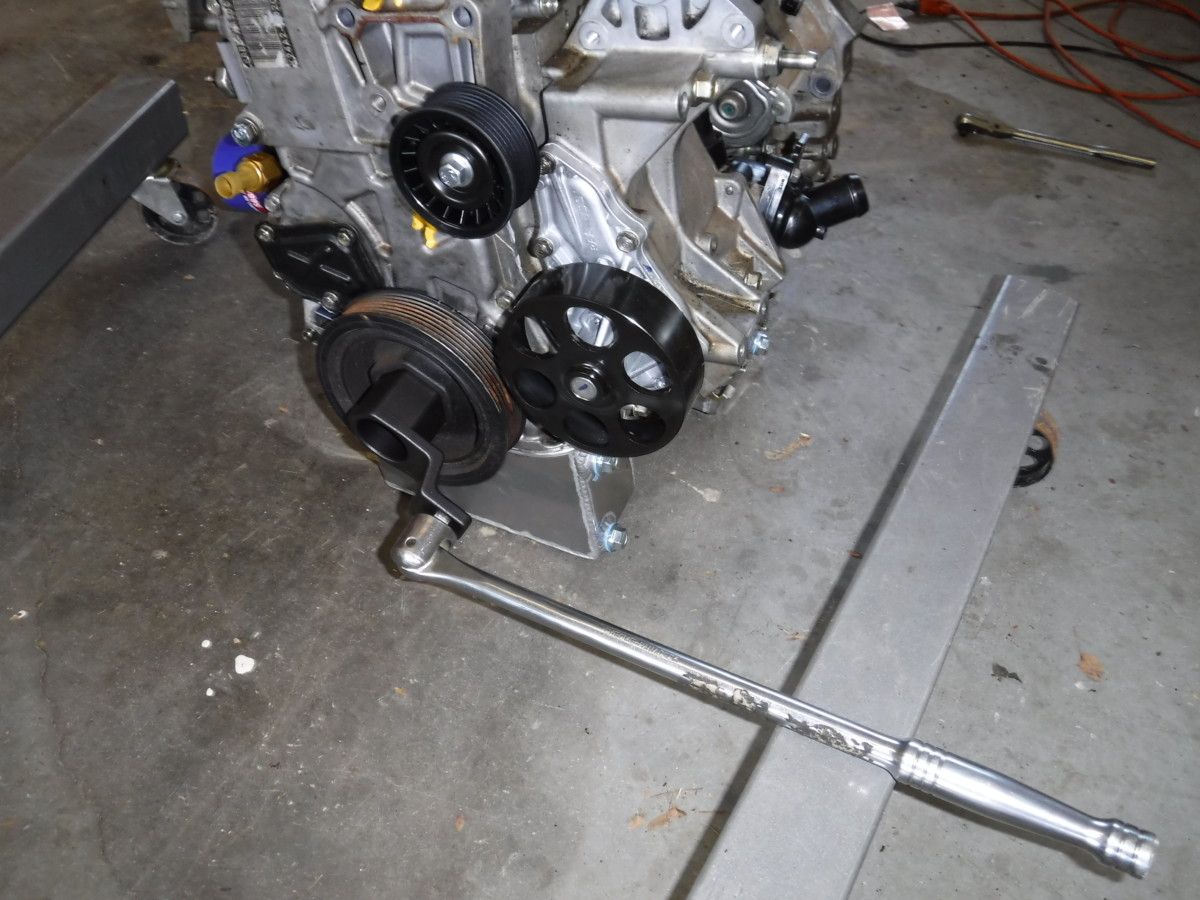
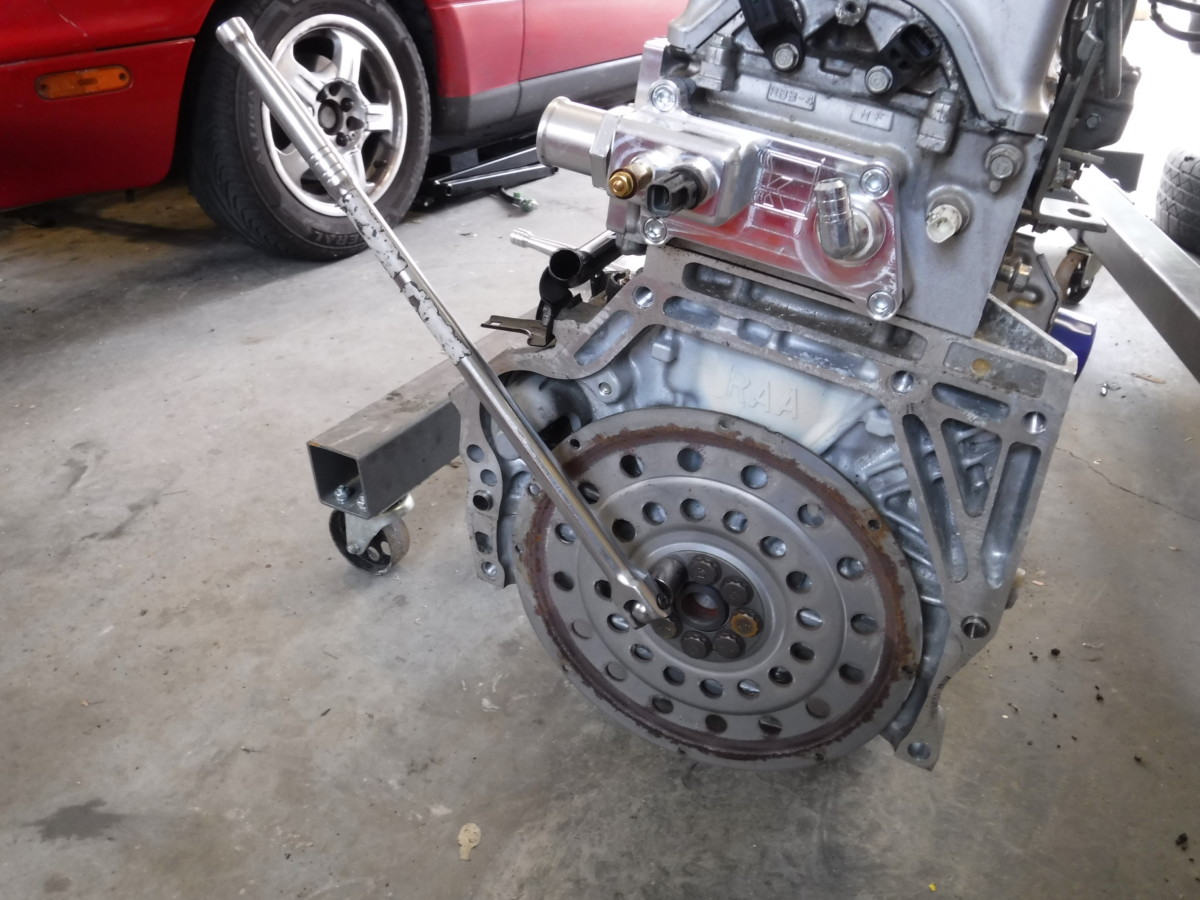
An impact may have worked here, but I opted for the safer approach. There's a Honda crank pulley tool
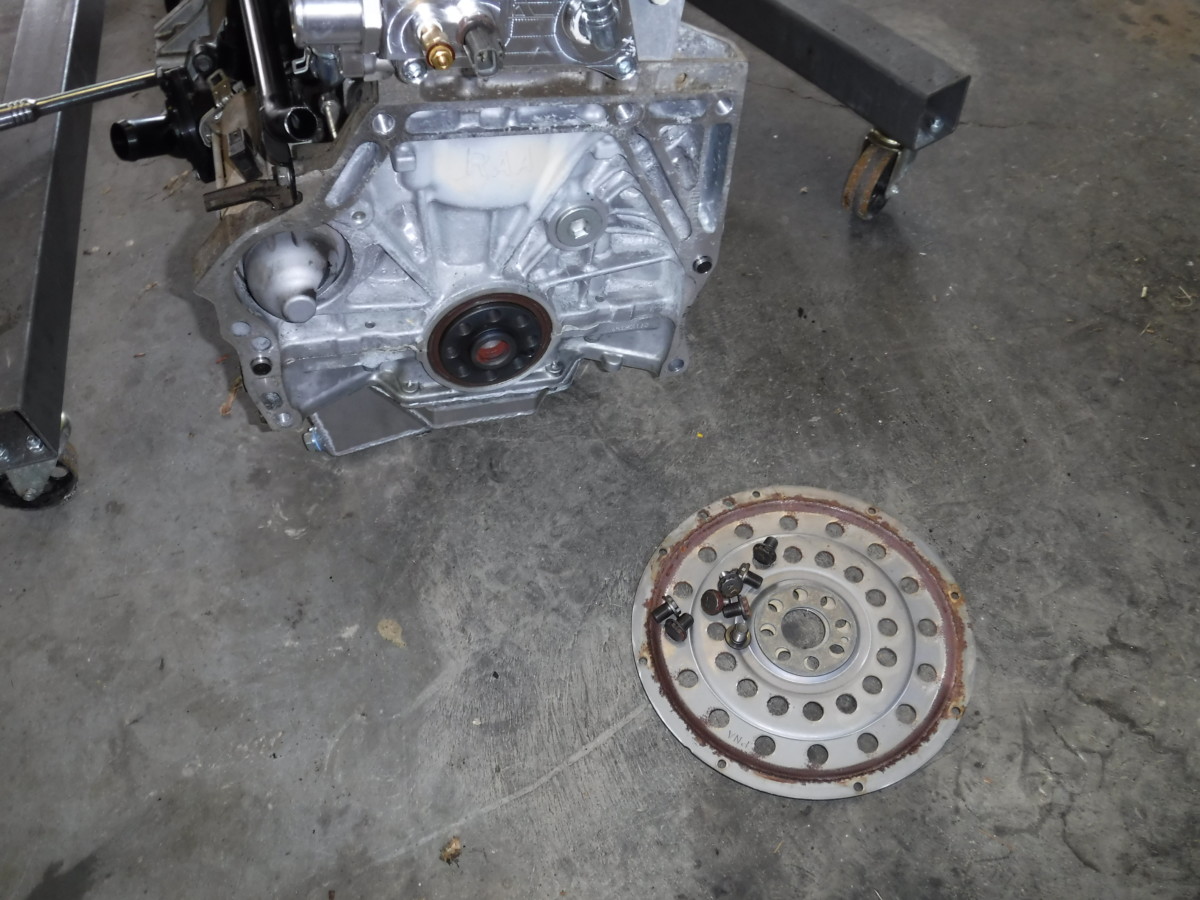
The flywheel bolts themselves require a 17mm 12-point socket
Notching the transmission
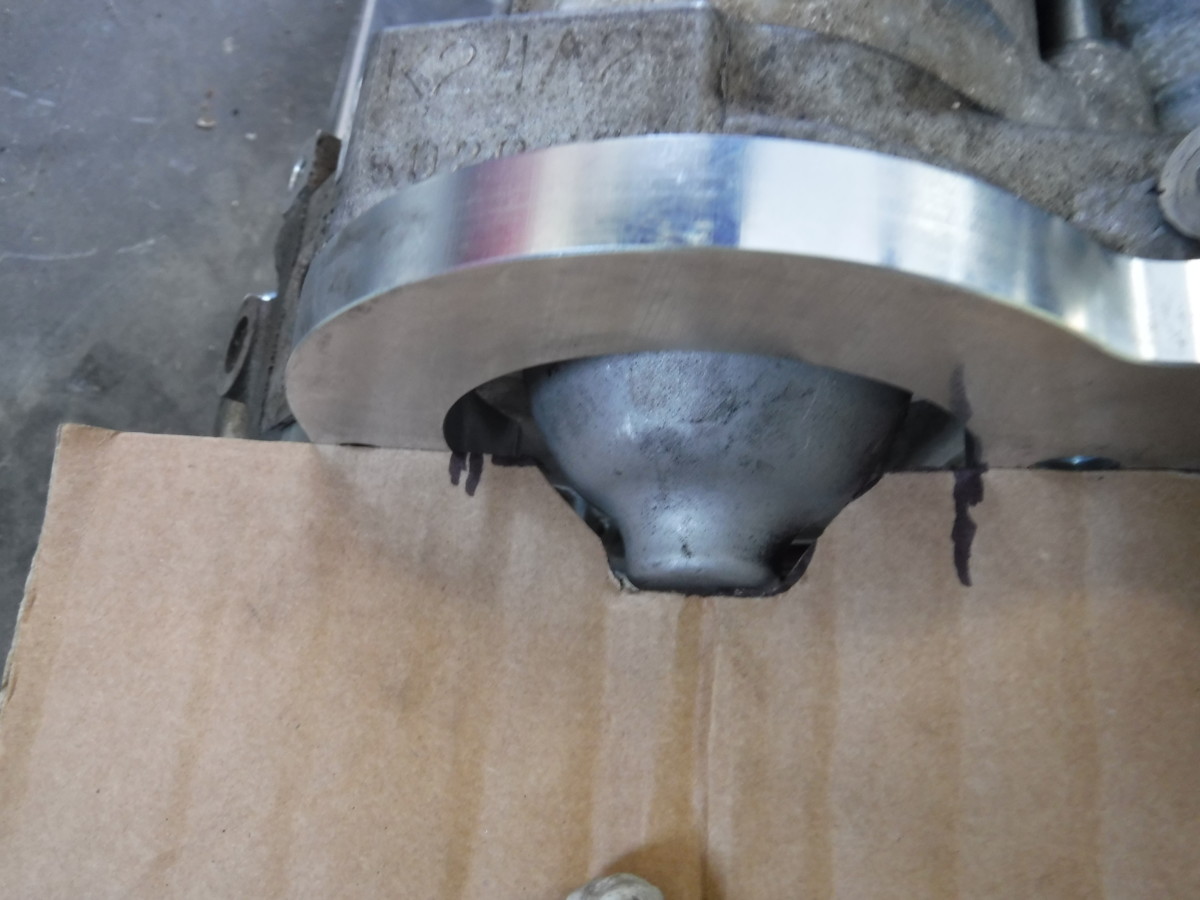
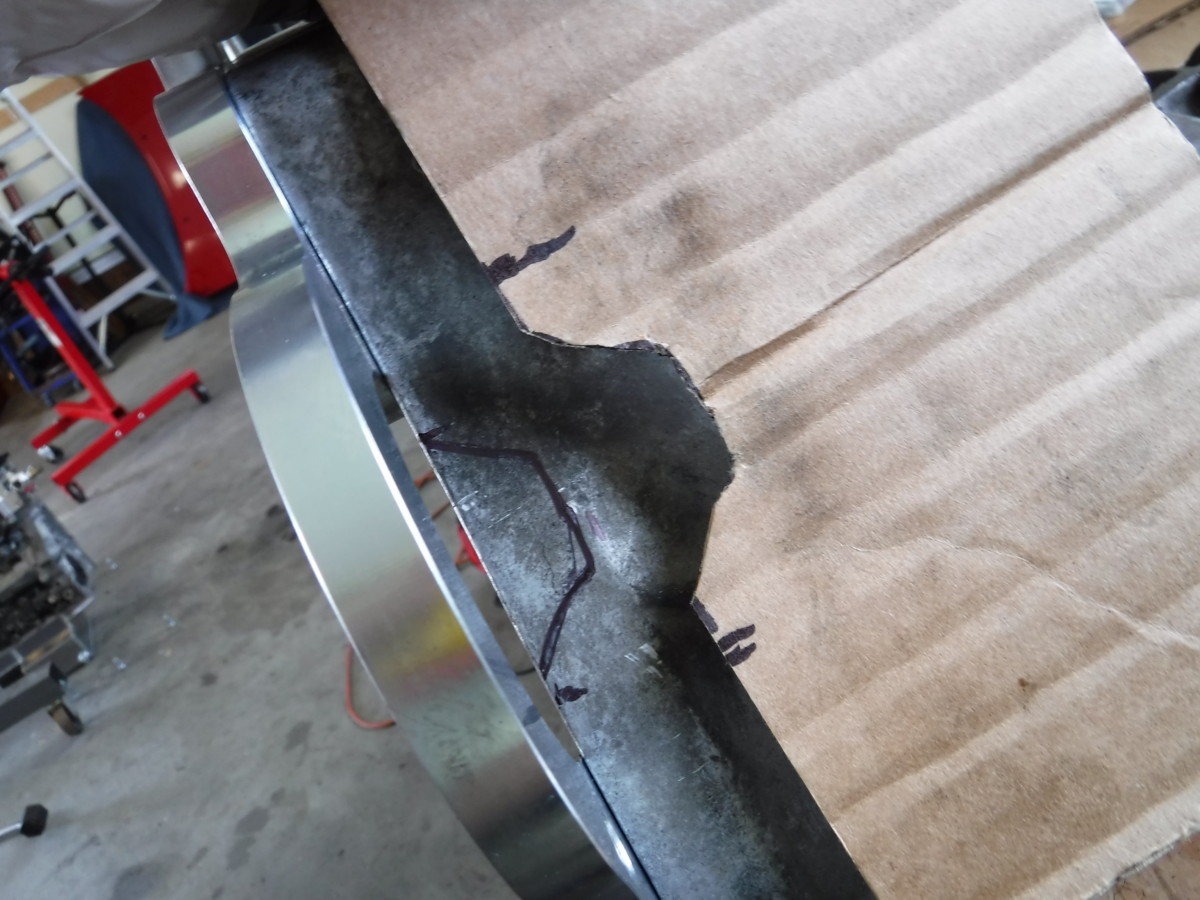
You need to notch the transmission to accommodate the K24 starter. Not pleasant to cut into a Mazdaspeed 6-speed, but here we are. I held the adapter plate up to the motor and made the notch in a piece of cardboard. Then, I used that cardboard to transfer my line over to the transmission. For this, I again held up the adapter plate to the trans to make sure I was locating it correctly.
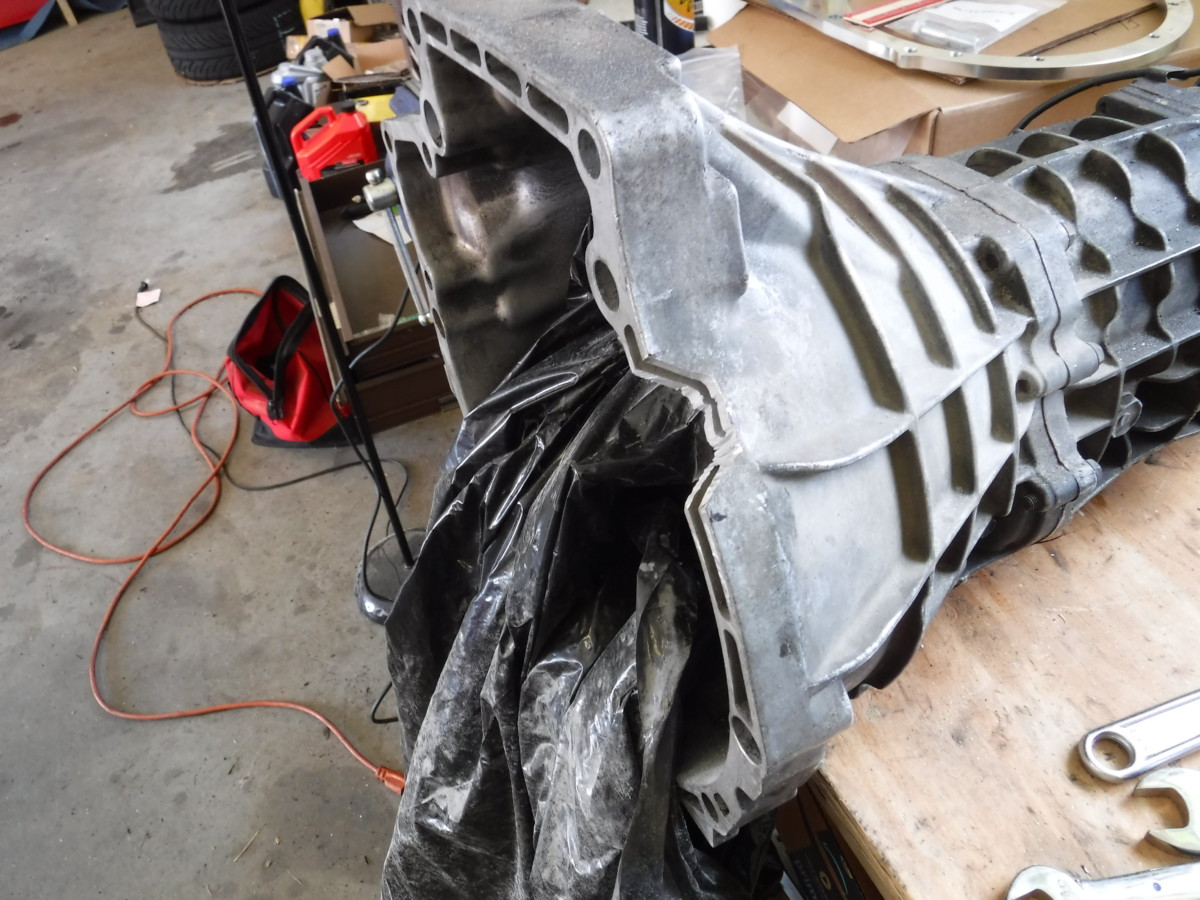
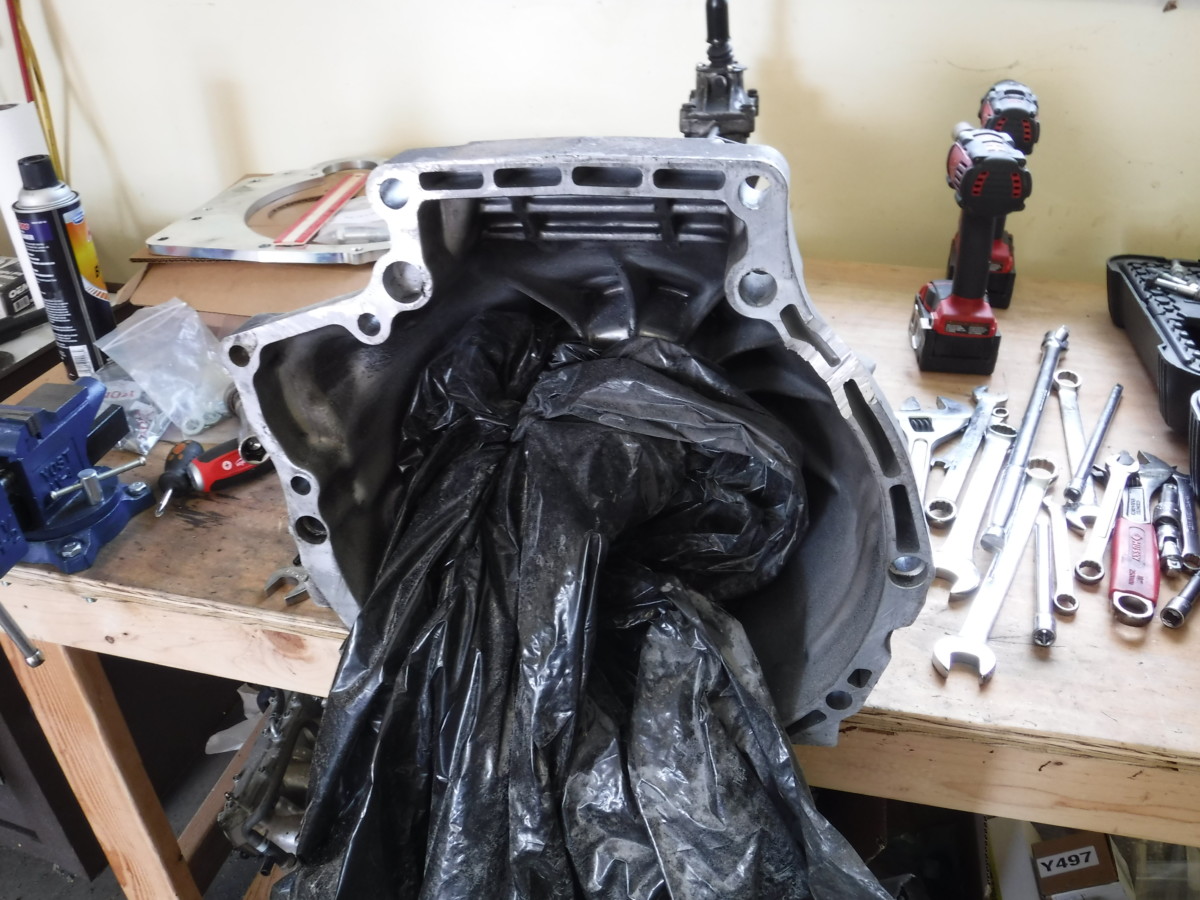
I put a trashbag around the input shaft and other sensitive stuff before cutting on my bench with the angle grinder
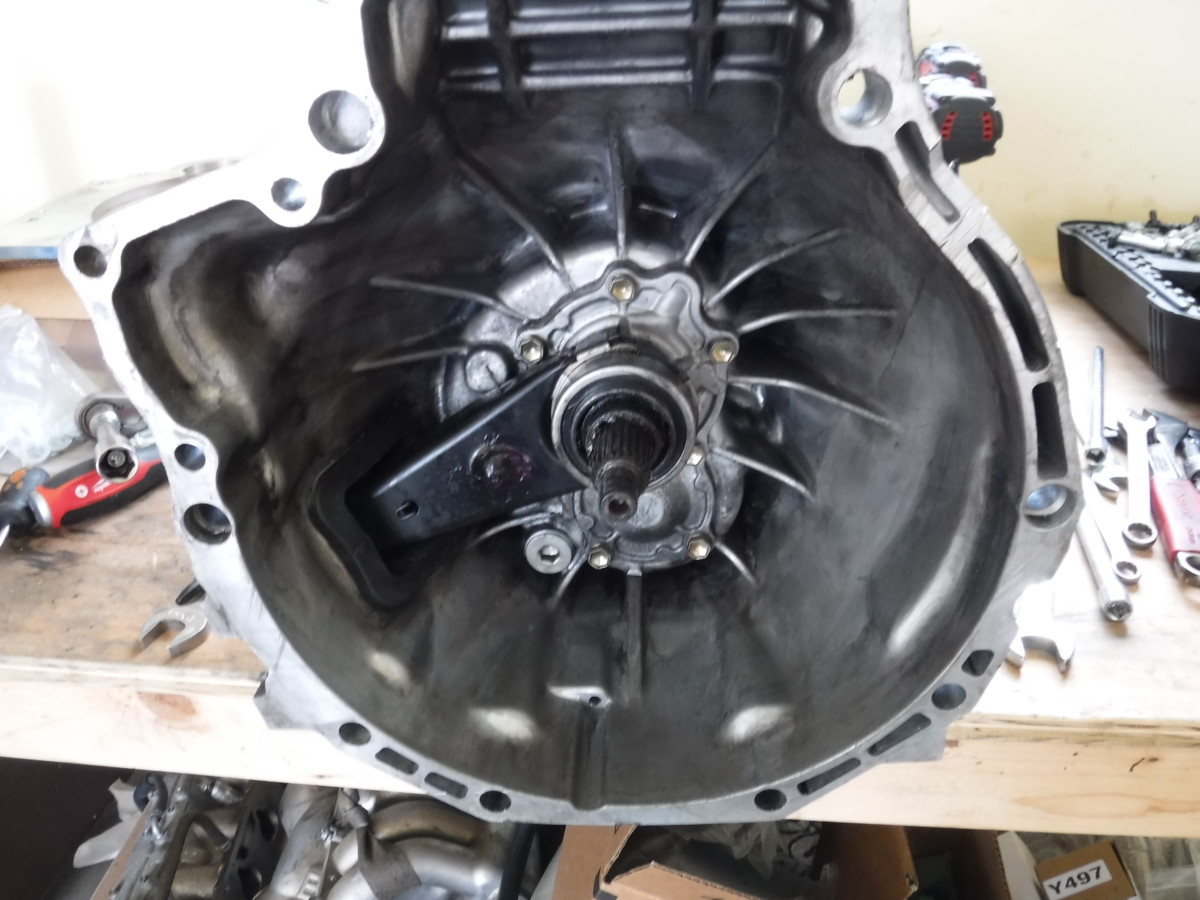
Afterwards, I vacuumed it out and wiped it down with brake cleaner

Attaching the adapter
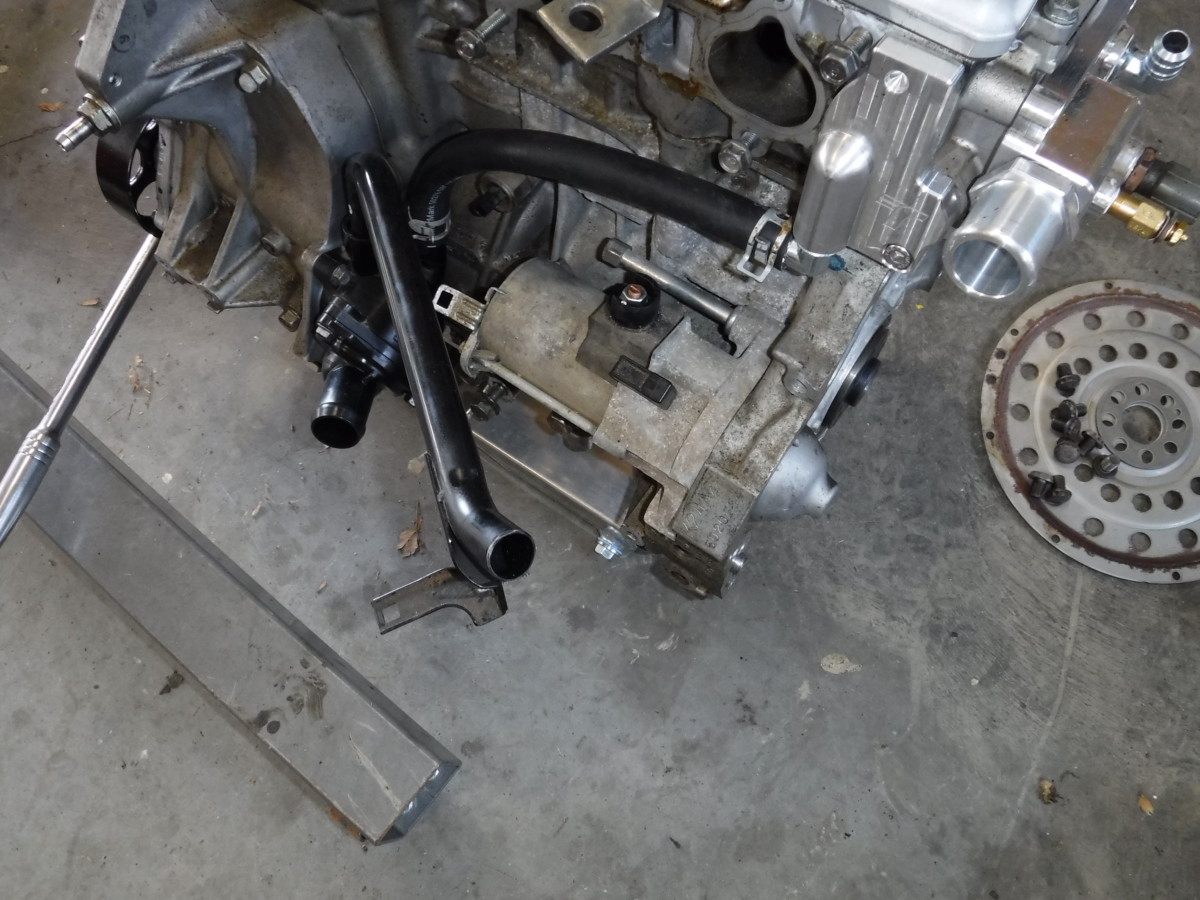
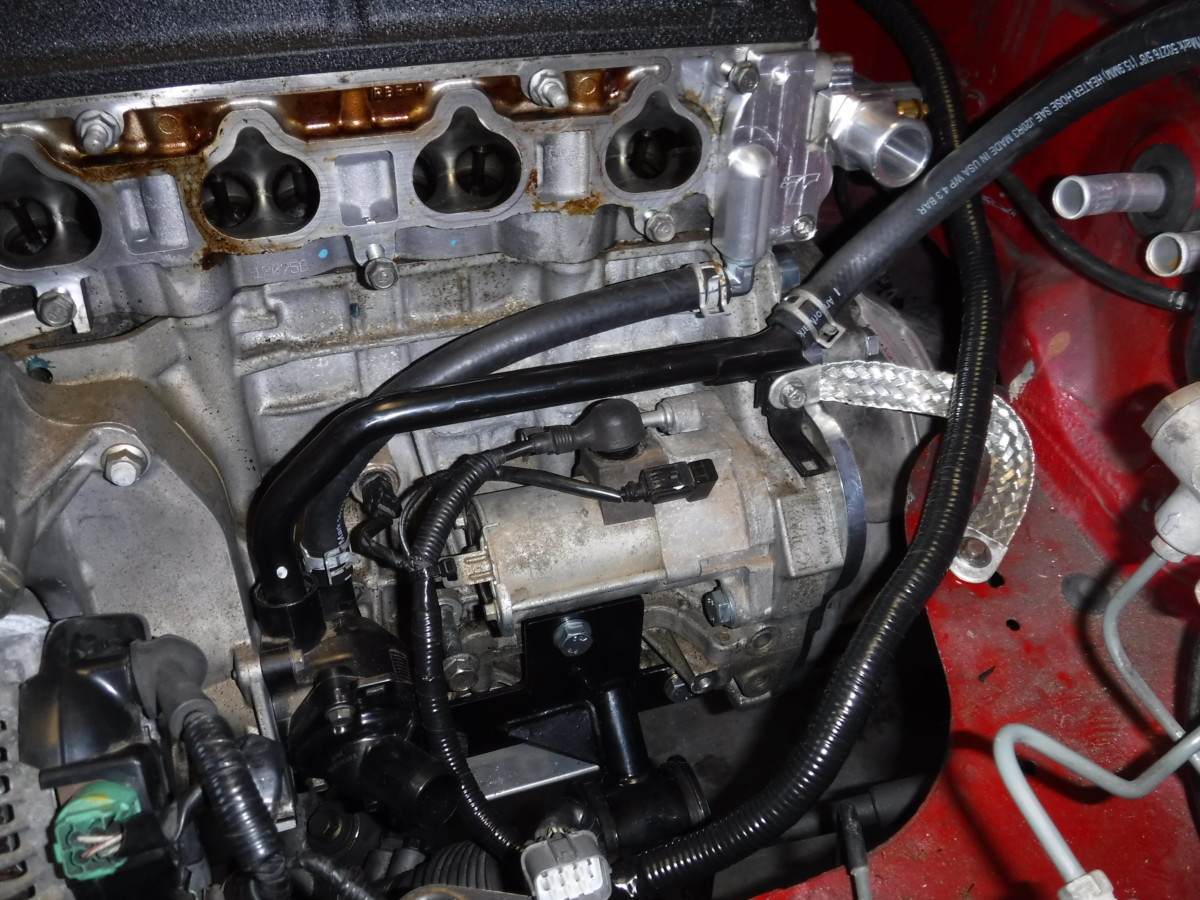
The next step is to attach the adapter to the engine. First, the heater core pipe needs to be out of the way temporarily. The mounting bracket interfered with installing the plate.
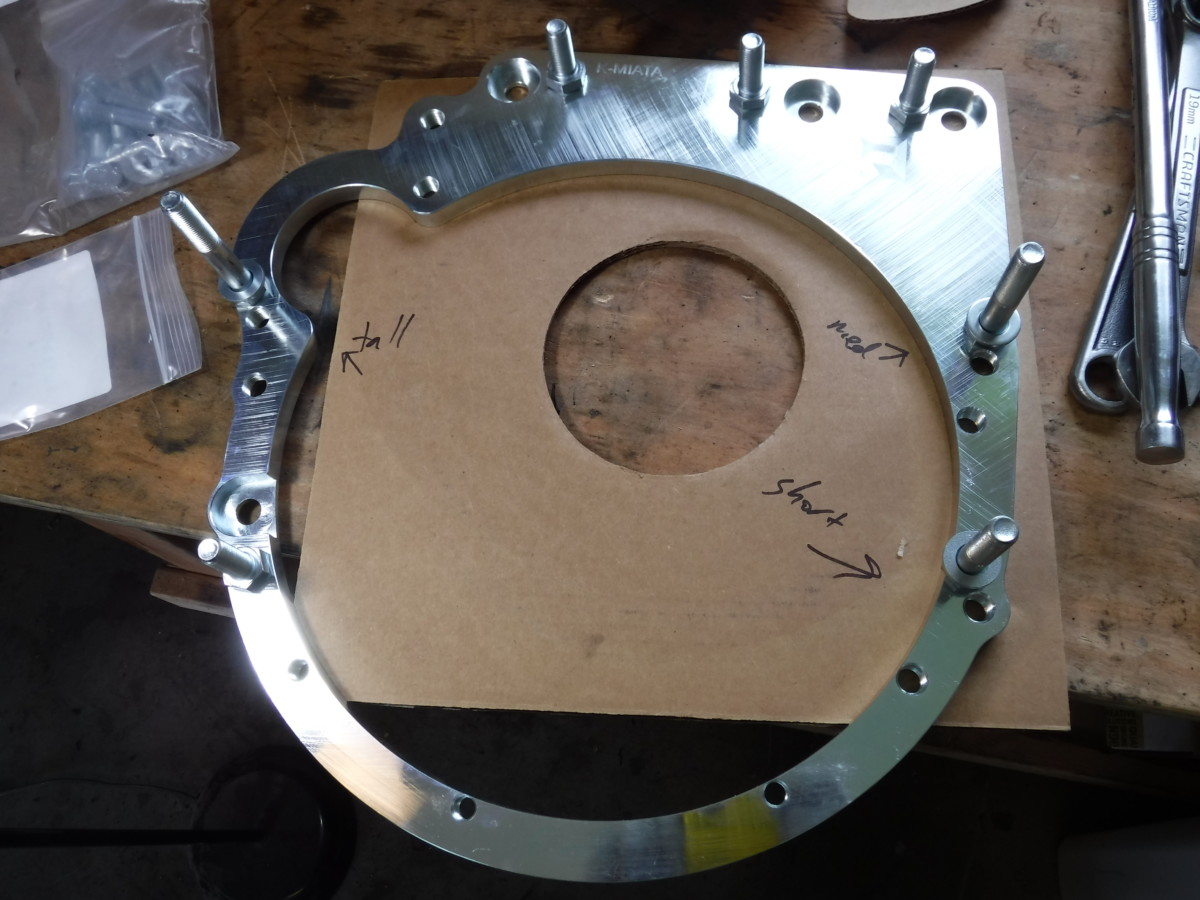
This picture illustrates which bolt goes where. In particular, there are three differently-sized bolts that go in specific locations.
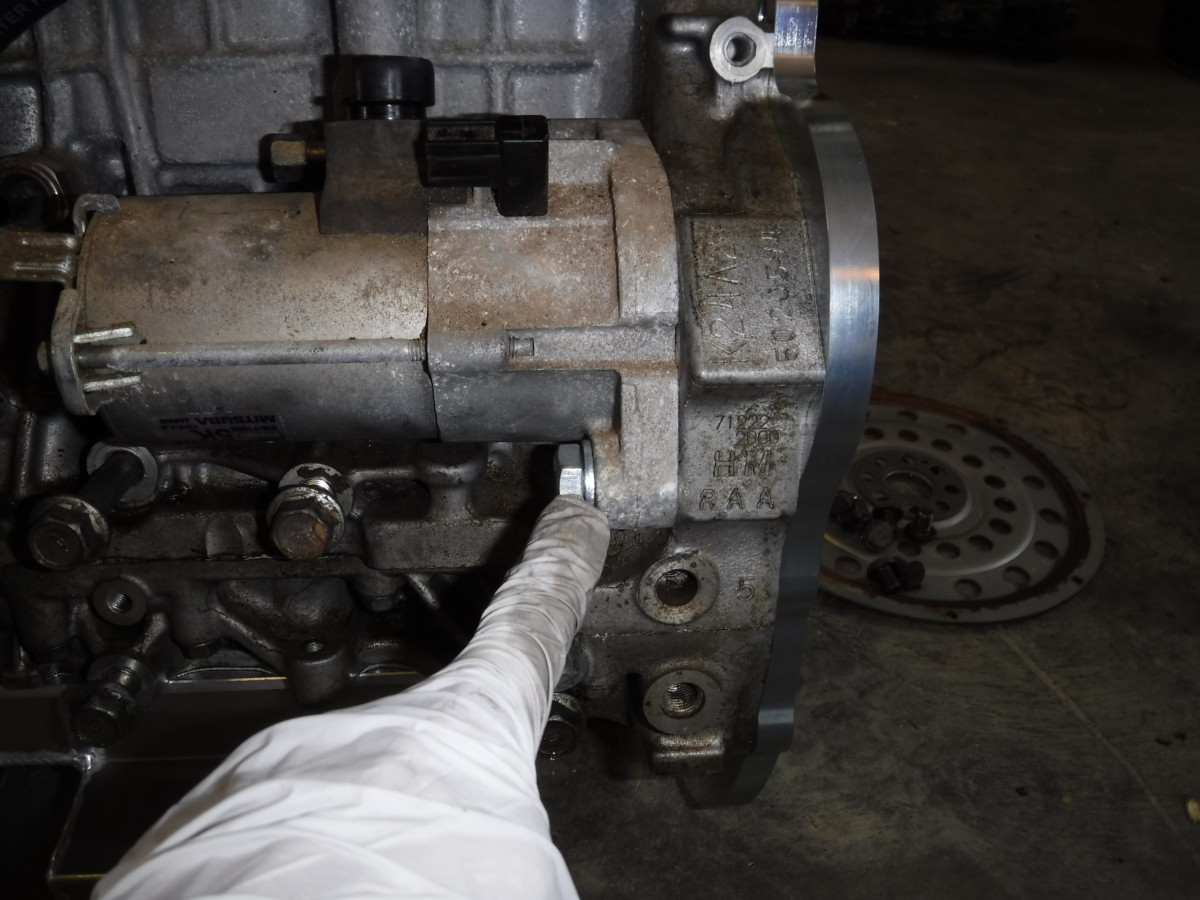
The longest bolt goes in backwards, attaching the starter to the plate.
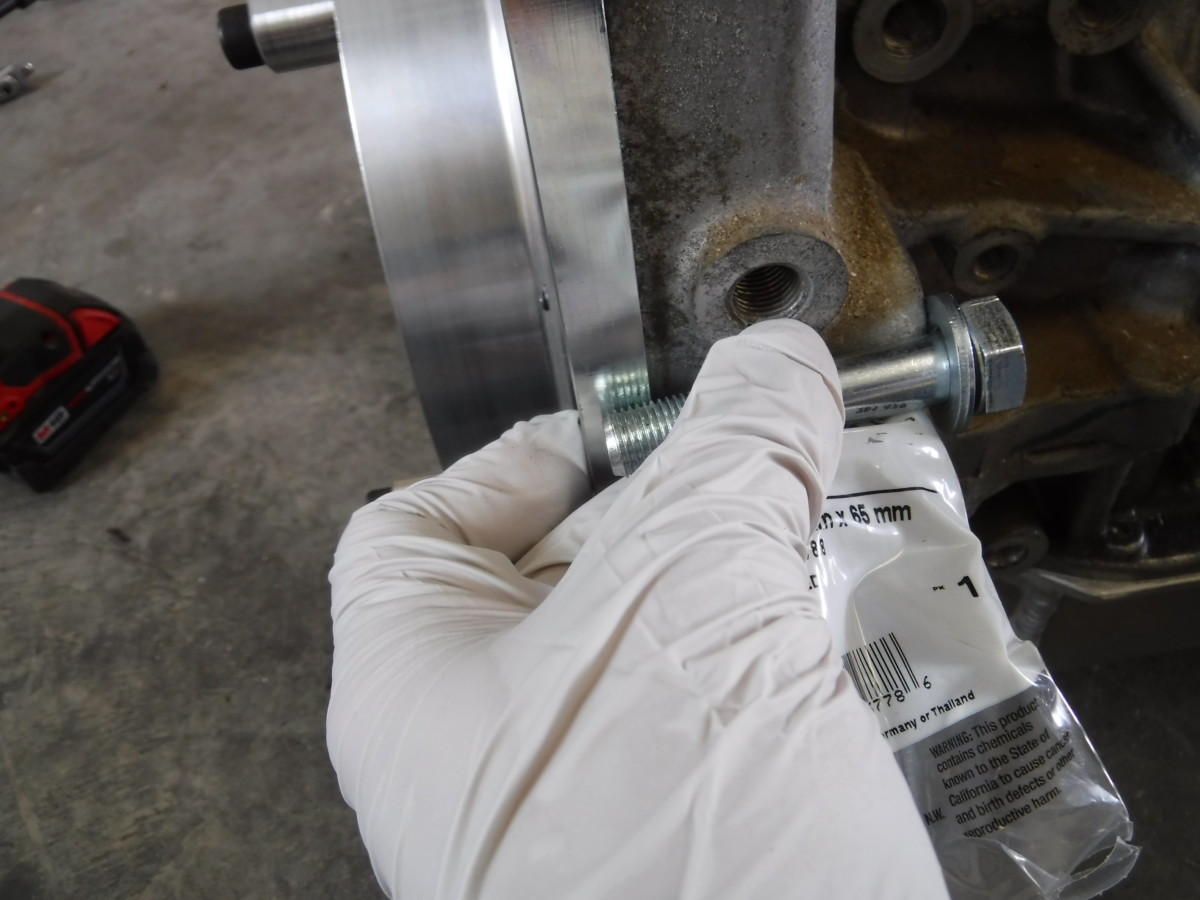
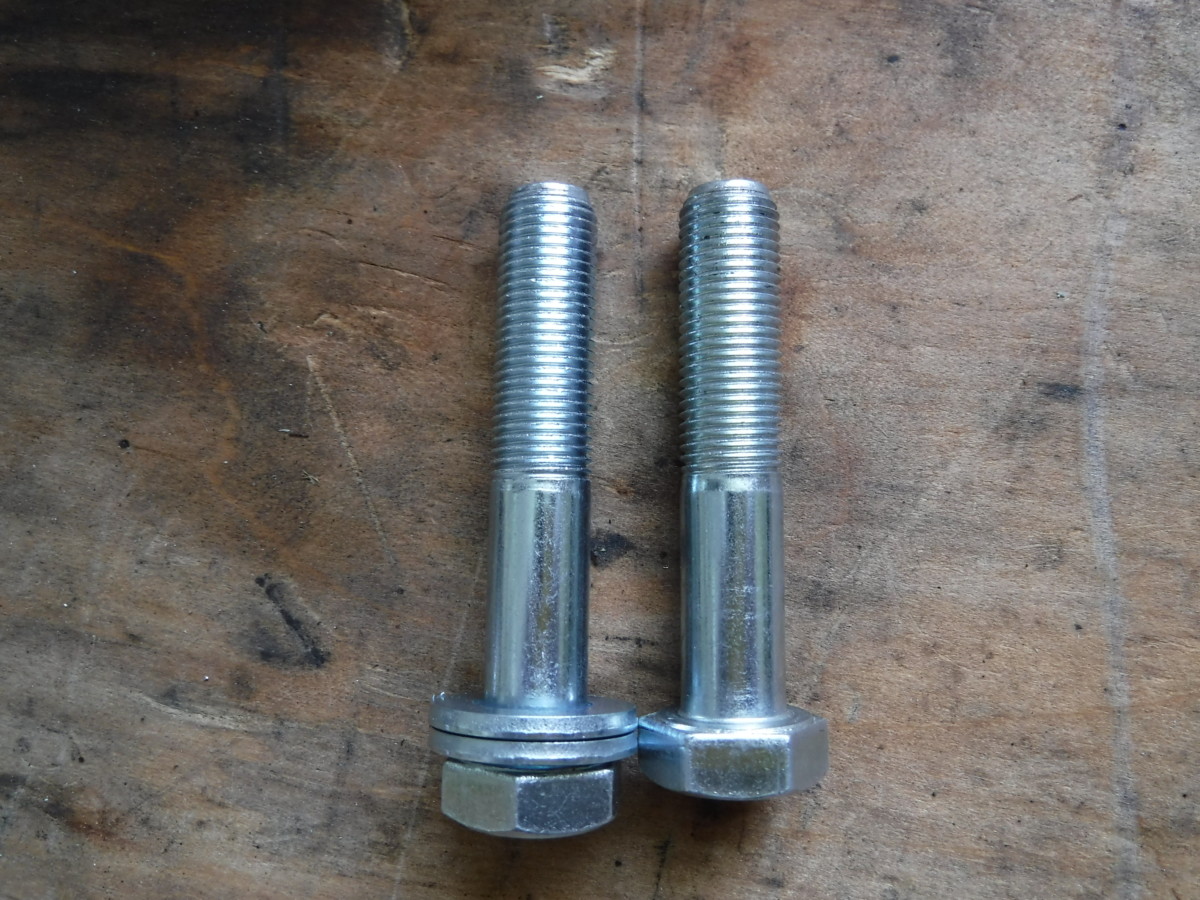
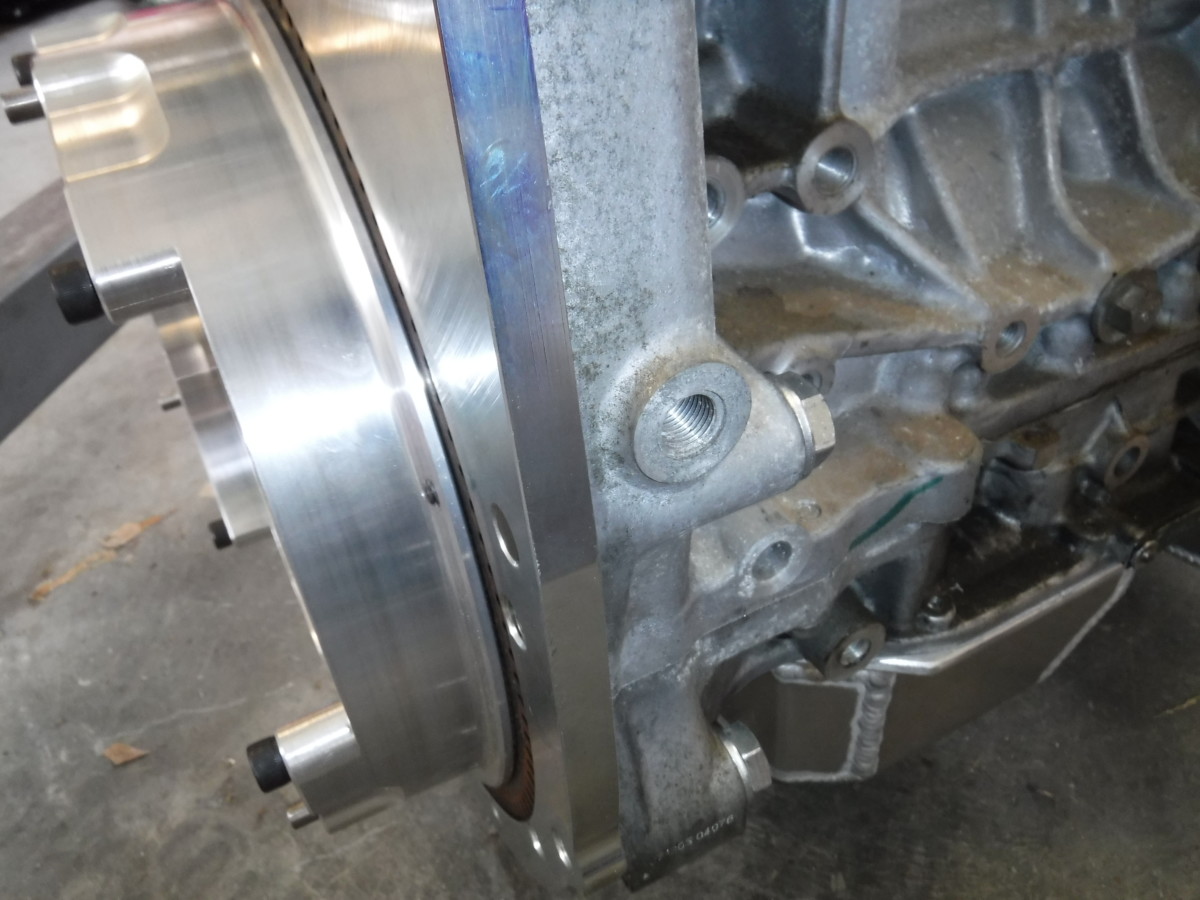
It's worth noting that my "medium" bolt for the adapter was too short. With the provided washer on the bolt, it couldn't engage enough threads to properly torque. A 65mm long M12 bolt from the hardware store, combined with two M12 washers, was the correct length. KMiata guessed that the wrong bolt got into my kit.
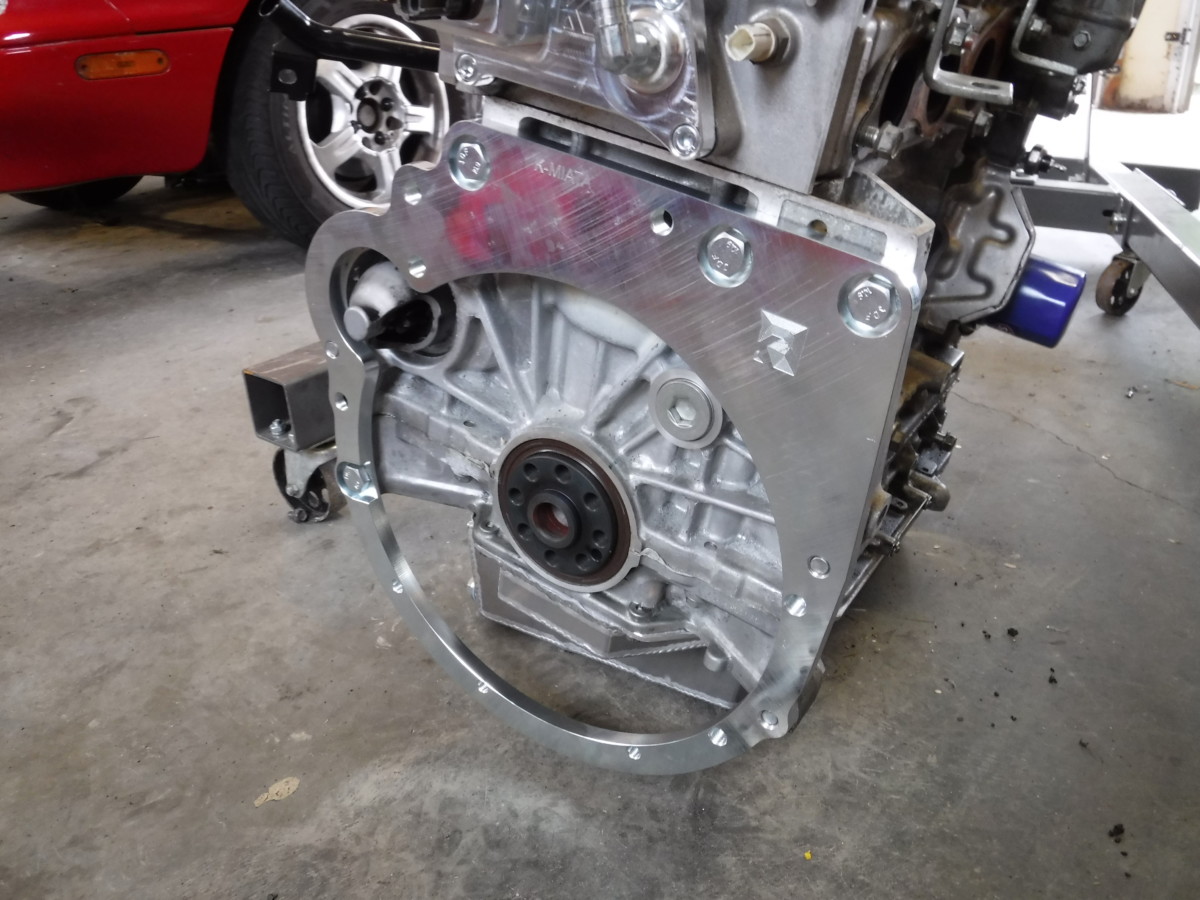
At this point, I torqued all of these bolts down. I went around in a star pattern, tightening them evenly. I'm not sure it was strictly necessarily, but it doesn't seem to have hurt.
Install the flywheel
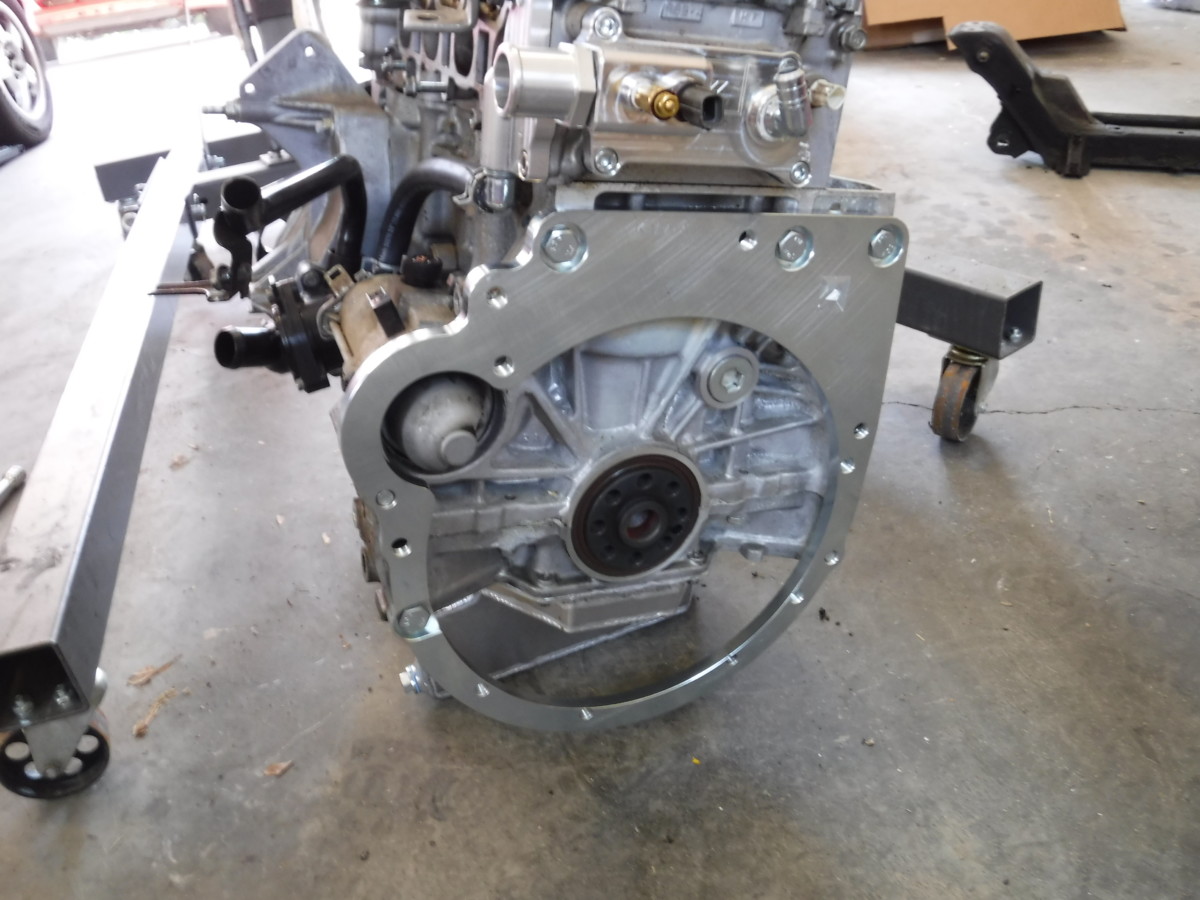
The flywheel goes on next. It installs in this orientation, with the teeth meshed to the K24 starter as you'd expect.
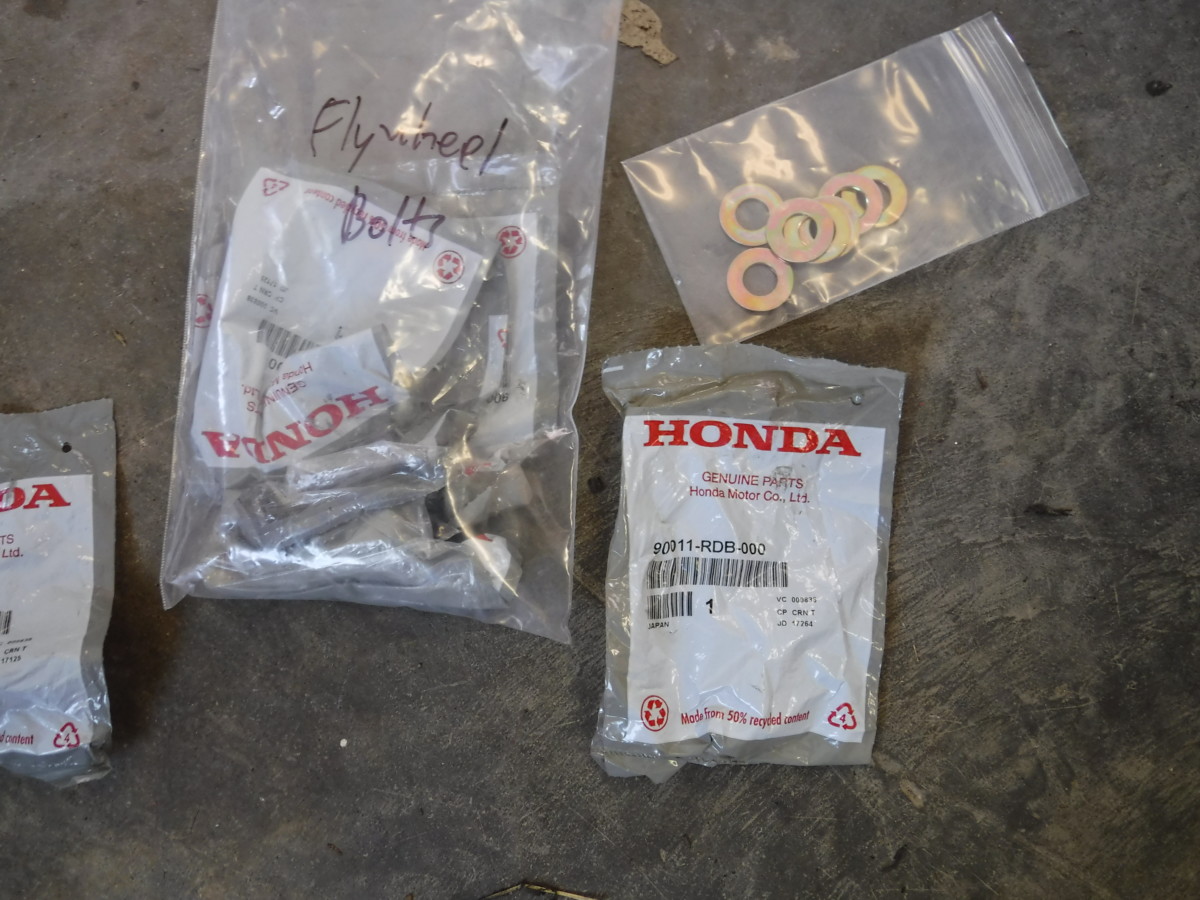
I used 8 brand new flywheel bolts, Honda Part Number 90011-RDB-000. KPower will sell a set as part of the kit.
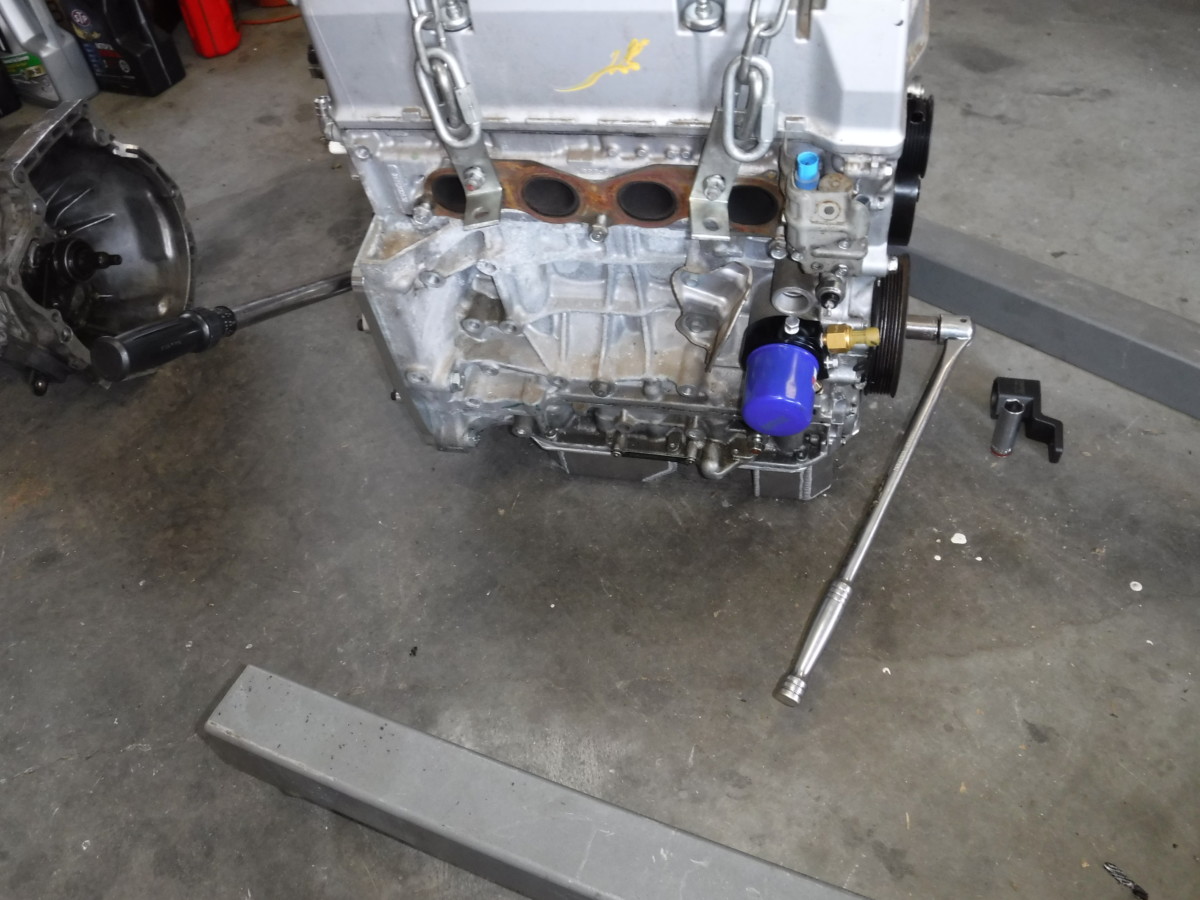
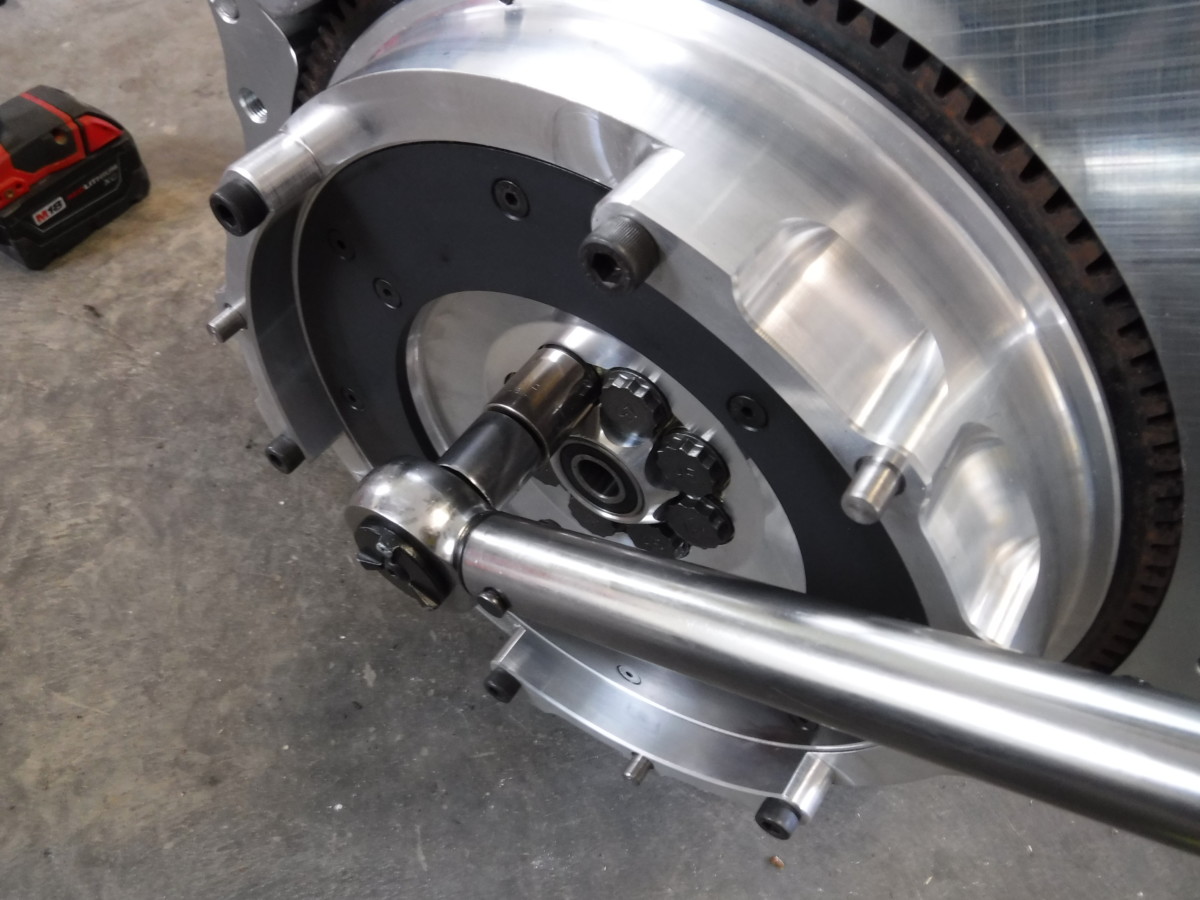
I used the same method as before to torque these down. I torqued them in a star pattern, like you'd do with lug nuts. Mazda calls for loctite on these bolts, but Honda does not. I put them in with no thread locker or sealant and haven't had any leaks.
Trimming heater core pipe bracket
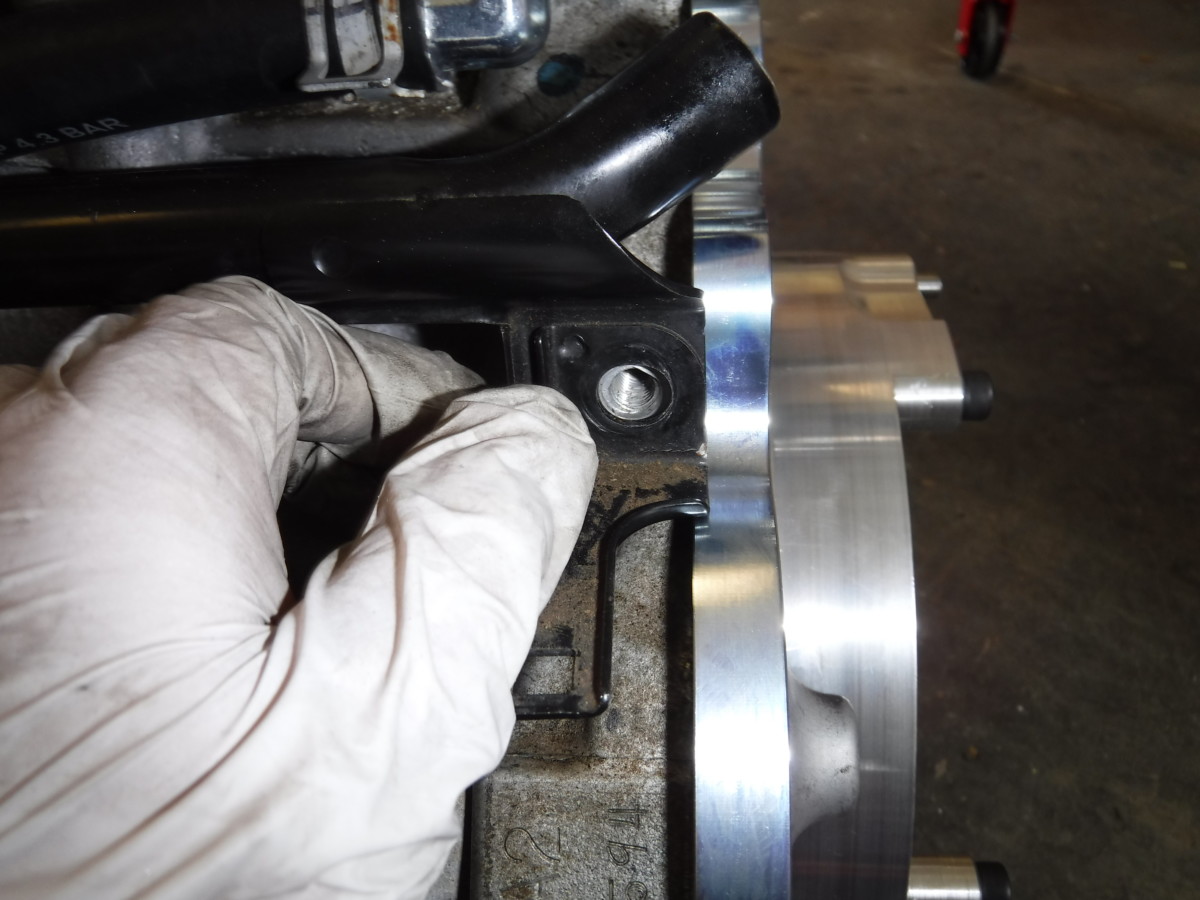
At least on my car, the heater core pipe bracket pictured sticks out just far enough to contact the adapter.
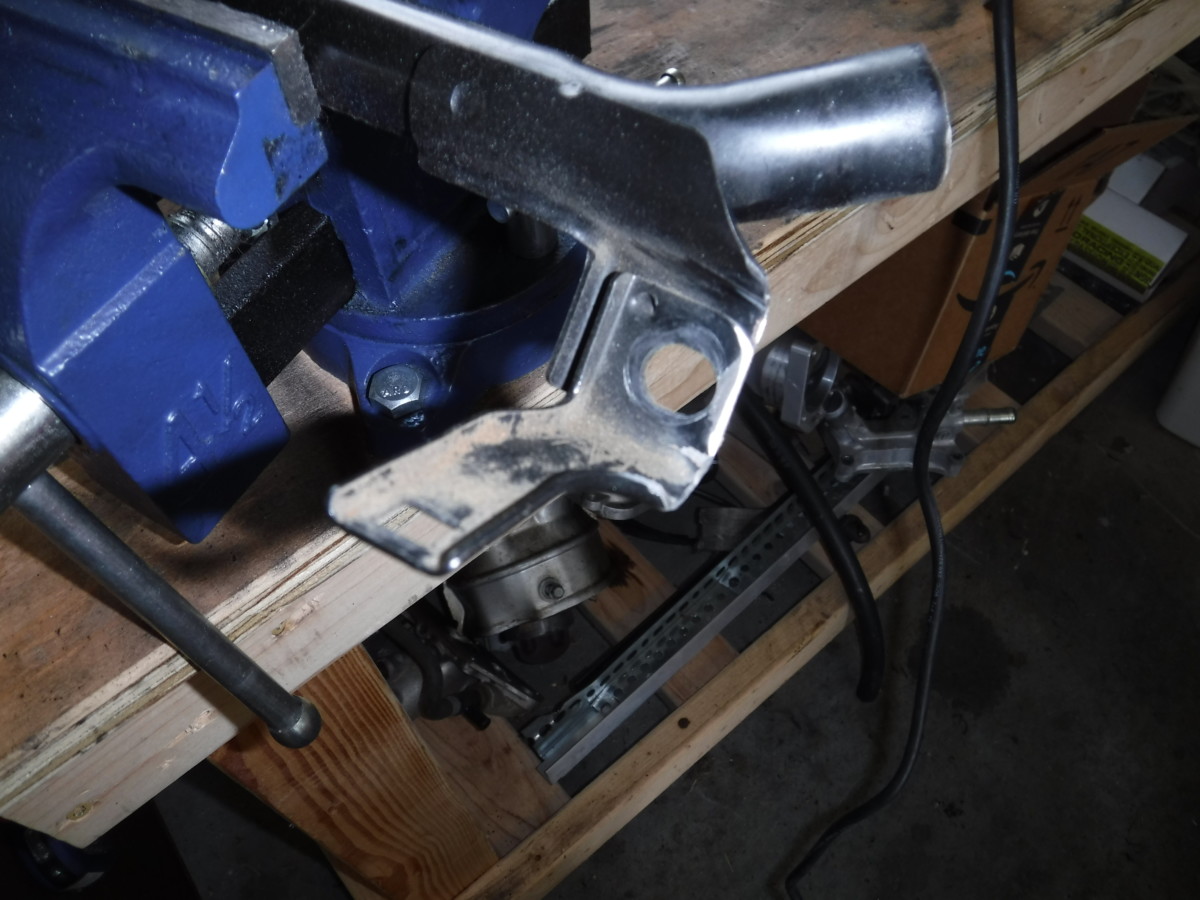
I pulled it out of the thermostat housing to grind it down. This is literal, by the way - it just pulls out. After this, it sat flush against the block as it was supposed to.
Check the pilot bearing
On my flywheel adapter, the pilot bearing pre-installed in the flywheel was bad. It caught in one place when I turned it by hand. KMiata sent me a replacement, but this is worth checking before you get the motor in the car. If it doesn't spin freely, it's a cheap part to replace as well. It's a 94-01 Acura Integra pilot bearing
Install the clutch
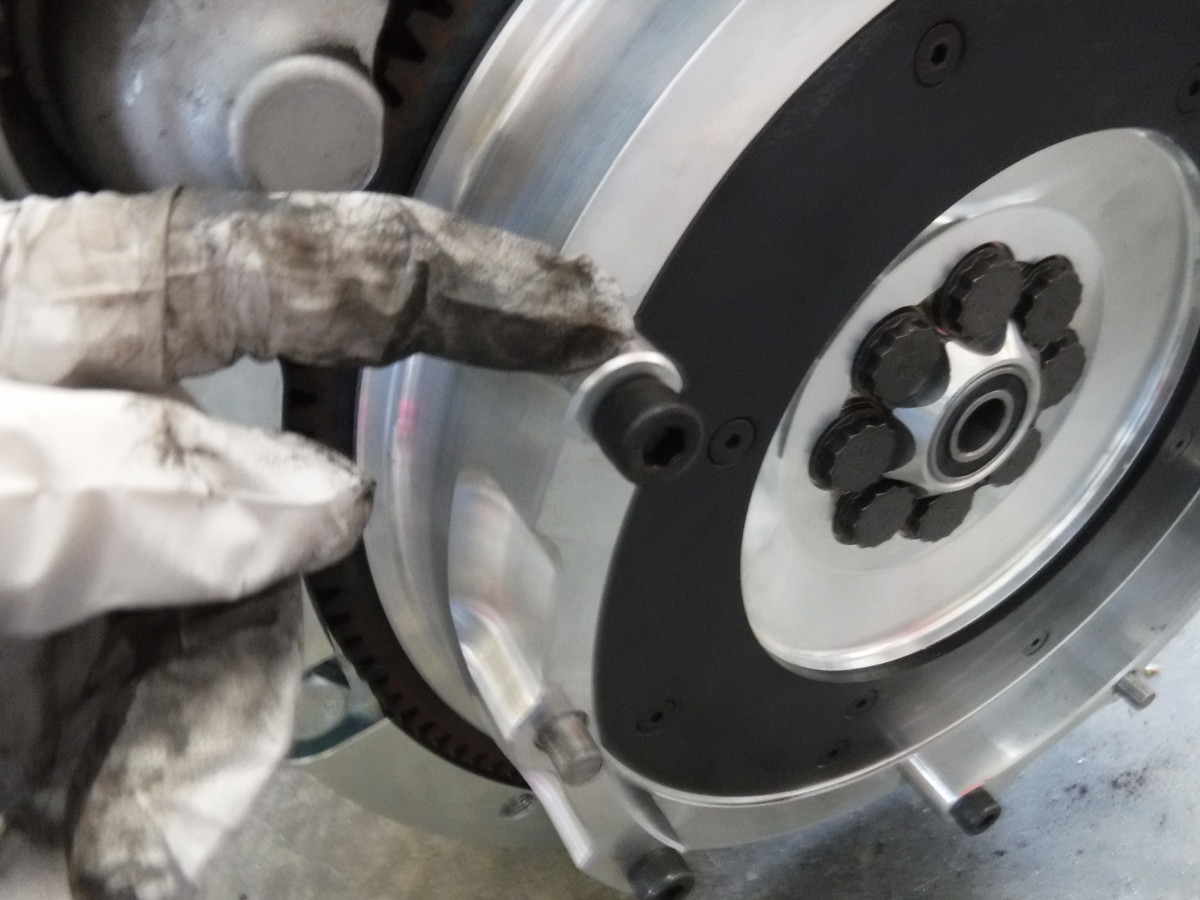
Before installing the clutch, remove each of these allen bolts from the flywheel.
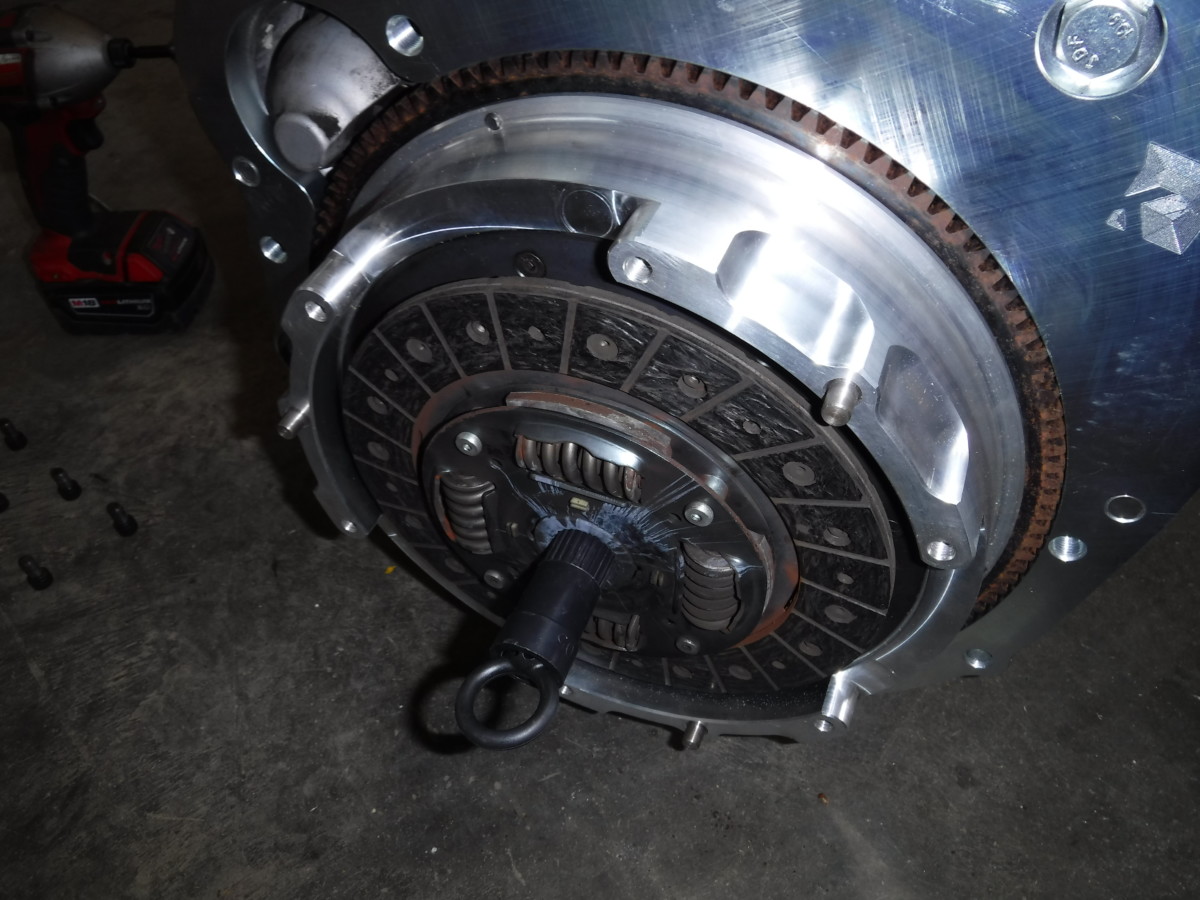
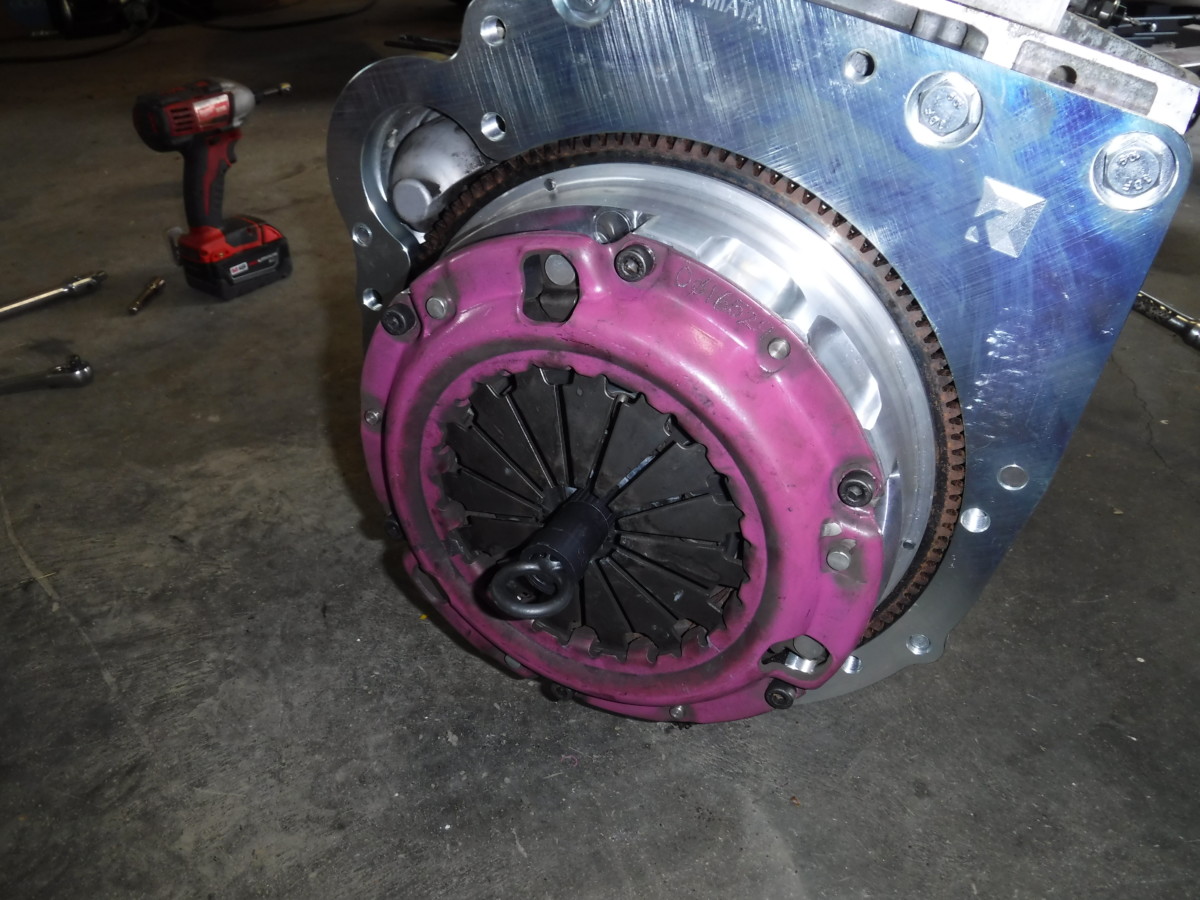
The clutch and pressure plate go on next. I used the Miata clutch alignment tool
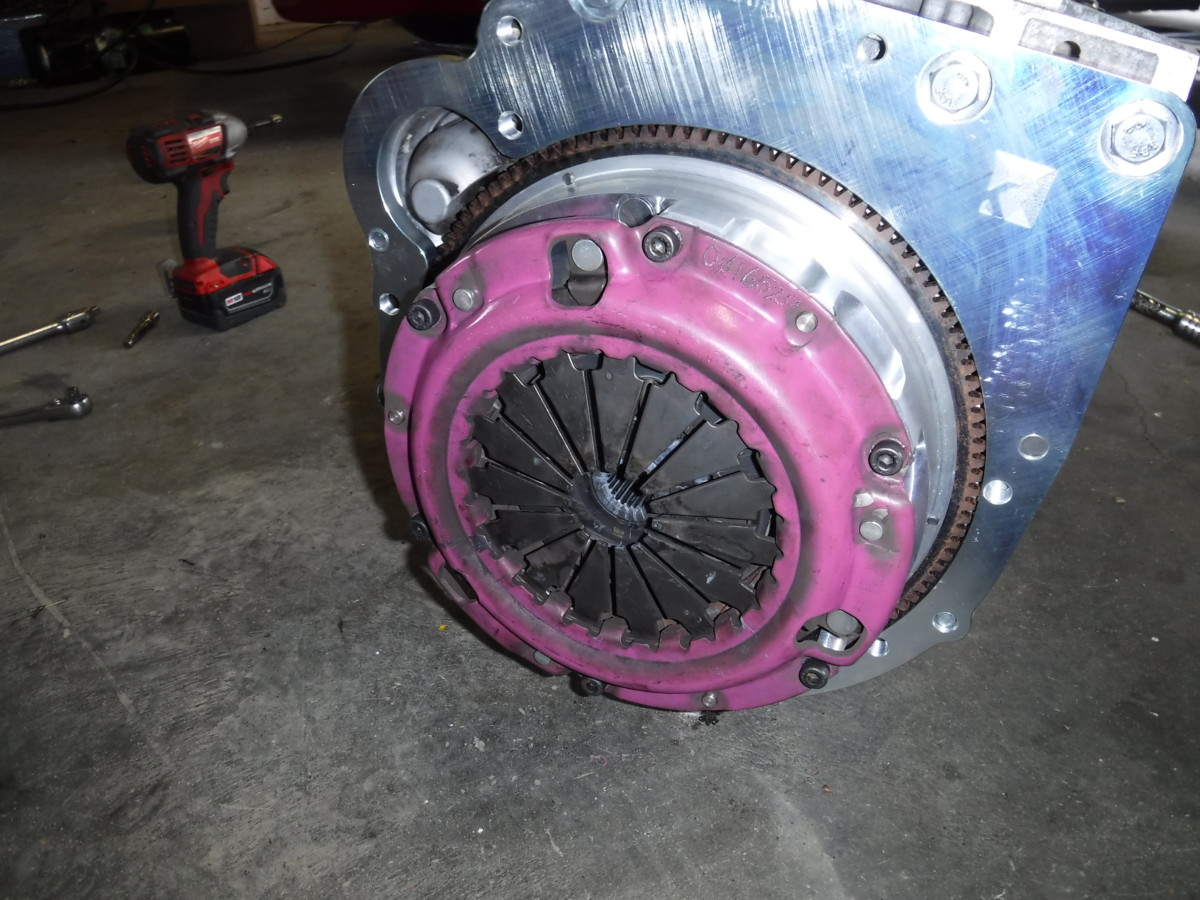
Remove the alignment tool and celebrate your handiwork.
Transmission bolt orientation
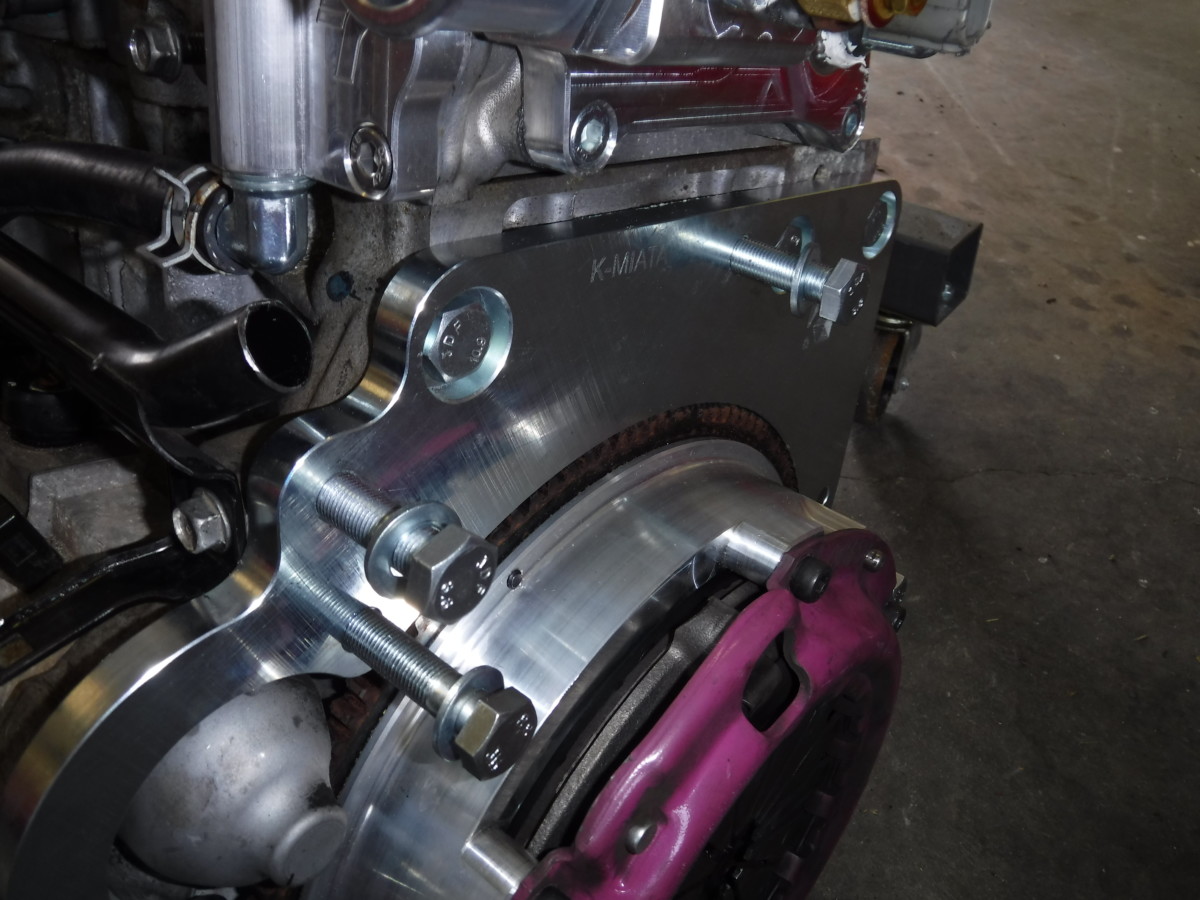
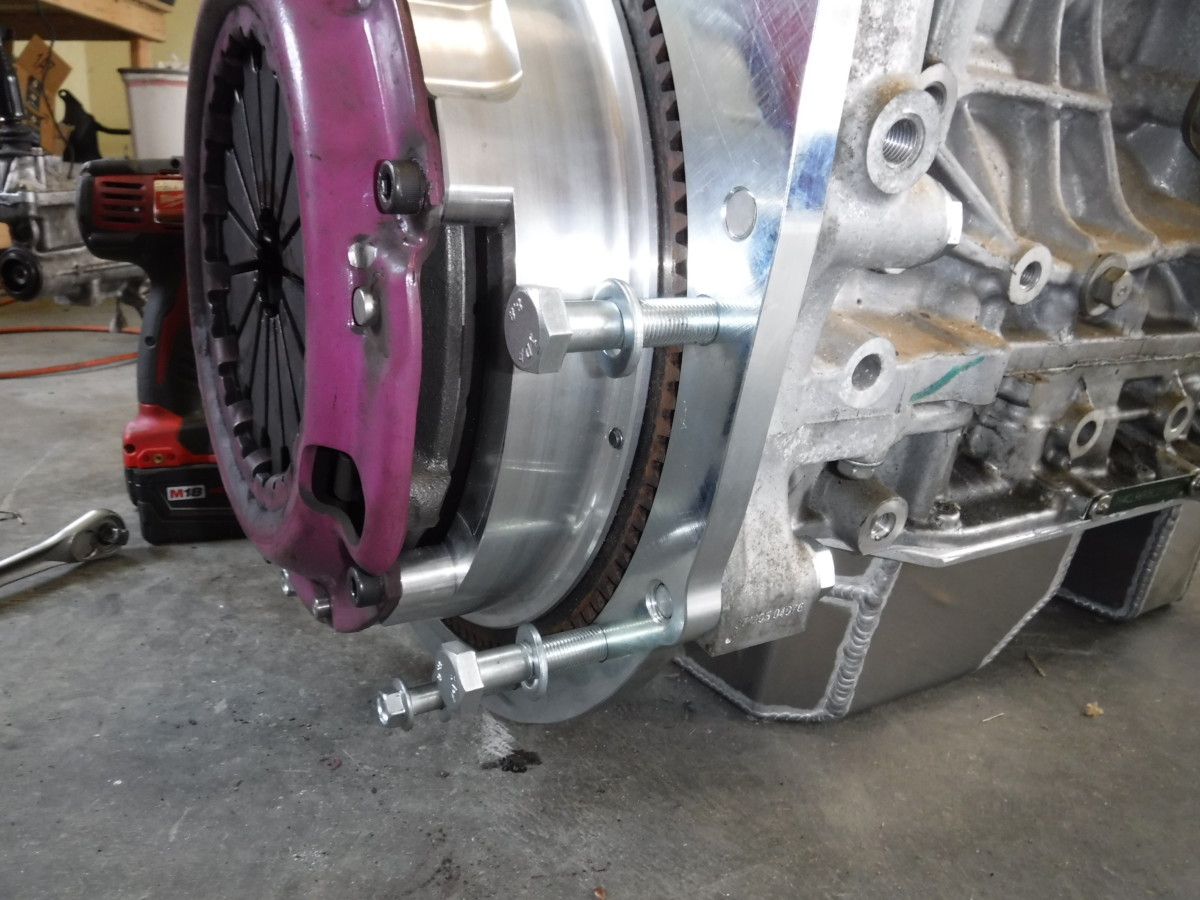
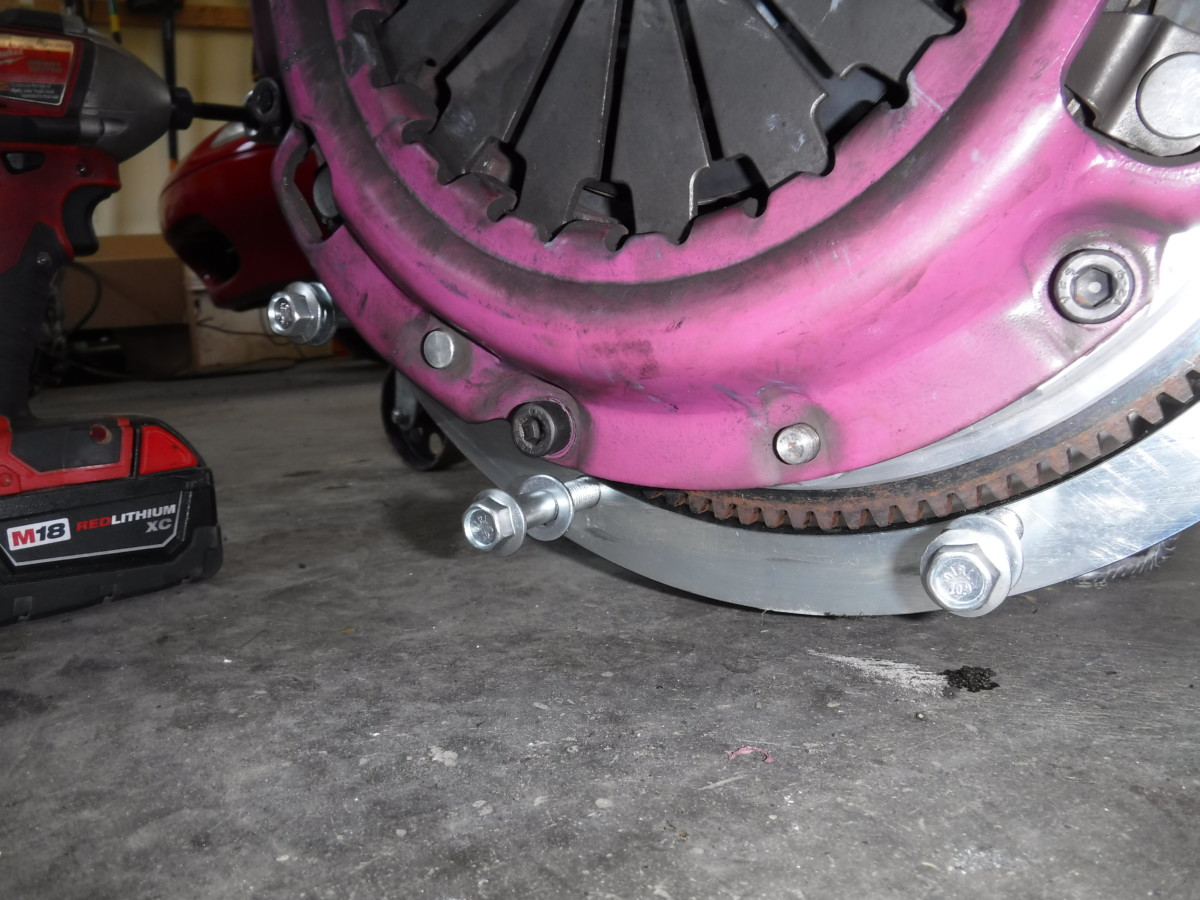
Here are where the bolts go for the adapter plate. In particular, the smaller head bolts are used for the bottom 3 holes. The shortest larger-head bolts go in the top two positions.
Install the transmission
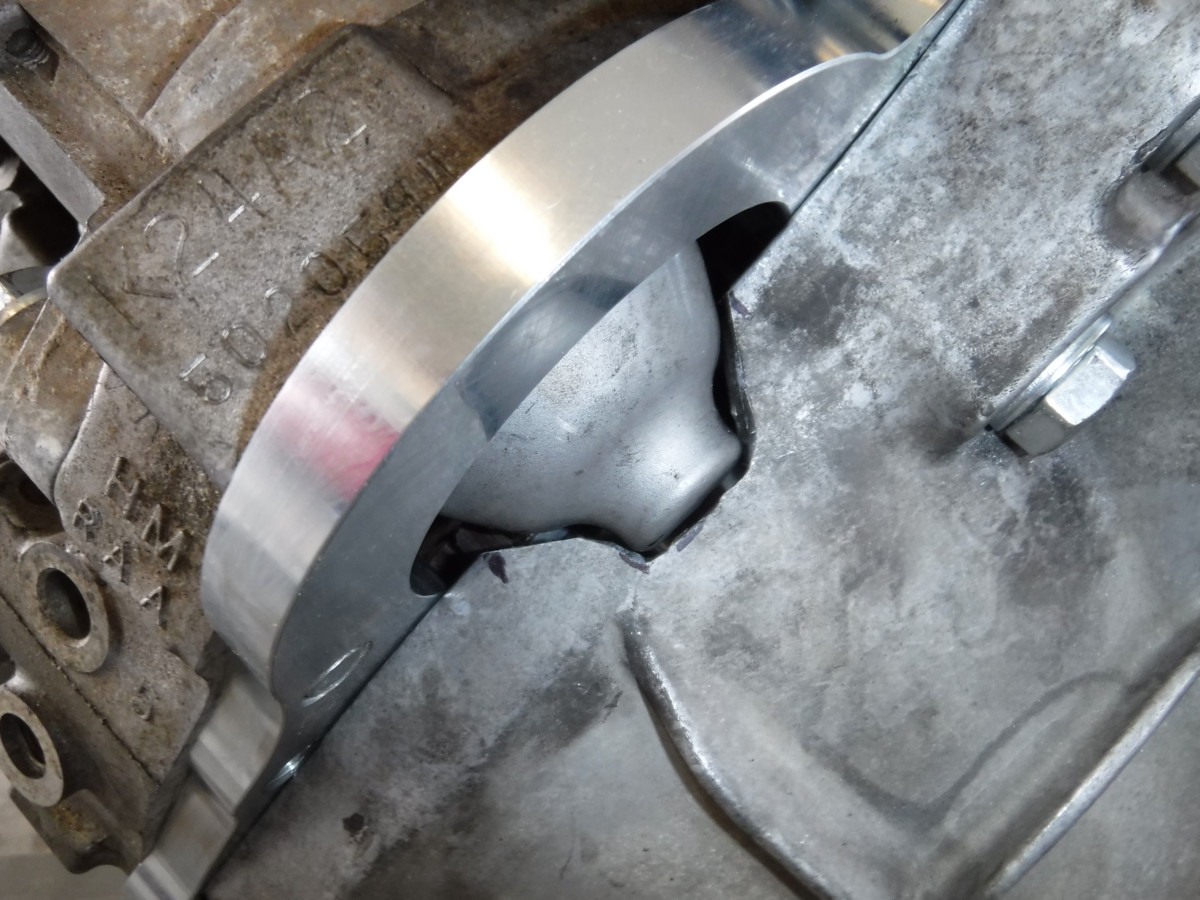
Your transmission can now go on. It may take some wiggling to get the input shaft to line up properly with the splines in the clutch. Don't force it. Once it's on, you can start installing the bolts to mount it to the adapter plate. Also check the notch you made in the transmission to ensure the starter clears properly.
Done
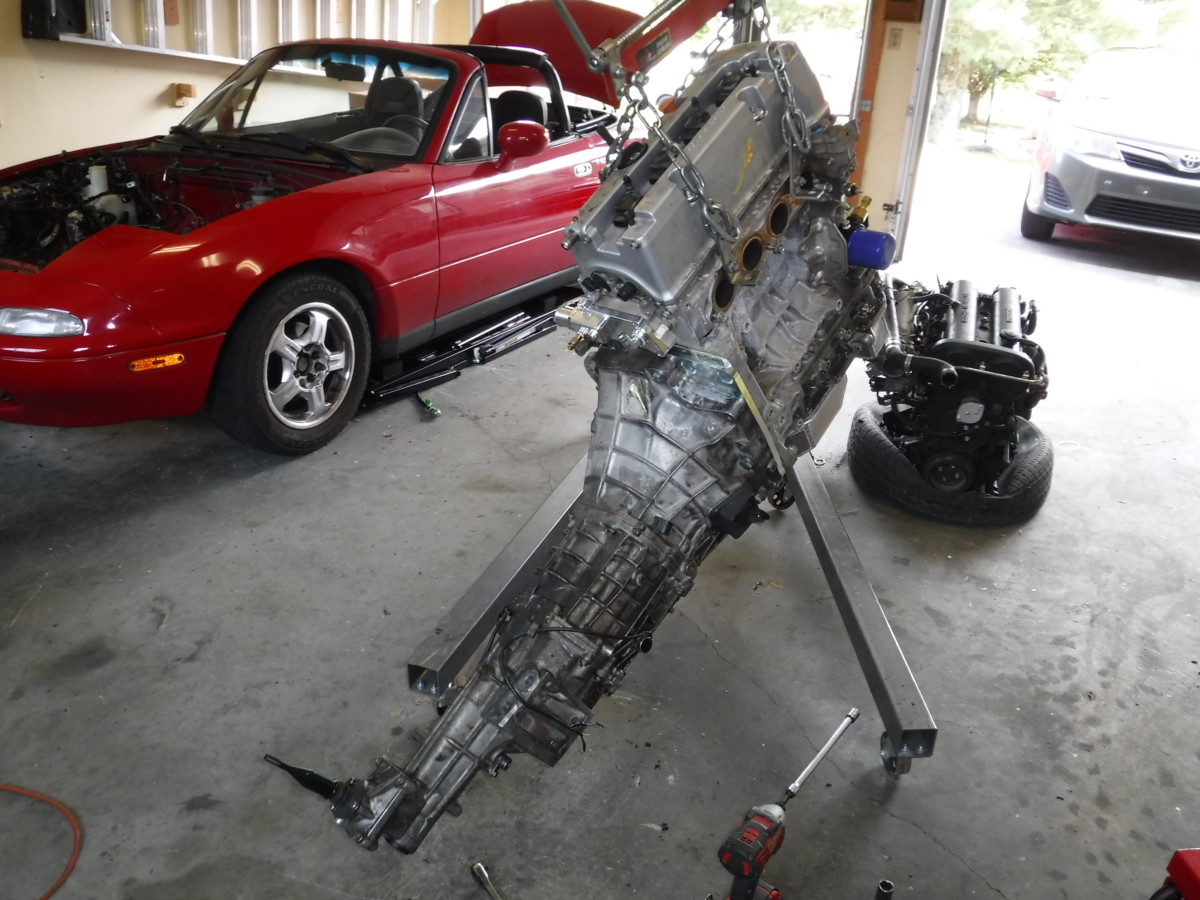
And with that, the job of "transmission installation with the KMiata adapter" is complete. This assembly is ready to drop in the car. Refer to the K24 Miata Swap Main Page for the next steps.