Template Bushing Subbase
Template bushing subbases for routers
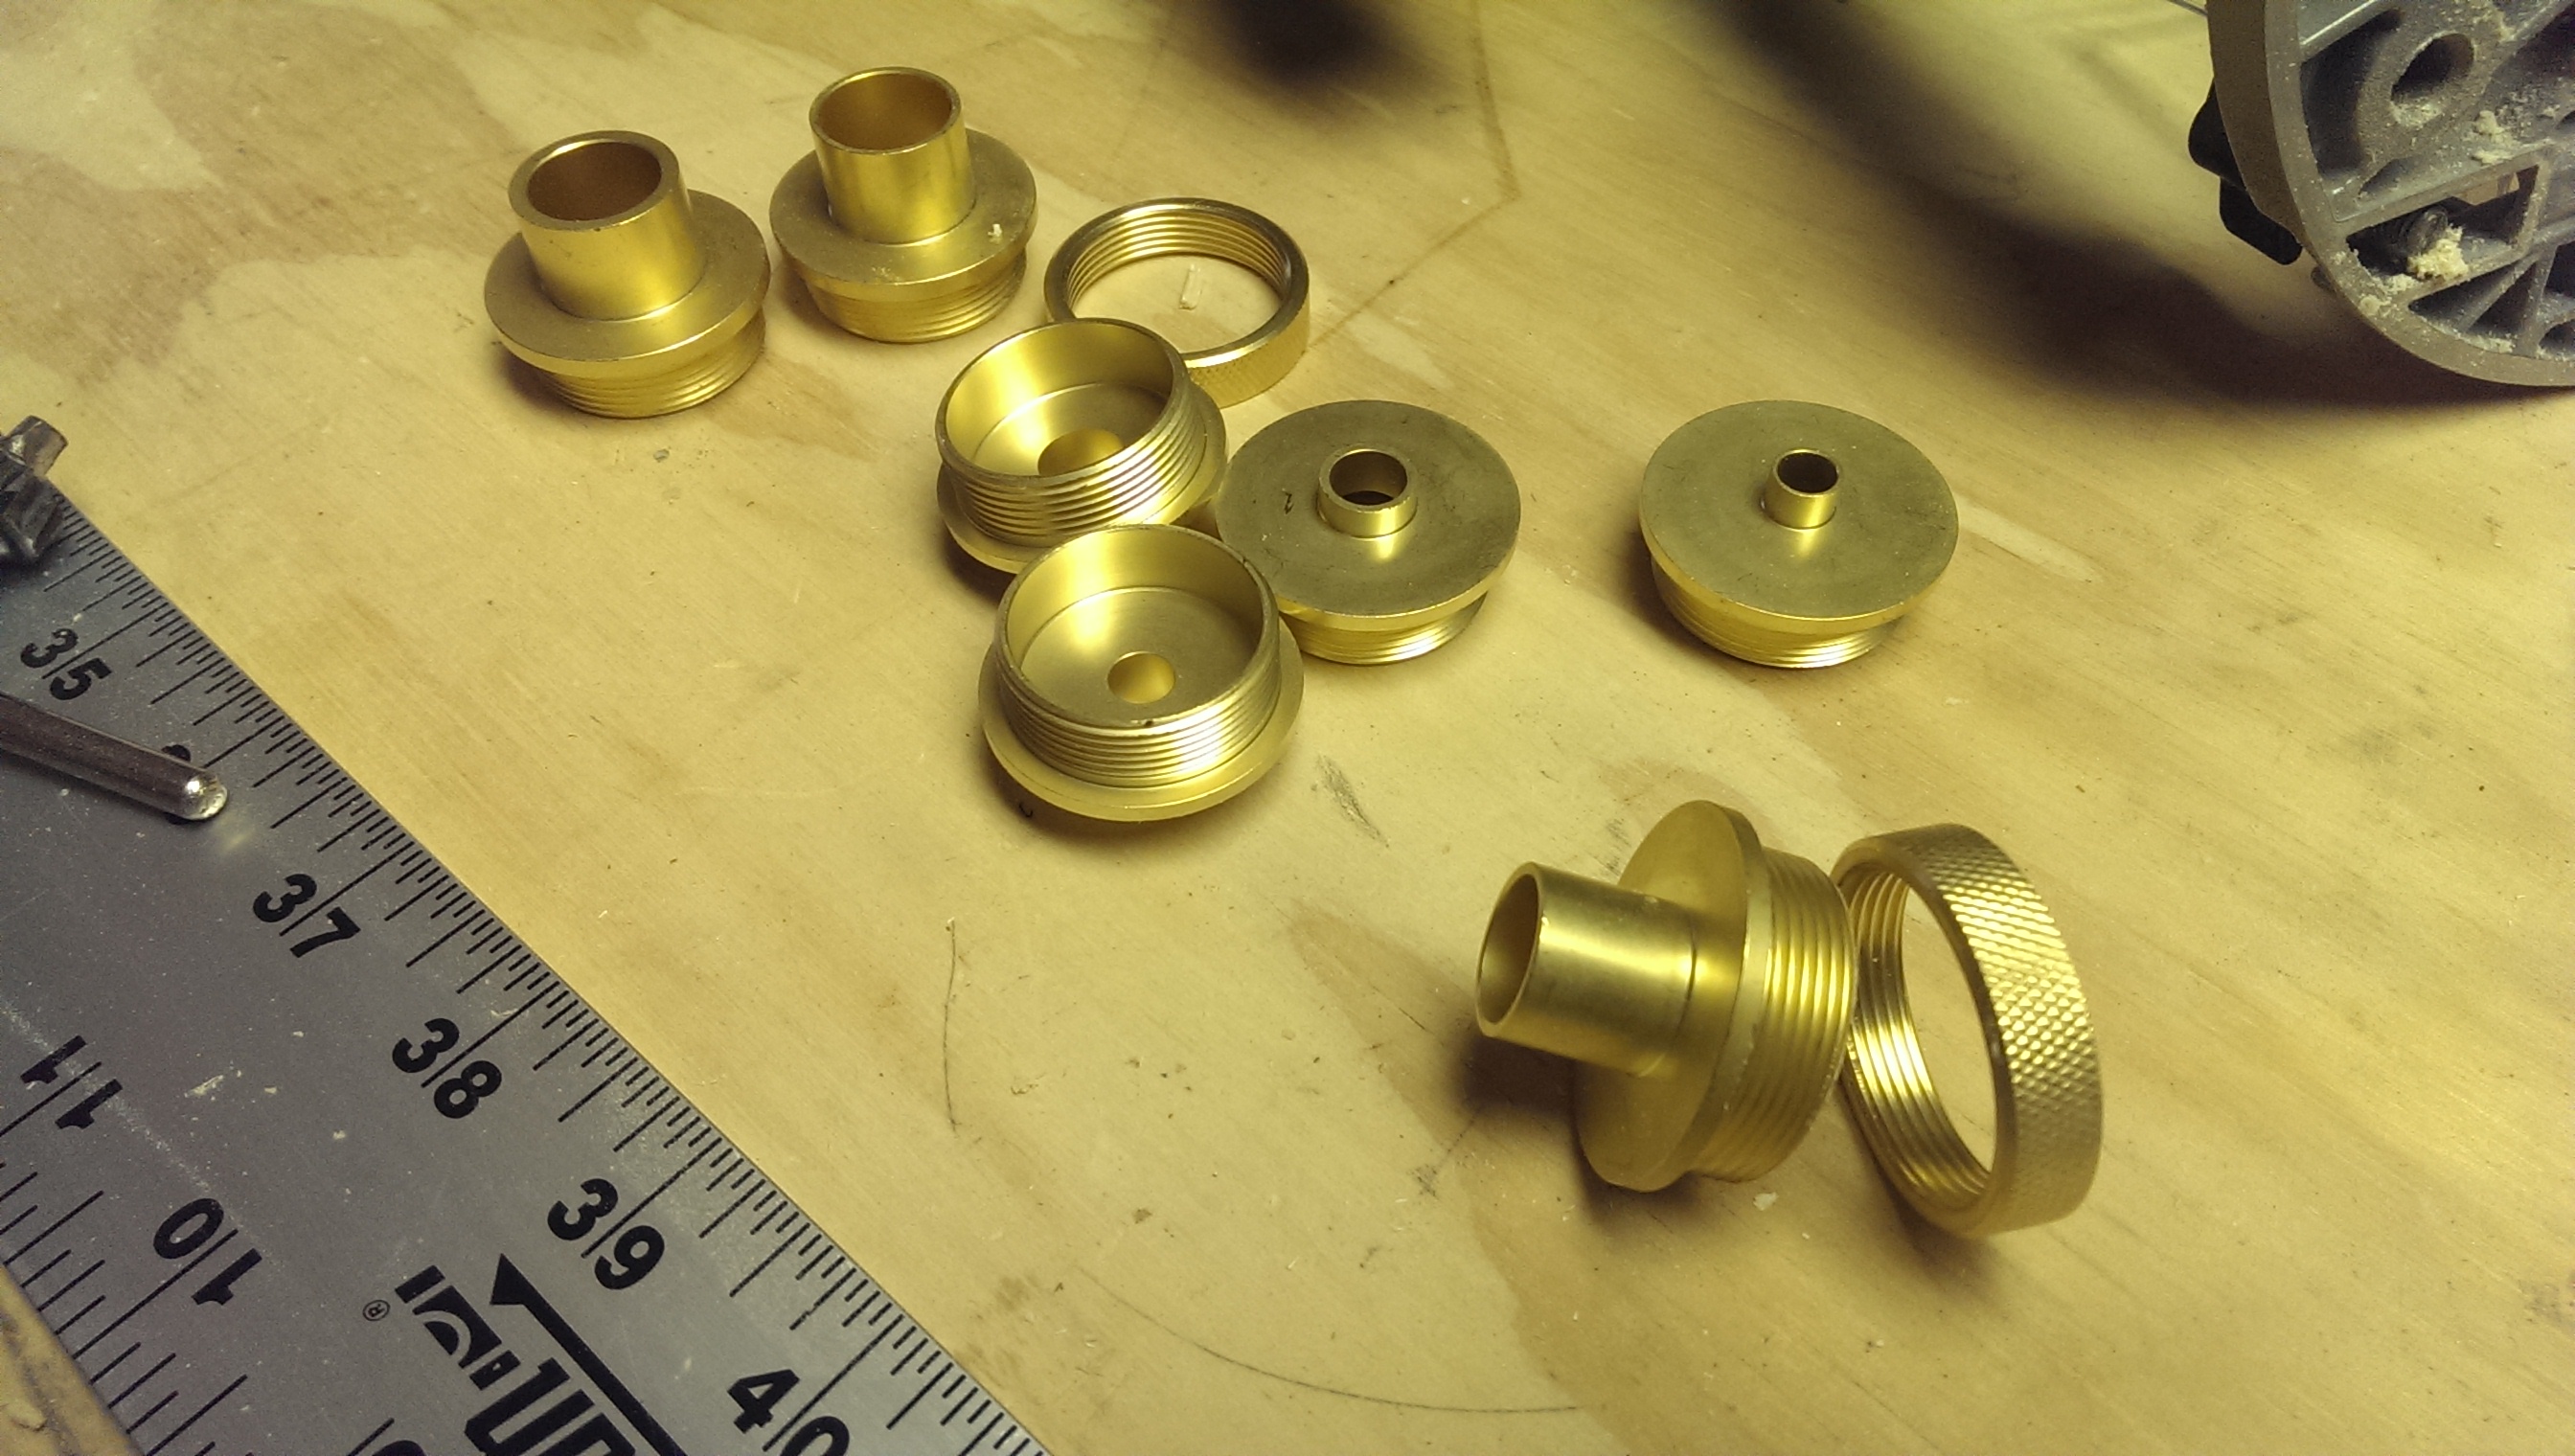
Template bushing set
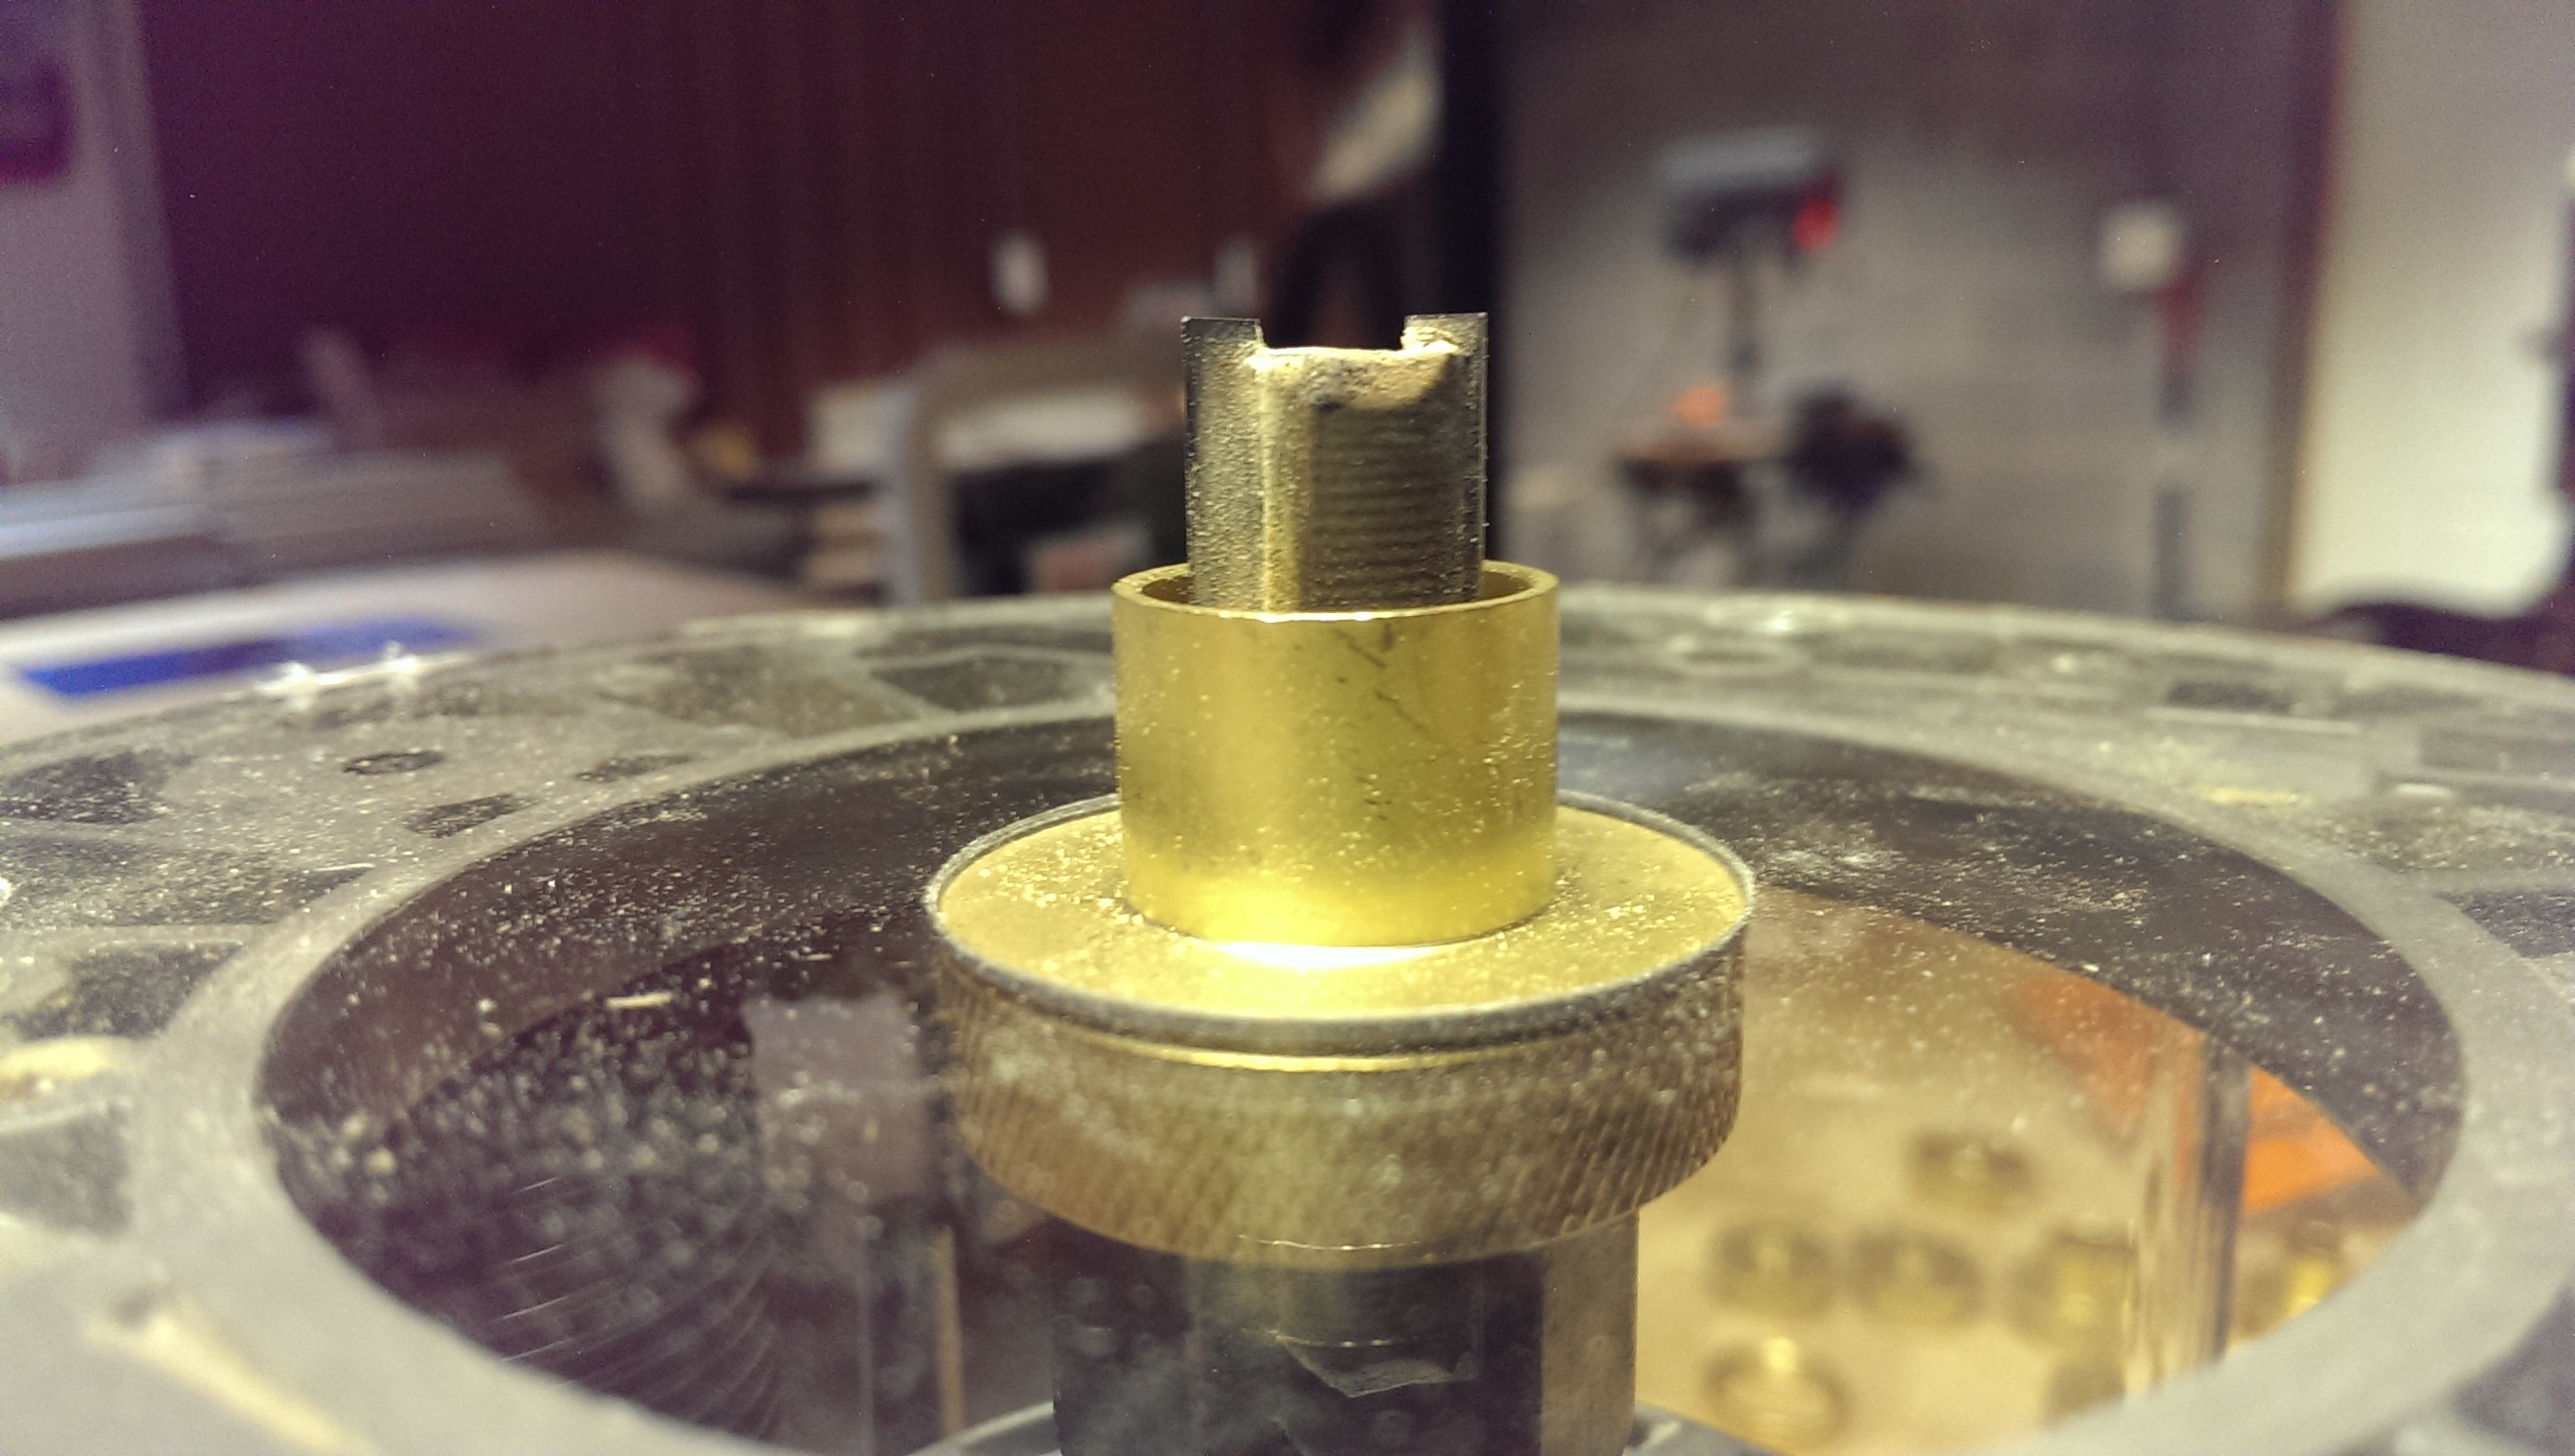
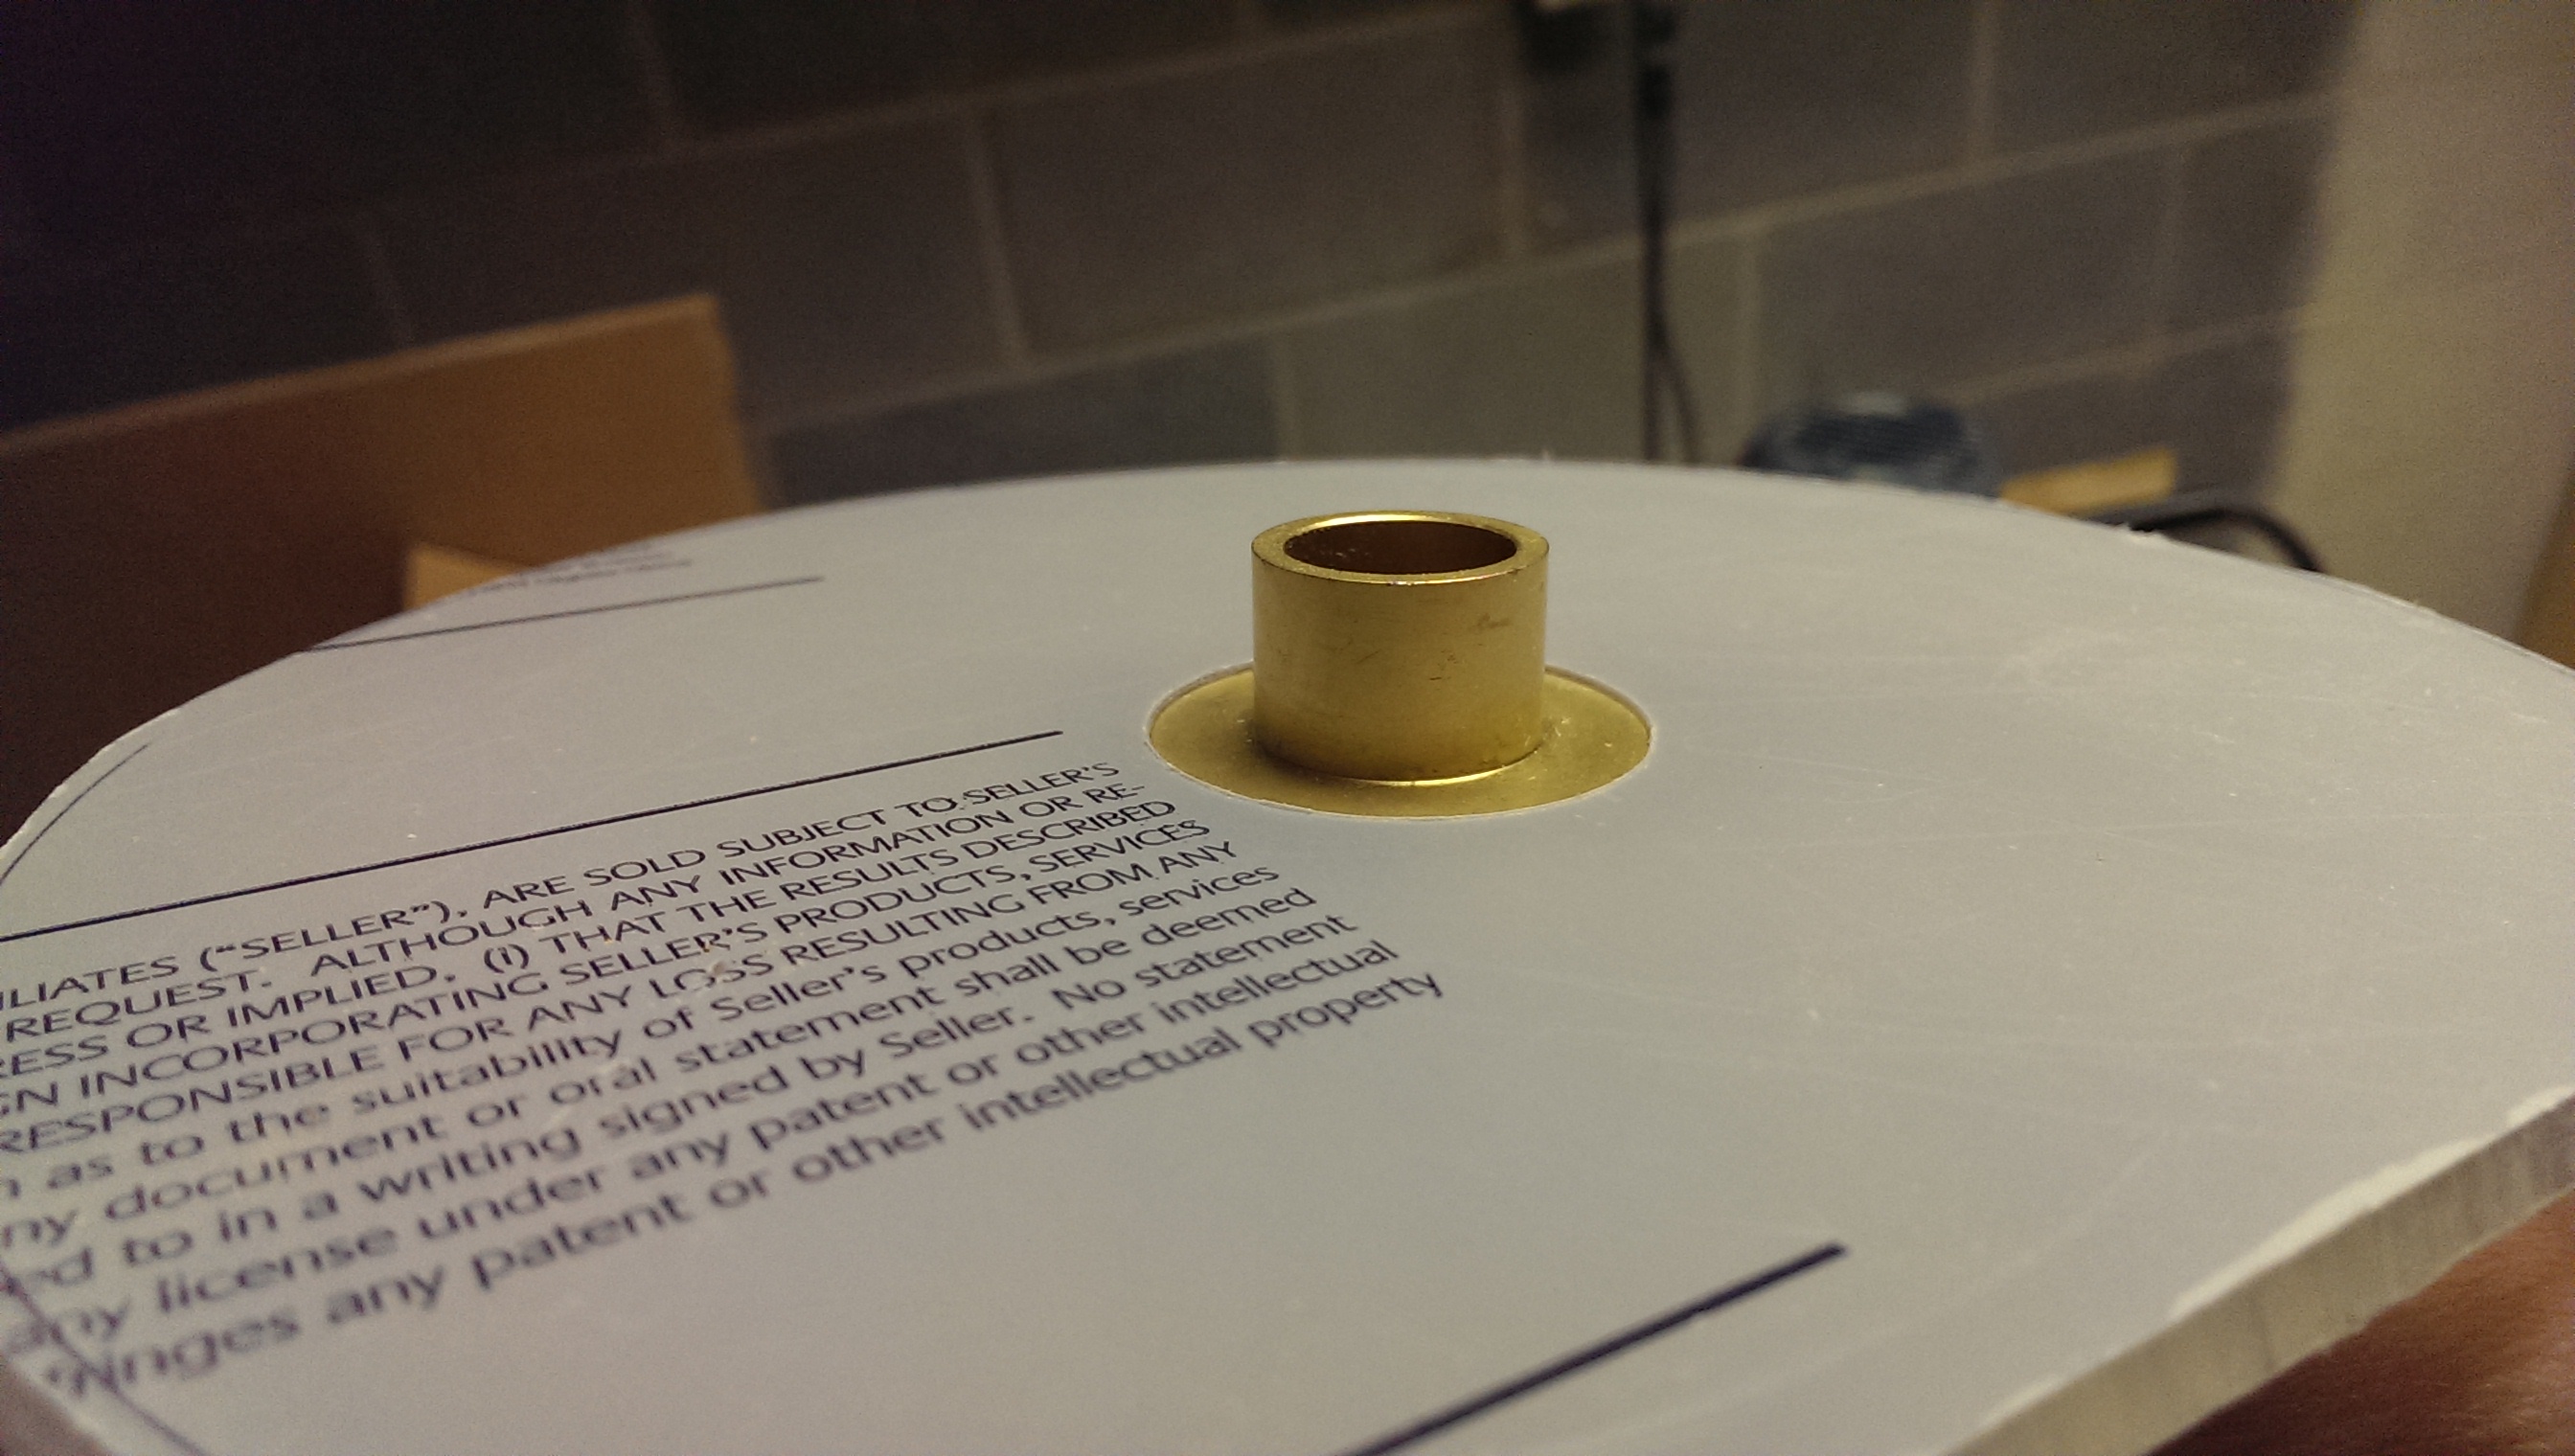
Bushing after all done and installed
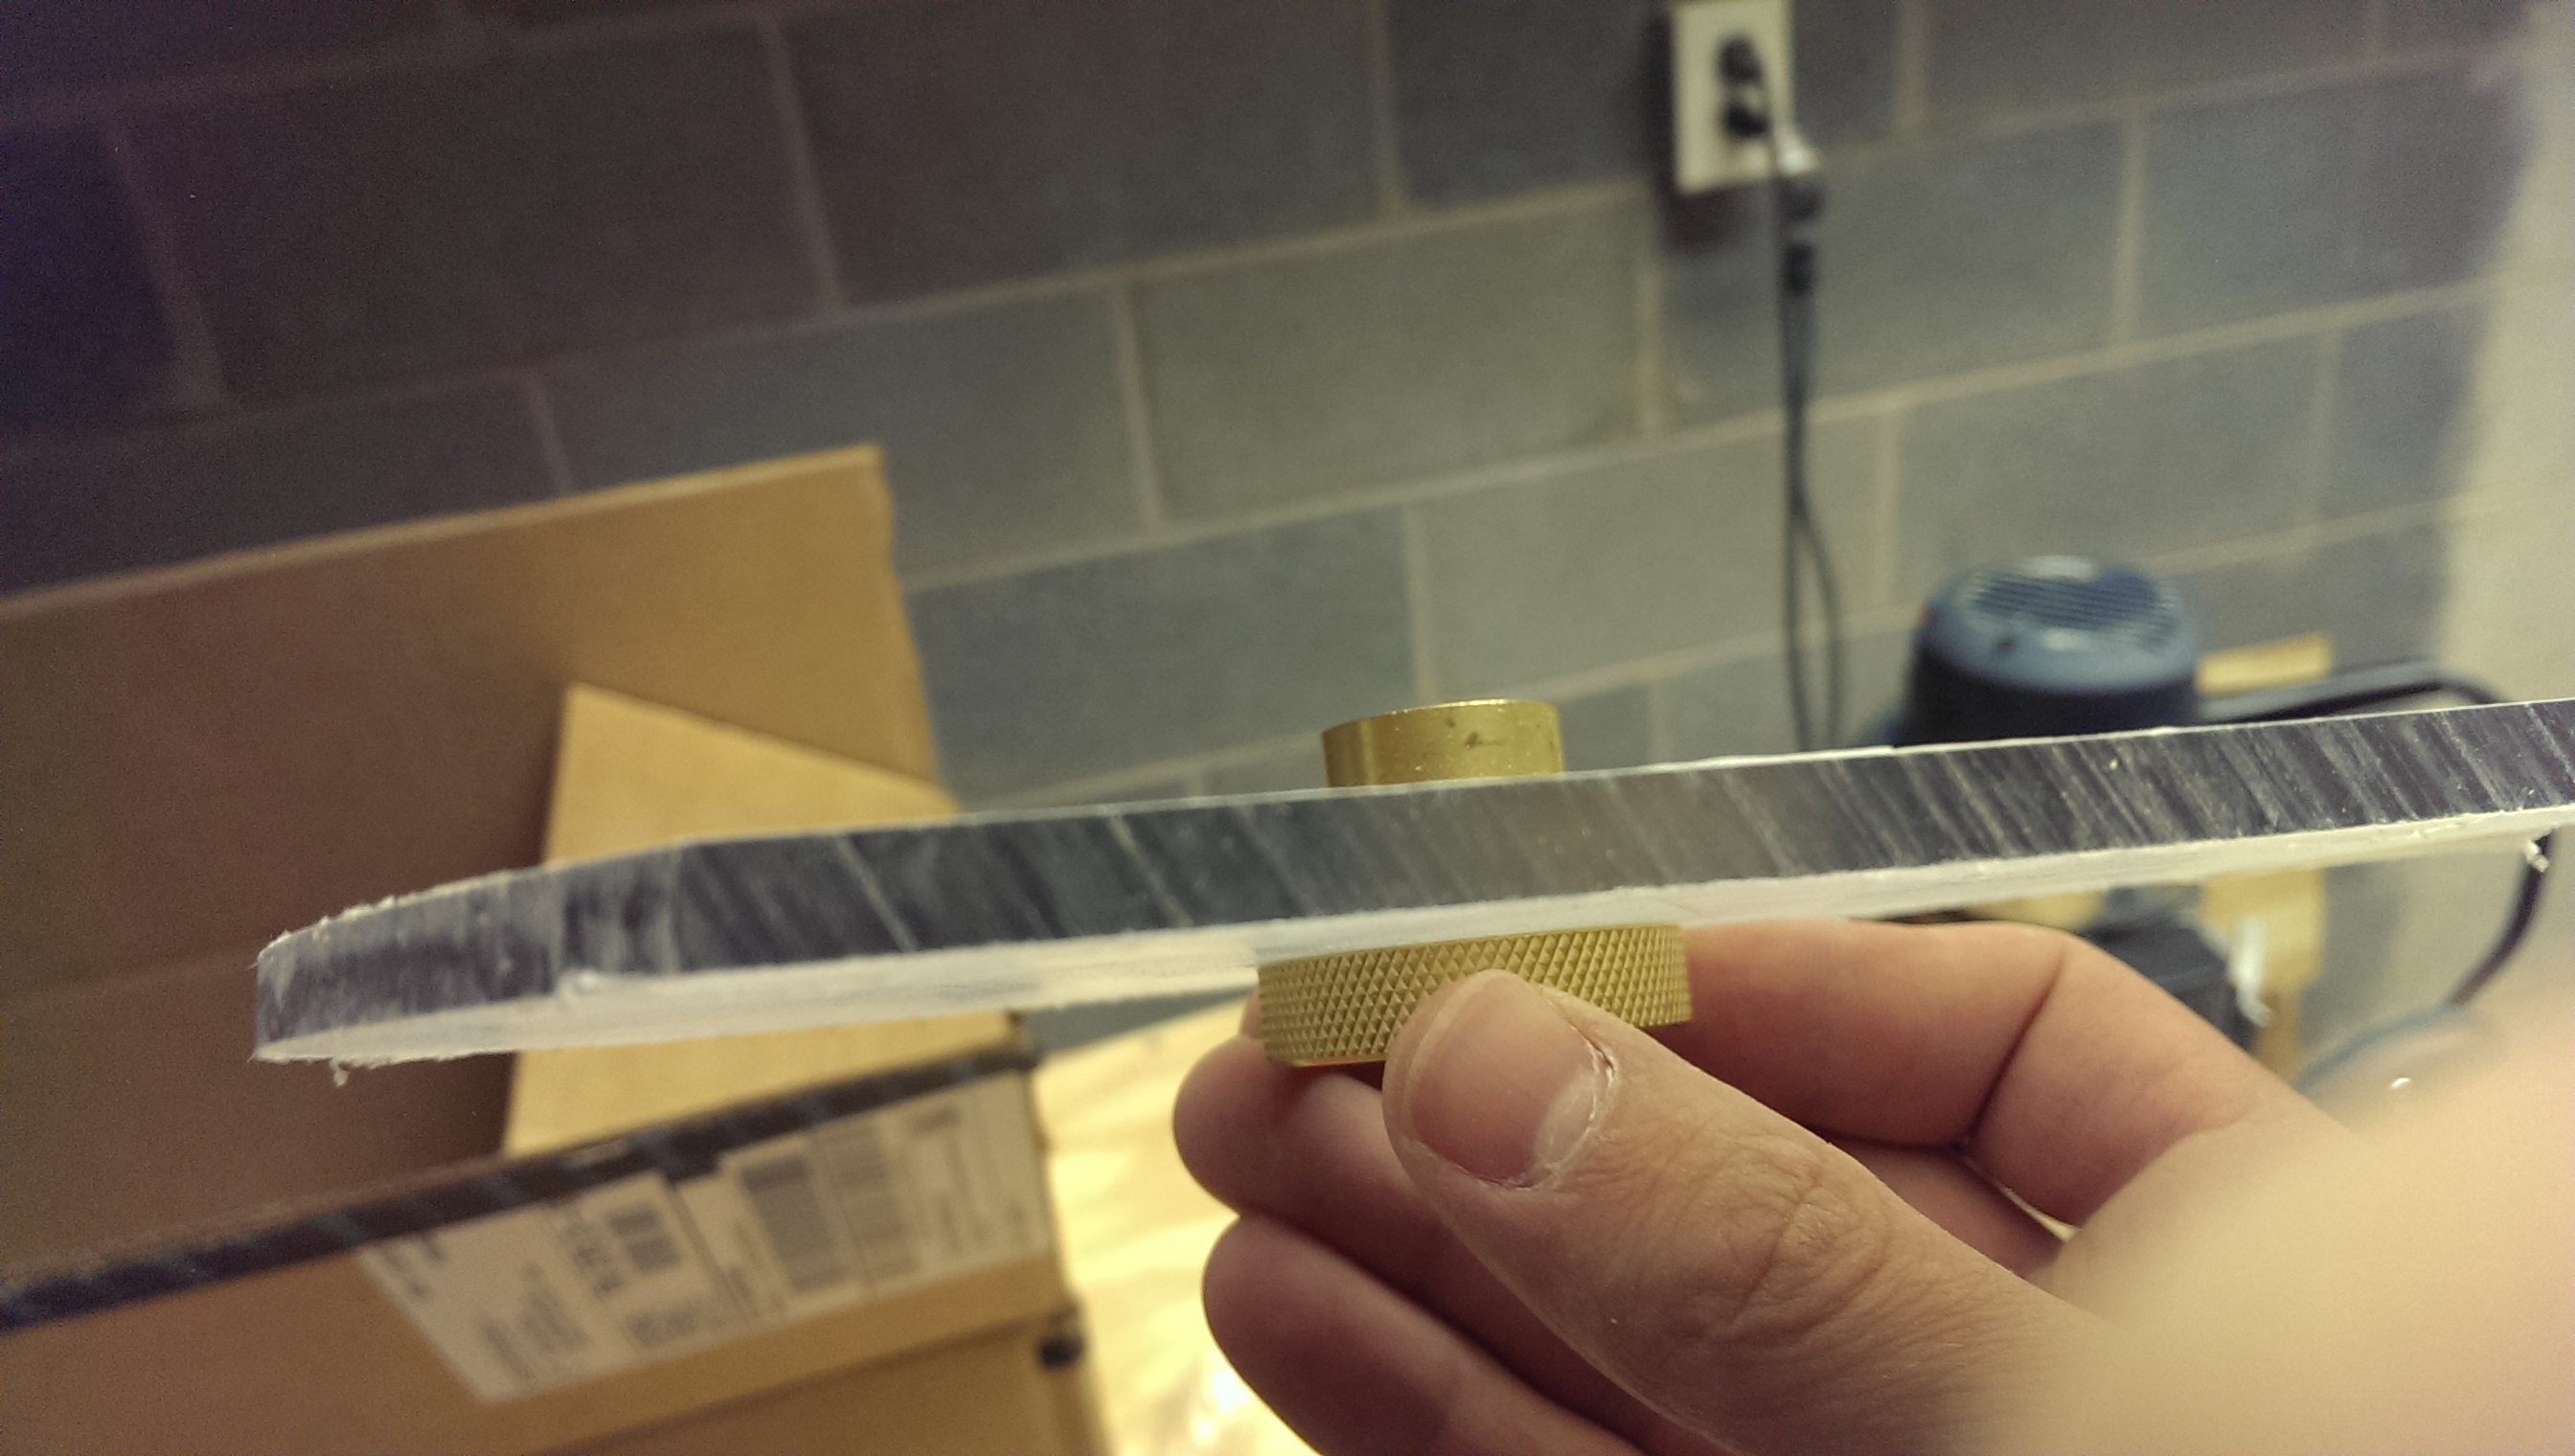
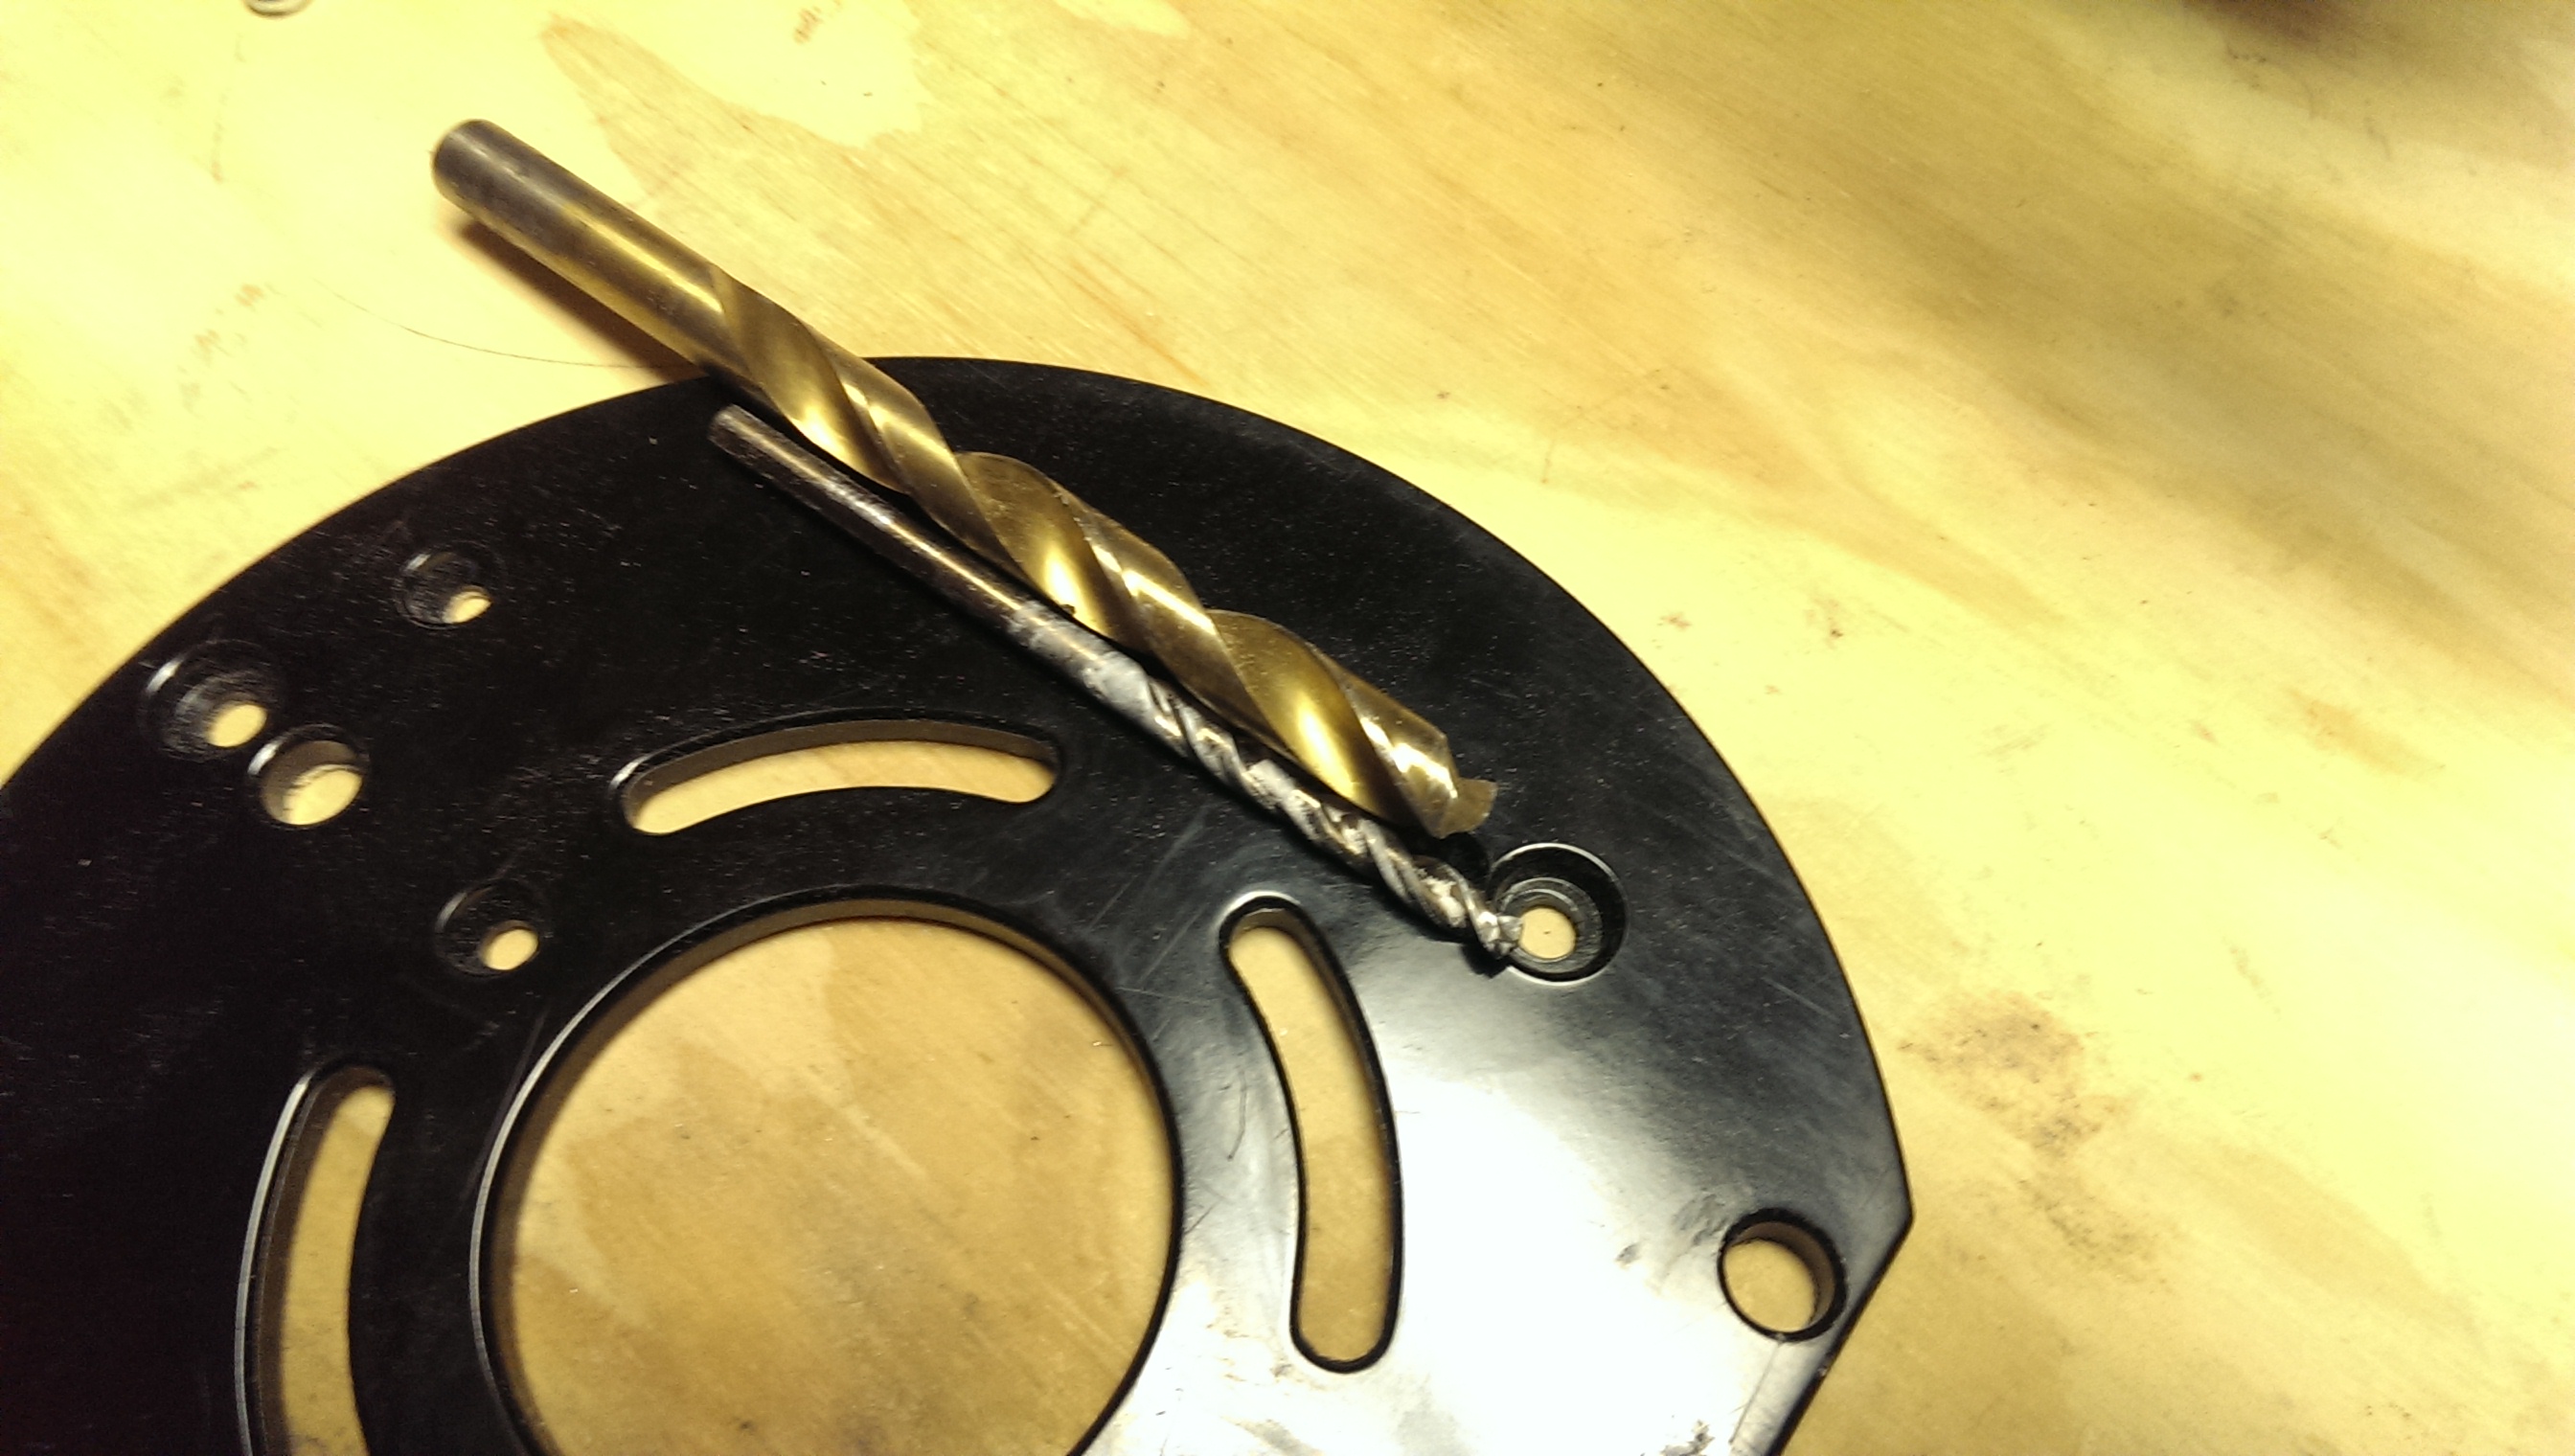
Template bushings are just small metal inserts that are installed in the subbase (flat part at the bottom) of a router base. The bushings themselves are pictured above. In the other picture, you can see one of them installed with a bit, to more clearly illustrate their purpose.
The bushings, which come in a variety of sizes, exist to work with a router template. Their function is somewhat similar to the bearing on a flush trim bit. If you tape a template over your work piece, the bushing will ride against the template, preventing you from cutting too far. One difference between using a template and a bushing from using a flush trim bit is that the templates need to be oversized, since the bushing is larger than the bit that sits in it.
You may wonder why you wouldn’t always use a flush trim bit. Bushings and templates have two main advantages. One is that they allow the use of much larger bits – 1/2″, 3/4″, and more. Flush trim bits are limited to the largest bearing you can find, which is usually fairly small.
Secondly, templates and bushings work with a plunge router – the bushing resides in the subbase. I can use a mortise template to cut mortises. The bushing rides in the template, and I can progressively increase my depth of cut, starting very shallow. If I wanted to do that with a flush trim bit, I would have to do something clumsy like have an extremely deep template (so the bearing has something to ride on) or freehand the initial part of the mortise to get the bit deep enough for the bearing to ride properly. Mortise templates are in fact a common use and the one I built this subbase for.
Make vs Buy
This is the eternal question. A lot of guys will just buy a subbase from Pat Warner, and I can certainly understand that. They’re CNC cut and a top notch product, from what I’ve heard. However, I was able to buy the forstner bits and enough Lexan for two subbases plus leftover for half of what Pat charges for a single acrylic subbase.
Many companies sell subbases for various routers. Unfortunately, my Bosch only works with the Bosch-specific setup, which requires chintsy locking rings that get poor reviews. Woodcraft sells a $40 universal subbase, but it would only work with my router if I drilled mounting holes, at which point I’m halfway to simply doing it myself anyway. Also, Woodcraft’s subbase appeared to just have the 30mm through hole, so the bushing stood proud of the surface, which I did not want.
I also was told there are blanks for sale online, which would have been an attractive option if I could find any.
At the end of the day, I already had everything to make this except the Lexan, which was cheap, and the forstner bits, which I can now re-use for other projects. To me, with a wonky Bosch router there are few subbase options for, this was a no-brainer. Teach a man to fish, and all that – I can now make these things til the cows come home for just the cost of Lexan. That said, there are plenty of pre-made options out there that may also make sense.
Required Equipment and Materials
- Bushing set
(I got a brass set from Amazon for about $20)
- Piece of 1/4″ Lexan
(could probably use acrylic, mdf, etc, but Lexan worked best for me)
- 1-3/16″ or 30mm Forstner Bit
(Drill the bushing hole – I got cheap forstners off Amazon)
- 1-3/8″ or 35mm Forstner Bit
(Optional – this is for recessing the bushing)
- Cone centering bit
(Optional, but makes the subbase much more accurate and is very cheap)
- Drill press (Optional-ish – a very cheap one works, this is tough to hand-drill properly)
Getting started

Forstner bits
Template bushing set
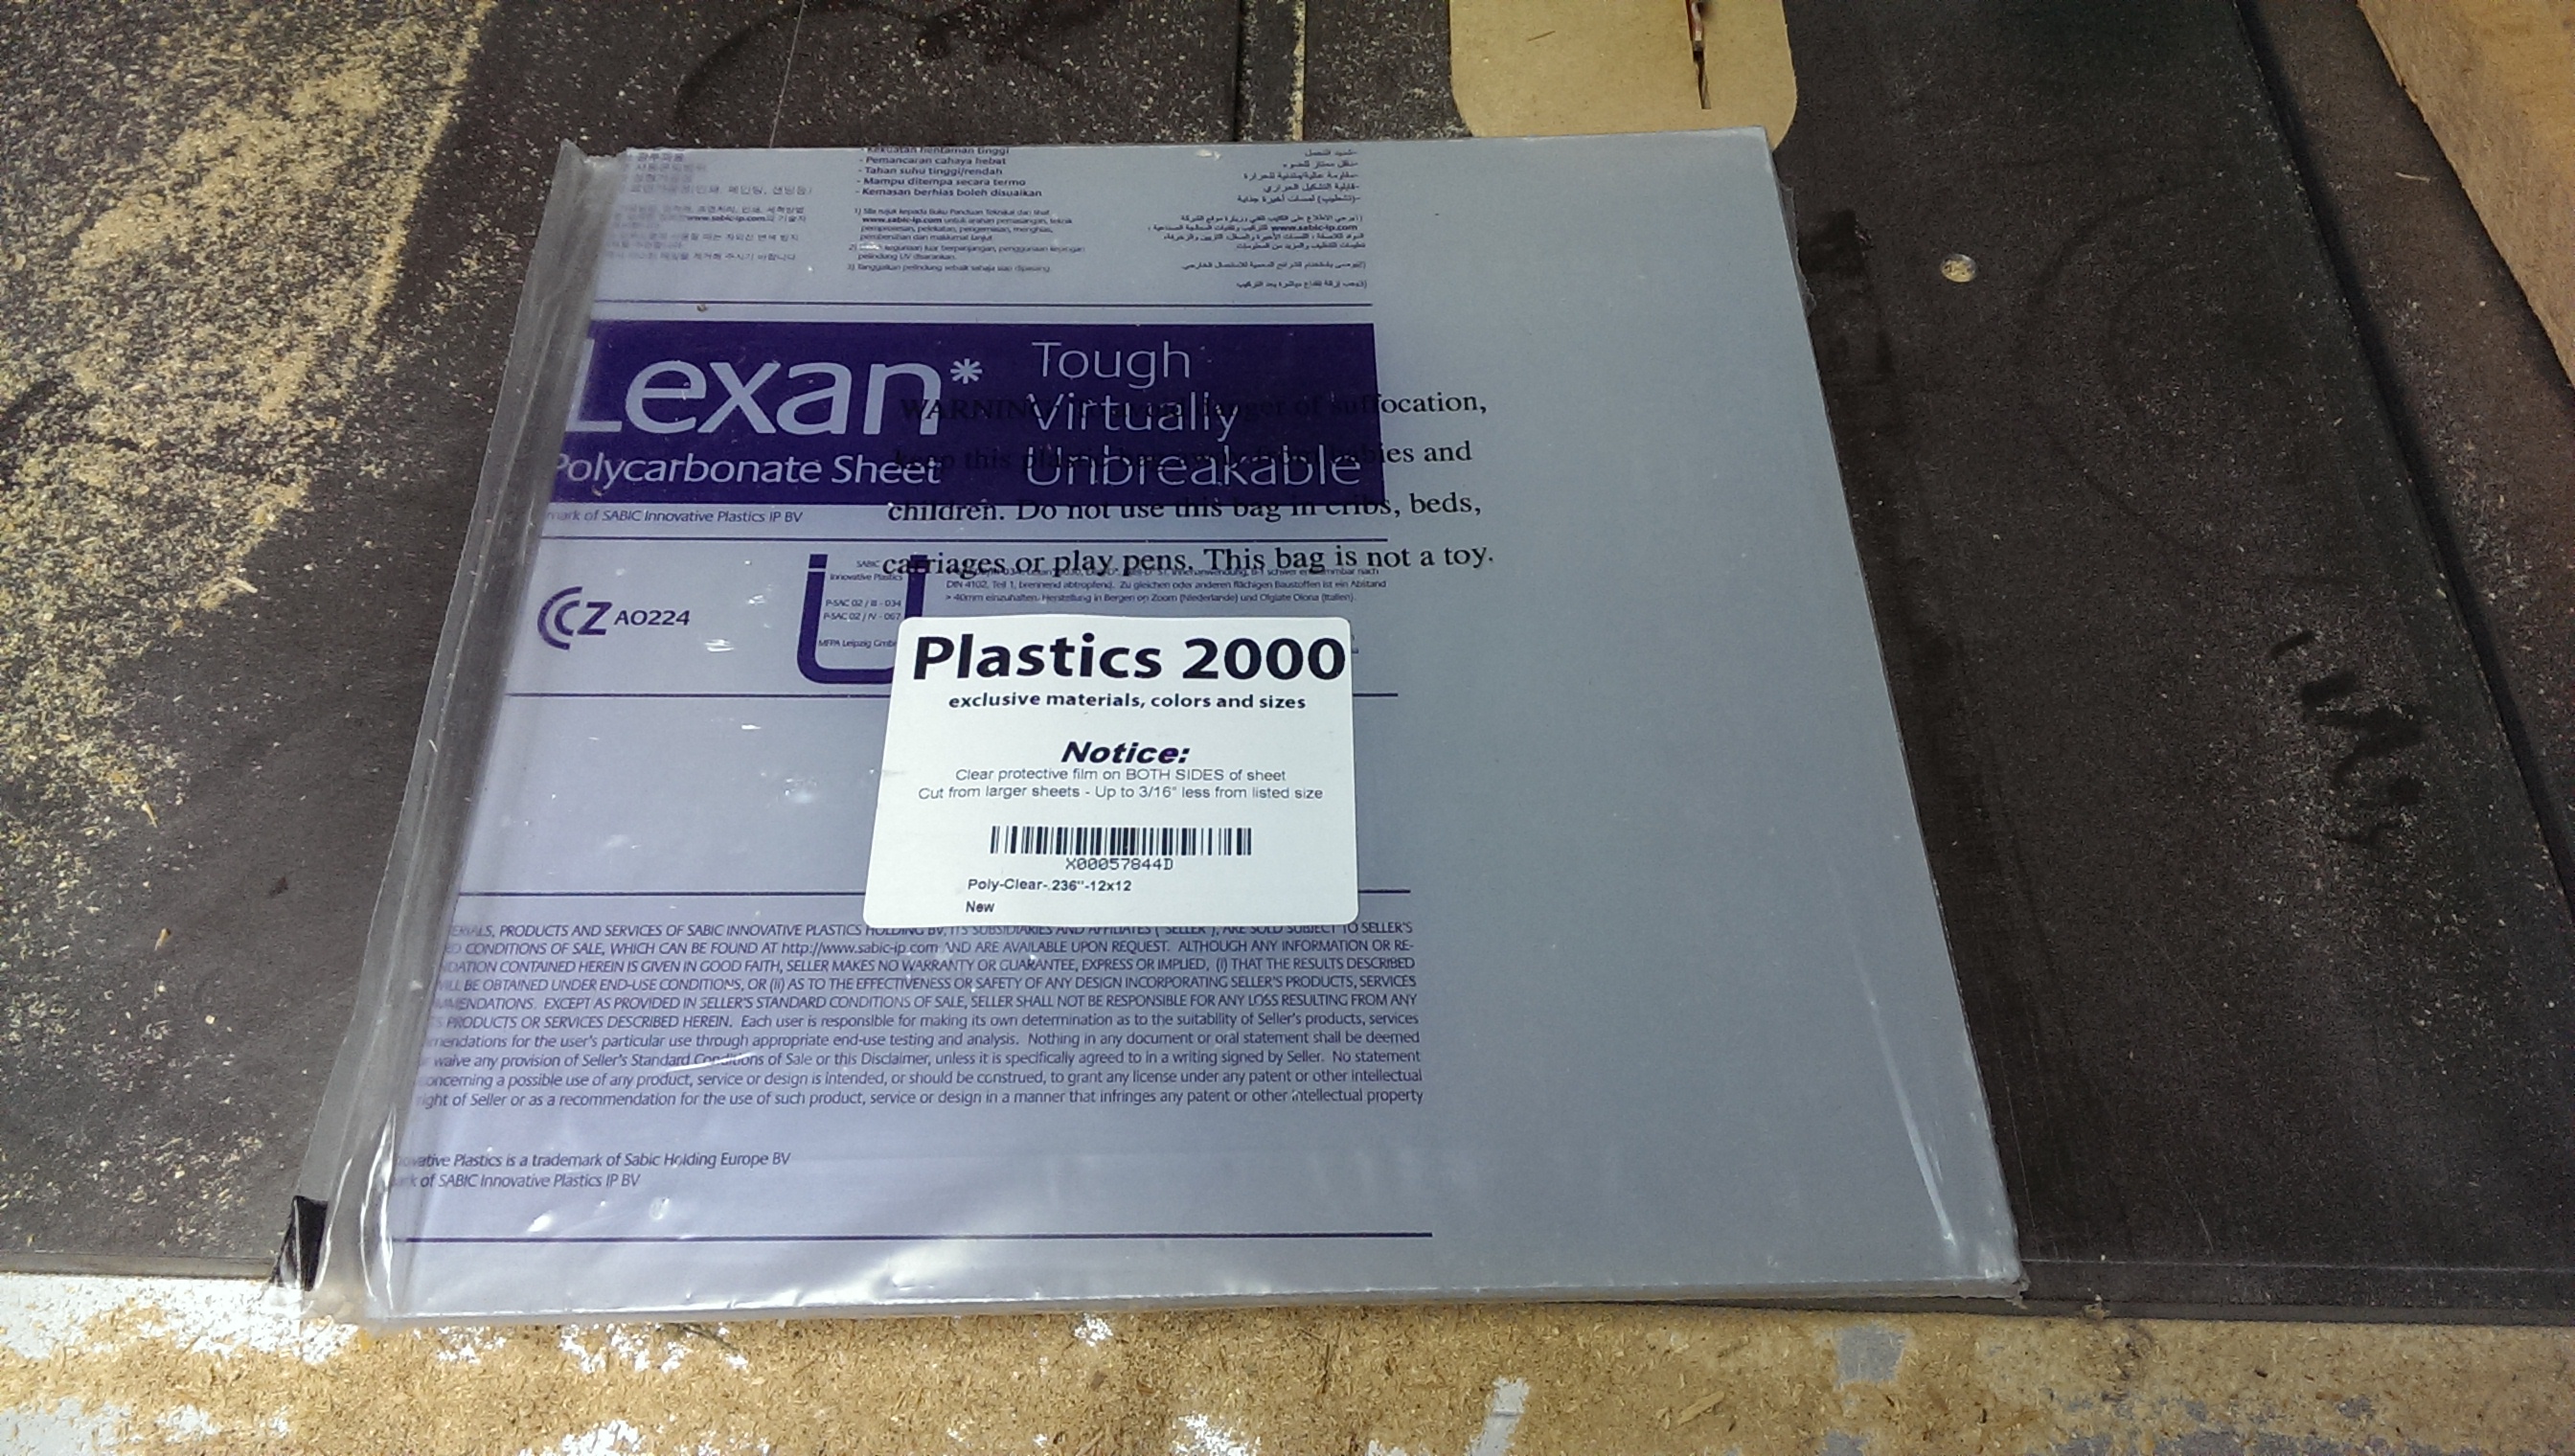
Lexan (12×12 sheet from amazon, ~1/4″ thick)
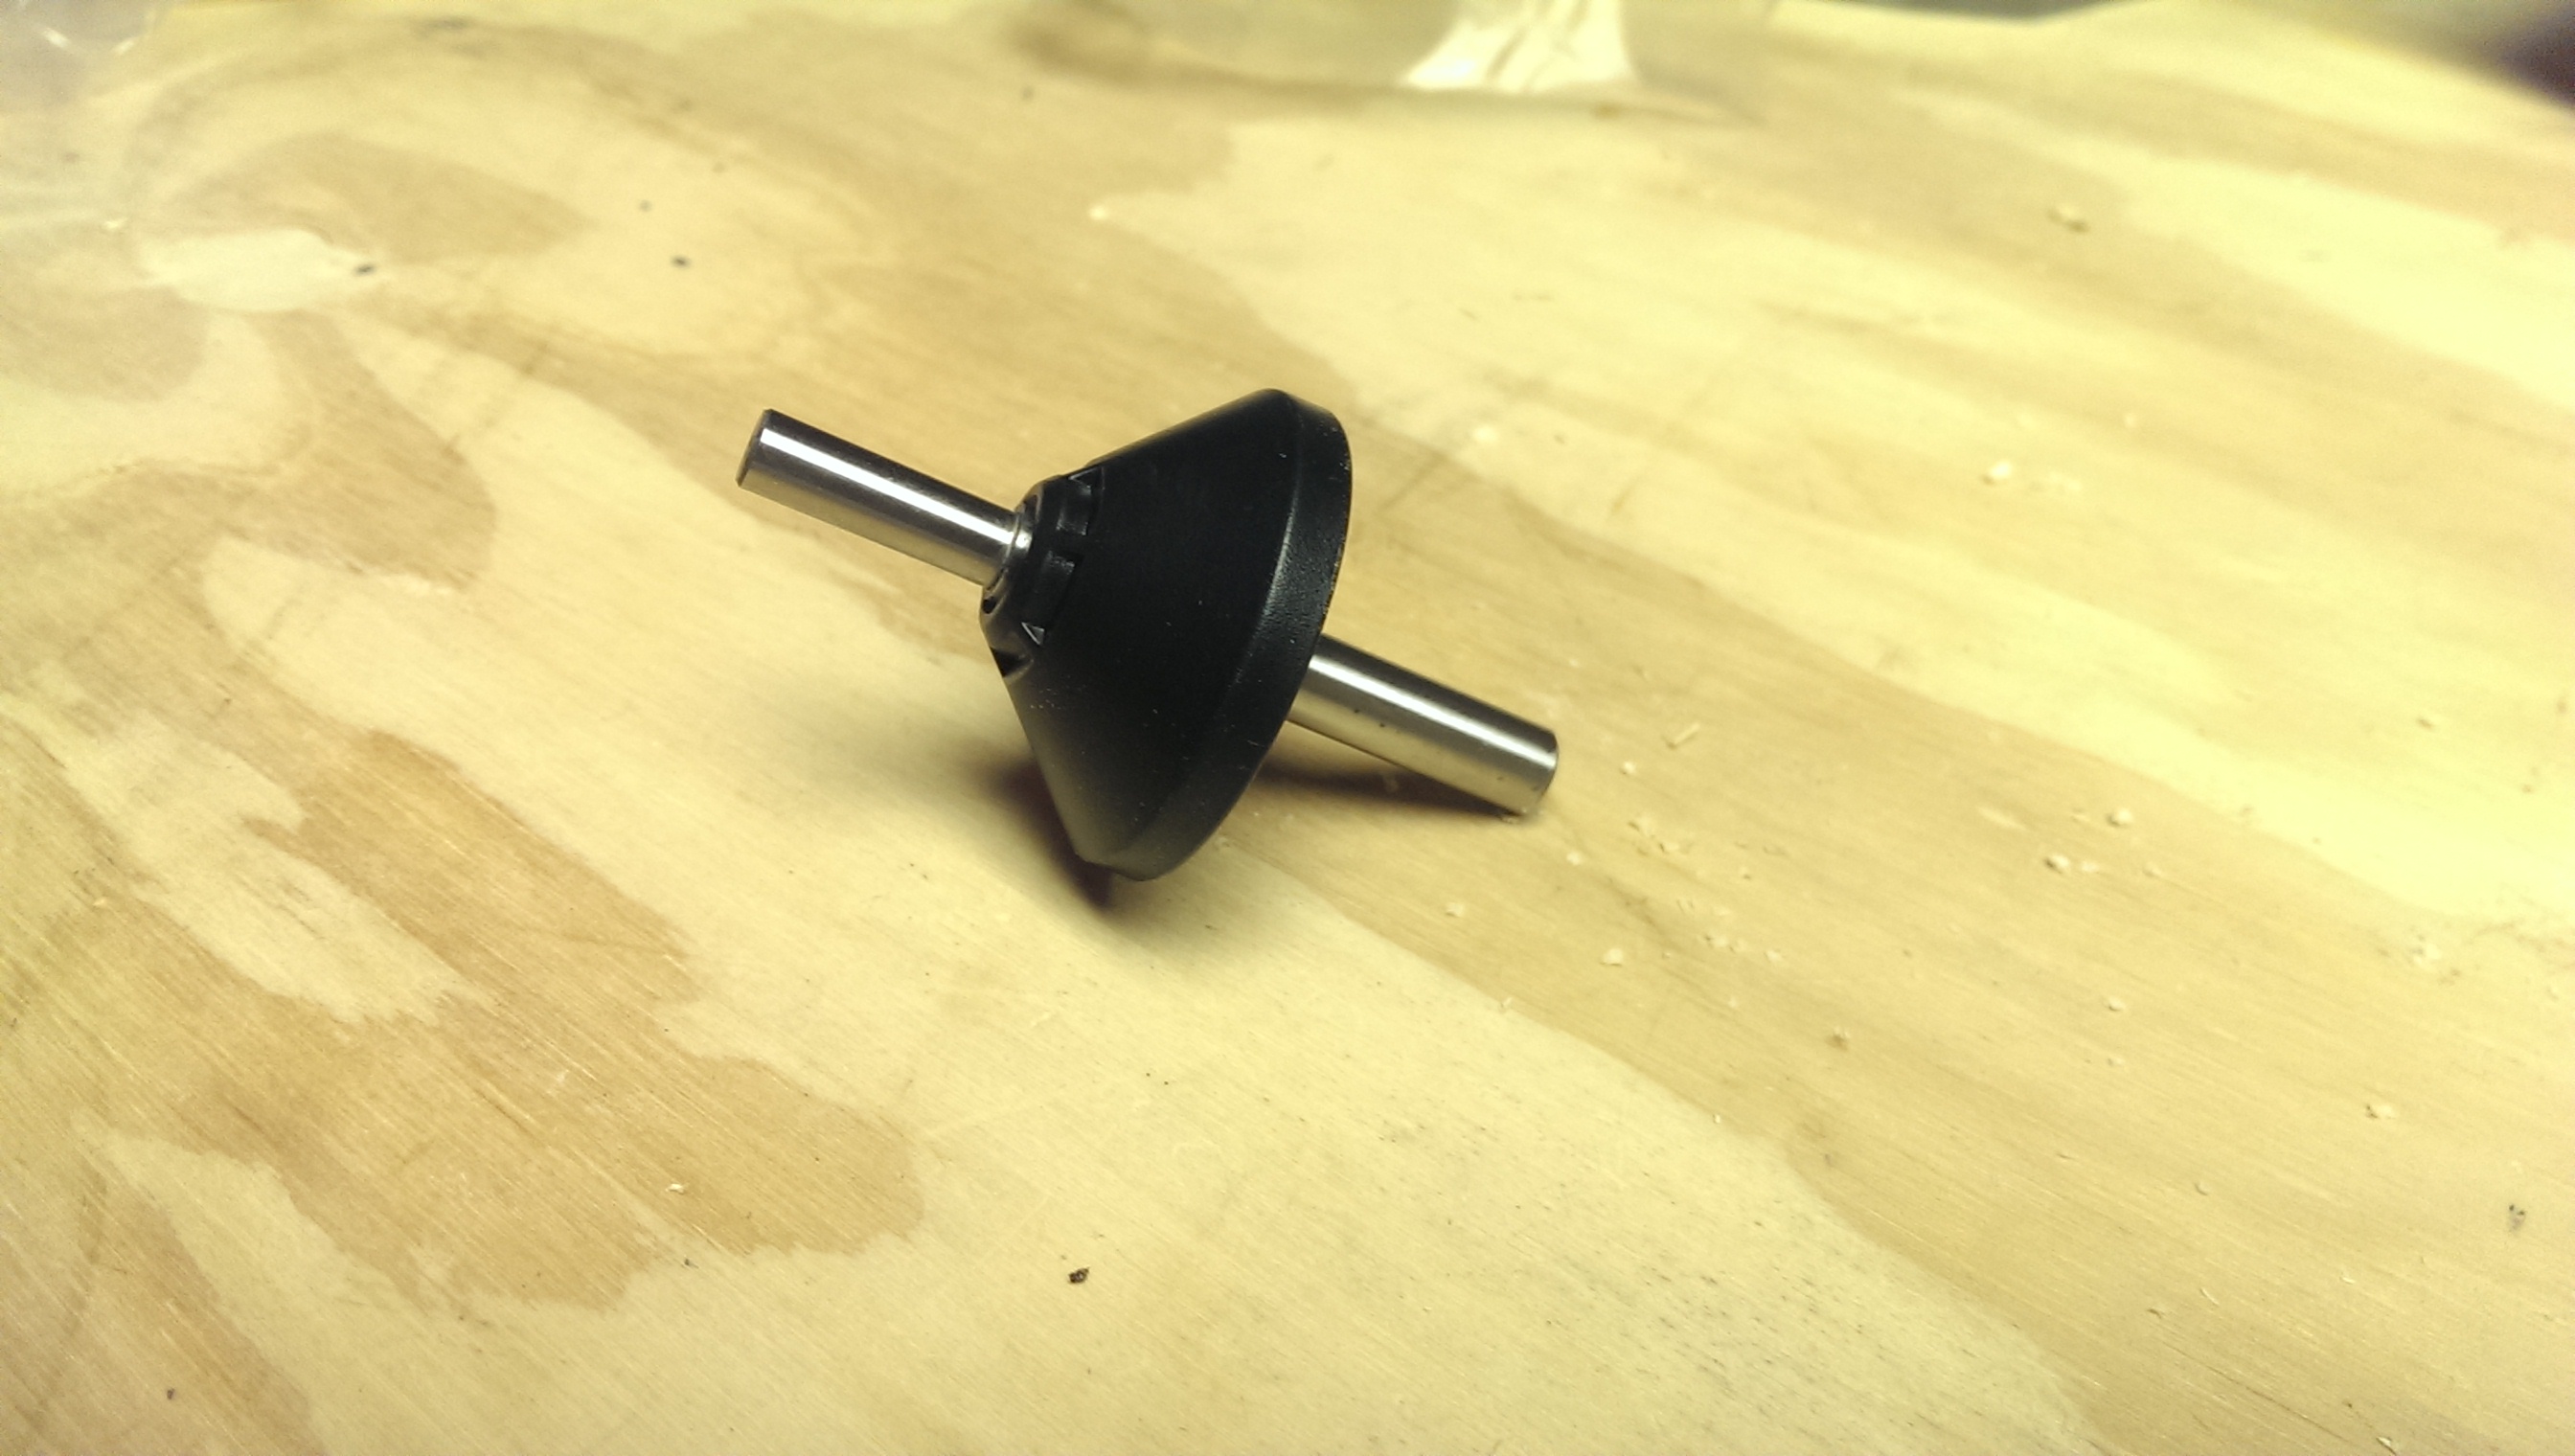
Centering cone
Here are some visuals of the items mentioned in the list above – I ended up buying everything from Amazon, because I have a problem. As stated, I got the cheapest 30 and 35mm forstner bits I could find, since I imagined I would get limited further use out of them. They were CMT brand, and seemed to work fine.
I also ordered a $20 bushing set, brass, from MLCS. I have had great luck with MLCS router products so far – they have been inexpensive and fairly good equipment. I couldn’t find 0.22″-1/4″ thick Lexan at the local hardware stores, so i went ahead and ordered that too ($12) plus a little centering cone, which was a few bucks. The purpose of the cone is to center the subbase during installation later. For less than $5, it’s worth buying one, as you should really use it every time you install this subbase, otherwise the bushings may be off-center.
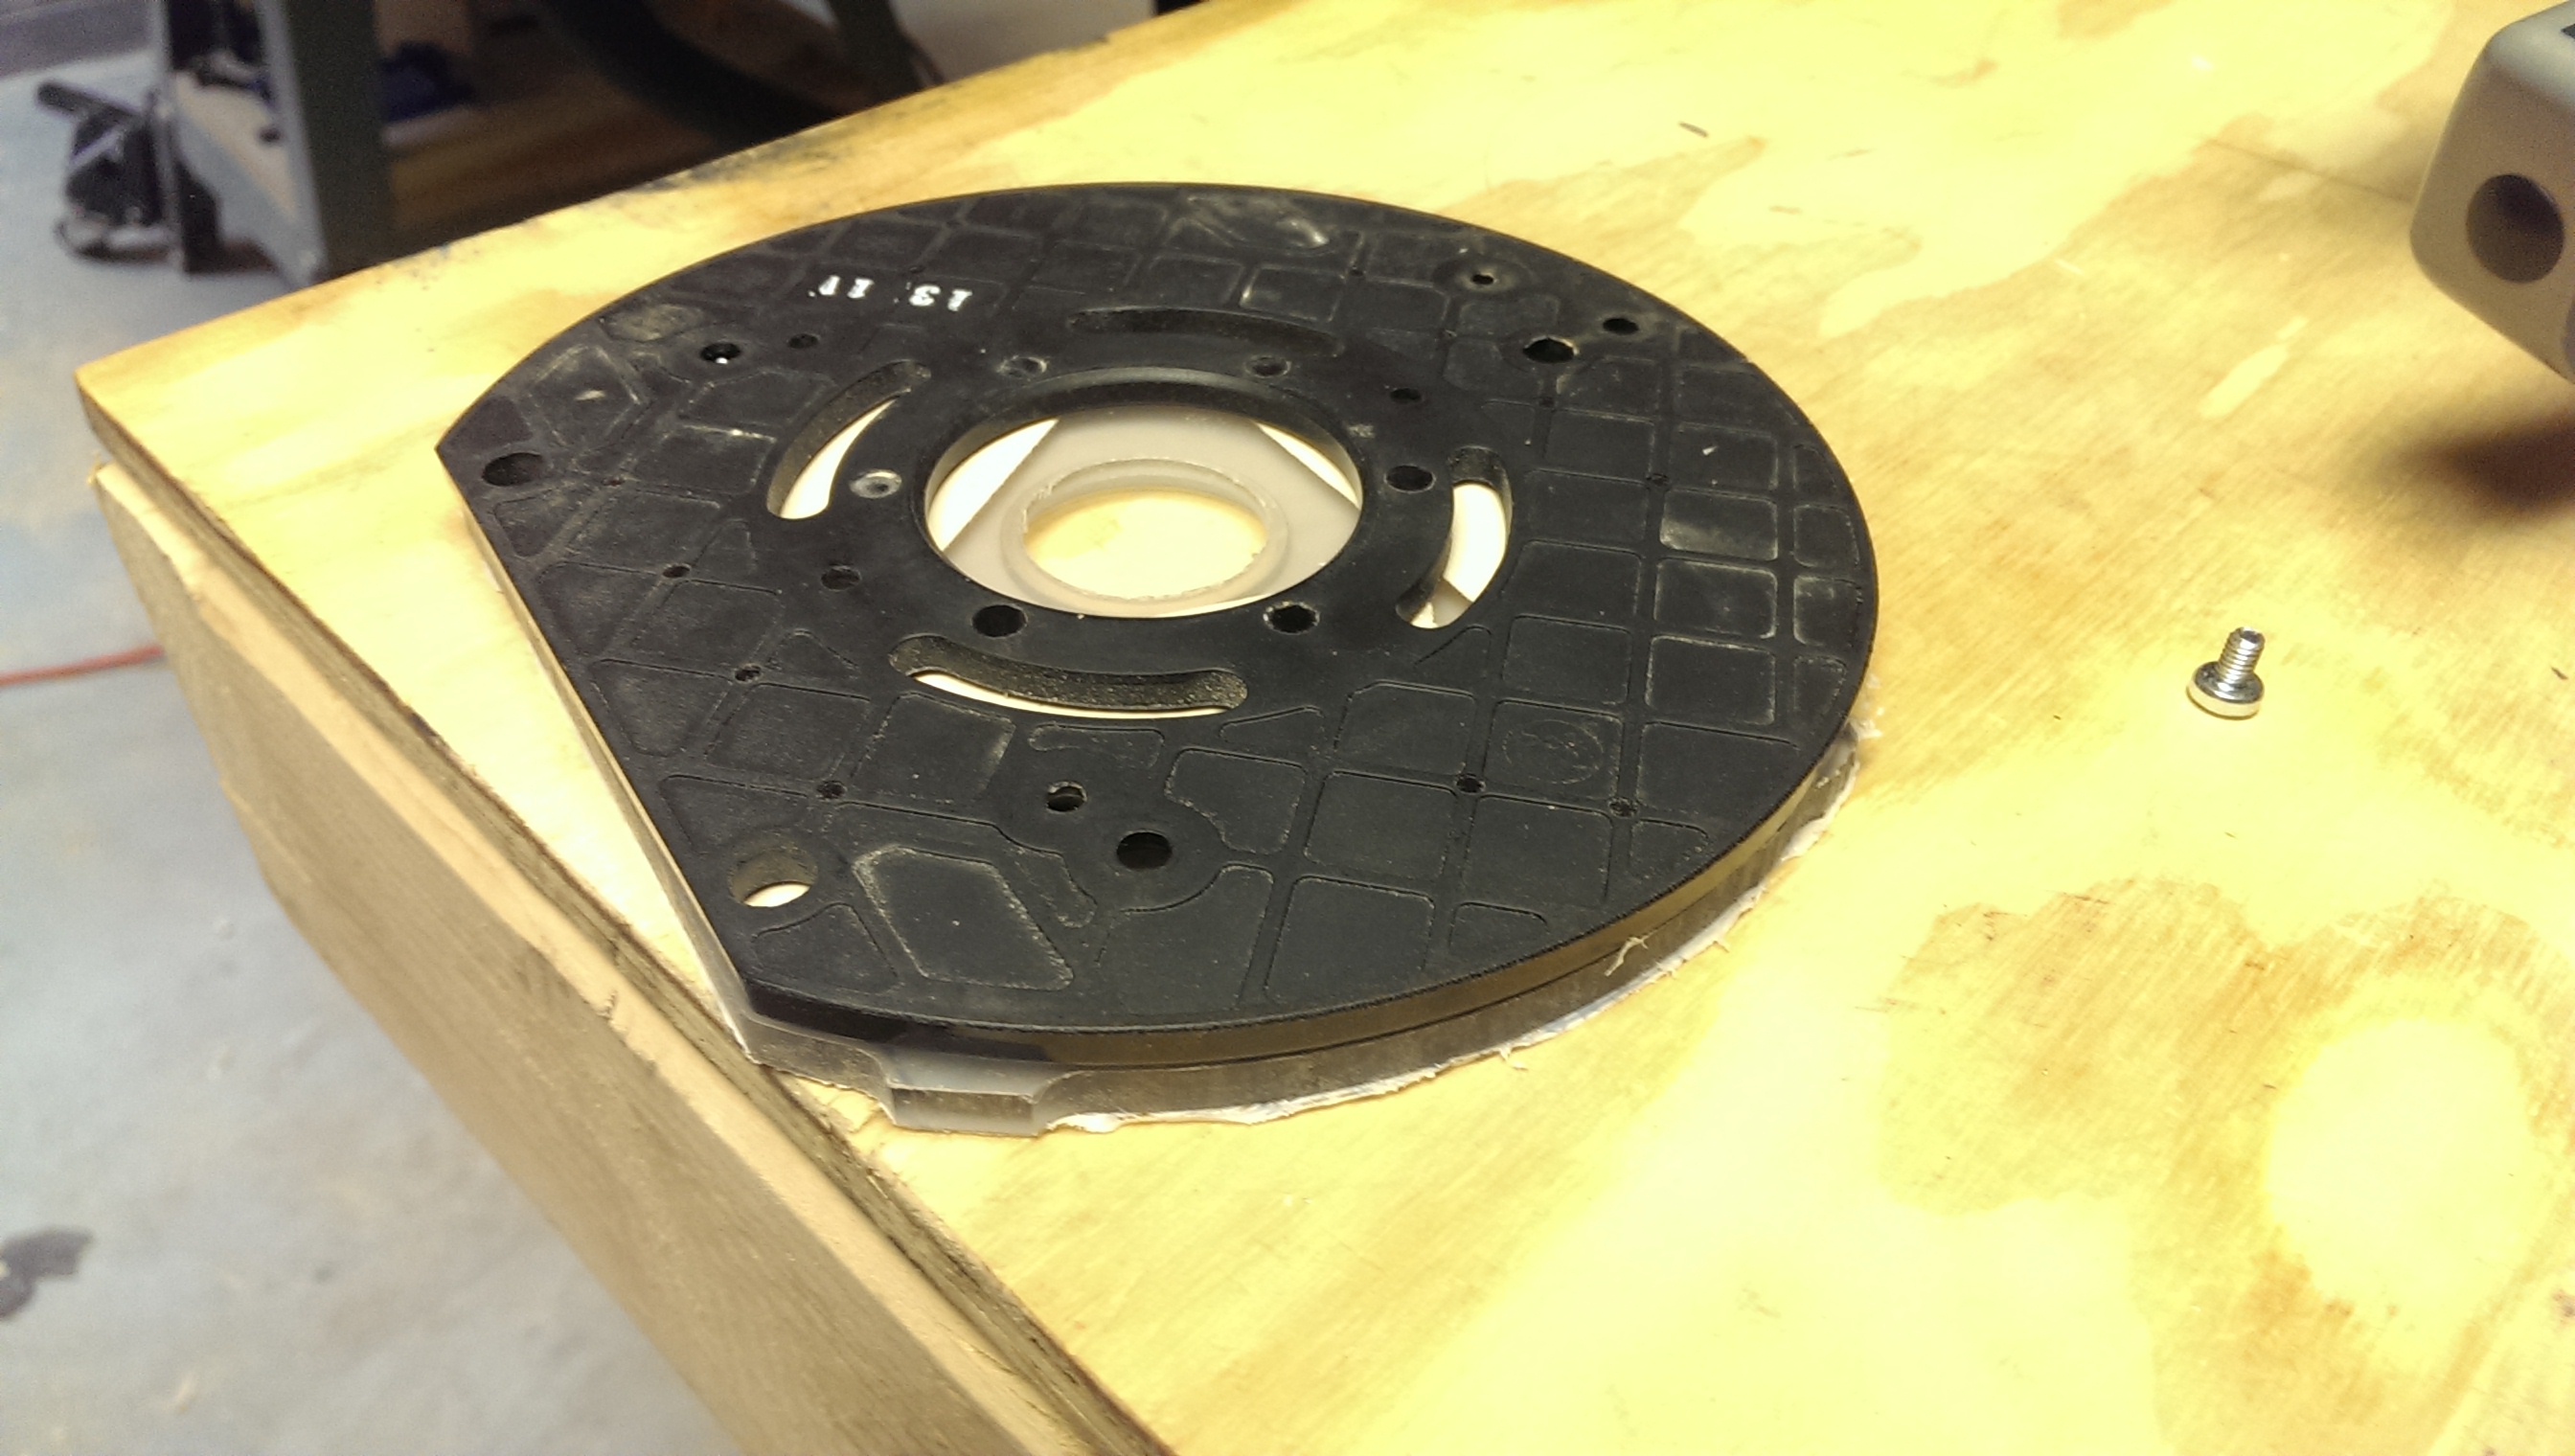
Rough Cut the Subbase
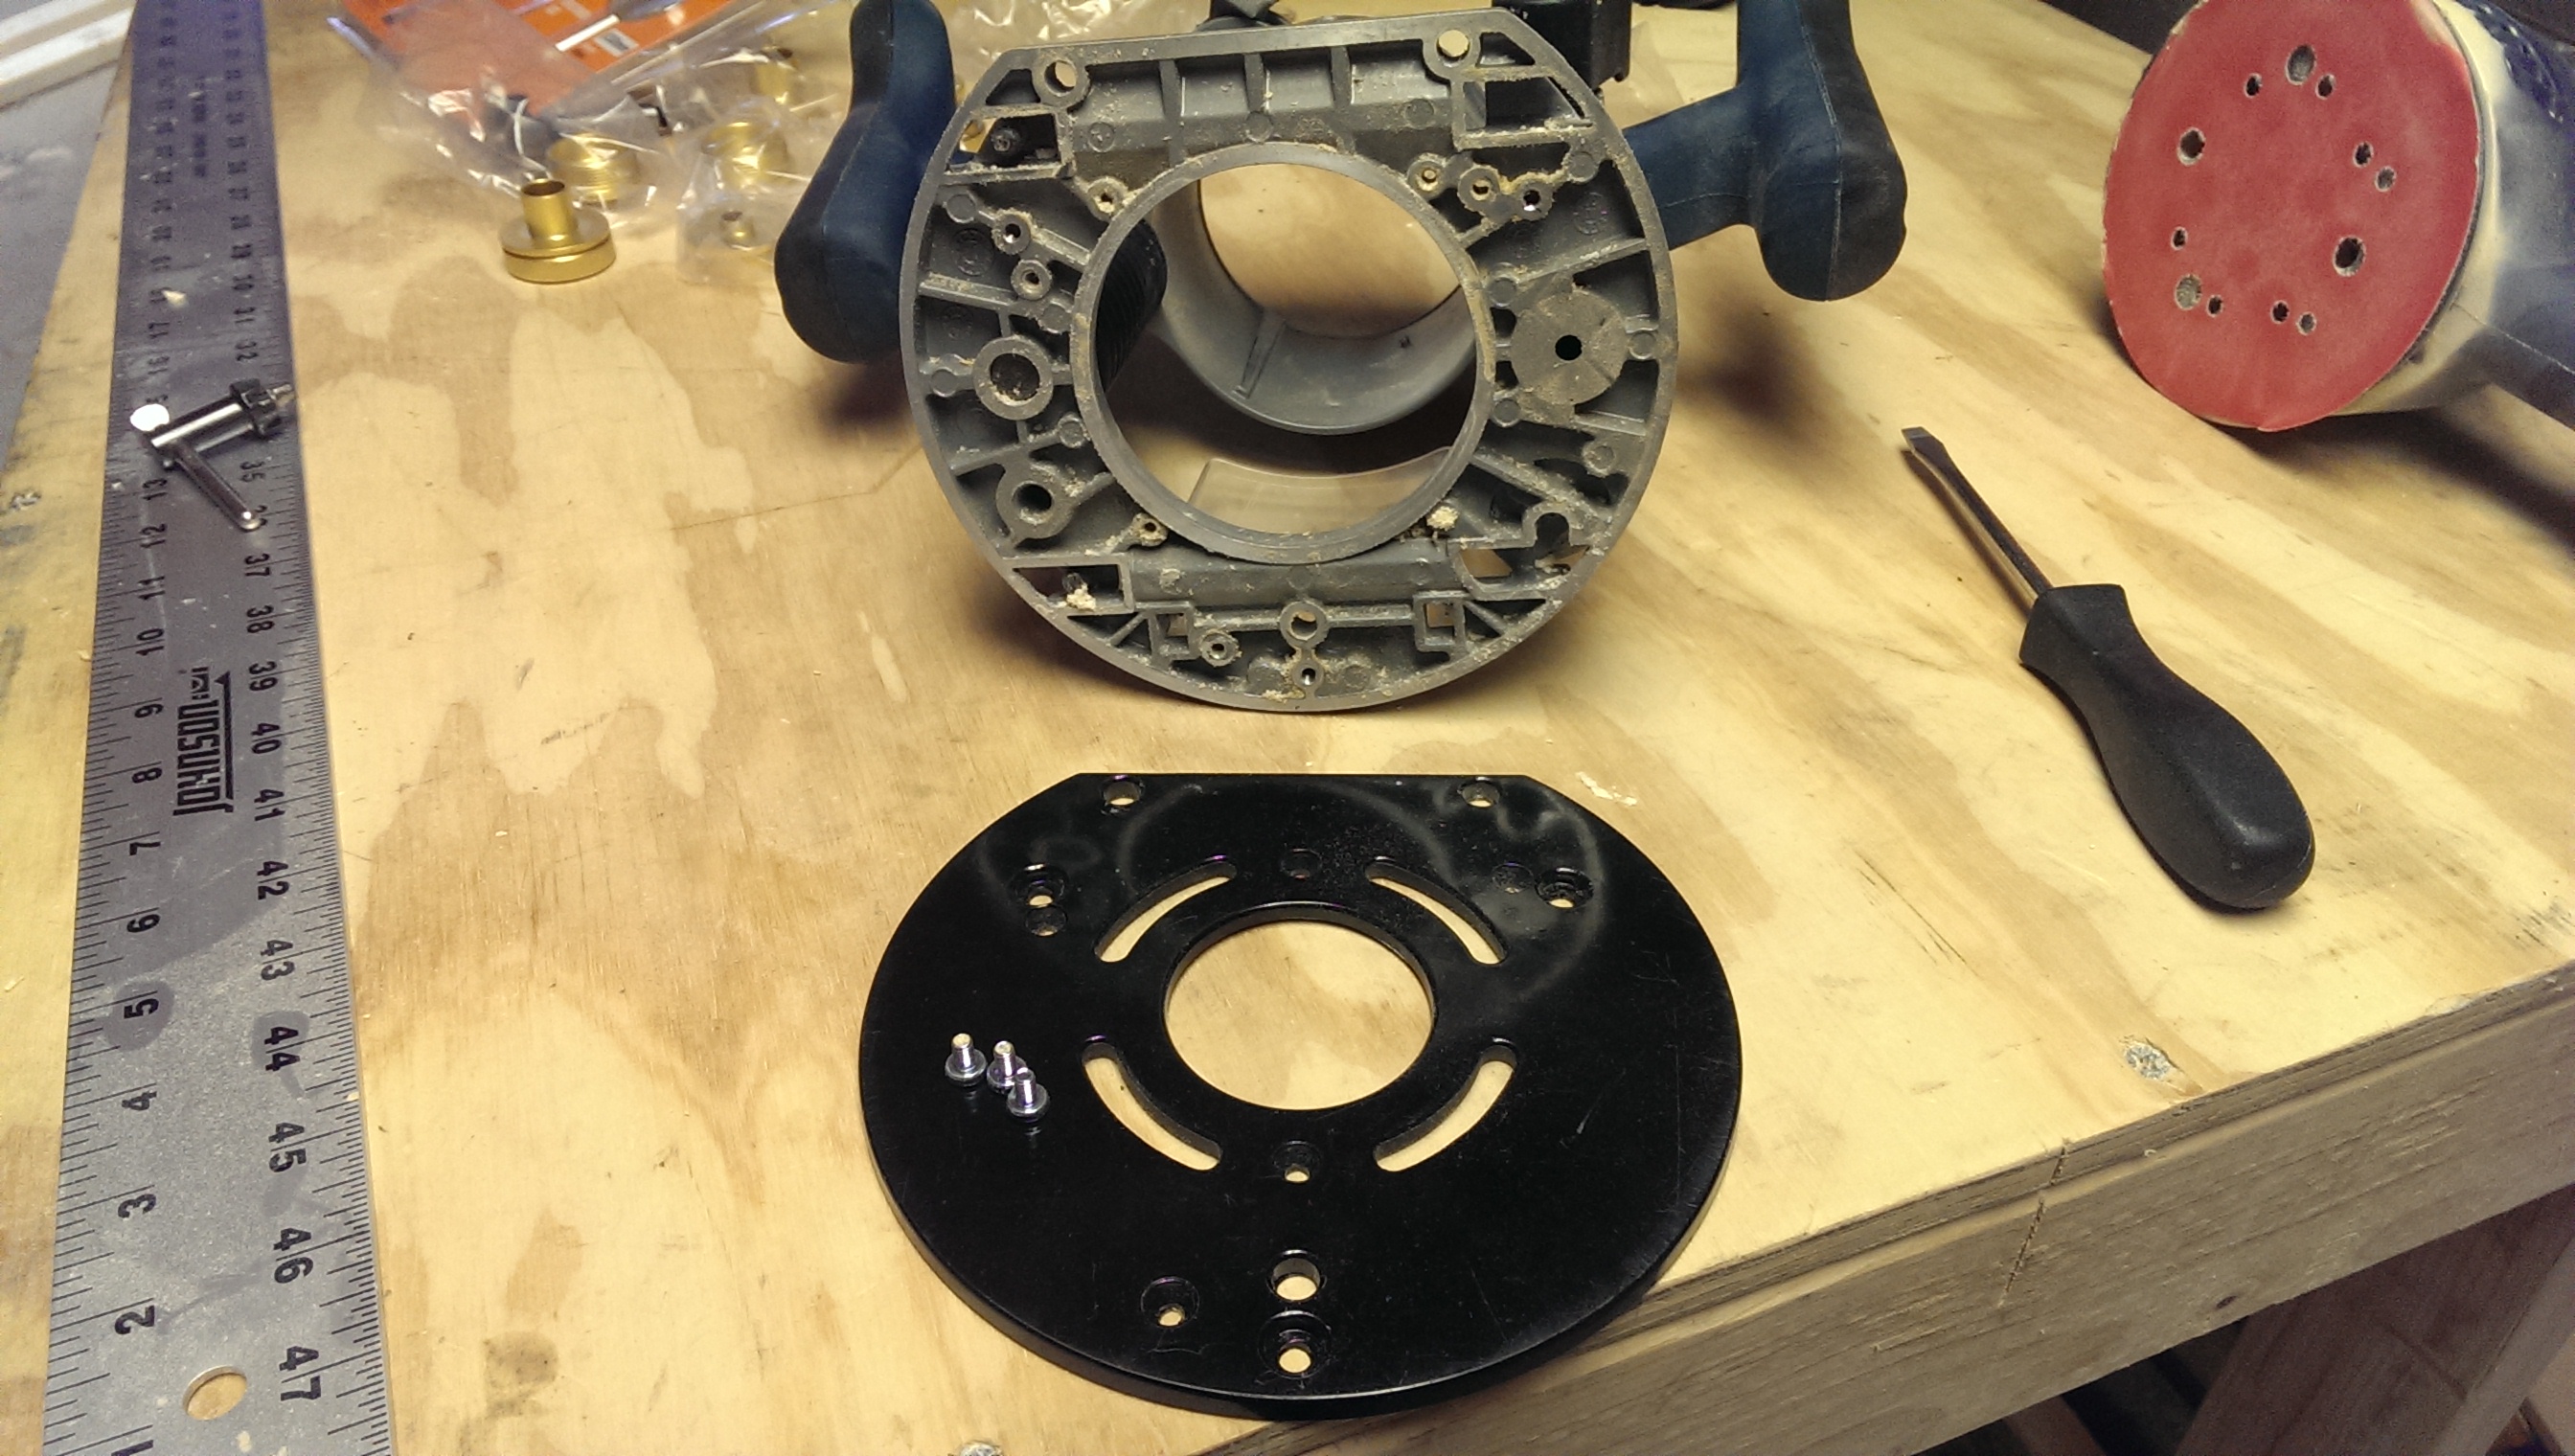
Unscrew the stock subbase
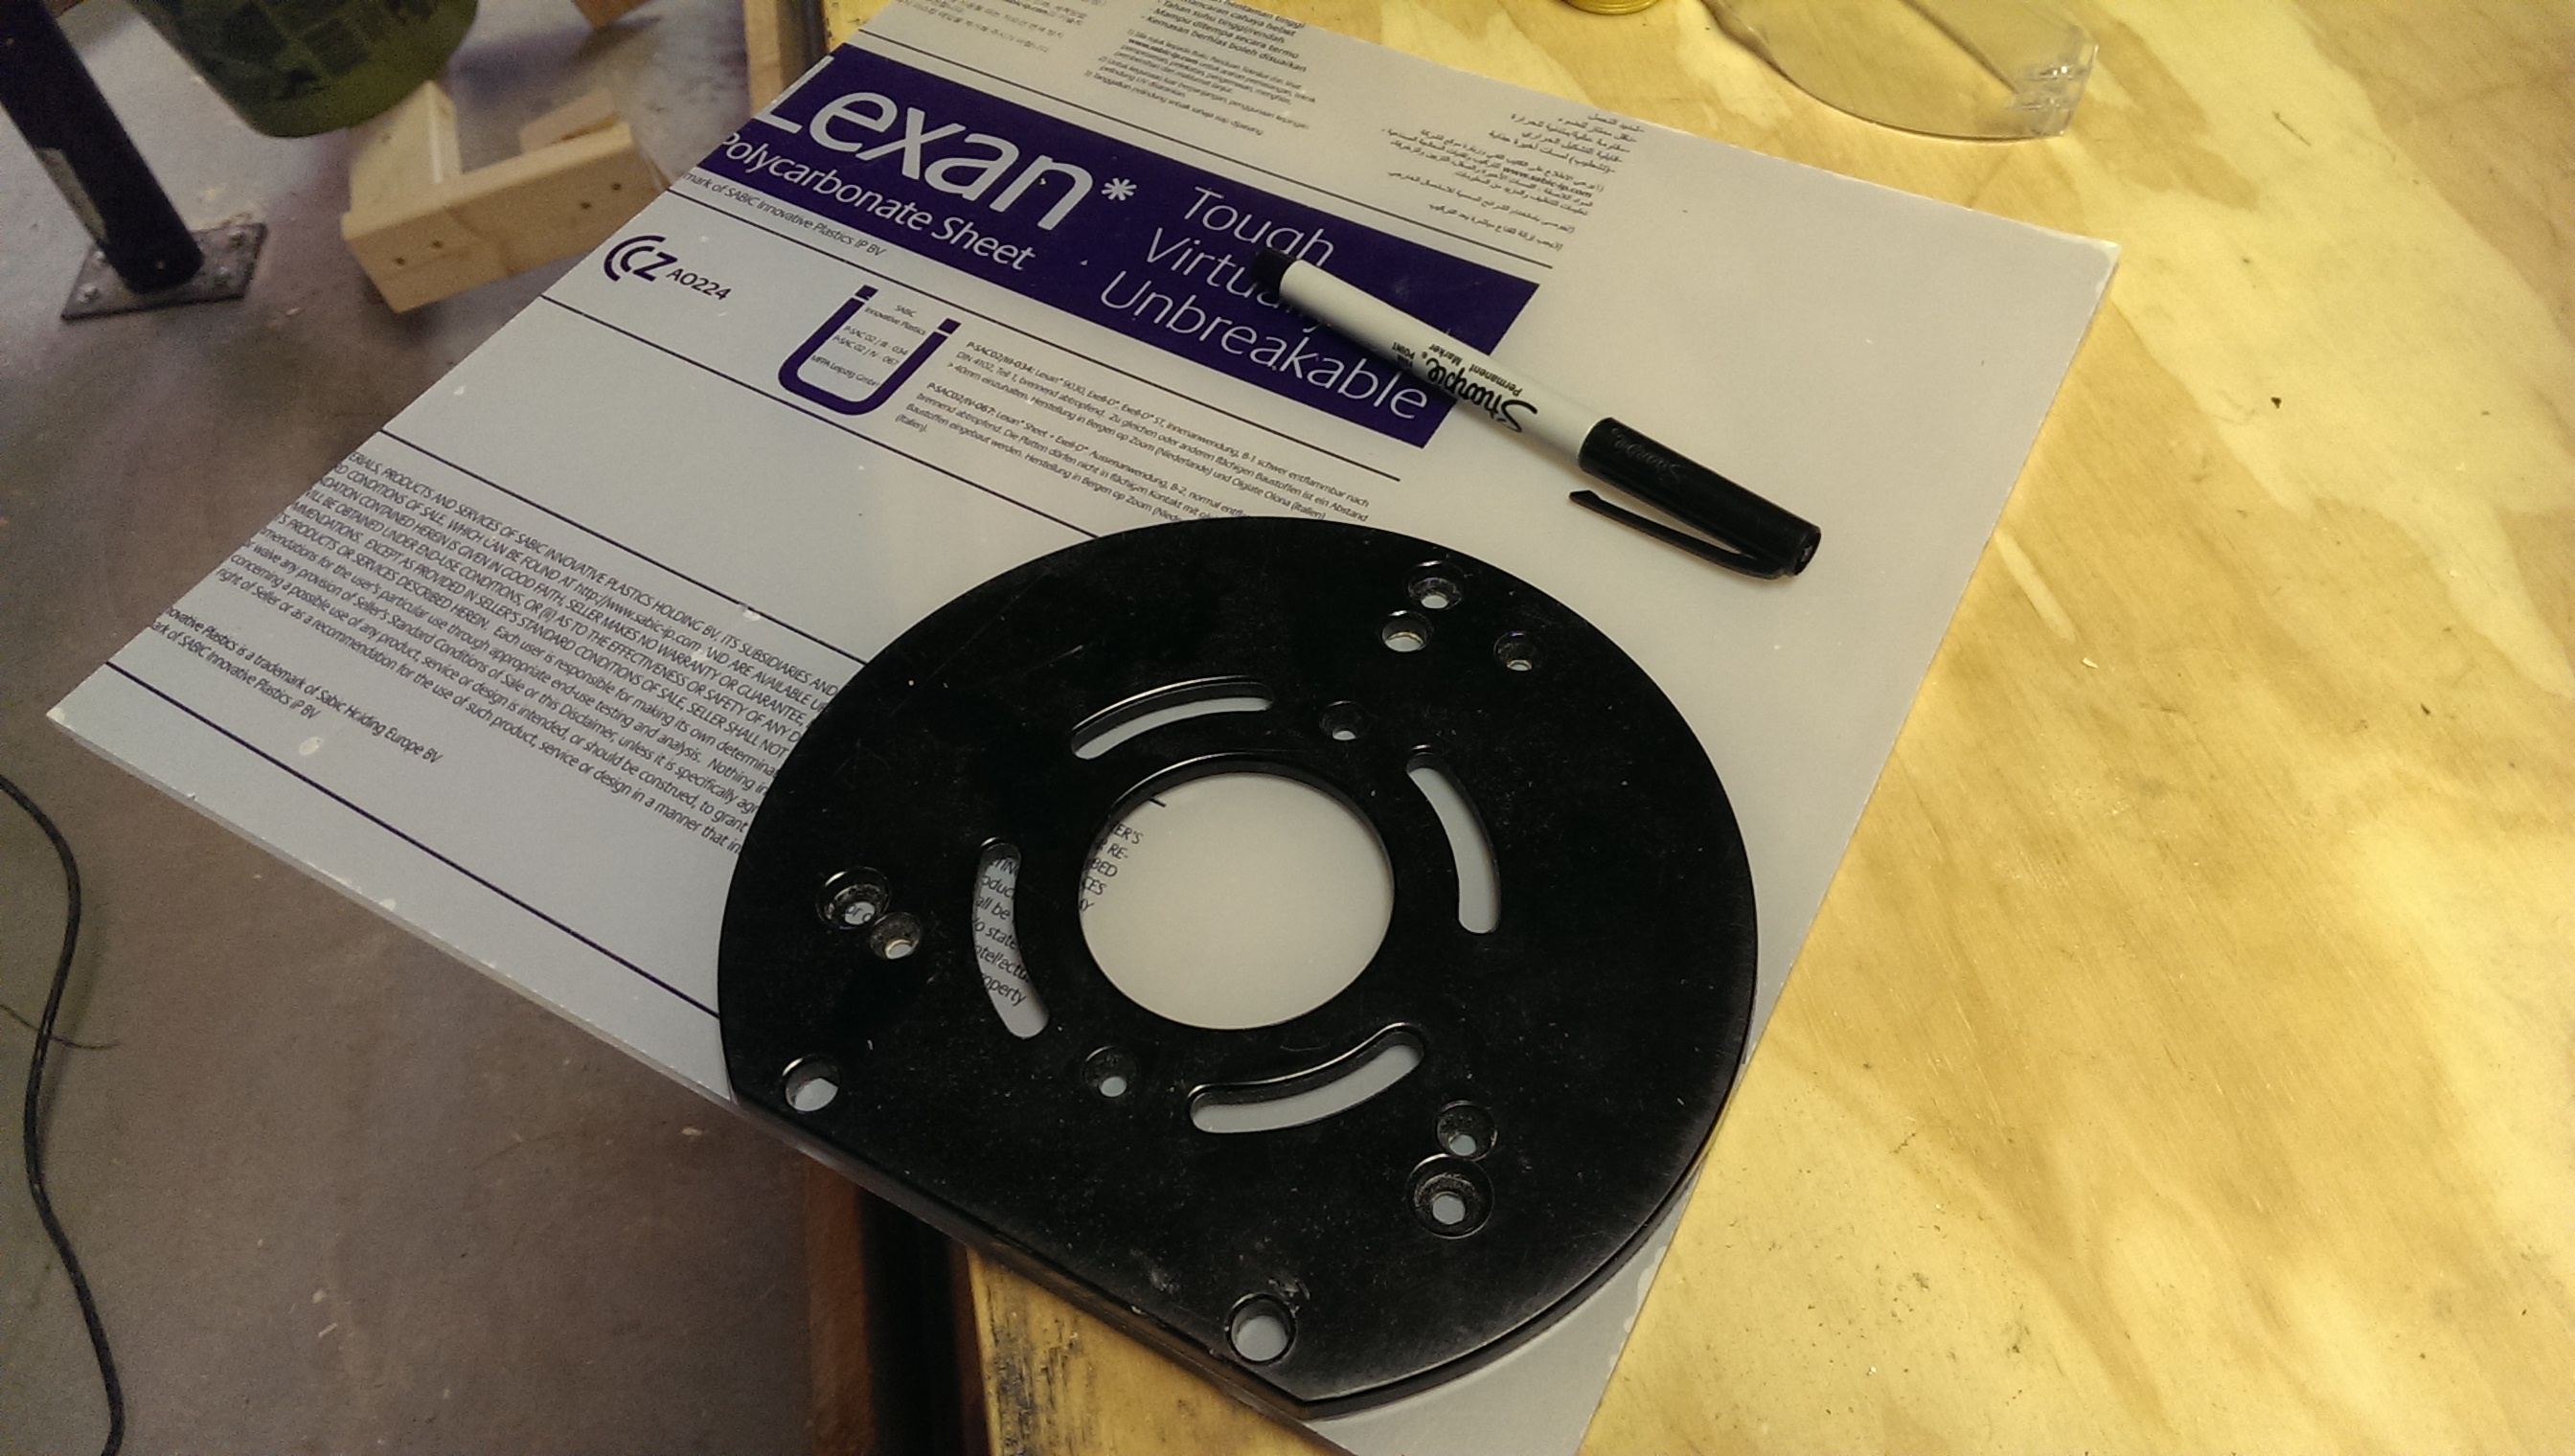
Trace the subbase with a sharpie
The first step is to rough cut out a piece of Lexan a little larger than the subbase. The existing subbase should simply unscrew from your target router base. You can trace it with a sharpie. Most plastics, like the Lexan, come with anti-scratch film covering both sides; you’ll sharpie on that, and then peel it off when the subbase is finished.
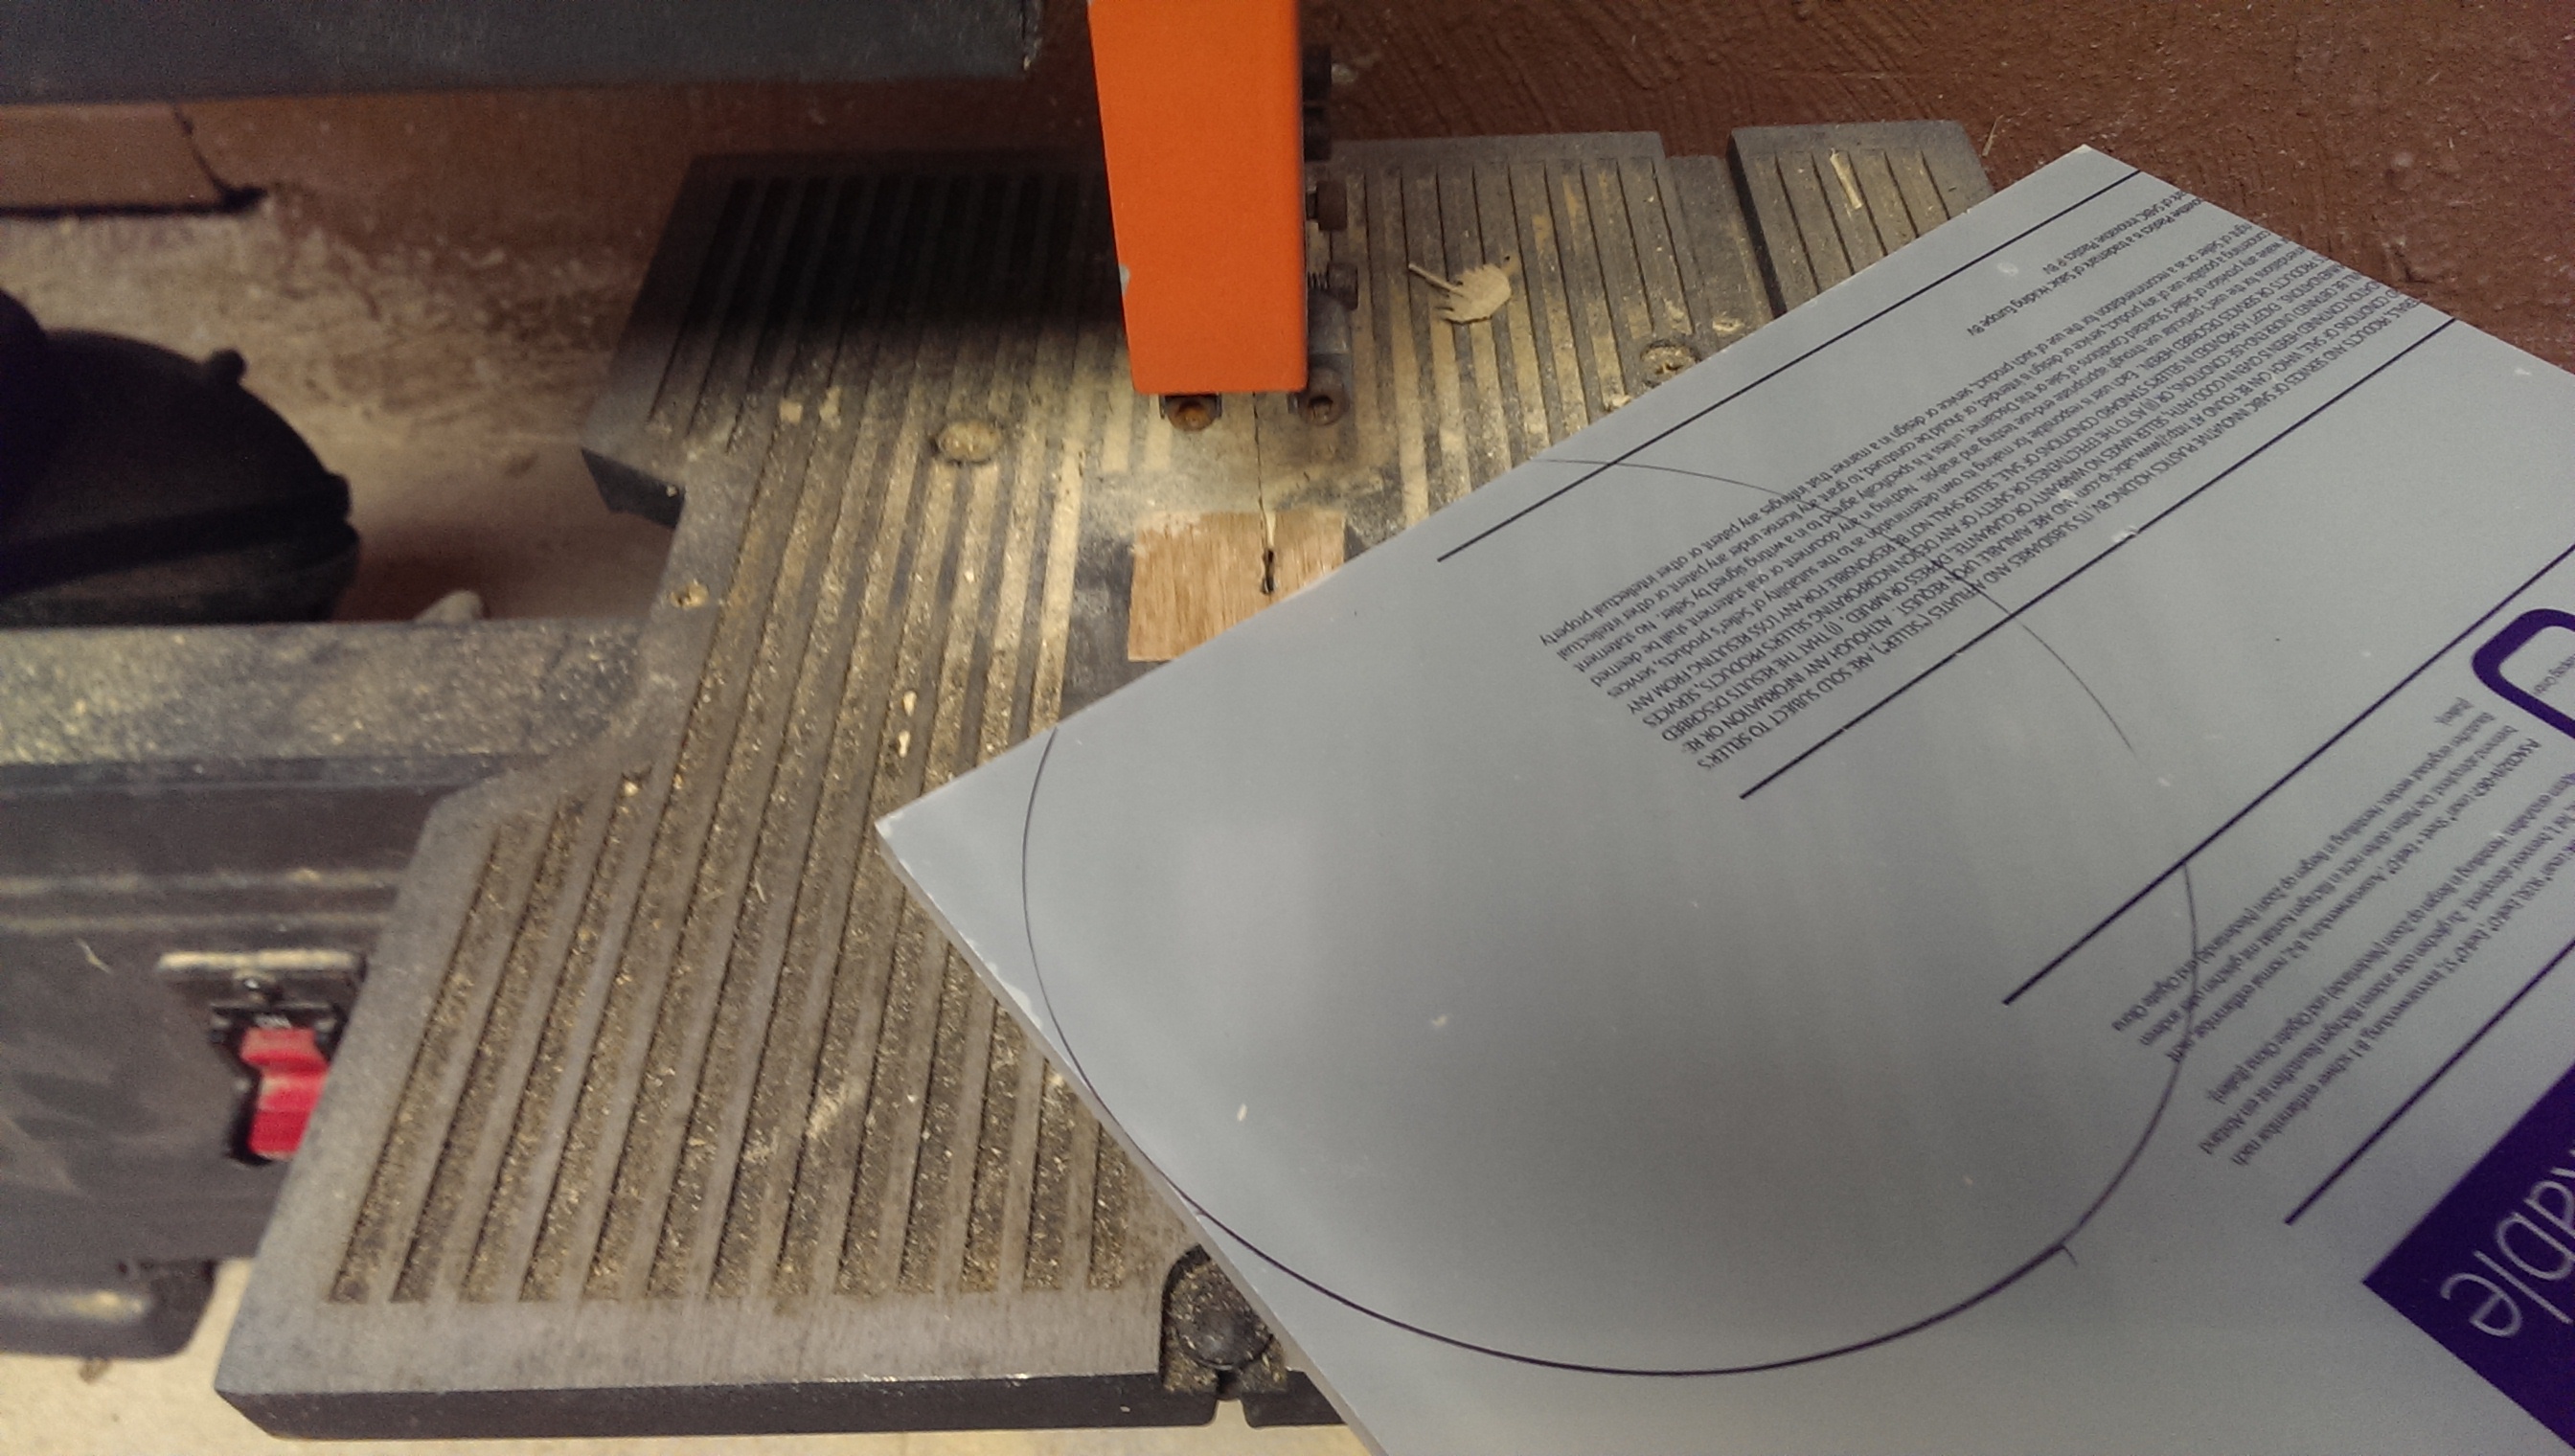
Rough cutting
Once the Lexan is outlined properly, you can begin rough cutting it. I used my small bandsaw. Lexan cuts very easily, and you should be able to use a jigsaw or something similar instead if you’d like. The main thing is to ensure it has a lot of teeth and to go slowly; going too fast can melt the plastic.
Mark the Center
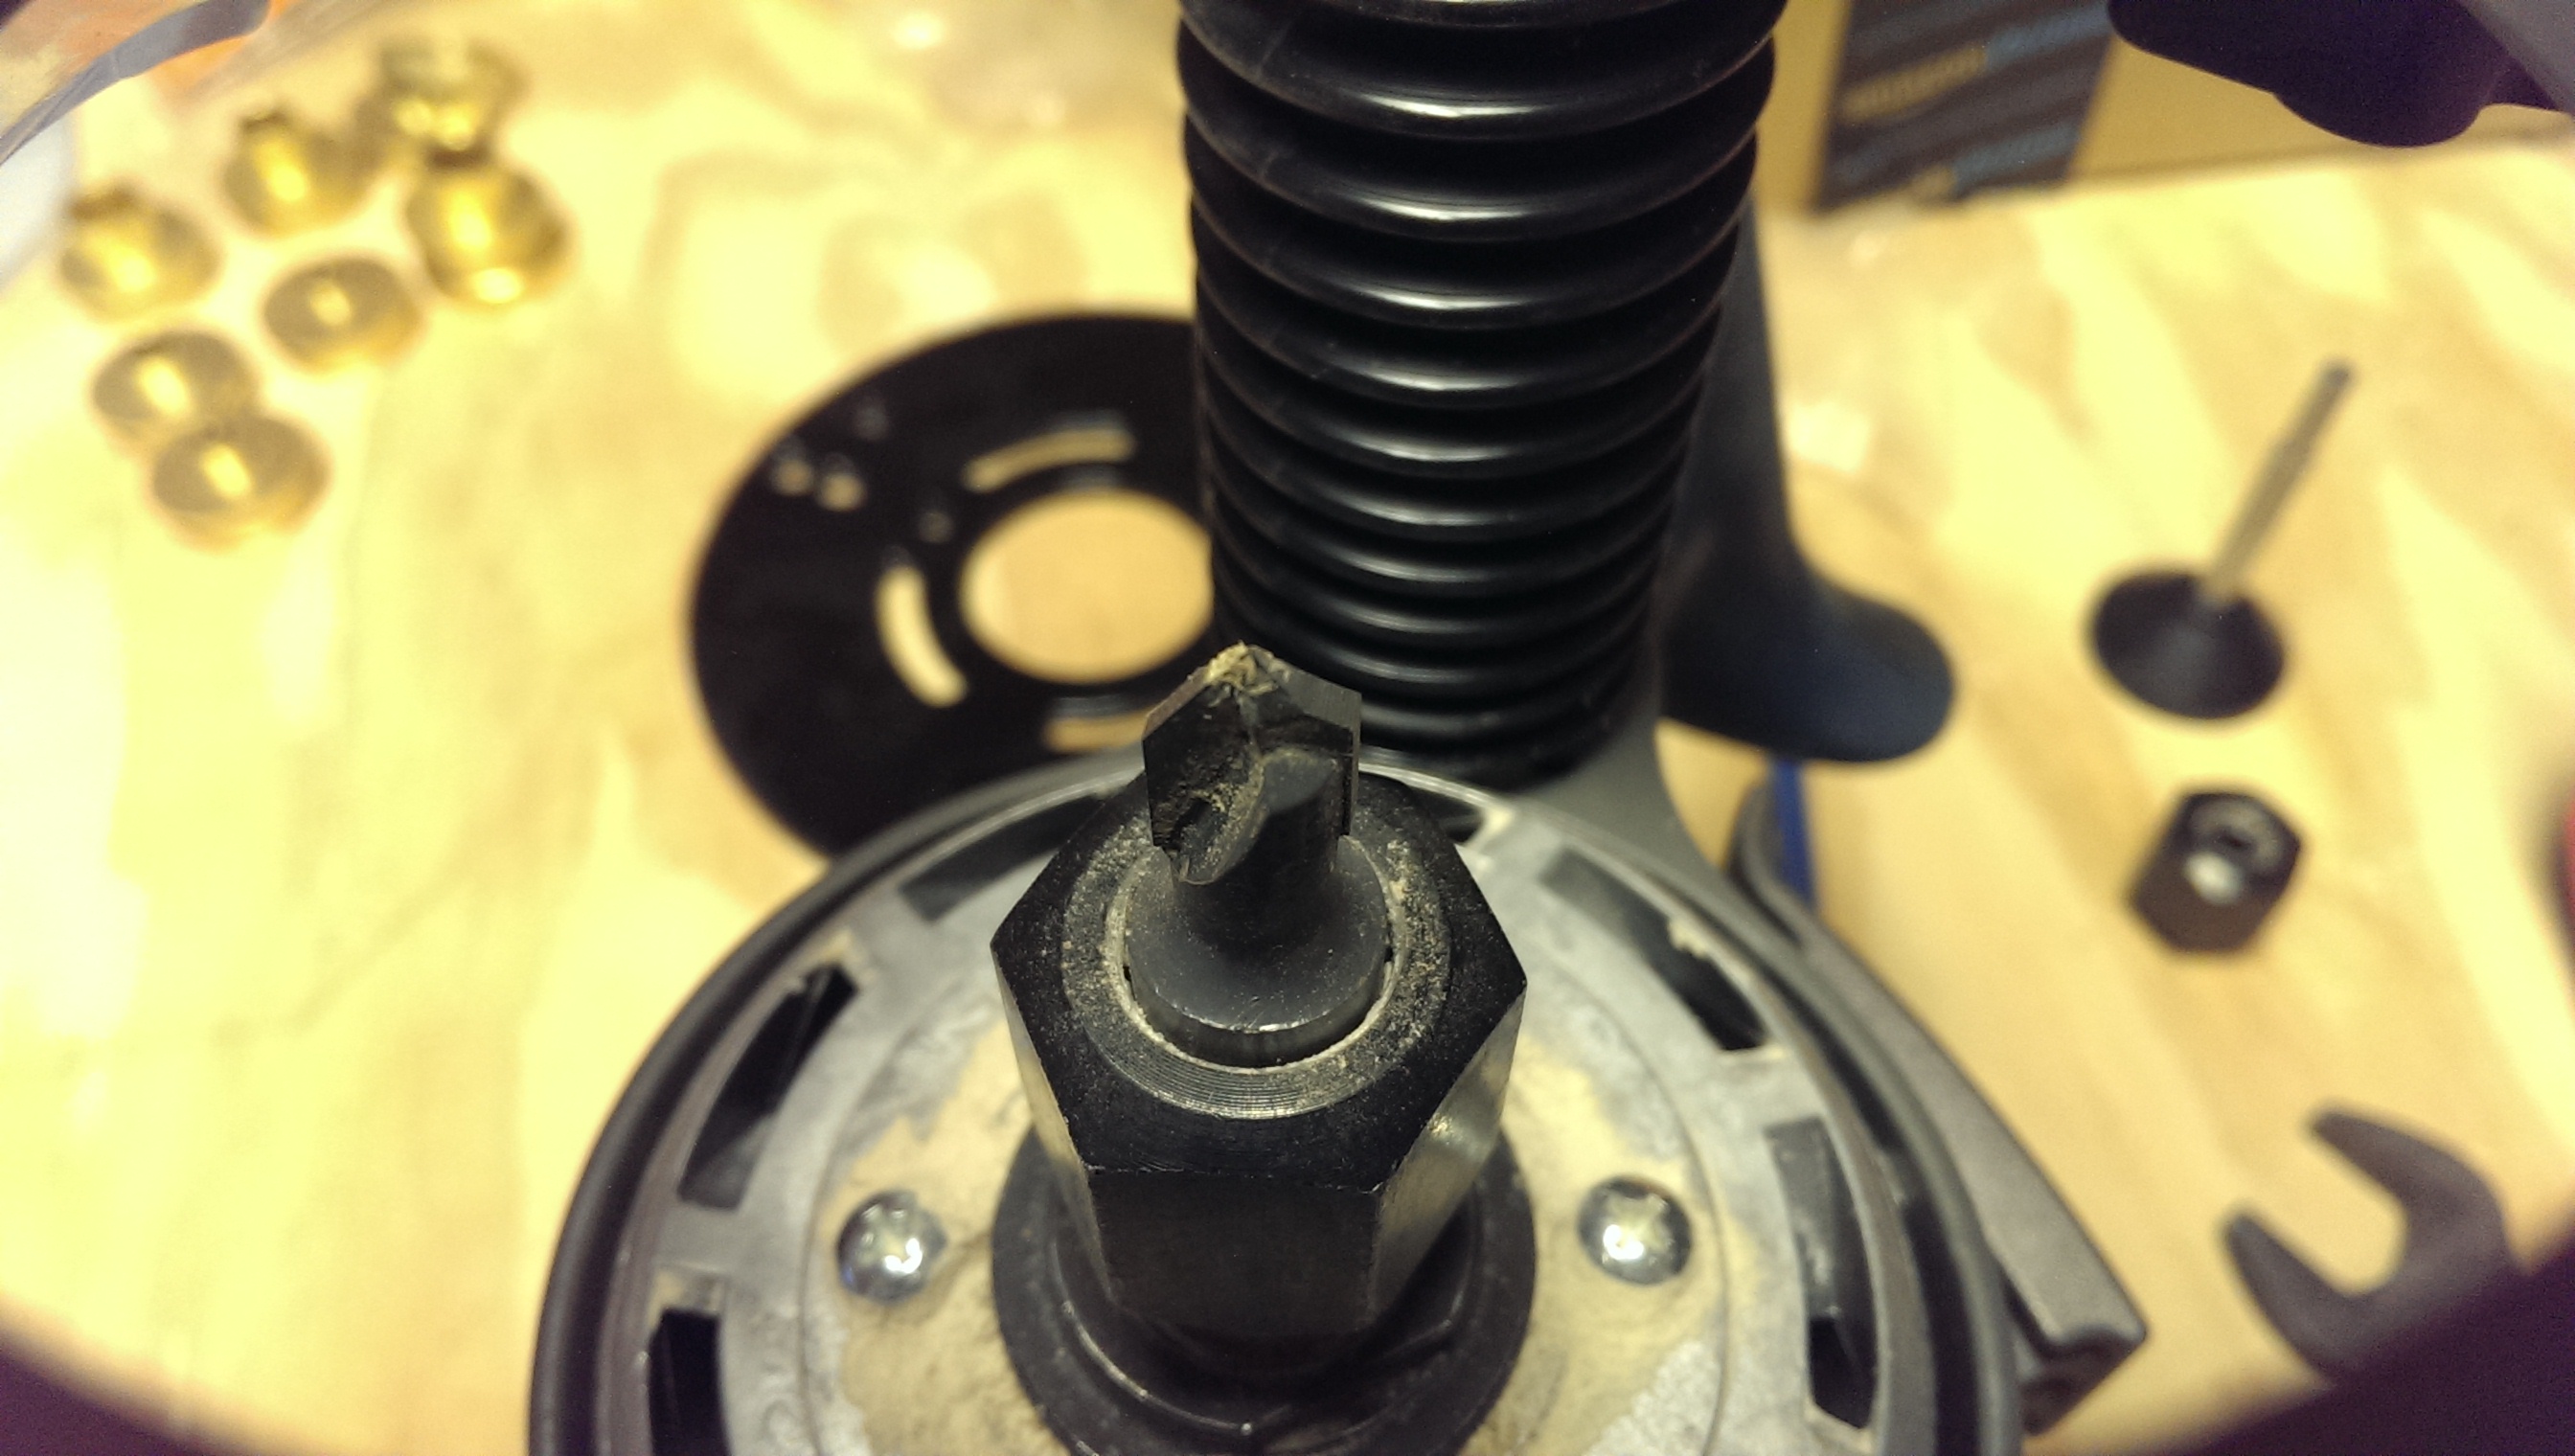
Use a v-bit to have a nice center point
Now we need to find the center so we know where to drill. I found a v-bit on the router itself works great for this purpose. It provides a nice small point.
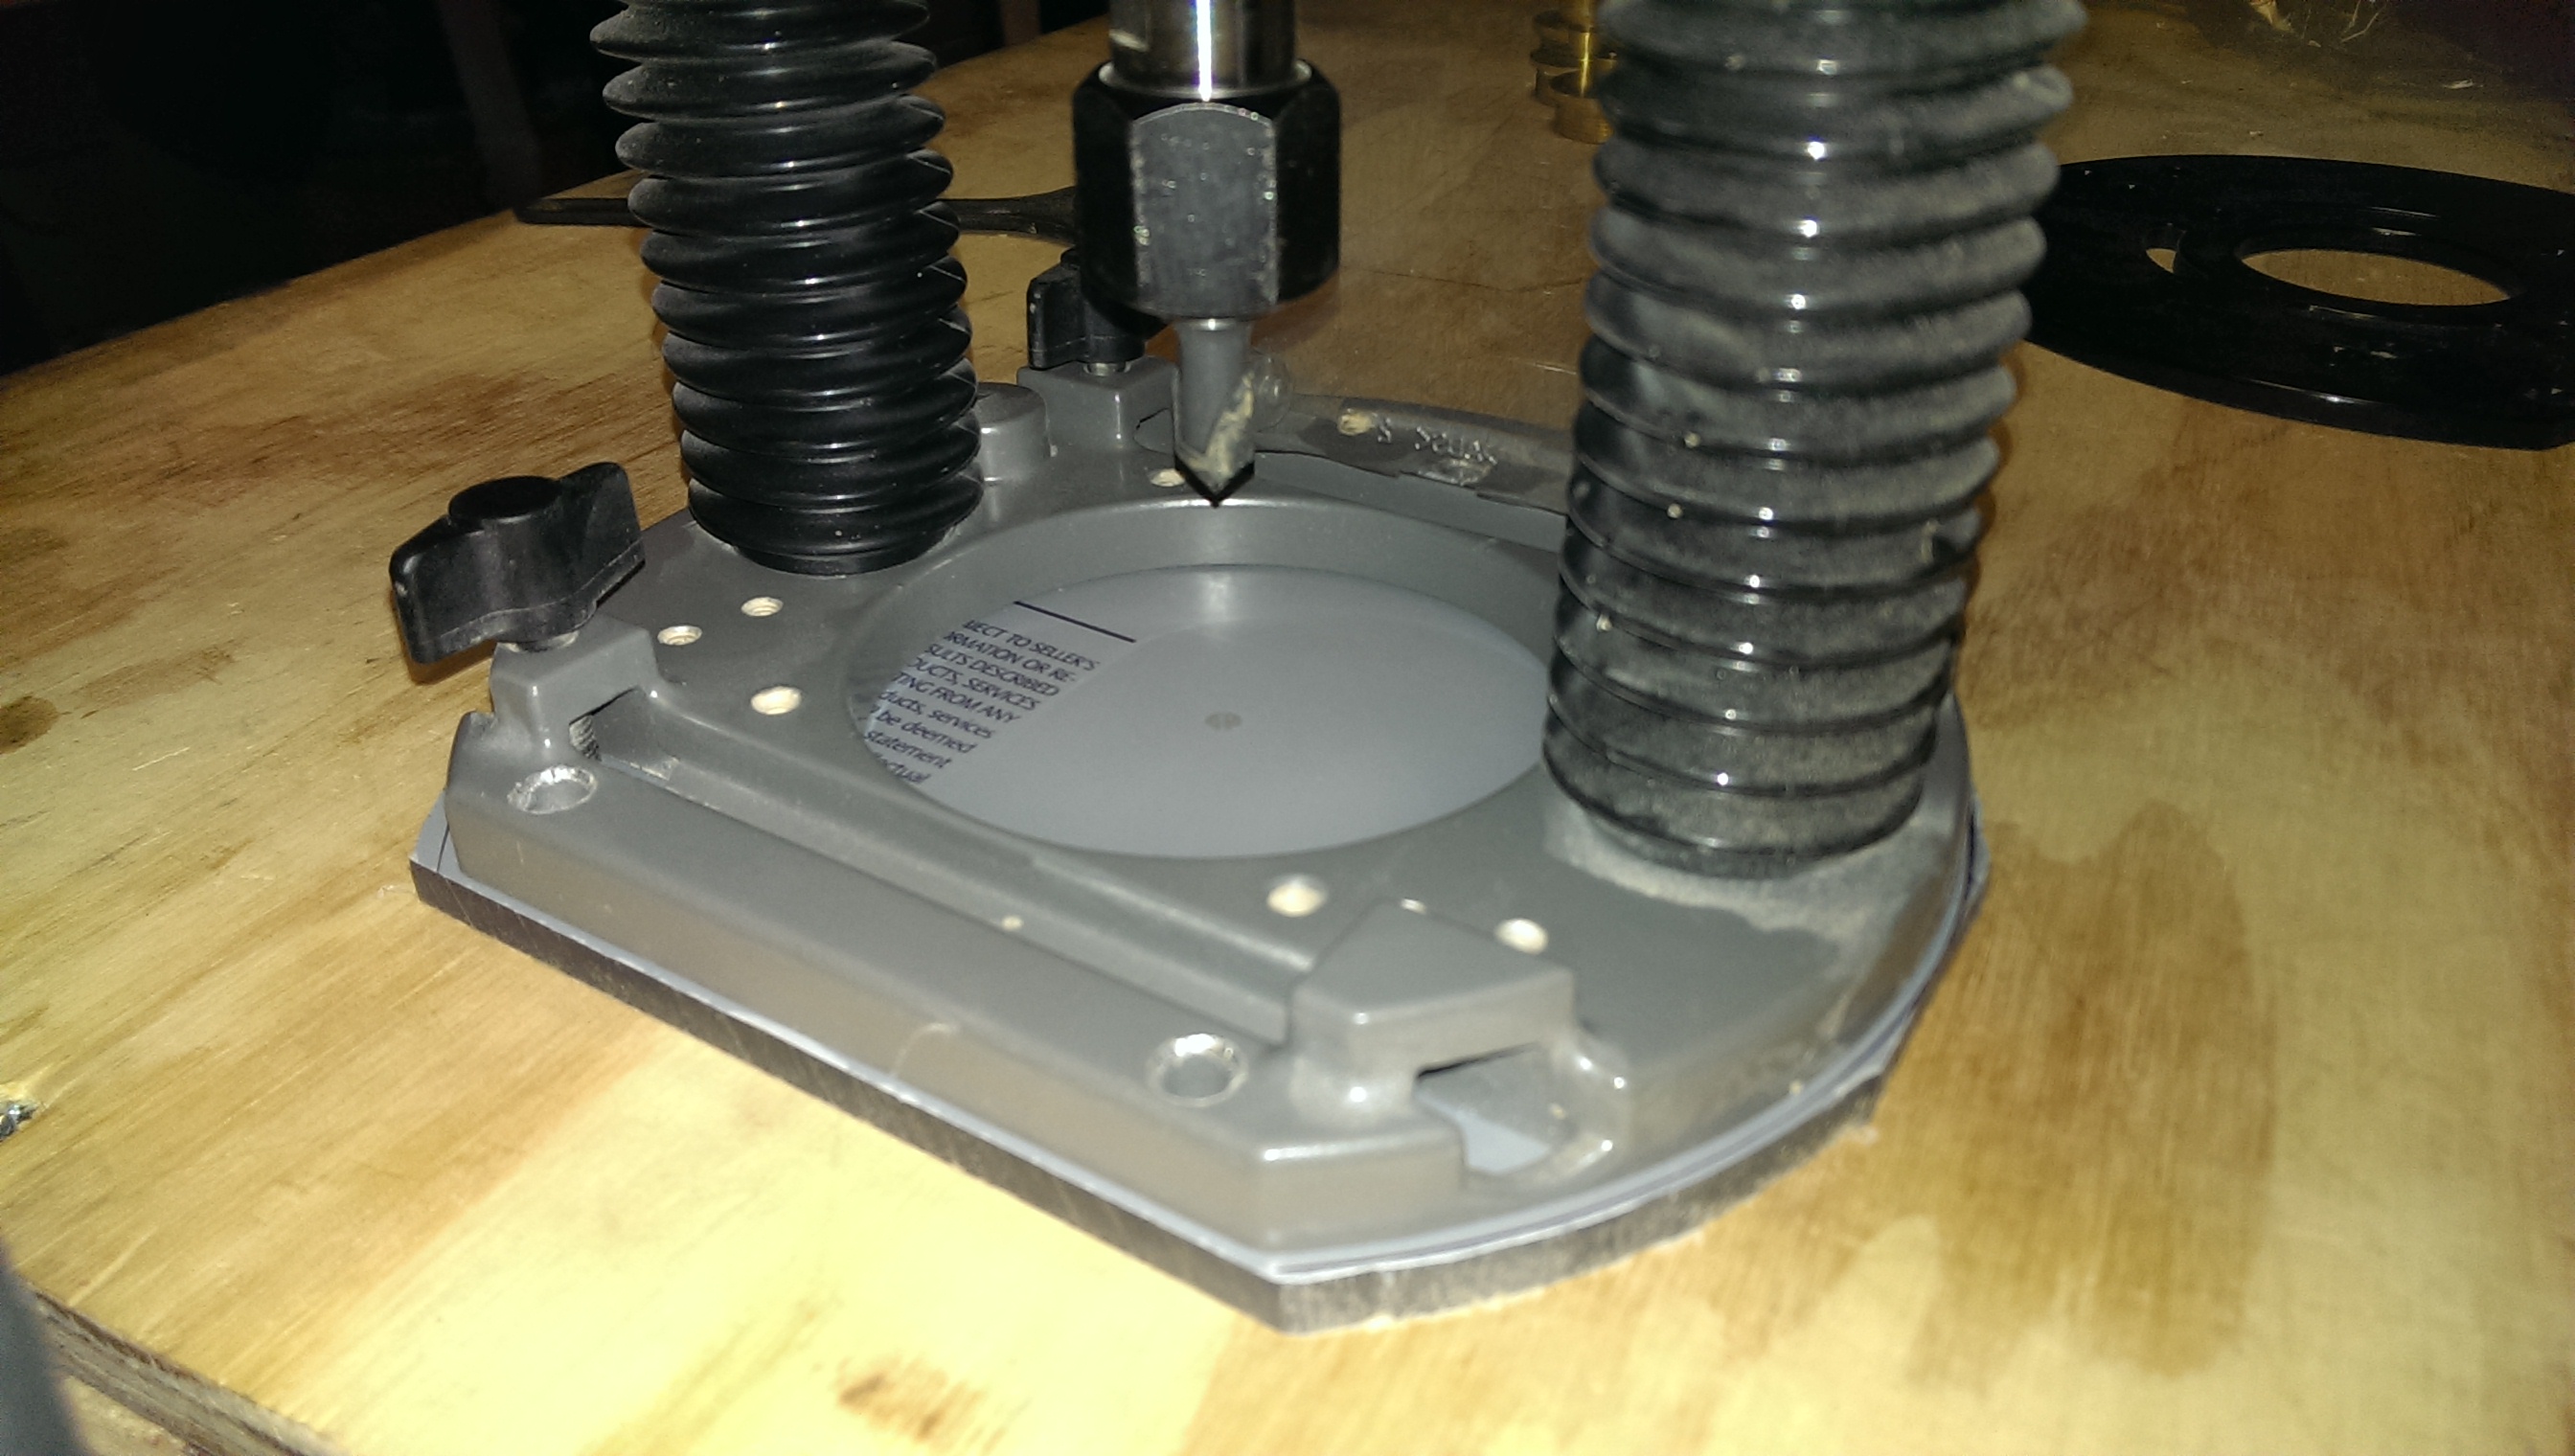
Drill a very shallow hole to mark the center
You can line the router up on your rough-cut piece and drill a very shallow hole to mark the center. The goal of this is simply to establish where we should put the hole for the bushing. We will adjust for center again later.
Drill out the bushing holes
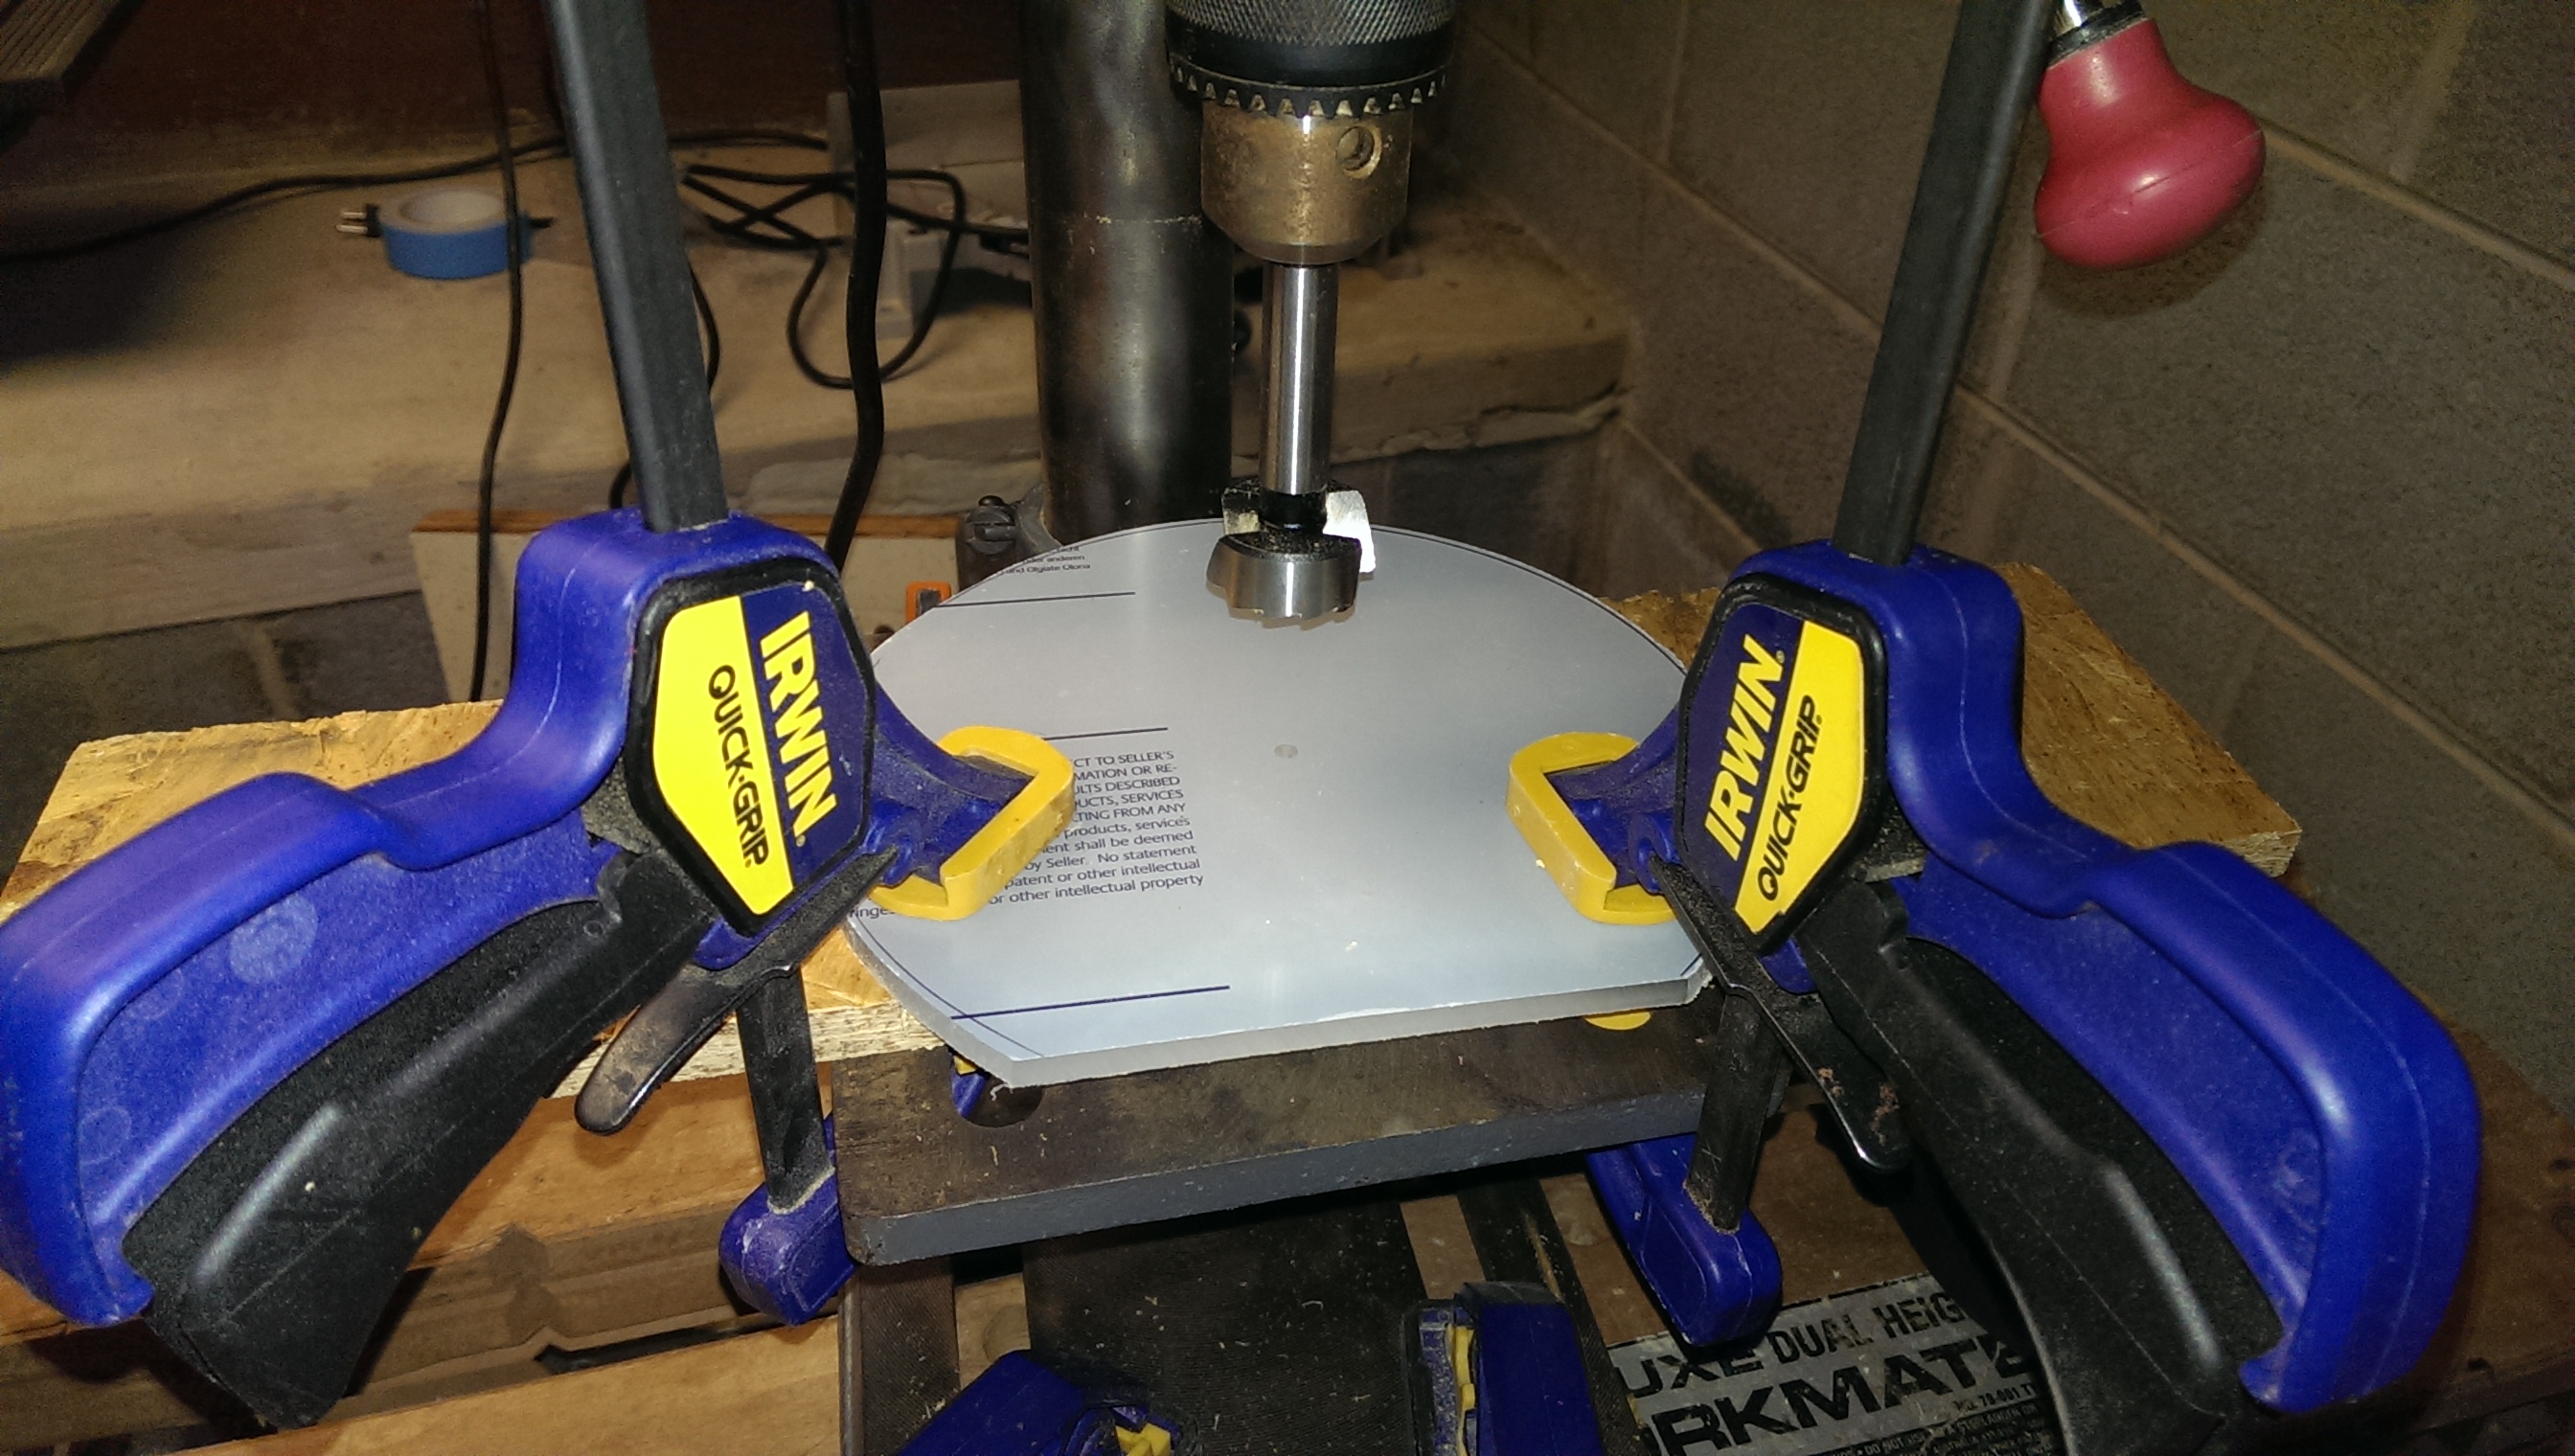
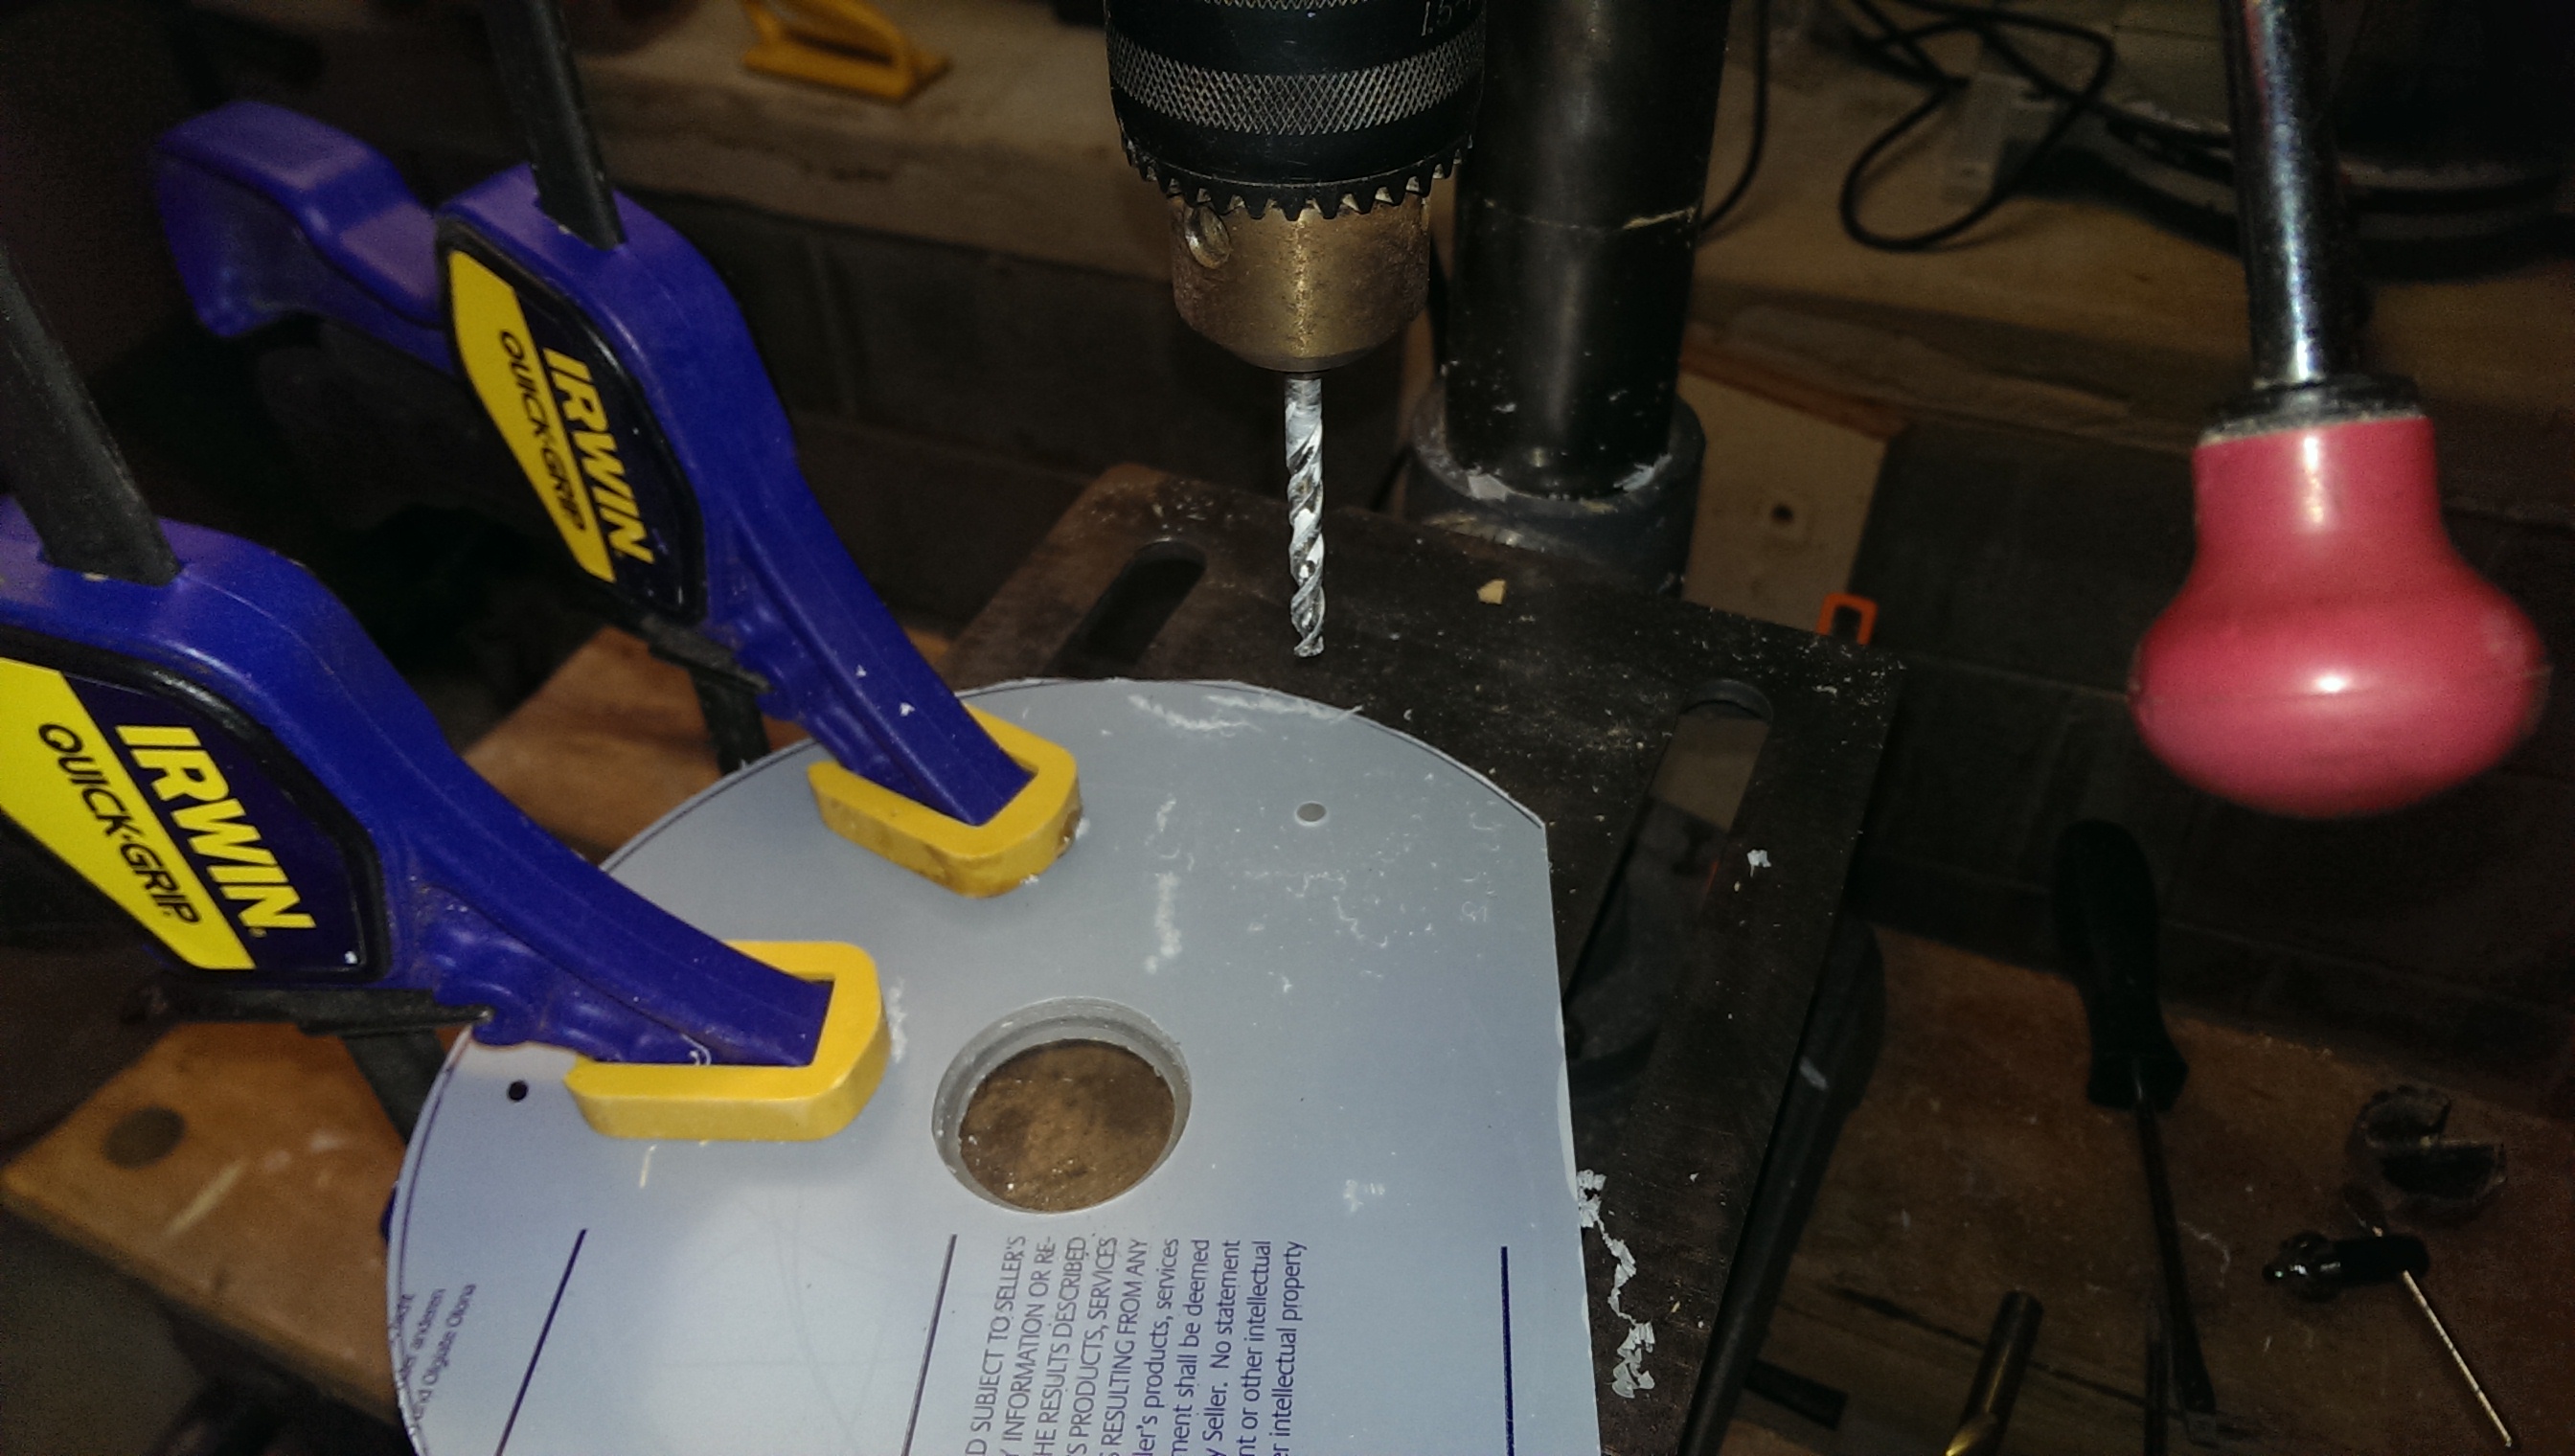
Using the mark to center the press, drill out the 30mm hole
The 30mm hole can go all the way through
The piece can now be brought over to the drill press. Use the 30mm bit and center it on the hole you just made with the v-bit. I had to put a piece of scrap under the work piece because the forstner bit is larger than the hole in my drill press bench.

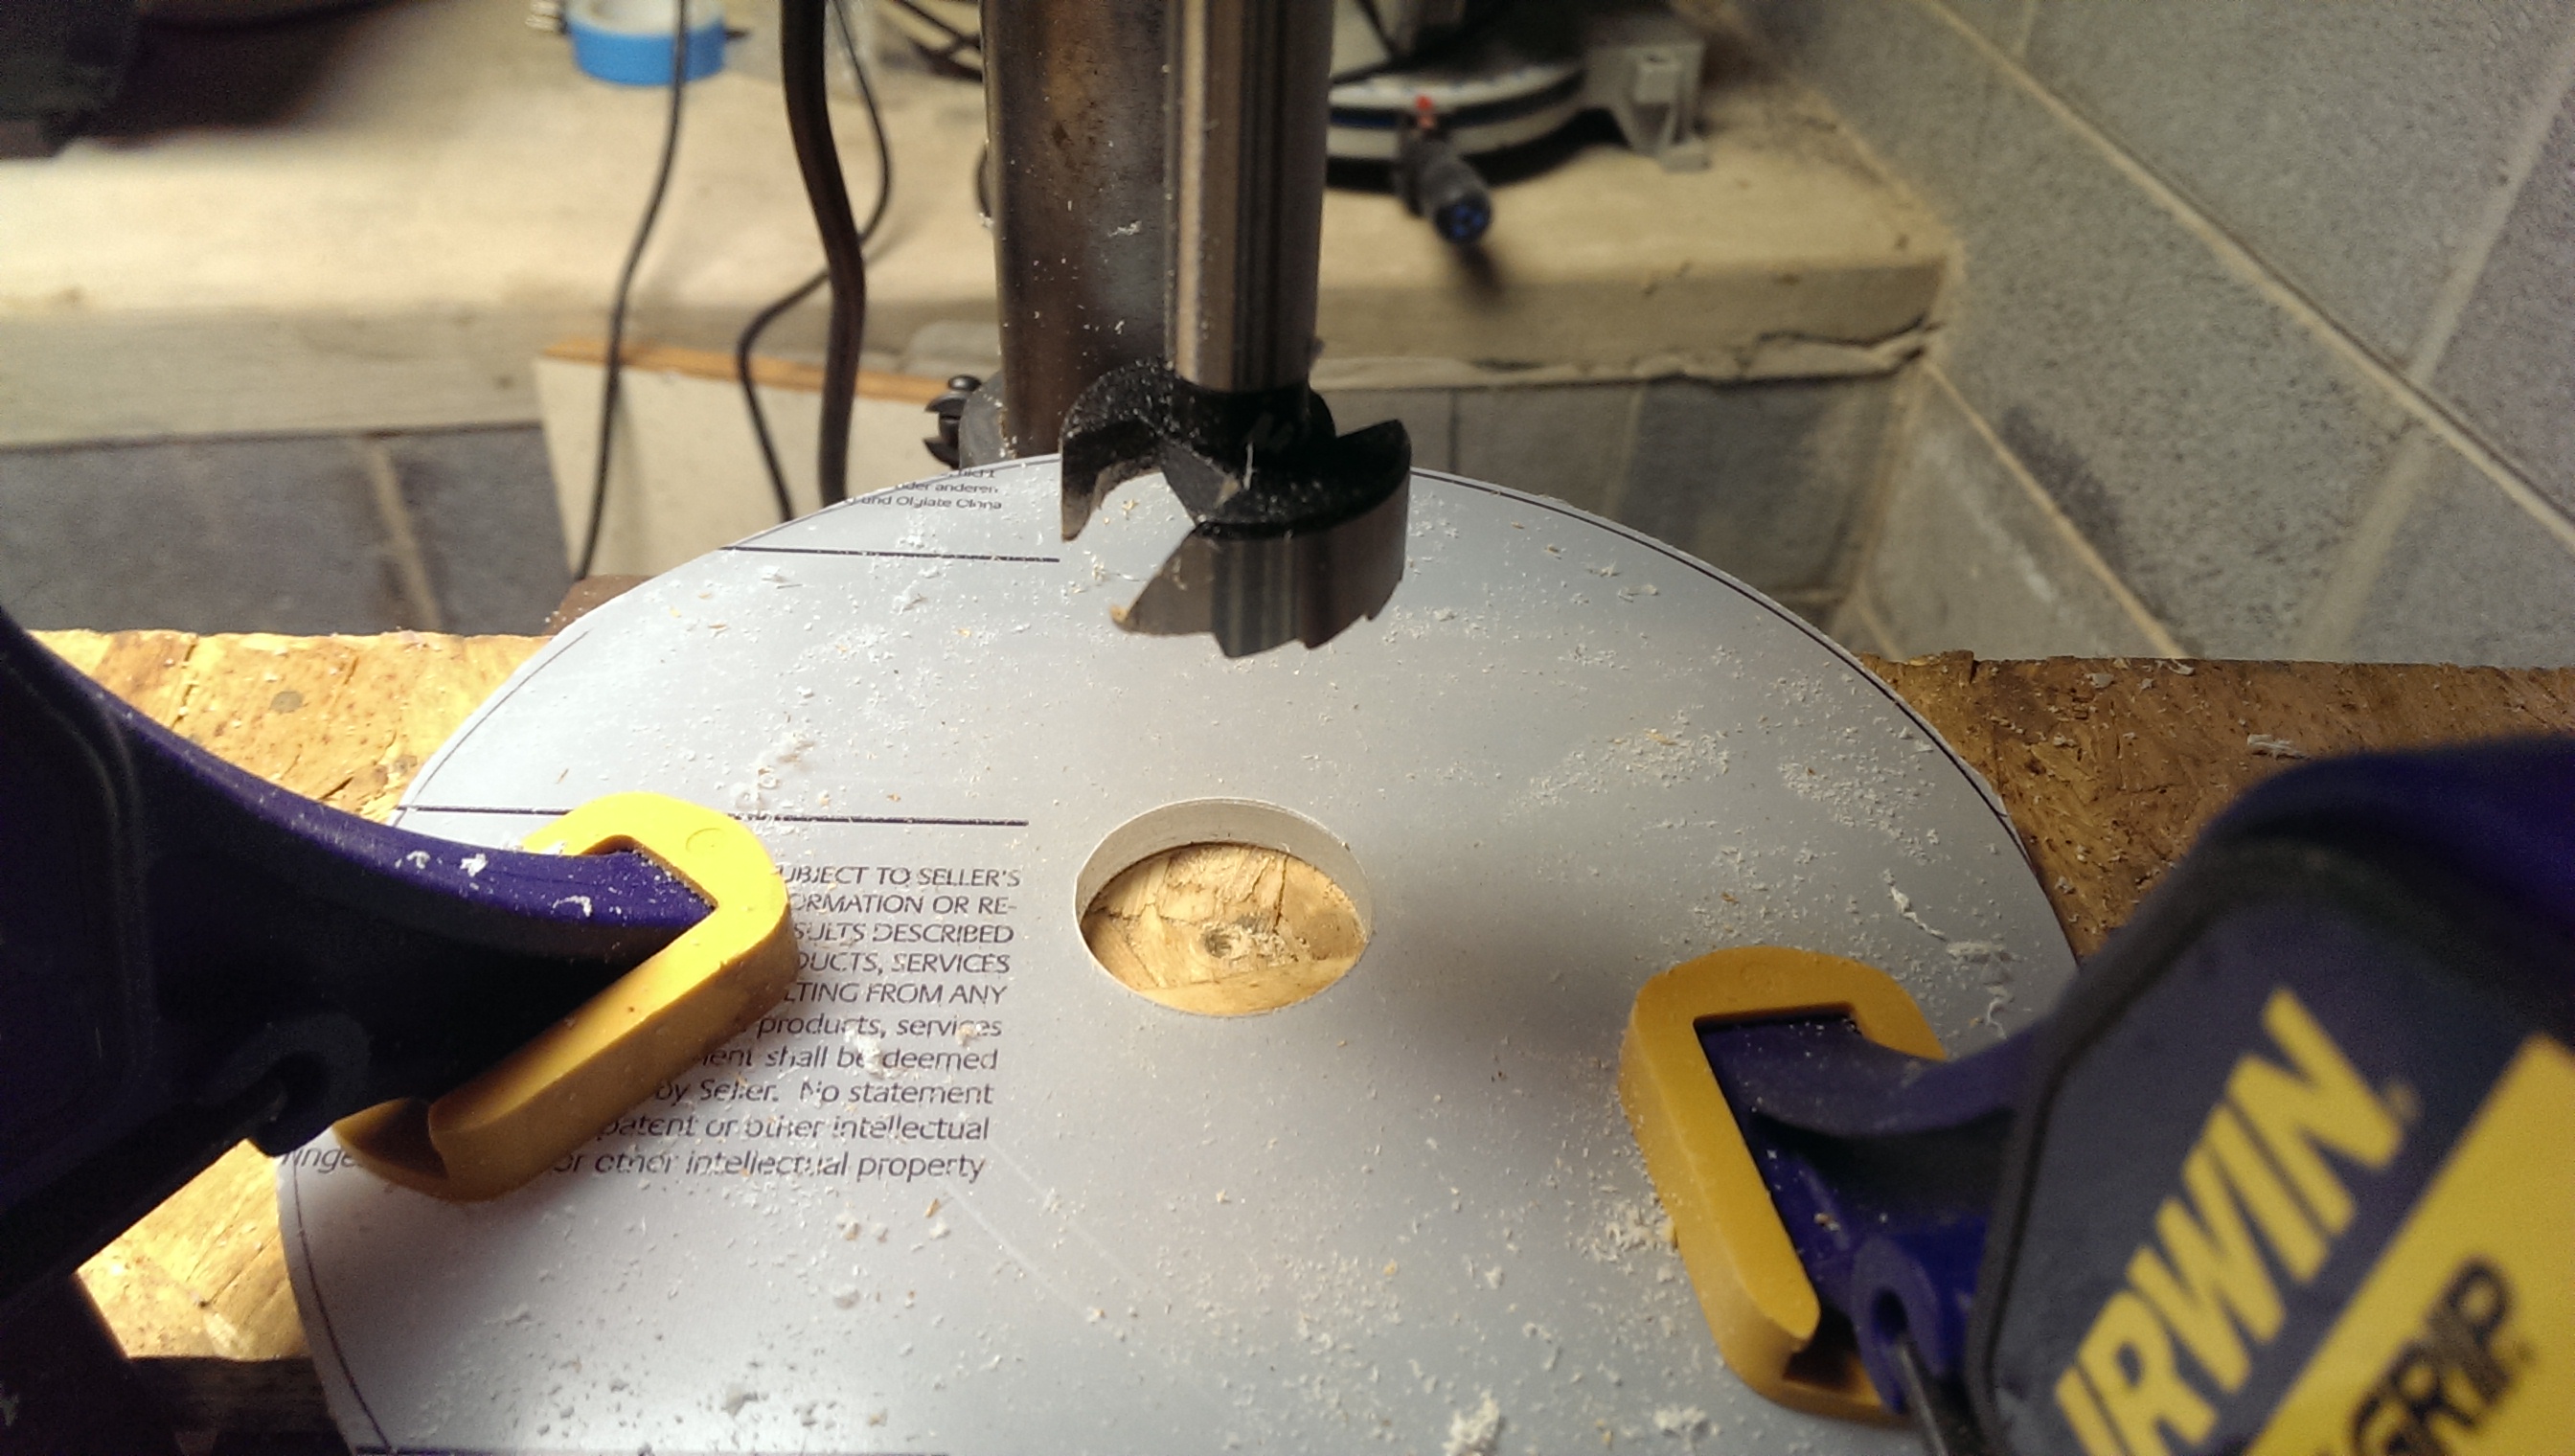
Drill partway with the 35mm bit to recess the bushing
The goal is to get the bushing flush with the surface
This part is technically optional – some of the commercial subbases seem like they don’t do this, but I think it makes the bushings much more stable and useful. Without moving the workpiece or the drill press table, swap to the 35mm bit and drill a partial hole with a stepped edge. The goal here is to make a stepped lip so that when the bushing is installed, as pictured, it sits flush or even a little under the level of the subbase. This allows the router to have the entire subbase ride on the template, rather than just the little surface area of the bushing.
Another way to accomplish this would be a rabbet bit in a router, but the one I had would have made a very wide rabbet.
Bushing hole ready
With that, you’re ready to drill the holes to mount it on the router.
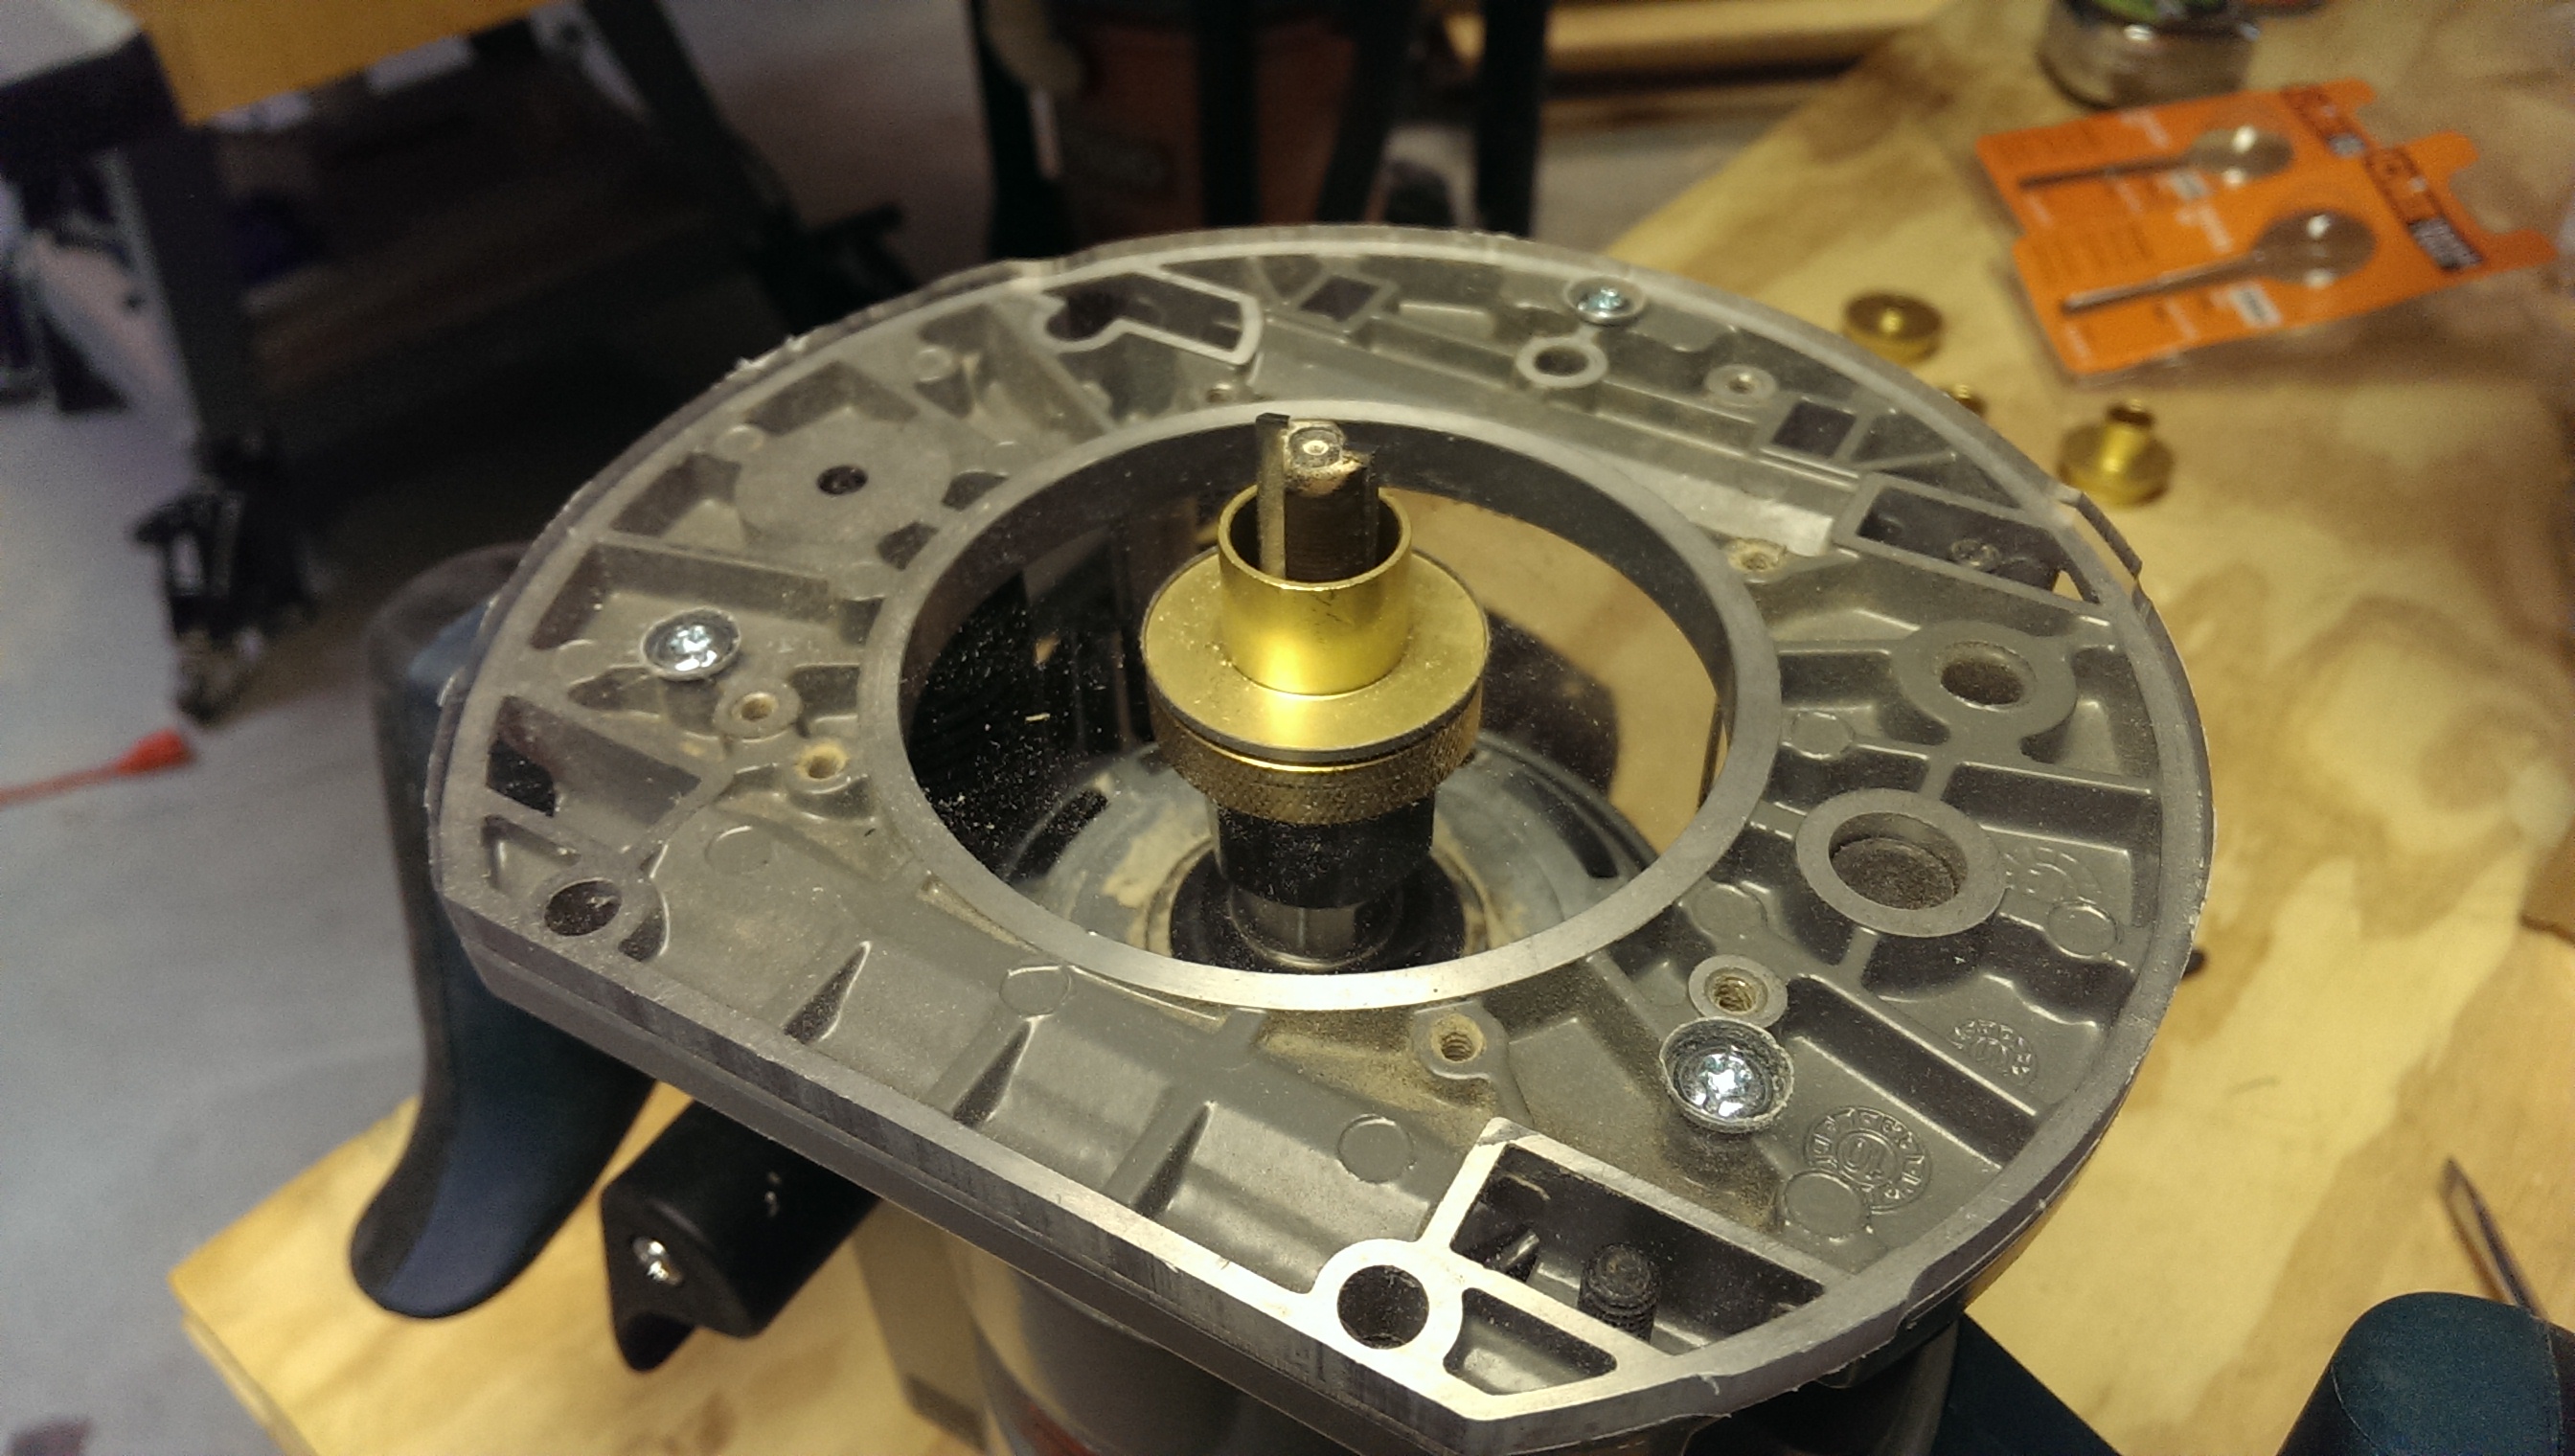
Drill mounting holes
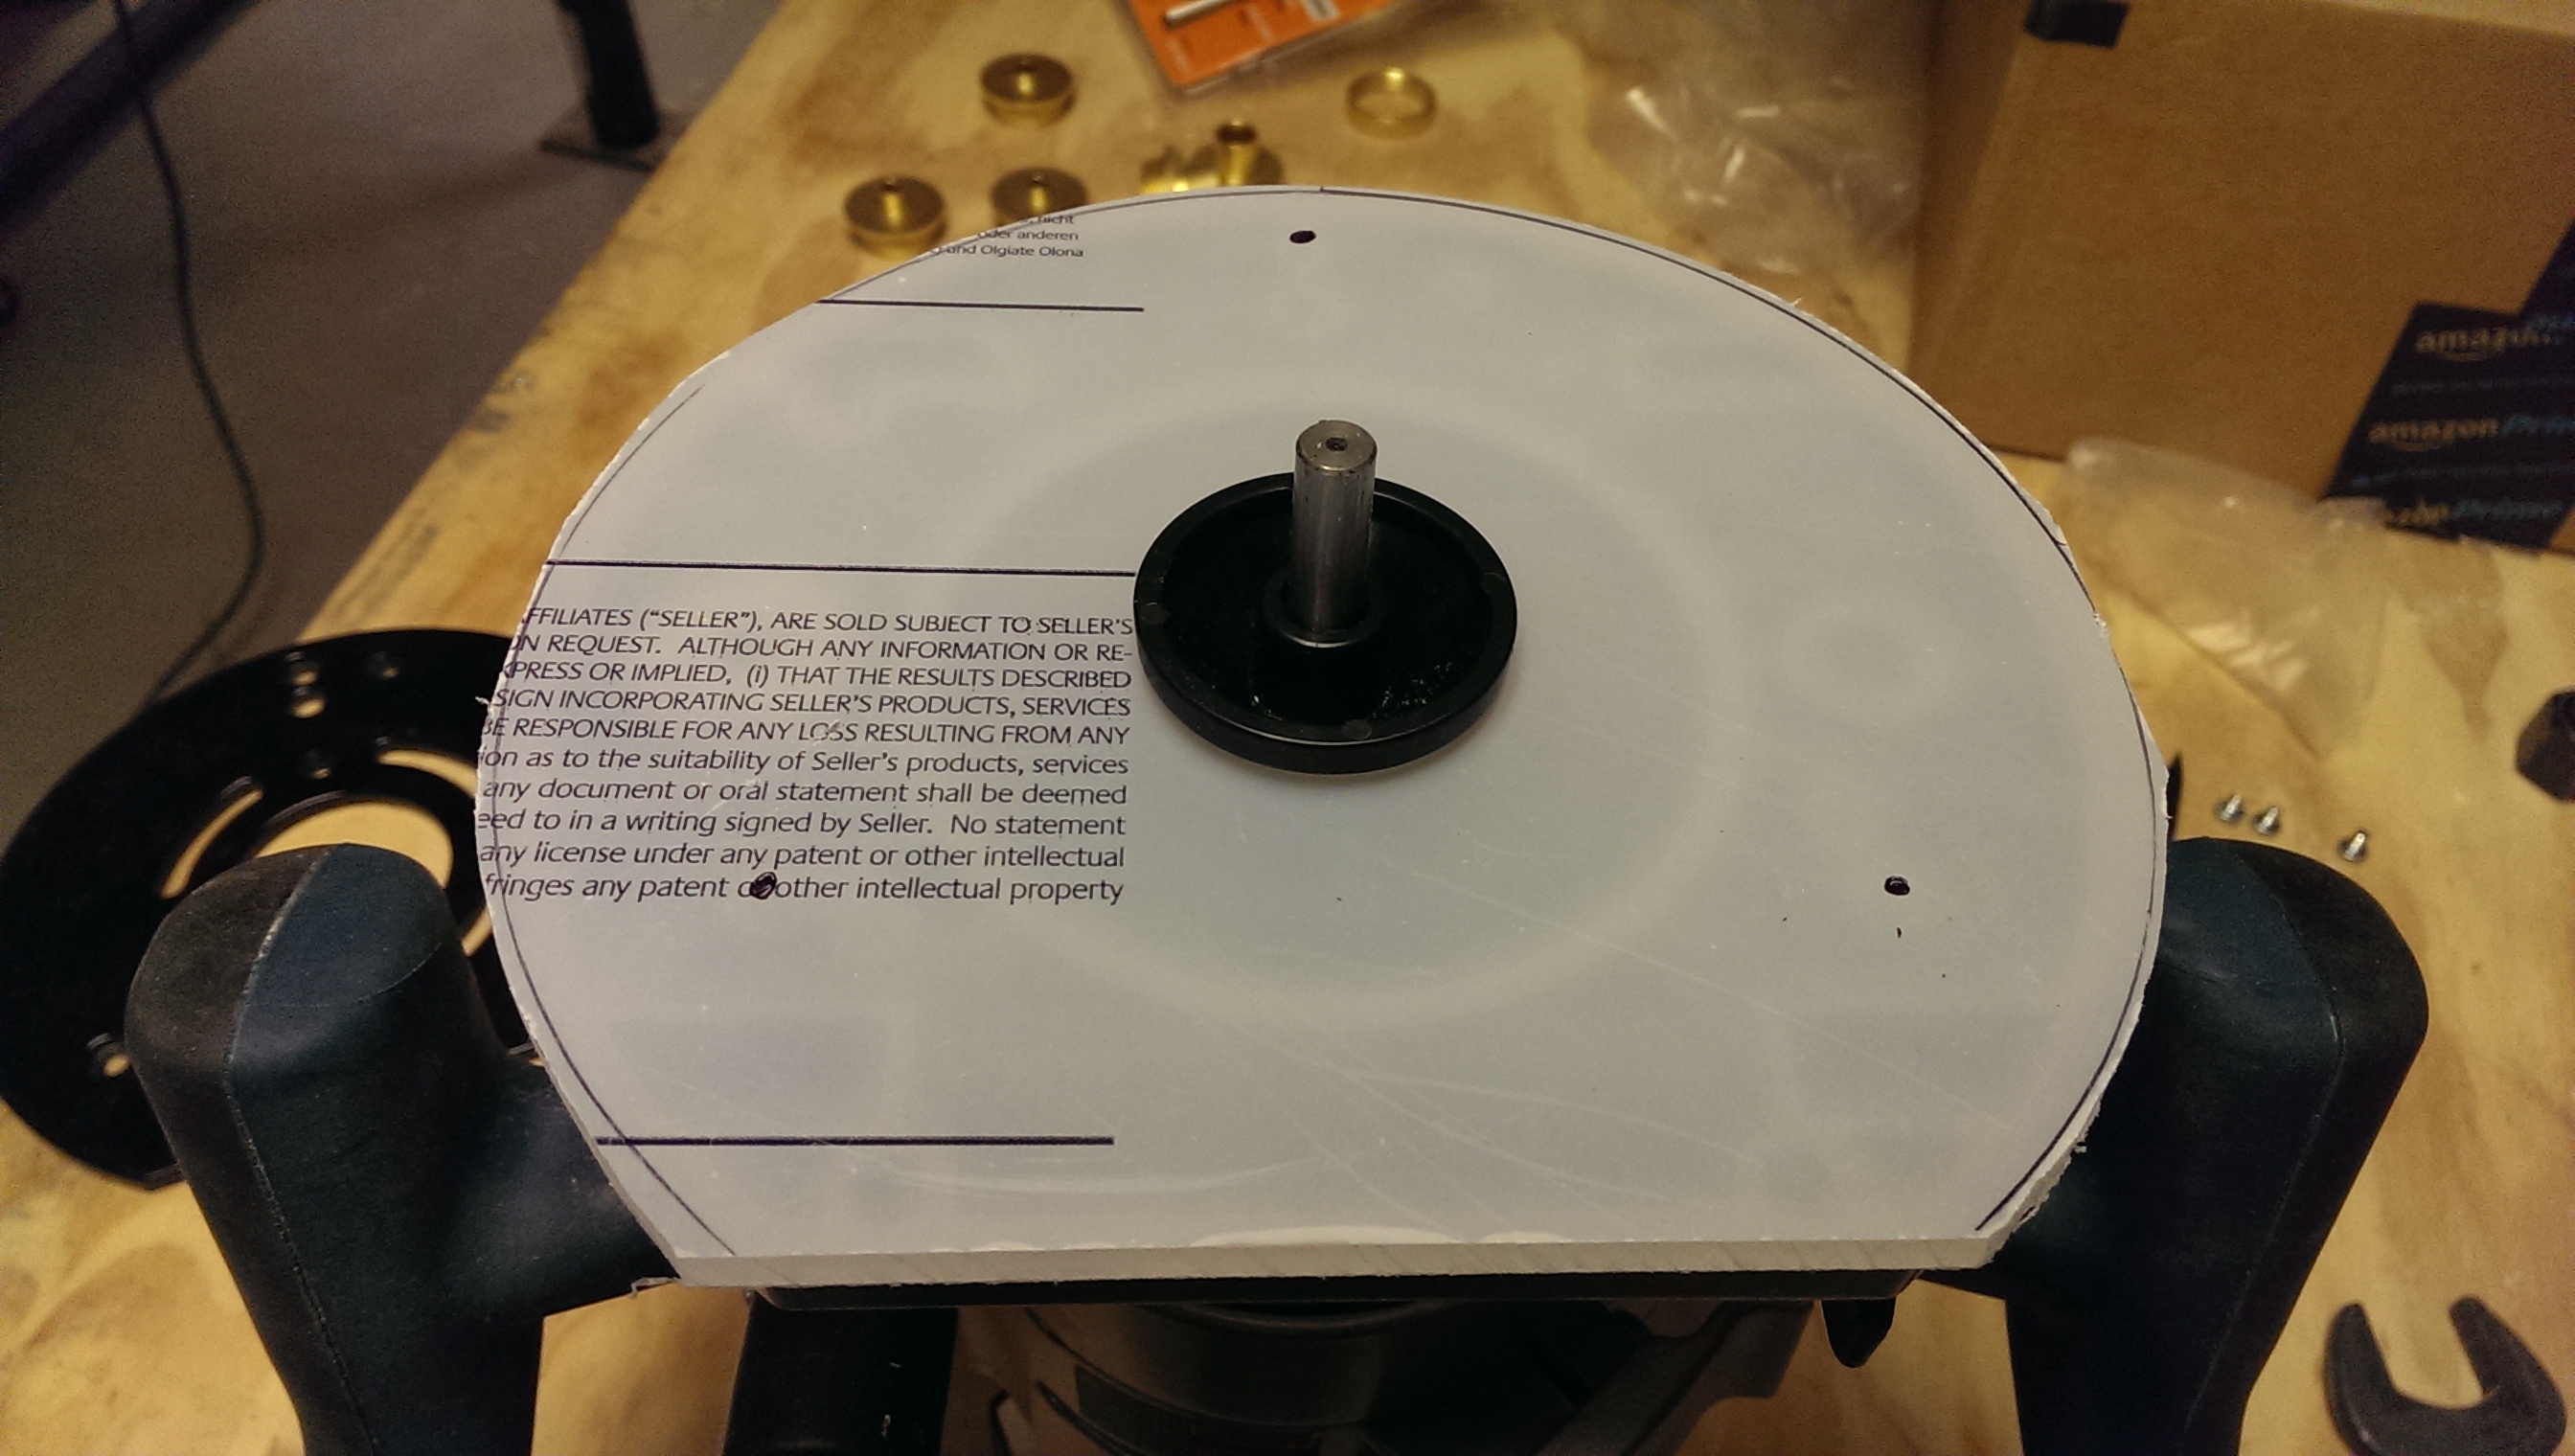
Center the subbase
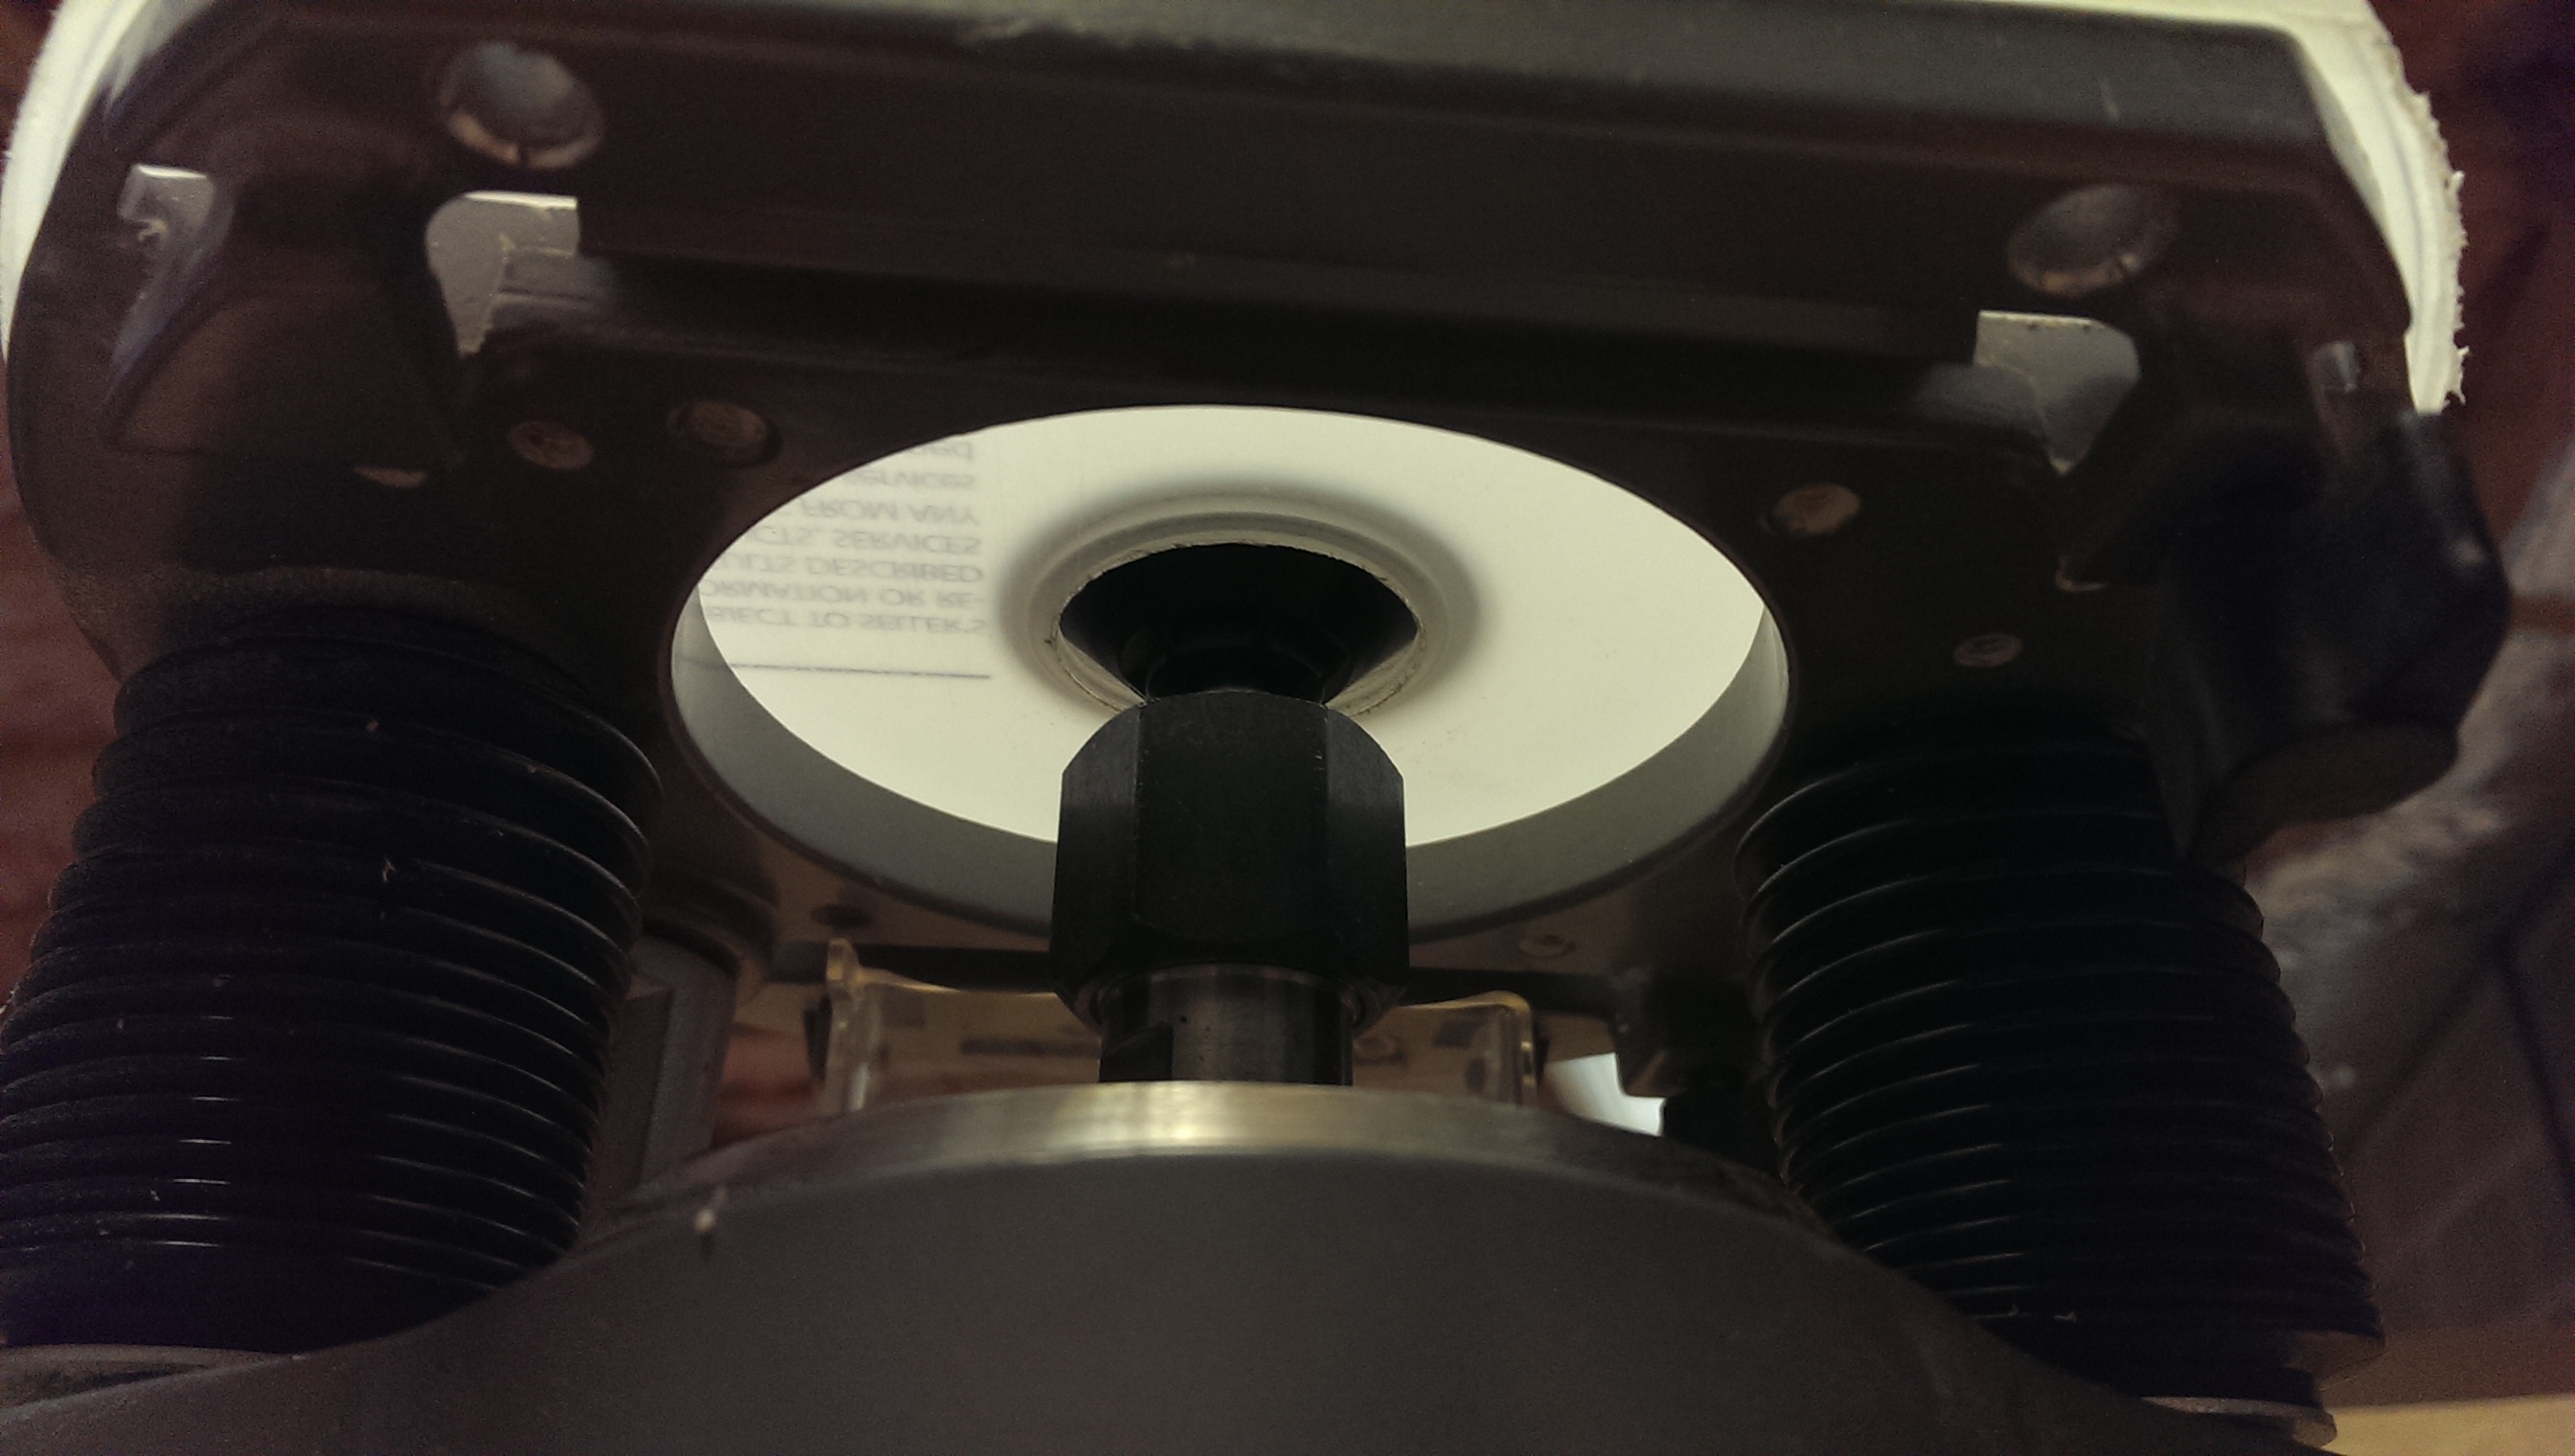
Underside view of the centered subbase
Holes are now marked
The mounting holes must be drilled so that the template bushing is centered for template use to be accurate. Place the workpiece on the router base, with the stepped side up, oriented the way you actually use it. Use the centering cone by installing the steel bar in the router as you would a bit, and then sliding the cone down afterwards onto the subbase. Then, mark the screw holes for the three mounting points on the subbase plate. Choosing a clear material for the subbase, like Lexan or acrylic, makes this pretty easy. I shined a flashlight up through the holes to make sure I marked them correctly.
Bits to match the holes in my router subbase
Next, match bits to your existing router subbase, so you can re-use the screws. We will do a countersunk hole like in the original, so the heads of the screws sit under the surface of the subbase. If you have a fancy countersunk bit, you could use that, but two regular bits suffice. Note that both holes will be quite a bit wider than they really need to be – this is fine, it’s so that when the subbase is installed, you have a little play to be able to center it.
Drilling the through hole

Countersinking
I went back to the drill press, but you could get away with a hand drill for this one. Simply drill the through holes, and then make a countersunk indentation afterwards. I simply drilled incrementally, checking with the screw, until the screw was fully sunk in the material. My goal was to drill as shallow as possible with the countersinking, to leave as much Lexan as possible to hold the subbase.
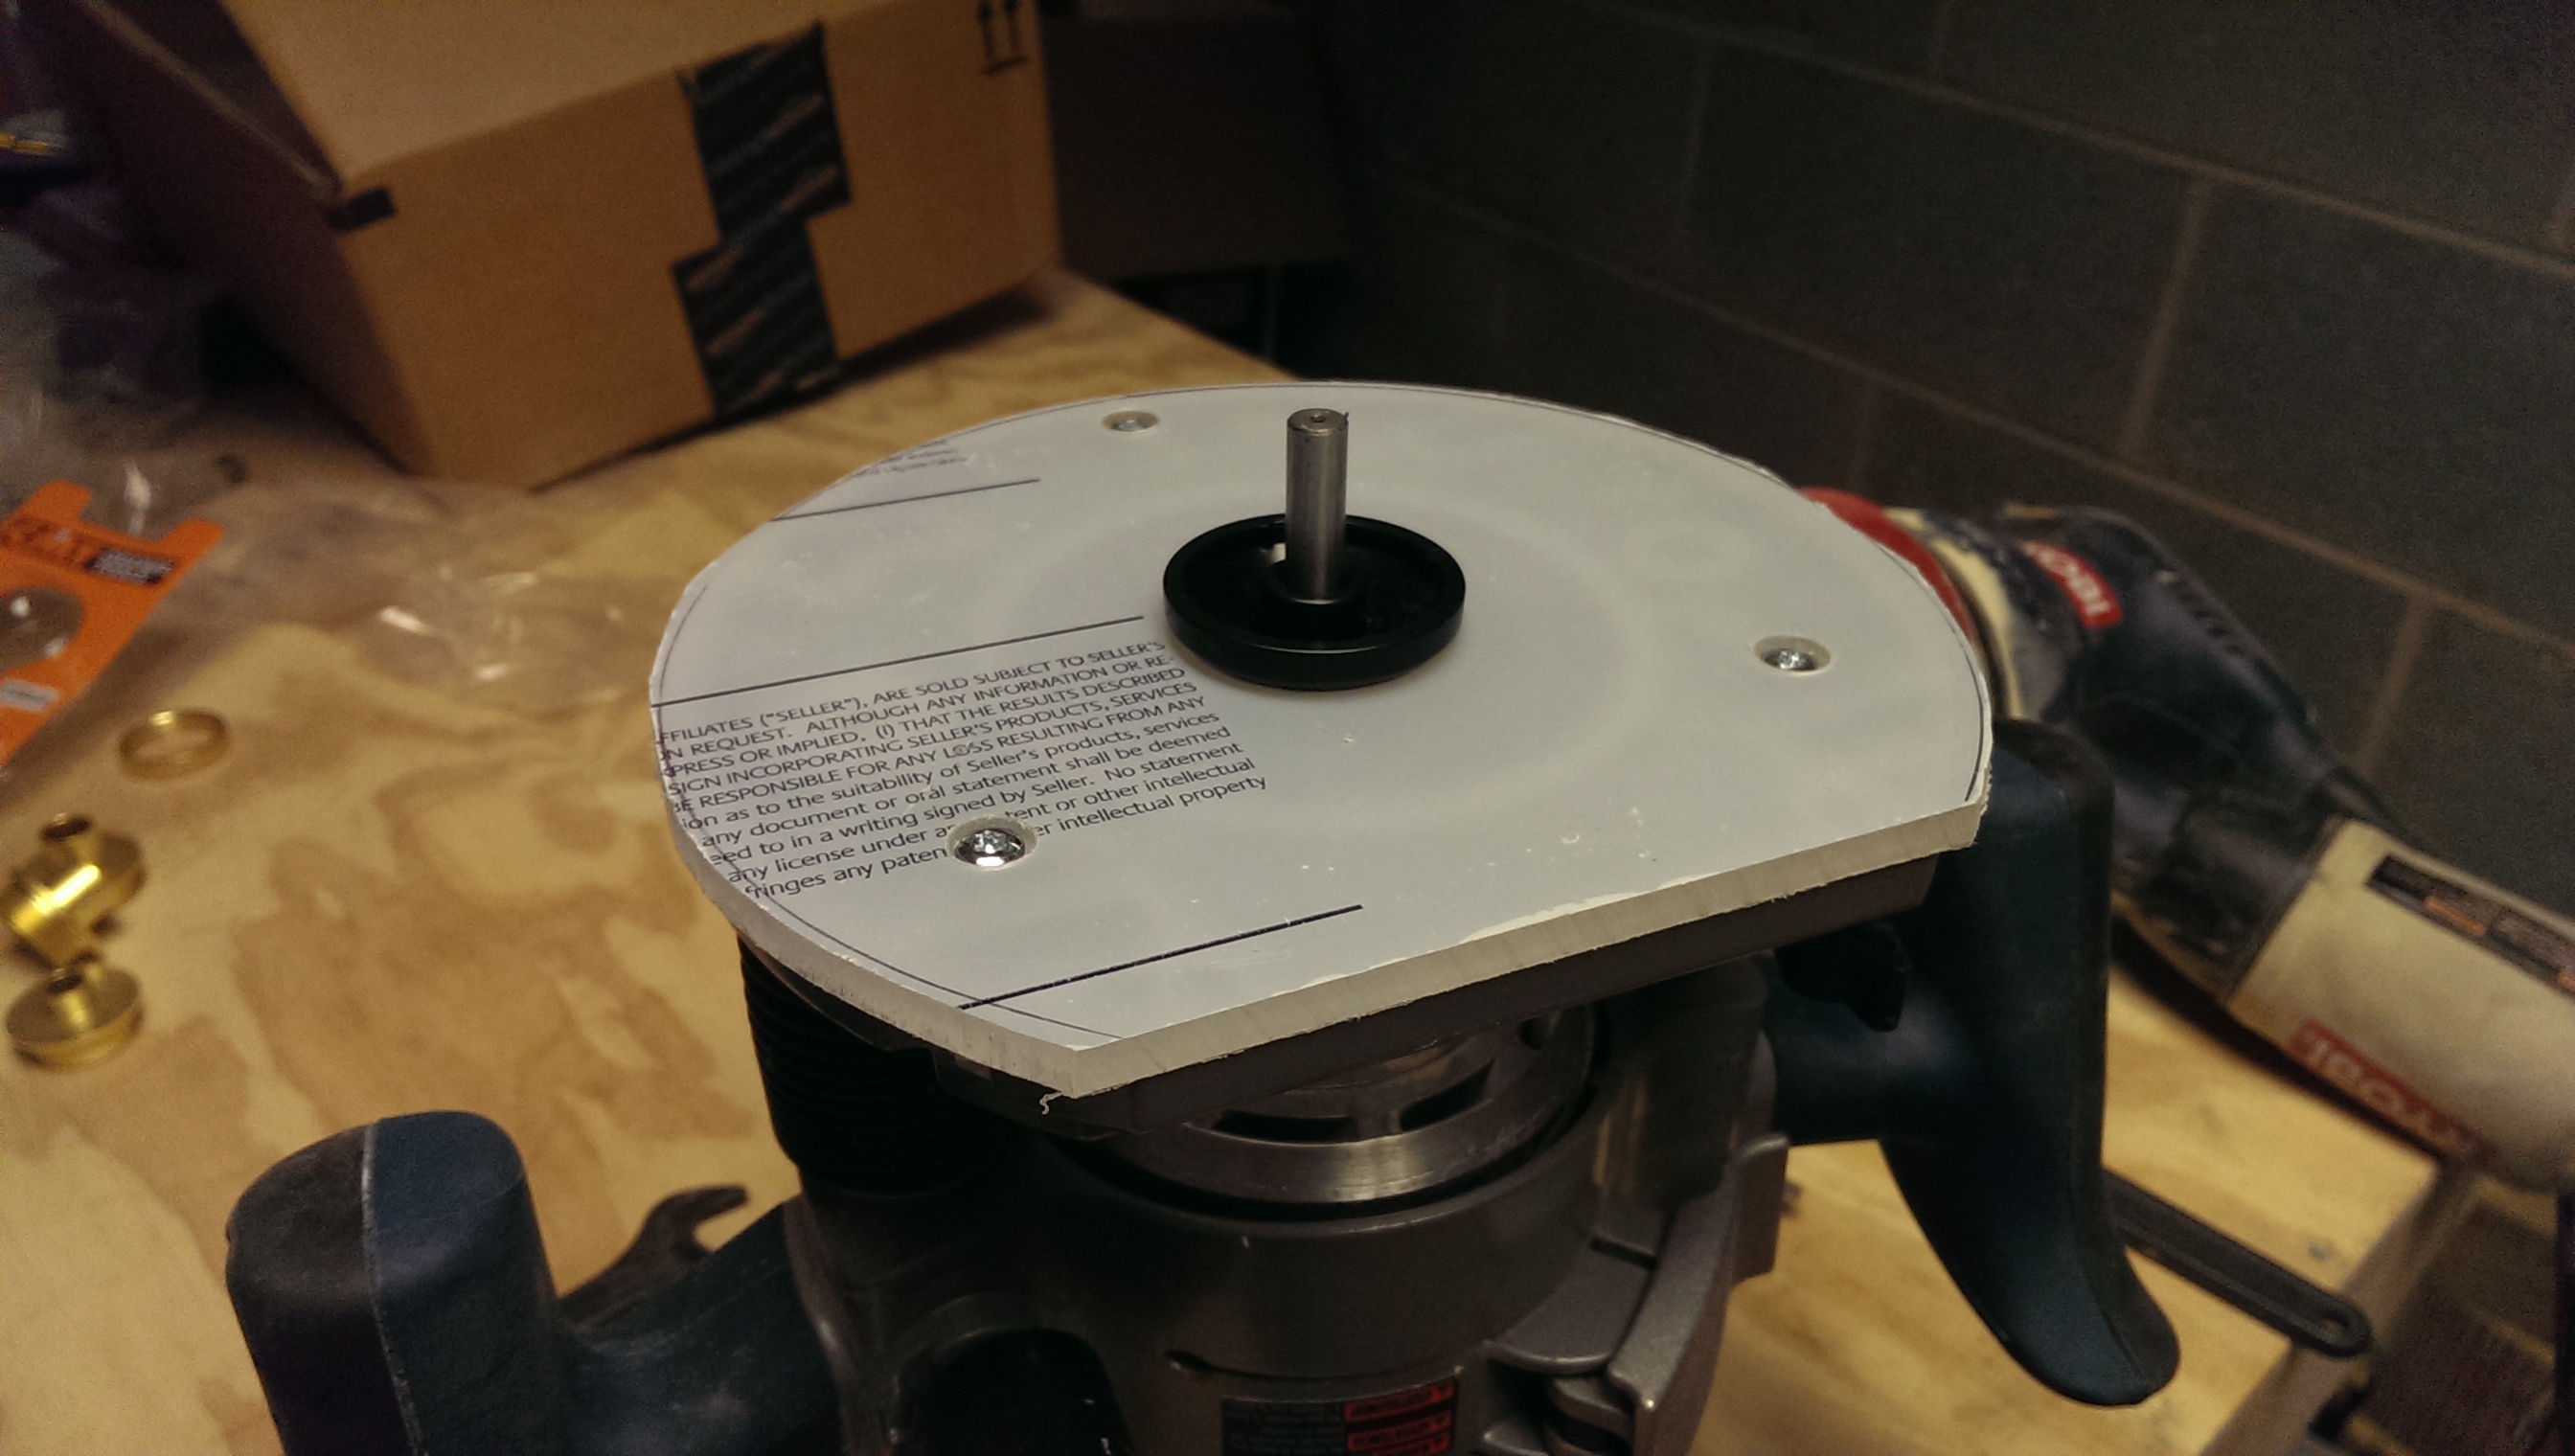
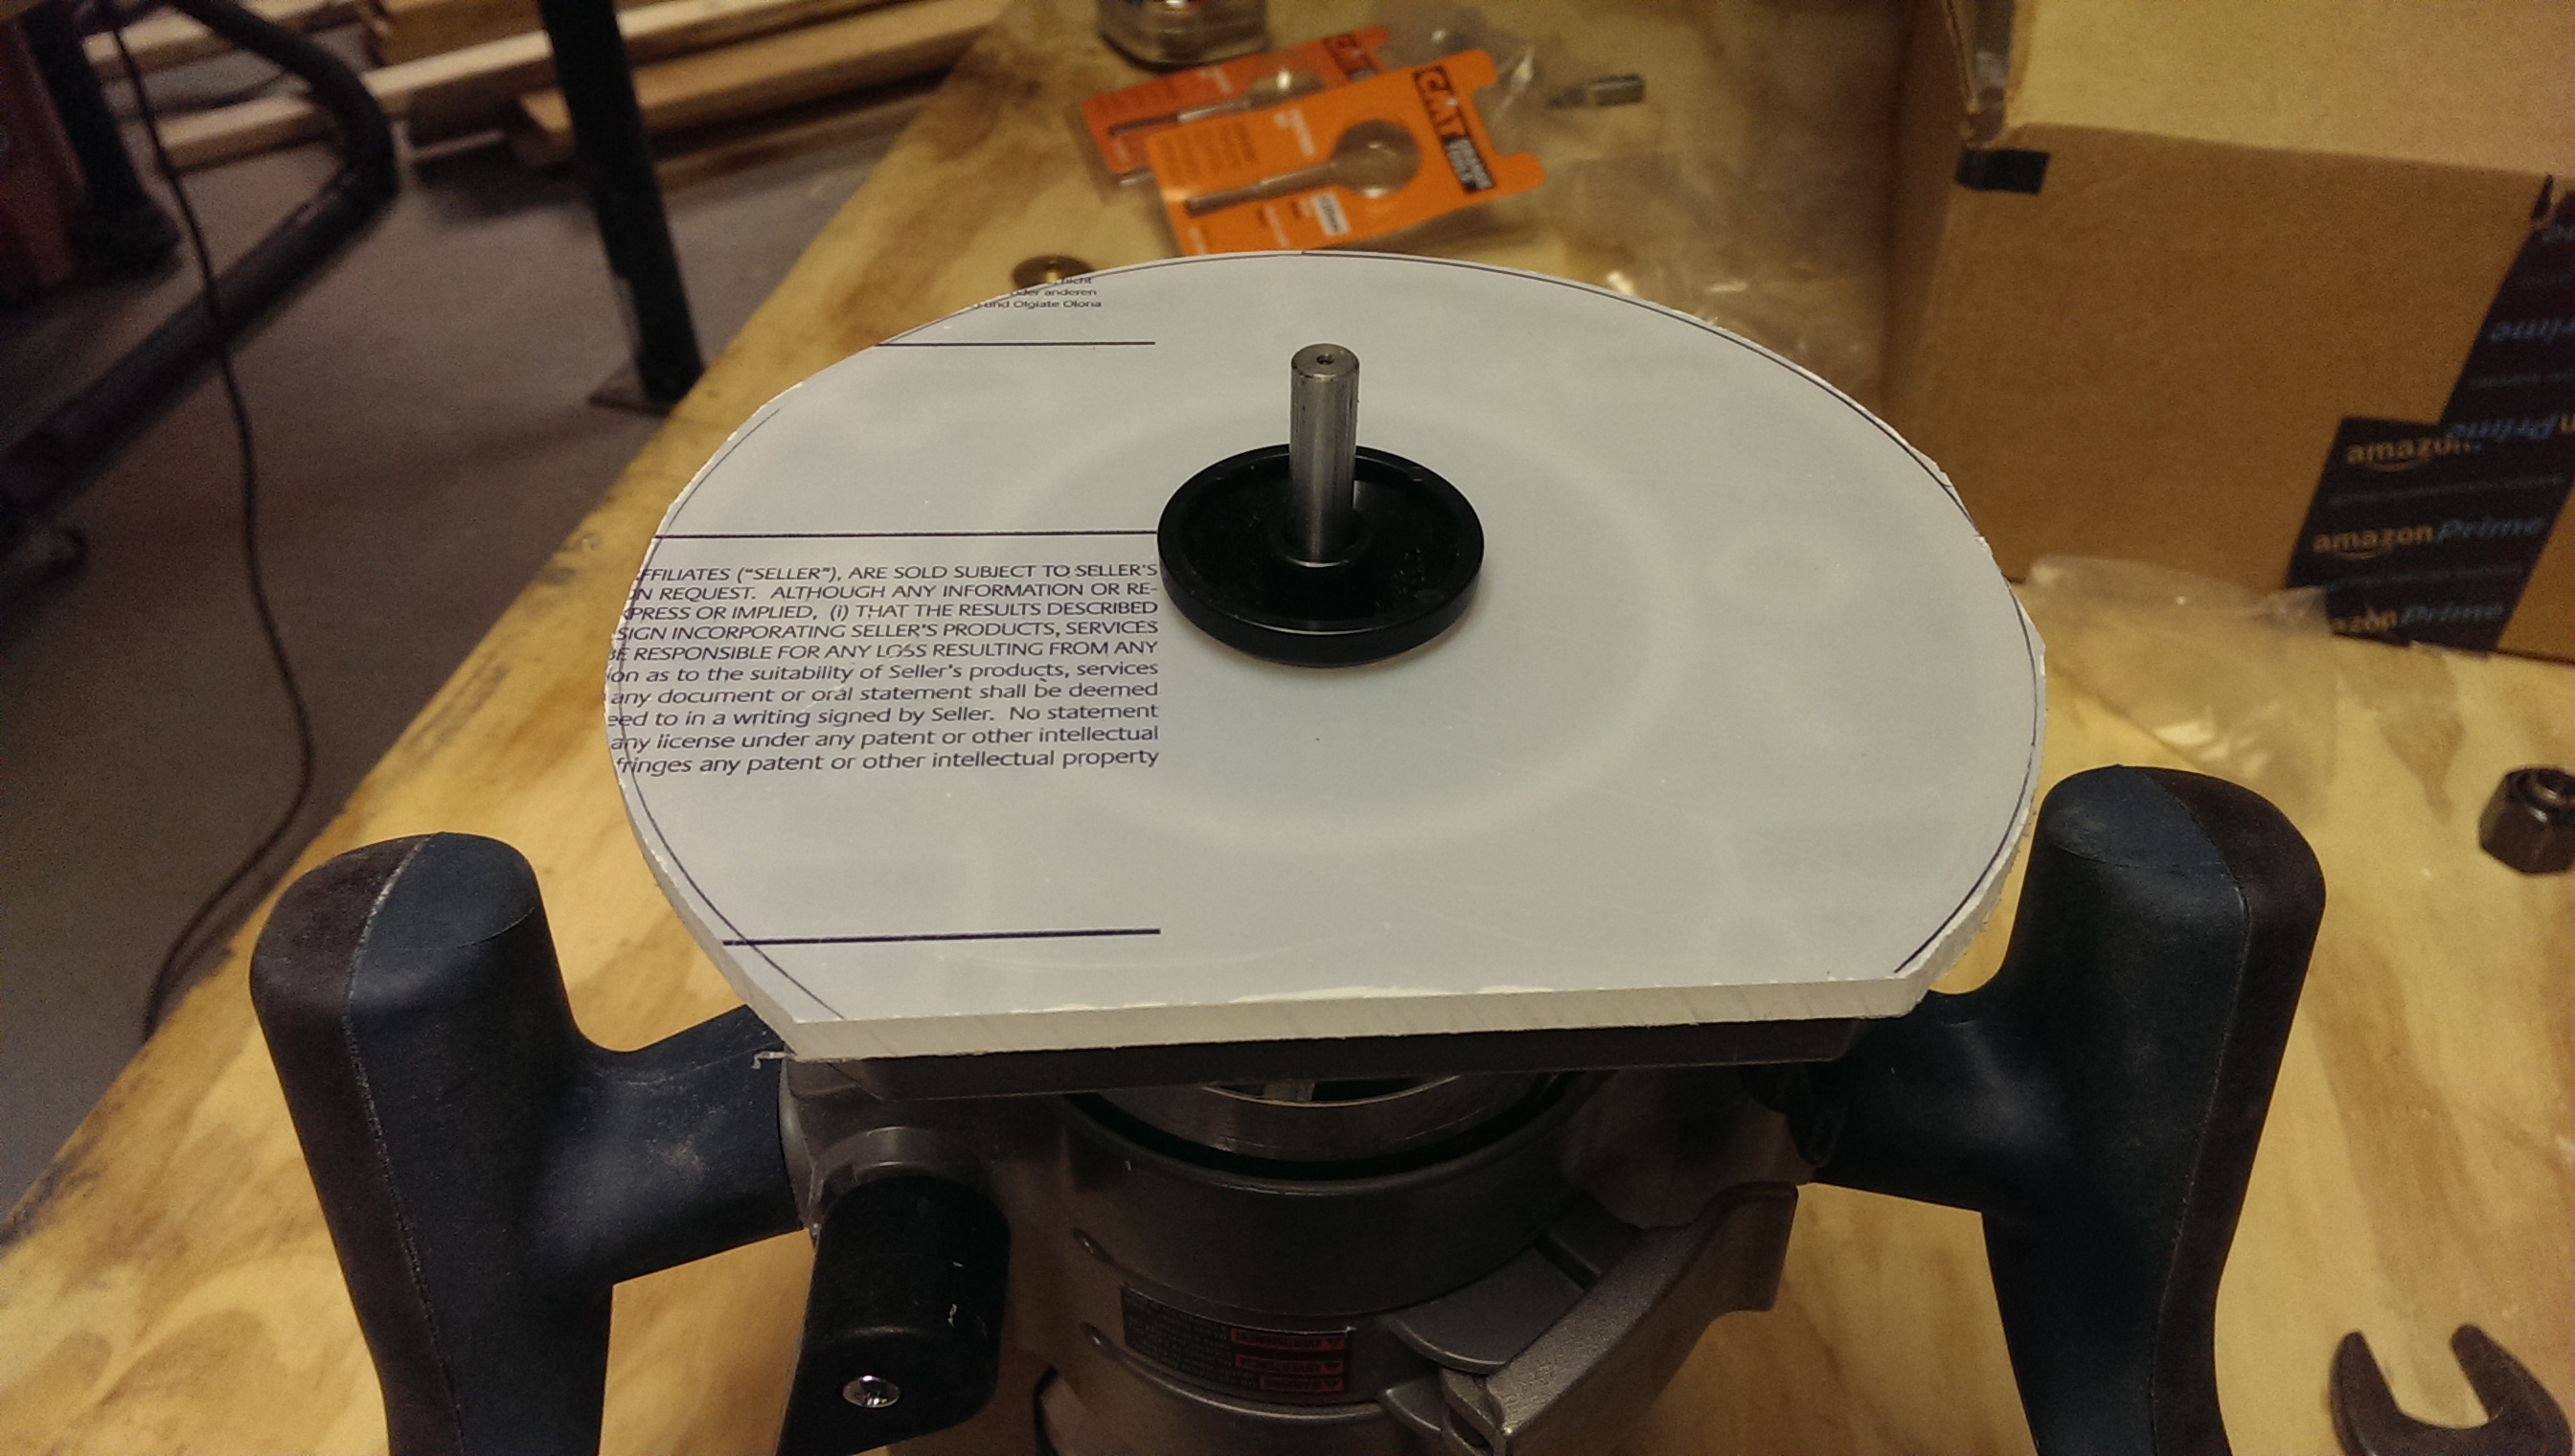
Test fit – it works!
At this point, you can test-fit the subbase. It should screw in easily with the cone installed to center it on the router.
Use a pattern bit on the subbase

Pattern matching the base
The last thing is to clean up the subbase with a pattern bit, so it fits nicely against the router base. Most people will double-stick tape the Lexan subbase to the old one, and work that way. I thought it might fit better and look nicer if I simply left it bolted to the router base. In retrospect, don’t do this – the router base has all kinds of weird indentations on it and does not work easily with a flush trim bit.
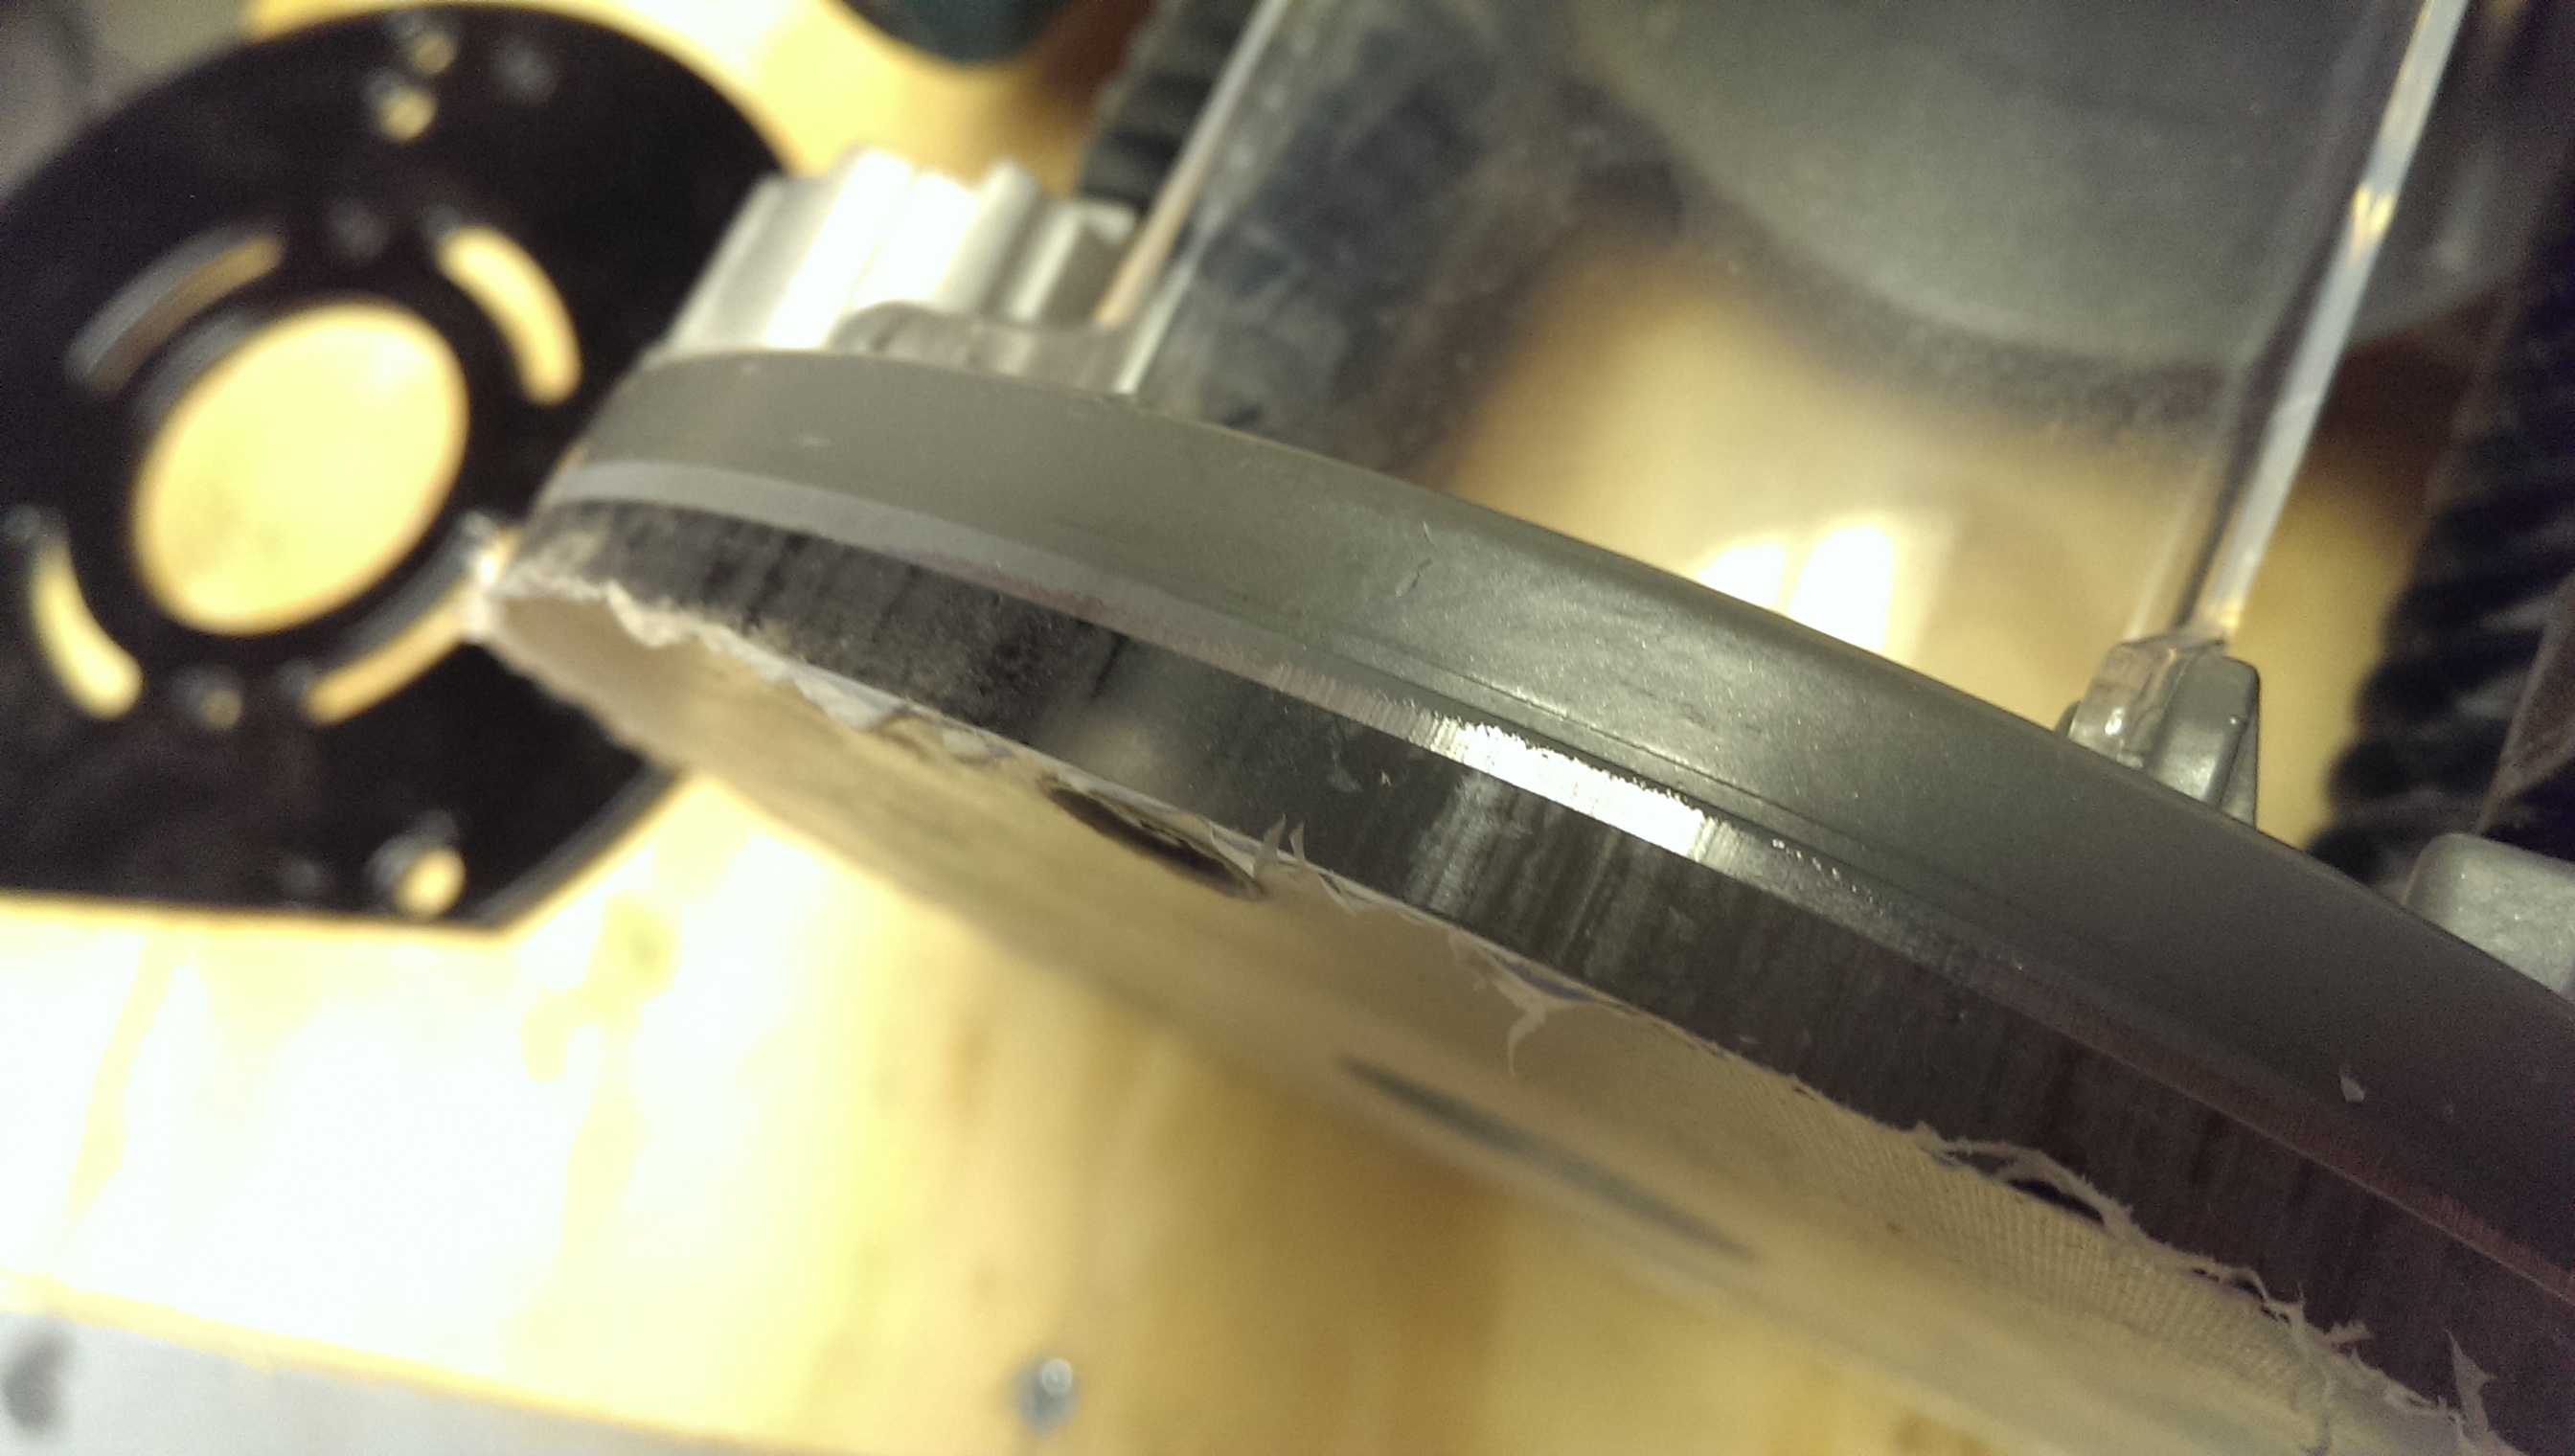
Damage from flush trim bit
Also, I goofed up and set the flush trim bit a little too high – it rubbed off some of the paint on the aluminum router subbase. Fortunately, this instance didn’t hurt anything except my bit, but it is something to be careful of. I will probably keep this particular bit to use only with metal now, since the top of it is almost certainly damaged and dulled.
Taping the template to the subbase
I ended up having to do what everyone else does in the end anyway. I had to skip over the indented portions of the router base because there was nothing for the bearing to ride against. I ended up just going ahead and following the flush trim bit on the original router subbase by using double-sided tape to tape it as shown. This mostly cleaned up the edges, although they’re still imperfect. I chose not to worry about it any further, as this step is all cosmetic anyway.
Finished Product
Finished
Bushing after all done and installed
At this point, you should be able to peel off the protective film and actually install it. Mine came out great, aside from the hiccup with the flush trim bit. As you can see, the bit is almost perfectly centered in the bushing, and the bushing sits a little bit underneath the surface of the template, so it doesn’t snag on anything and sits planted during operation. The use of a clear material made the mounting holes easier to drill, but it also allows you to see what is going on during use.
[…] and a template bushing set. If you don’t have a bushing sub-base for your router already, you can follow these instructions to make one like I […]