Fluorescent Ballast Replacement
Fluorescent Ballast Replacement
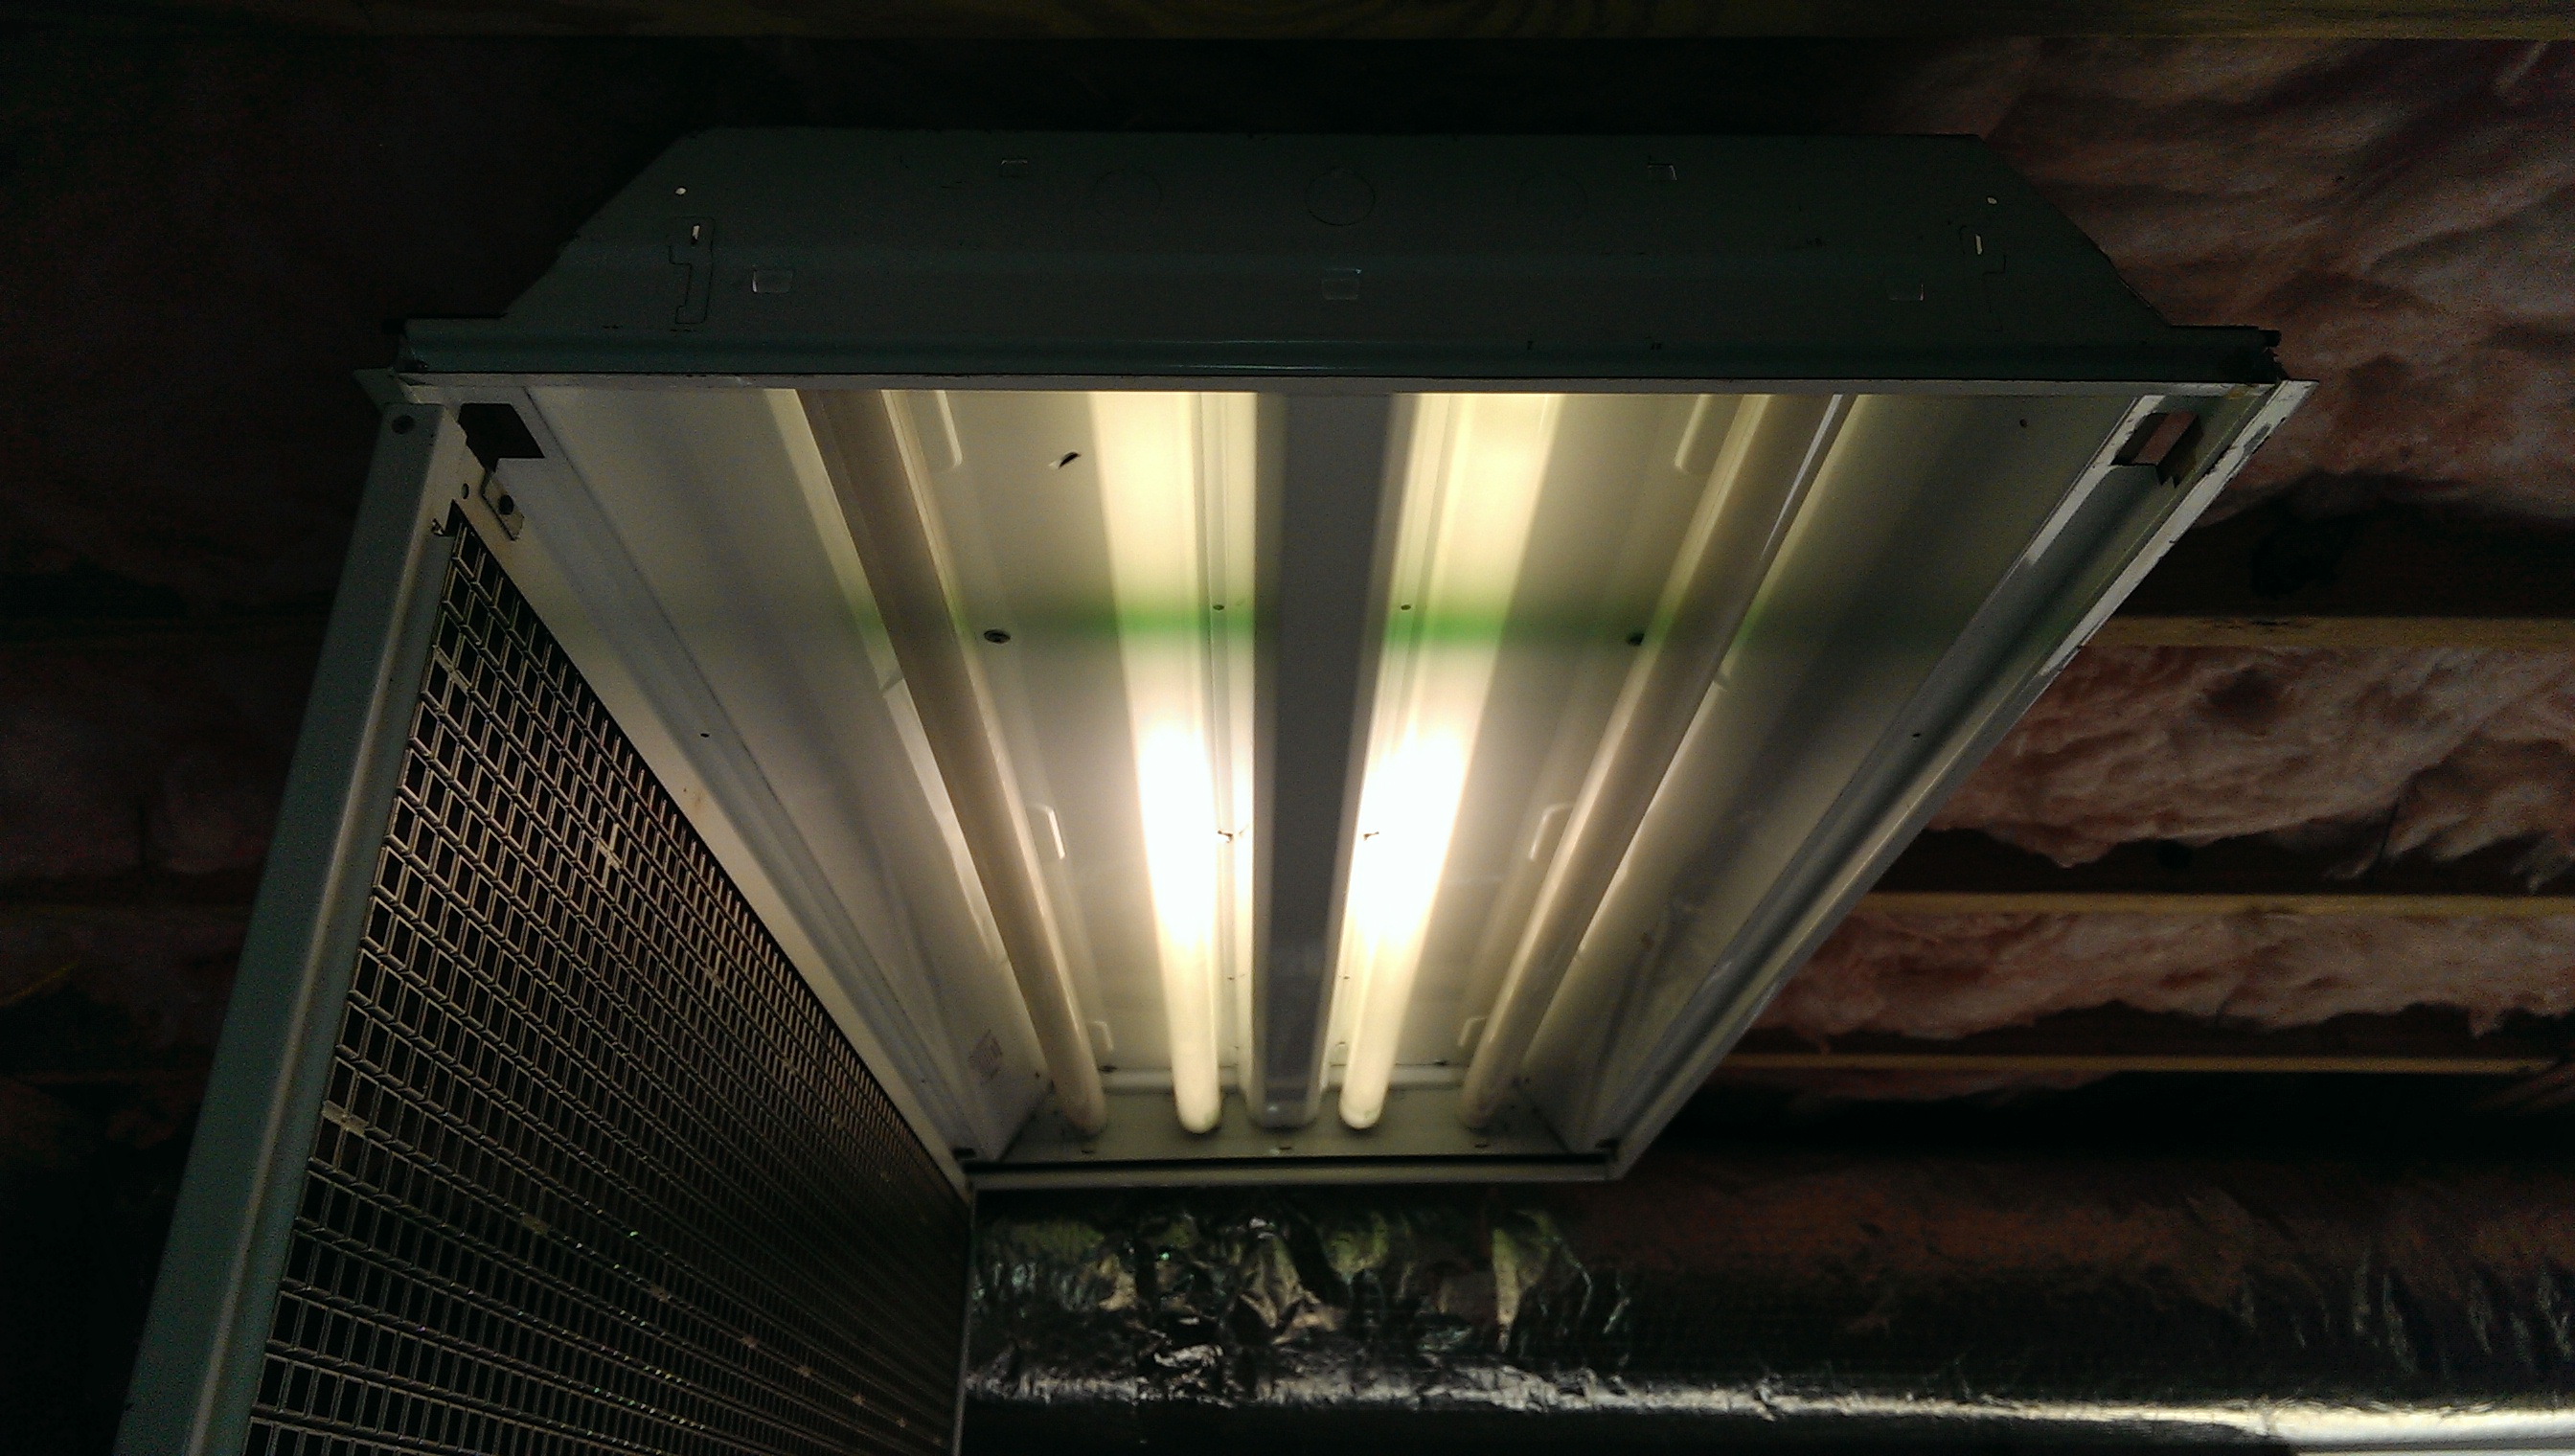
The ballast went out for the outer two bulbs
In my shop, I have four fluorescent fixtures. One of them had two bulbs not working. When replacing the bulbs didn’t fix it, it was clear that the ballast had gone out. Fortunately, repairing this is fairly simple to do yourself. Replacement ballasts are sold at most hardware stores for $20 or so.
Removing the old ballast
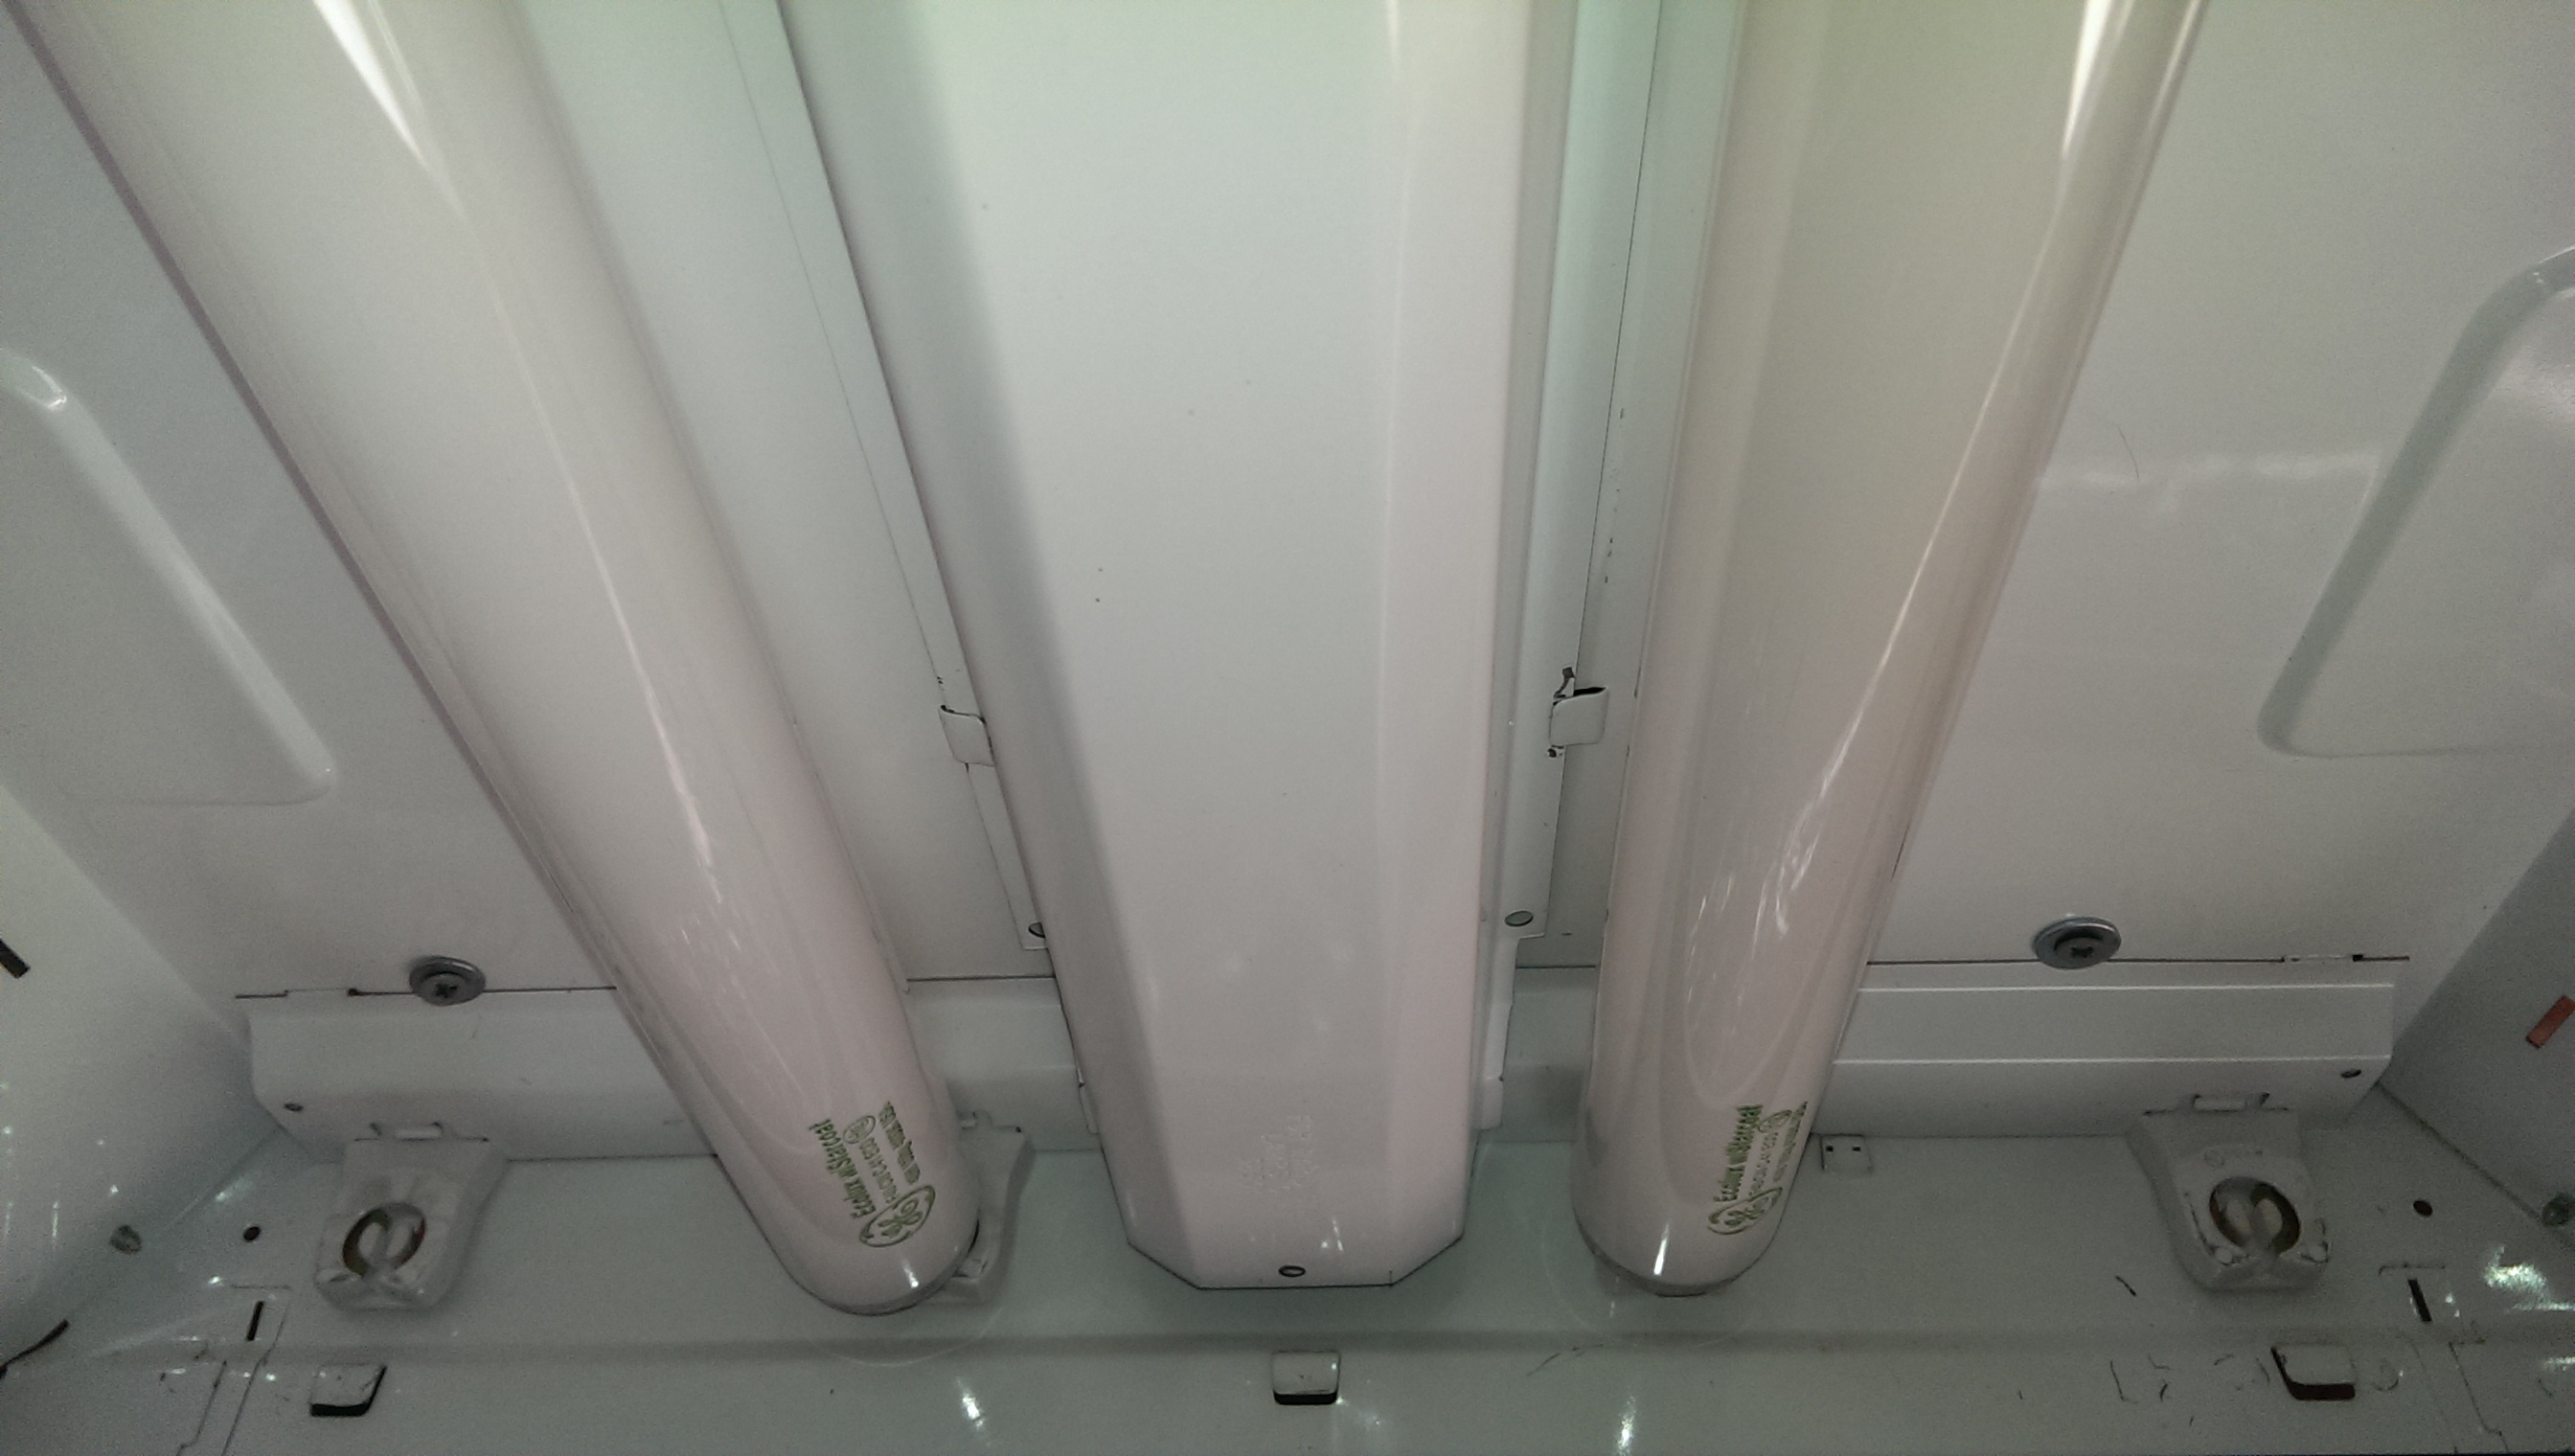
Ballast cover

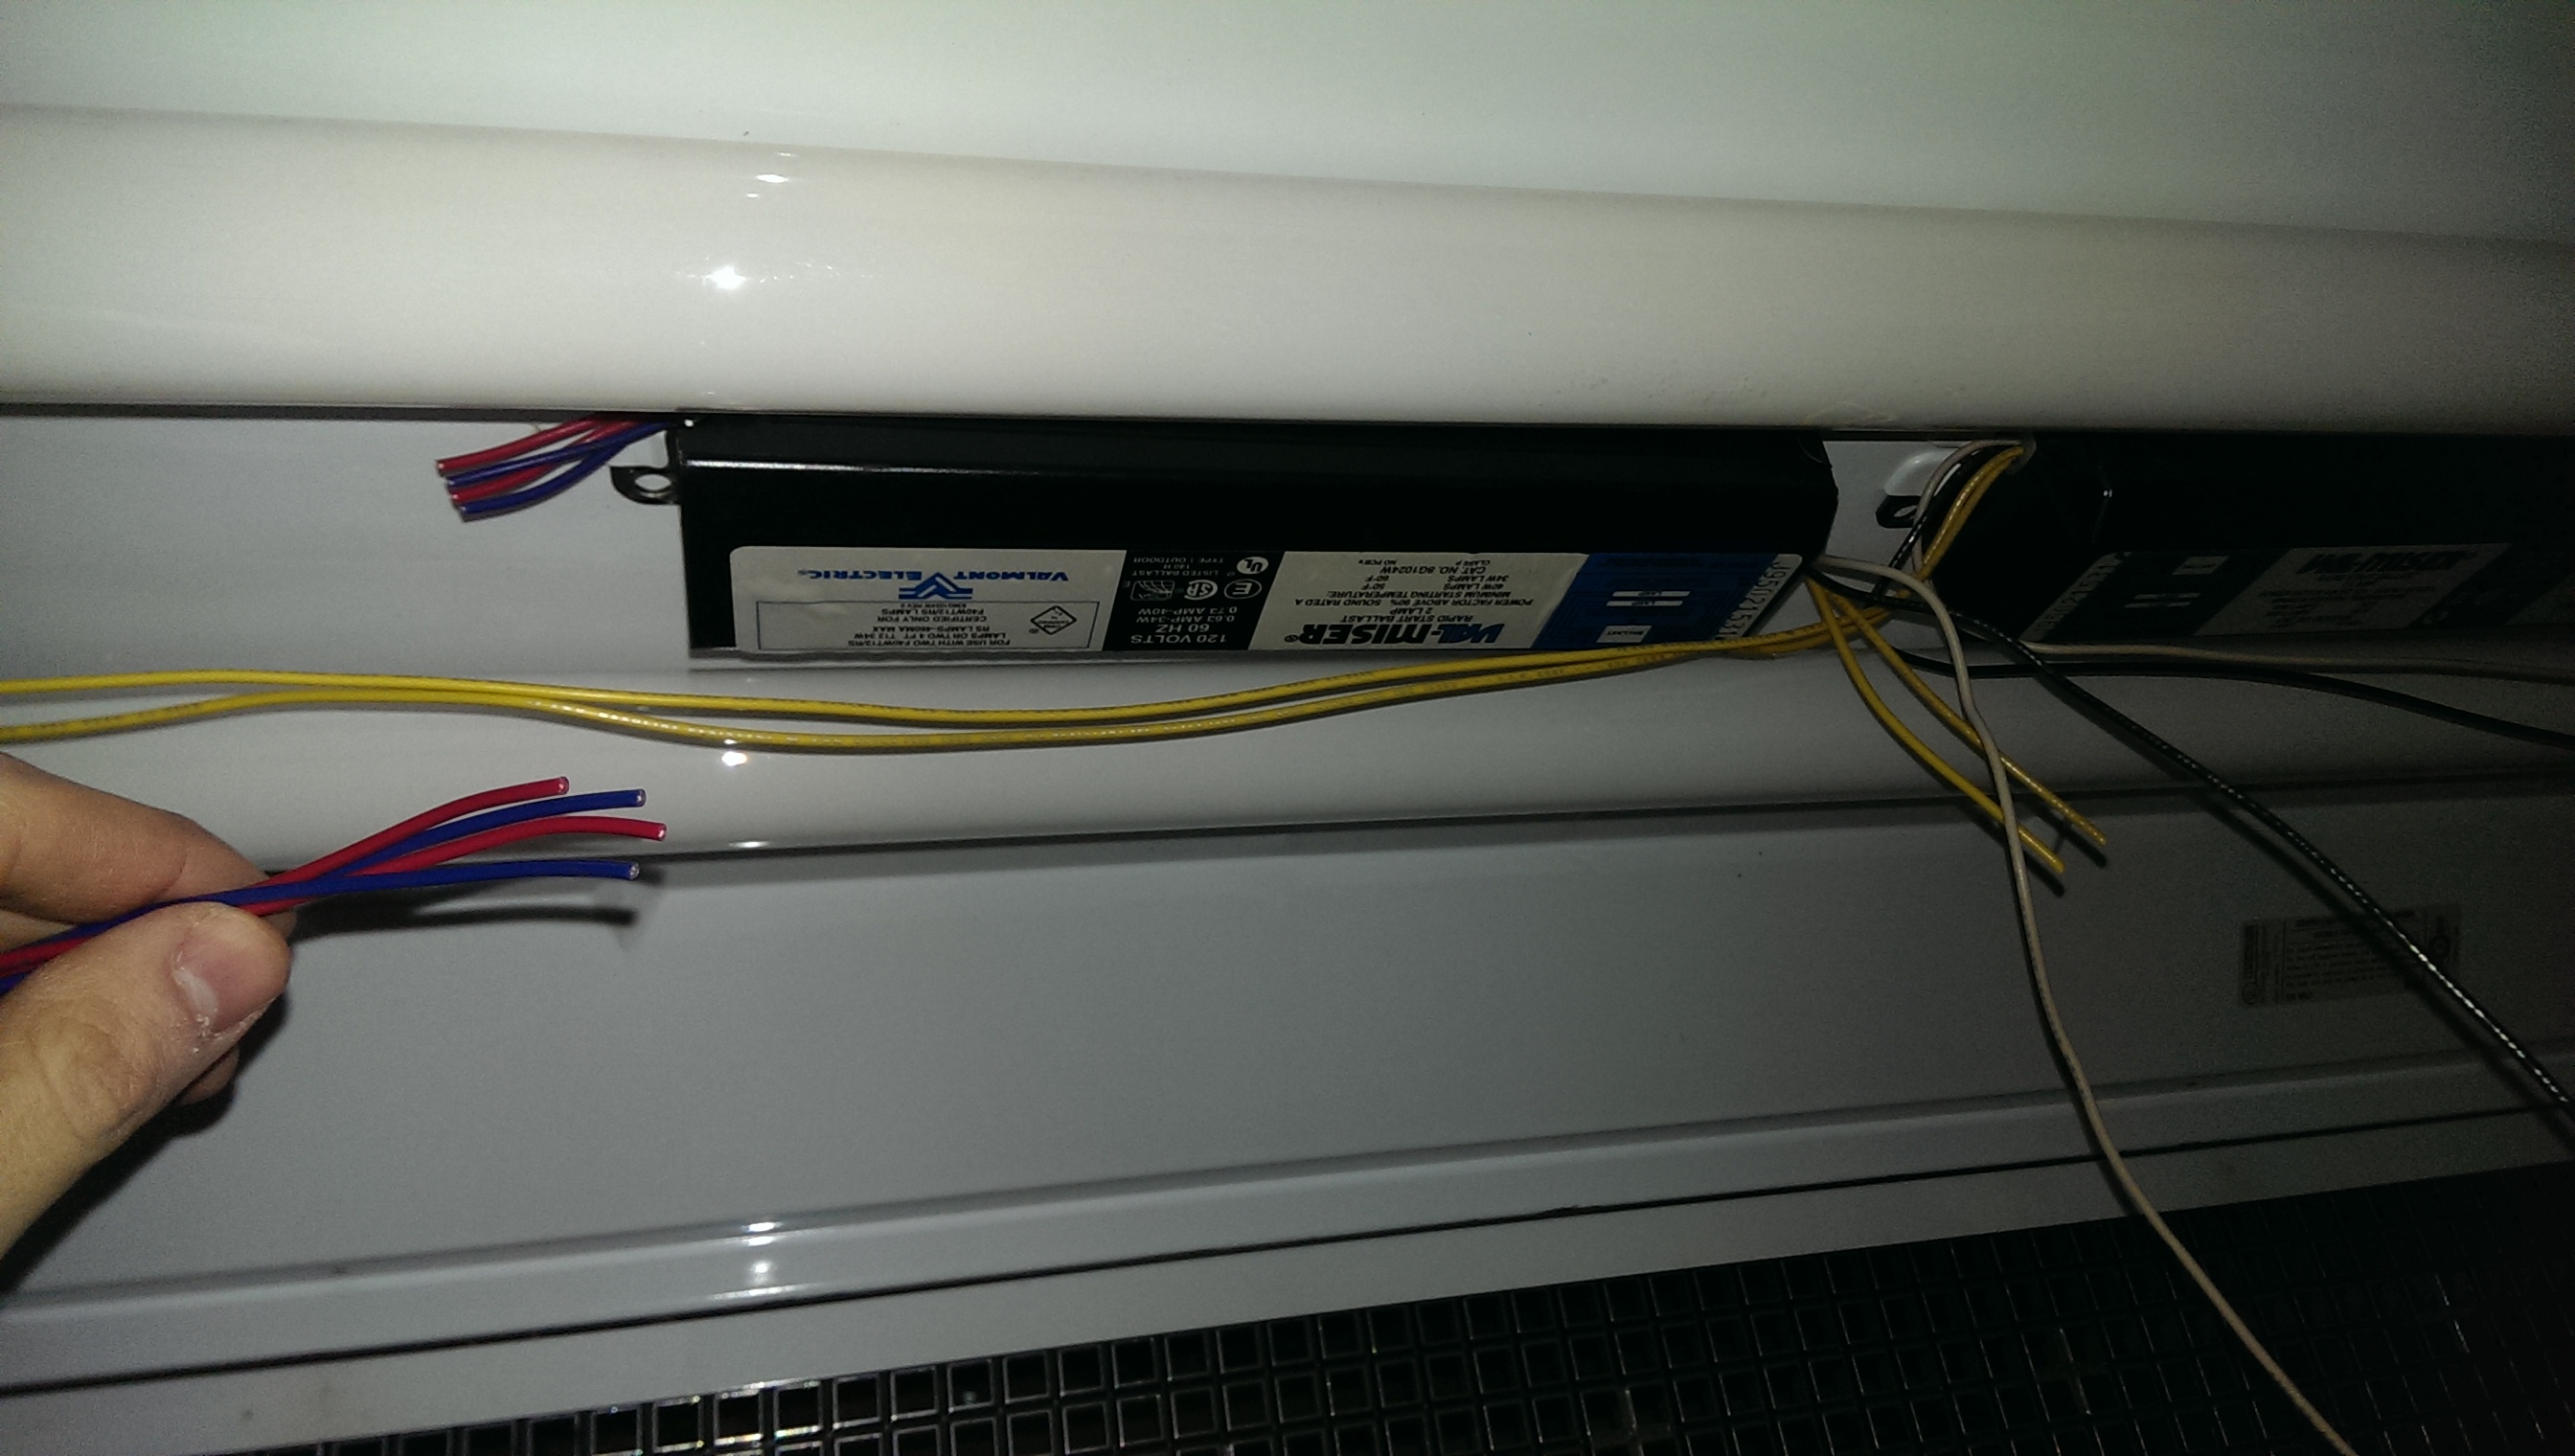
The old ballast to be removed
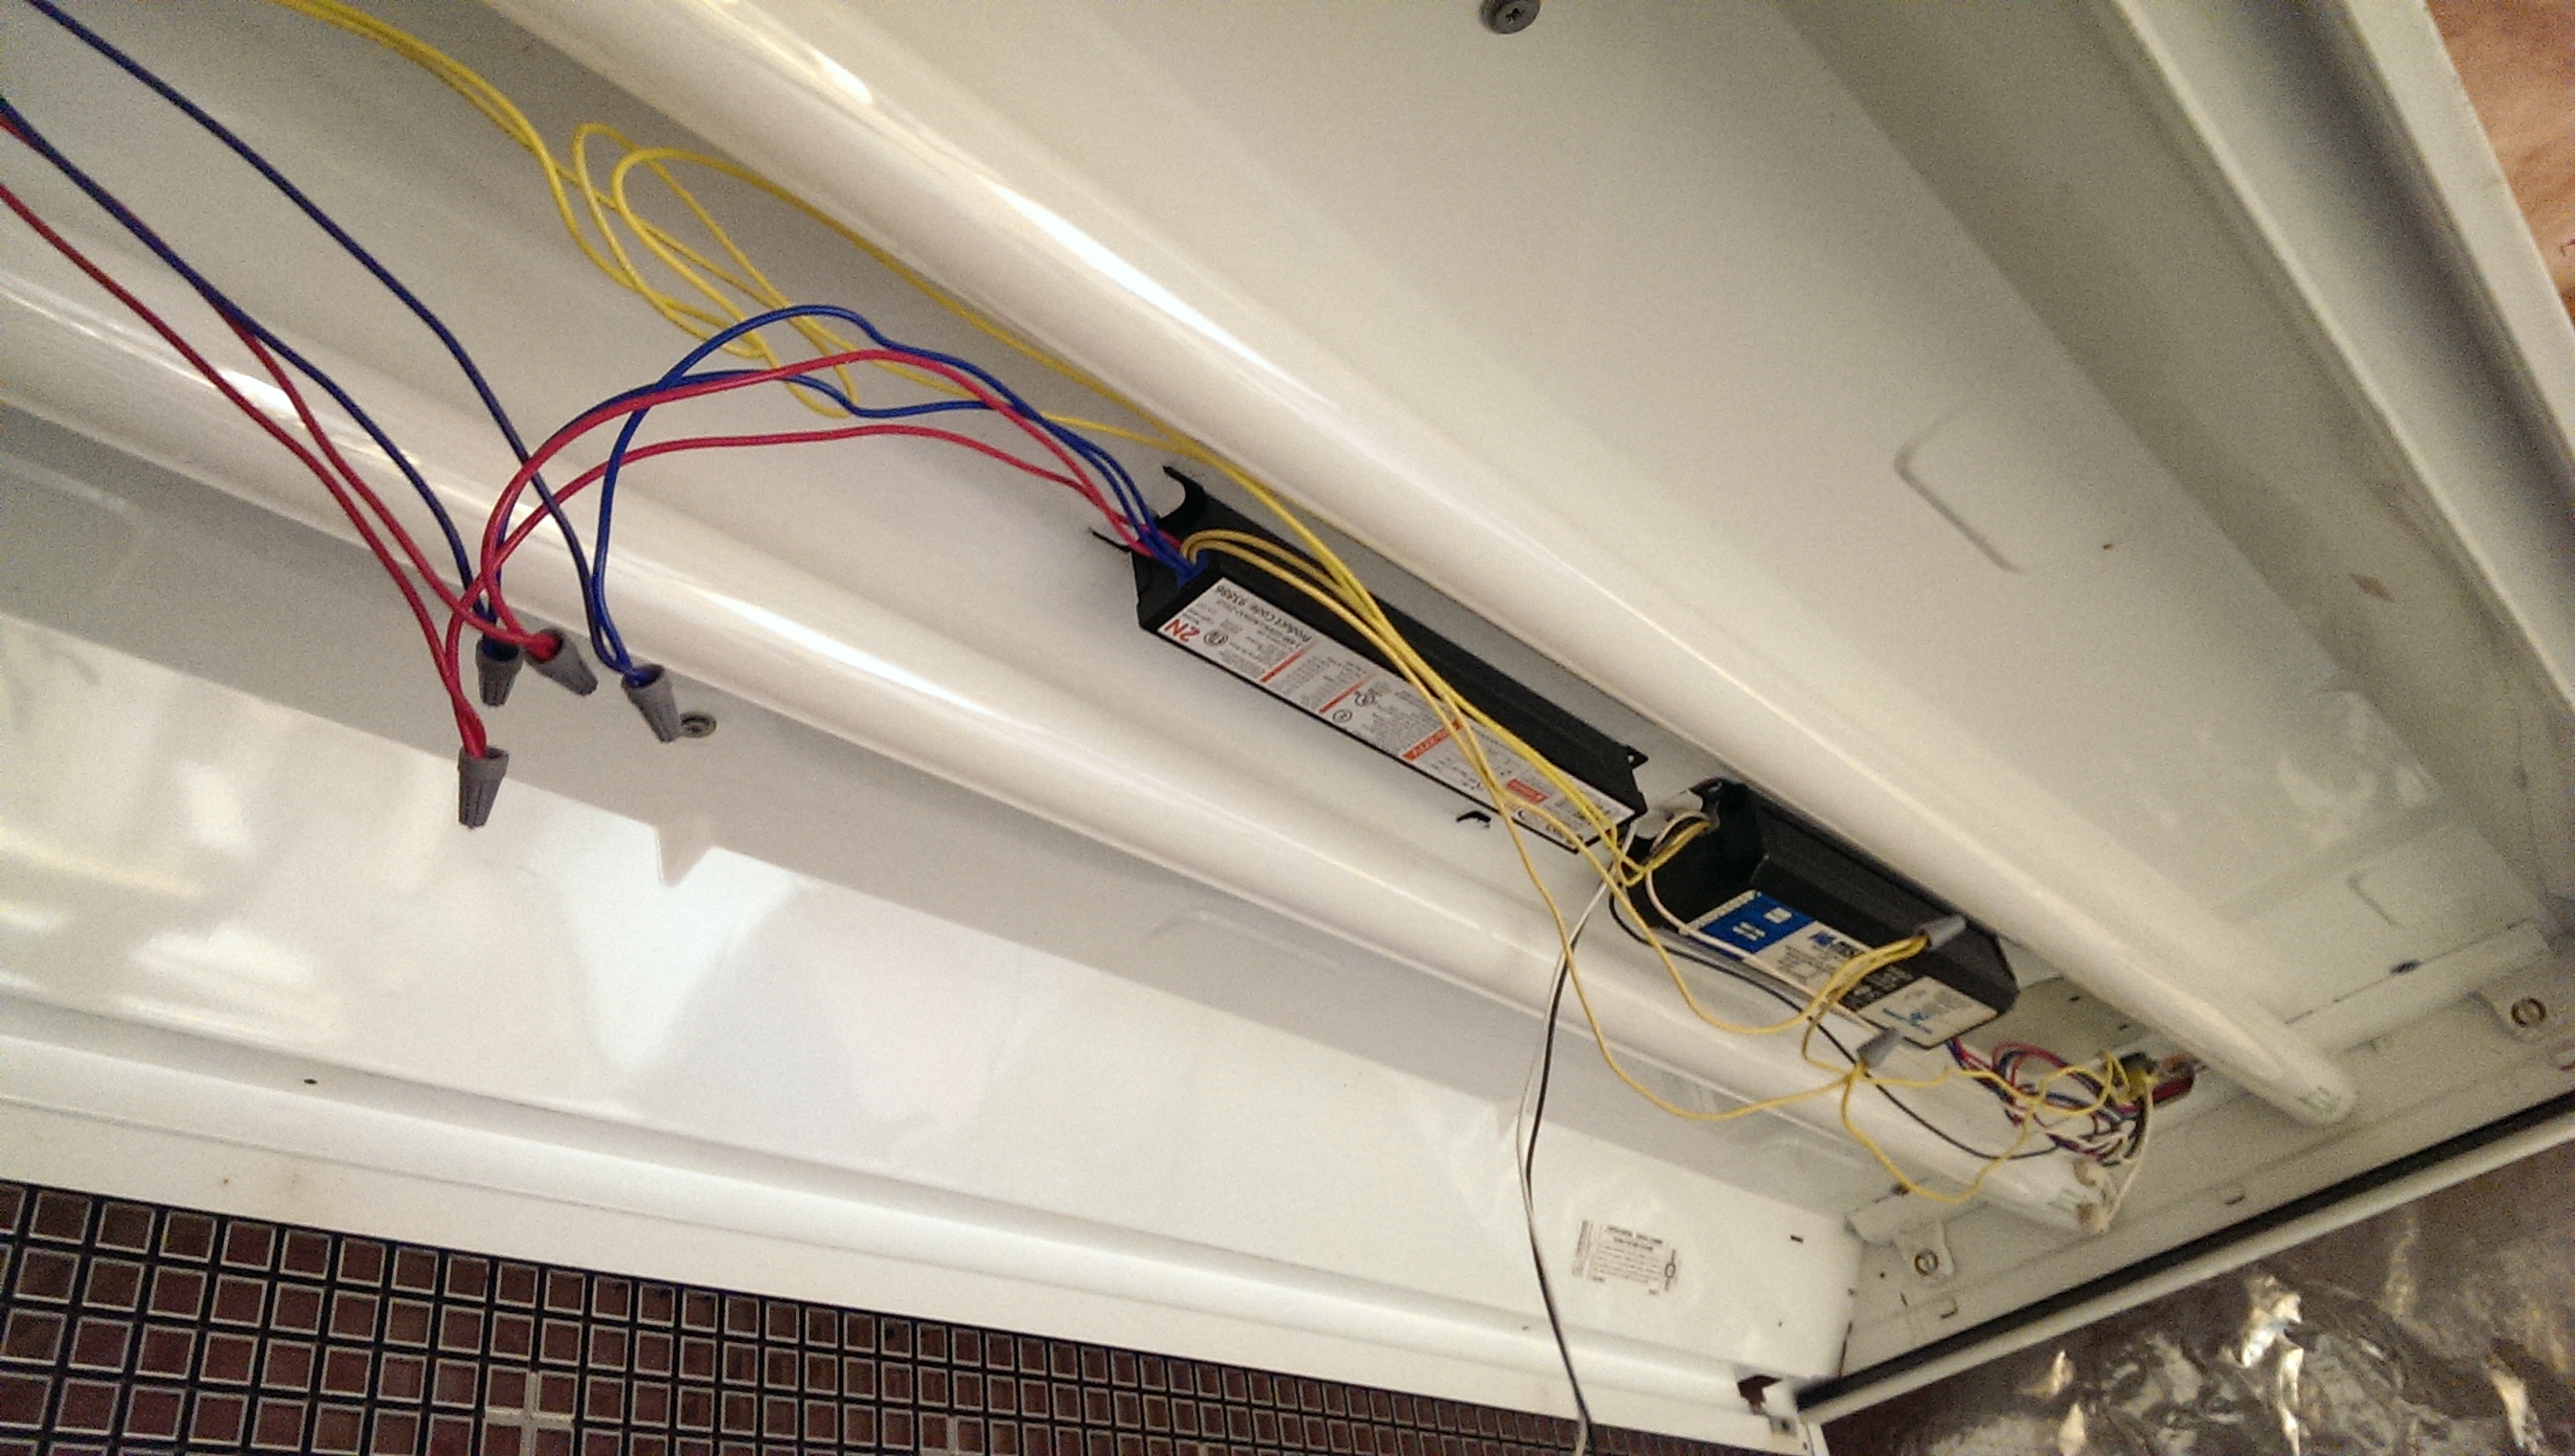
There is a cover hiding the ballast and the wiring. On my fixture, you simply pinch the cover together and pull it off. Once off, you can see that there are two ballast units, one for each pair of bulbs. The next step is to figure out which unit has gone bad.
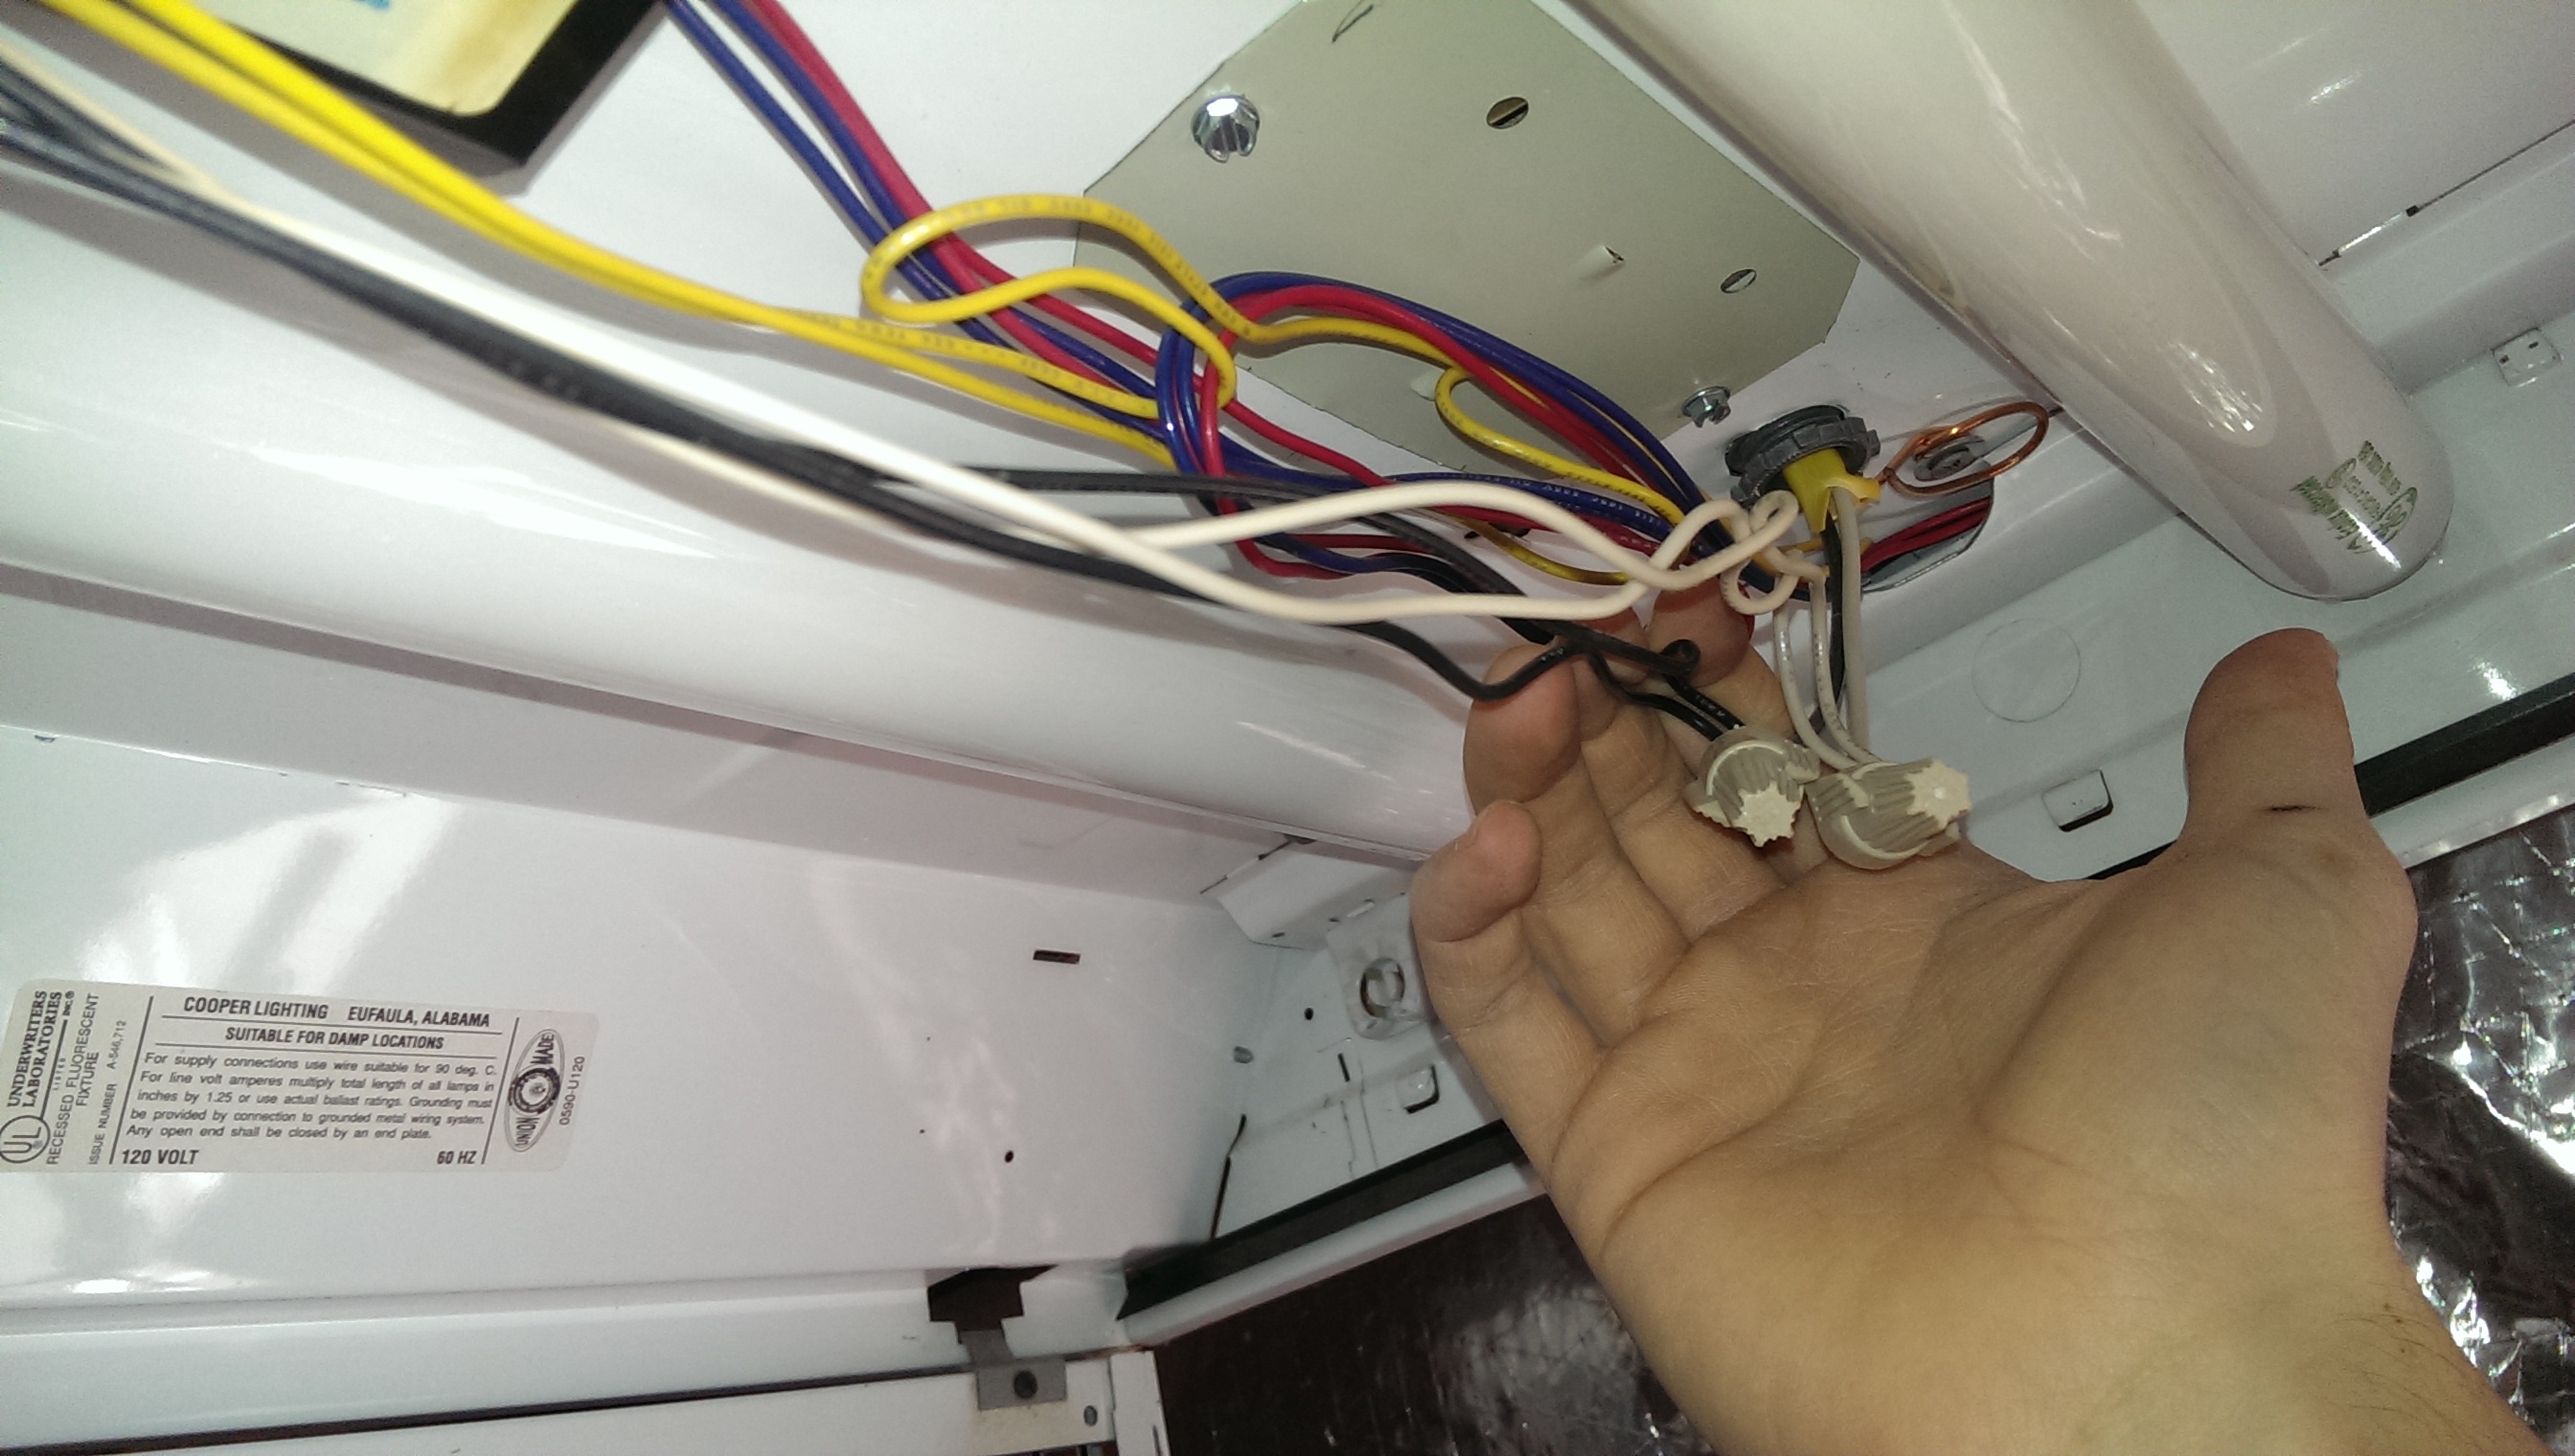
Power to the ballast via wire nuts
The bad ballast is disconnected
An easy way to do this is to disconnect one ballast, then the other, and see which works. Be extremely careful working with live AC power. First, shut off the circuit breaker powering the fixture. Next, using a flashlight, undo the wire s from one of the ballast units. In my case, they were held using wire nuts. There should only be two or three wires that connect the ballast to AC power, but when in doubt, undo all of them. Generally, the black, yellow, and white wires will go to the house power and must be removed in this step, while other colors, typically on the other side of the ballast, go to the bulbs. If you’re in doubt, get an electrician!
You can either put the nut back on the power wires or tape them thoroughly in electrical tape to ensure they are insulated. Then, you can flip the breaker back on and try the light. The goal is to disconnect one ballast and have the light still work, meaning the bad ballast has been disconnected.
Unscrew the ballast with the breaker off
Once you know which ballast to remove, flip the breaker back off and confirm there is no power to the fixture. The AC power wires should already be removed. In my case, I was replacing an original ballast unit that came with the fixture, and so the bulb wiring was not easily disconnected. I chose to simply cut all four bulb wires as close to the ballast as I could easily get, so I would have a lot of length of wire to work with on installation later. Once the wiring is all disconnected, the ballast simply unscrews and pulls out.
Getting a replacement
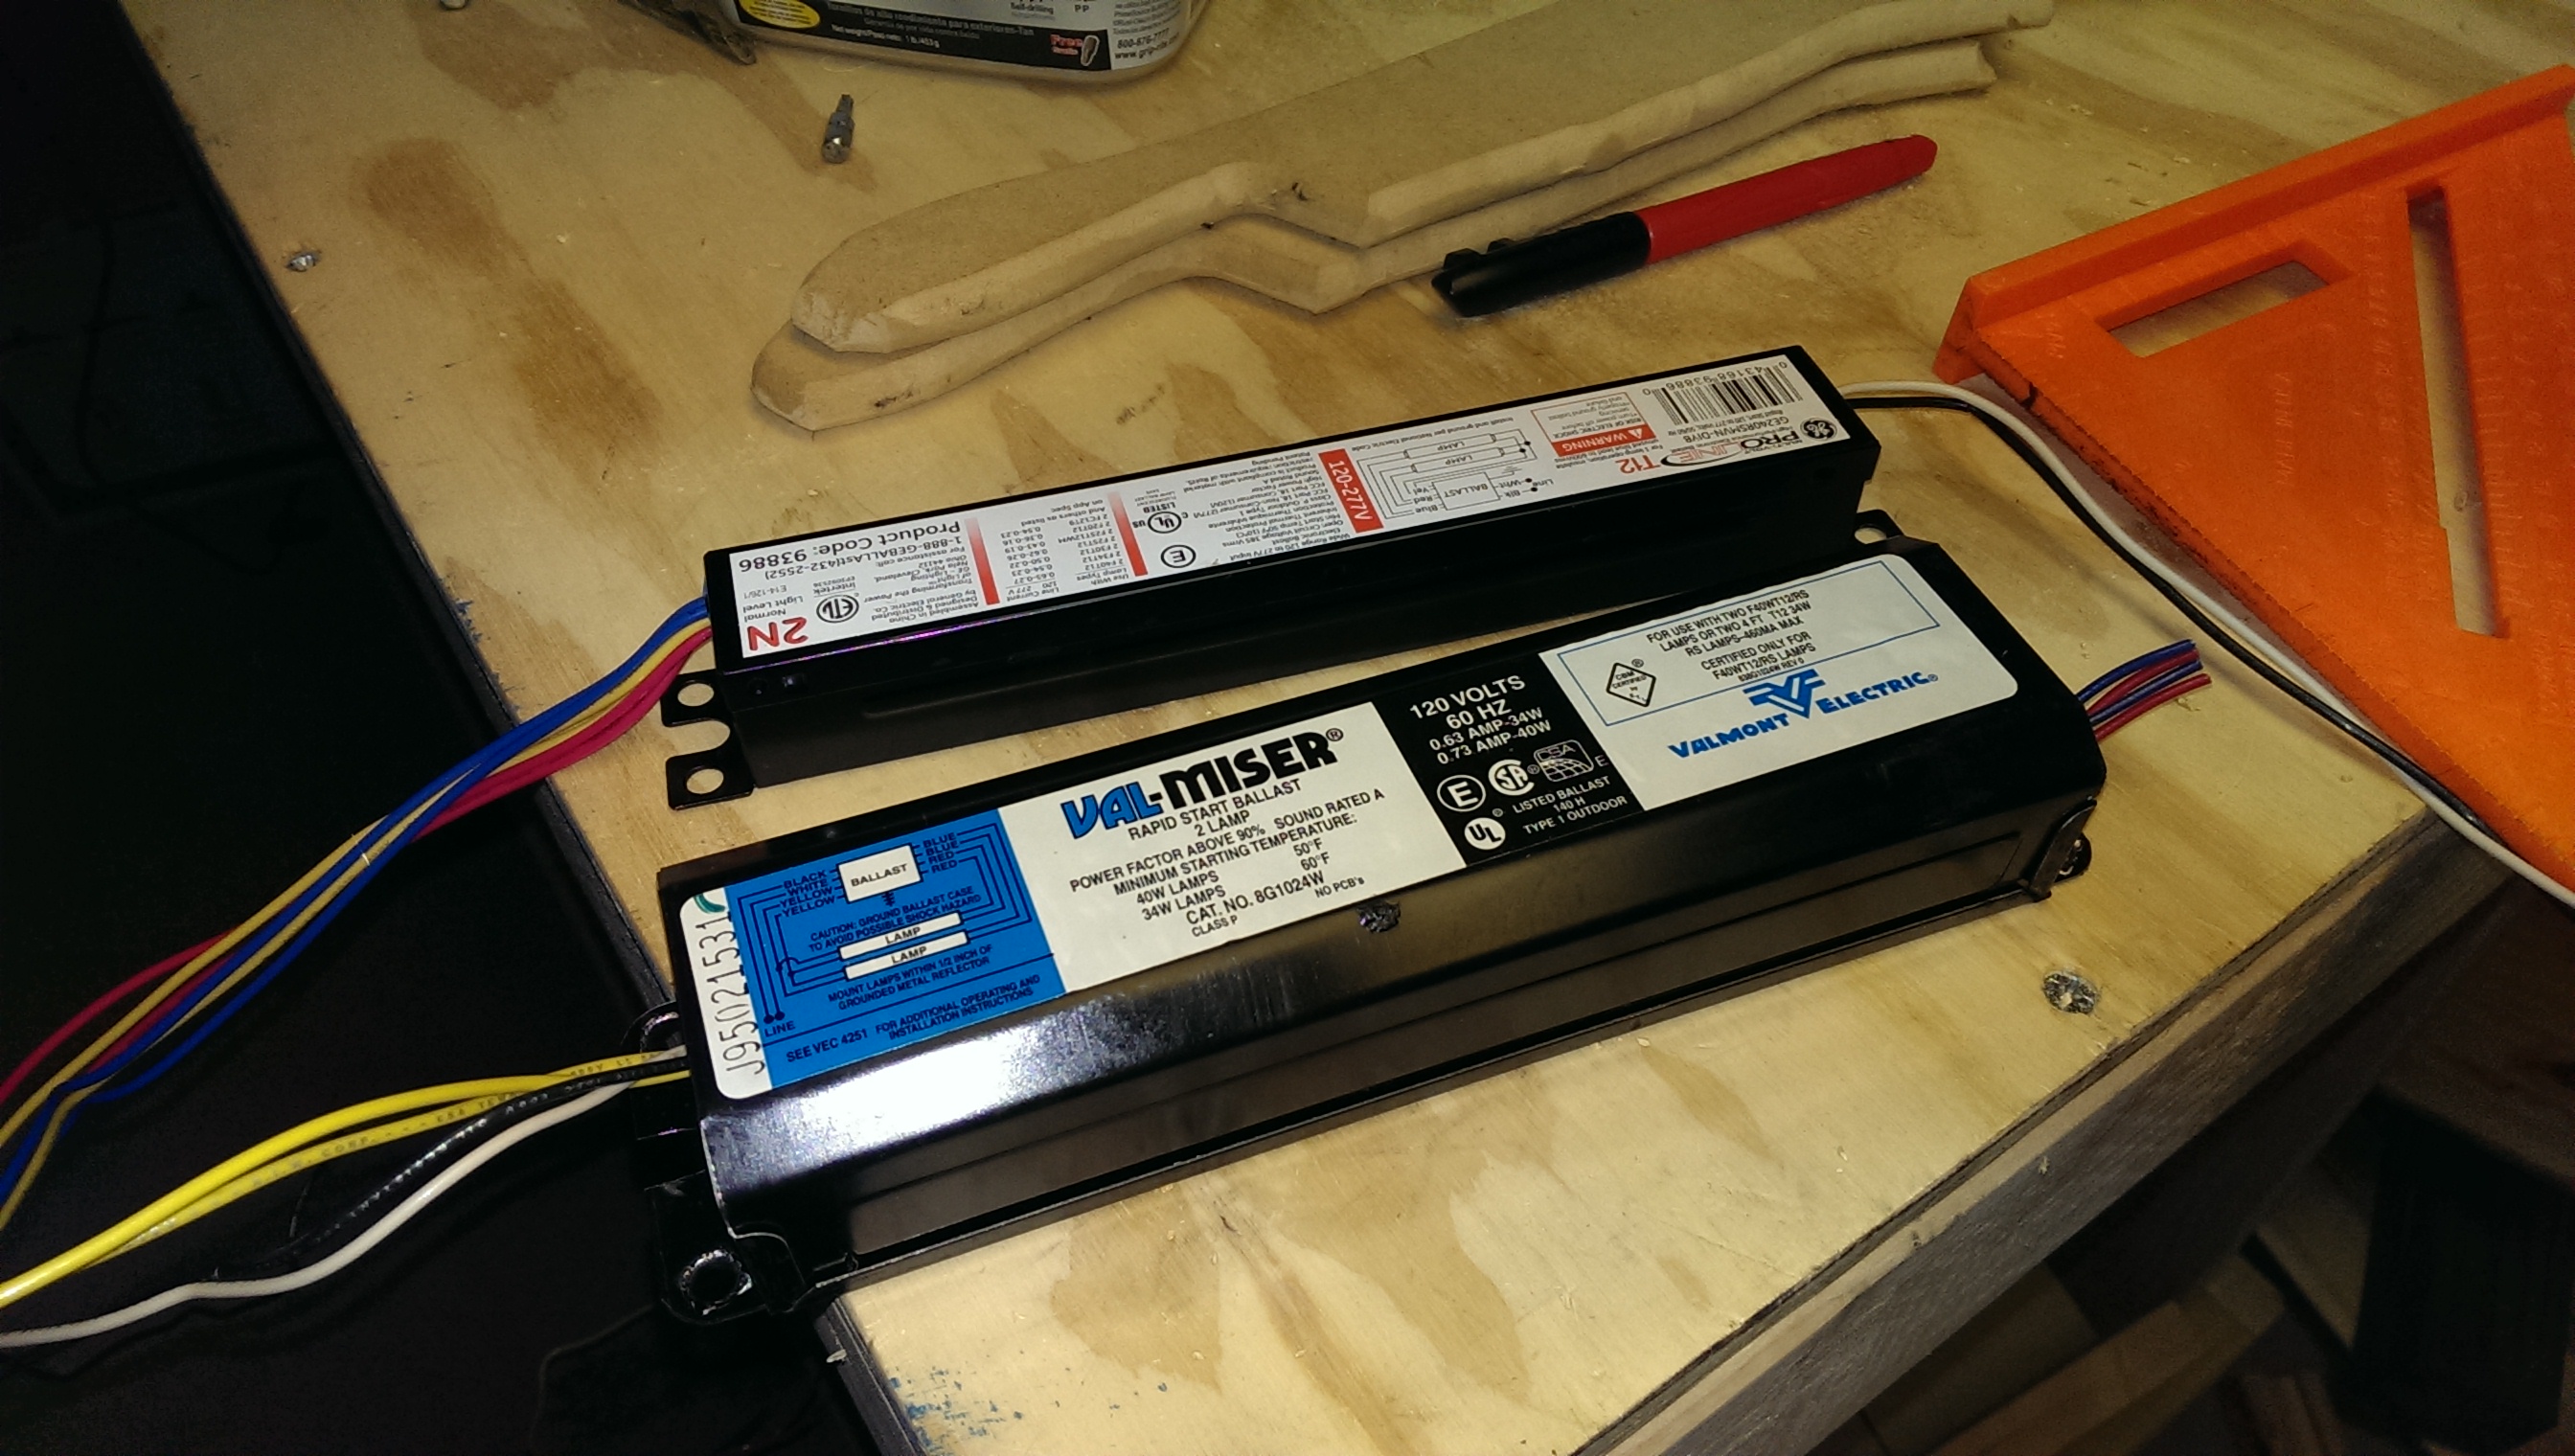
Old vs new ballast
The easiest thing to do is to take the old ballast to any local hardware store and match it up. They sell universal ballasts in various wattages, and it is fairly simple to match up what you need.
Installing the new ballast
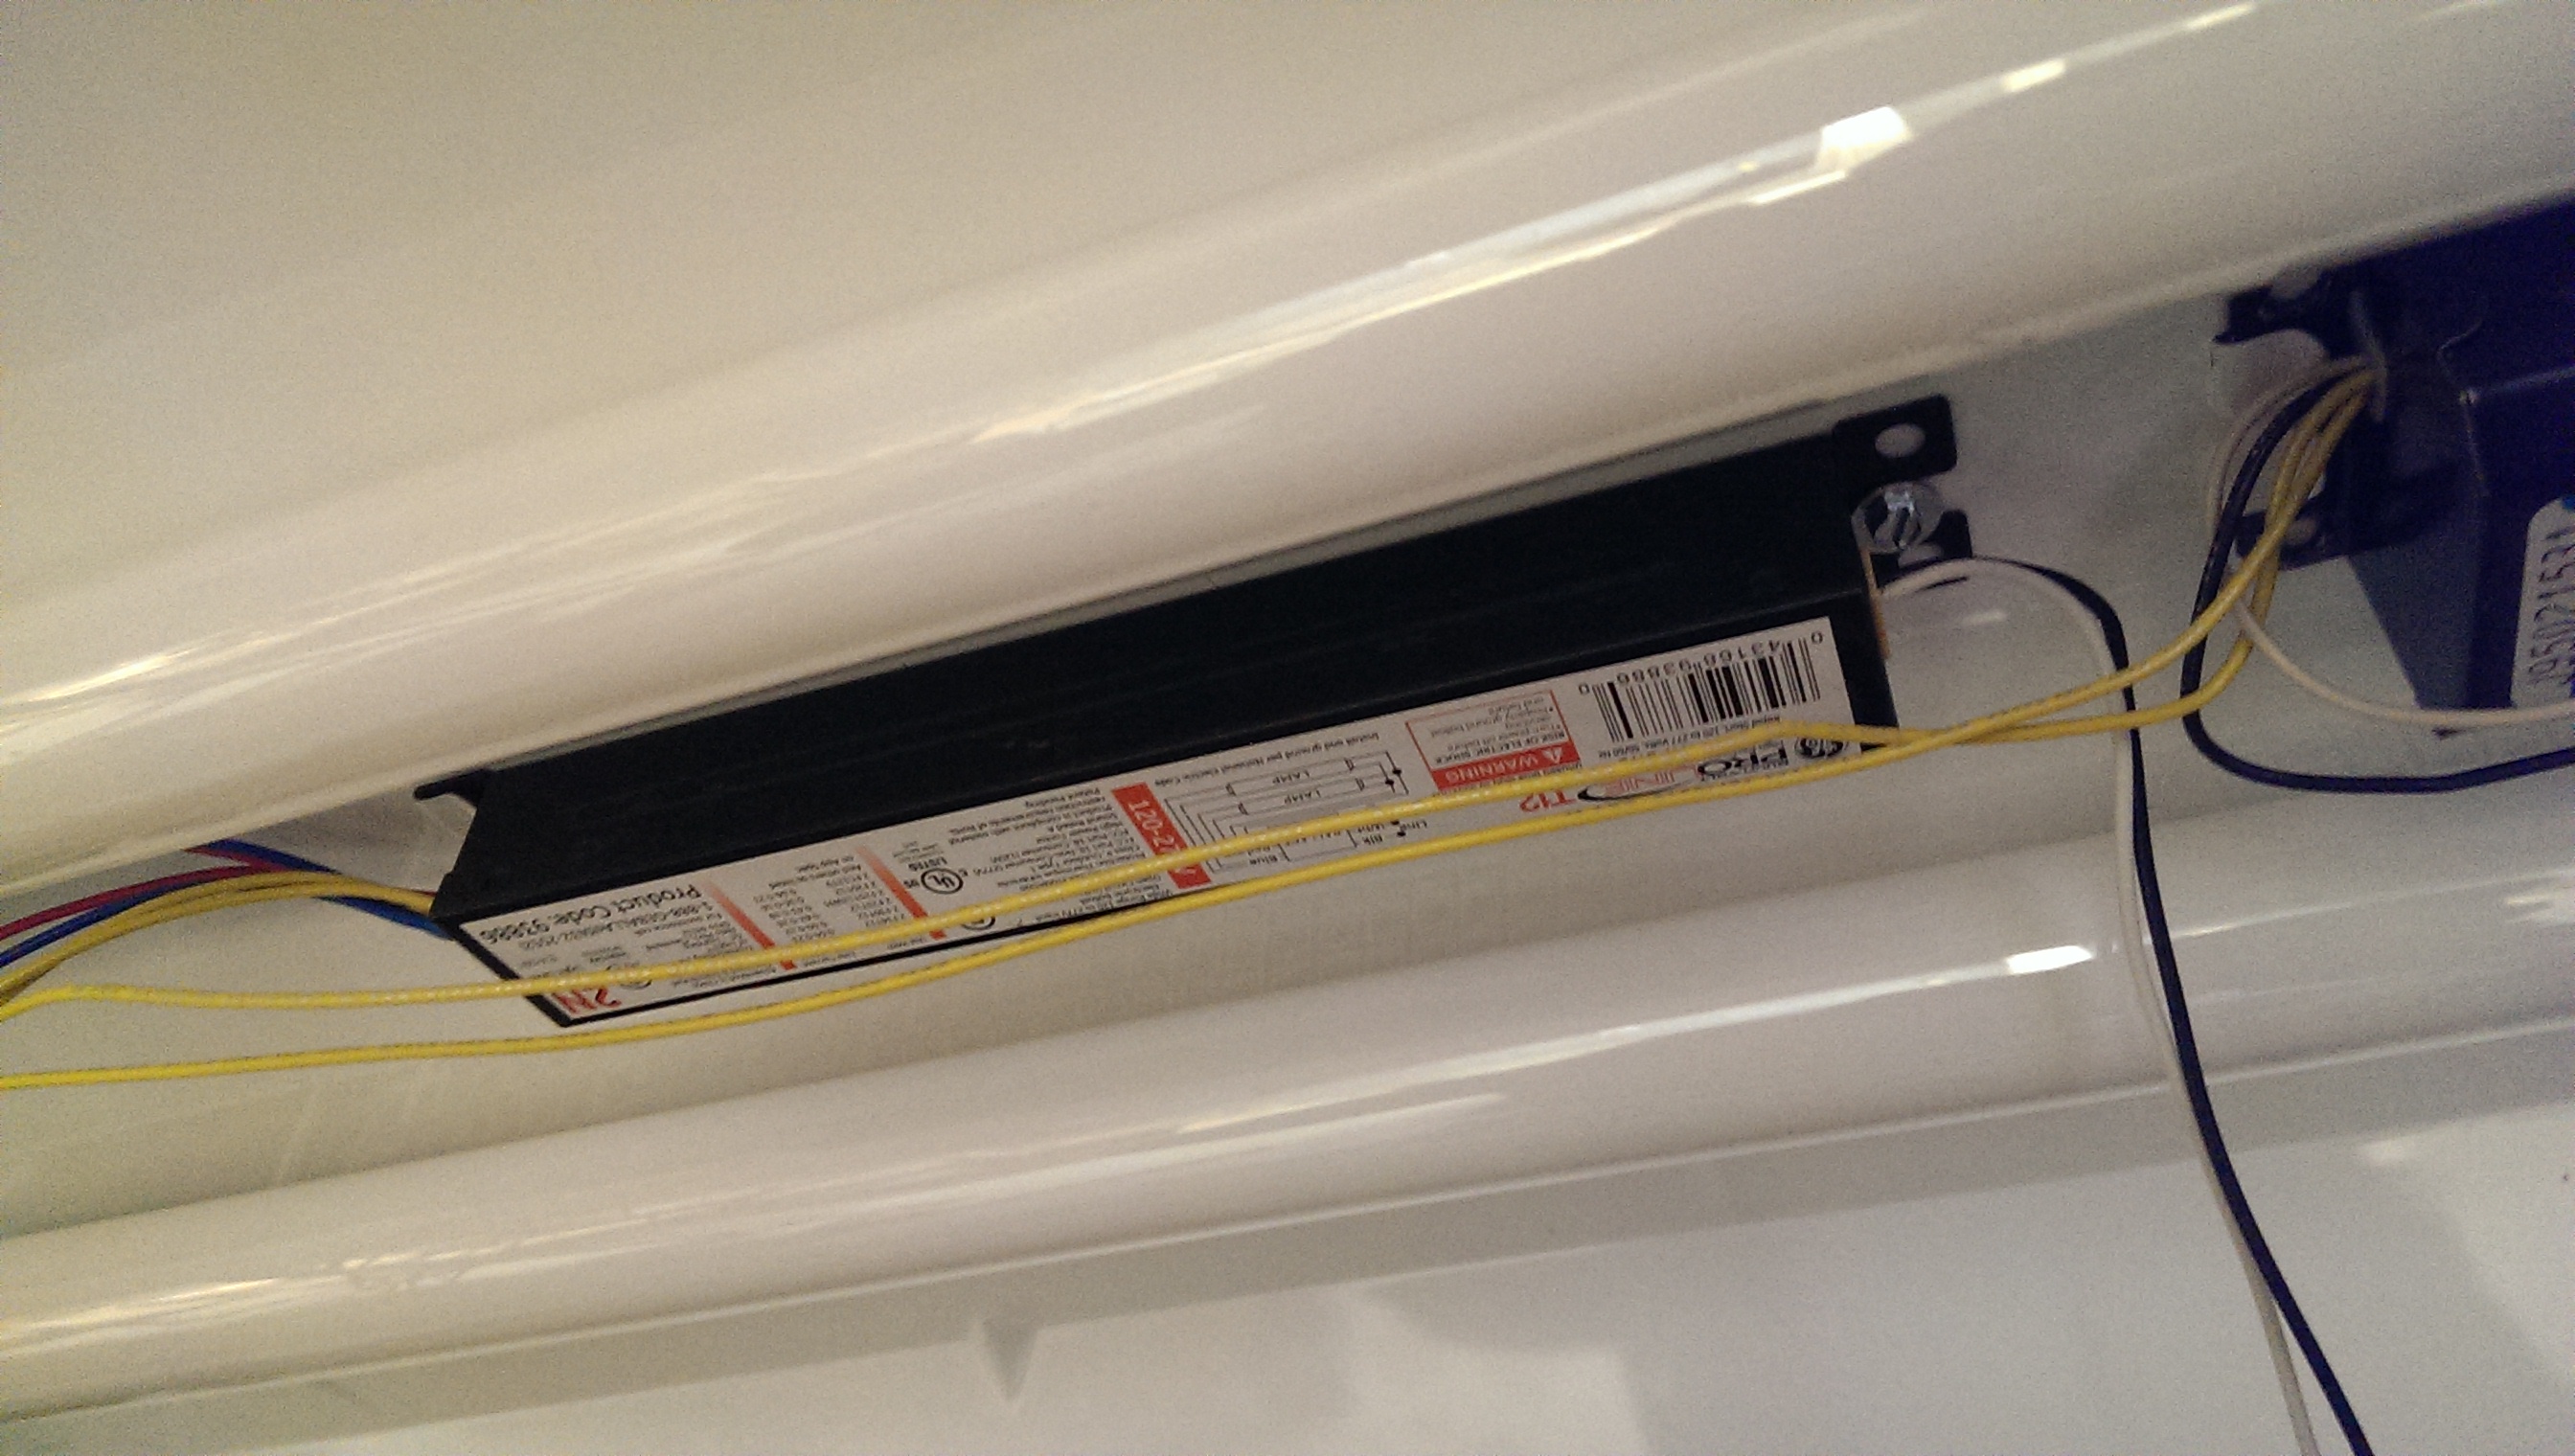
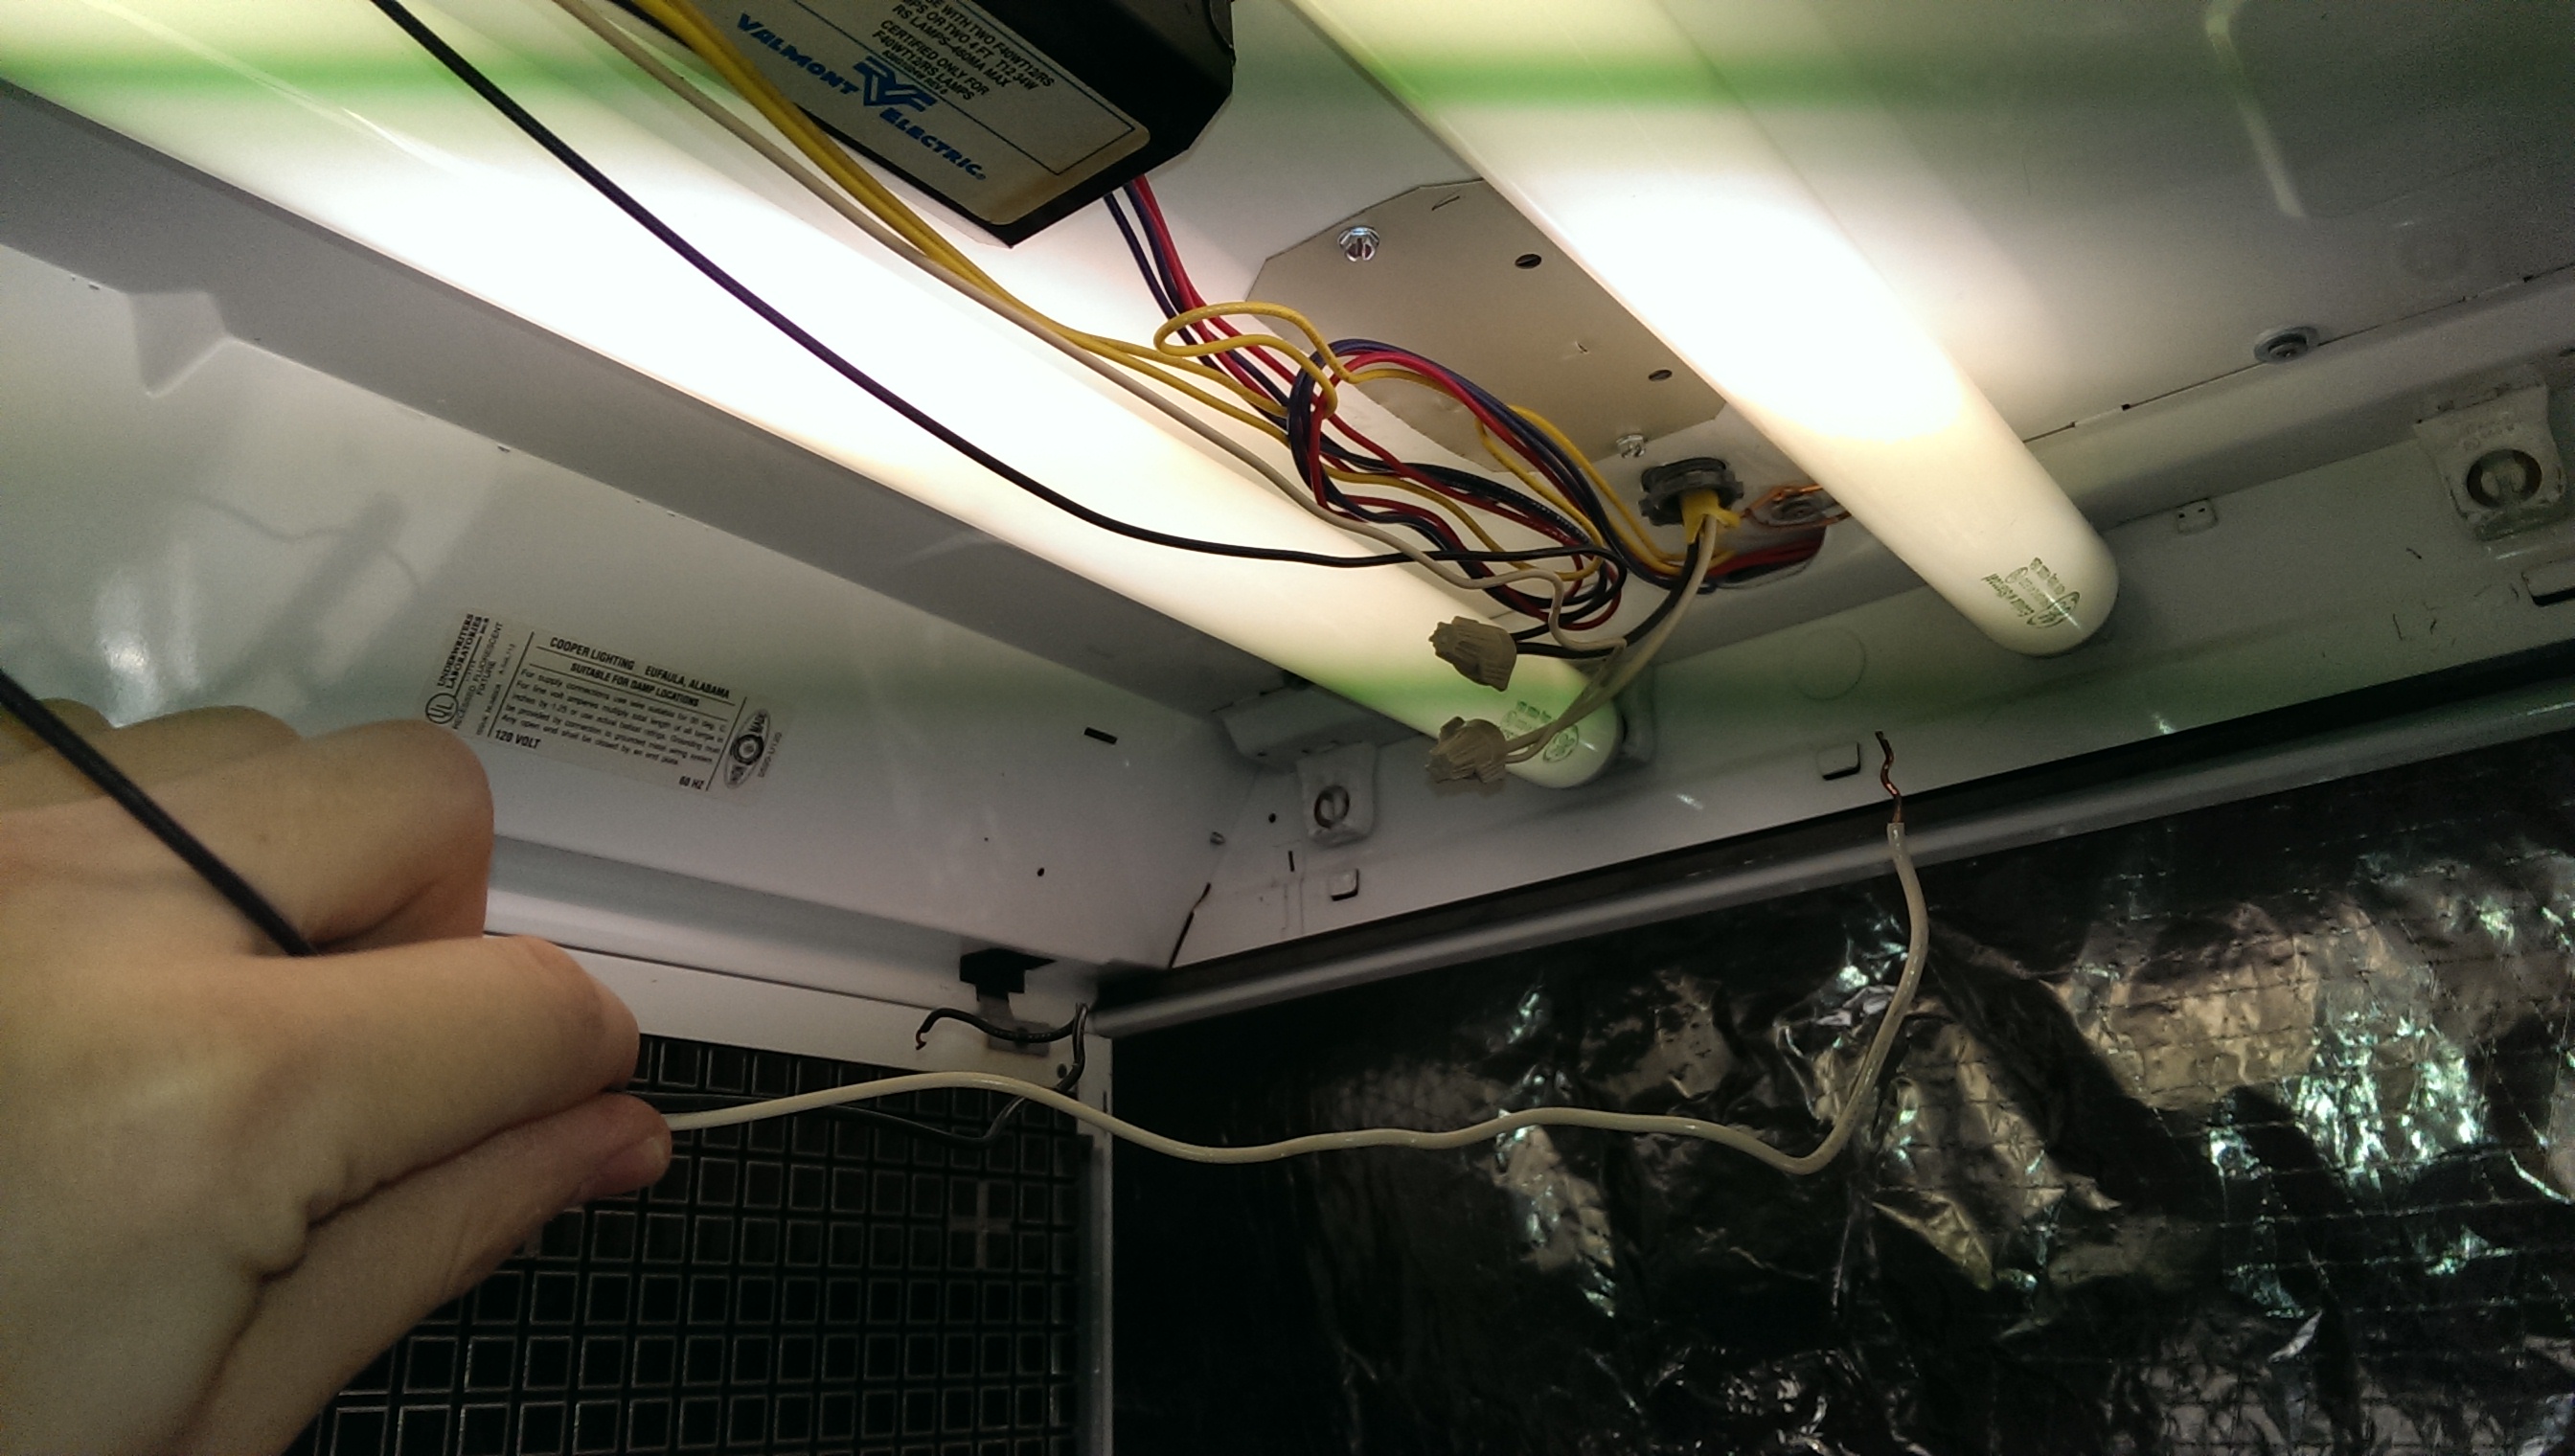
New ballast seated in fixture
Installation is reverse of removal. With the circuit breaker to the fixture still off, screw in the new ballast.
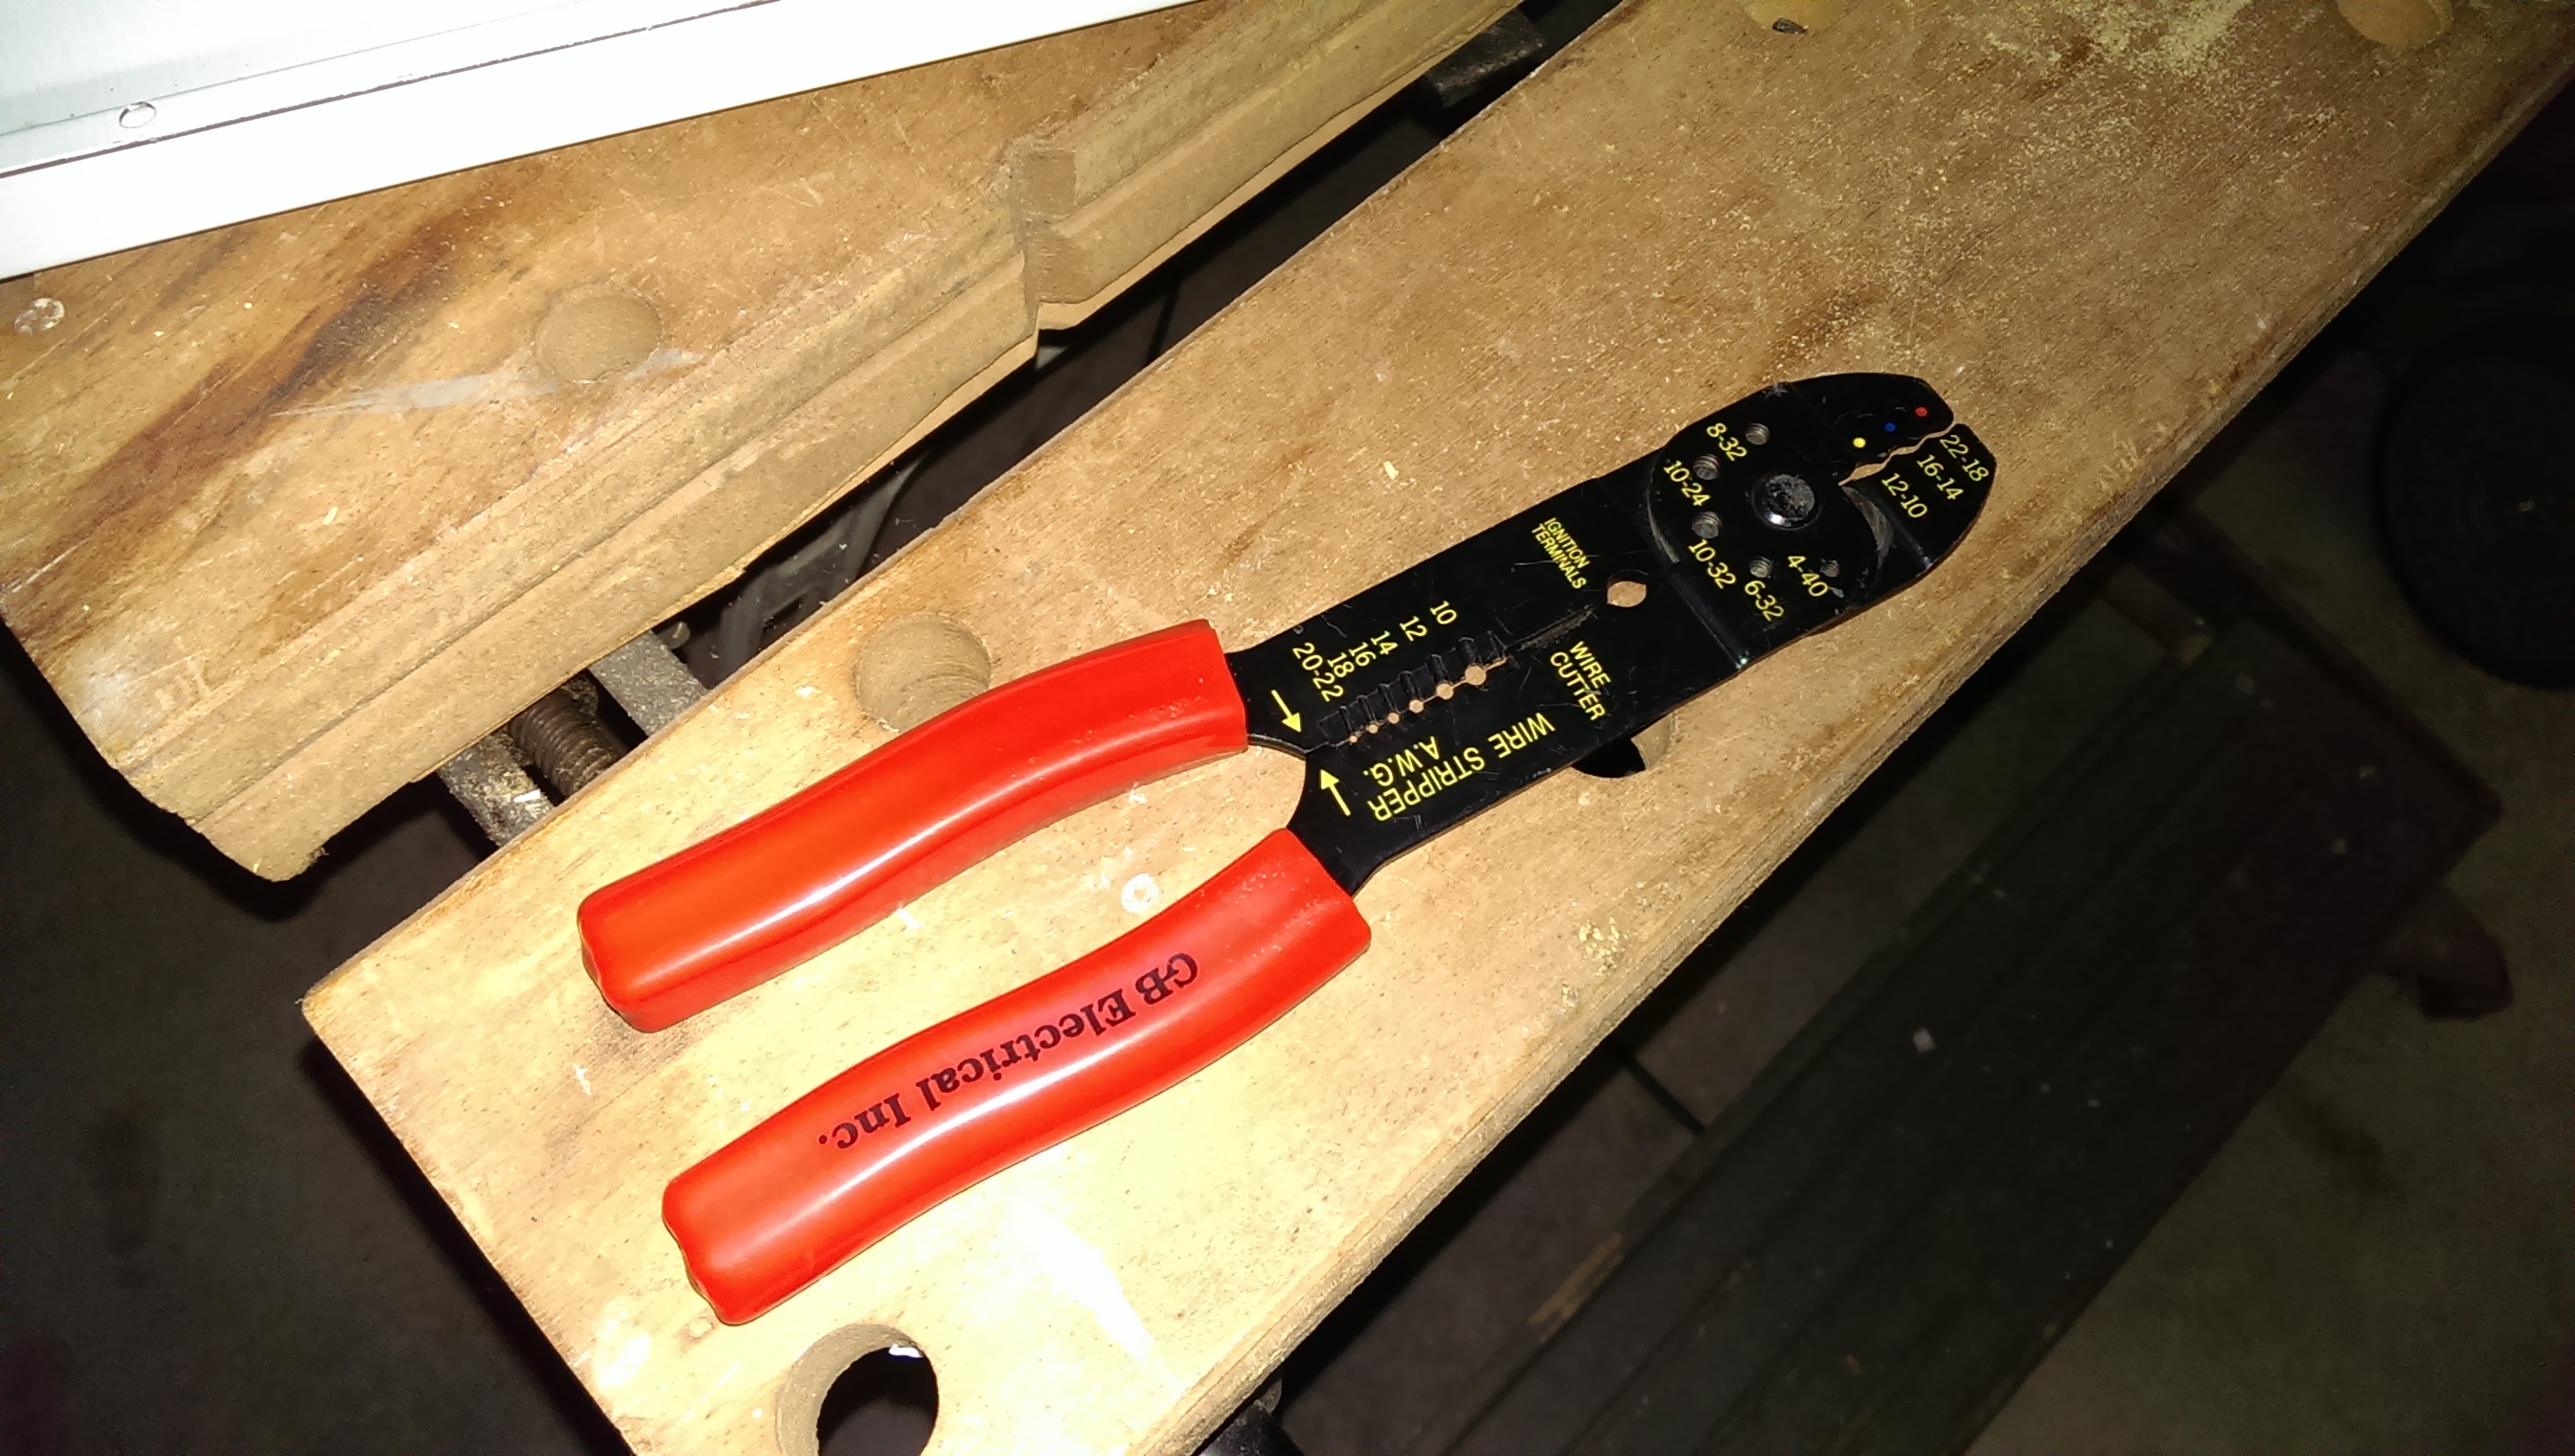
Wire cutter and stripper
Reconnect the wires according to colors
Reconnecting the wiring, they should have matching colors. I used my wire cutter/stripper combination tool to cut the wires to a reasonable length and then strip the ends so I had a quarter or half inch of exposed wire to work with. I used wire nuts for all connections to ease replacement down the road. I find wire nuts to work poorly in automotive applications, where there is a lot of vibration and movement, but for something stationary like this, they’re a great timesaver.
Wrap-up
Fixture is fixed
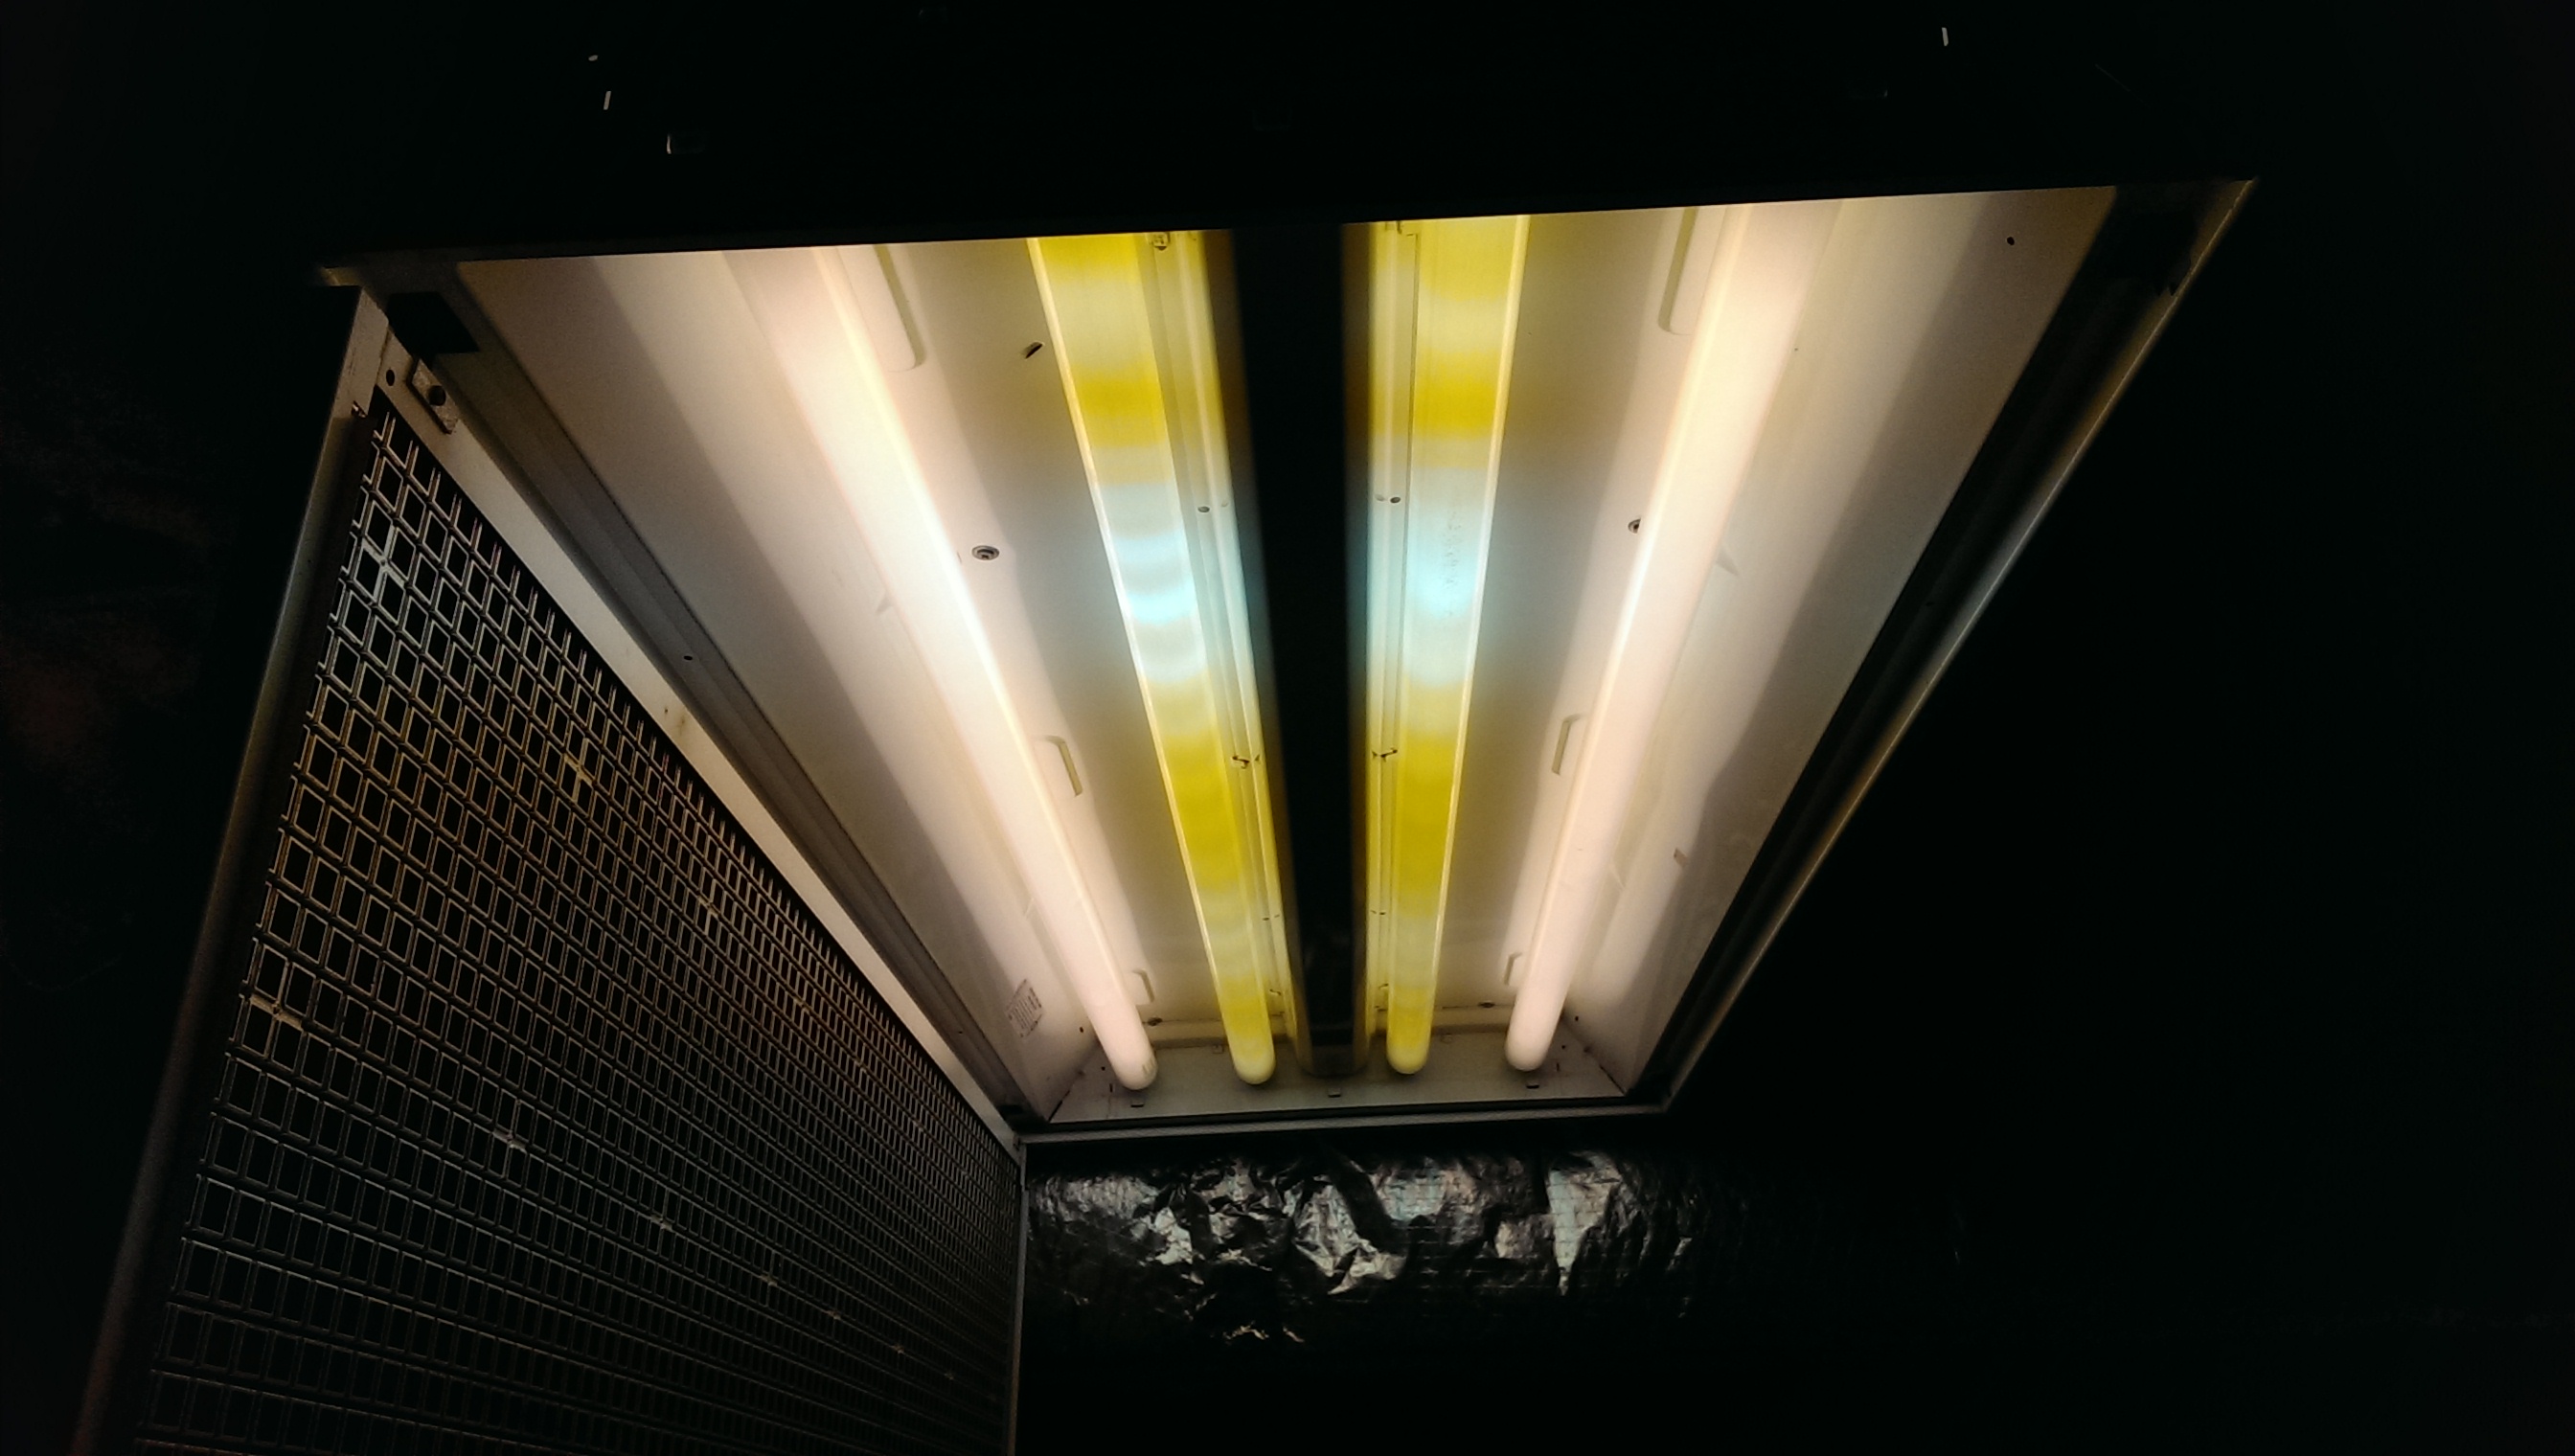
Once the ballast is connected together, you can close everything up and test it. The new ballast worked great, and doing a simple replacement saved me from having to hire anyone or pay a lot of money for a whole new fixture I didn’t need.