Homemade Band Saw Blade Guides, Insert, and Tires
Homemade band Saw blade guides, insert, and tires on the cheap

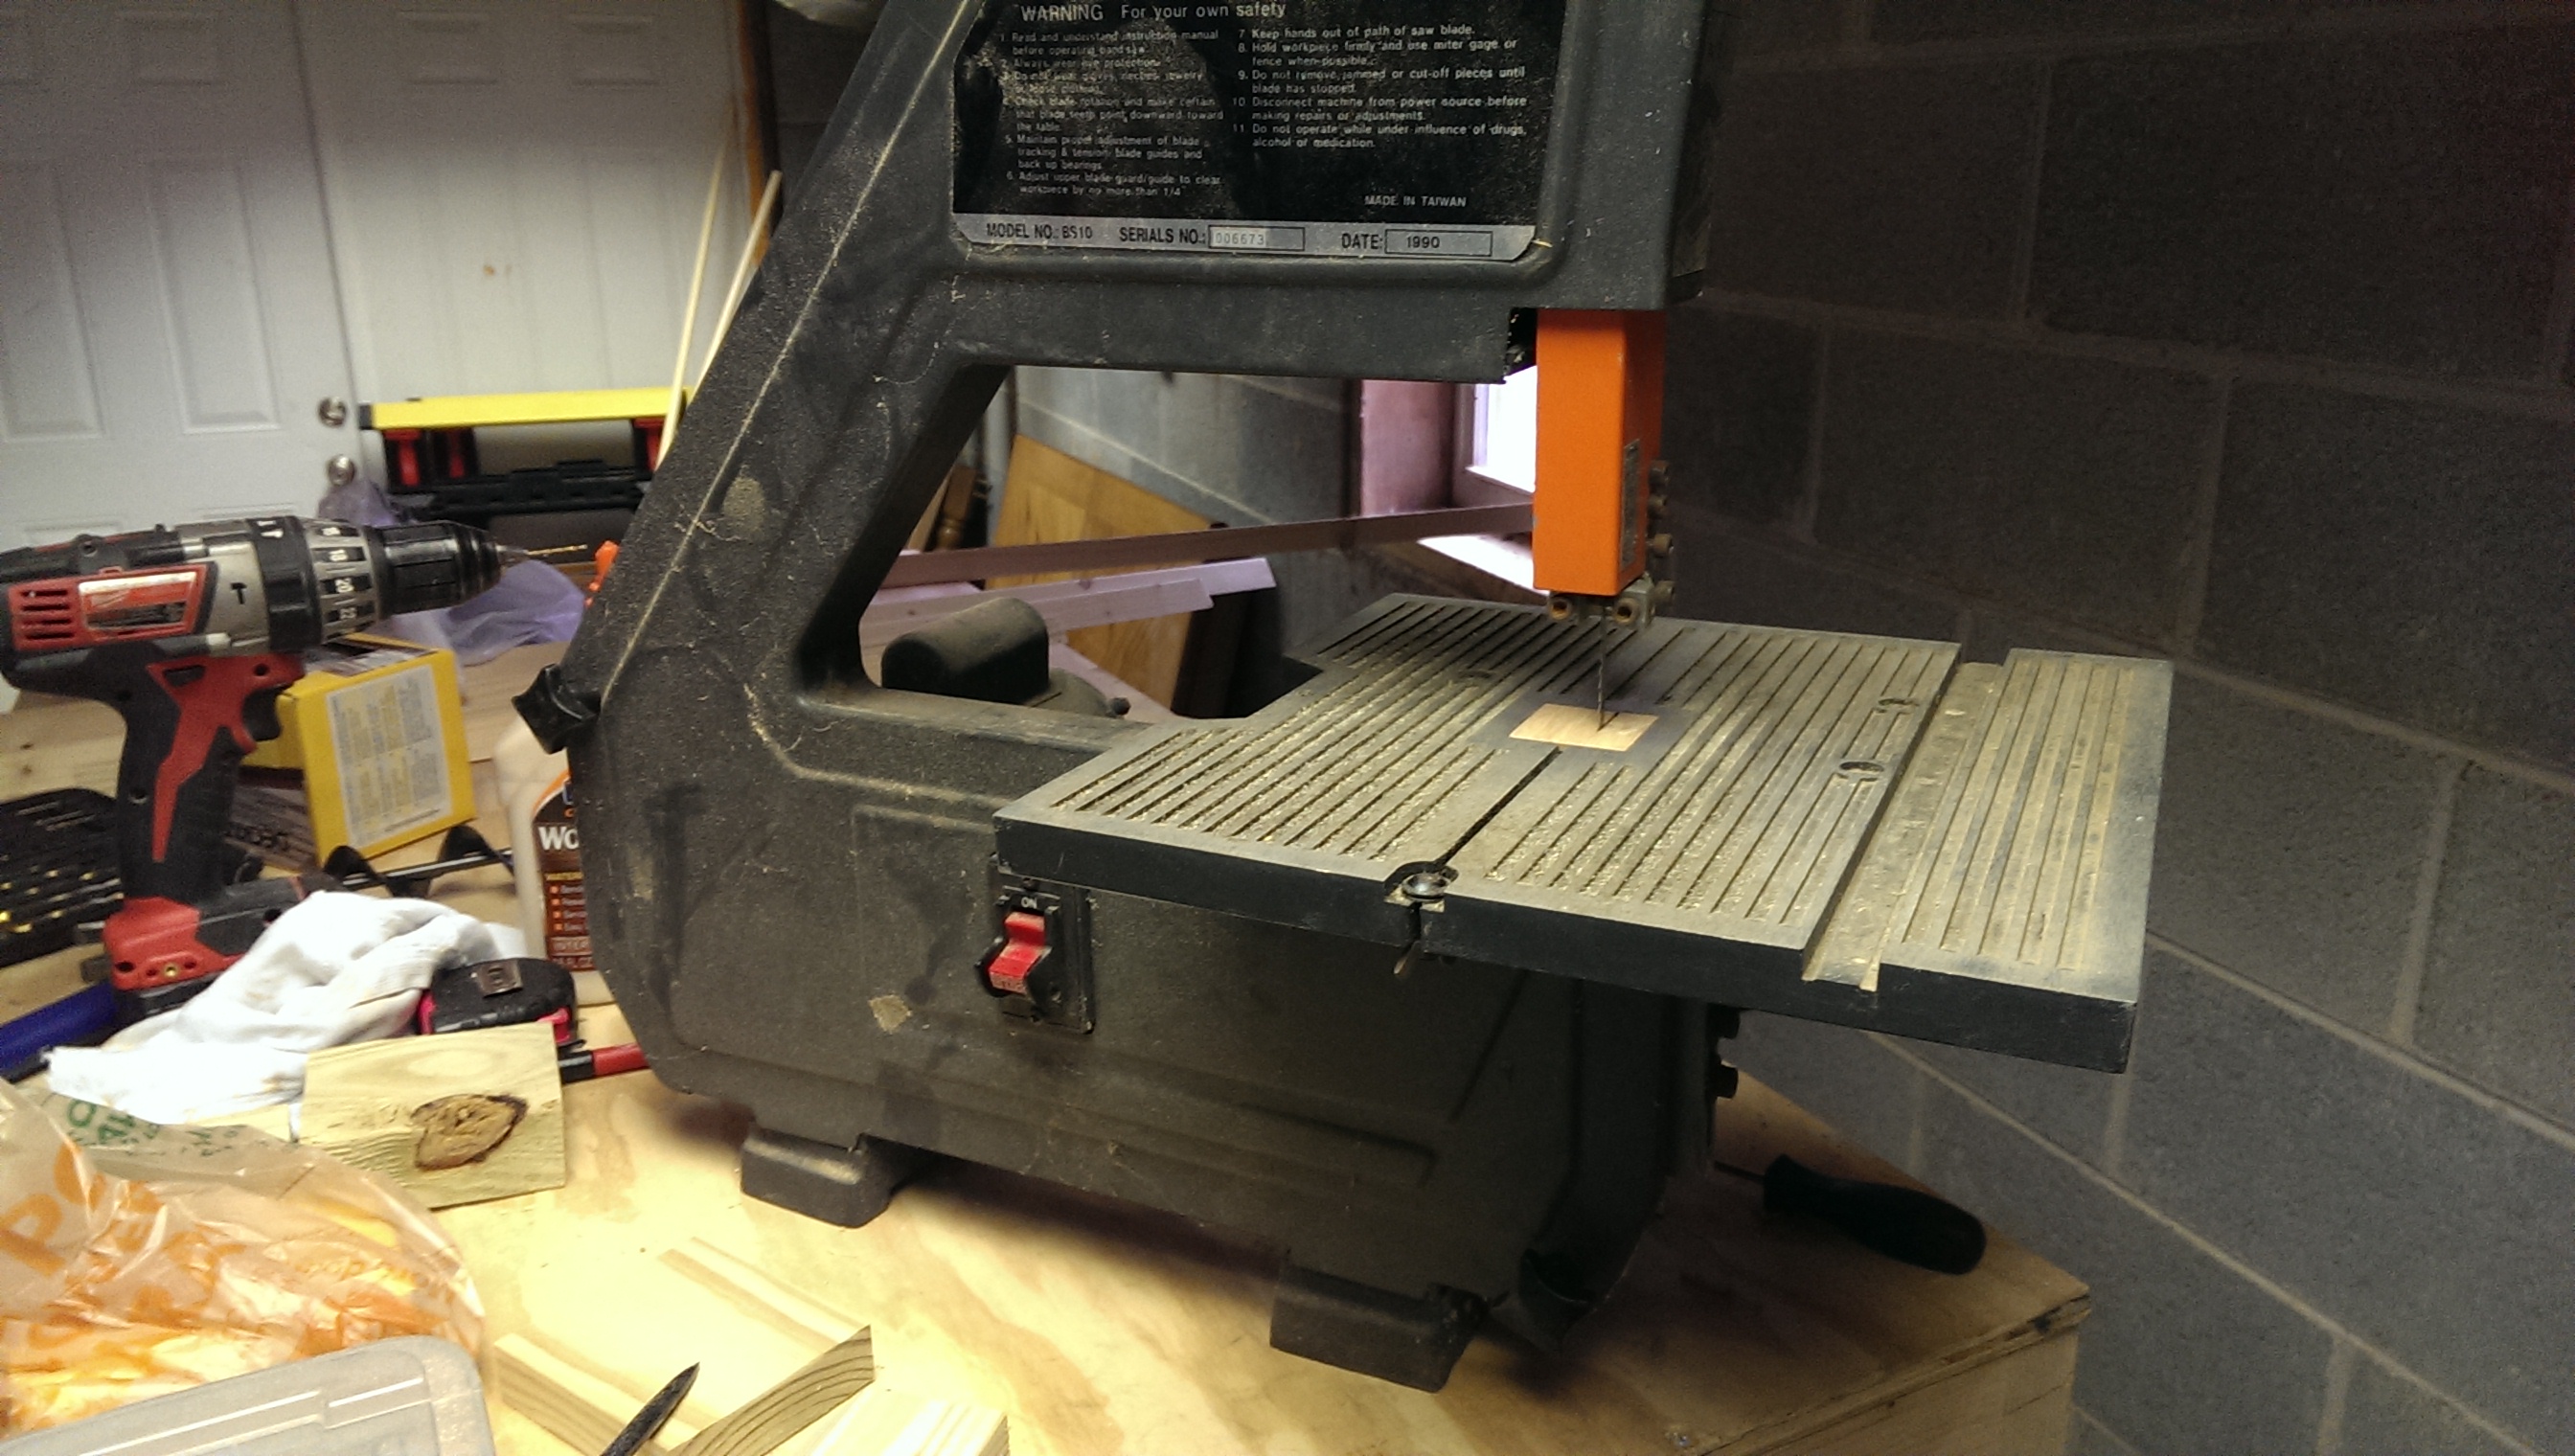
Cheapo bandsaw wasn’t bad for $20
I bought a really cheap bandsaw from a friend’s friend for $20. It’s a small 10″ from a brand I hadn’t heard of, in the strange 3-wheel design. On the whole, it’s really a pretty crummy bandsaw – not a whole lot of power and it doesn’t cut that straight. That said, it was only $20, and it does allow me to do some rough cutting of curves prior to routing without having to break out clamps and my jigsaw. For the money I spent, I’m very happy with it.
However, it definitely needed a tune-up. As I got it, it worked OK, but the blade would wander everywhere. Between the excess play in the blade, as well as the worn out rubber on the tires, the blade tended to fall off the wheels with regularity. I didn’t have any intention to sink much money into this bandsaw, though, so I came up with some fixes on the cheap.
Improvised blade guide
Upper blade guides were OK
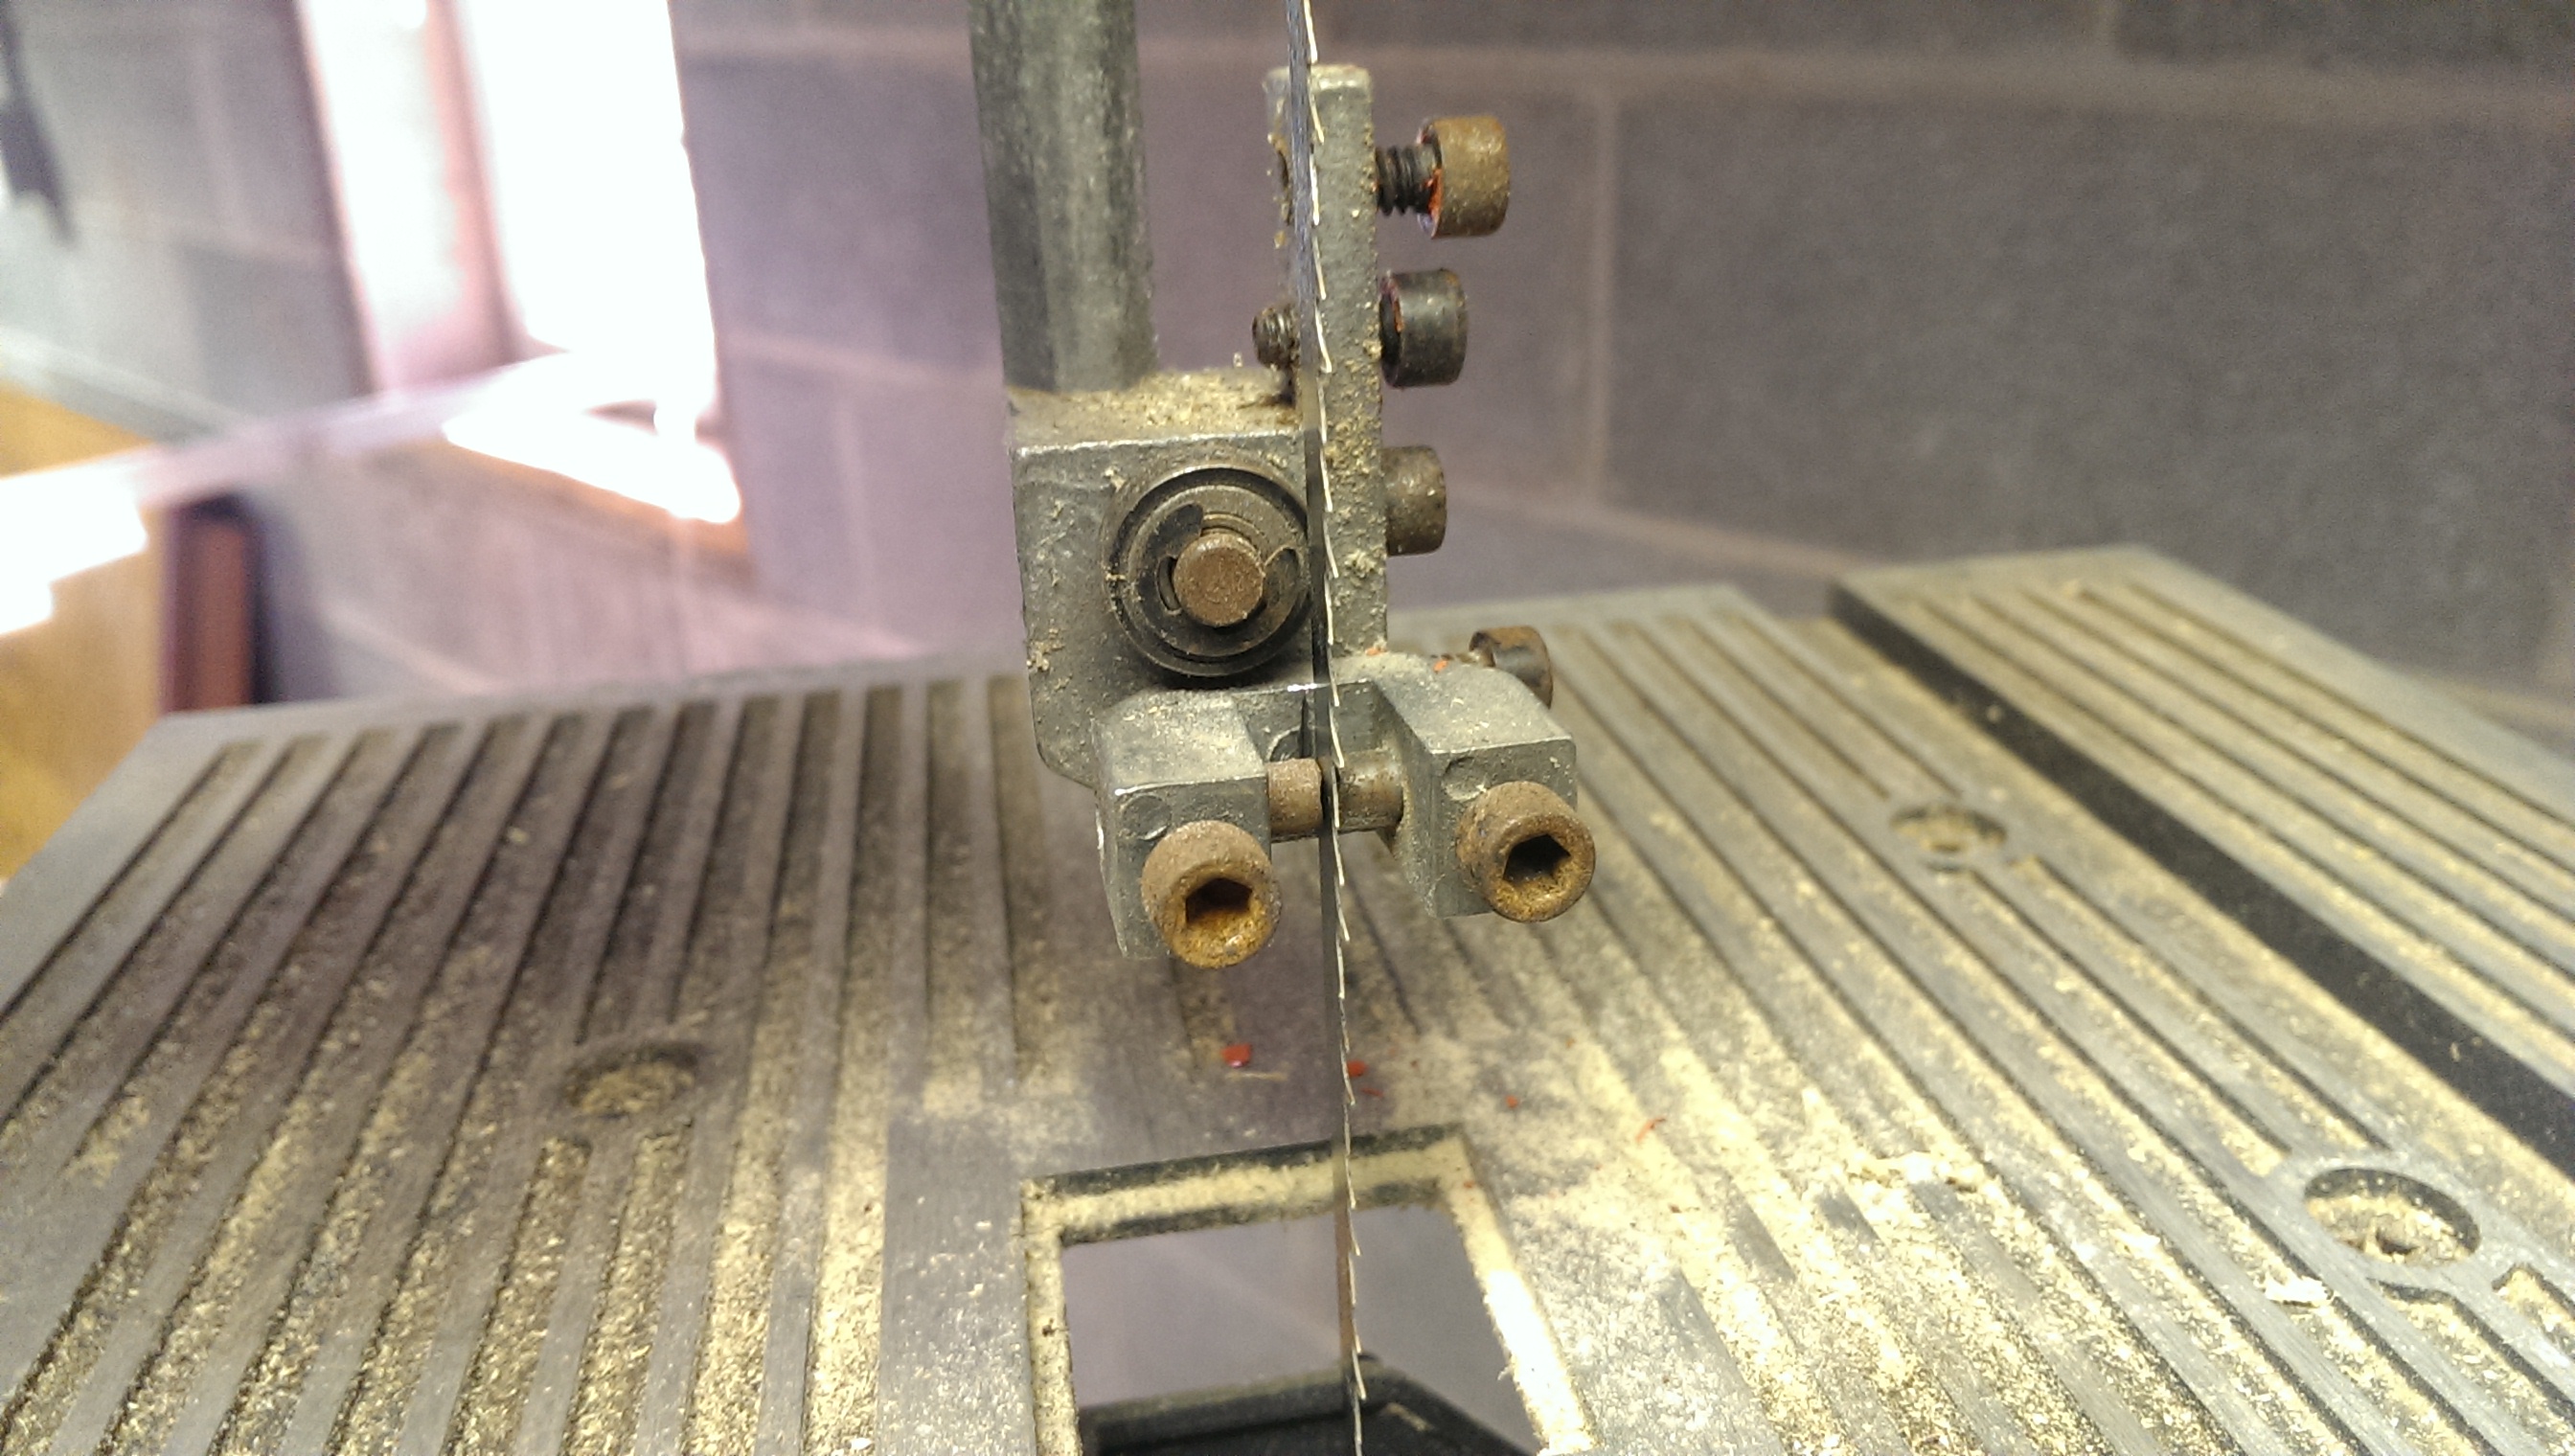
The upper blade guides were actually in halfway decent shape, with a little tweaking. I was able to adjust them close enough to the blade to make it work.
Well, guess that won’t work anymore
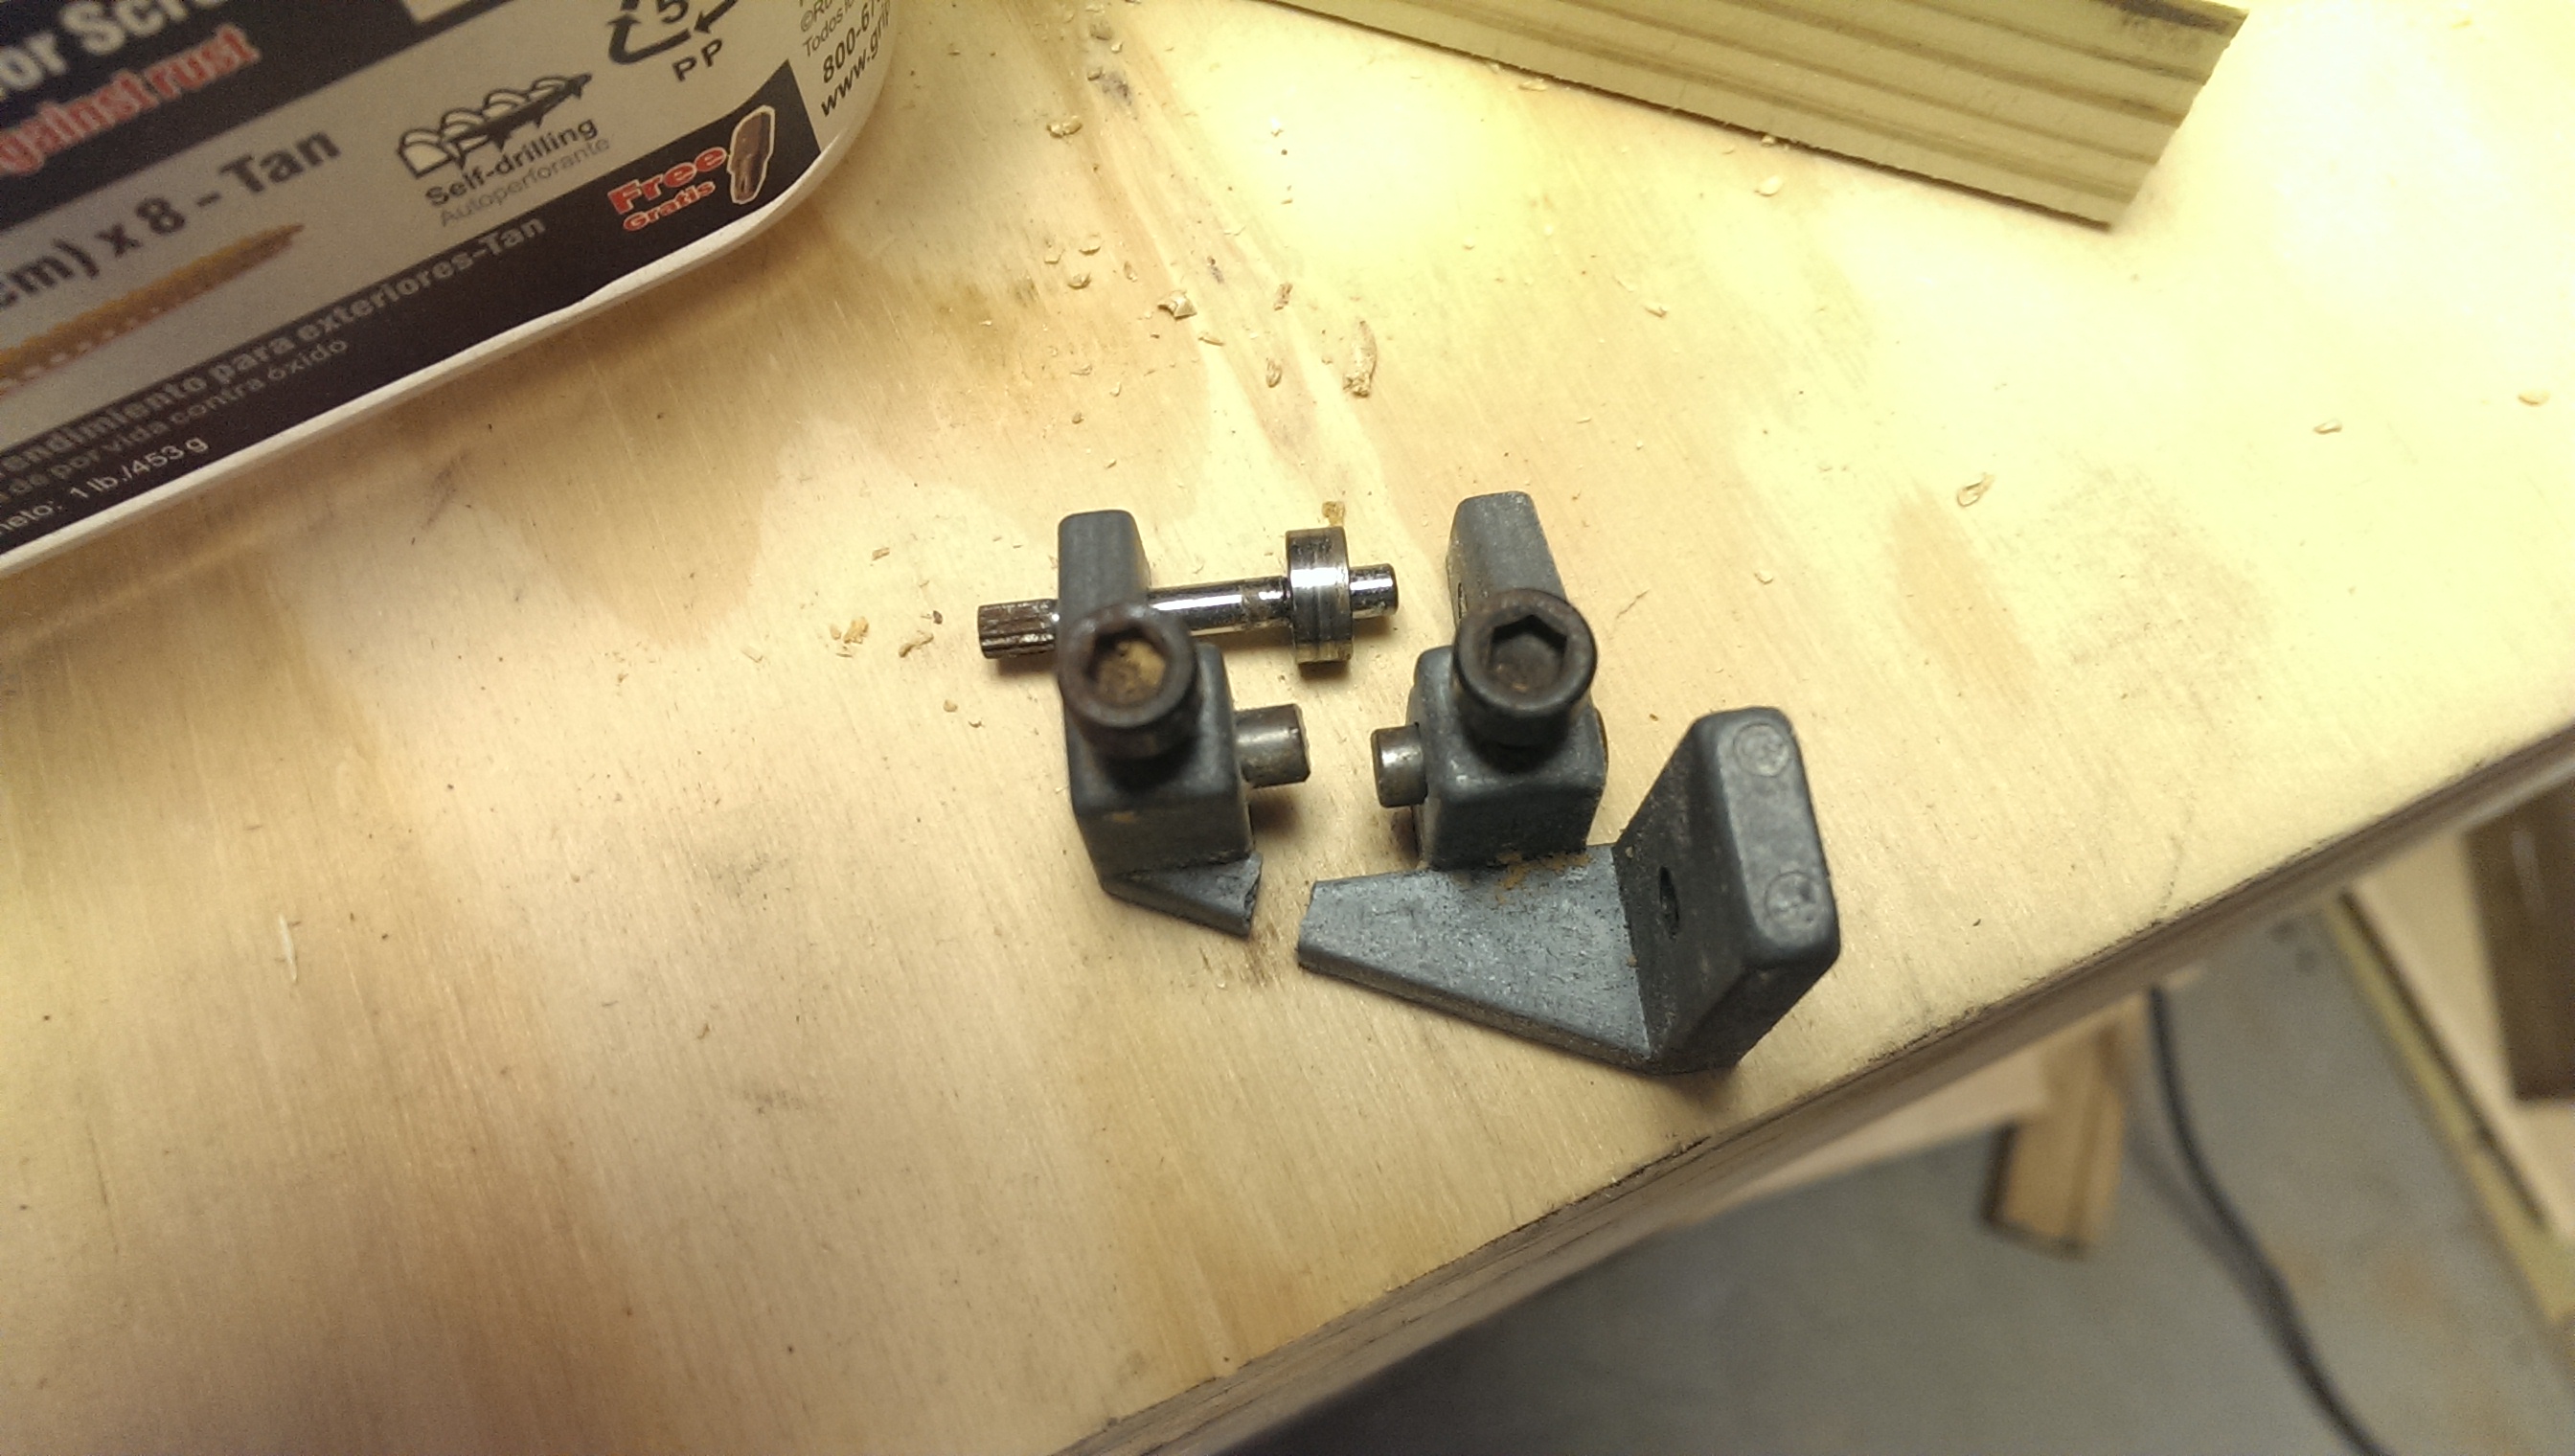
The lowers, however, had a huge gap. Also, upon attempting to tighten it up, the blade guides simply cracked in two as pictured. I’m sure it was a pretty cheap part to begin with, and 20 years of wear didn’t help any. This solidified my decision to go ahead and make my own replacement.

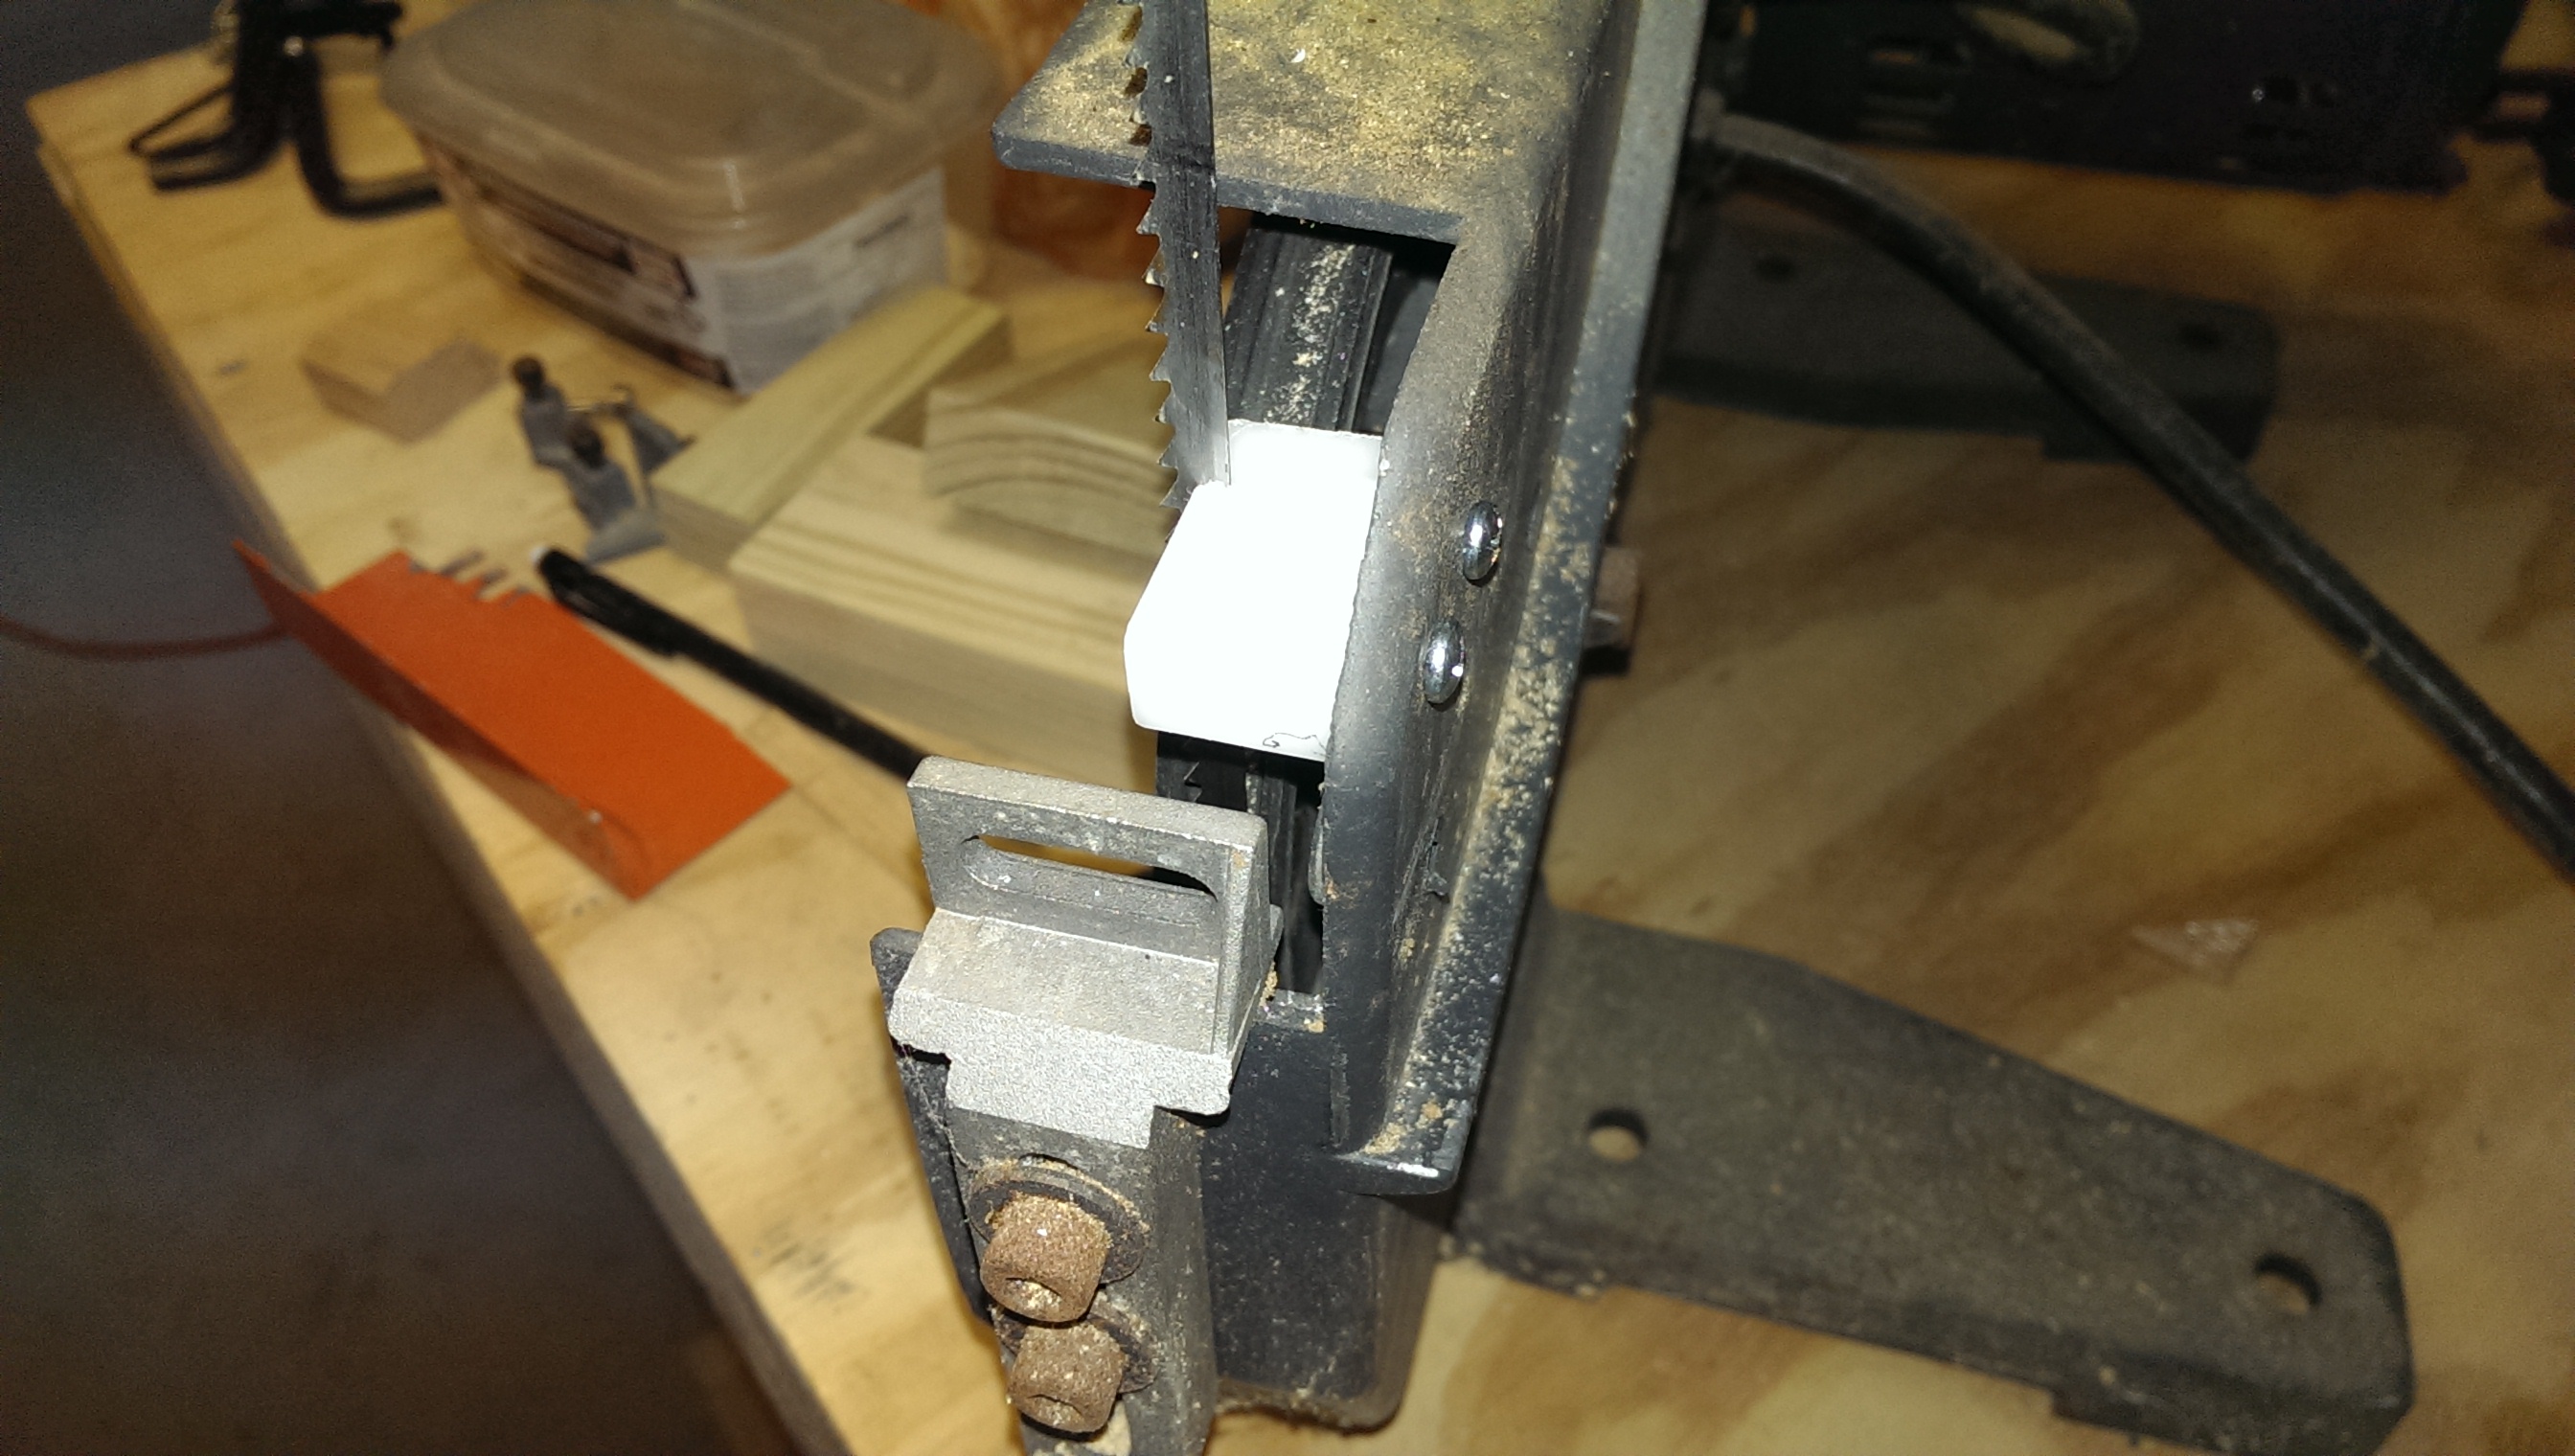
Notching the lower blade guide and test-fitting before installation
I chose to fix it using a scrap piece of UMHW plastic. There are plenty of options for this piece – anything that the back of the blade can rub on without hurting it will work. The stock setup used a roller bearing. I liked dealing with plastic because it’s easy to cut, cheap, and doesn’t require any moving bearings. I cut out a good-enough sized square of plastic and ran it partially through the bandsaw to make a kerf. Then, I flipped it around to verify the kerf was the right depth as pictured.
Test fitting the block before drilling
Drilling mounting holes
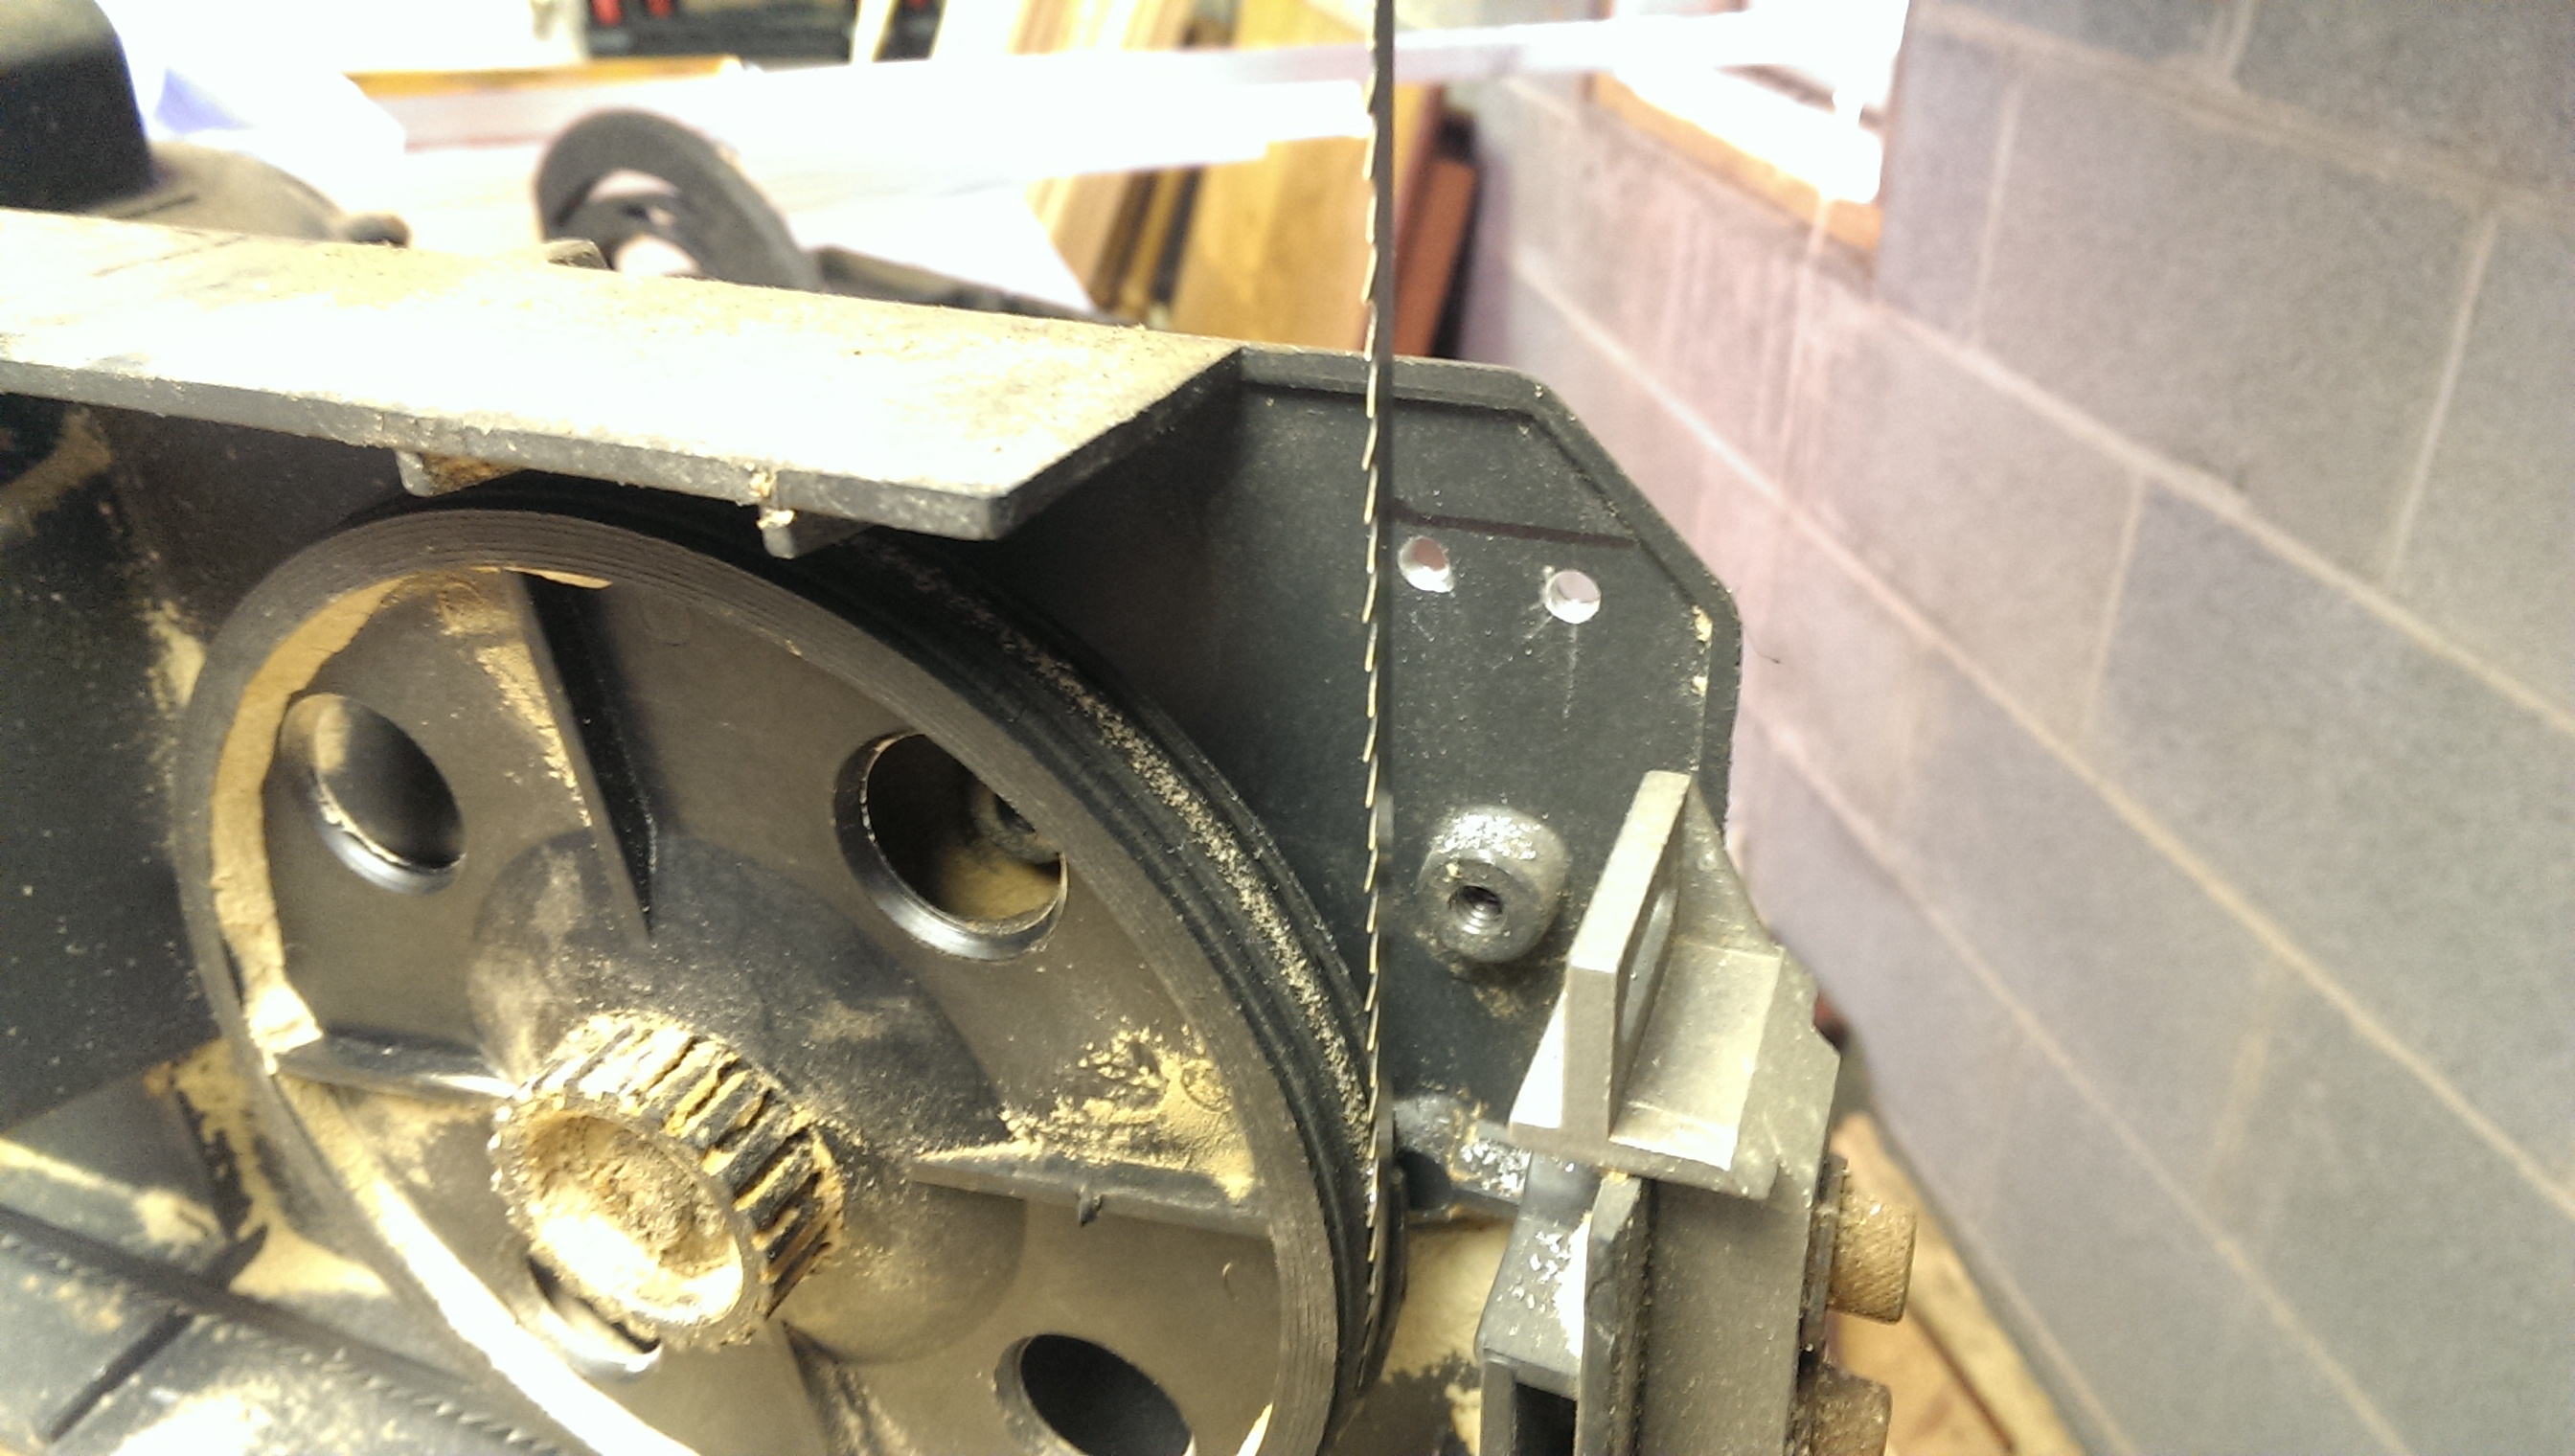
I attempted at first to make something to connect to the original lower blade guide bracket, which is the steel piece to the right of the blade. However, doing that with wood and having it be strong enough was difficult. Instead, I just punched two holes through the back of the band saw case. By holding up the plastic block and tracing the outline where I wanted it, it was extremely easy to put the holes in the middle of where the block would go. I made them a little over-sized so I had some wiggle-room to adjust the plastic block to fit properly.
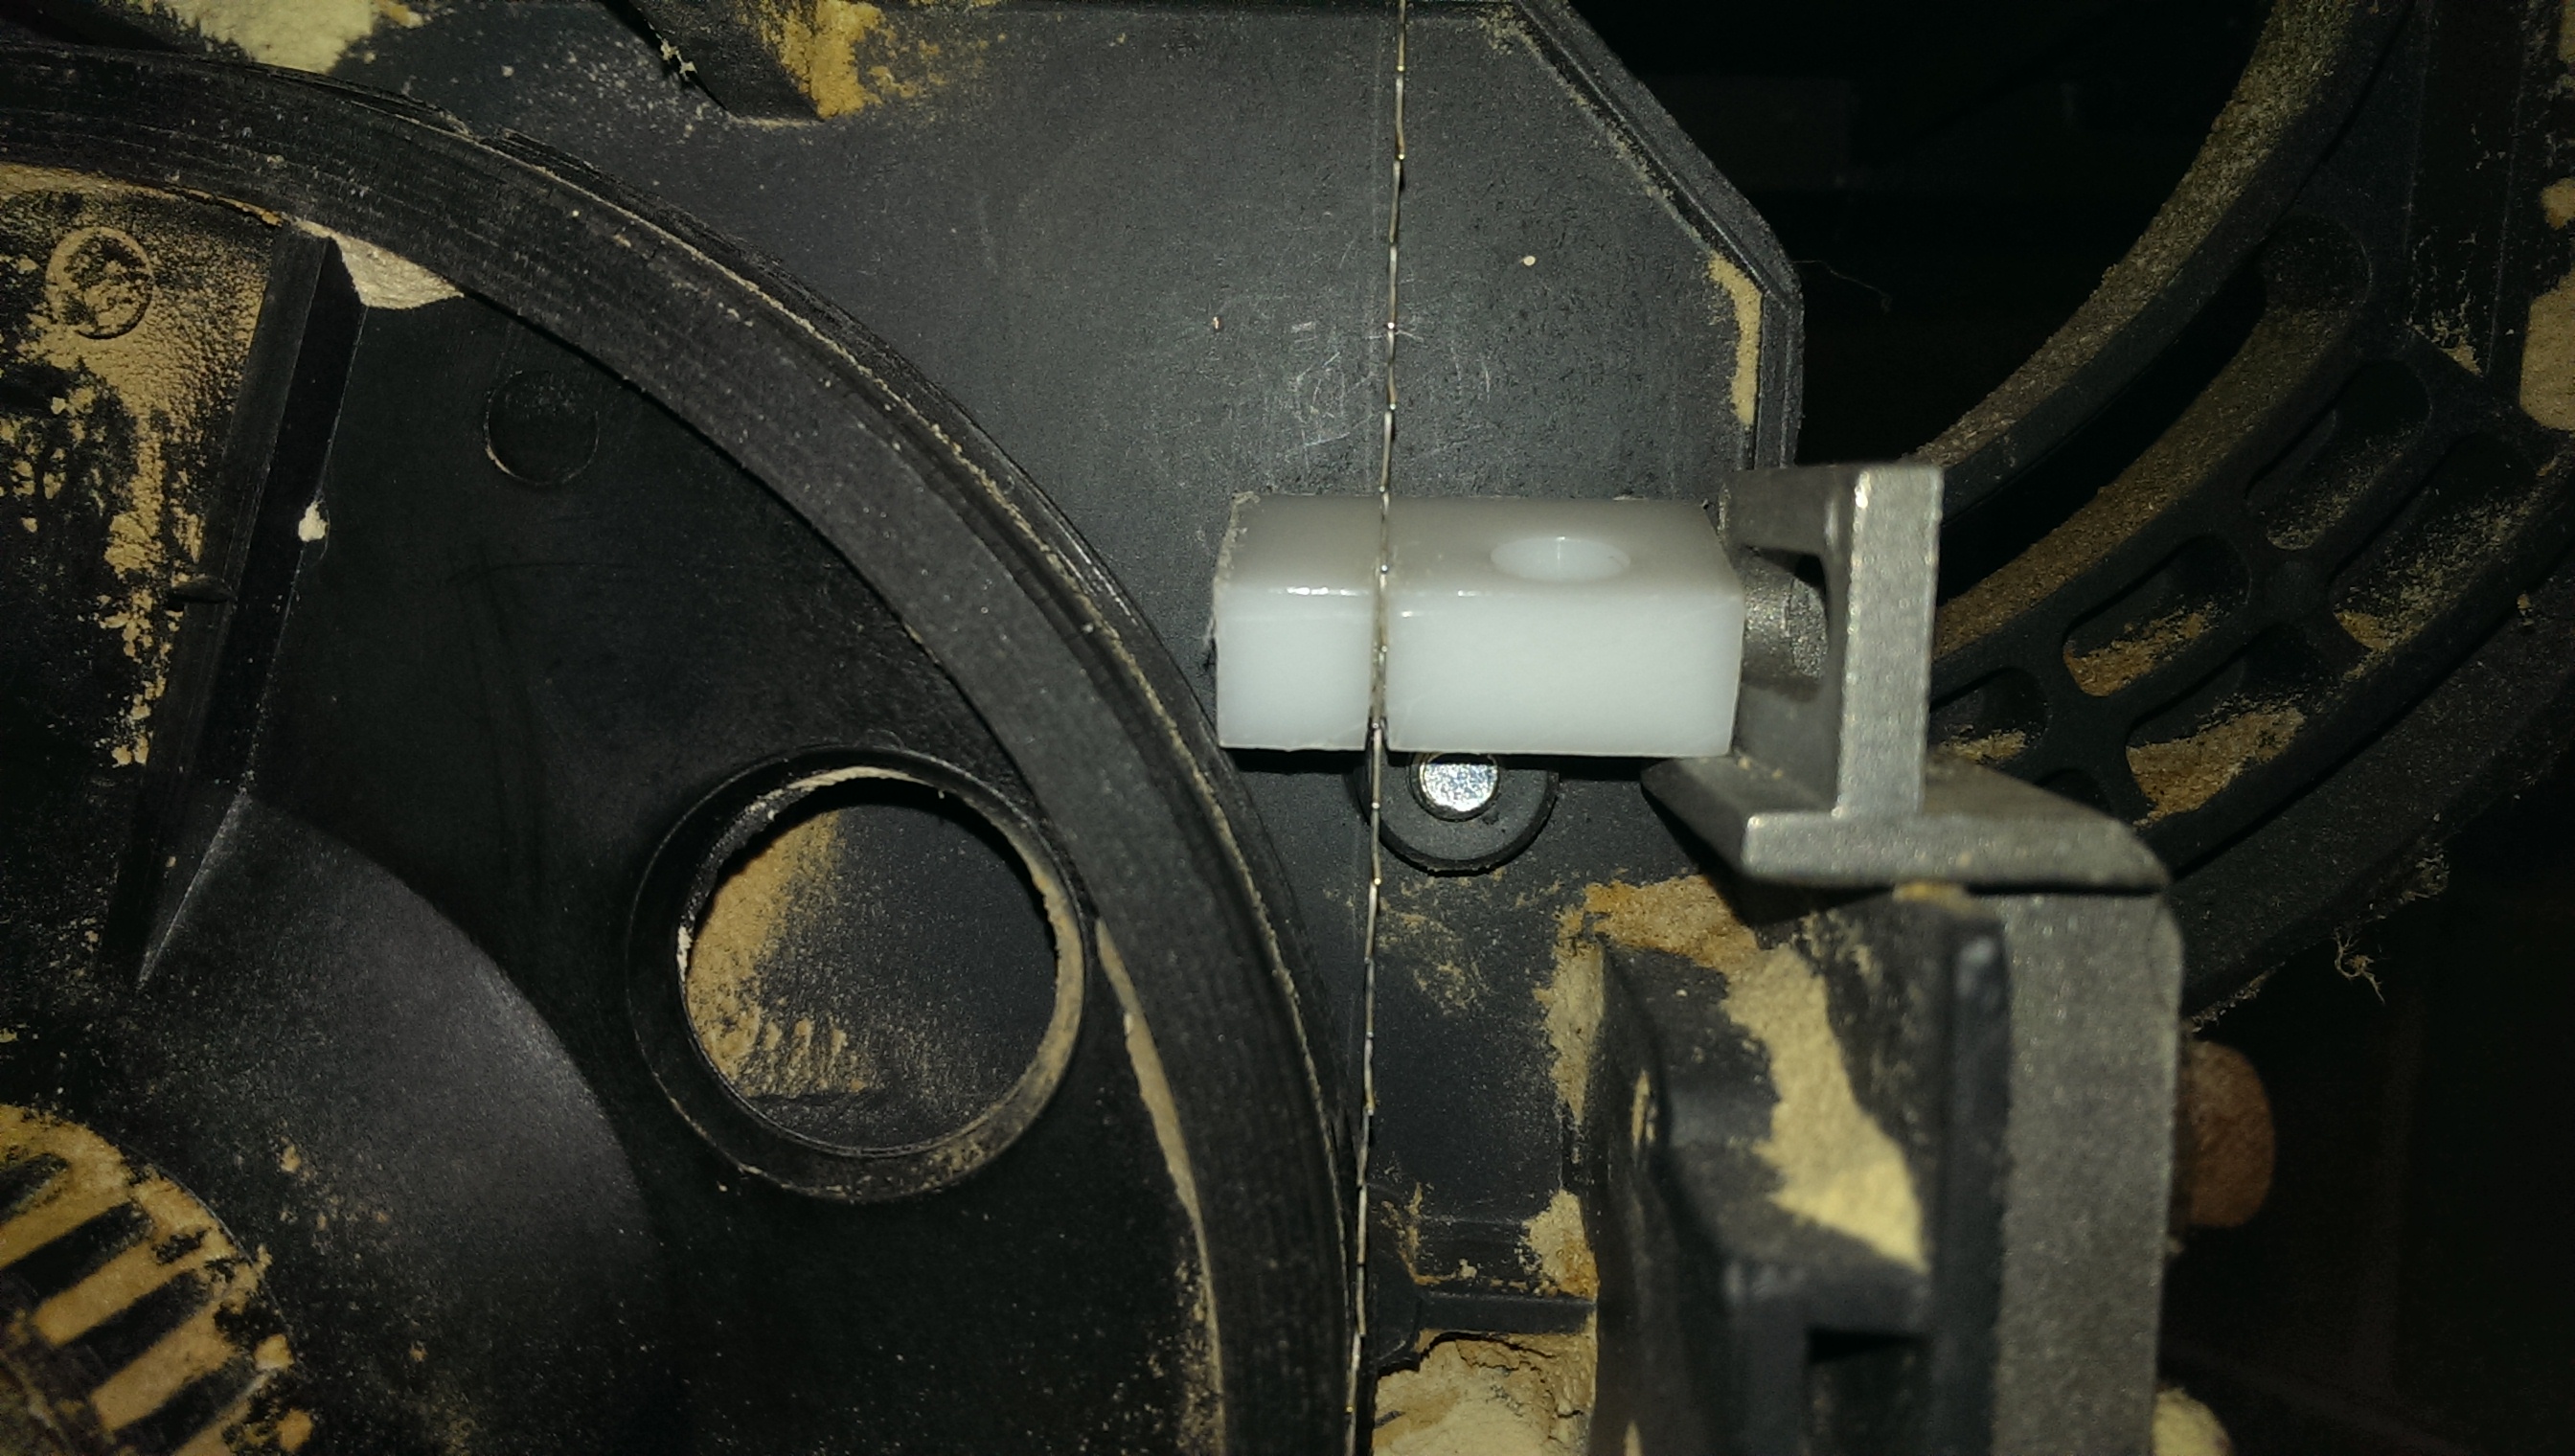
Block installed with two screws
Front view of installed block
At that point, I simply put some small pilot holes in the block and sunk the screws. And there you have it, easy peasy lower guide block that fit nice and close to the blade.
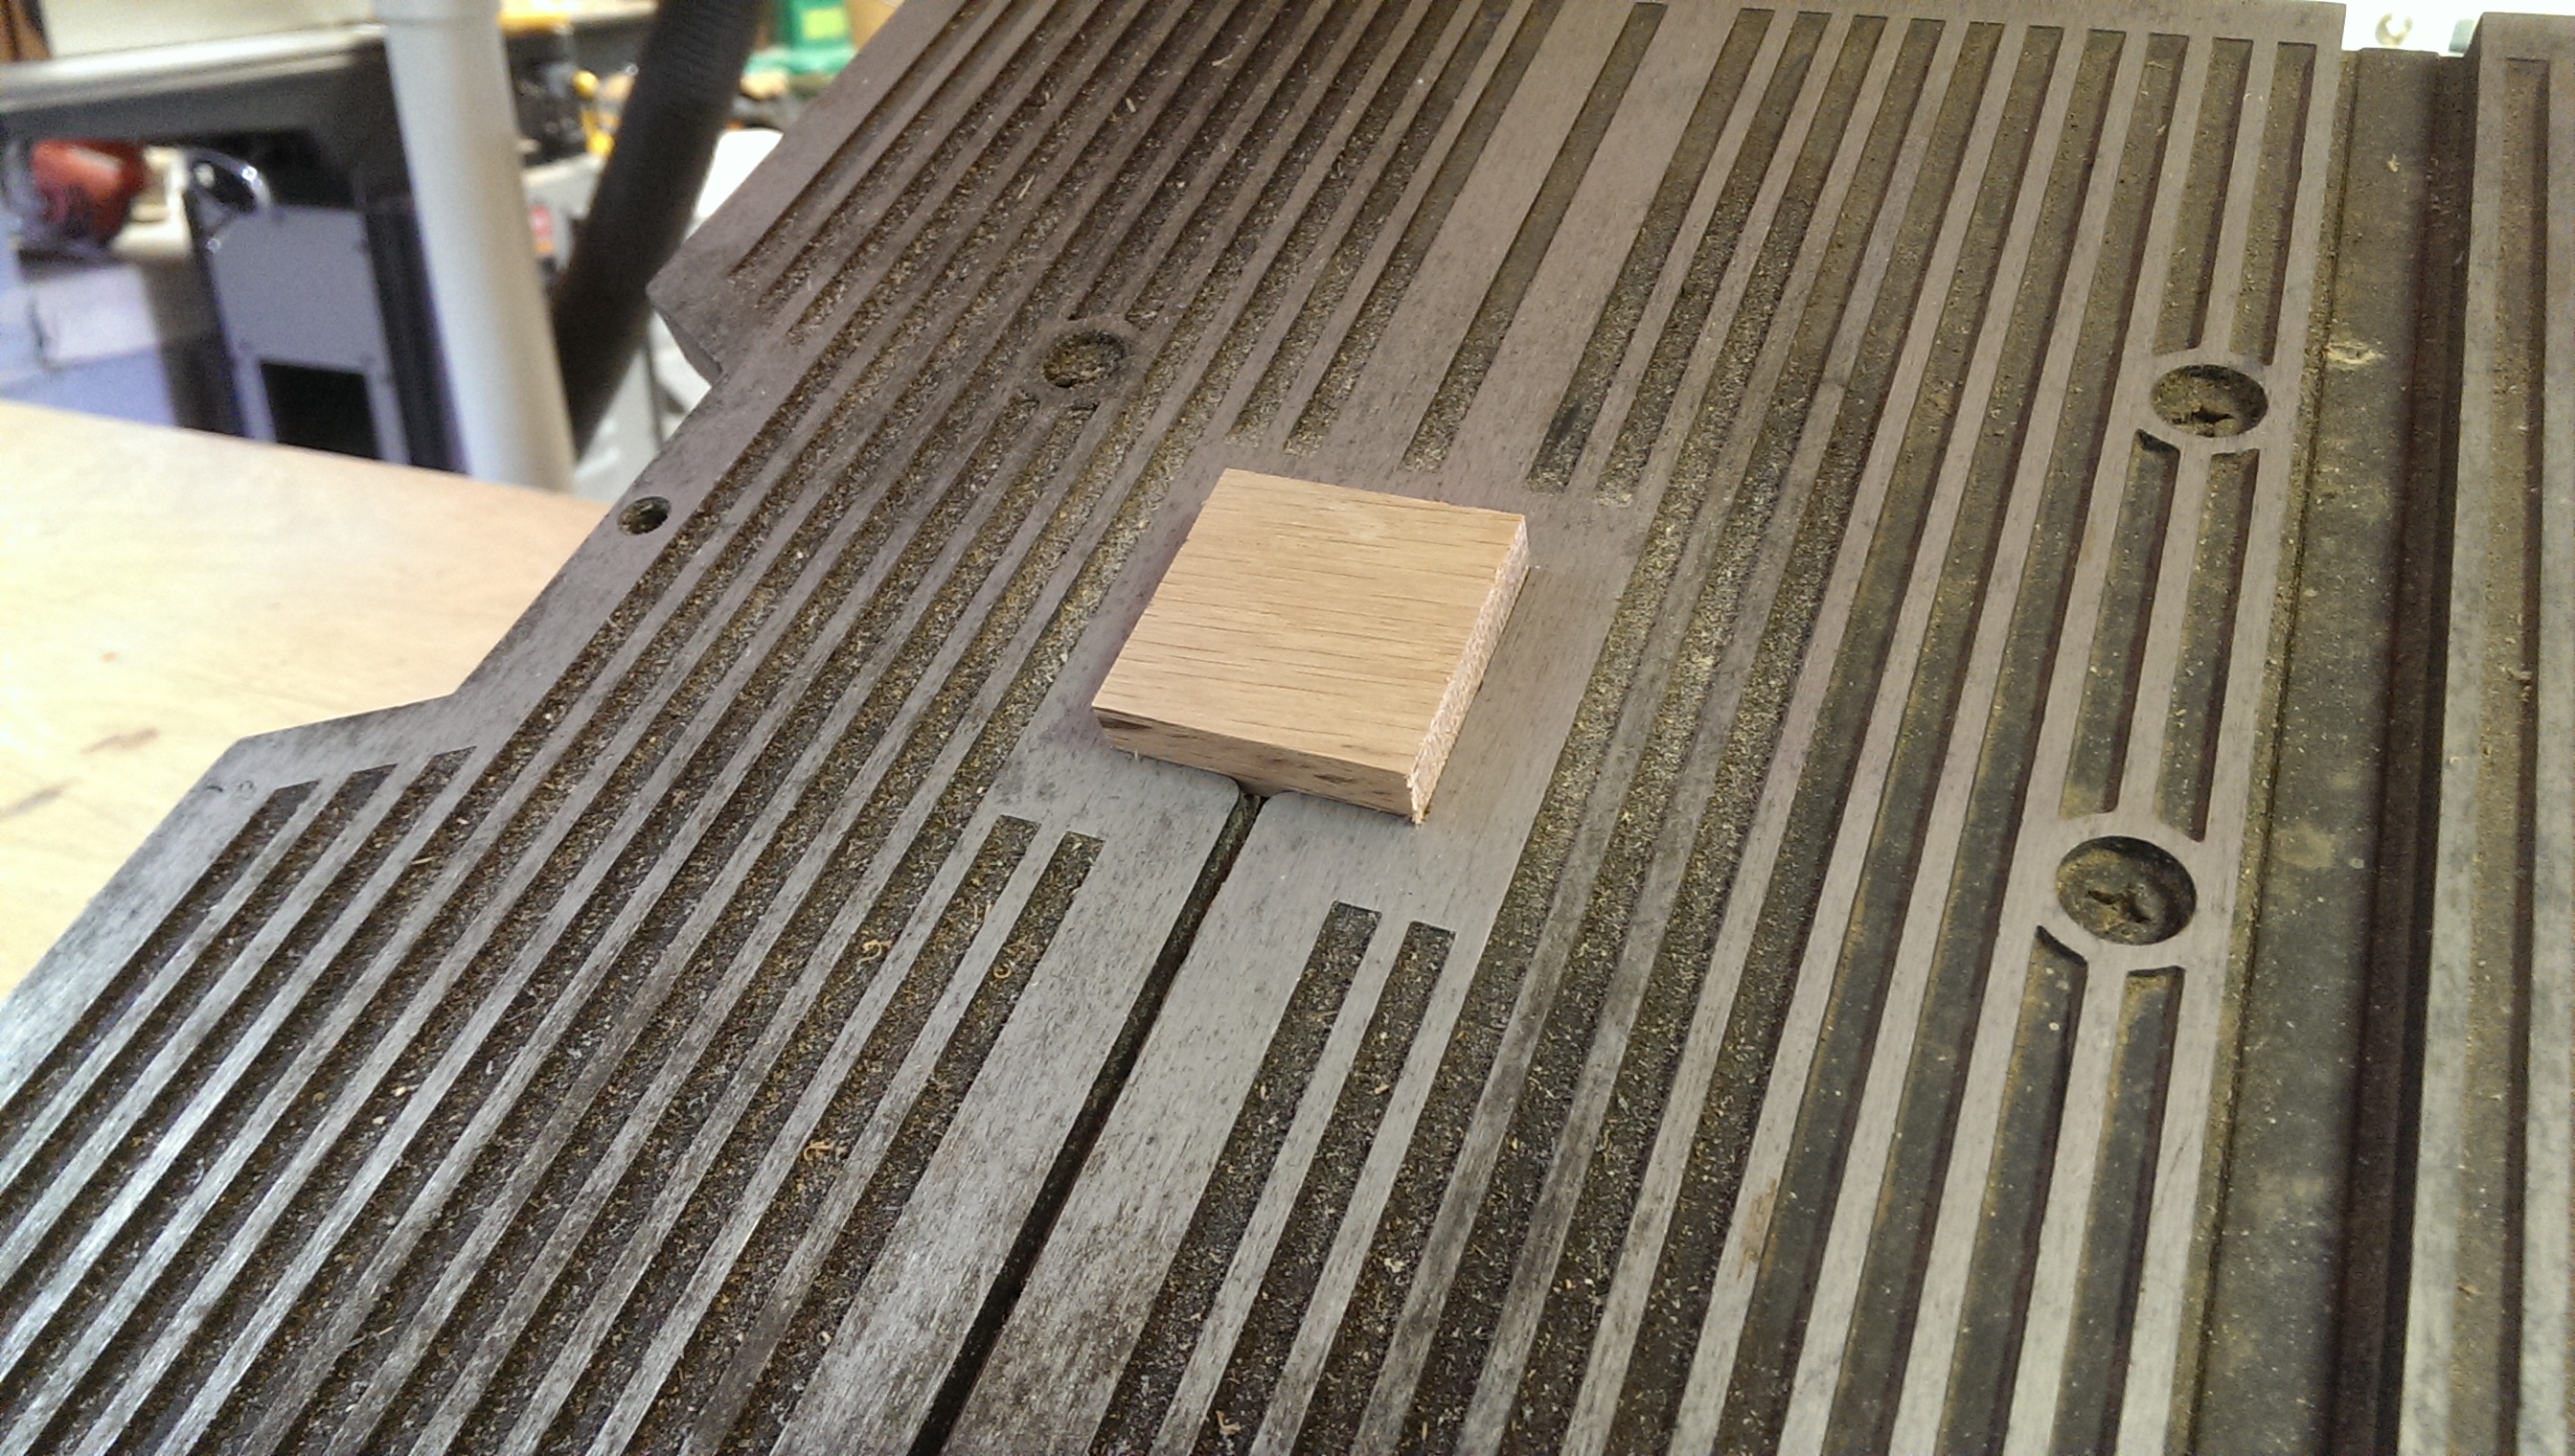
Creating a zero-clearance insert
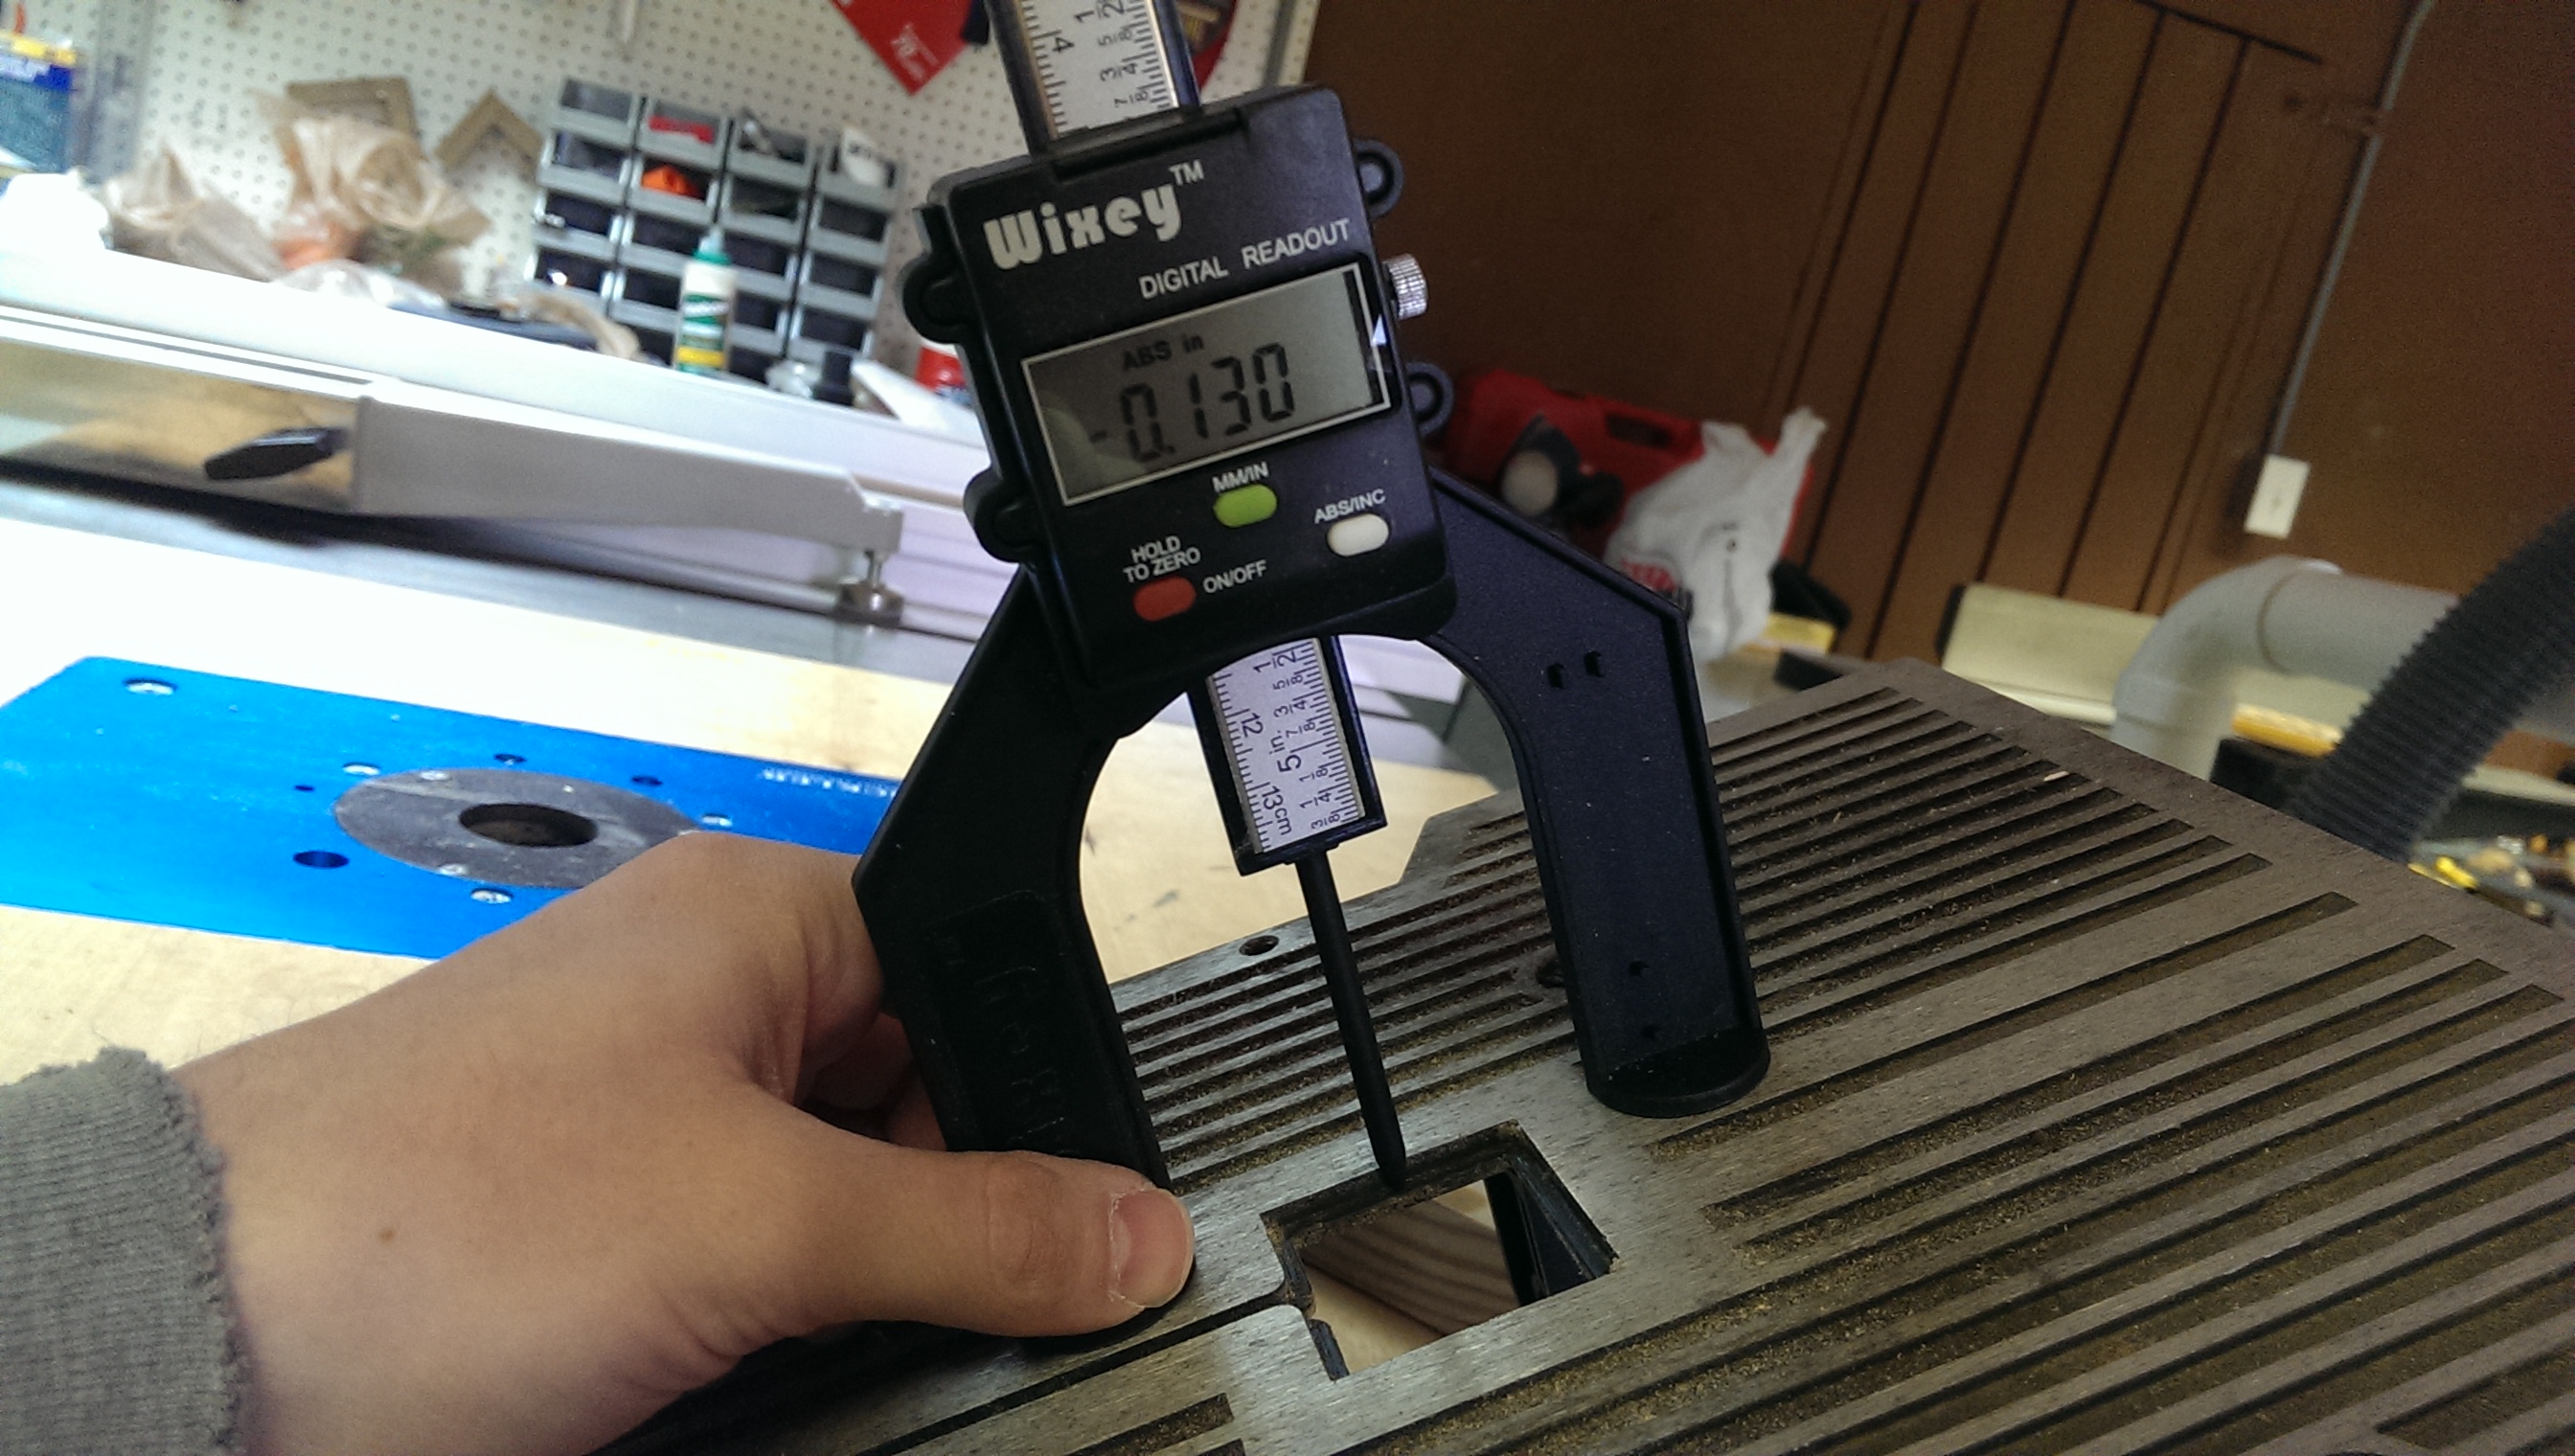
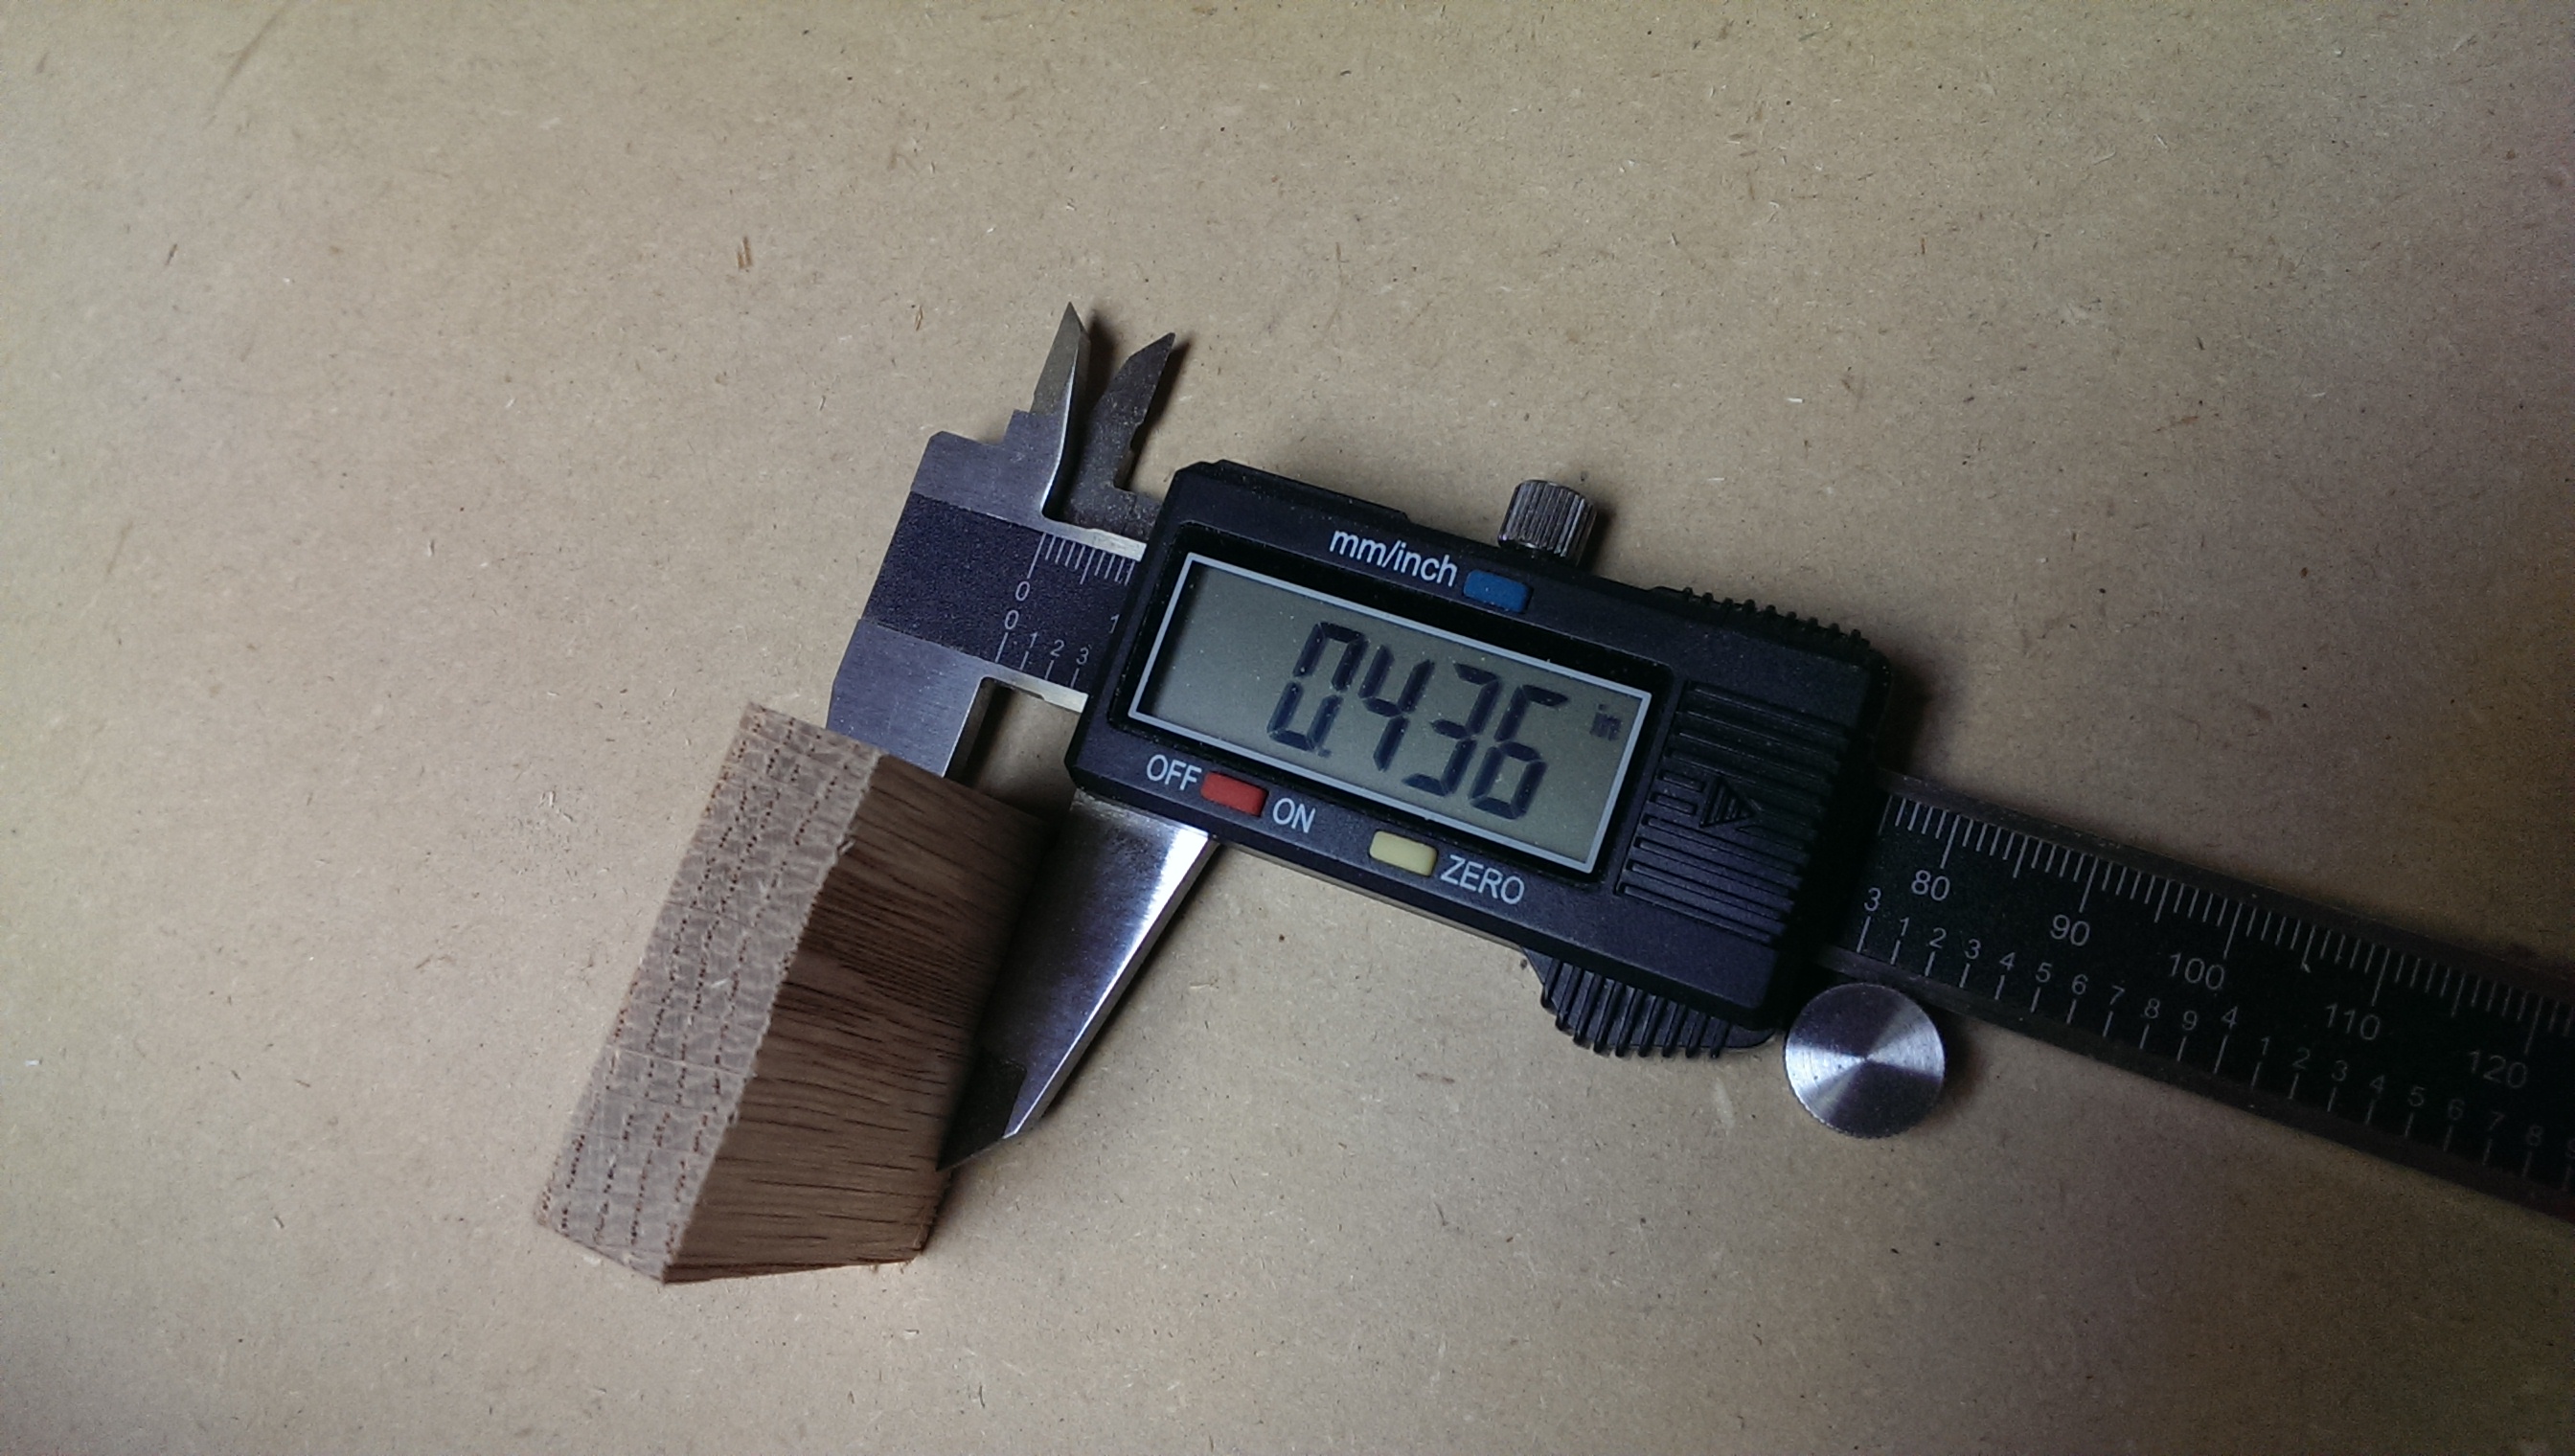
Taking the rabbet depth
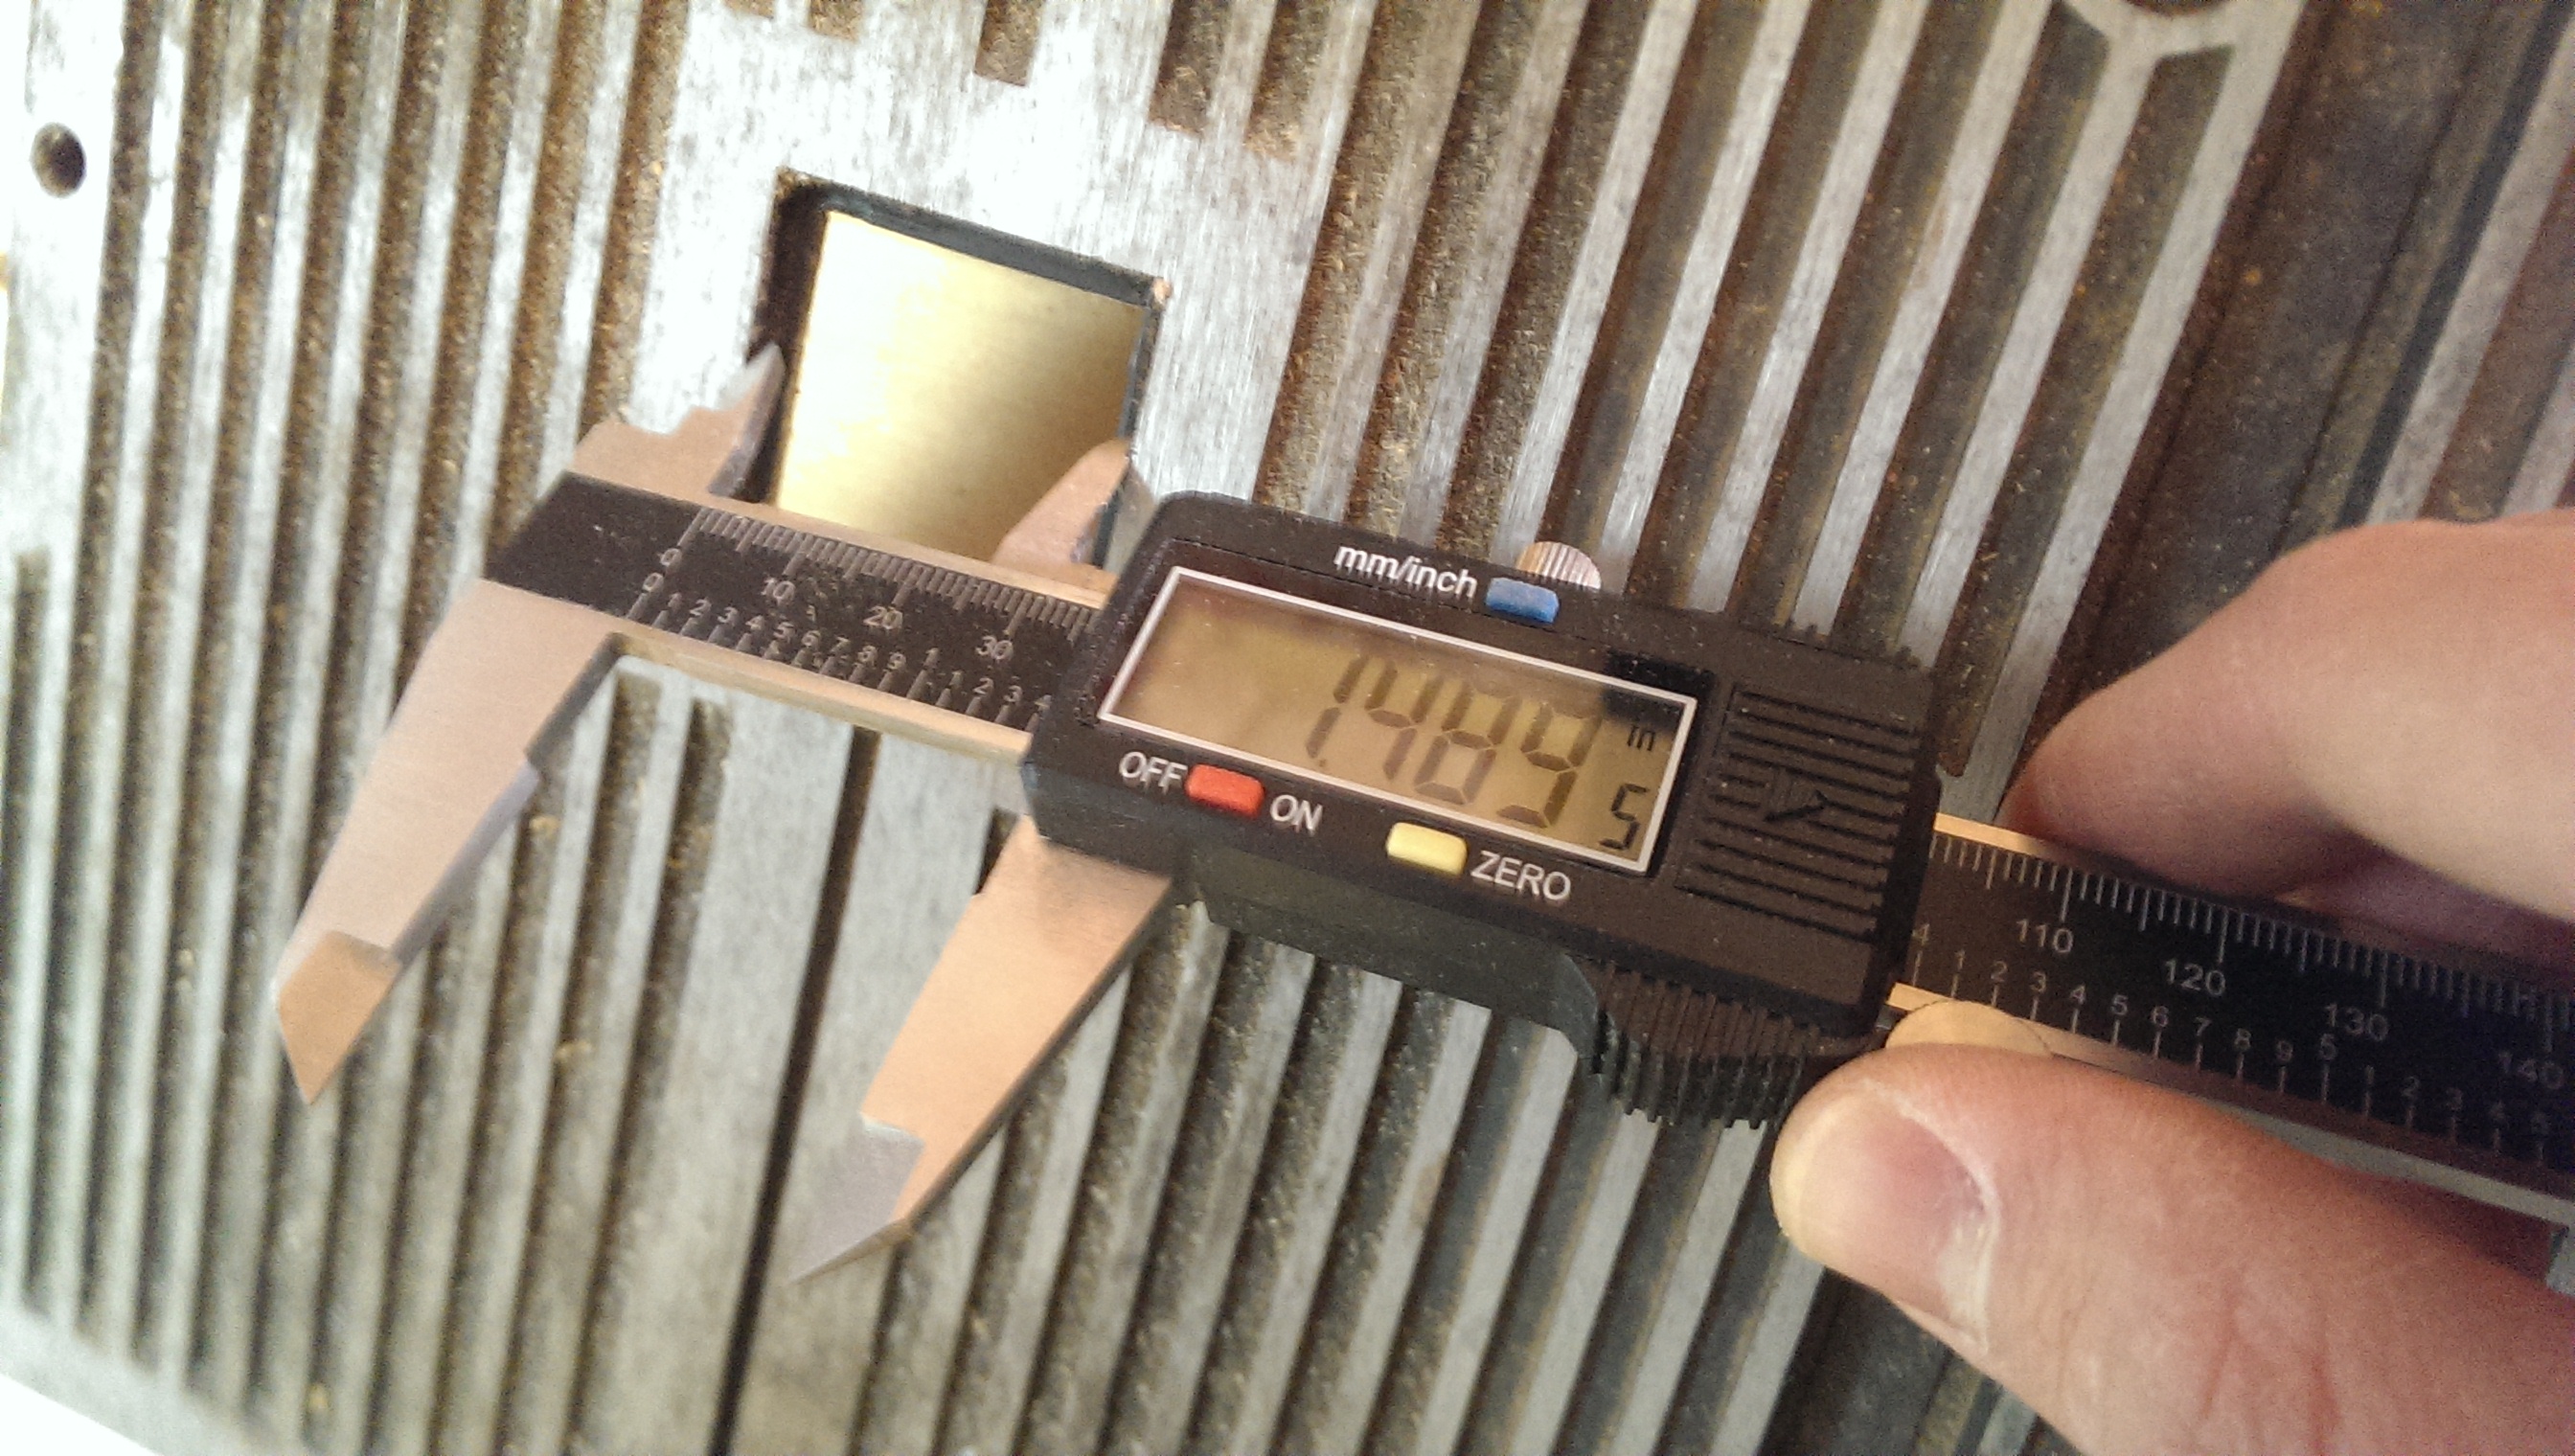
Measuring the outer size of the insert location
The next step was to address the complete lack of an insert plate. Having a zero-clearance insert helps keep small pieces stable, which a bandsaw this size would get used for fairly often, and also keep the blade steady and prevent wandering. I used my calipers to measure the depth of the rabbet in the insert location, as well as the diameter.
Initial block before rabbeting
Initial block out of table
With the blade out, I cut some scrap oak to fit the insert location. I cut the block slightly too big, and then snuck up on the right size to get a tight fit. At this point, prior to rabbeting the block, it is intentionally a little too thick.

Setup to rabbet the block
Knowing the block’s exact thickness using calipers and the tablet rabbet depth using my handy depth gauge, I was able to set the router table up to rabbet the block. The depth gauge pictured is only $10 or so on Amazon
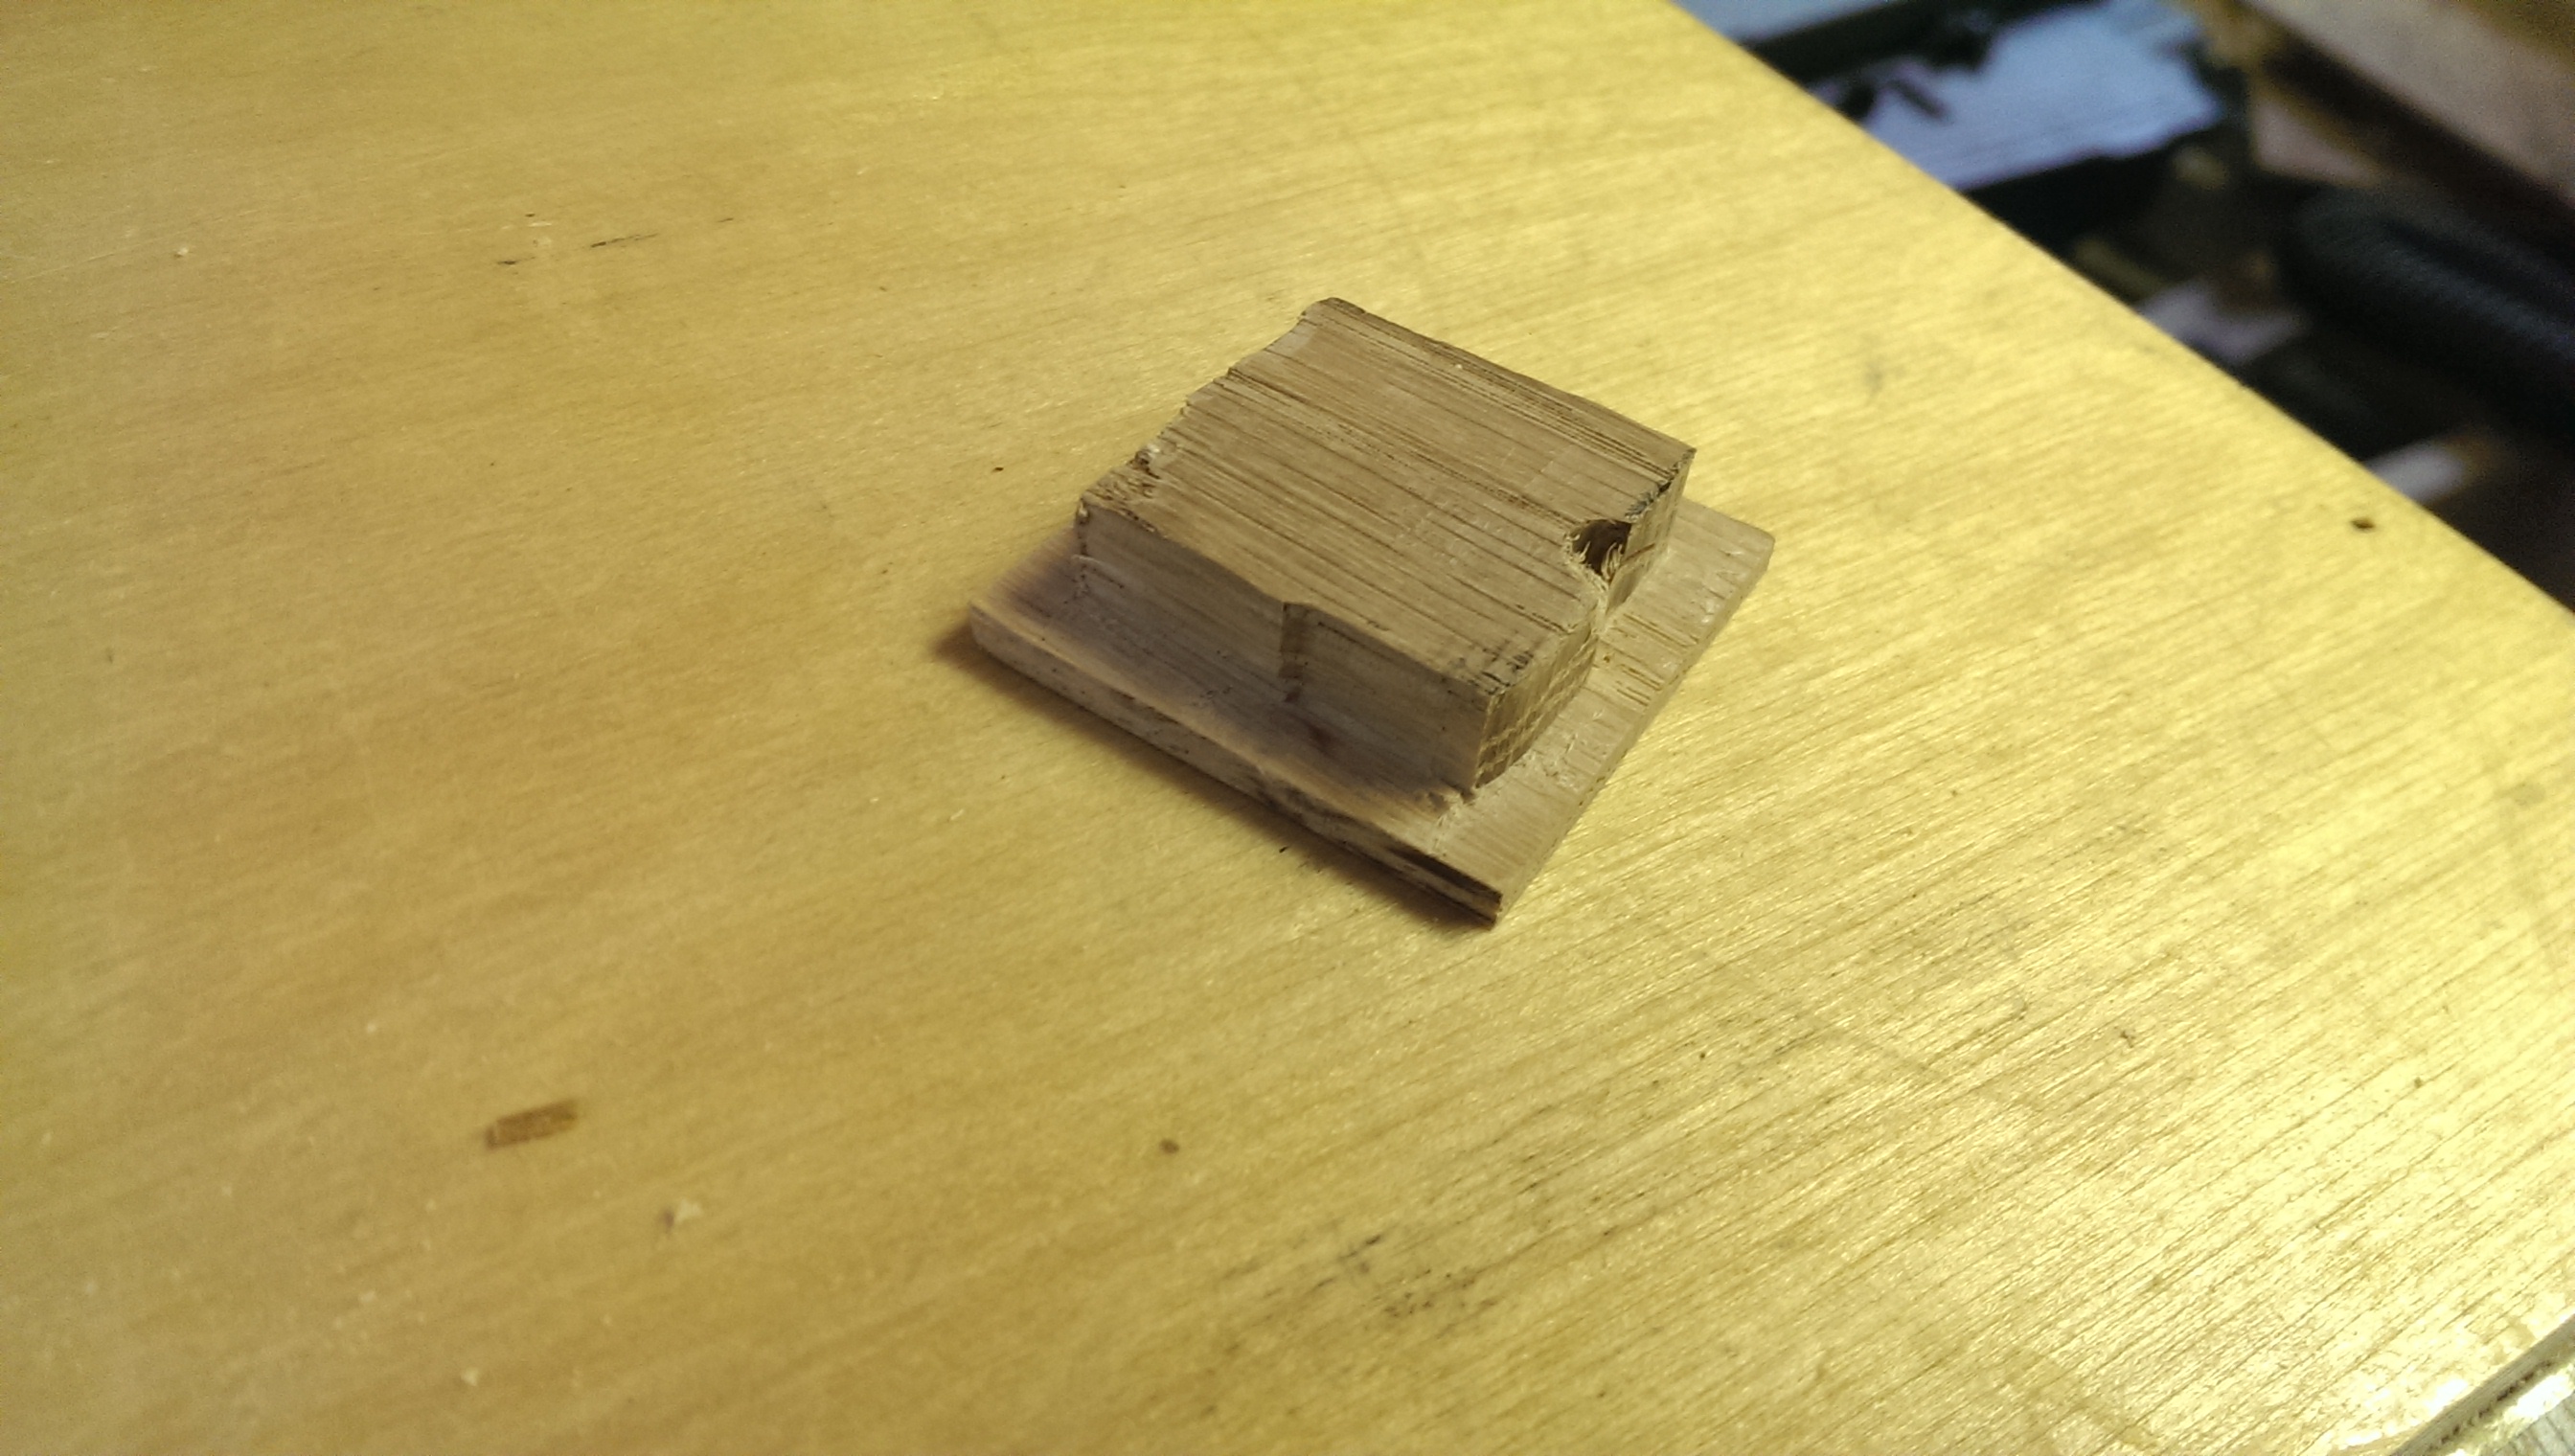
Block after rabbeting – got chewed up a bit

Block finished, sitting flush
The router grabbed and dug the piece a little bit, chewing it up slightly, but it wasn’t visible from the top, so I let it go. After rabbeting, the piece sat perfectly flush in the table.
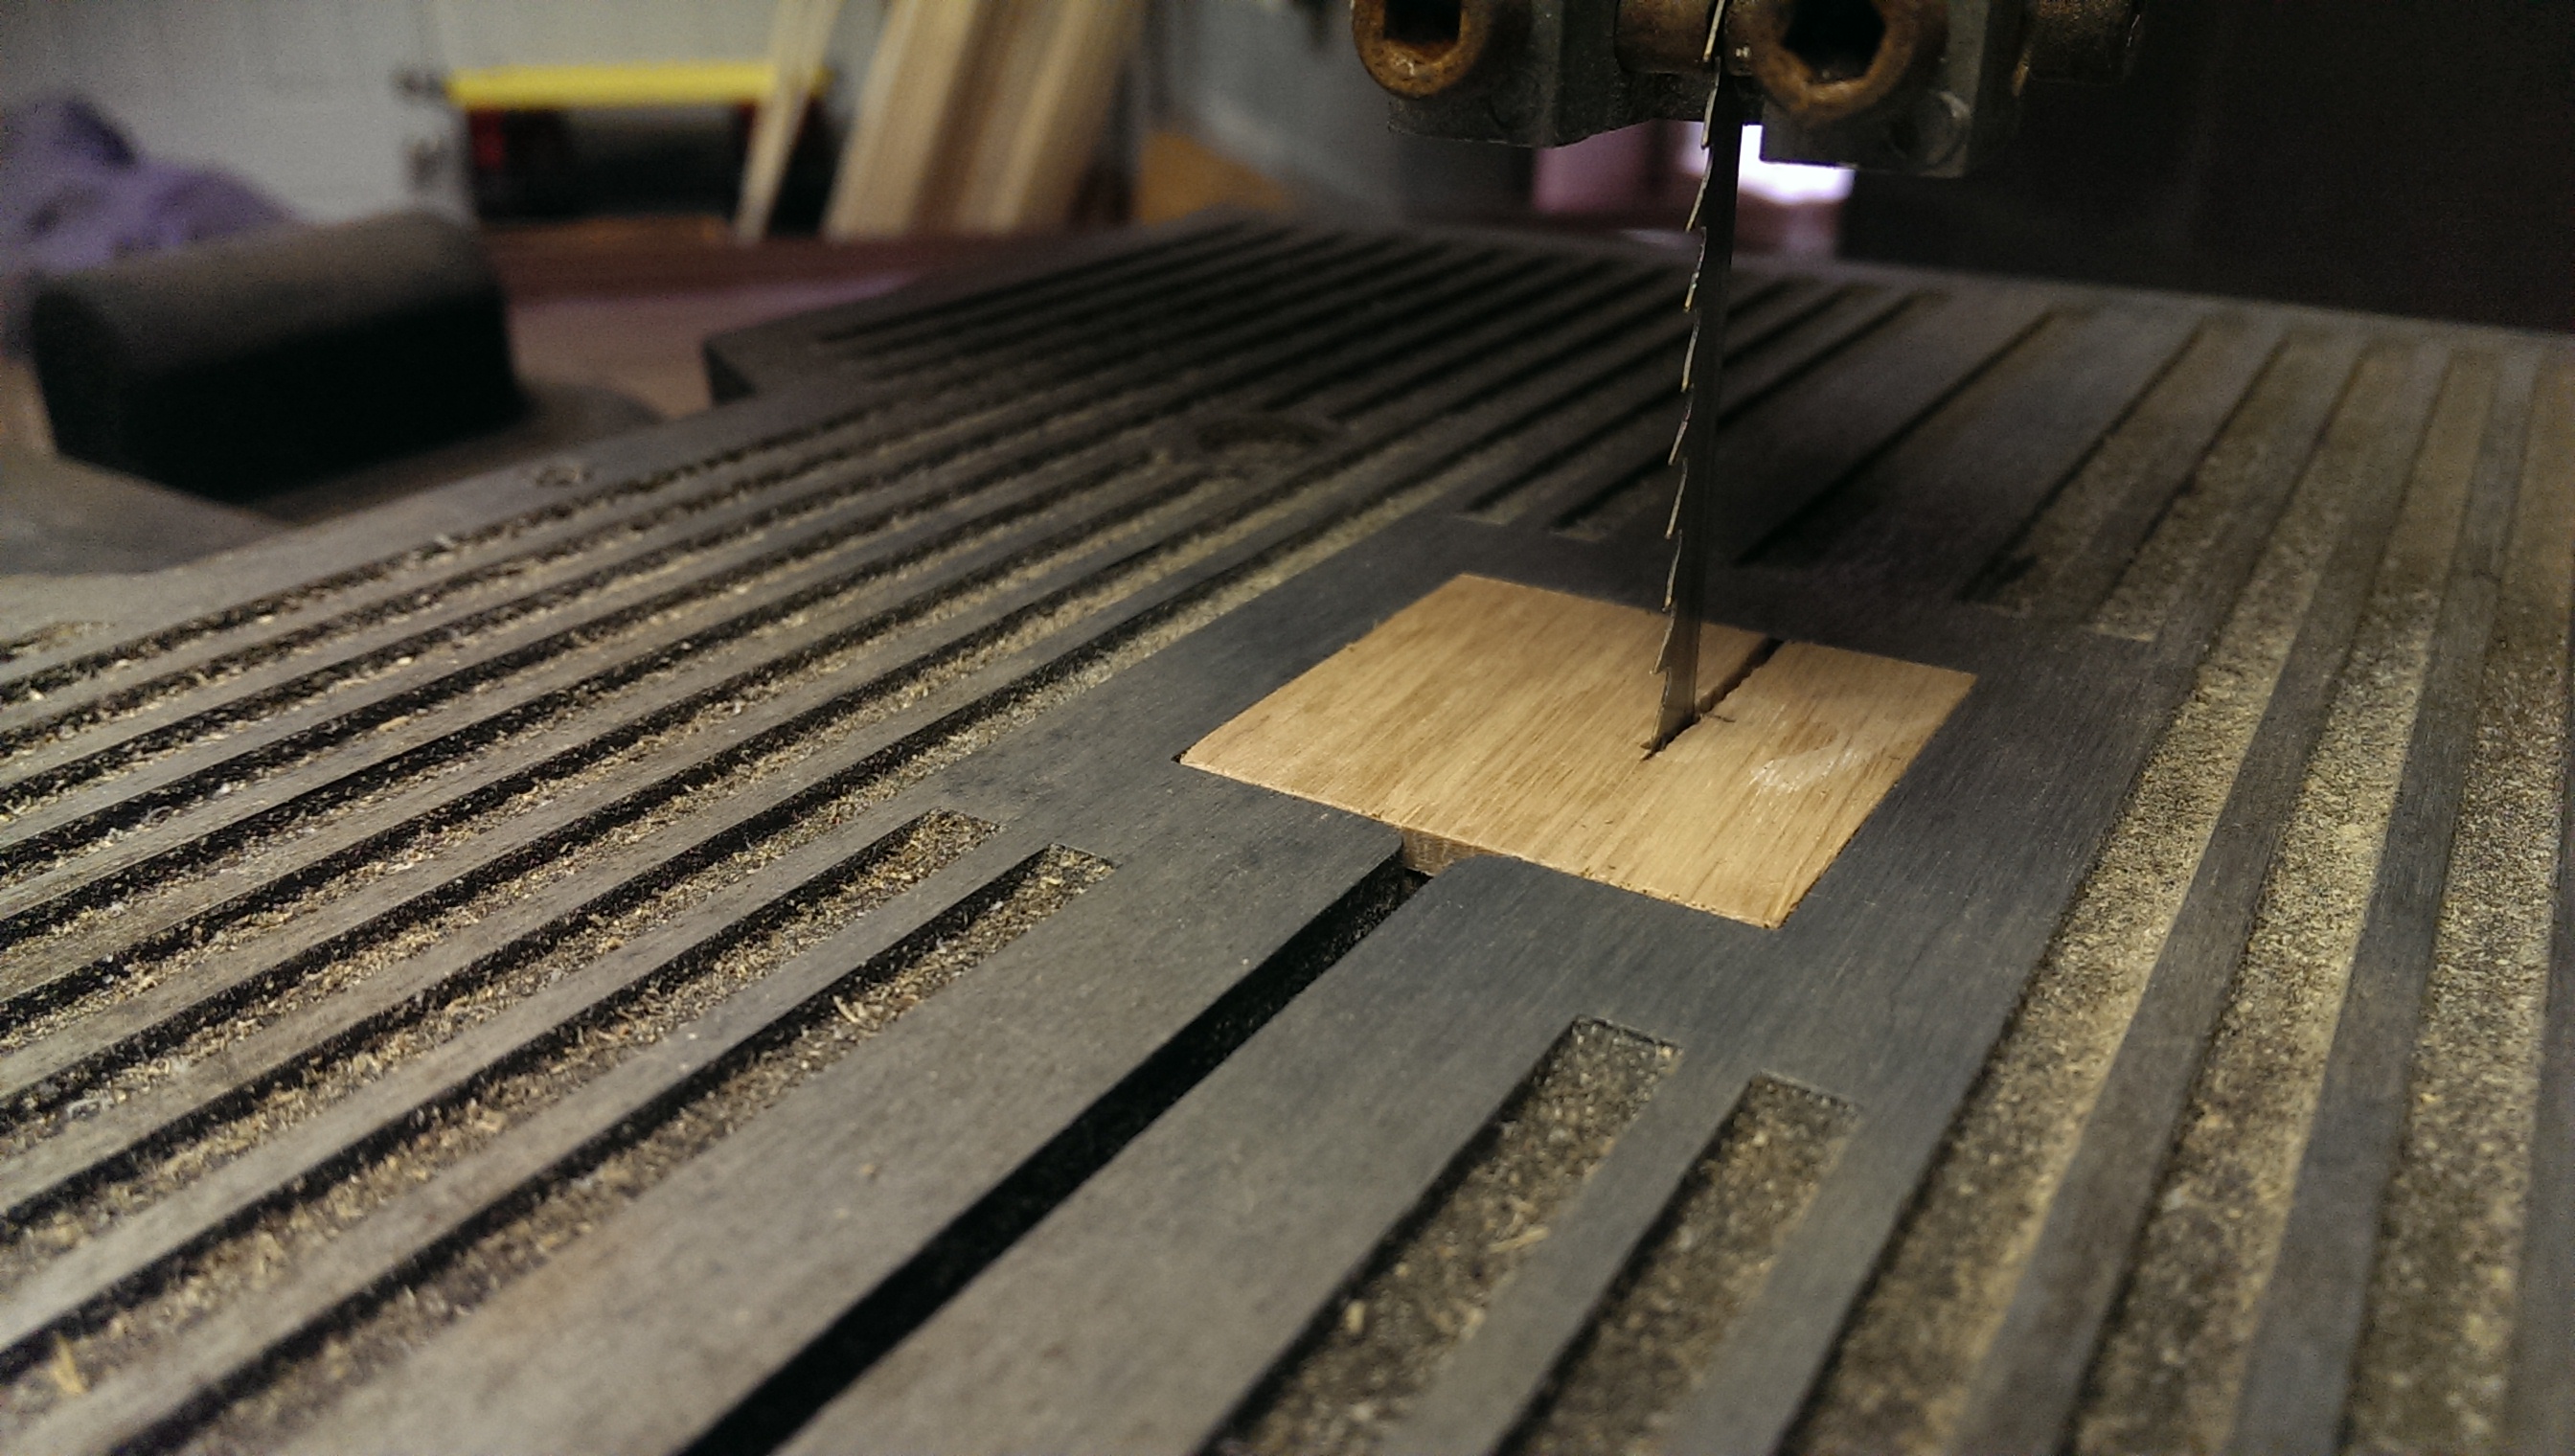
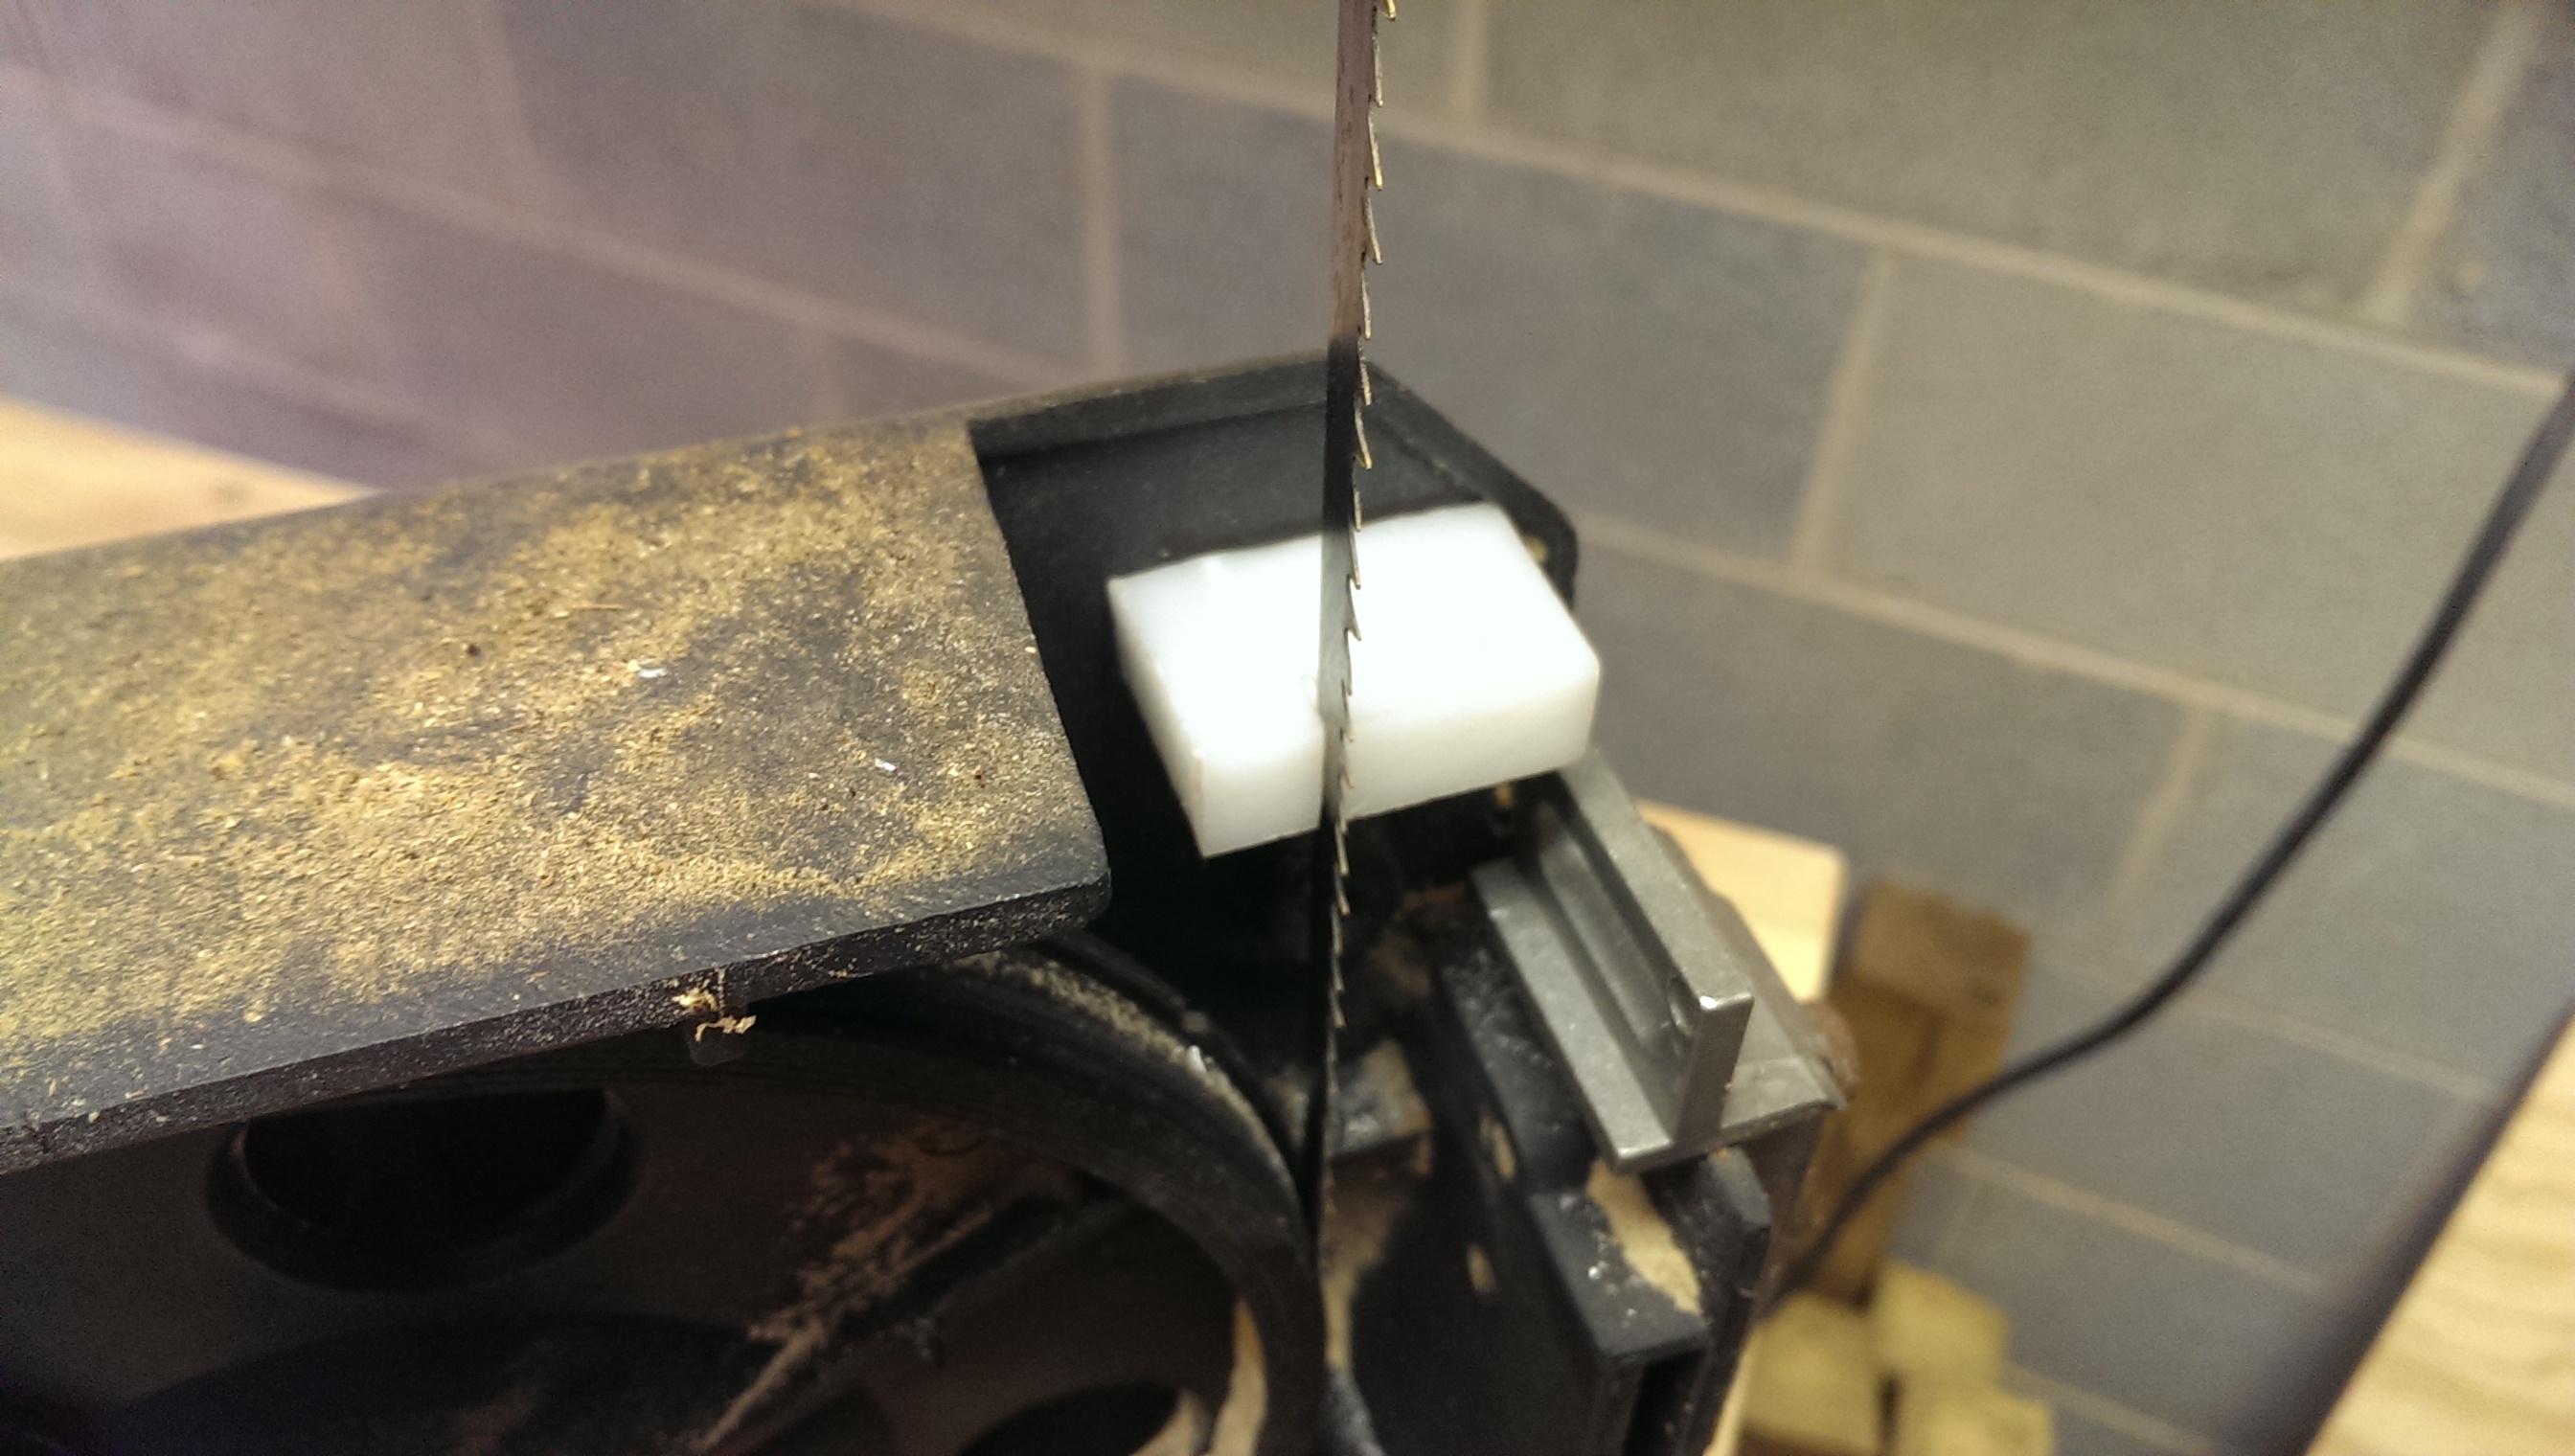
Finished piece after slotting
Once that was done, I put the blade back in and carefully fed the insert through the saw to cut a kerf for the blade. This ensured the kerf matched the blade exactly. I would use some manner of small-piece grabber or clamped contraption to hold the piece while doing this, especially on a larger bandsaw. And with that, the blade rode much better.
Replacing worn tires
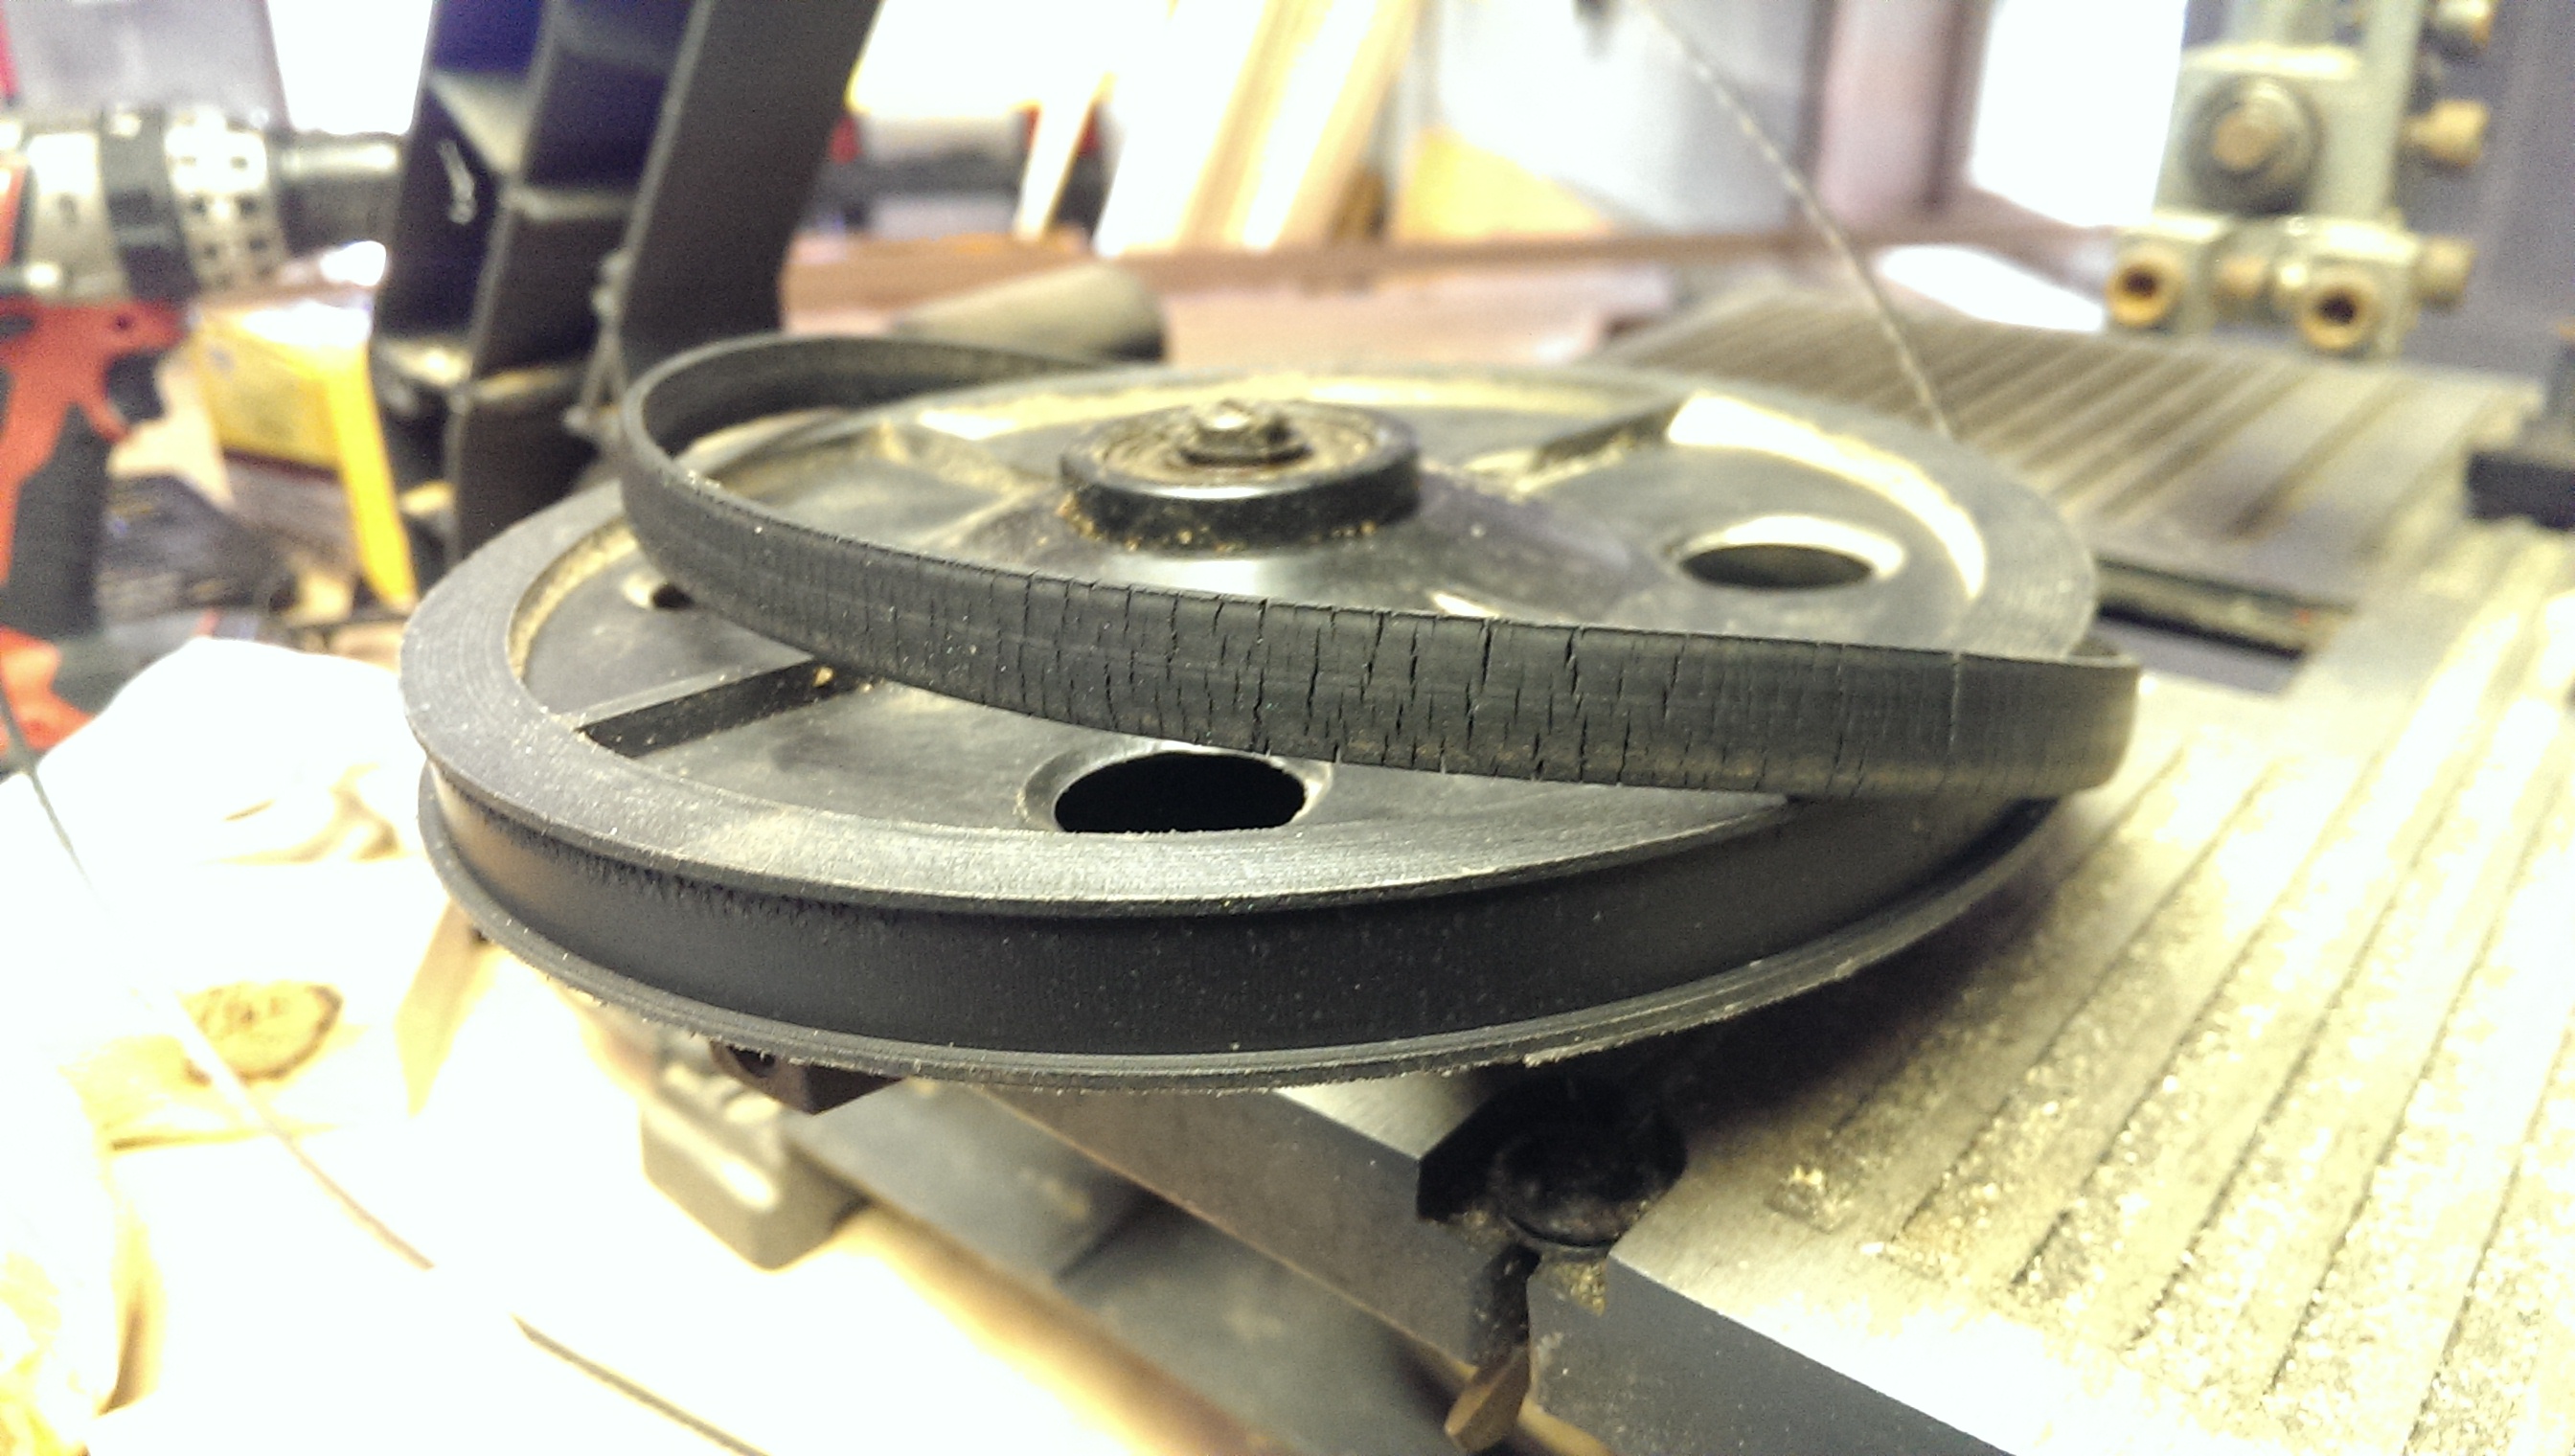
Tires were cracked and dry rotted
The final step was to do something about the tires on the bandsaw wheels. They were all cracked and dry-rotted, but a replacement set of urethane tires was $30 online. I really couldn’t justify spending more on the tires than I did on the whole bandsaw.
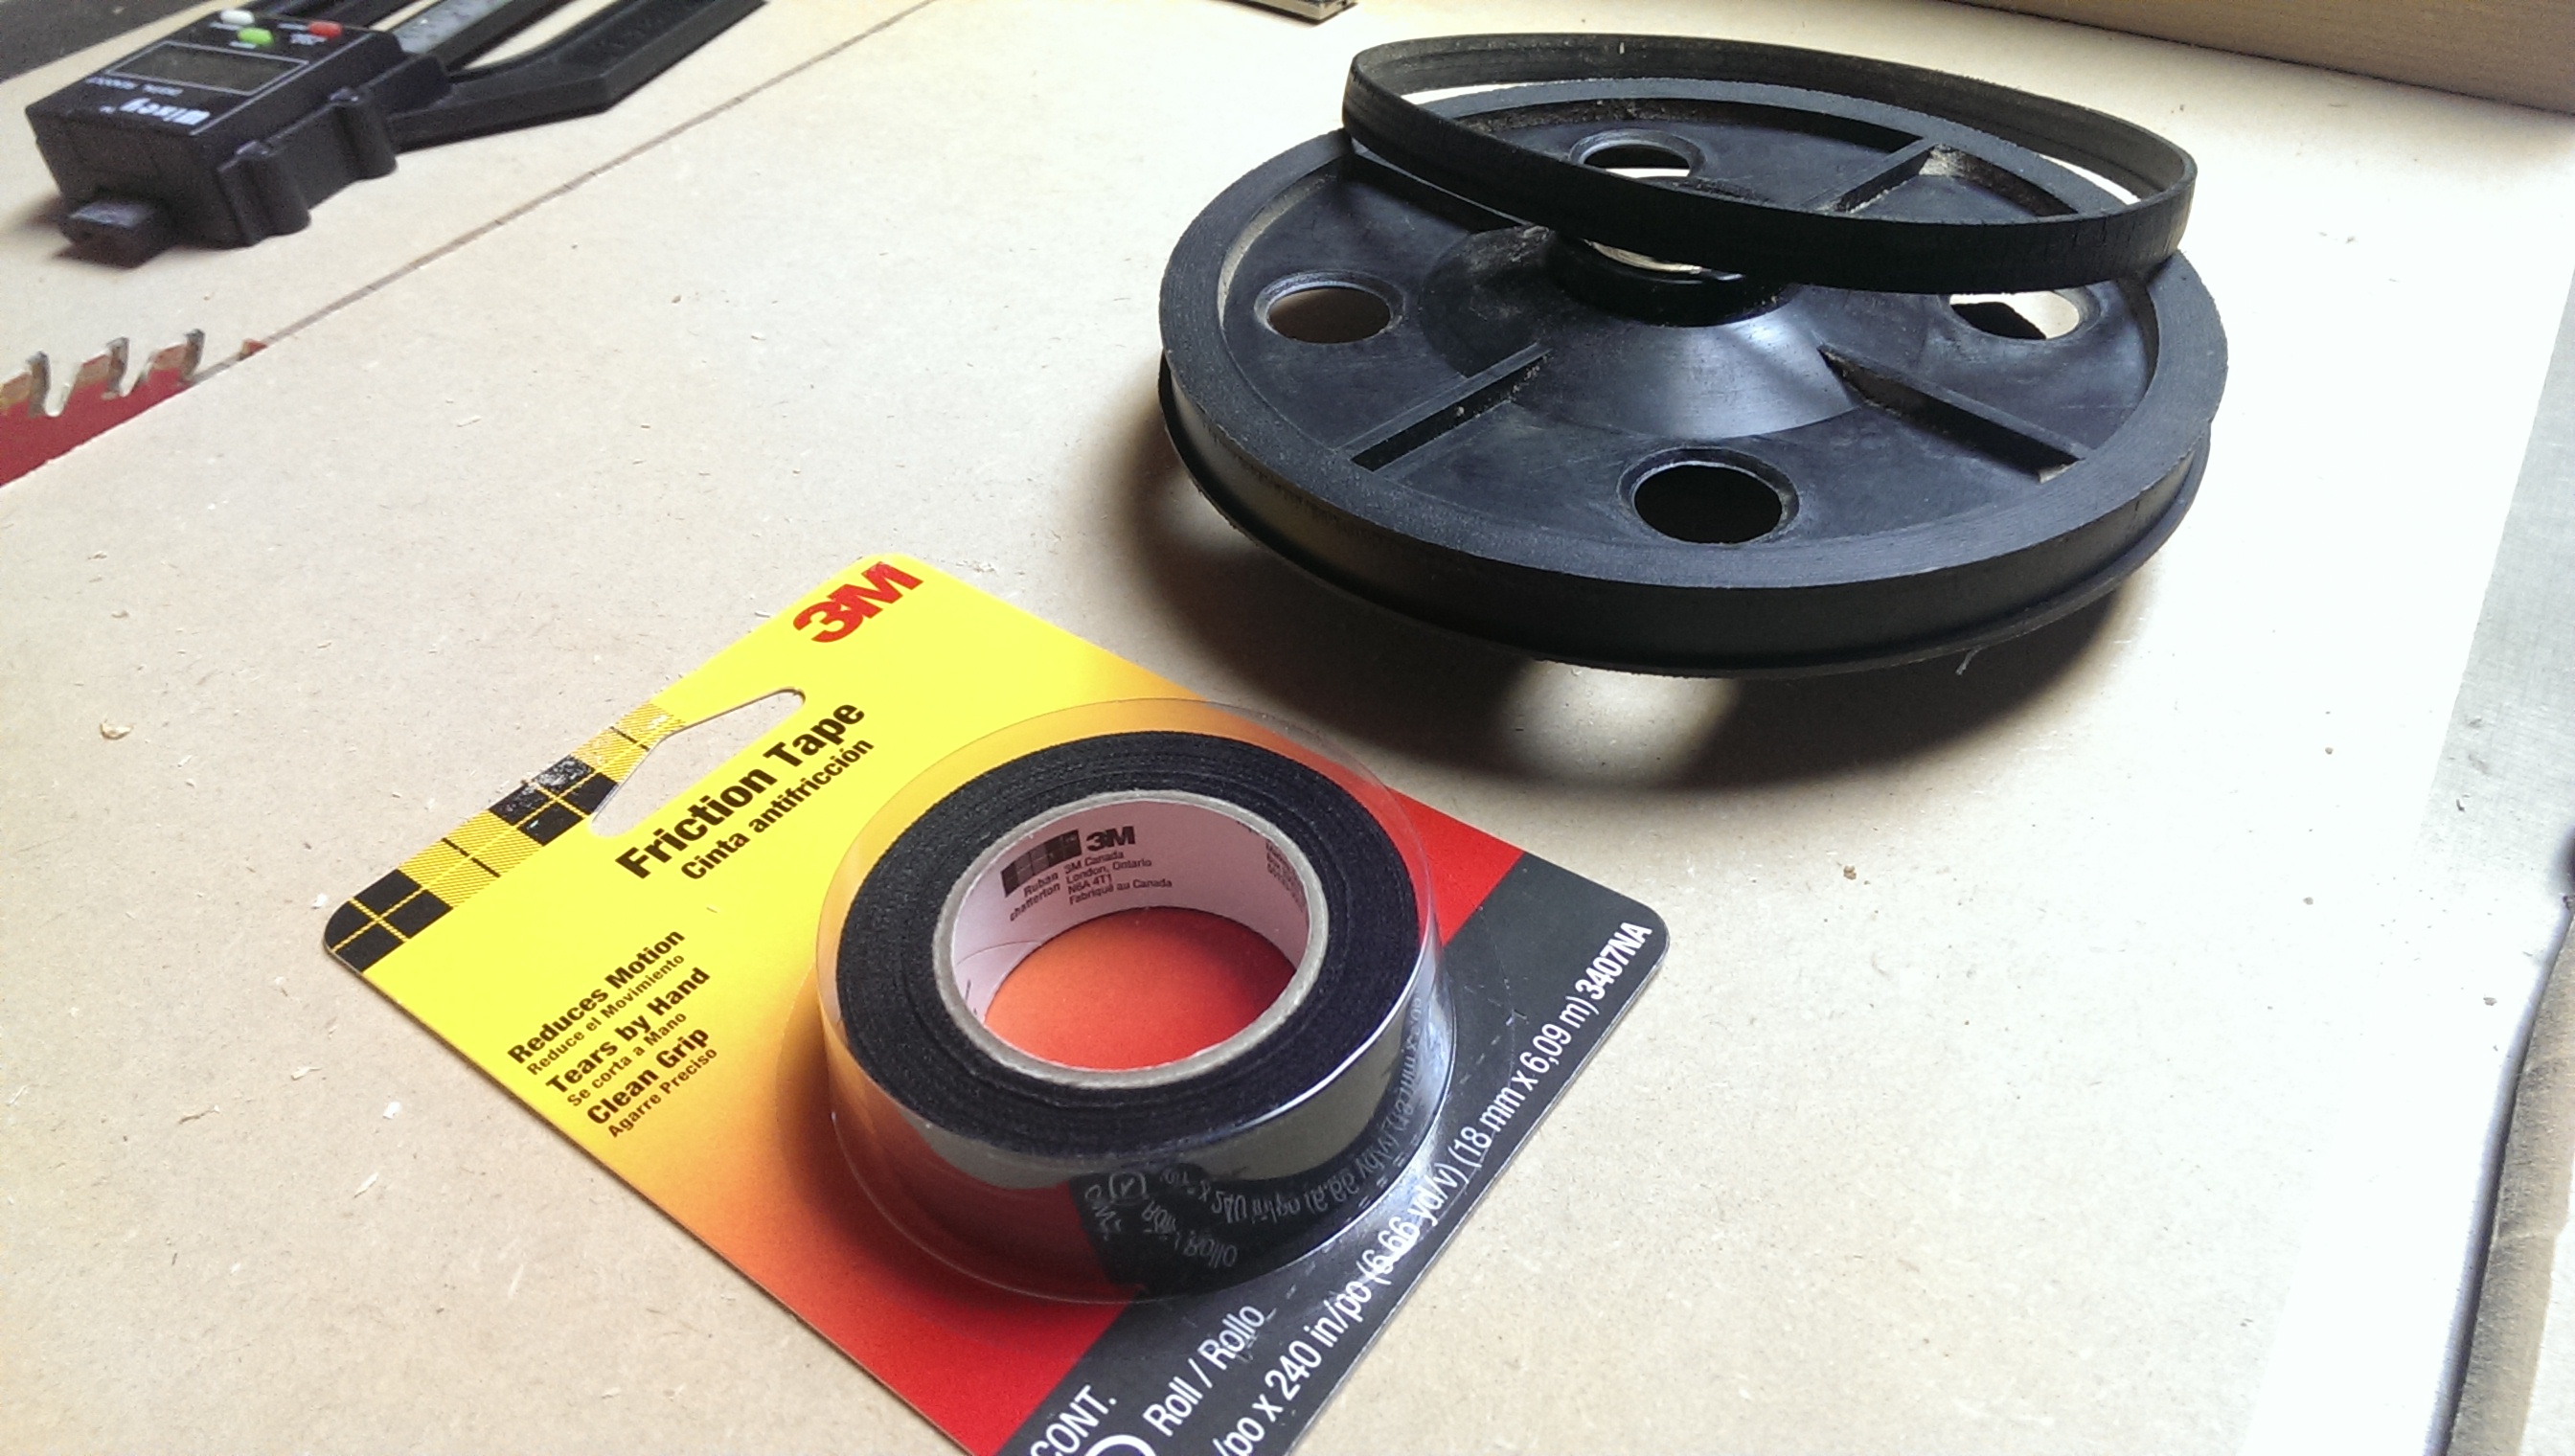
Grip tape
A little bit of googling showed me that a lot of people in the same boat had used ordinary grip tape as an impromptu, cheap replacement. It wouldn’t last as long as a real tire, but it is 1/10th the price, so I was sold.
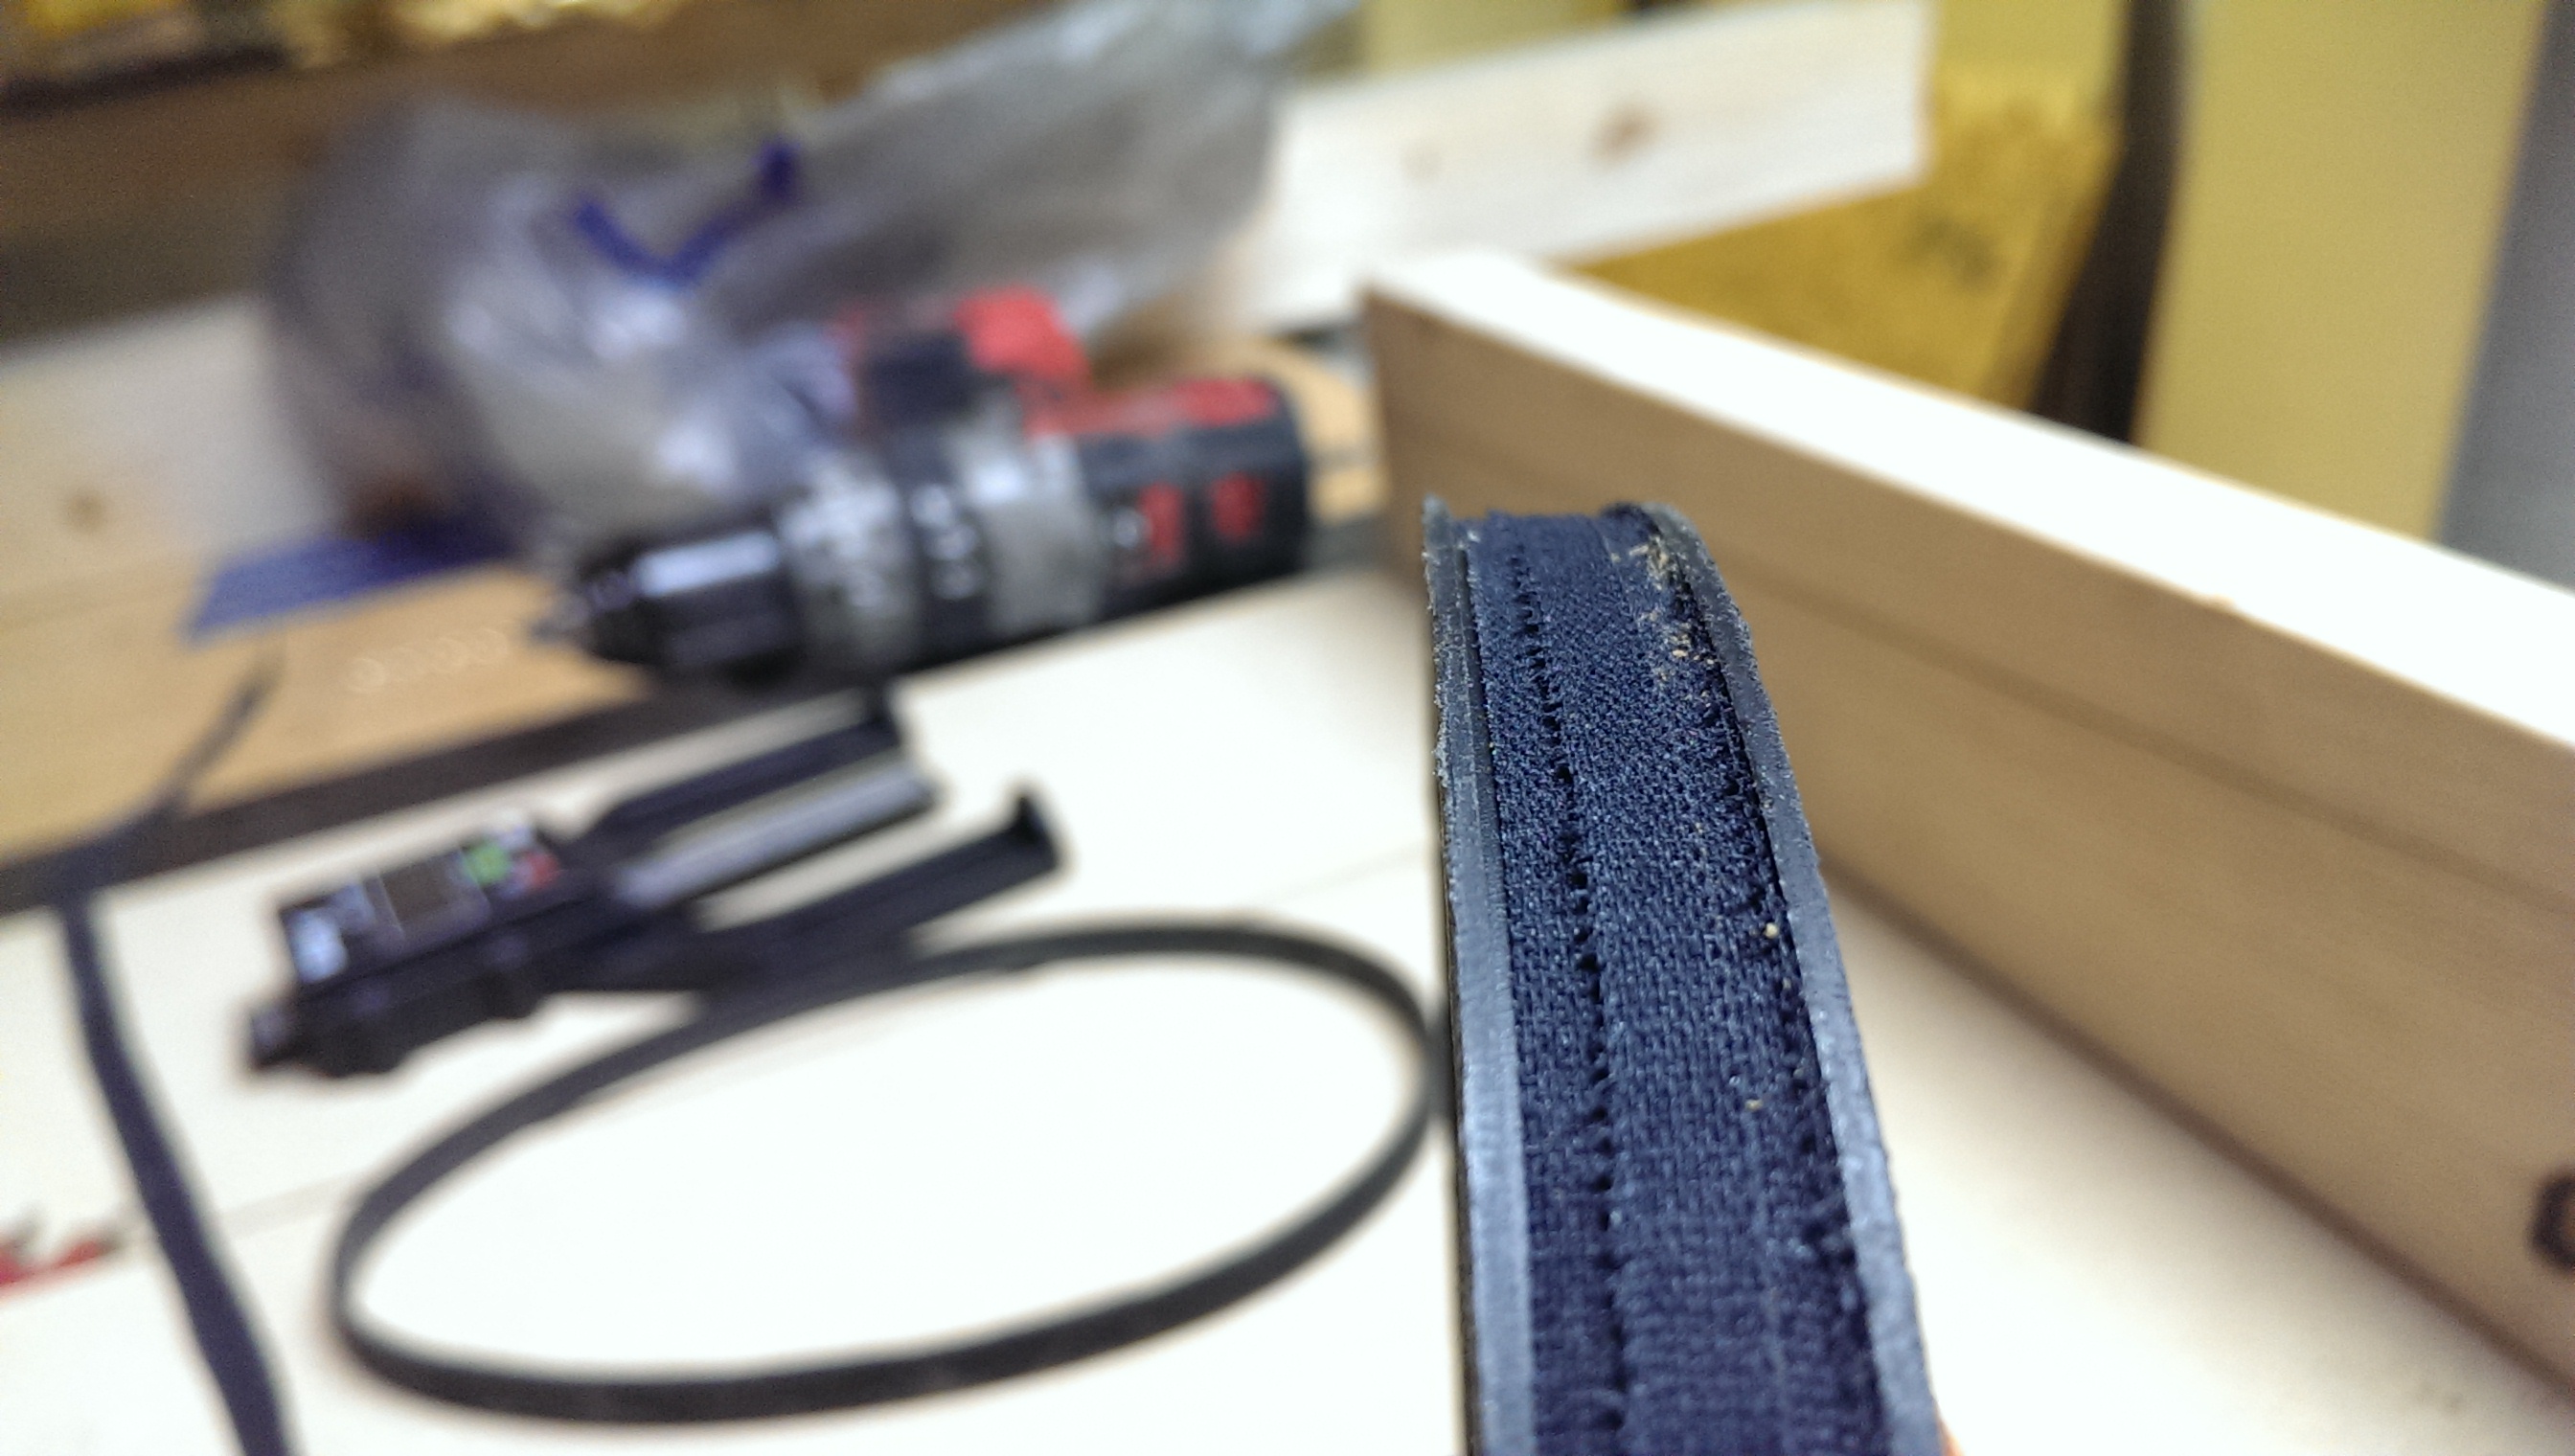
Start with a half-sized strip down the middle
So here’s the part that was counterintuitive to me: when you wrap the tire, you start by putting a half-size length (or two) around the wheel down the middle. The purpose of this is to [i]raise[/i] the [i]center[/i] of the tire so it is shaped like a lowercase ‘n’. You would think you want it flat or even with raised edges to hold the blade to the middle, but it doesn’t work that way. As the wheel spins, the blade will naturally gravitate towards the highest point. By making the highest point in the center and having it slope off to the sides, you actually ensure the tire stays centered during operation. Physics is neat.
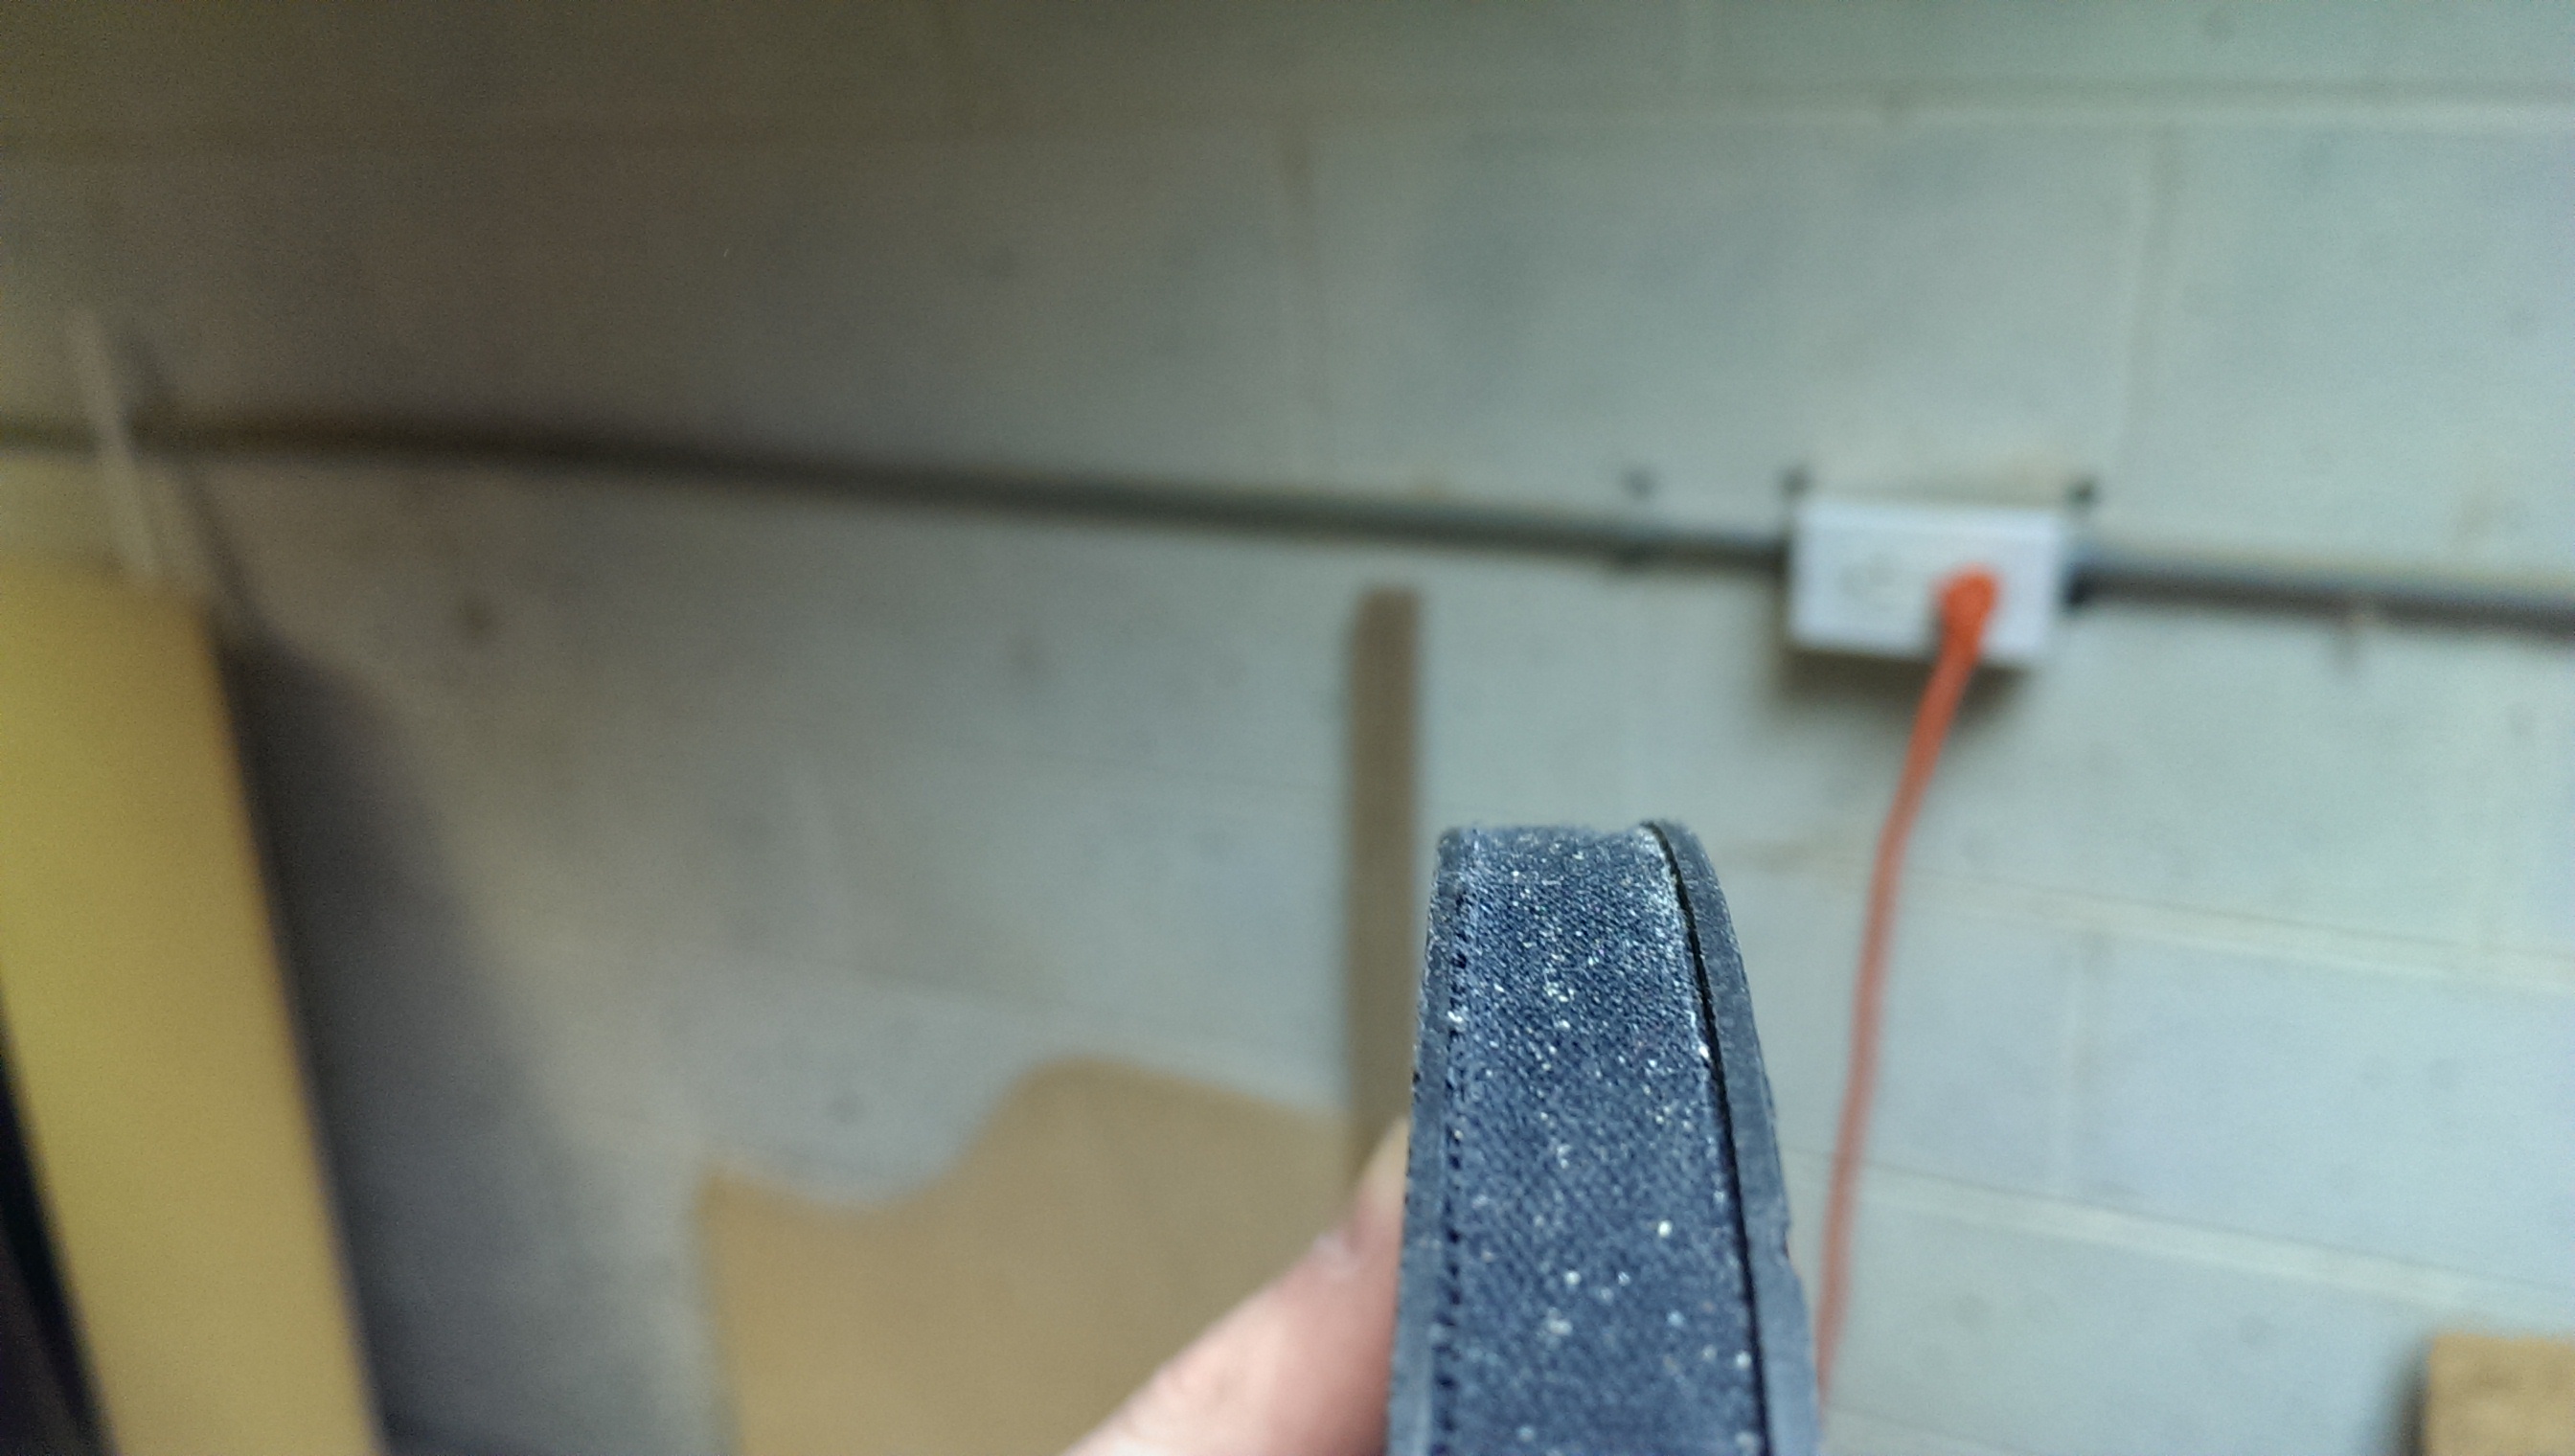
Horrible picture, but I promise the center is higher than the outsides
I tried and mostly failed to get this on camera, but the center is raised just a bit from the outsides. These replacement tires will need replacement much sooner than rubber ones, but you really can’t beat the price.
Wrap-up
All finished
And that’s it. The entire procedure only took an hour or two, and probably cost less than $3, considering everything but the grip tape was scrap I had in the shop. The bandsaw is still cheap, but it’s a usable tool in the shop, especially with only $23 invested.
Personally, I plan to get a real 14″ bandsaw from a reputable manufacturer eventually, at which point I will likely turn this into a disc/belt sander. Still, if you have an old 9 or 10″ bandsaw lying around, you might be able to get it going again more inexpensively than you think.
I have the same saw, but it is labeled as Delta. Selling any of those inserts?
I’d probably have to charge a lot more than you’d want to pay. They’re really pretty straightforward to put together, though.
If you had access to a 3d printer, you could probably make one out of plastic as well.
Hi James – I sit with the exact same problem, the band saw is a total mess, but what I need help with is how to get the drive wheel off. The left hand nut is off, so what is holding the wheel on the shaft. I am going to use leather strips as wheel tires and the under guide which is also broken, I am going to cast a new one out of aluminum. Will cast more than one so let me know if you want a replacement.
The drive wheel should just slide off once the nut is removed. The other two wheels will have a snap ring (which requires special snap ring pliers to remove) holding the bearing to the shaft. Maybe your drive wheel has one of these too?
I appreciate the offer. For what it was, the UMHW plastic worked fine as a guide. At this point though, I’ve now bought a Rikon 10-324, so I no longer use this bandsaw. On my backlog is turning it into a strip sander, actually…
My lower blade guide on my cheapo Craftsman 10″ bandsaw broke just like yours……good design, bad material, cheap pot metal. Will be attempting to copy yours. Thanks for posting this.