Fixing A Downspout
Fixing a downspout
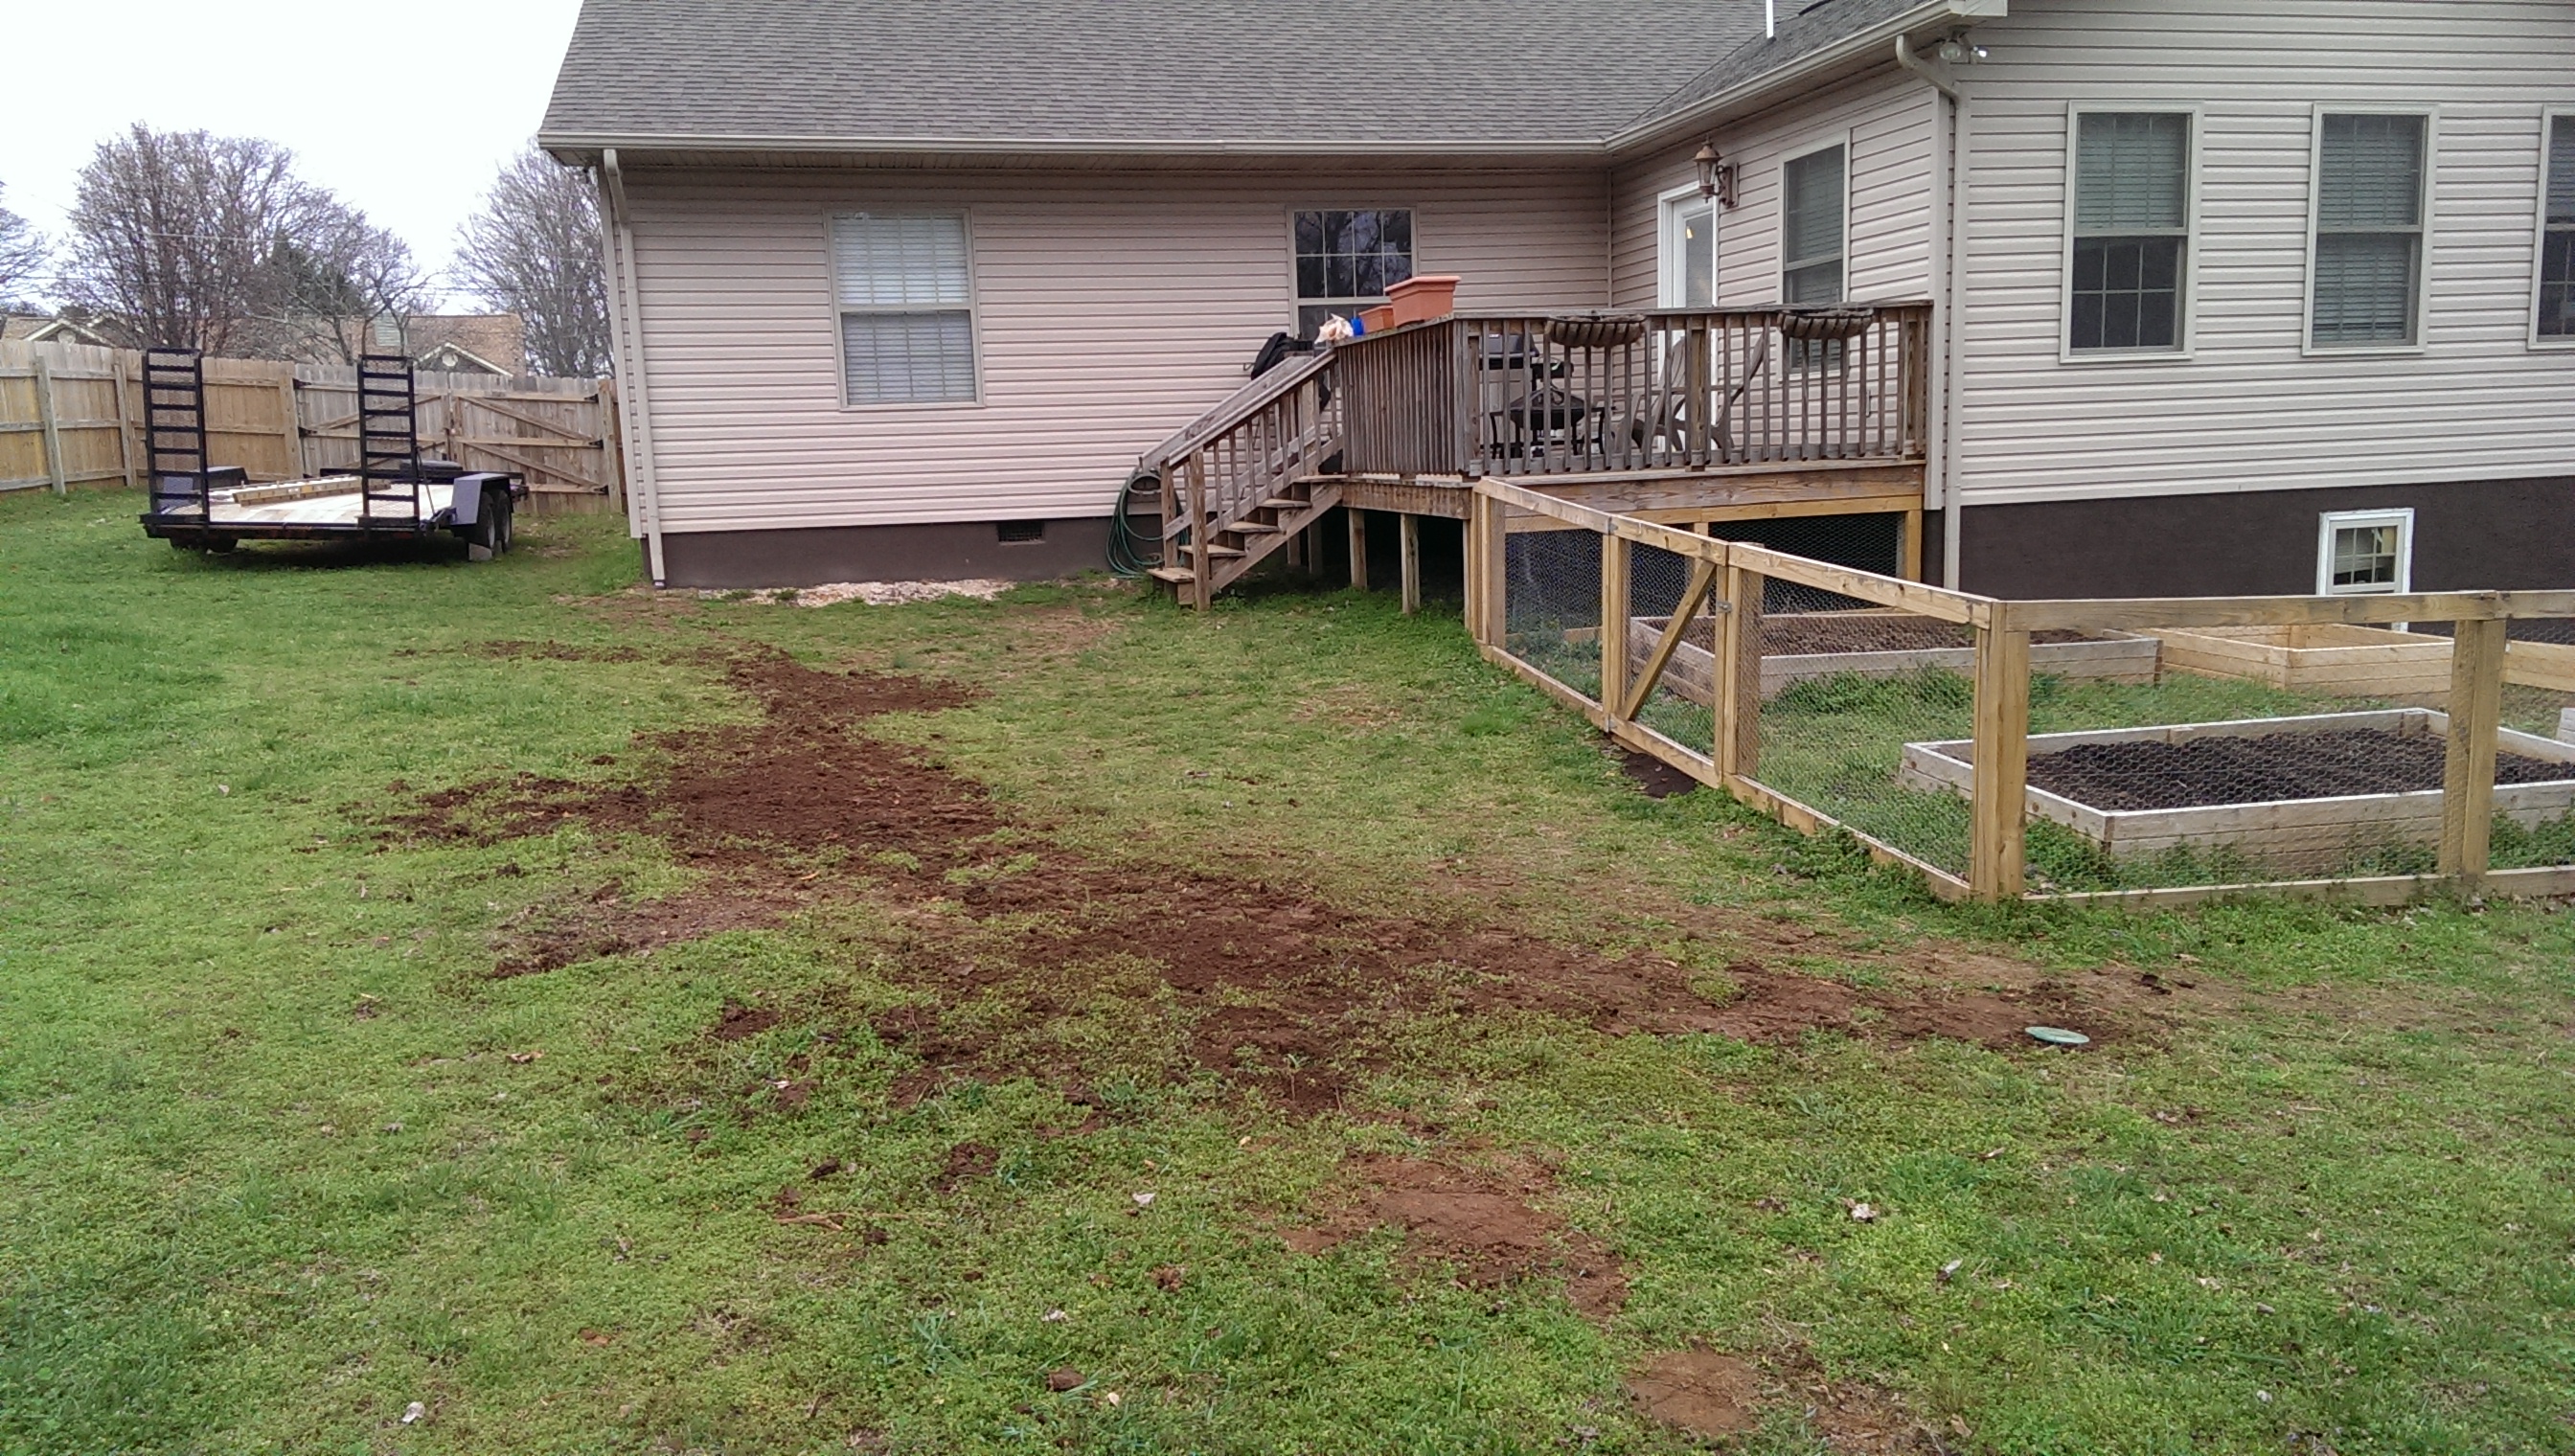
In our backyard, somebody had used corrugated landscaping pipe to direct the water a few feet from the downspout. This was making a nice puddle right in front of the steps to the deck and getting our dogs all muddy. I chose to redirect it much further away in the yard using PVC.
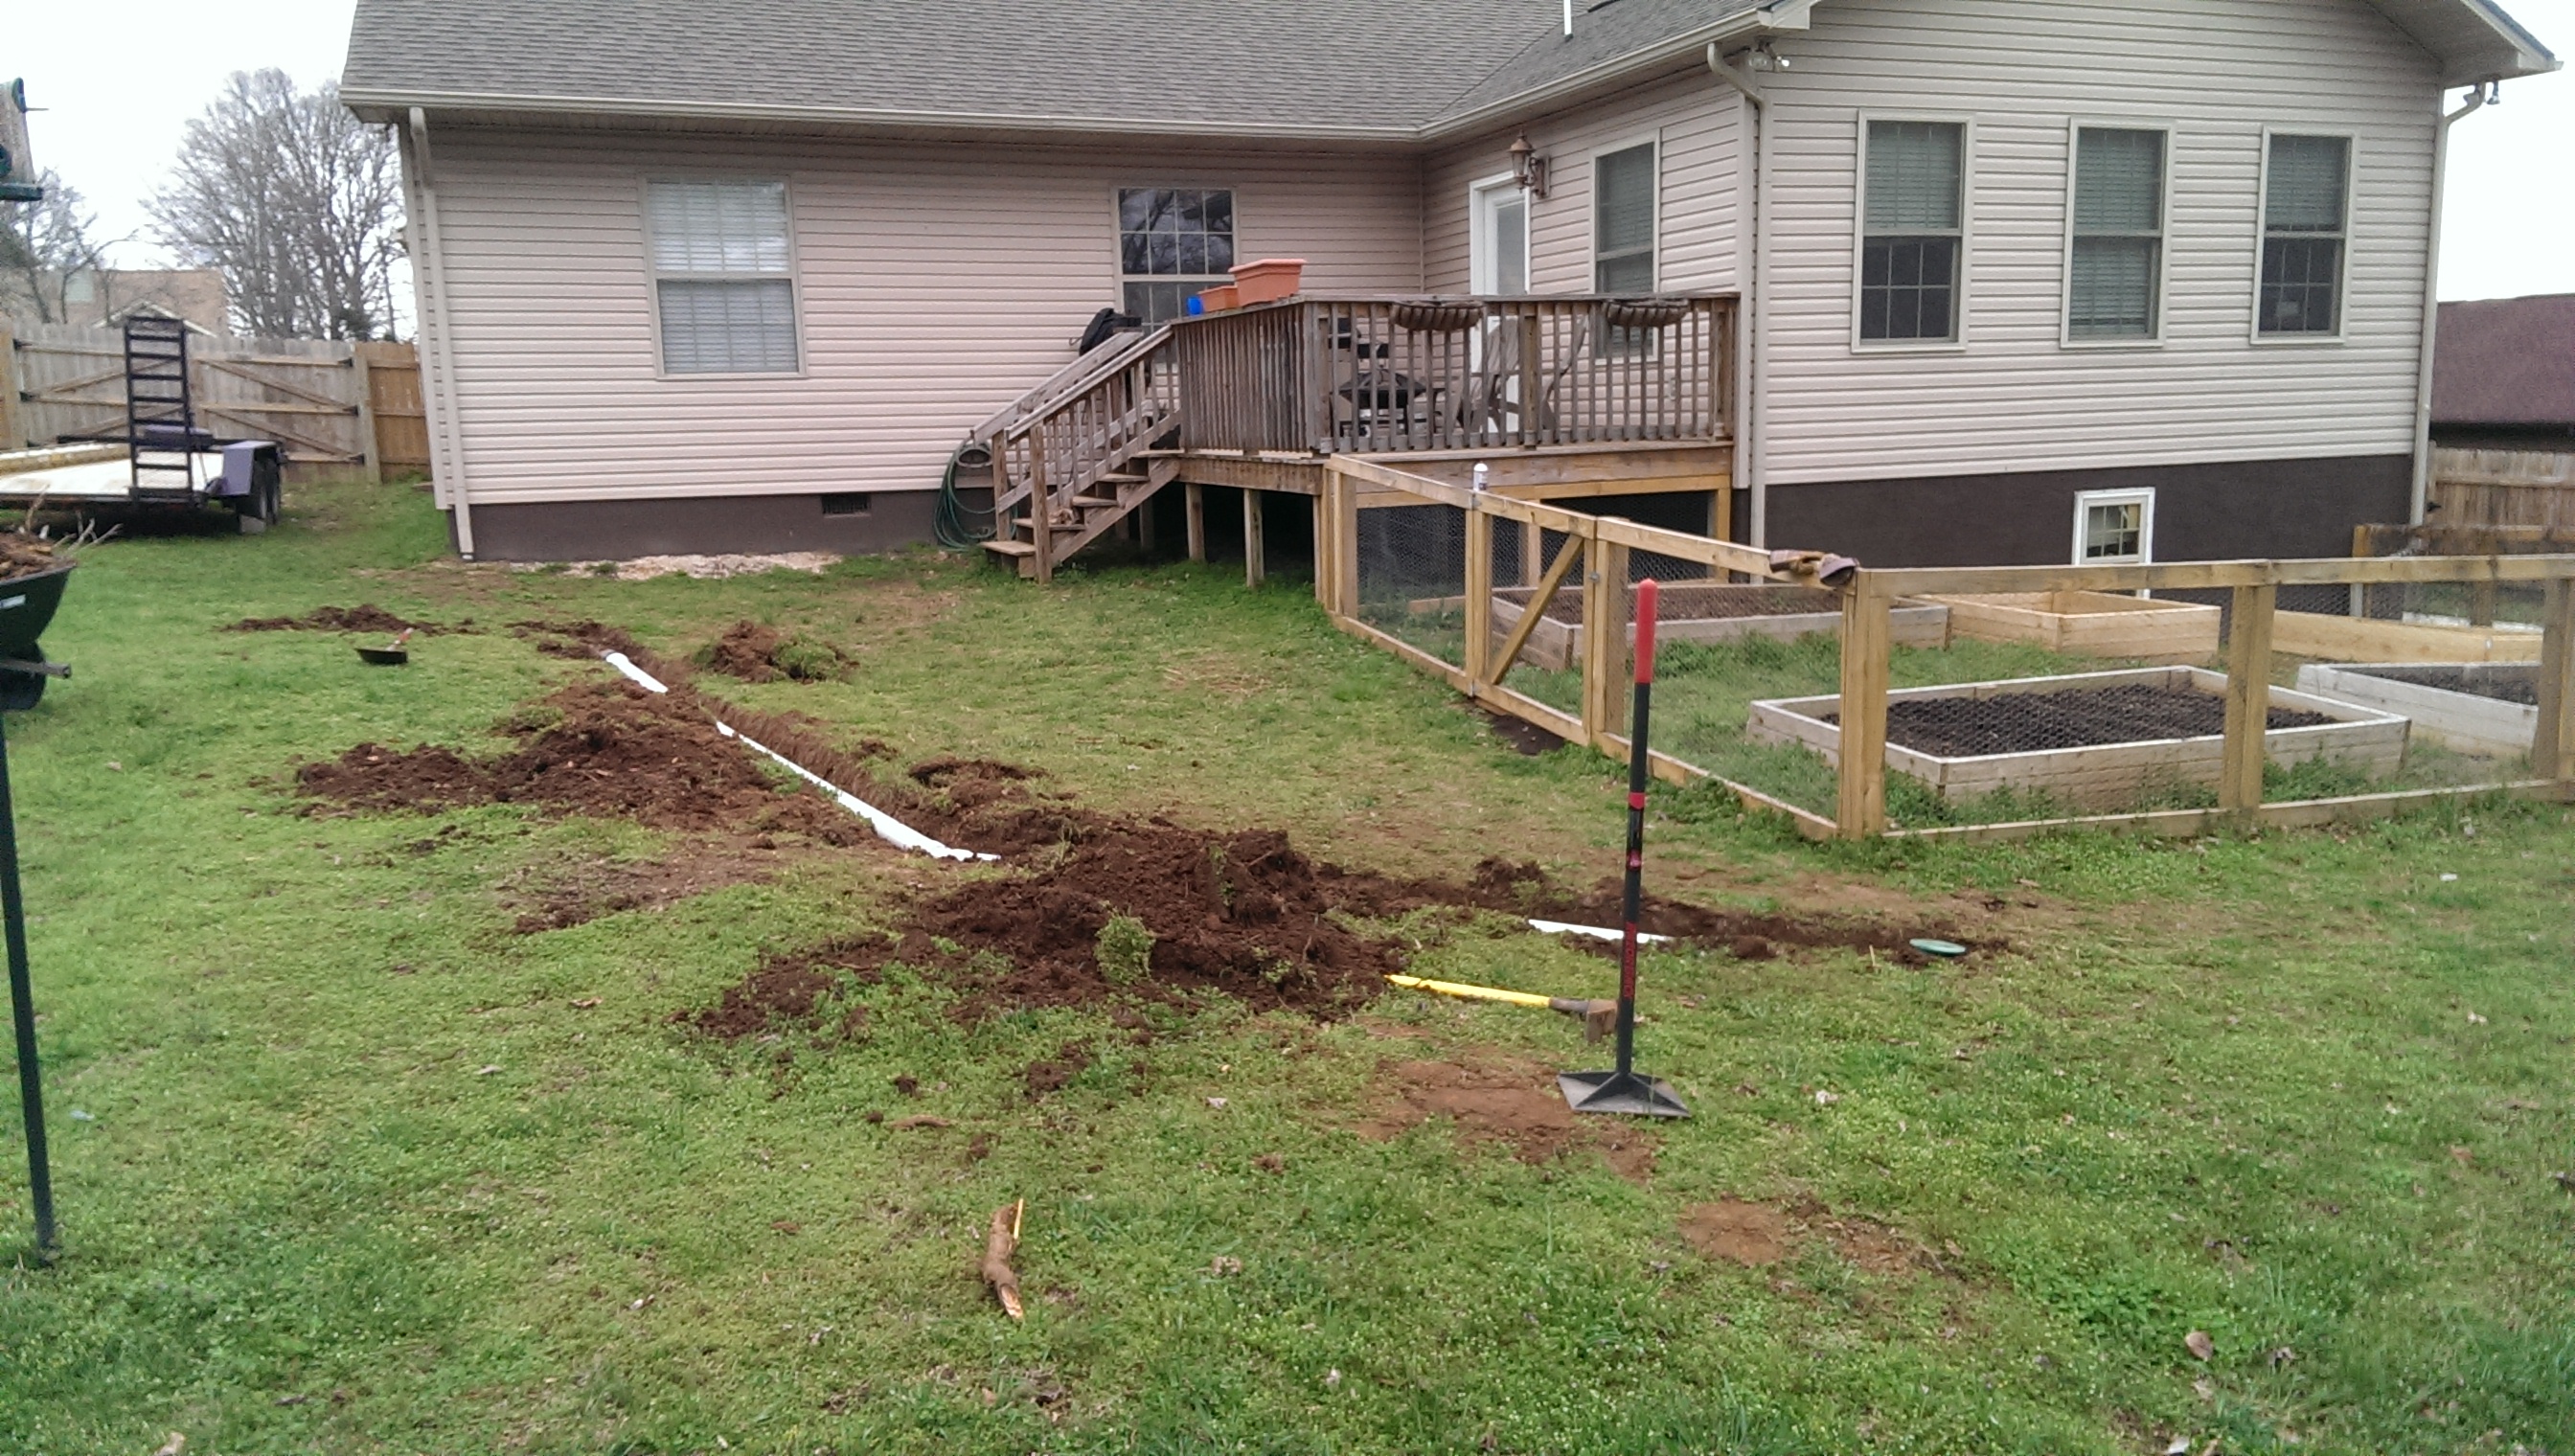
Prepping the site
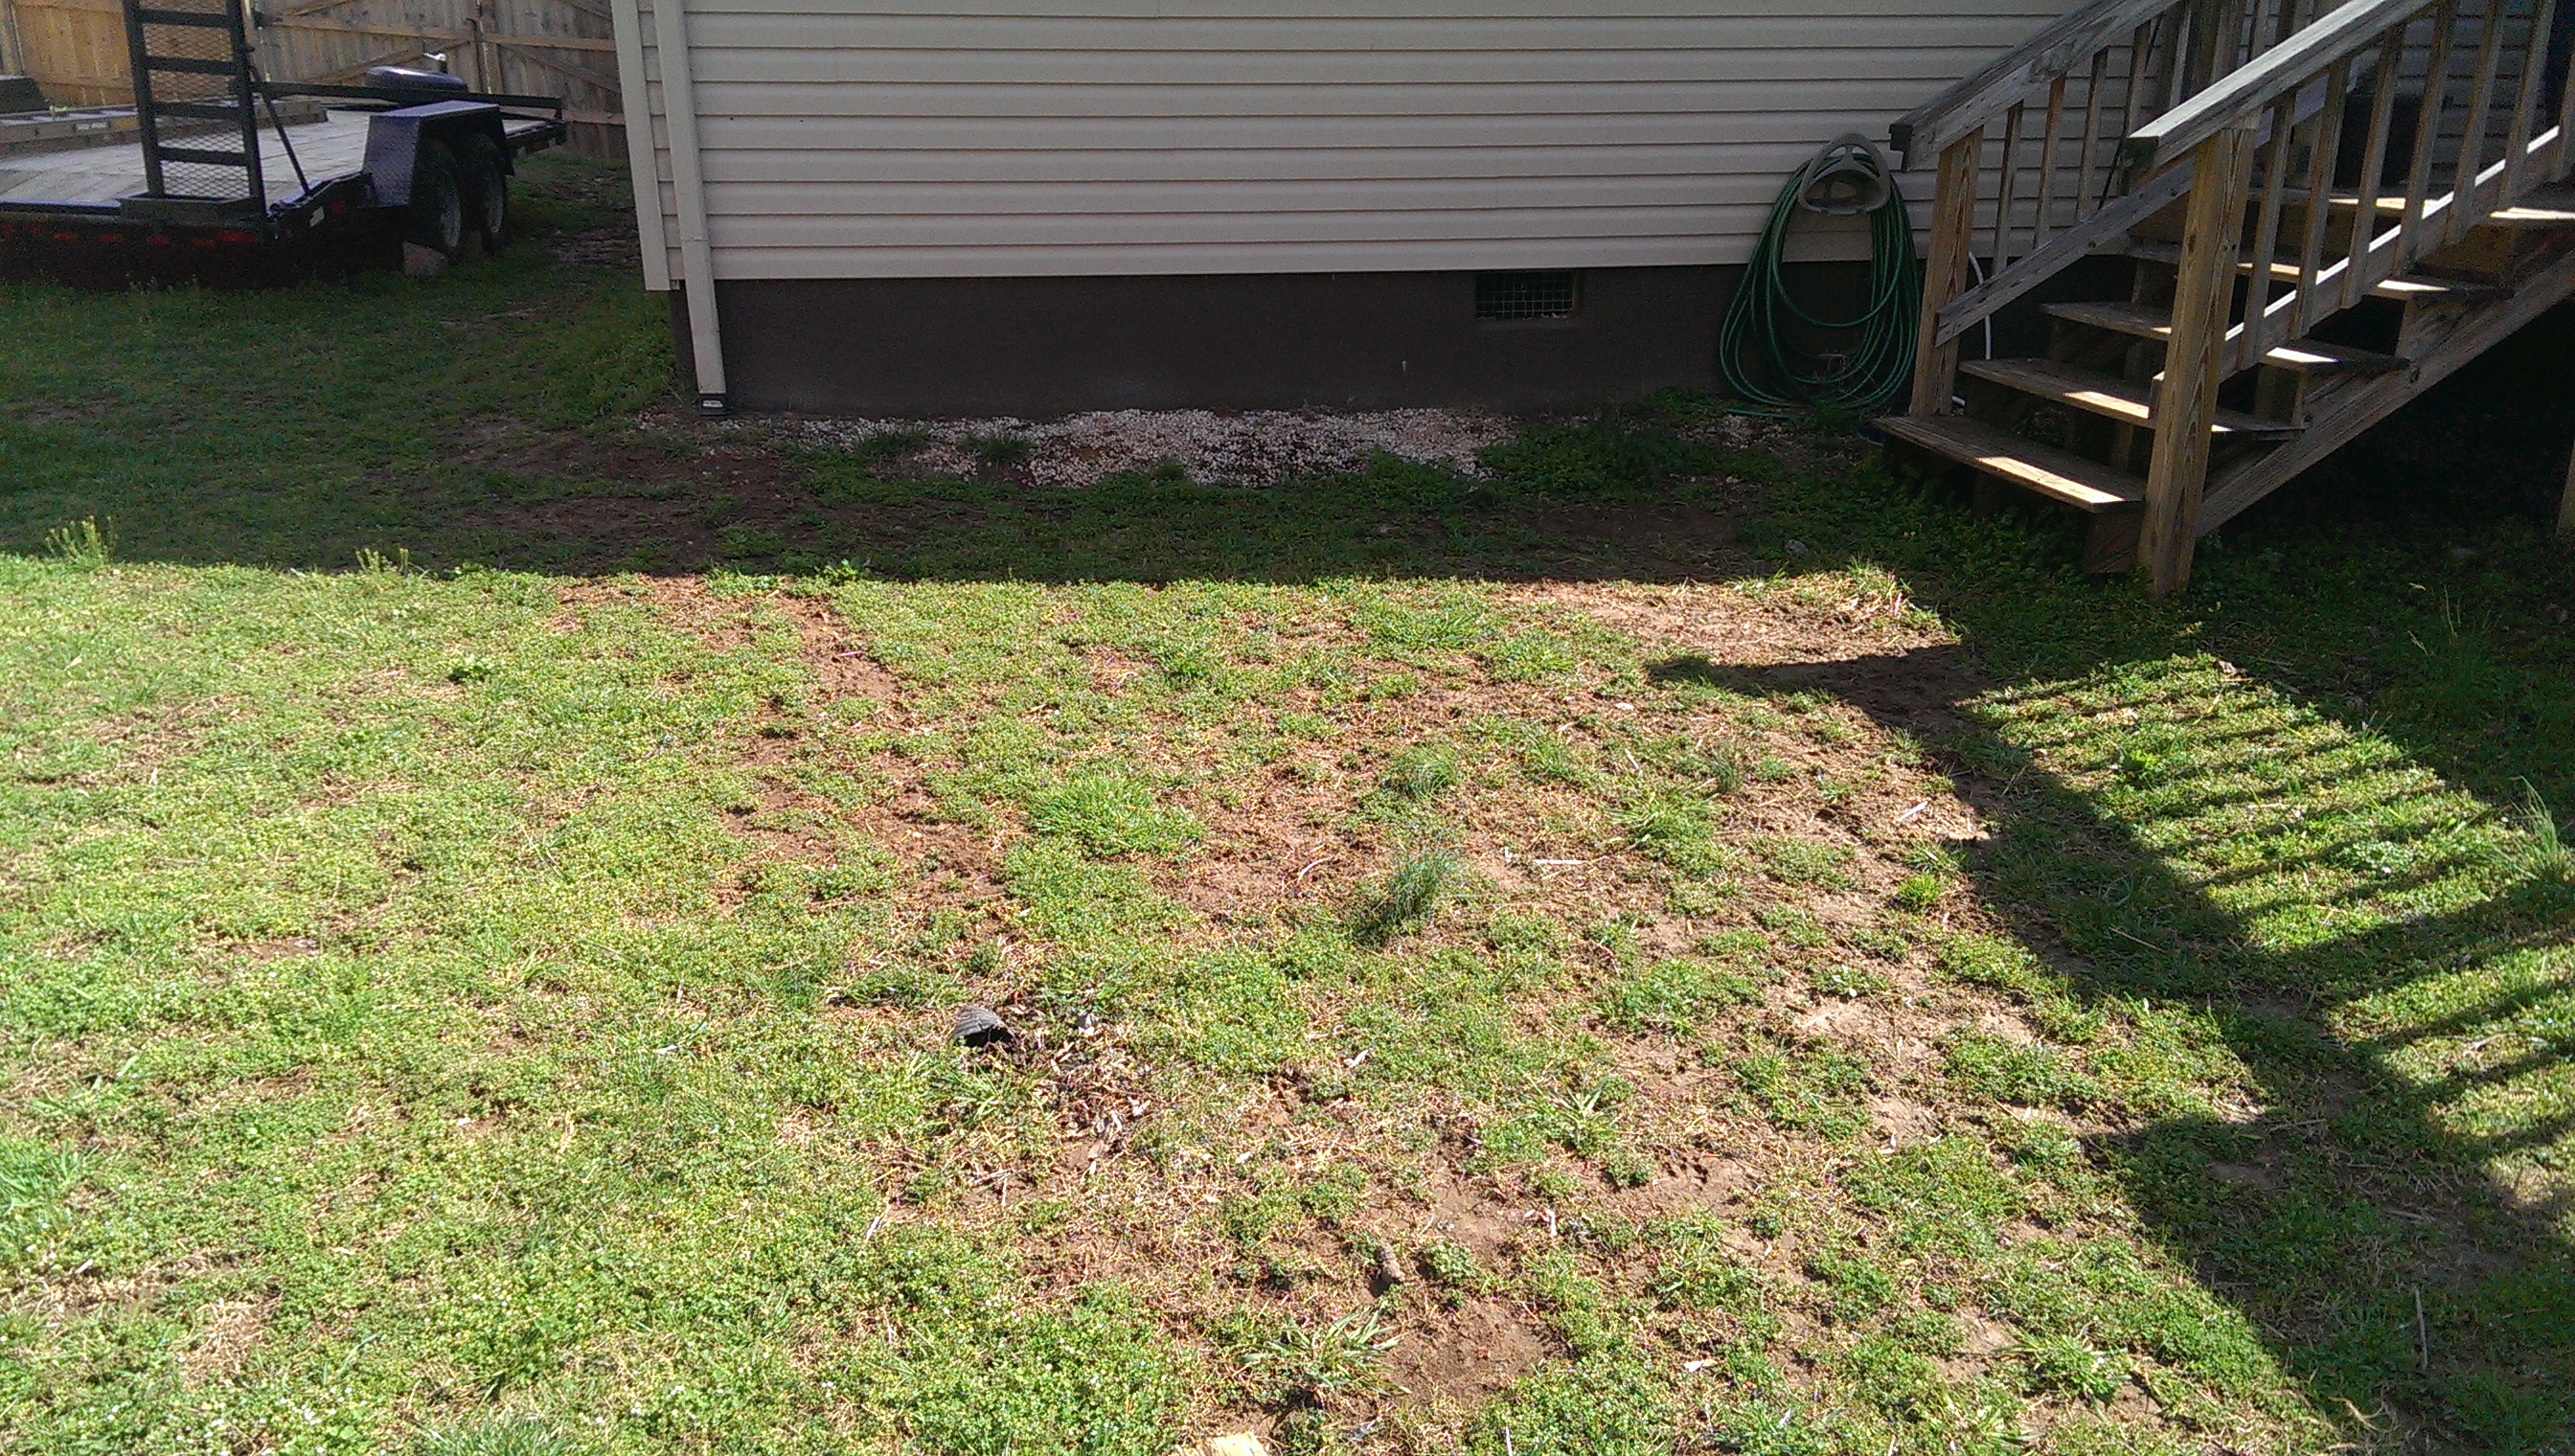
What I started with
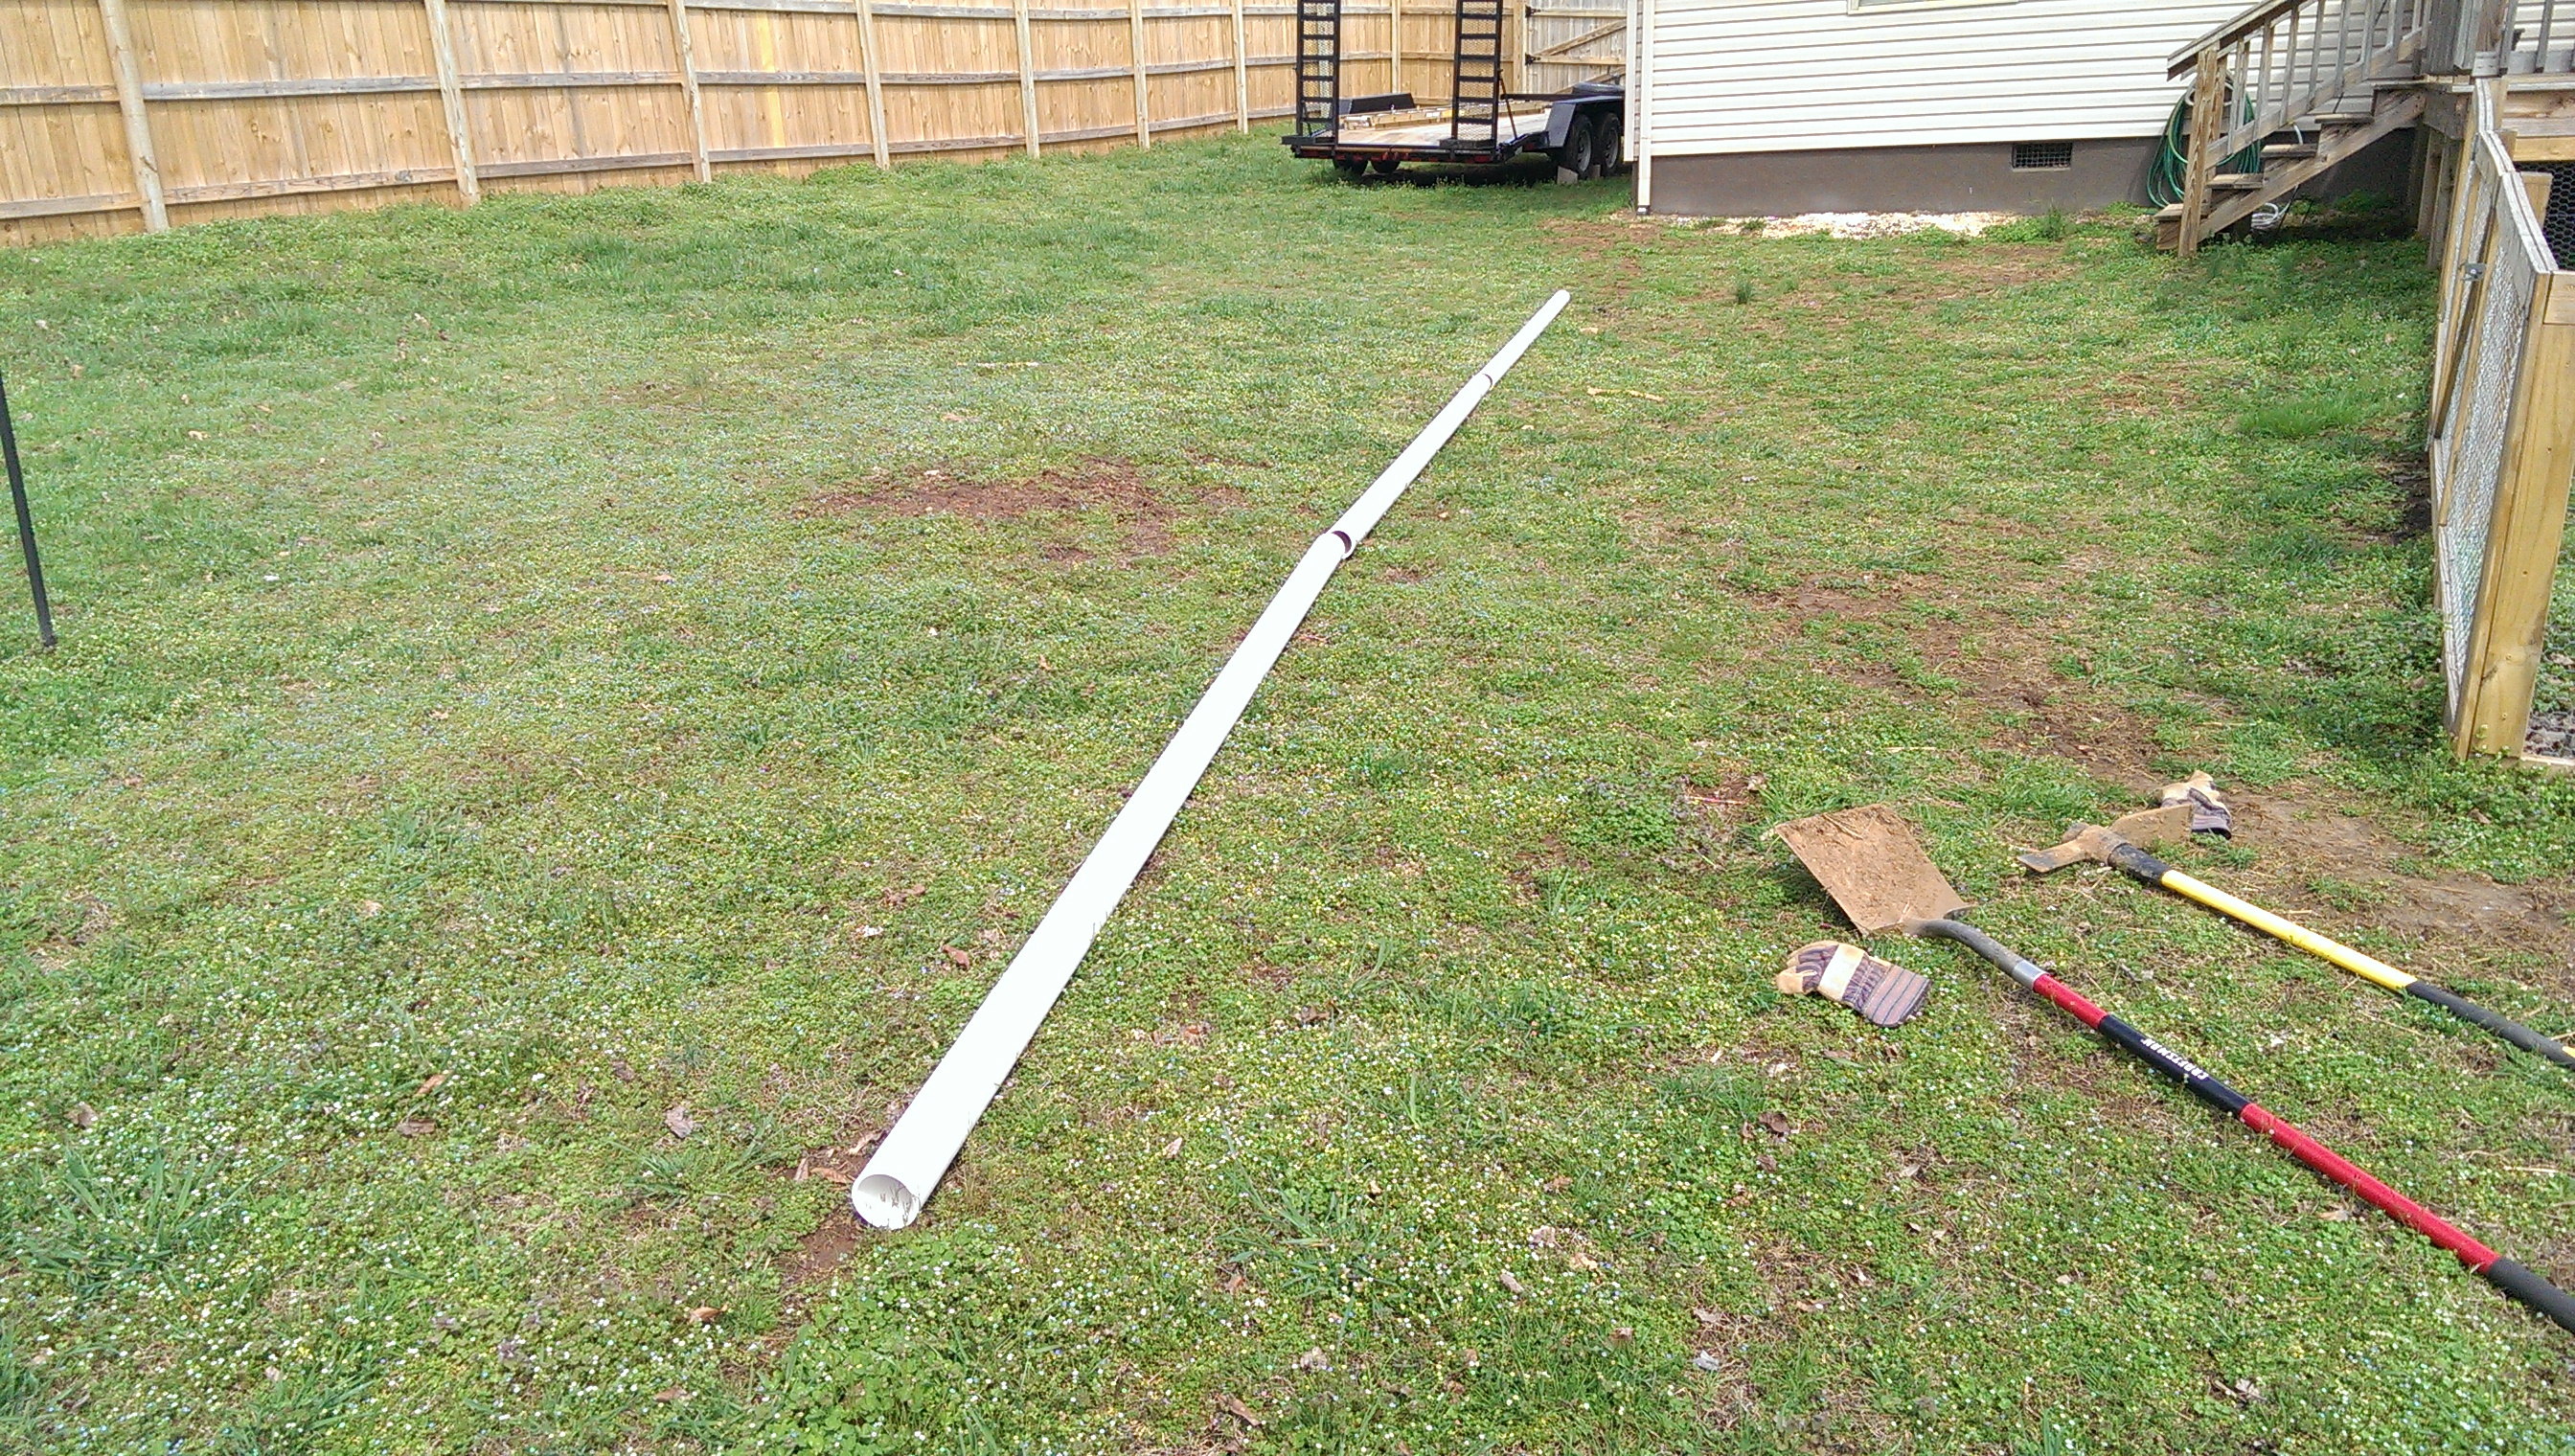
Rough layout for the pipe
I knew this downspout got significantly less flow than the one on the adjacent corner simply from having lived in the house for a few months. As such, I chose to use 3″ PVC to save a bit of money. 4″ PVC would work even better. I got rough lengths for what I’d need from the home store, and laid everything out to determine where I would put the drain.
One important note here is that I made sure my proposed run would go downhill, so gravity can assist it taking the water away rather than having it pool. Also, you do not want to bury corrugated pipe. It is designed to be run on top of or possibly just below the surface of the lawn. In this case, the existing pipe was only about an inch down, so I chose to leave it plumbed and simply work off of it to extend the drain further away from the house, past the garden.
Ensure you won’t hit any utilties!
If you don’t know where your utilities run, call the number to get your lines marked by your utility company! It’s generally absolutely free, and you do not want to hit water or electrical lines. I happened to already have done this a year prior, and knew that none of my utilities are on this end of the house.
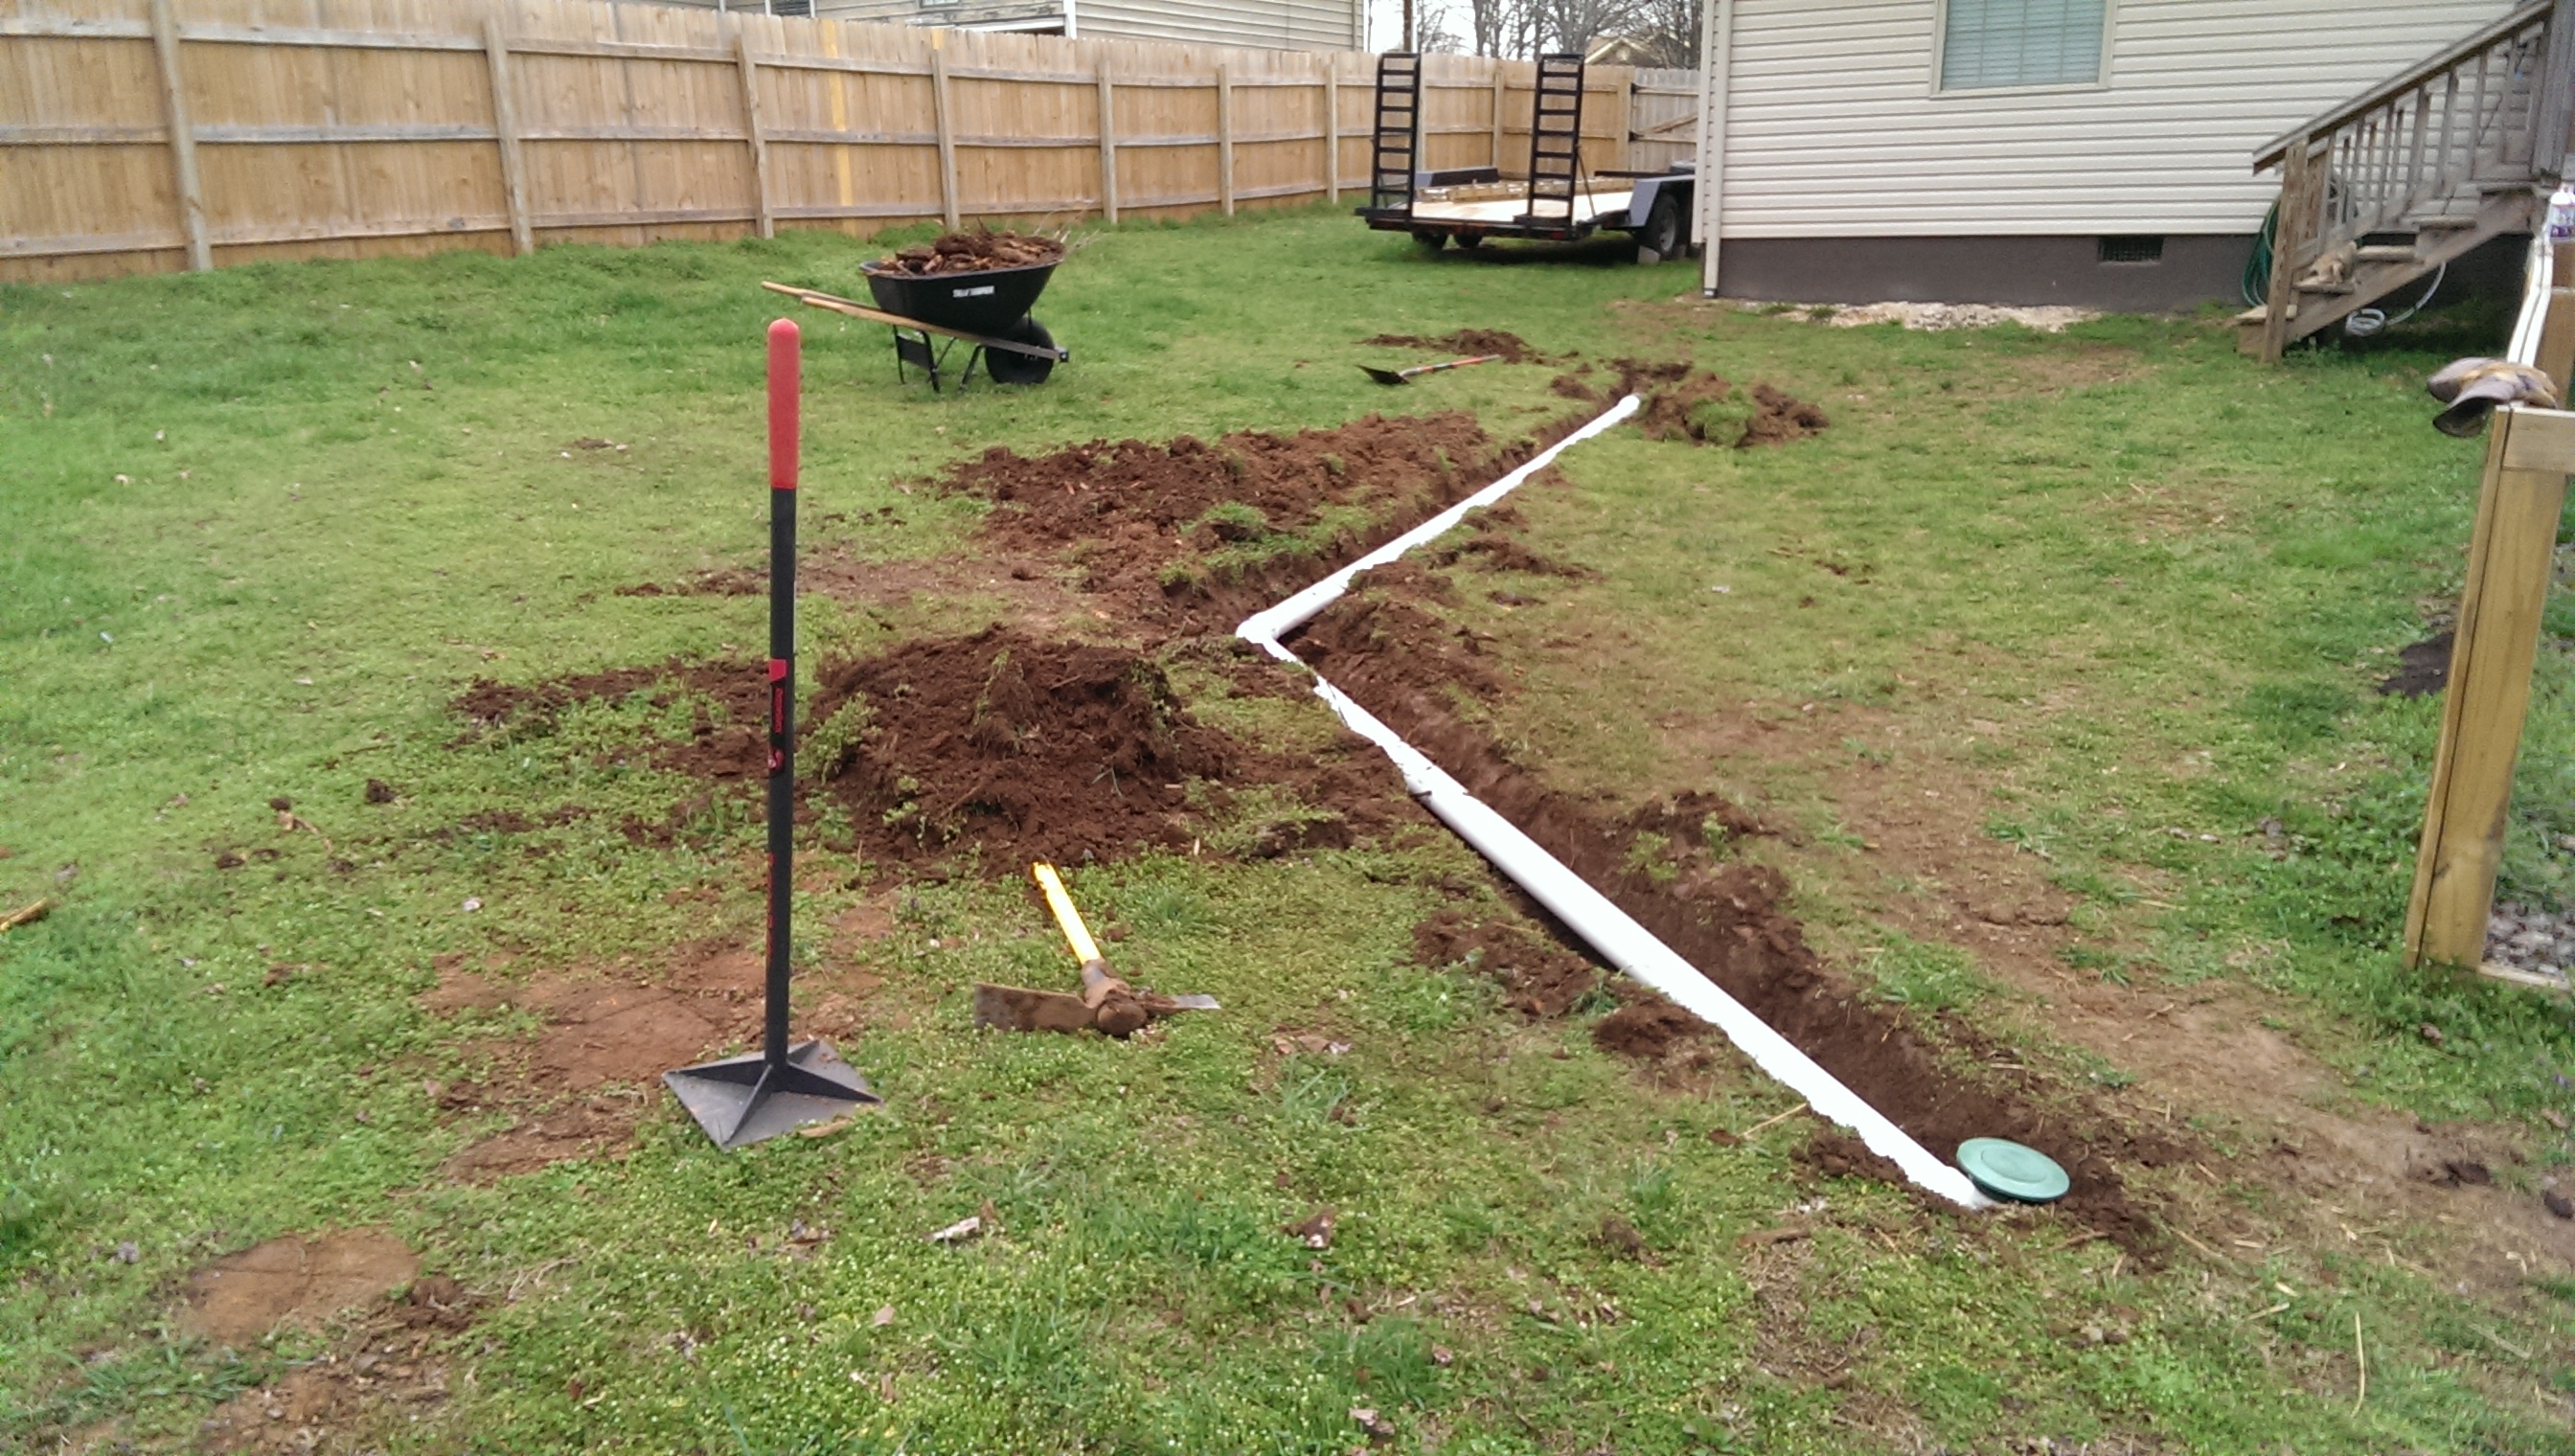
Dig
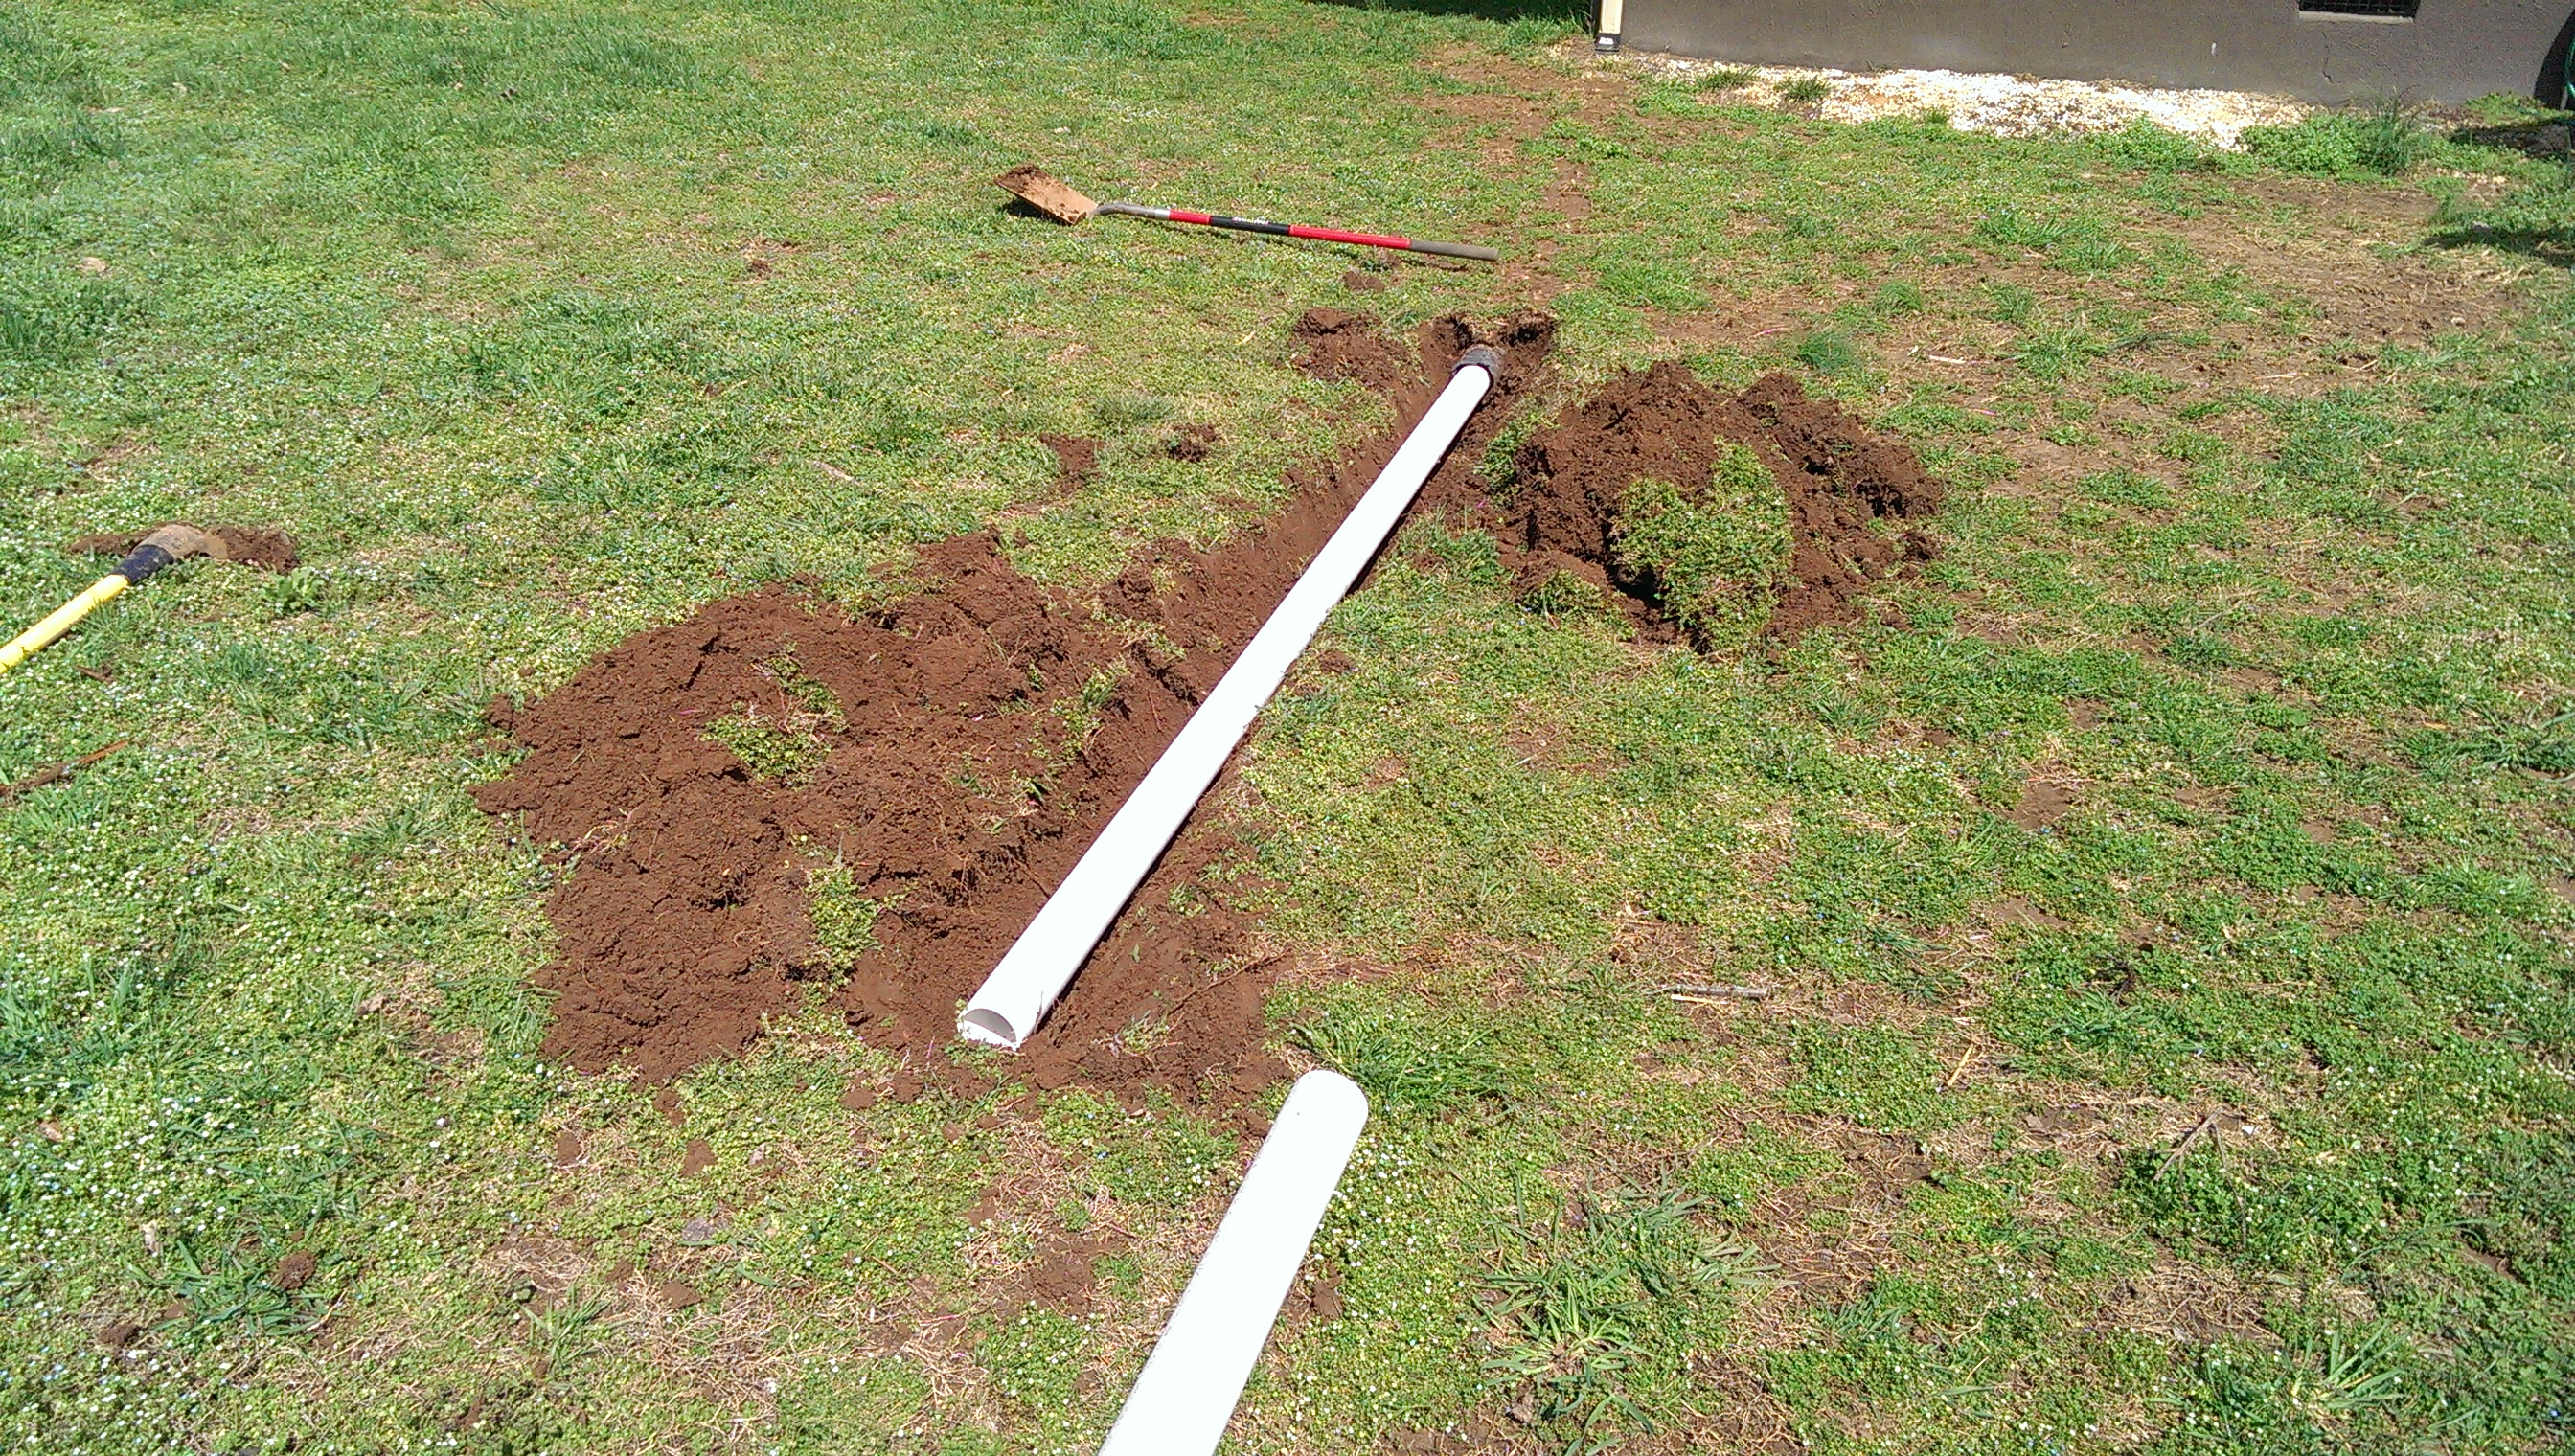
Digging the first pipe
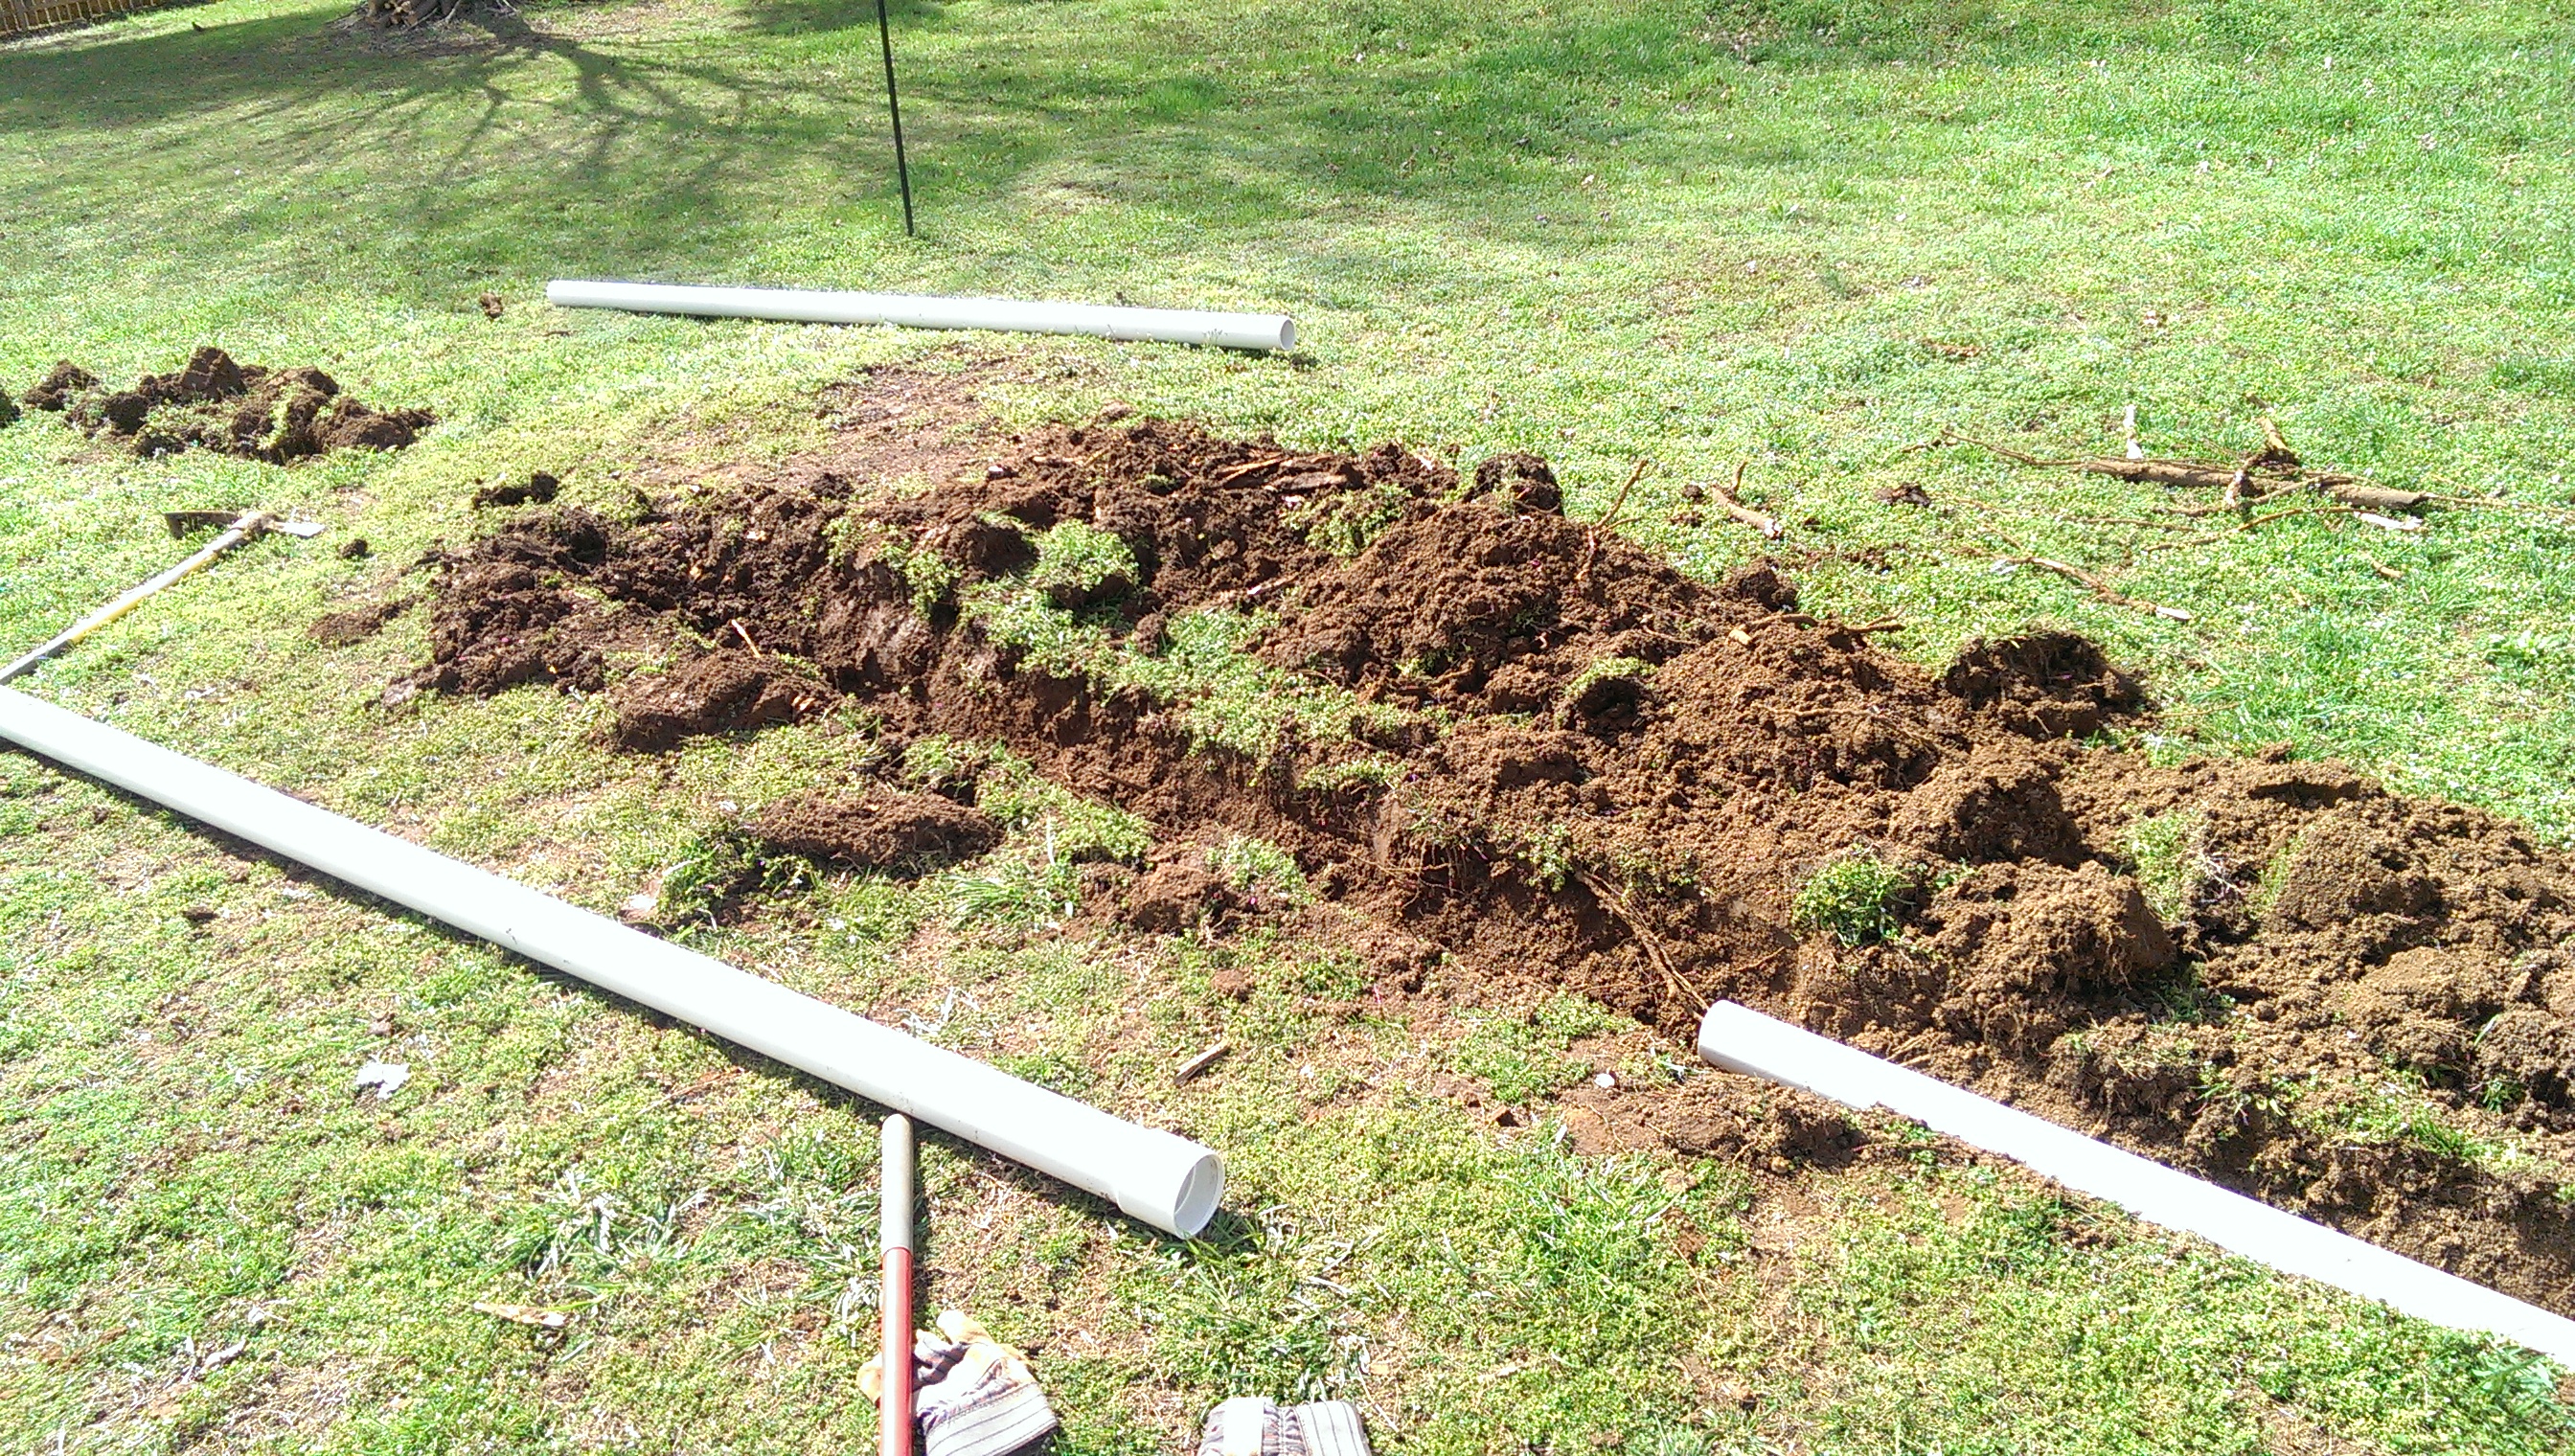
Digging the second pipe

Angling the last piece 45 degrees
This is the back-breaking part of the job. Once I had determined where I wanted the new PVC to run, I just laid the pipe out and stabbed the ground with my shovel to mark its path. Then, I began digging out a shallow trench, double-checking to ensure my line was straight and the pipe would go where I wanted it to. Lastly, it was just a matter of digging deep enough to bury the pipe. In my yard, there used to be a large tree in this area, so I had to break up some thick roots. A pickaxe works great if you run into this situation.
Connect the Pipe
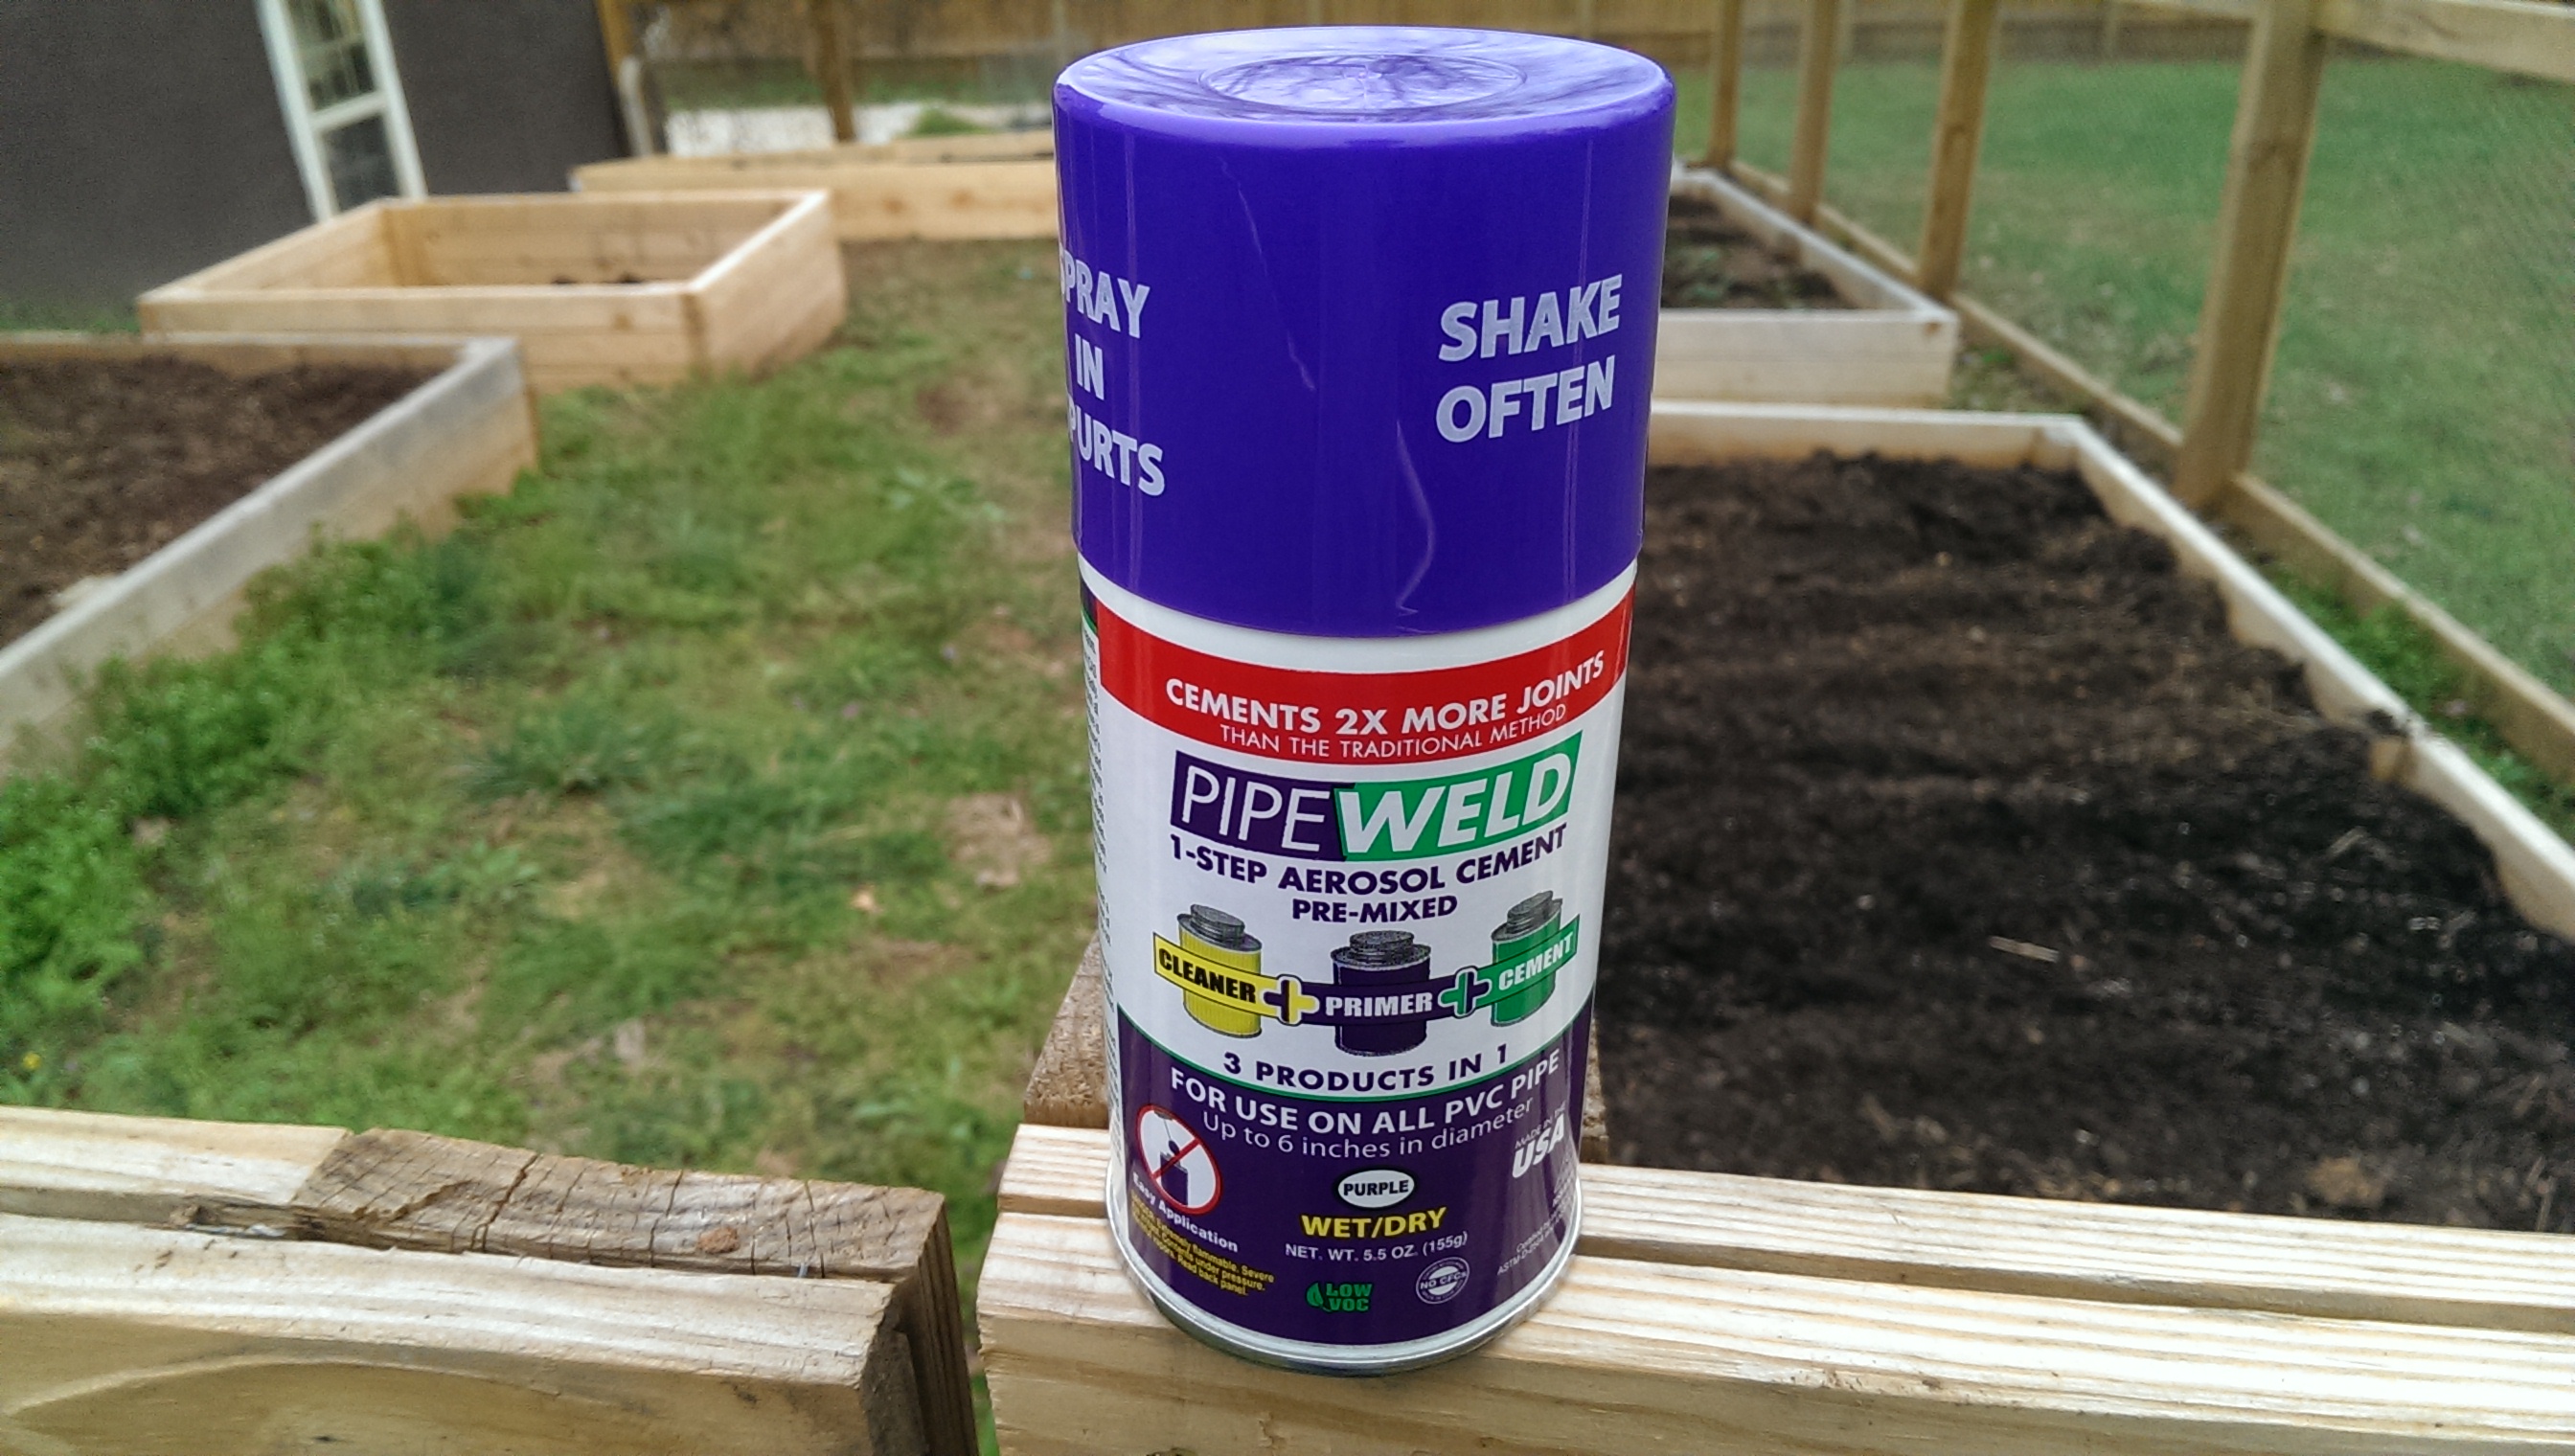
Use PVC cement to affix pipes together
Once the trench is dug, it’s time to actually plumb the pipe together with PVC cement. I tried out this purple spray adhesive, rather than having to use a brush, and it actually worked fairly well.

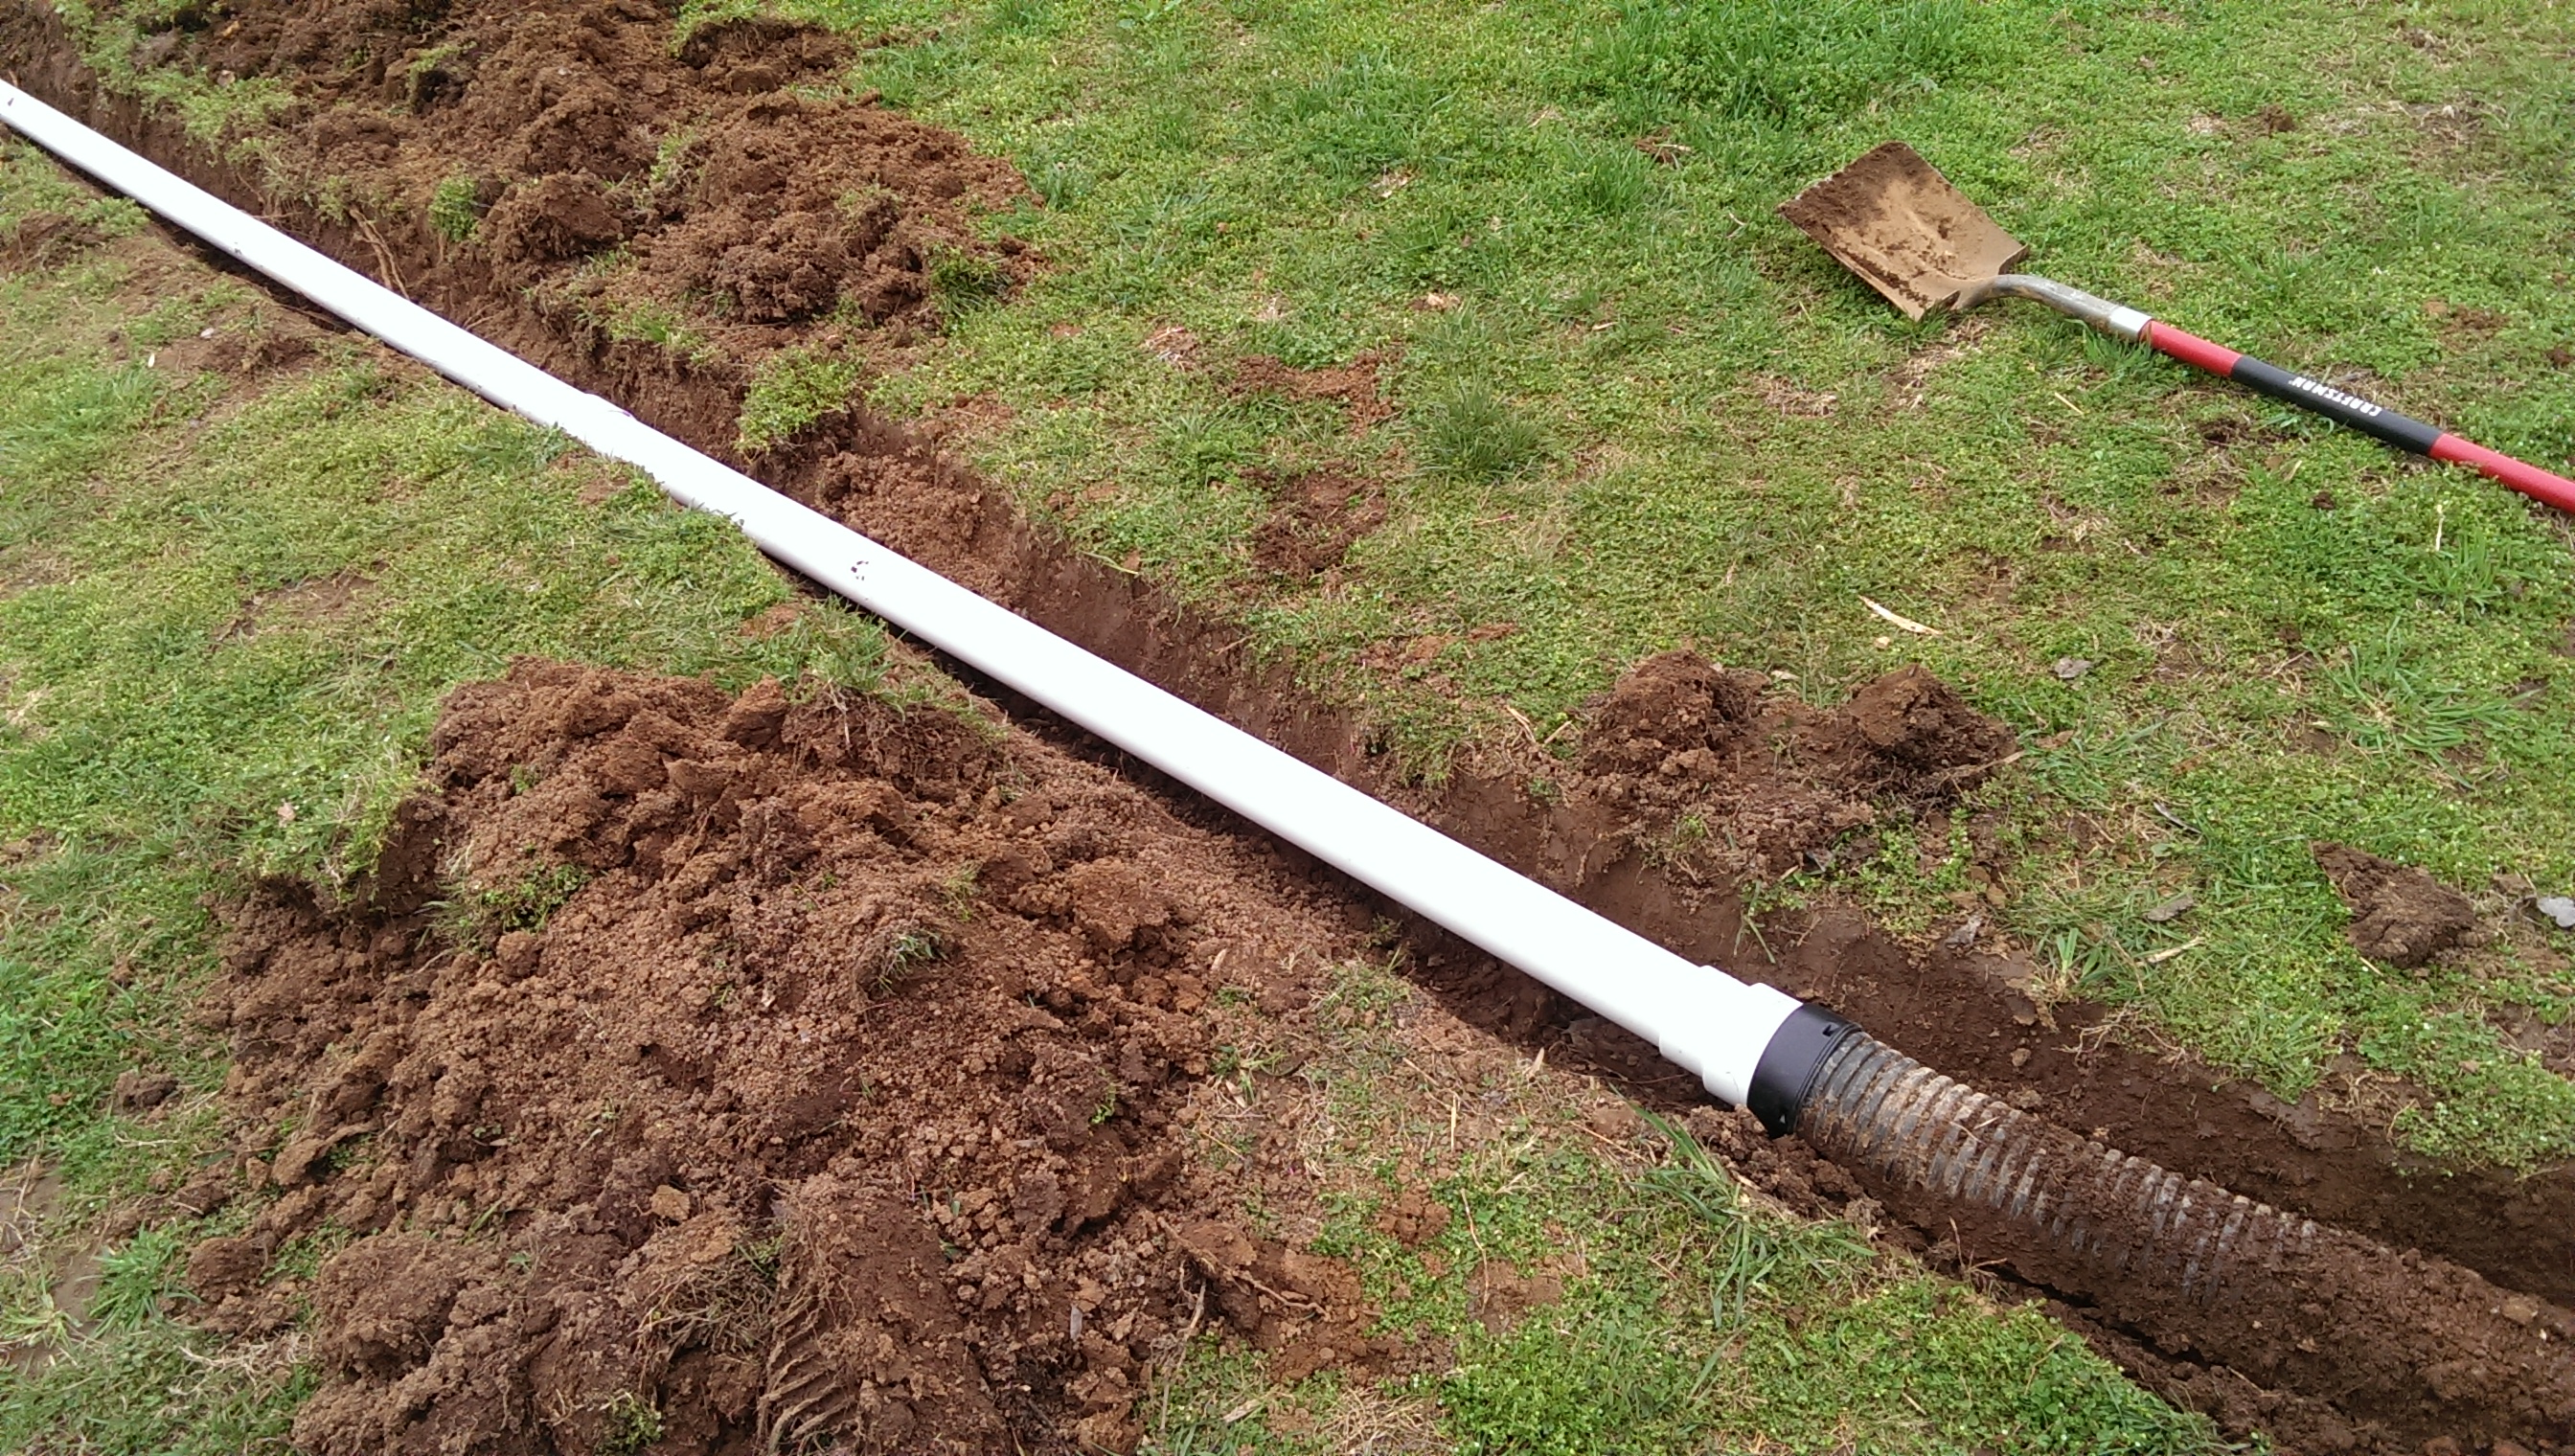
Adapters to go from corrugated to 3″ PVC
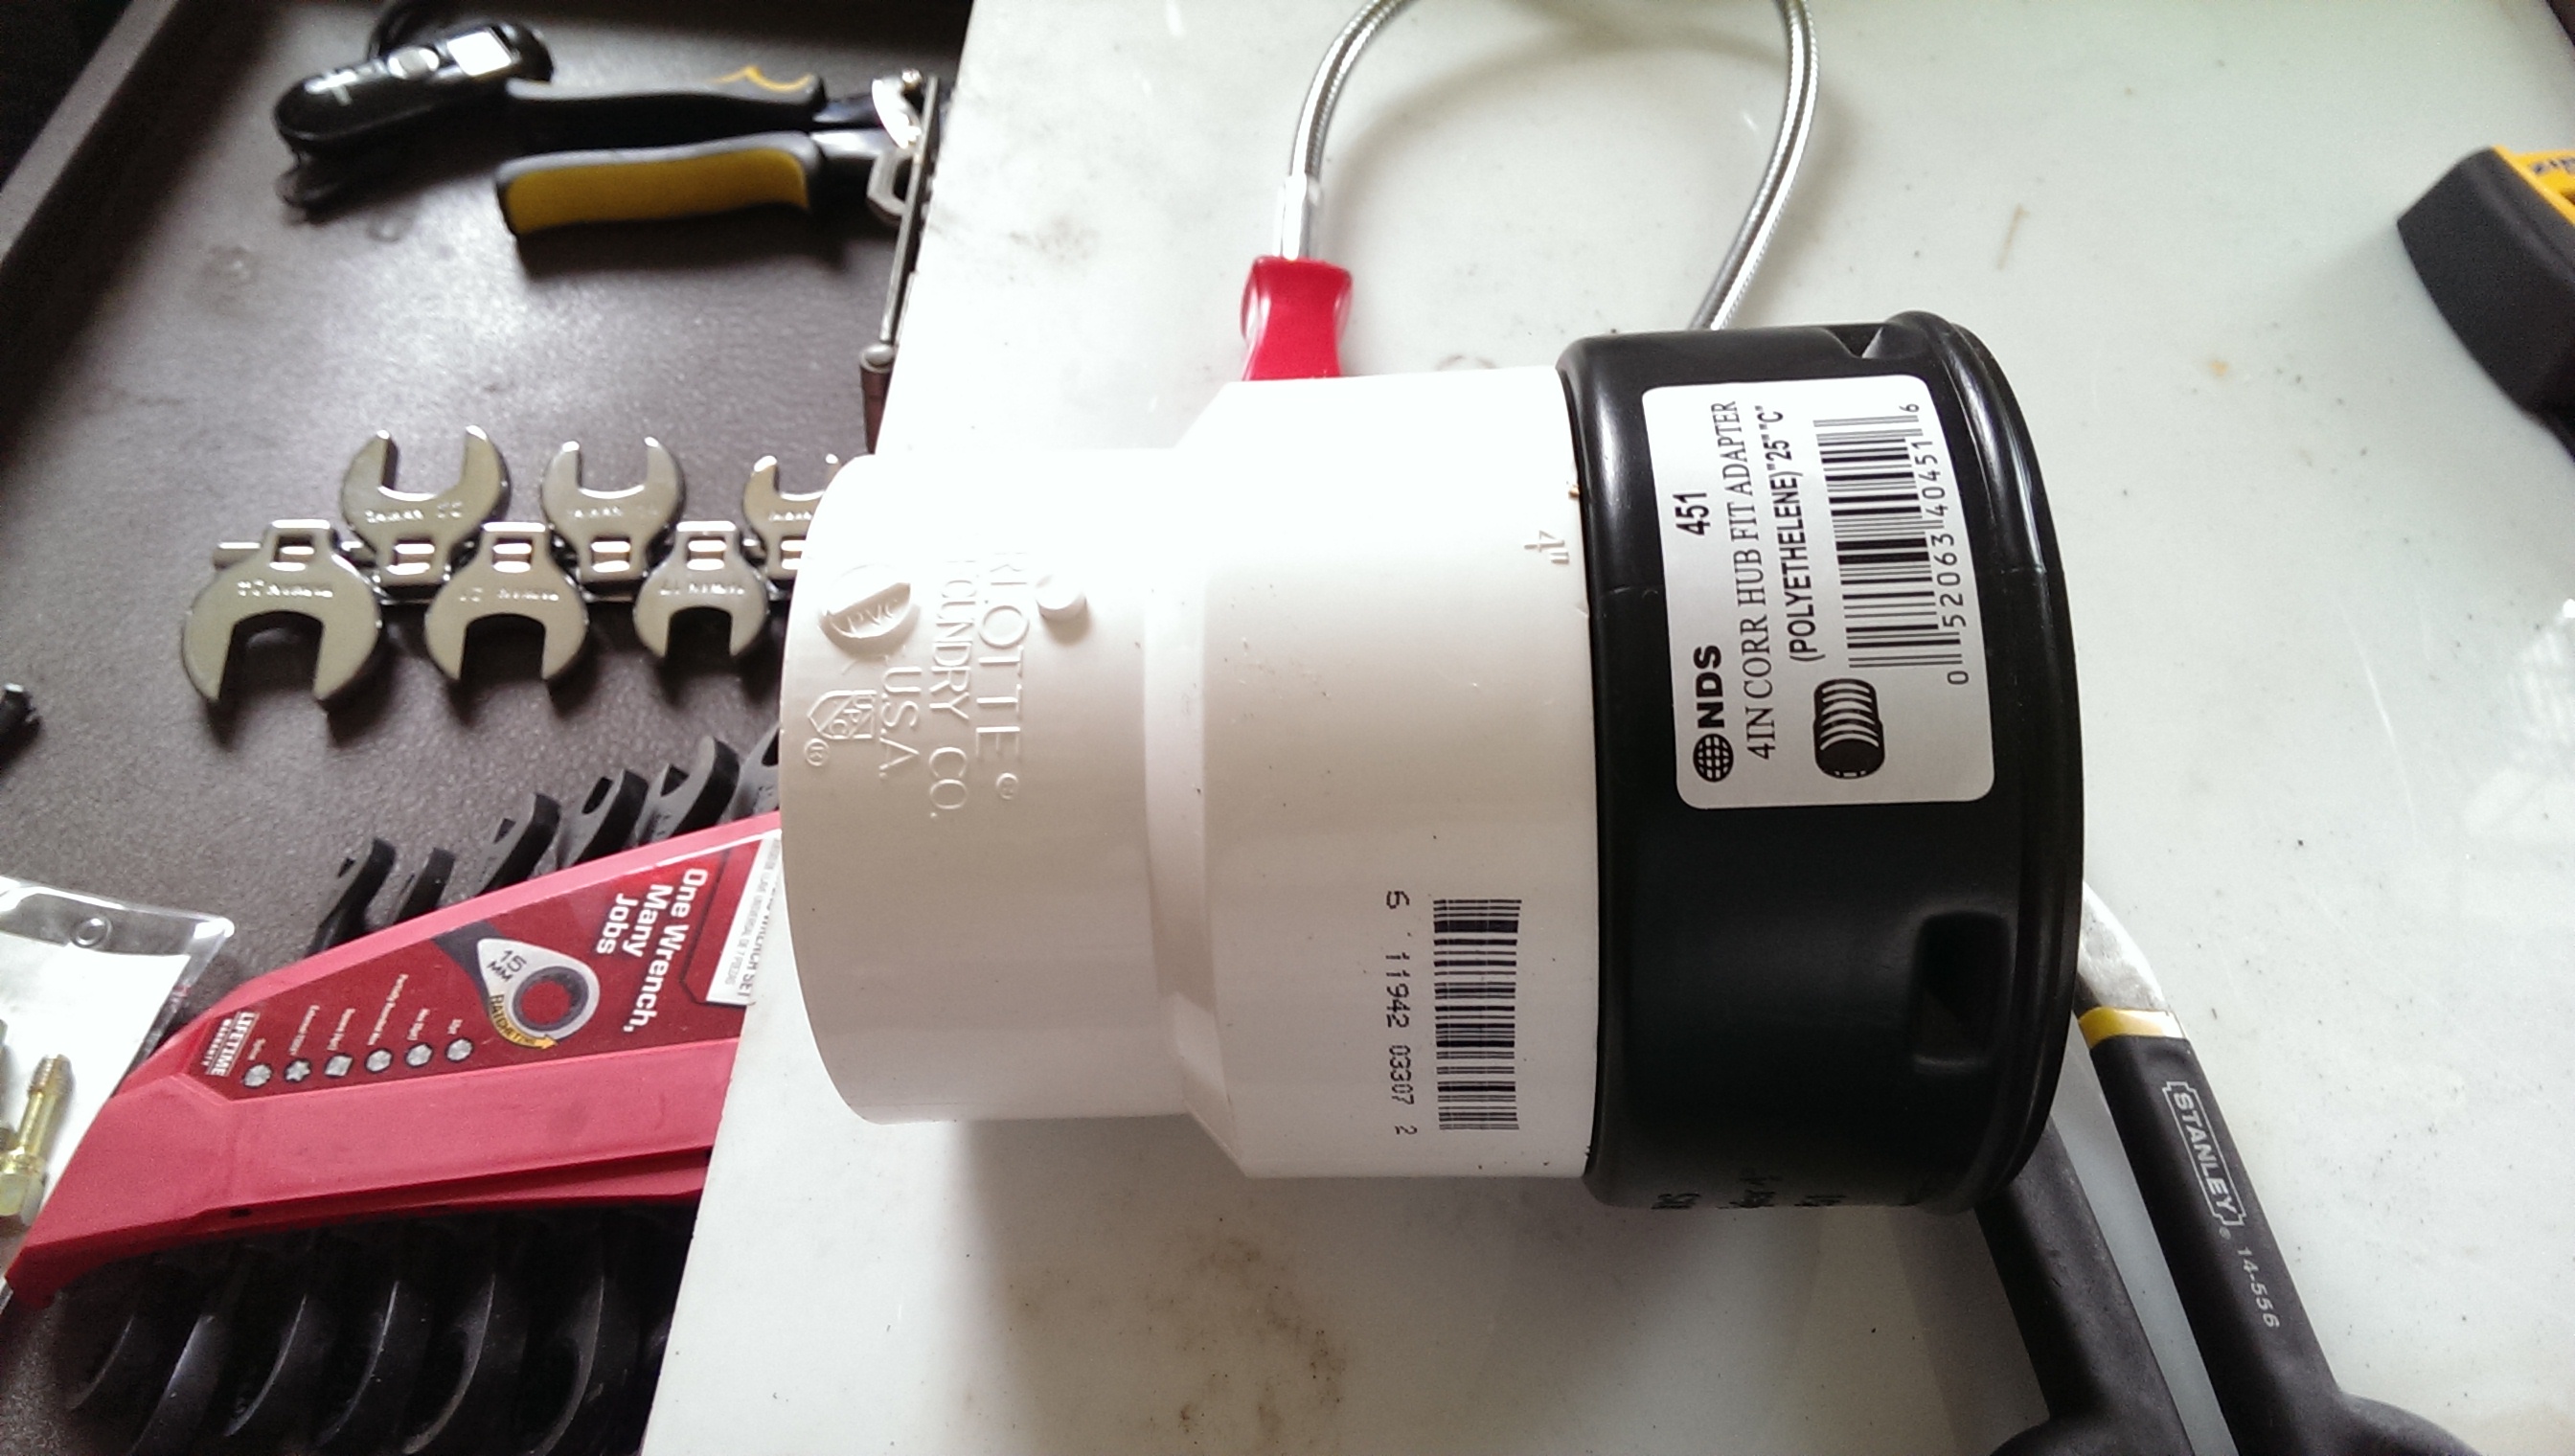
Adapter connected up
I had to use two adapters to go from 4″ corrugated to 3″ PVC as shown.

Straight connection to lengthen pipe
A simple adapter allows connecting the two long sections together in a straight line.
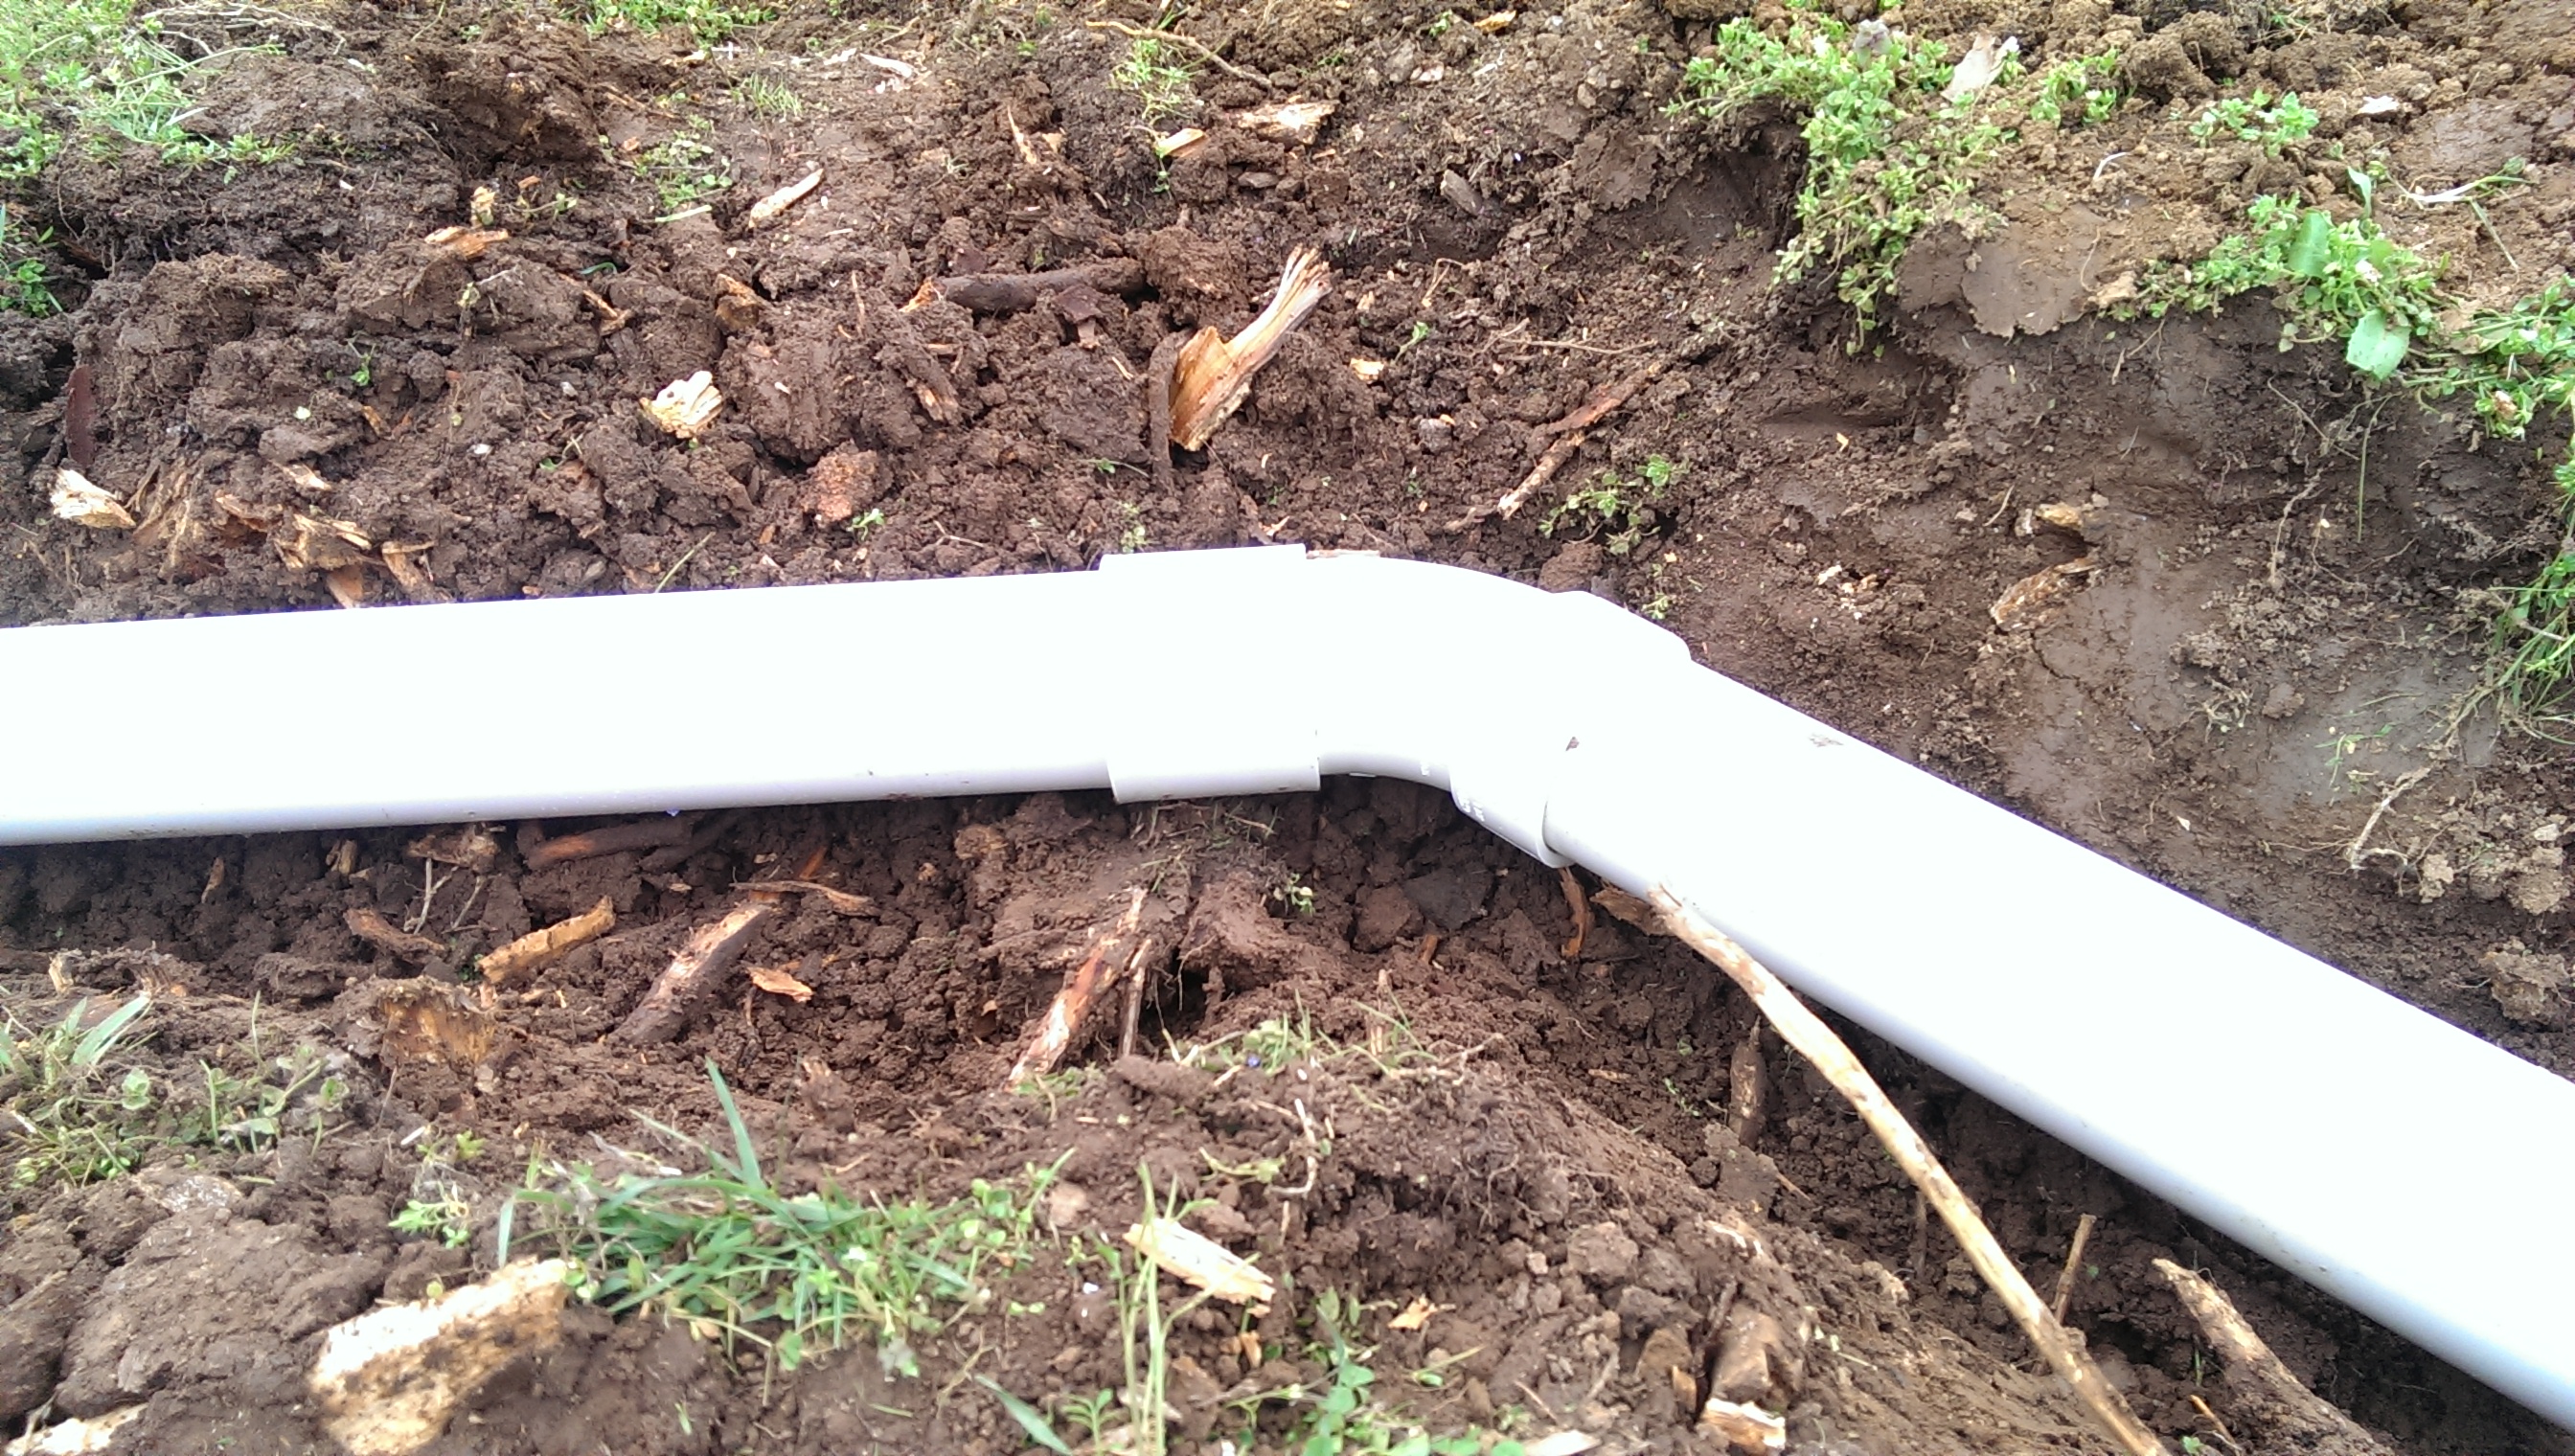
45 degree bend
A 45-degree (or was it 30?) elbow connector routes it around the garden and downhill further.
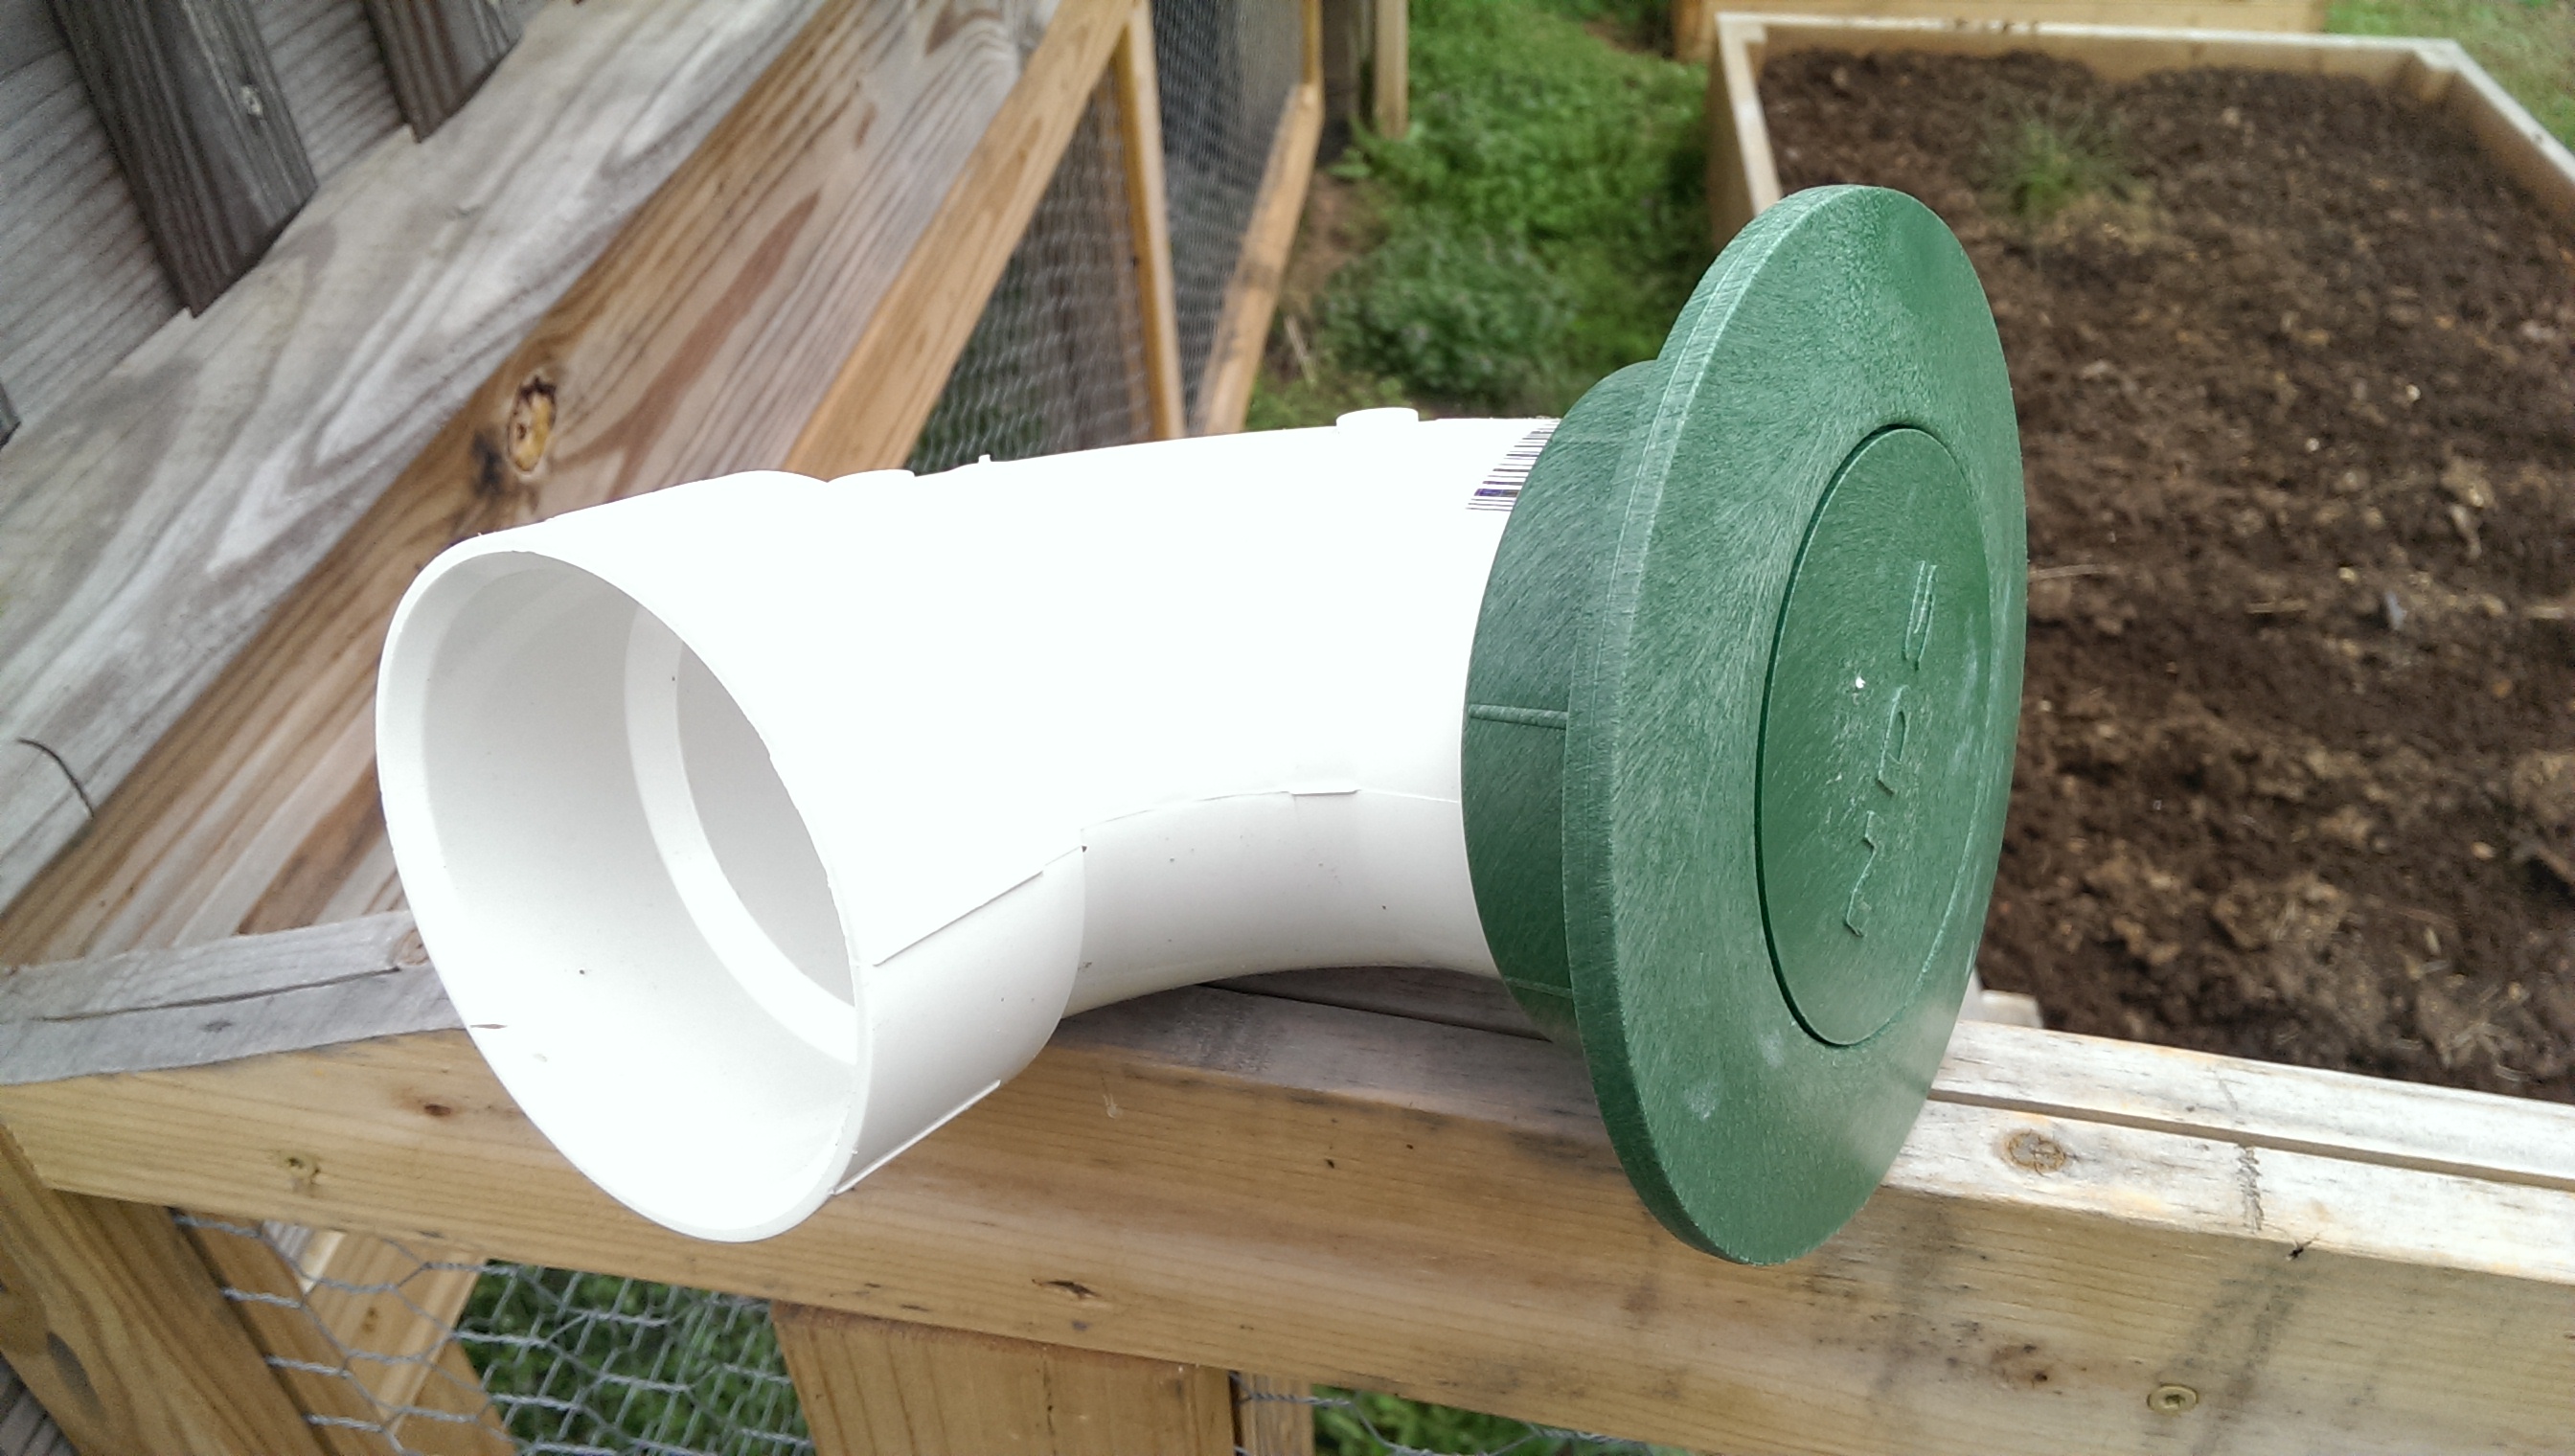
Pop-up emitter with an elbow adapter
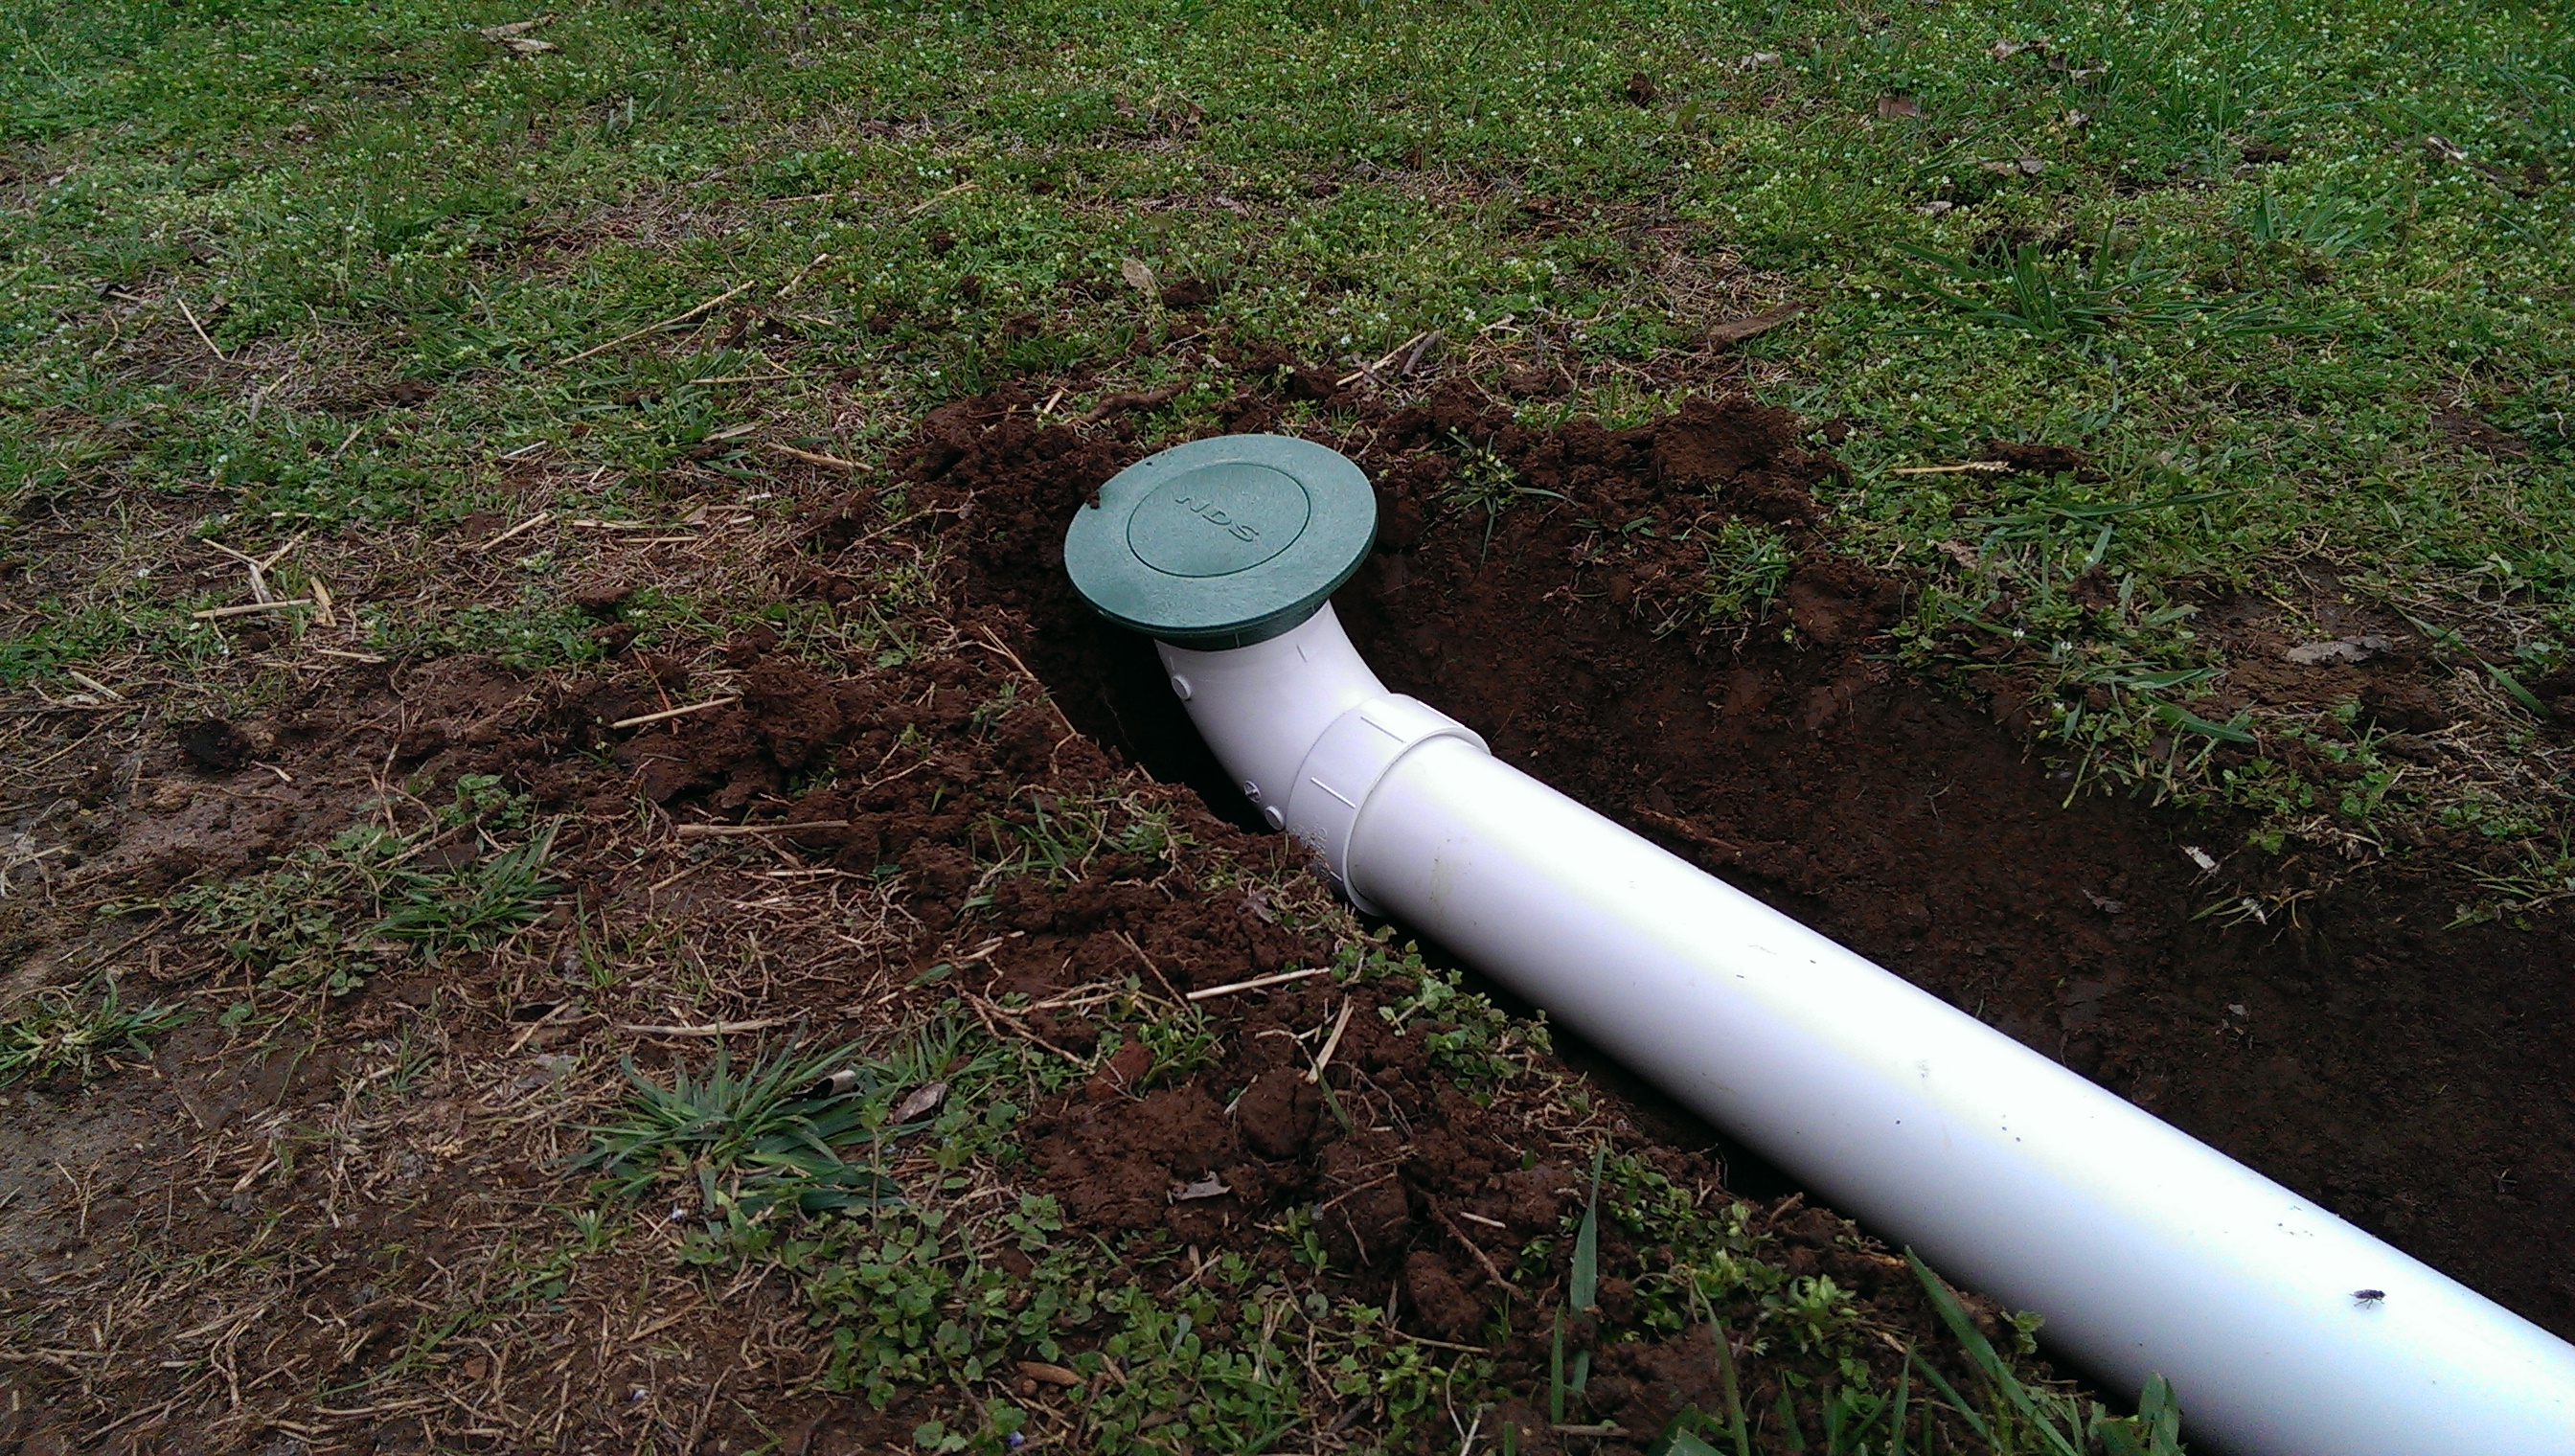
Pop-up emitter after installation
I finally terminated it with an elbow and a pop-up drain emitter. The idea here is that the emitter will only open when water is coming out from the pipe, and otherwise will stay closed to keep leaves, etc out. My dog actually chewed on this, and I replaced it with a much cheaper grate adapter.
I will say that if you choose this adapter, definitely use 4″ pipe or a 3″ to 4″ adapter so the pipe surrounds the emitter. In the pictured configuration, even though it’s *supposed* to work, water will come down around the sides of the pipe because the emitter doesn’t fit tightly to a 3″. A 4″ pipe will surround the green emitter, preventing that from happening.

Shortening the pipe to fit
I did have one more thing to do. I actually had a little too much pipe, and had to shorten it slightly. As pictured, I simply laid all of my connections and everything out and then marked where to cut the pipe. Cutting PVC is pretty easy – any sort of saw should work, including a hack saw. I used my miter saw.
Burying the pipe
Everything connected
Everything connected from the other end
At this point, everything is all connected and routed and cemented. The final step, of course, is to bury the pipe.
Burying step 1
Done burying the pipe
I simply used a shovel and a rake to push the dirt back into the trench. I then used my 10×10 tamper, which is $30 at the hardware store, to try to compact the dirt as much as possible. I was careful to especially compact it around the emitter, where water will be coming out, to avoid making a bowl there. You will probably have to repack the dirt around the emitter after everything settles.
For less than $50 or $100 total, it’s pretty easy to divert water away from your house, keeping critical sections of your lawn from getting muddy and keeping water away from your house’s foundation.