Miata Crank End Play Measurement
Intro to thrust bearings and crank end play
If you have a manual transmission, like most Miatas, the action of the clutch engaging is going to push your crank forward. There are bearings, called thrust bearings, specifically to provide a buffer between the crank and the block. Ideally, when you push the clutch in, the bearings will keep the crank from moving at all. Since this isn’t an idea world, that won’t happen, so there is a maximum tolerance for the amount that the crank will move.
You can measure what the crank end play is on an engine using a pry bar and a dial indicator fairly easily. The goal is .006″, but anything less than .010″ is acceptable. Any more than that, and it’s moving too far.
Reasons to measure end play
The biggest one is if you have a 99-00 Miata with an original engine. The engines came from the factory with four different sizes of thrust bearing, but apparently a bad batch came out that always had the thinnest bearing applied, meaning that there was too much play even from the factory. (More reading here)
However, being that this article was written in 2015, if you have a 99-00 with this problem, it should have surfaced by this point. In my case, I have a 97 that was leaking oil out of a fresh front crank seal. If somehow unrelated damage has caused the crank to move too much, it can push the front crank seal out and cause a leak. Before I broke the front down to replace the seal, I wanted to quickly verify that my end play was within spec on a new motor I had just gotten. It turned out to be a groove in the seal area that I missed and needed to lightly sand, but I’m glad I did the test, as it is easy and quick.
Tools required
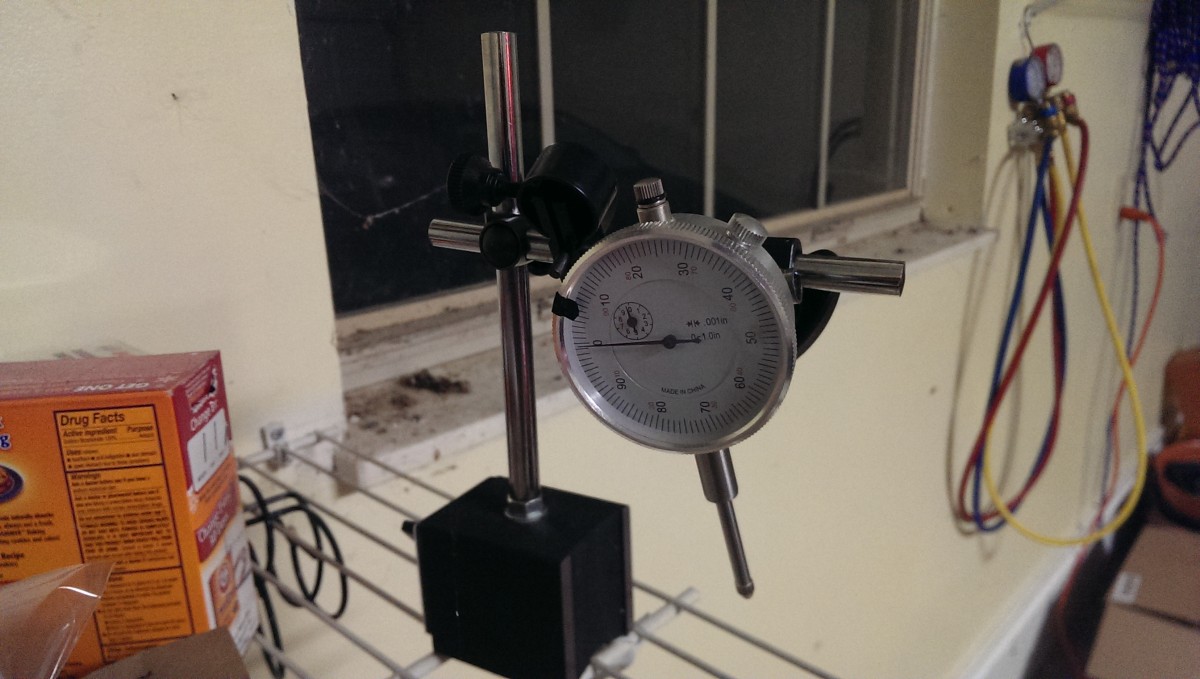
Dial indicator with magnetic base, Harbor Freight special
All you need is a dial indicator and something to pry with. I used a small Stanley “wonder bar” I had lying around. A small crowbar or large flathead screwdriver should work. The dial indicator I used has a switchable magnetic base, which made it really easy to position it.
Procedure
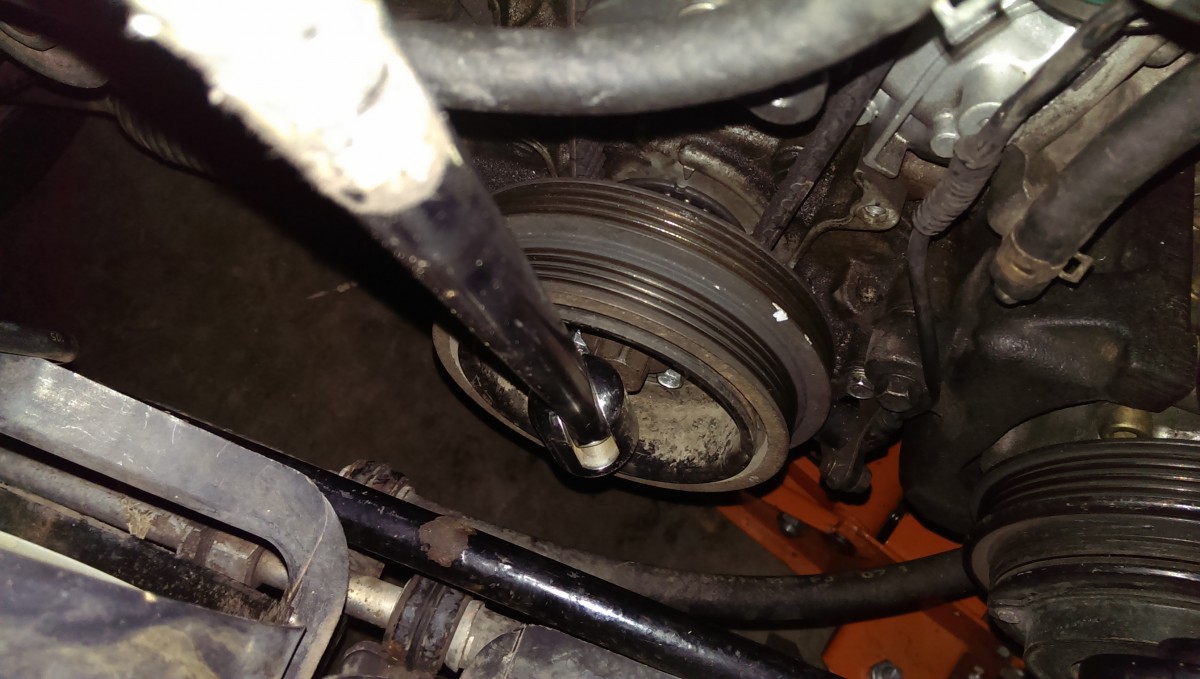
Tap the crank lightly to seat it
The procedure is actually quite easy, although photographing it is a pain. The first step is to seat the crank all the way back. To do this, simply tap the crank end bolt with a rubber mallet or whatever you can fit; in my case, I used a breaker bar.
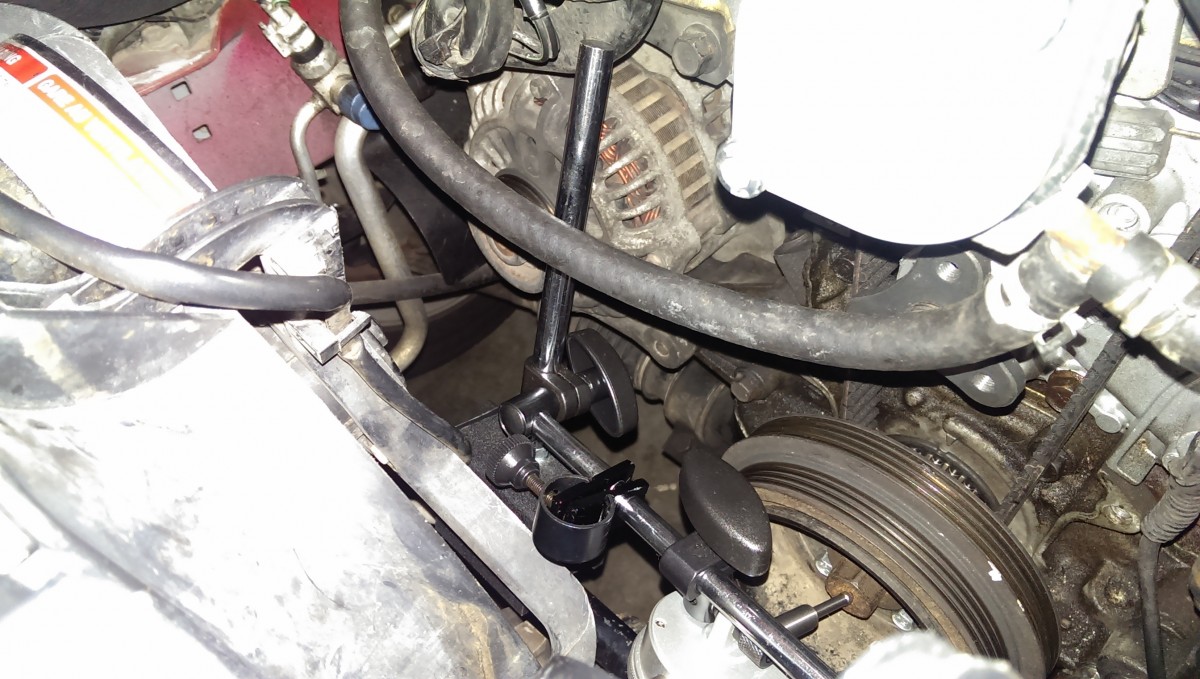
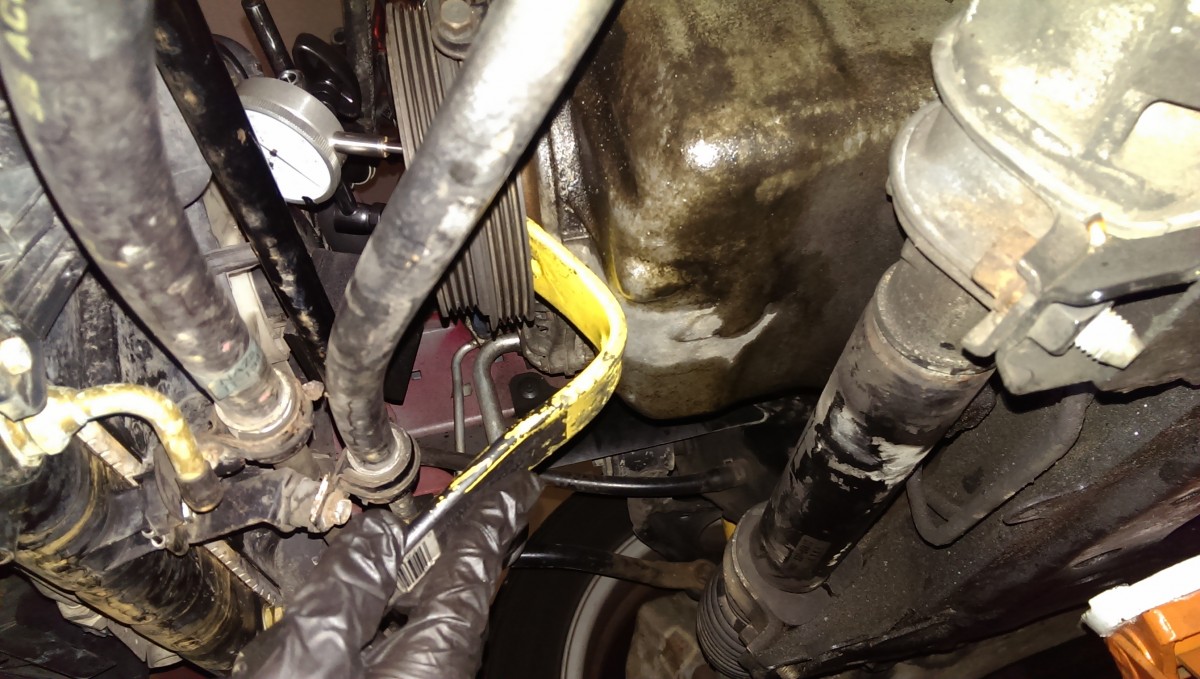
Dial indicator setup
Dial indicator setup
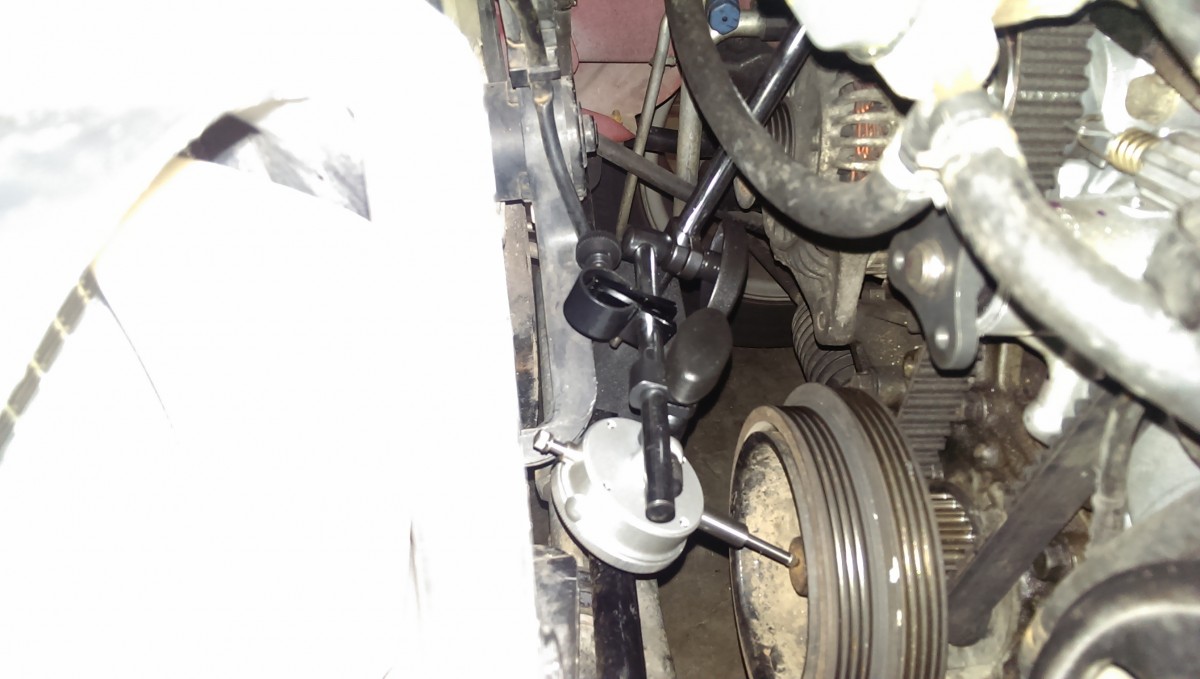
Dial indicator setup
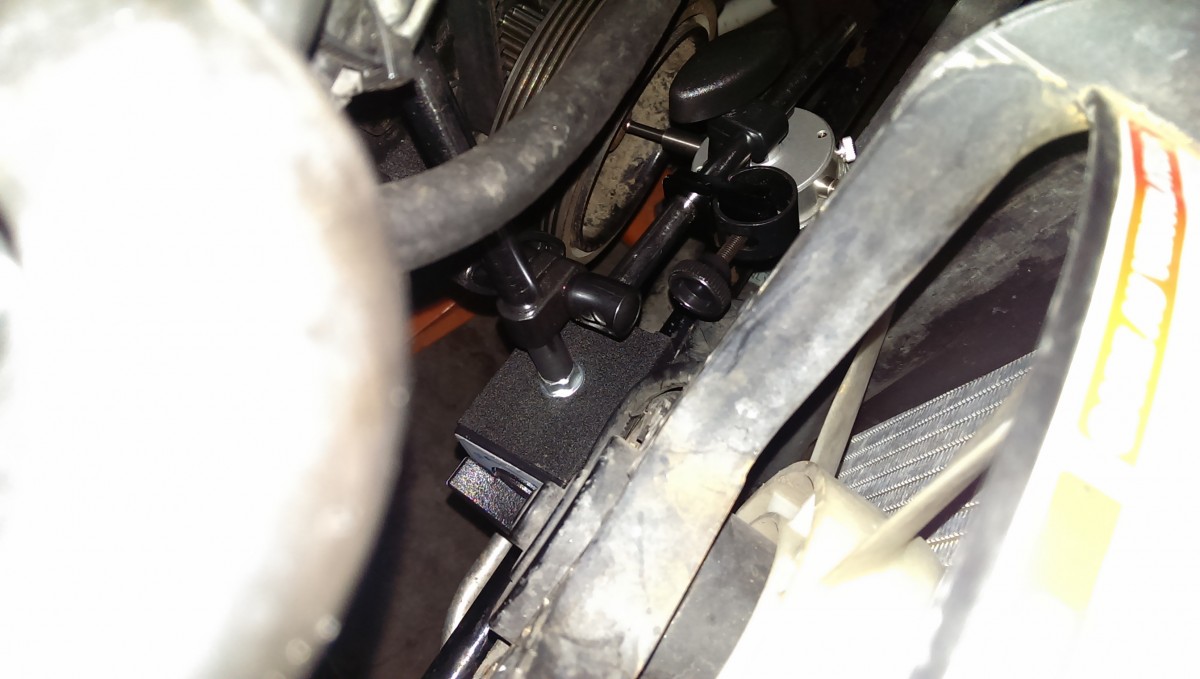
Dial indicator setup
Then, you want to get the dial indicator set up. I tried to get pictures of my setup as best as I could. Finding a place to mount is a pain, as the oil pan and a lot of other appealing surfaces are aluminum. You could use a bar clamp, I suppose, if you had one handy that would fit the swaybar. I ended up mounting it to the surface just above the sway bar behind the fans, and the swaybar kept the mount from rotating. Also be sure to zero the indicator after setting it up.
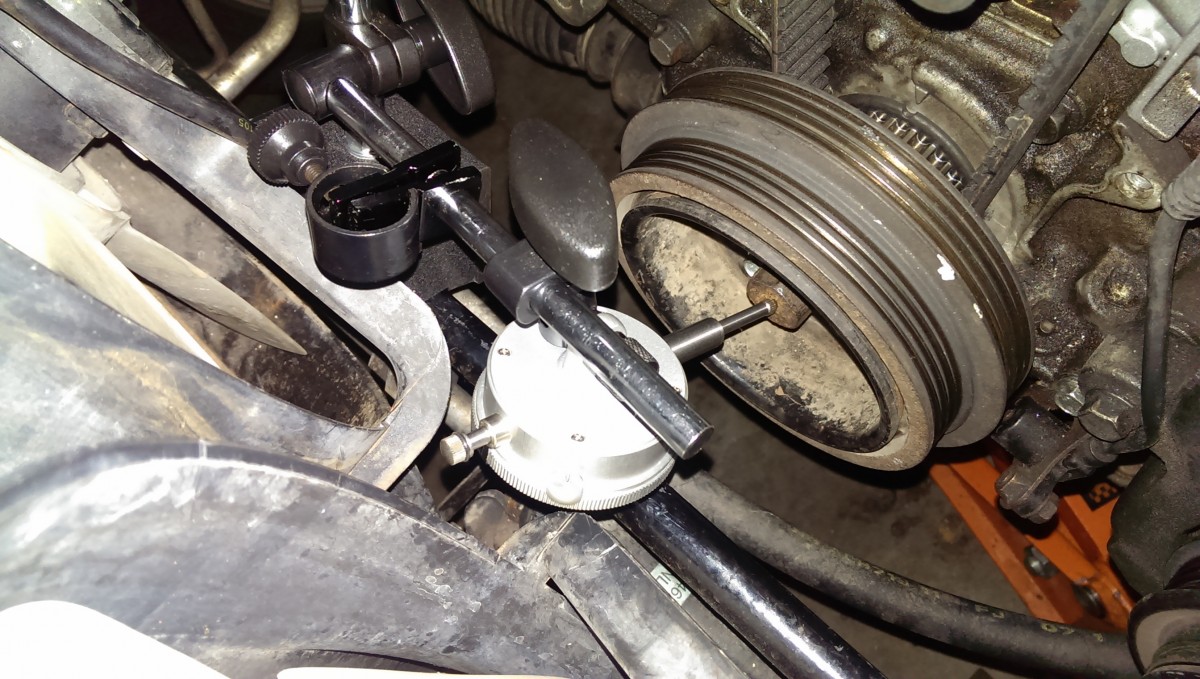
Hardly ideal, if I’m being honest, but it got me close enough. If you can, you want the dial indicator to be head-on to the crank, rather than angled as I have it. For a quick verification of end play prior to changing out a seal, to make sure I wouldn’t go through that effort just to have it get pushed out again, this setup was good enough for me.
Pry very gently on the crank – it’s only going to move a small fraction of an inch
With the dial indicator zeroed, pry gently on the crank pulley with your pry bar of choice. Very little force is required – the crank should only be moving a small fraction of an inch, here.
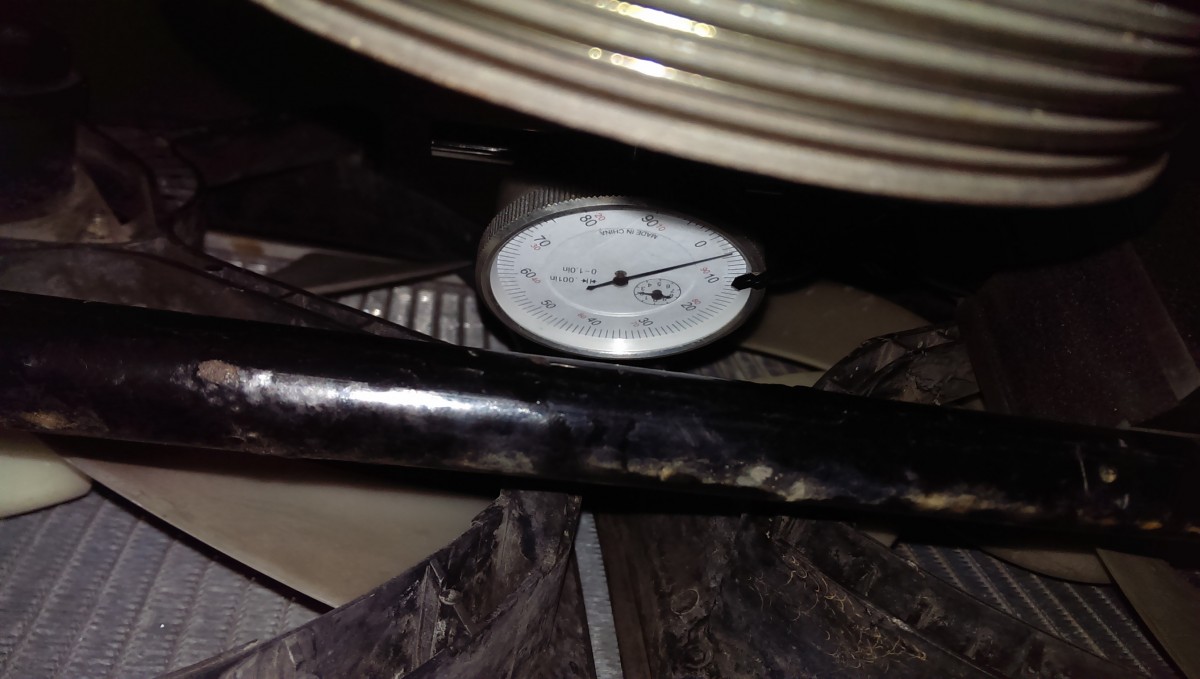
Test complete, read the results
And that’s it. Once you’ve pried it out slightly, you can check the dial indicator to read your result. Again, ideally you want to see a .006″ or less crank end play measurement, but .010″ or less is acceptable. As you can see, my motor passed with flying colors, indicating that this was not the source of my problem.