Making a Laminated Wooden Mallet
One simple thing I didn’t have in the shop was a wooden mallet. A nice, heavy wood mallet is really handy for pushing tight joints together during glue-up, as well as hammering on chisels. In both cases, the mallet can be made heavy enough to do the job, while the wood material won’t mark up the surface like a steel hammer would. Alternatively, some people use a dead blow hammer. A dead blow hammer looks like a mallet, is usually made of plastic or rubber, and has the head filled with sand or something similar. By having loose material in the head, it doesn’t bounce back when it strikes a surface. Marring is also minimized.
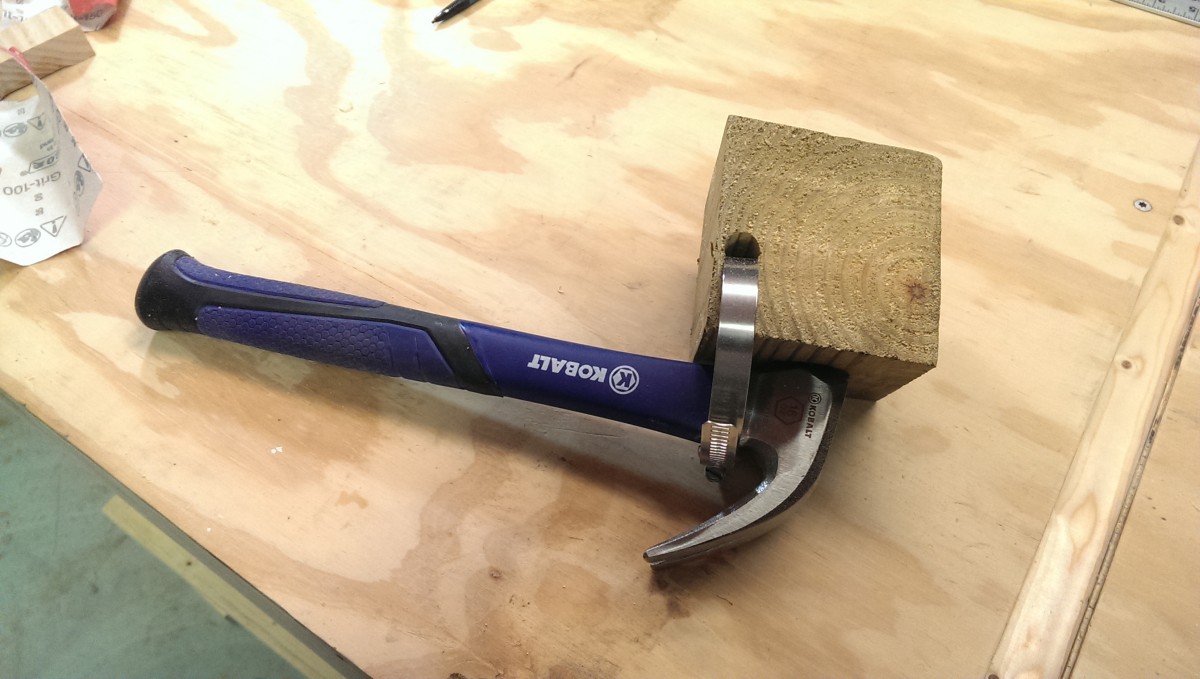
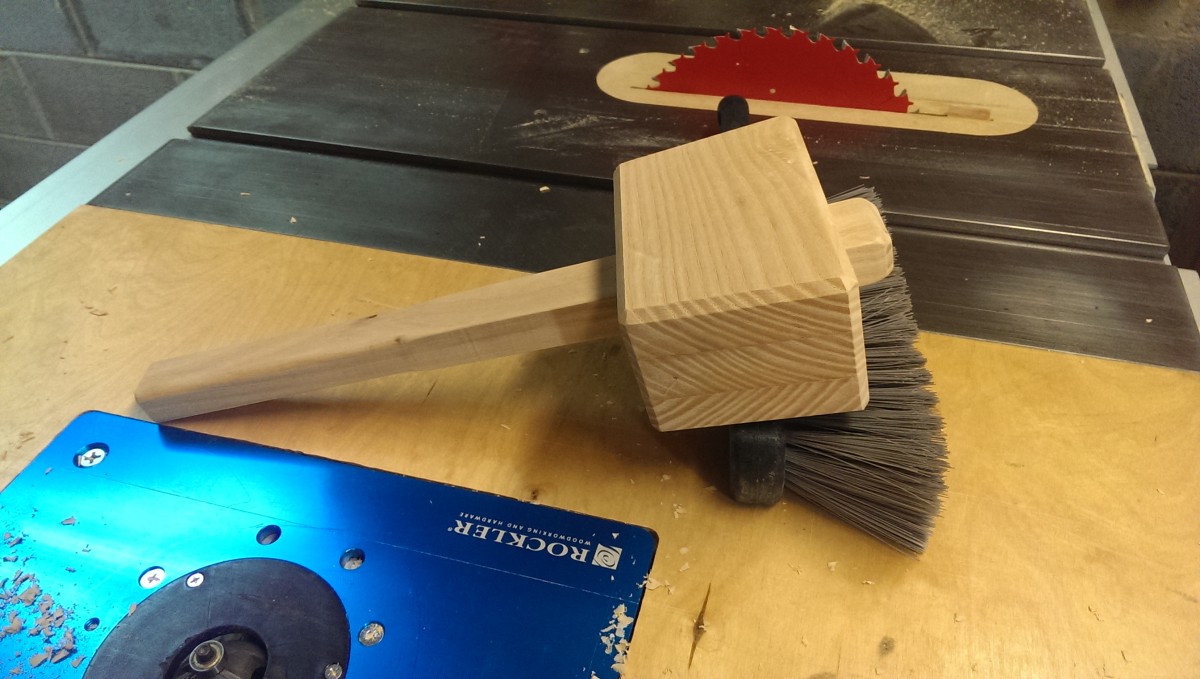
This makeshift mallet worked better than it looks like it would
When building my daughter a crib, I needed a little extra oomph to make the tenons seat properly once they had glue. I was using a regular claw hammer and a block of wood, but it was hard to hold the work piece, the block, and the hammer without three hands. As a stopgap, I strapped some 4×4 scrap to a hammer as shown, and it actually worked OK, but it was no replacement for the real deal.
Choosing the material

Scrap white ash
Looking online, both dead blow hammers and commercial wooden mallets, a decent version of either was $30 and up. However, in building the crib, I had a perfect scrap cutting of white ash to make a mallet with. Any hardwood can be used to make a mallet, but maple is a popular choice. I found ash to work great – it’s a very durable wood and very inexpensive. I have also heard of folks using regular oak with success.
I chose to make a laminated mallet because I had 7/8″ thick scrap in the shop. Traditionally, people will buy a big old hunk of wood for the head of the mallet and put a hole in it. The wood to do this is more expensive, and it’s more difficult. Instead, a laminated mallet uses three pieces of wood glued together (laminated) for the head. The middle piece can have a chunk cut out of it to accomodate the handle, which can be done on a table or miter saw or even by hand.
The goal here is to make sure the mallet is heavy. You don’t have to strike as hard with a heavier mallet, minimizing surface damage. One temptation might be to make a softwood mallet, so as not to dent hardwood. This has been done, but the issues are that such a mallet is very light, making it hard to use, and they also don’t last as long.
Fortunately, this is still an inexpensive project given that you don’t need a whole lot of wood. This plank was about a foot and a half long, and about a foot wide.
Rough cutting the pieces

Separating the pieces
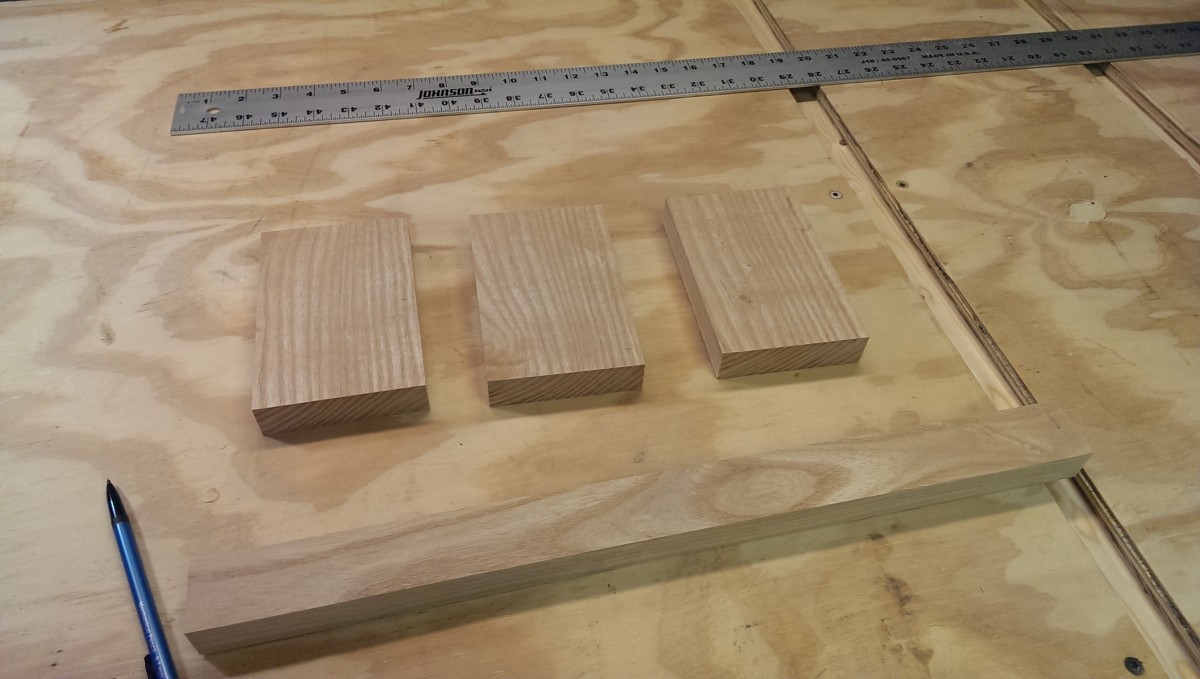
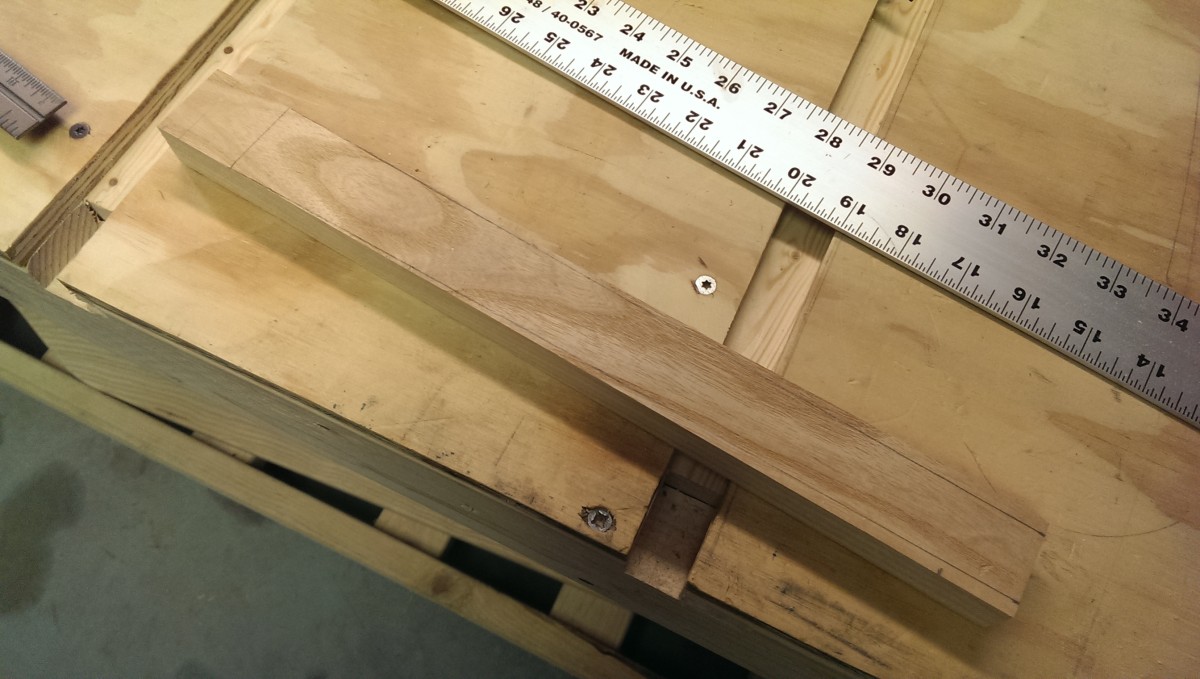
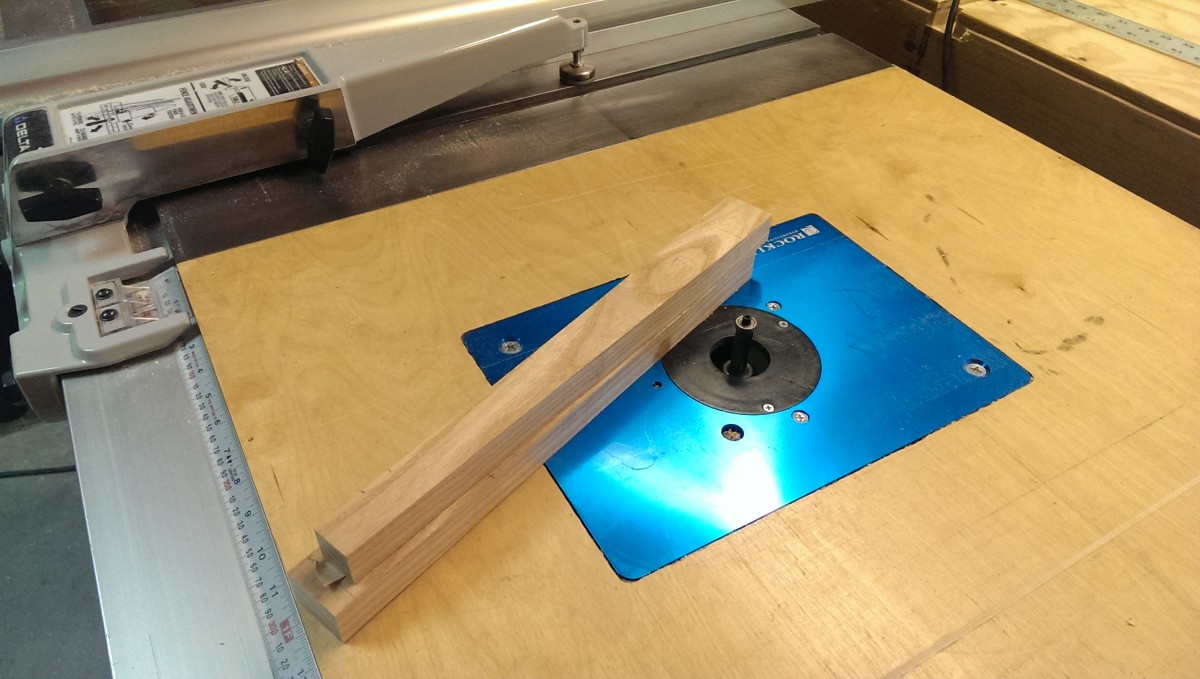
I ripped my plank into strips. One will become the handle, and is a maximum of about 1-3/8″ wide. The other one is going to be cut into three 3-1/2×5-1/2″ pieces for the head of the mallet.
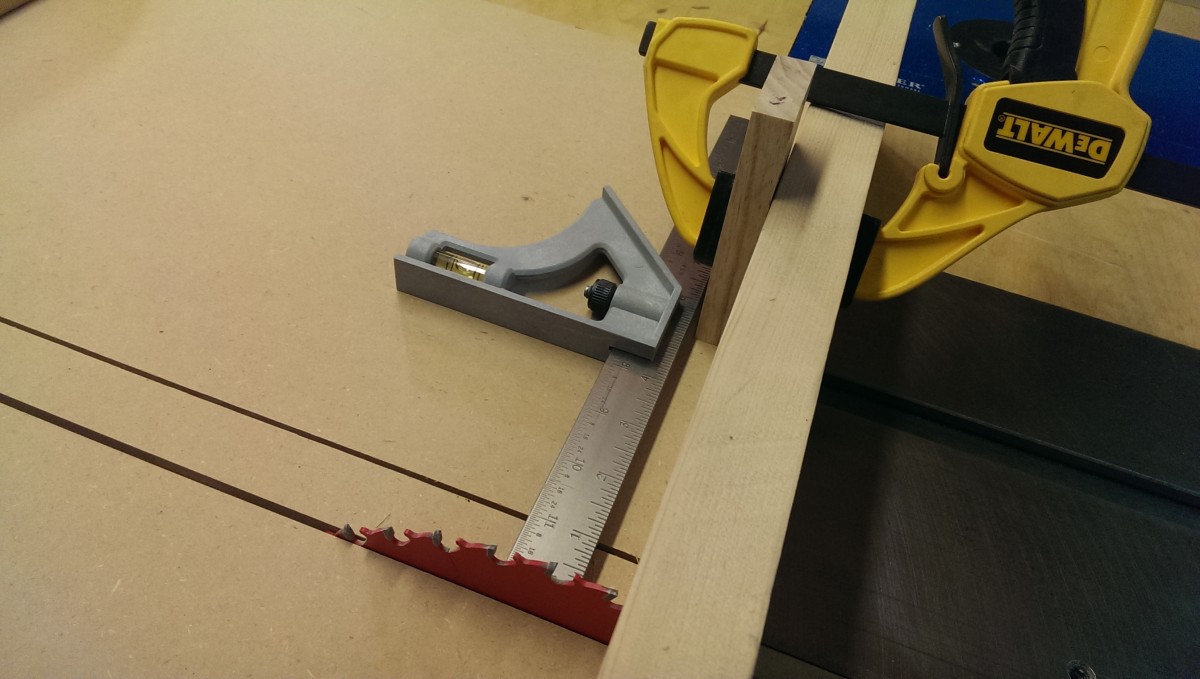
A crosscut sled with a stop block made it easy to separate into 3 pieces
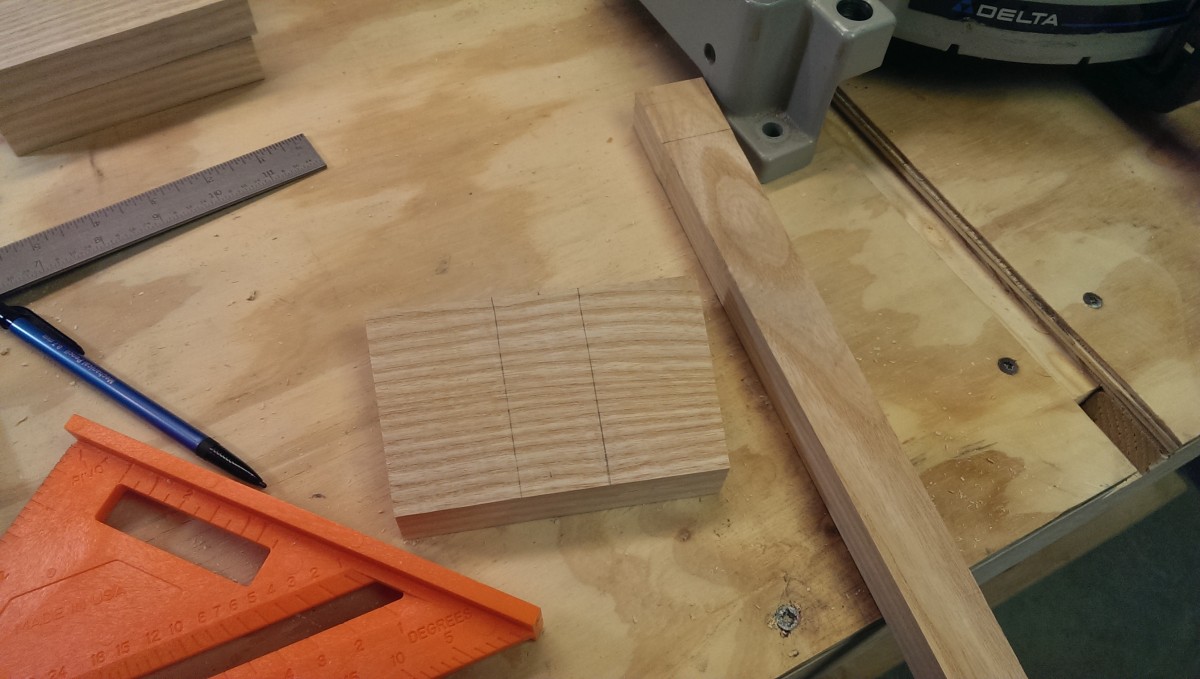
I used my small crosscut sled with a stop block clamped to cut the 3-1/2″ board into three identical 5-1/2″ pieces. They don’t have to be entirely perfect here, since they will be cut again after laminating, but getting them the same length cuts down on waste material.
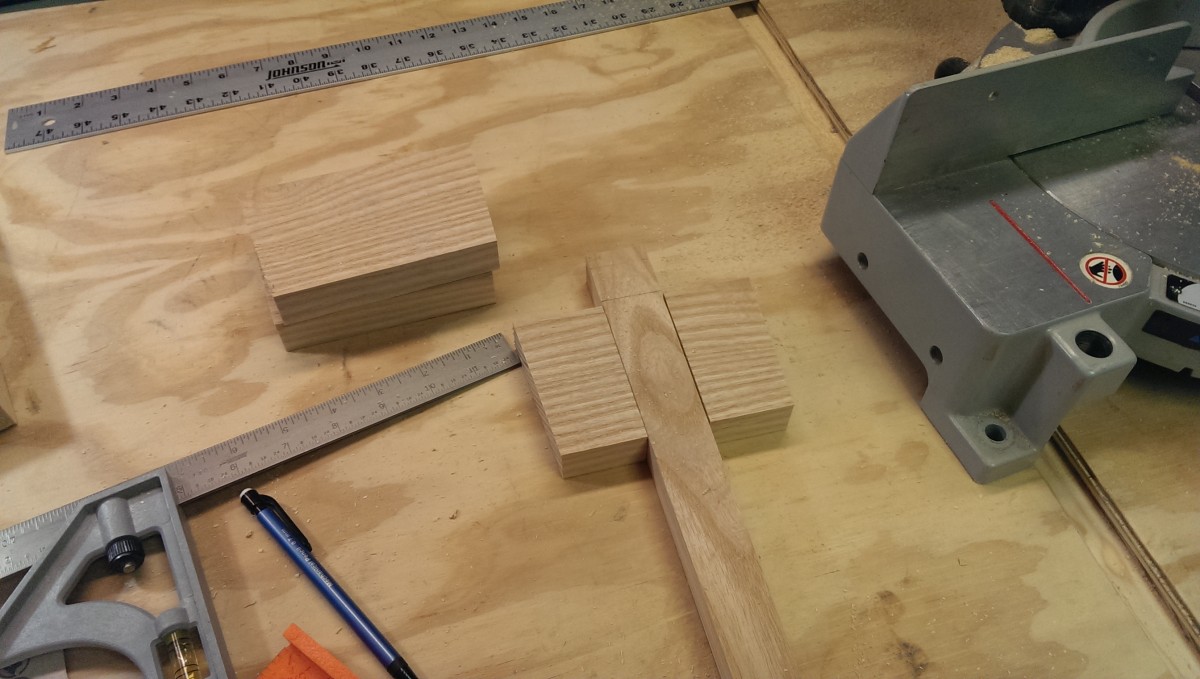
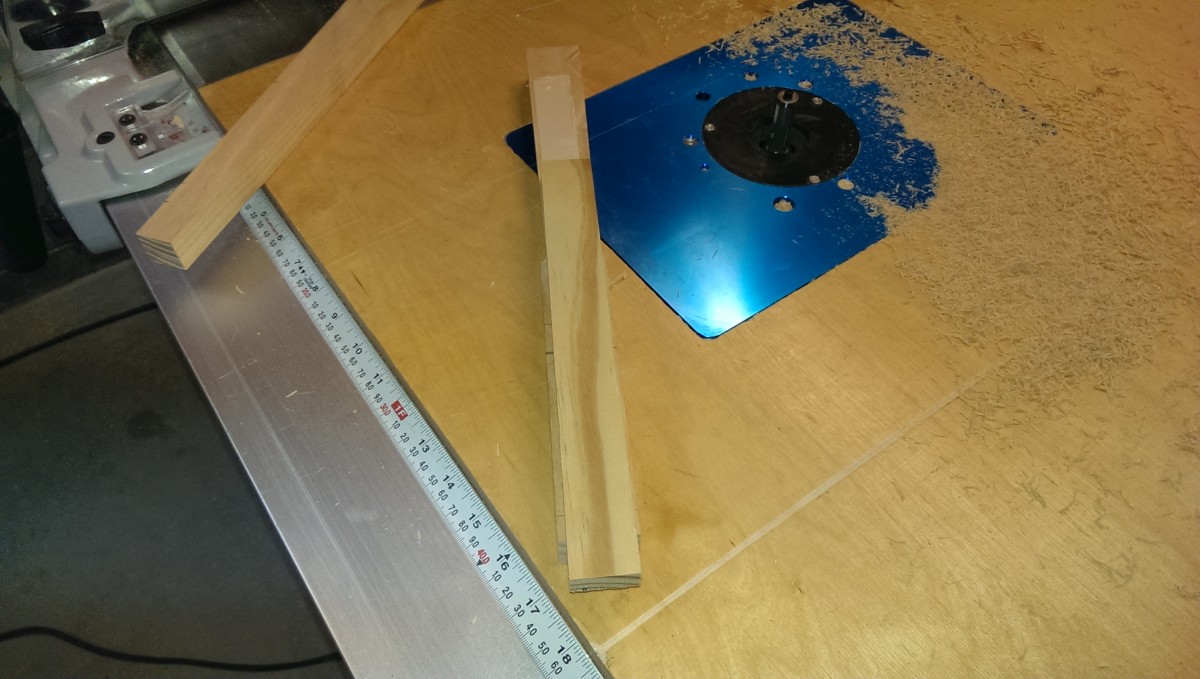
All pieces rough cut
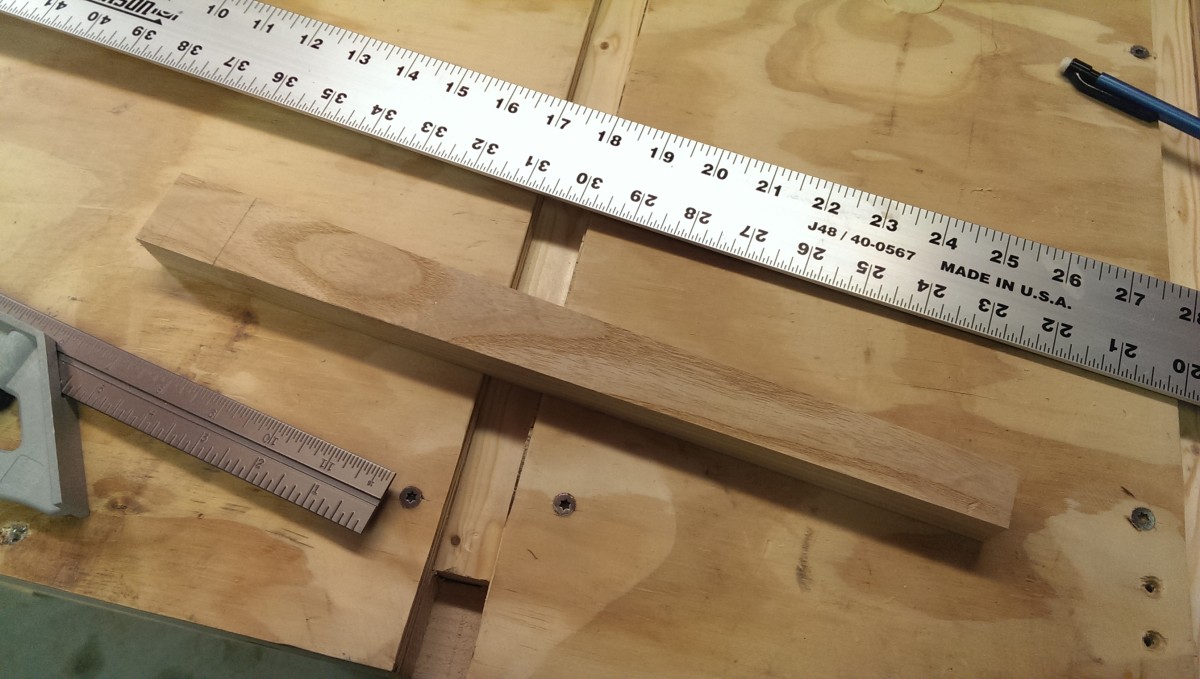
This is after ripping my other long scrap piece from before to 1-3/8″. At this point, I have three blocks to laminate to make up the head as well as the handle ready to proceed with.
Tapering the handle
Preview picture: haven’t gotten to this step yet
A joiner’s mallet traditionally doesn’t glue the handle to the head. Instead, the handle is tapered into a wedge. The bottom of the handle slides through the top of the mallet, which has a wedge-shaped hole in the middle. When the mallet is swung, the forces involved keep the head of the mallet wedged up against the top of the handle, holding the whole thing together. The picture shown is a few steps away, but it illustrates the goal.
Drawing the lines to taper from 1-3/8″ to about an inch
I chose to taper the handle first, and then cut the middle piece of the mallet head to match. I tapered the 1-3/8″ piece to about an inch. The first step was to draw out the taper I was trying to achieve. Note that down below I end up going back and adjusting this – I like the taper I made, but I ended up redoing this to start the taper a little earlier (so less of the handle sticks out the mallet) and go to a flat at the bottom rather than tapering all the way to the end.
Handle after tapering
I tapered to my line using the jointer. Matthias Wandel has a writeup of this technique: https://woodgears.ca/shop-tricks/taper.html You can also use a table saw jig, do it by hand, probably use a router, etc. In fact, if I did this again, I would probably do the taper on a piece of thin scrap, and then use the router with a flush trim bit to match the exact taper on both sides. This would have been a lot easier for me to control, as I don’t quite have the hang of the jointer technique, and it would have also been perfectly symmetrical. this one is a little lopsided, but it didn’t end up mattering.
Cut the middle piece for the handle
Use a pencil to mark the taper
Once the handle was tapered how I wanted it, it was a simple matter of laying it on the middle piece of the head and marking where it should go. Then, I just used the miter saw to cut to the marks. I have a really crappy, cheap miter saw I got for $50 on craigslist, and it doesn’t cut all that great. That said, for this kind of cut, it makes it dead simple to get perfect, since you can bring the saw down to the work piece, while powered off, to line up the cut. This can be done on a table saw with a miter gauge or a hand saw as well, of course.
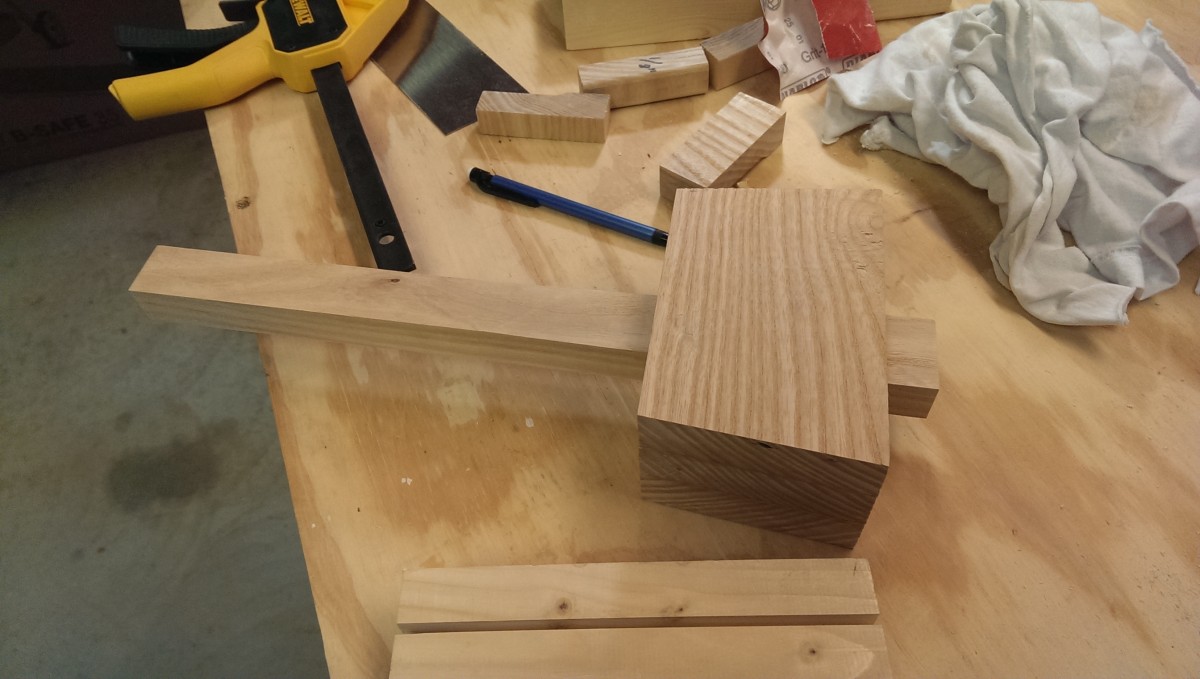
Middle cut to match handle
And with that, the middle is cut to match the handle. I didn’t get a picture of using the miter saw, but it’s easy enough to use your imagination. I just adjusted the miter until the blade was right along the line, cut, and then did it again. I’ll note here that it is important, if your handle isn’t perfectly symmetrical, to make sure you know which way faces front. You don’t want to turn the handle around and make your nicely matched tapers mismatch.
Gluing the head together
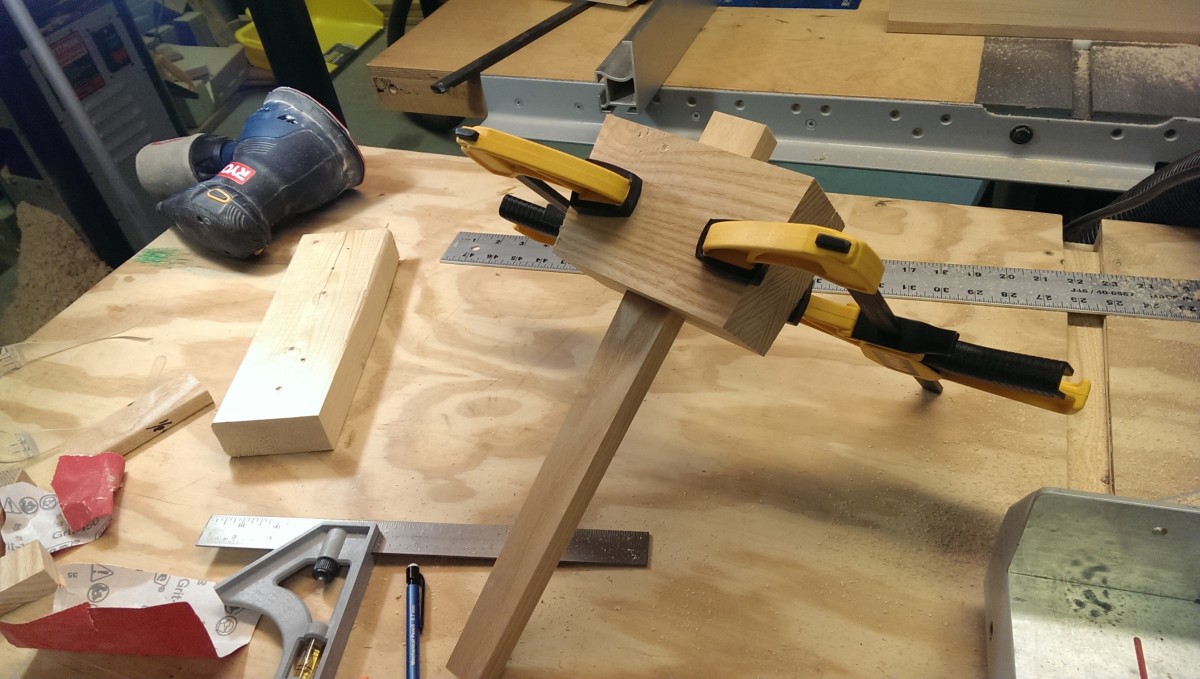
Ensuring the handle fits during glue up
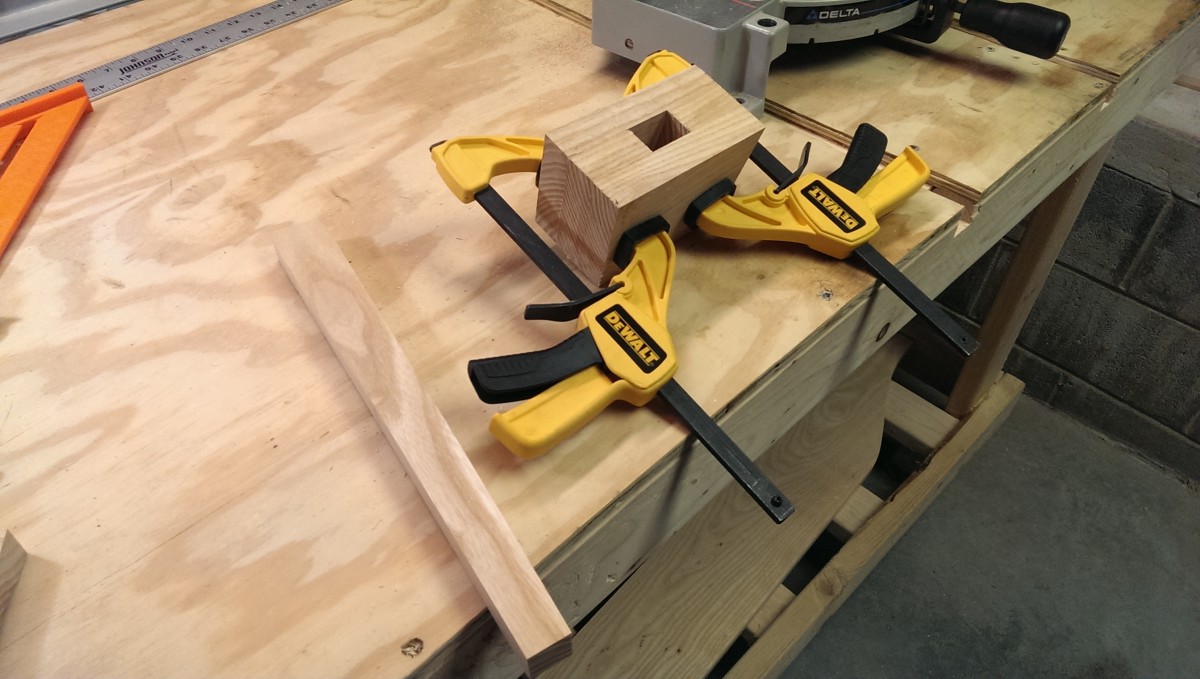
After ensuring handle fit, also ensure it is flush on the top and bottom
Once the middle is ready, the head can be laminated together. I clamped the glue up by eye, and then gently slid the handle through to make sure it lined up. You have to be gentle doing this, because cramming the handle will push the sides out if you do it with enough force. After that, I removed the handle and made sure the bottom and top are still flush on a flat table, then checked the handle one more time. I let it dry overnight.
Cutting the angles on the mallet head
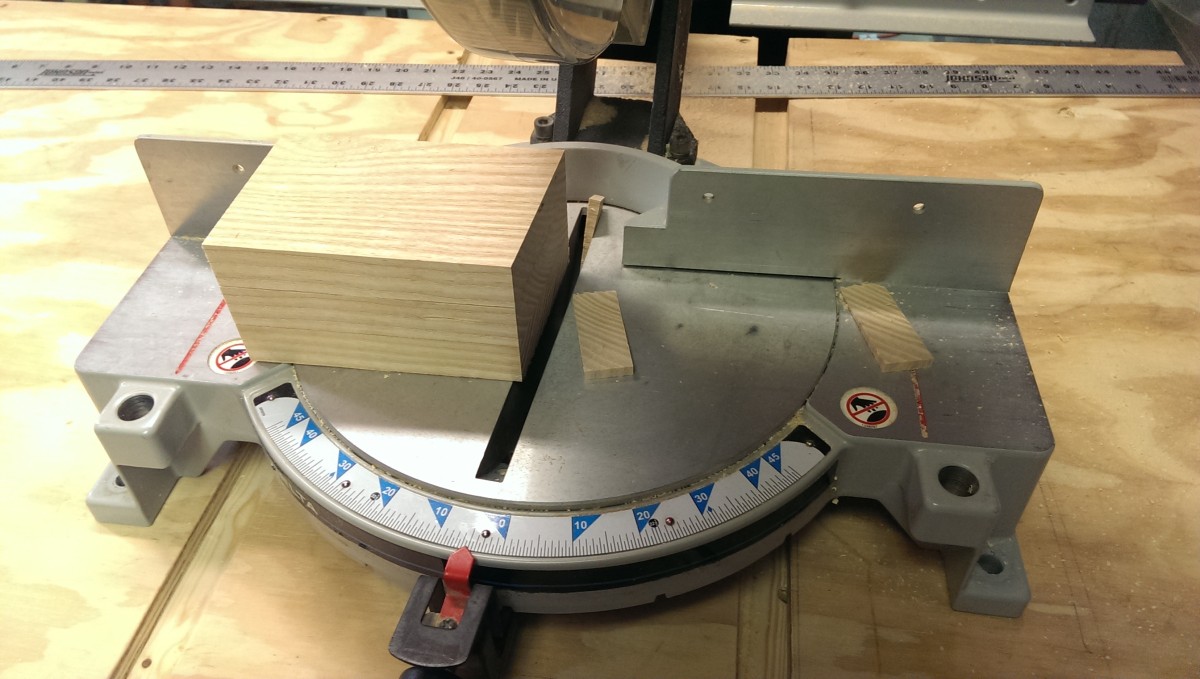
Miter saw cutting 5 degree angles
Cuts with miter saw done
I’ll point out that you’ll notice in the last step, the sides of the head are already cut. For whatever reason, I did this before gluing the head up. This was dumb and made the glue-up a lot trickier. If you’re doing this, you can do the cuts on the sides of the mallet head after glue up, and you’ll have a perfectly flat surface without any fuss. I simply set the miter saw to 5 degrees either way, and made the cuts.
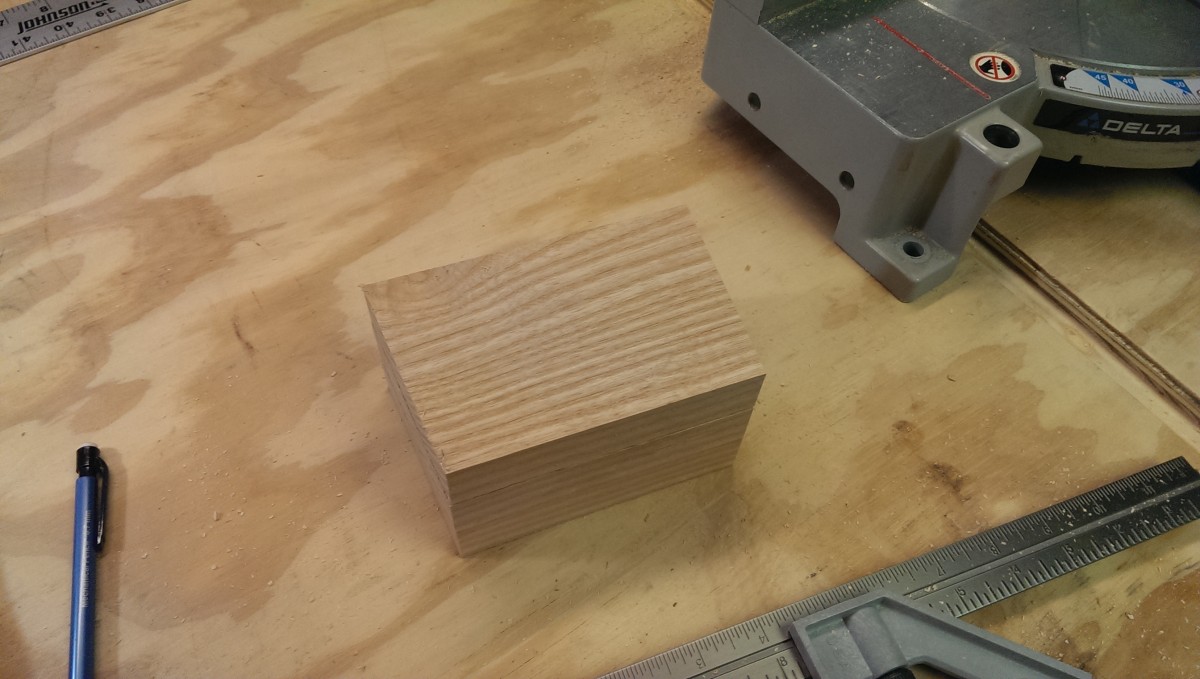
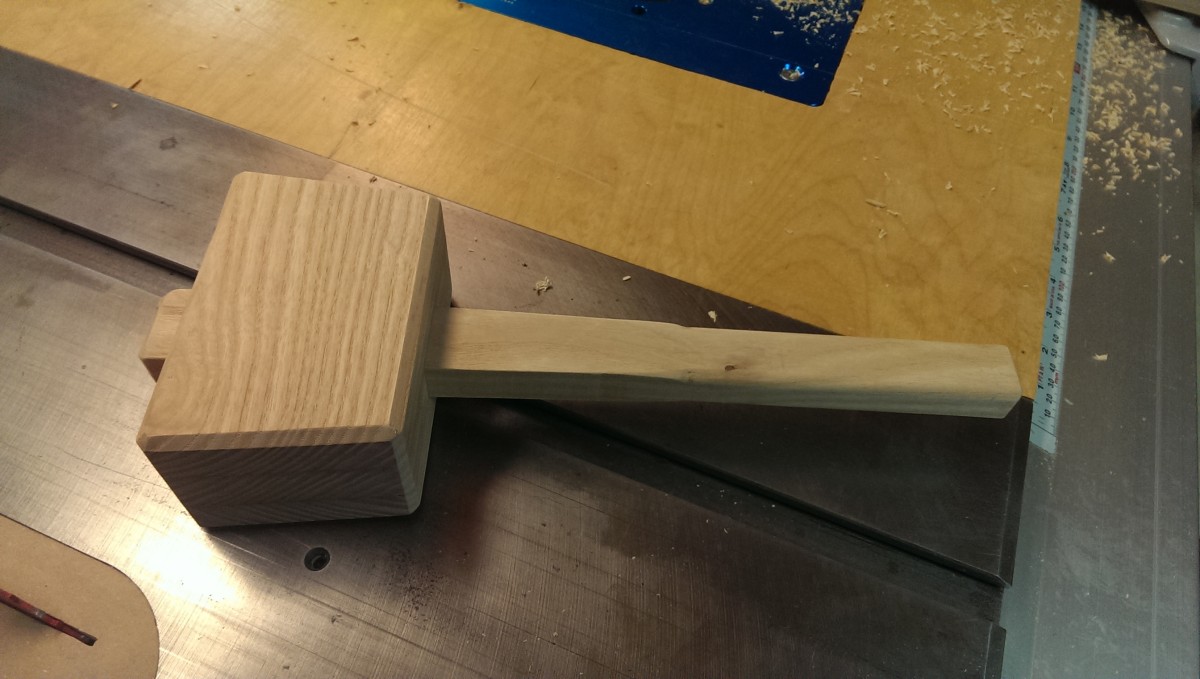
Nearly complete – one hiccup
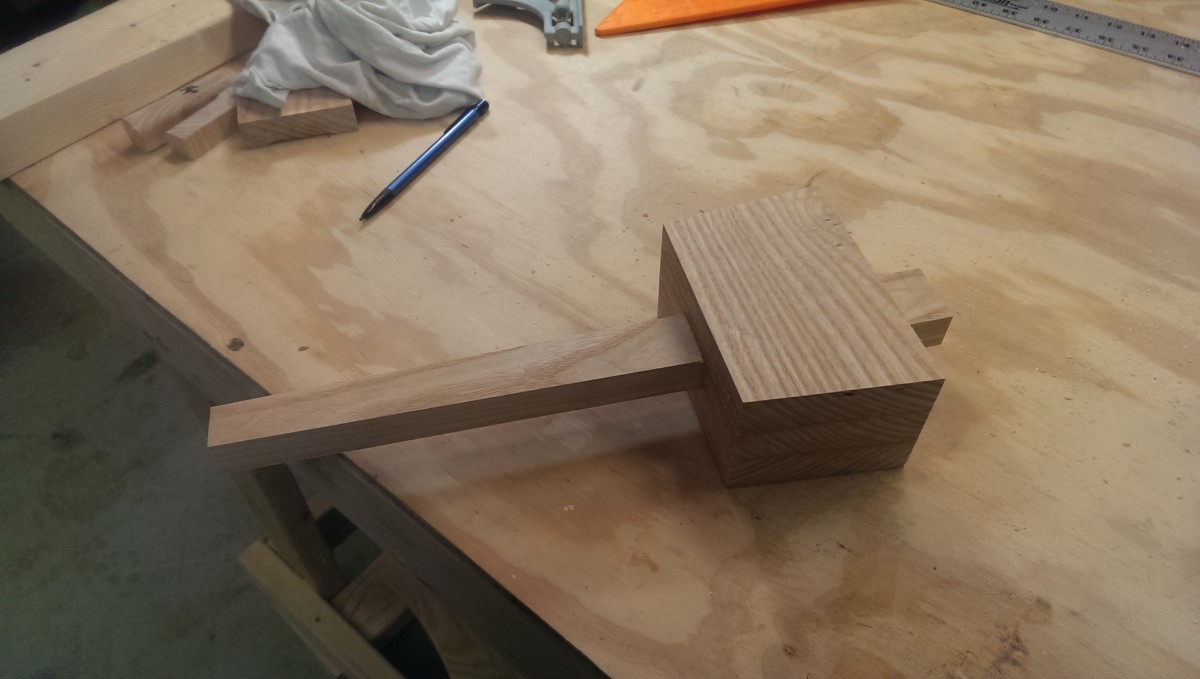
Almost done
At this point, I could have begun using the mallet, but I wasn’t happy with how I chose to do the taper, as I alluded to earlier. I made the tapers go all the way to the end, which I didn’t like – I wanted the “grab” area to be a little thicker than this allowed, plus be flat. Also, I think the tip of the handle sticks farther out than it really needs to.
Double stick tape to flush-trim new handle to match old one
I ended up cutting a new piece out of my remaining scrap for the handle. I double-stick taped the new handle to the old one, and used a flush trim bit in the router to only match the part of the taper needed to match the wedge in the now-complete head of the mallet. I was able to use the same technique with some straight pieces of MDF to get the bottom of the handle to be a straight 1-1/8″ or so piece.

Double stick tape
More finishing
All done except routing and finishing
Here are a few more pictures. Next time, I would probably do a template in 1/4″ MDF or something, and use a similar technique. The advantage there is you can just flip the template over to make a symmetrical match on both sides very easily. There isn’t much material to remove, so a 1/2″ flush trim bit readily gets rid of it, even in a hard wood like ash. I did skim down the sides first before trimming all the way to the template; there’s no reason to make the router bit hog out too much material at once and put stress on it.
Routing
After routing
After routing
At this point, all that was left was routing some nice edges on the mallet, so it didn’t have sharp corners. First, I used a 1/4″ roundover bit in the router table to make a nice grip area on the handle. After that, I used a chamfer bit to put chamfers all around the entire mallet.
Finishing
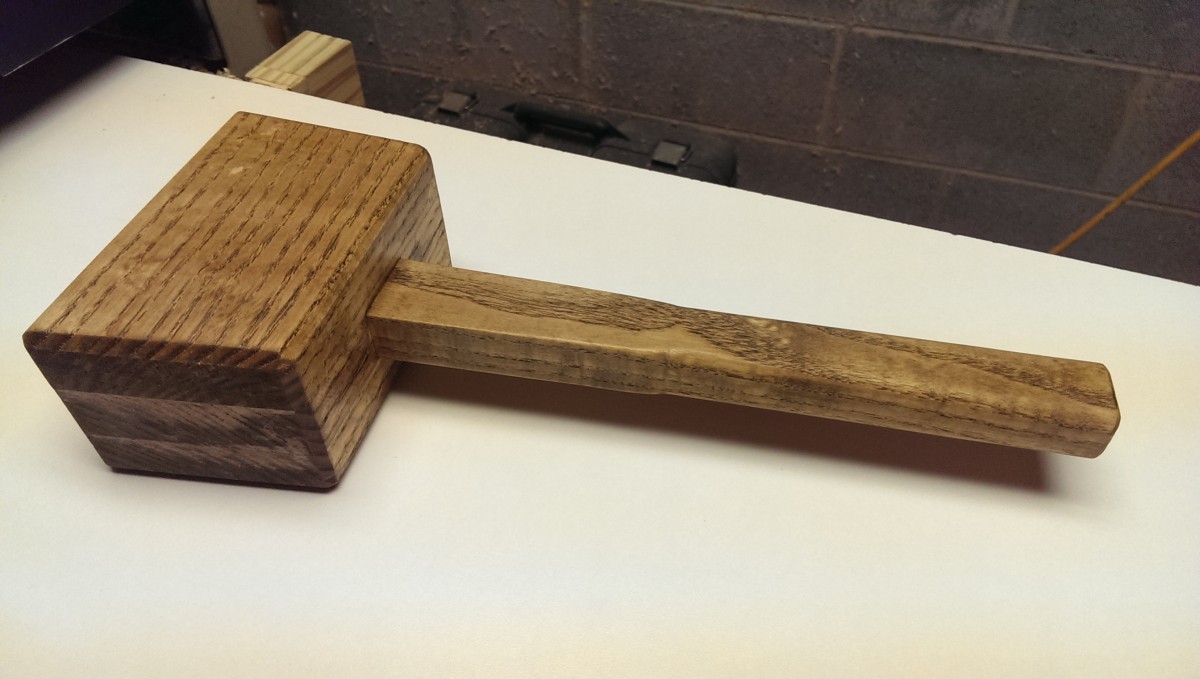
Finished mallet
You could just use the mallet as it sits, but I chose to finish it to prevent it from getting scratched, etc any sooner than necessary. A lot of people use boiled linseed oil to add weight to the mallet head. I didn’t have any on hand, and the thing is pretty heavy anyway, so I just used some Watco danish oil and wipe-on poly I had in the shop. I didn’t really worry about the glue I accidentally wiped on the laminated face or anything – I wasn’t in it for show, just to get something on there so it would hold up a little bit better.
The mallet has come in extremely handy since I made it, and I could see making a large variety of sizes for different uses. I didn’t have to buy anything I didn’t already have on hand, so the price was right, and it’s a very easy job. To me, it’s much better to build a laminated wooden mallet than spending a bunch of money on a commercially-built version.