Garage Shelf
I have racing seats for the Miata that I swap in for track day. I leave them out most of the time, because doing up a 5-point harness to get to work isn’t practical. I keep them in the boxes they came in to keep them clean. However, these boxes take up a ton of room in the garage. I decided it was time to put up a garage shelf to get them off of the ground and out of the way.
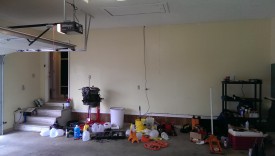
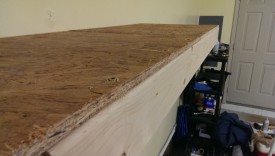
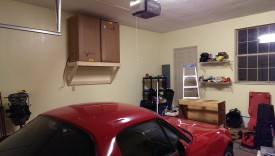
This is an inexpensive job that can be completed with a miter saw, impact driver or drill, and a circular saw. You could get away with just the circular saw if that’s what you have. The shelf is going to go in the large space on the wall pictured. I ended up making a shelf that is 4′ wide and 2′ deep.
Bolt back strip to the wall
The first step is to cut a piece of 2×4 to mount to the wall that will server as the back of the shelf. This should be as long as your shelf minus 3″, assuming you’re using standard 2x4s, to account for the thickness of the side pieces we will be adding. When choosing the length of your shelf, be sure it will hit at least 3 studs in the wall if it will be holding any kind of weight. (Studs are 2x4s used for framing the house.) In most houses, the studs are spaced 16″ on center, so I typically choose a 4′ shelf to ensure I’ll hit at least 3 and still be able to place it wherever I want along the wall.
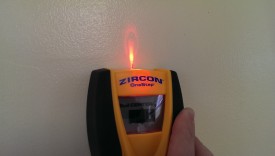
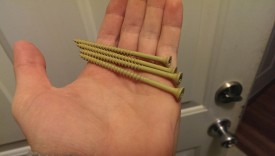
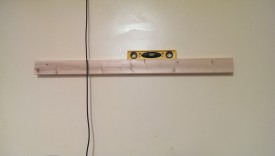
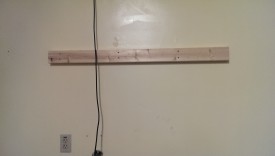
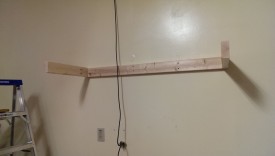
Once the piece is cut to length, use a stud finder (or your favorite method of finding a stud) to screw in one side of the 2×4. Once one screw is in on one side, ensure the 2×4 is level as pictured prior to sinking a screw in the other side. Once this is done, you can put in the rest of the screws. I generally try for 3 studs and 2 3″ deck screws per stud, so 6 screws total for this piece of 2×4. If you want more strength, you can use lag bolts, in which case you probably only need one per stud.
Once this first piece is in, we can move on to the sides.
Adding the sides
Next, cut two pieces of 2×4 as deep as you want your shelf, 24″ in my case. Using a 2.5″ deck screws per side, you can mount these to the back support you attached to the wall. I add another deck screw on each side in the next step – I only put one at this stage so there’s a little bit of play I can use to ensure everything is square and flat. I find it easiest to start the screw in the side piece a little bit, and then hold it up to be sunk all the way. A quick clamp is also helpful to ensure the top of the side is flush with the top of the back piece.
Add front piece
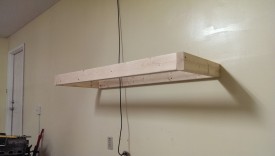
Cut another piece of 2×4 as long as the initial back and screw the sides to it in the same way, making sure that the top is flush all around as best you can. There can be a little bit of slop here, as a panel will be screwed on top at the end.
Add diagonal braces
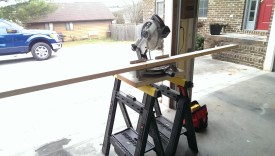
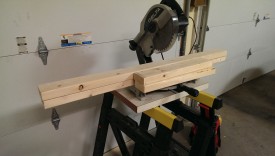
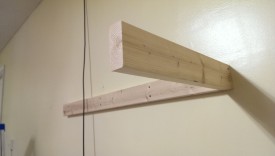
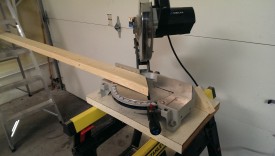
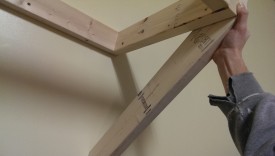
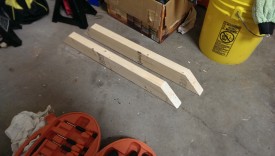
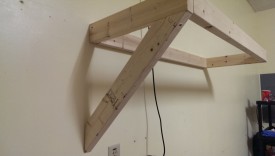
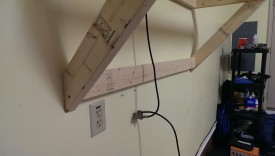
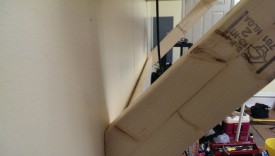
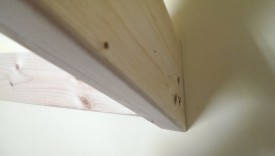
The front lip of a shelf like this should really be supported if it is to have any strength. Cantilevered like it is in the previous picture, there will be too much torque placed on the back screws if you were to hang on the front. To do this part, start by taking a piece of 2×4 and putting a 45-degree cut on it as pictured.
Once one side is cut at 45 degrees, you can hold the 2×4 up to the wall and simply mark the other side. This allows you to easily get the angle right, regardless of how precisely square everything is.
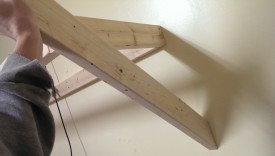
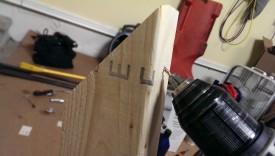
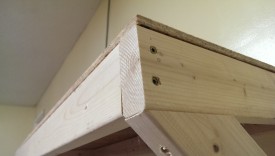
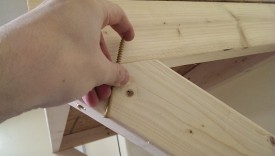
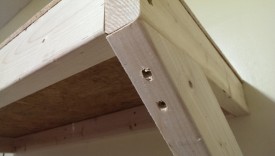
The braces can now be screwed into the side pieces. I drilled a pilot hole as shown to start the screw at an angle. I used a single 2.5″ deck screw for now.
Add back piece
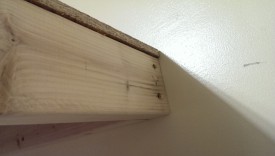
With another piece that is also 3 foot 9 inches in length, I mounted it to the wall just as before where the diagonal braces hit it. Just like before, I put 6 screws into the wall, two per stud. Then, I sunk some 2.5″ screws through the diagonal braces into the end of the back piece. Just as before, I only used one screw between the diagonal braces and the back piece for now, planning to add a second one at the end.
Add a panel on the shelf
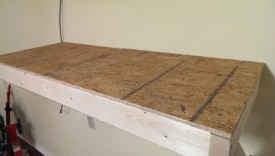
The last major thing to be done was add a panel to the top to act as the actual shelf. I used some scrap OSB I had sitting in the shop cut down to size. I sunk it into the framing with some 1 or 1.5″ deck screws.
Adding more screws
I kept mentioning all along that I was only putting a single screw in each corner to start to have some intentional play to make sure everything lined up. Once it was all together, I went back and sunk a second screw in all of these places to add more strength.
The one notable thing here is that the diagonal brace can take a shorter screw nearer to the edge of the shelf, but requires a longer second screw towards the back to reach properly.
Wrap-Up
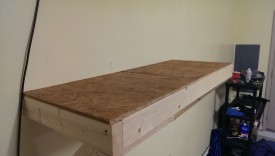
And that’s that. My racing seats, in their boxes, fit on top of the shelf perfectly, getting them up and out of my way. The shelf is quite strong and was very cheap to build, plus I have a french cleat underneath it for further use.

