Fixing a Stuck Door
The door to one of our bedrooms had a nasty habit of sticking for half the year. As average humidity levels change between summer and winter, doors and door frames will swell and shrink. In this case, we could barely close the door in the winter. Fortunately, fixing a stuck door is very easy.
Tools Required
The best tool for this job is a simple hand plane, but you could also use a power planer

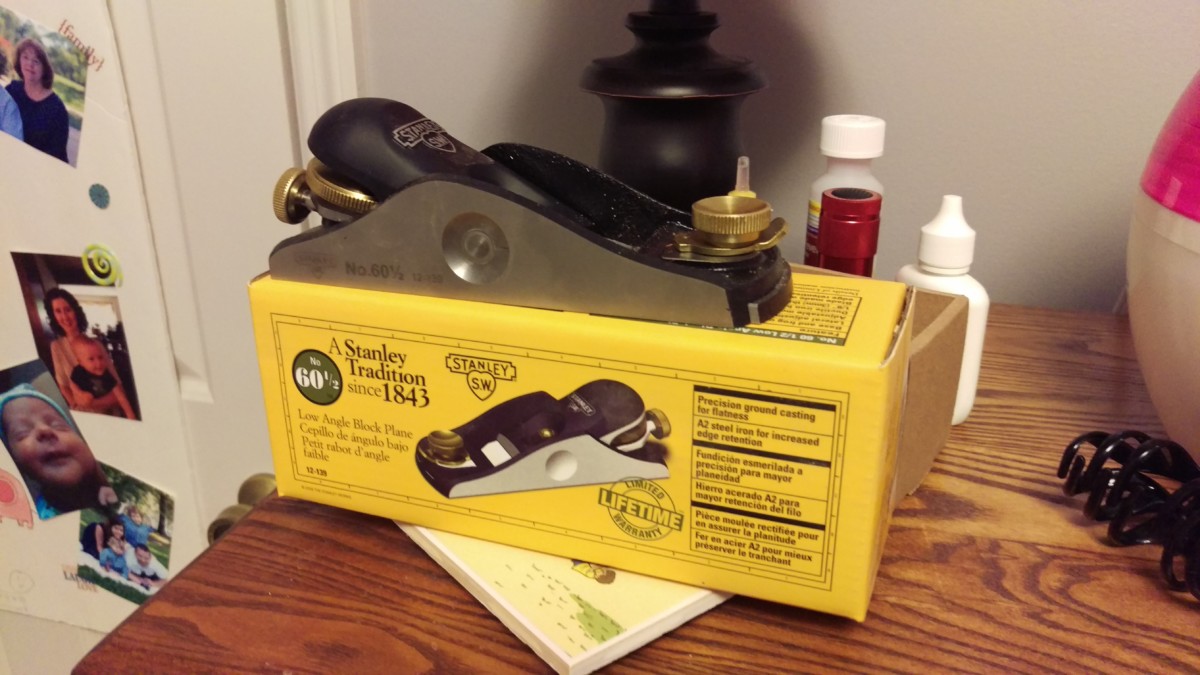
My Stanley No 60-1/2 Plane
You can use hand planes for all sorts of woodworking projects, and you can get them very cheap

You also need some paint to match your door, as some paint is going to get shaved off.
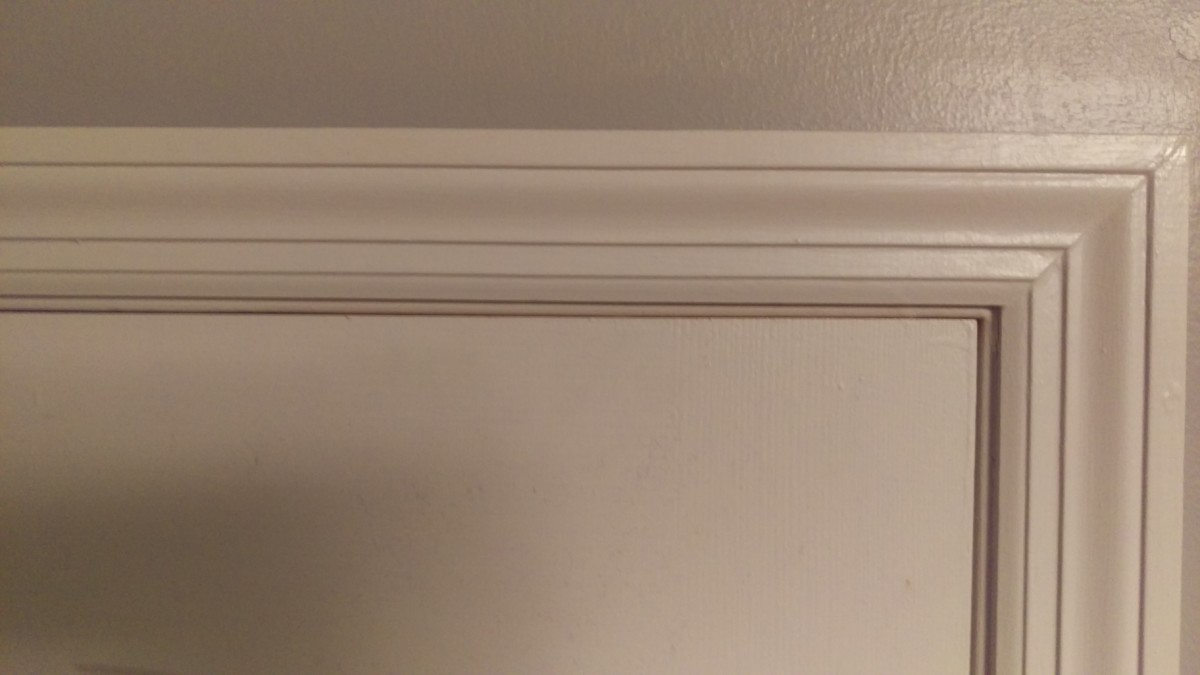
Identify Where it’s Sticking
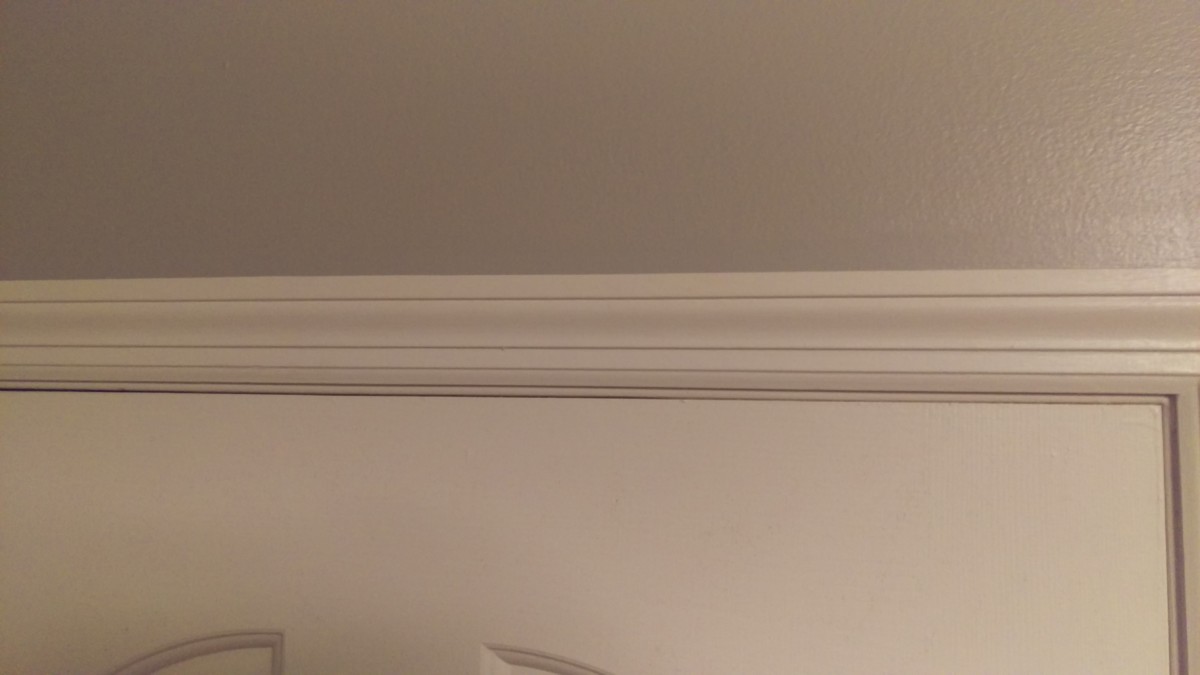
Very obvious where it’s sticking
Once you have your tools ready, you need to identify where the door is sticking. You can see from the picture that the top part of my door on the right is sticking. There should be a small gap like there is on the left side.
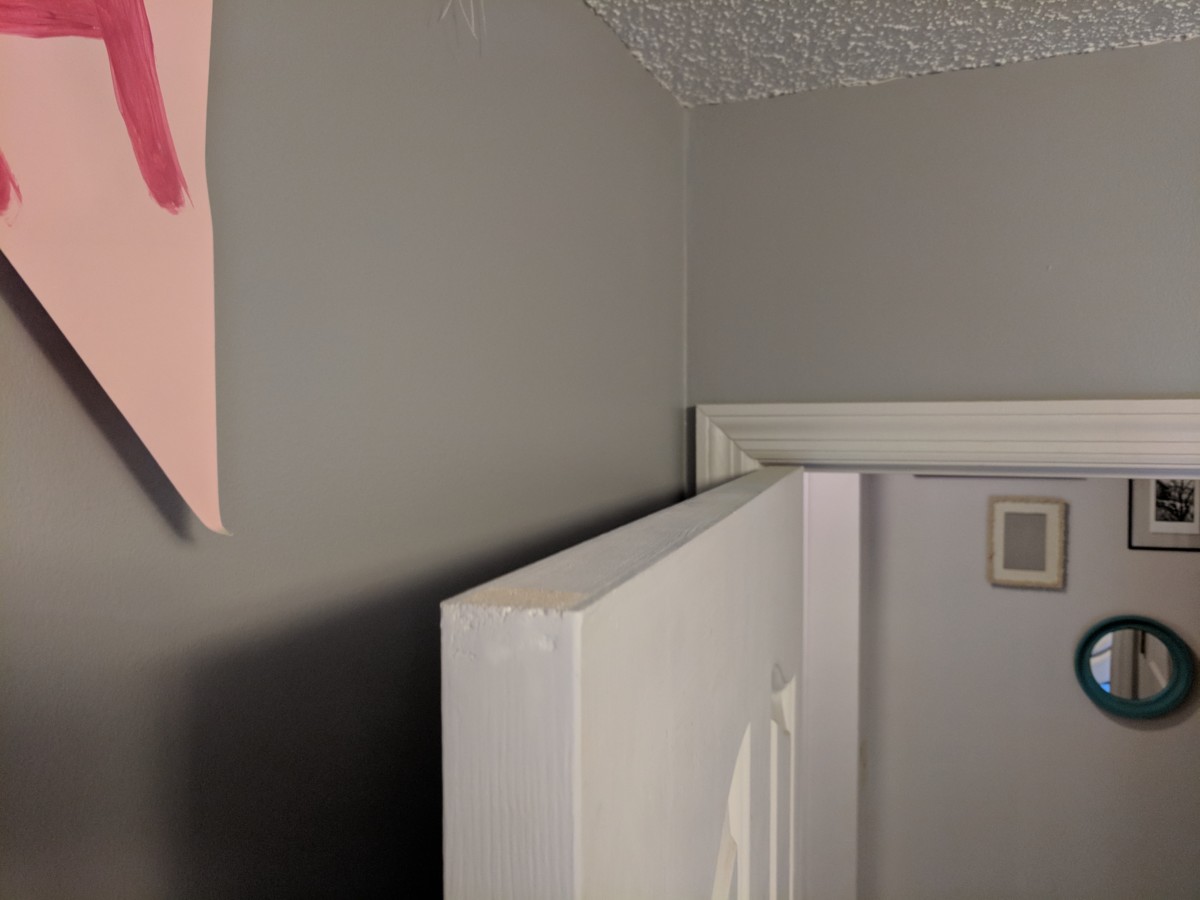
Planing the Door Down
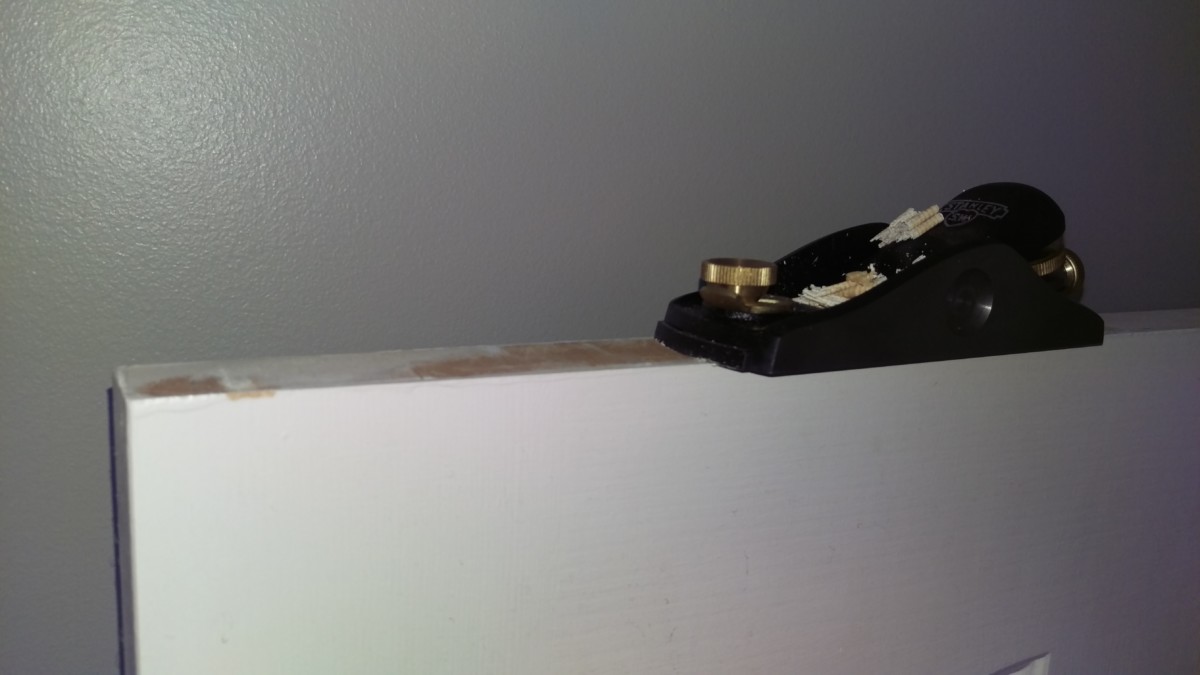
Start a little before where it was sticking
Now you can start to plane. If using a handplane like me, place the plane a few inches back from where it began to stick and pull towards the edge of the door. This will make a nice gentle taper. Otherwise, use your tool of choice to carefully remove small amounts of material.
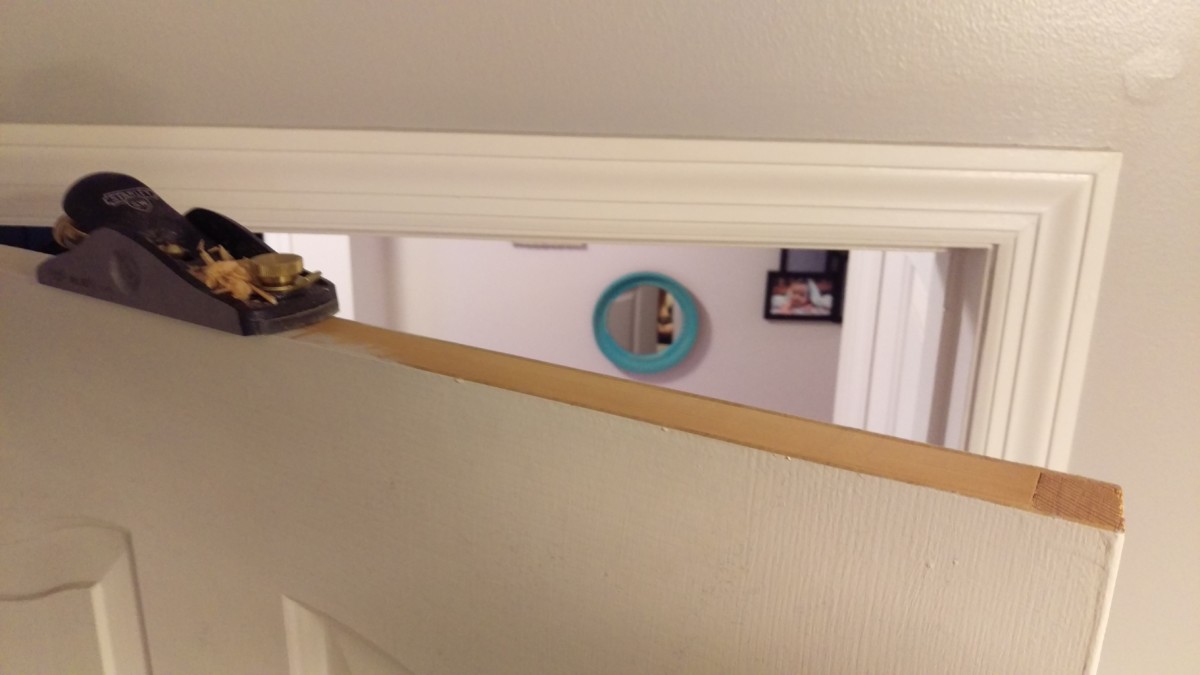
Keep planing and checking your work
Keep planing and checking your work. On these newer hollow core doors, be careful near the end. There’s usually a piece of softwood sticking up right at the edge, and you can get some tearout like I did.
Planed enough that it doesn’t stick anymore
Eventually, you’ll close the door and it won’t stick at all. Keep going a little bit past this point to account for the thickness of the paint you’re going to add. Also don’t go overboard here. When summer comes around, the gap on this door will open back up, so I removed just enough material to stop it from sticking in the middle of winter.
Fix Tear-out
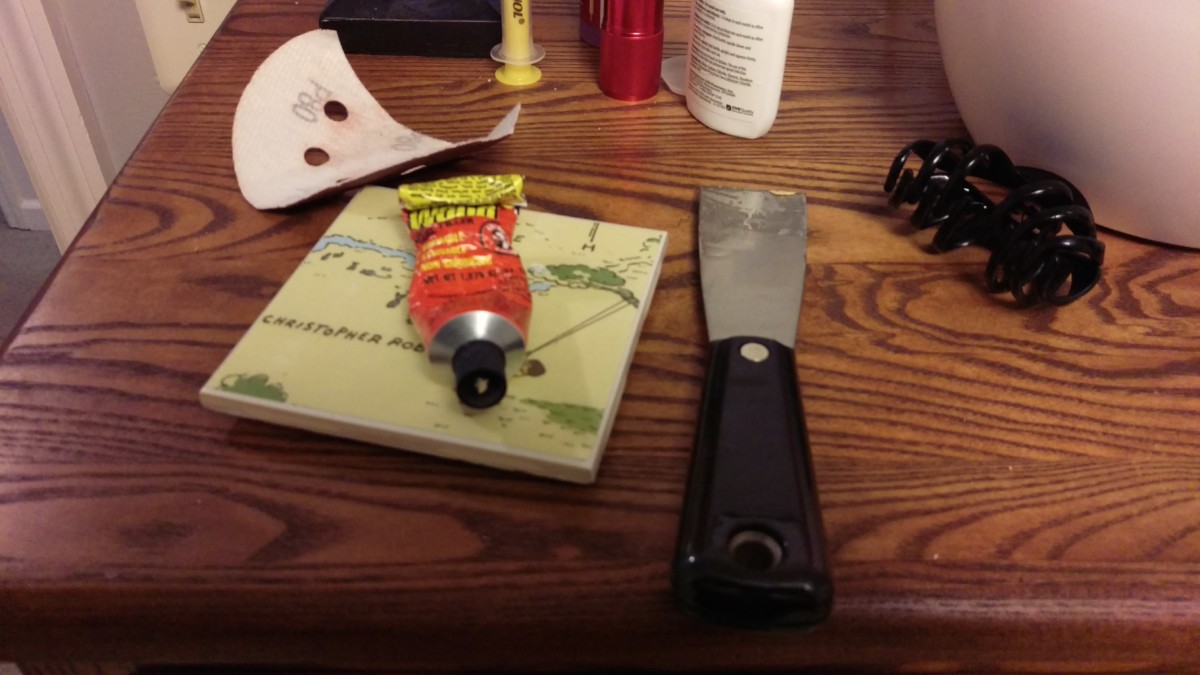
Wood filler and a putty knife

Applied to tear-out
I did not pay attention while planing and got some tear-out. Fortunately, a bit of plastic wood

Paint
Done
Finally, paint it. I just used a brush and put on a single coat. More paint would help fill in the end grain on the top, but it’s not visible so I didn’t bother. This door no longer makes any noise.
It got me when you said that you had a tear-out because you had a problem when planning for this project. I guess this made me realize that it would be better to hire professionals for this since I might make it worse. This is for the stuck door in the basement since the hinge might have been dislocated which is why we can’t open the door anymore.
I can’t believe how much useful information is contained in this post. Really smart witty way to say things. I really appreciate it. I will check back later for more great content. I also found some other witty material here https://conservationconstructionofdallas.com/doors/. I can’t wait to read more in the future. Thanks again.