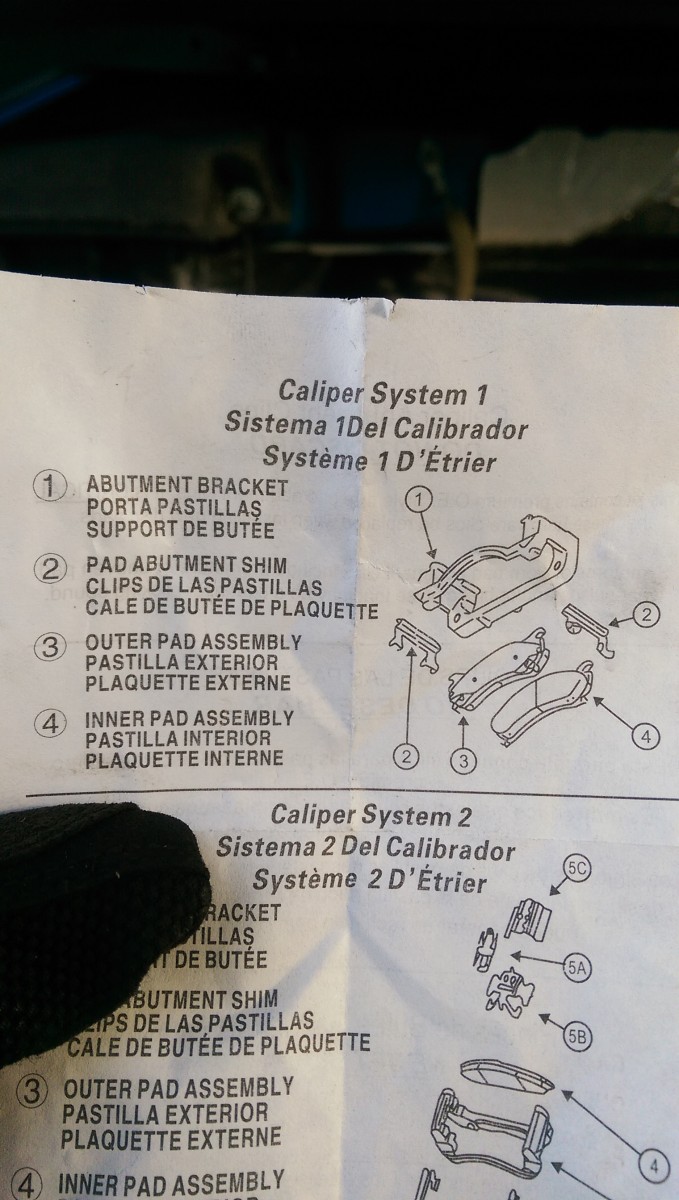
Changing Brakes on an 09-14 F150
Here’s my writeup on changing brakes on my 2011 F150. I did pads and rotors all the way around, and flushed the brake fluid.
All of the fasteners on the F150 are larger and have much higher torque specifications than most sedans and coupes. I highly recommend you have an impact wrench and impact sockets handy for this, otherwise you will be in for quite a workout. The lug nuts alone take 150 ftlb and there are 24 of them. The front anchor-plate-to-spindle torque spec is about 1.5x that of my mustang…
Start with the rears, as these are the ones you should bleed first. The proper order in which to bleed the brakes is essentially a Z pattern. BR, BL, FR, FL.
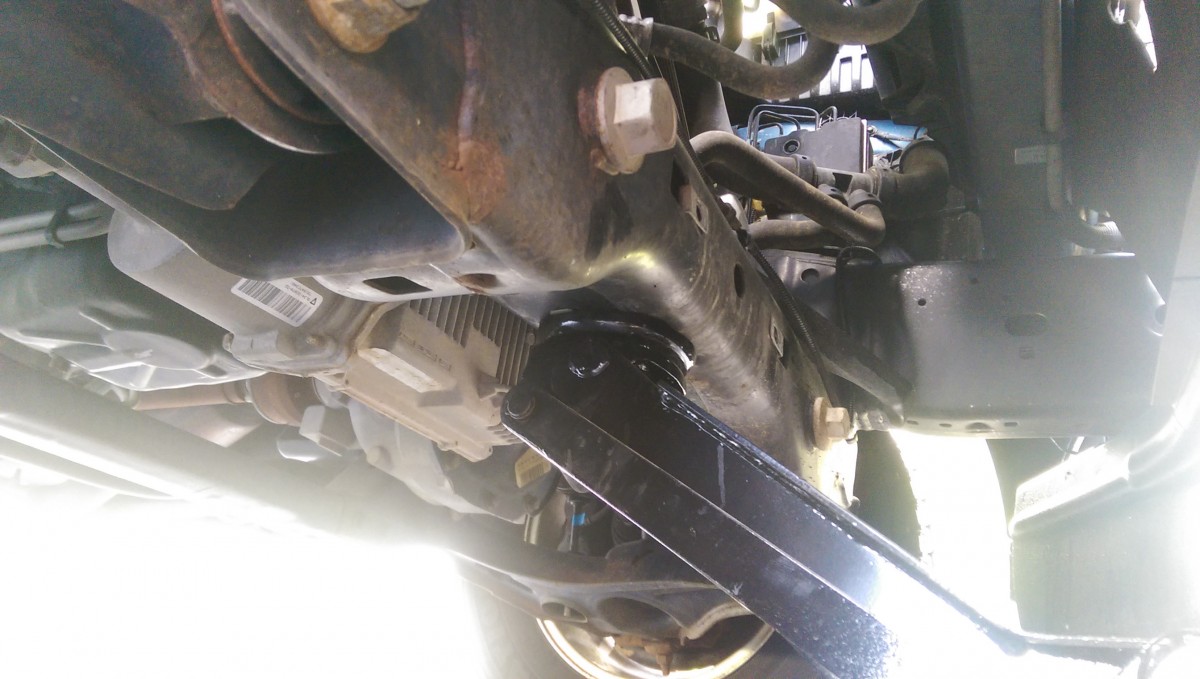
My jacking point for the back was the pumpkin, and then I put a jackstand on each axle tube, as far to the outside as I could get it. Be safe.
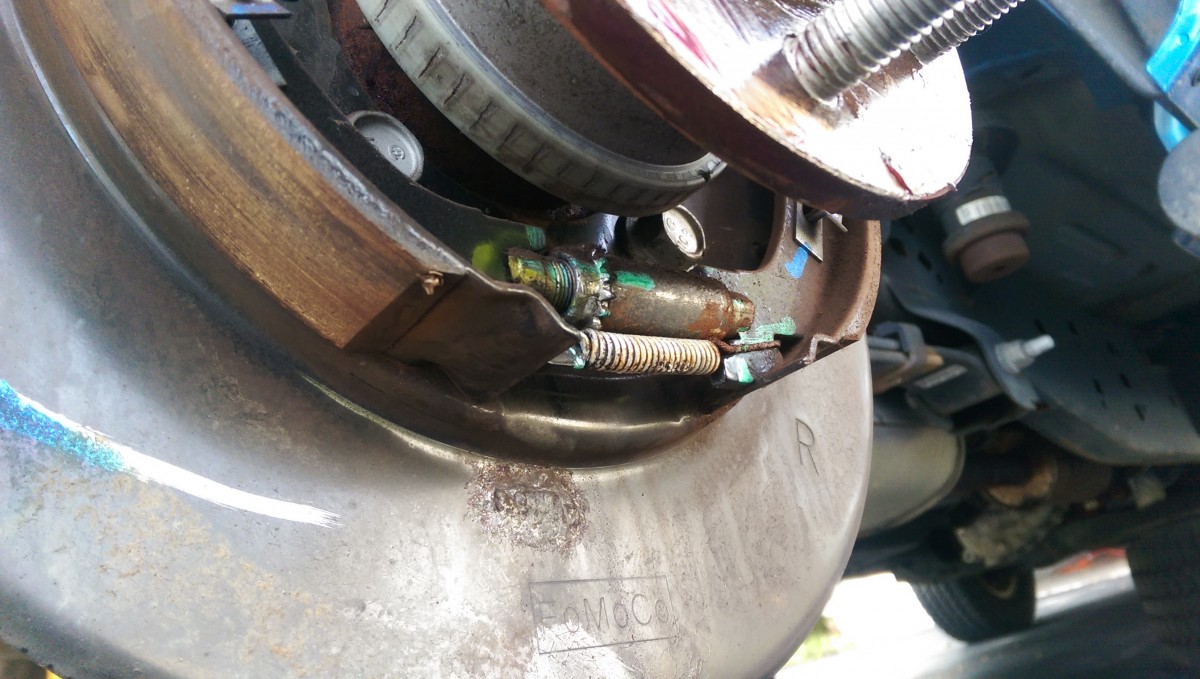
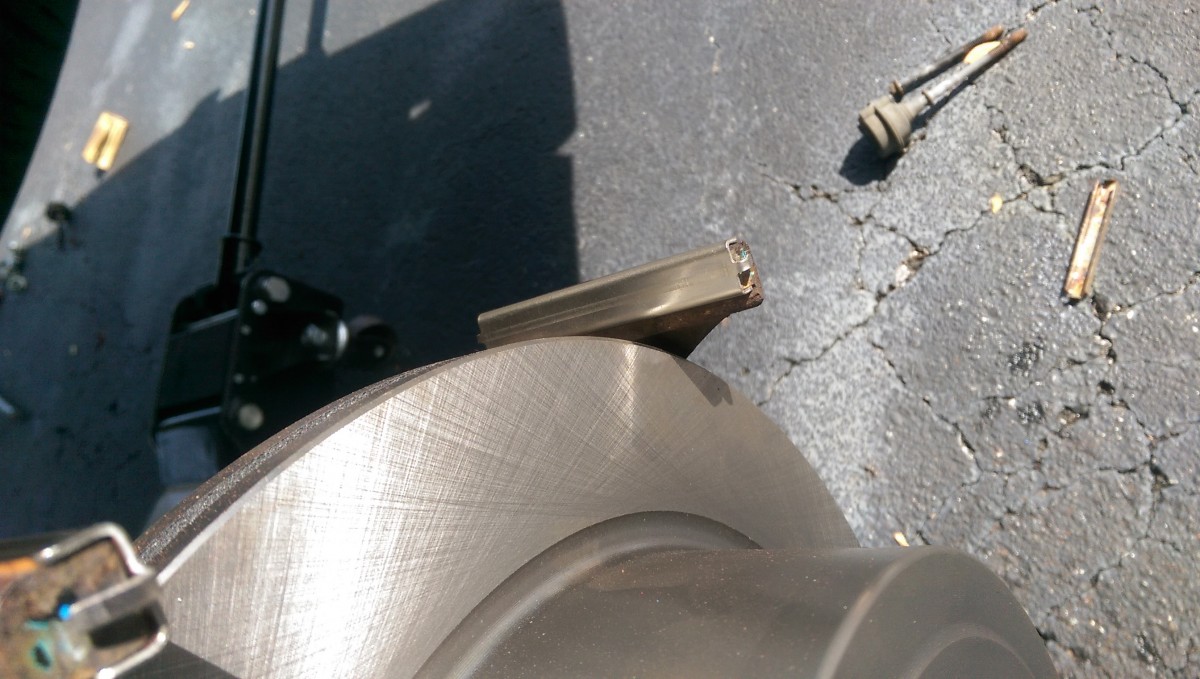
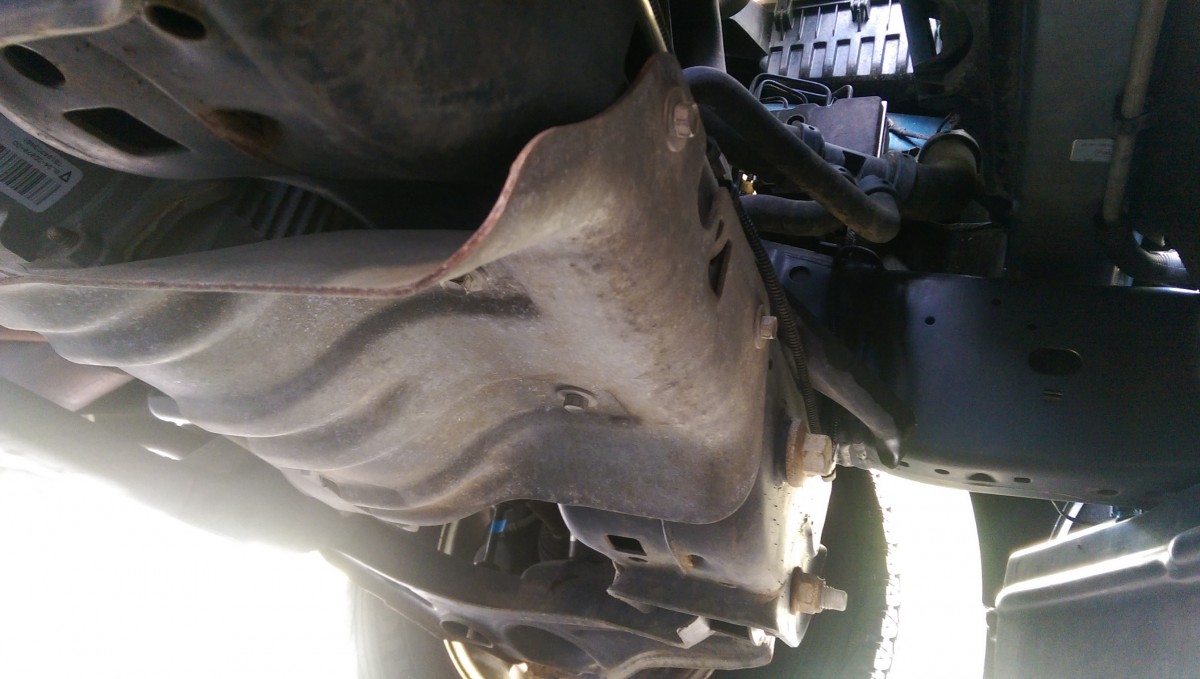
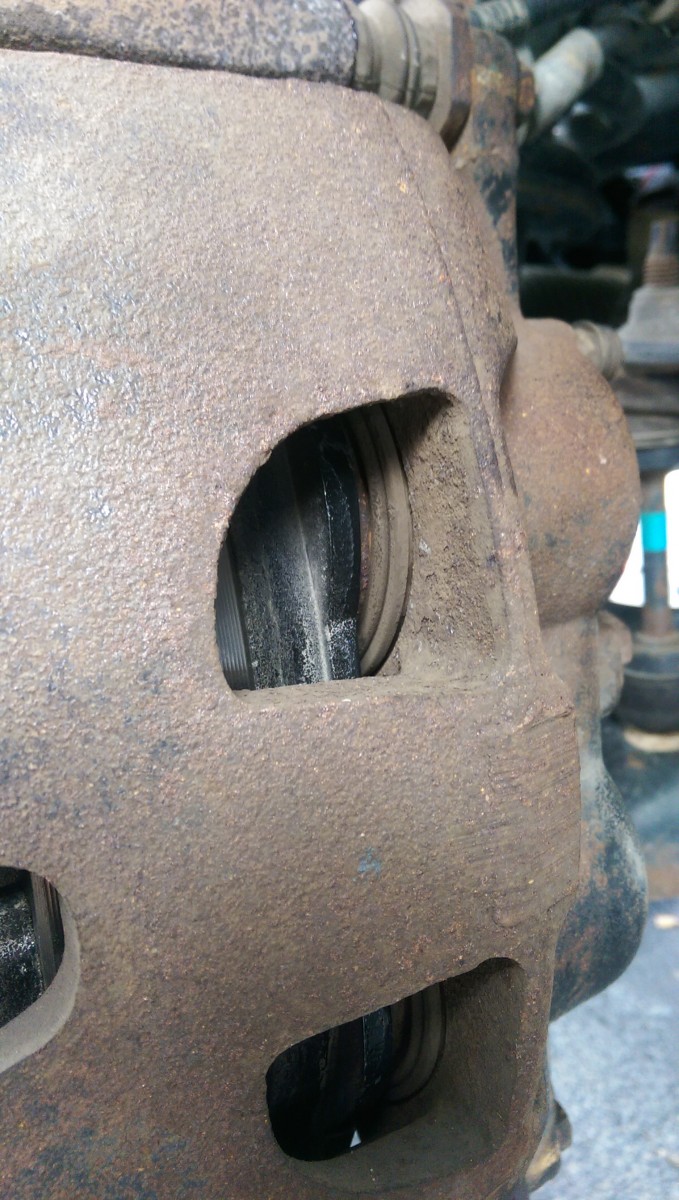
The rear caliper noise damper, aka the rear caliper “thingamabobber”
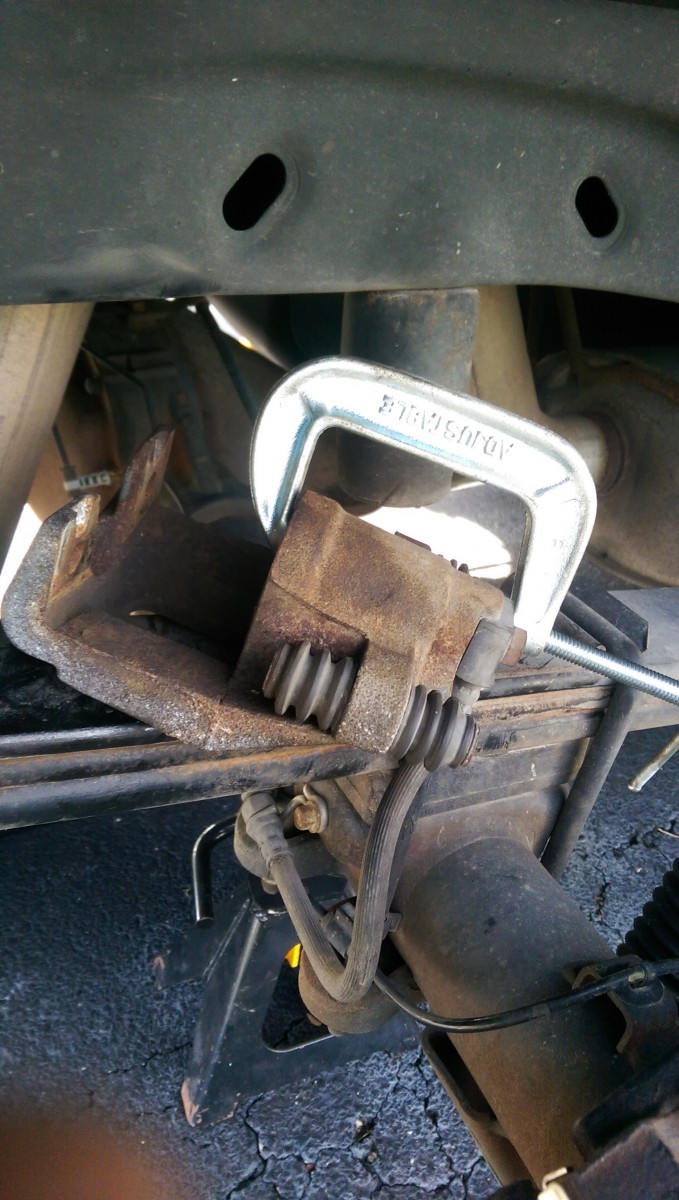
Ford has some interesting technology on our trucks these days. Upon first inspection I wasn’t sure if I was supposed to disassemble the noise damper to expose a hex or not, but, if you look close, there is actually a hex cut on the shaft itself. You turn the bolt with an open end wrench. You cannot precisely torque it to spec when you’re done, so, use your best guess.
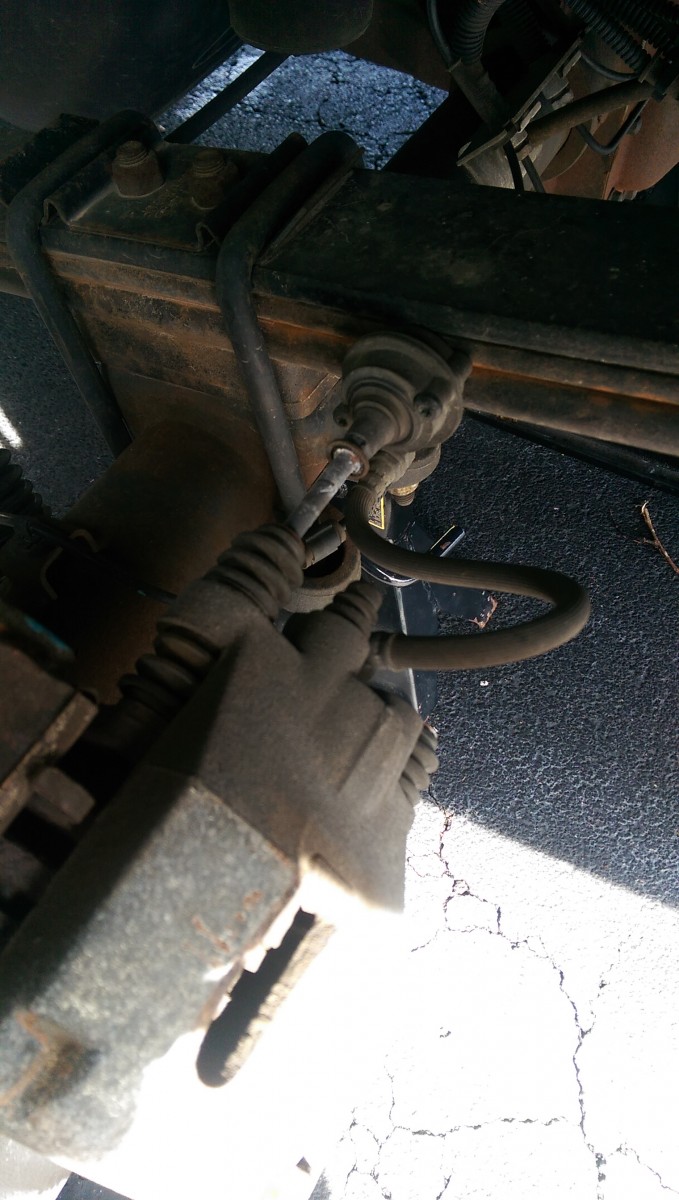
You will have to take the noise damper bolt out with the caliper itself. Unlike the bottom bolt, which can come out without hitting anything, the upper bolt / noise damper bolt is too long, but it will release from the anchor plate and come out with the caliper.
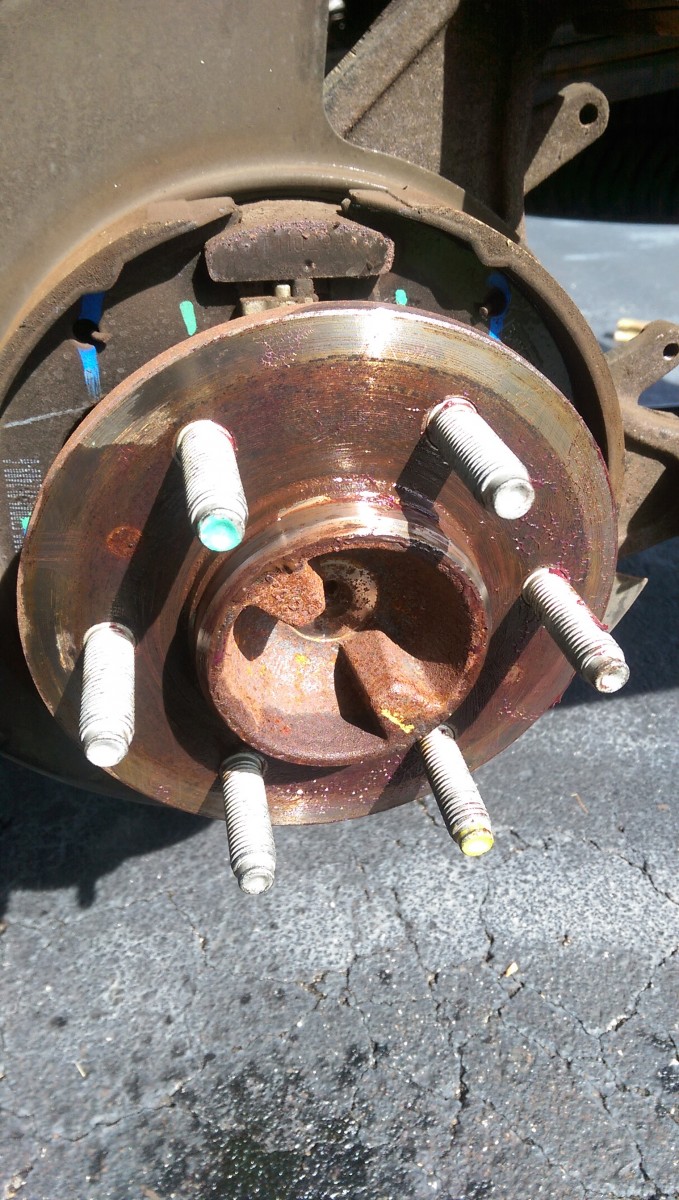
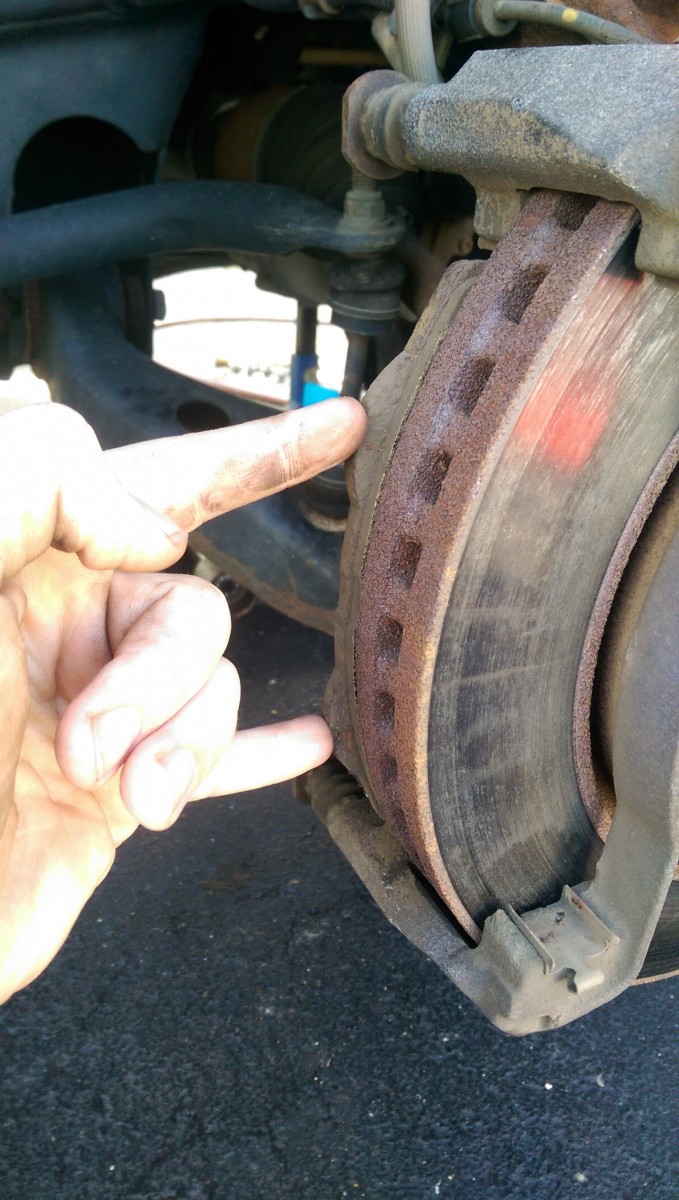
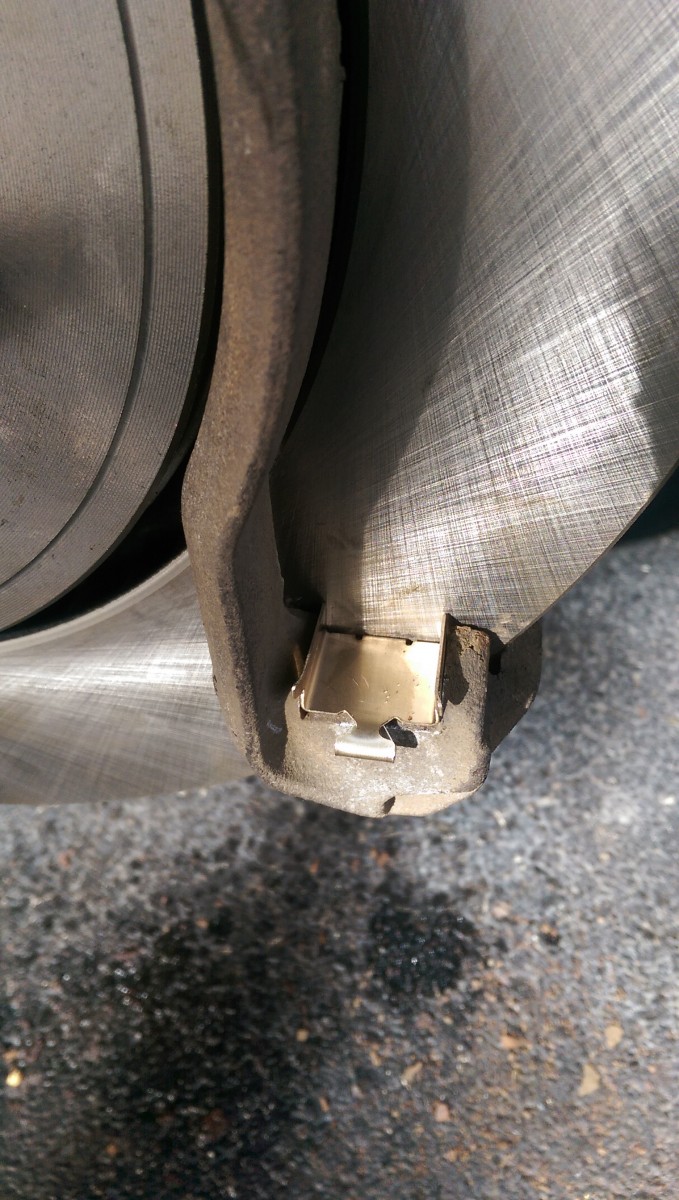
Releasing the rotors from the axles can be a challenge. The biggest hurdle is that the rotors rust-weld themselves to the outside face of the axles (rear) or hubs (front). I used a combination of penetrating oil and leverage to break them free. If you look closely at the 6-lug lug pattern on the rotors, you will see 2 smaller holes in between 2 pairs of lugs. Those 2 small holes are just what you need to shoot some penetrating oil into and get to work on that rust. You should also shoot penetrating oil into all 6 lug holes as best you can.
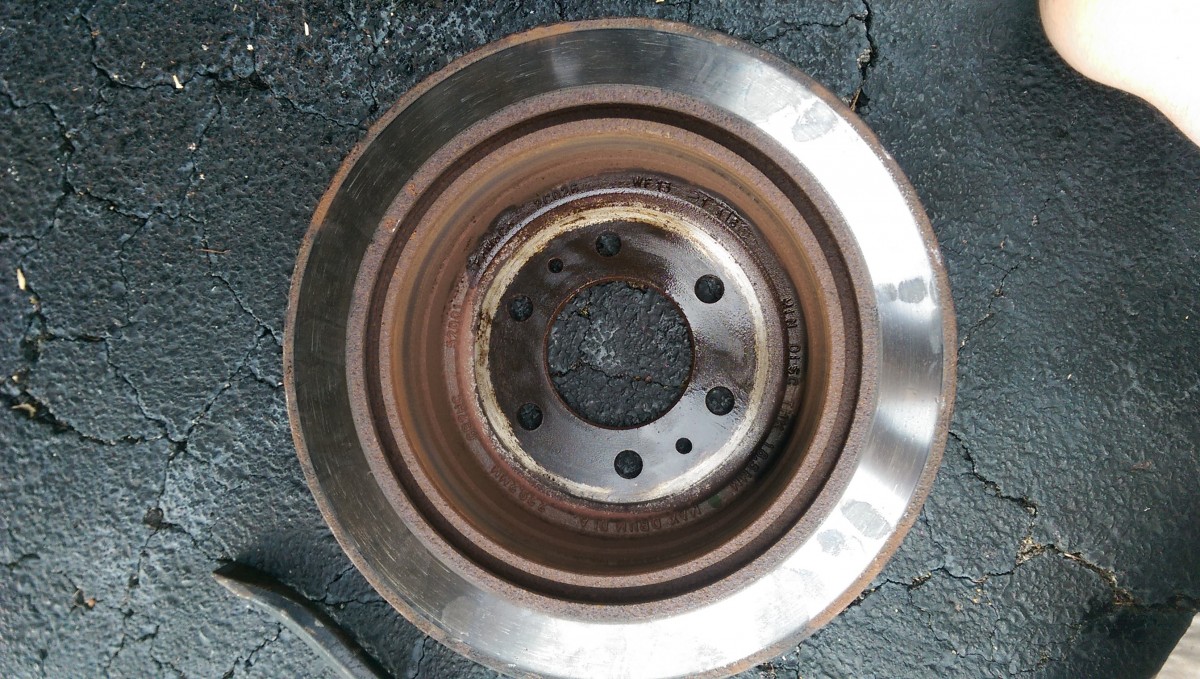
Here’s a picture of the back rotor. Look at the 2 smaller holes at roughly 11 oclock and 5 oclock. Those are the holes to shoot penetrating oil into. This is also true for the fronts, although the fronts dont have the parking brake / drum brake in the center like the rears do.

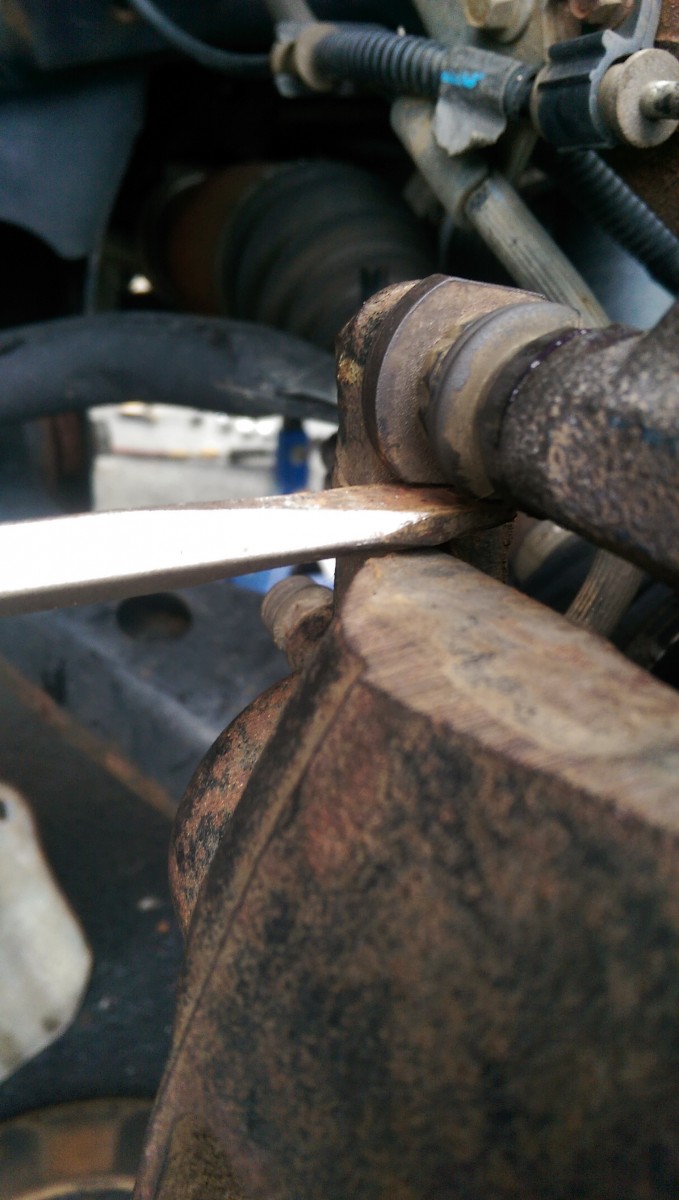
For reference, this is what my crowbar looks like, and its about 18″ long.
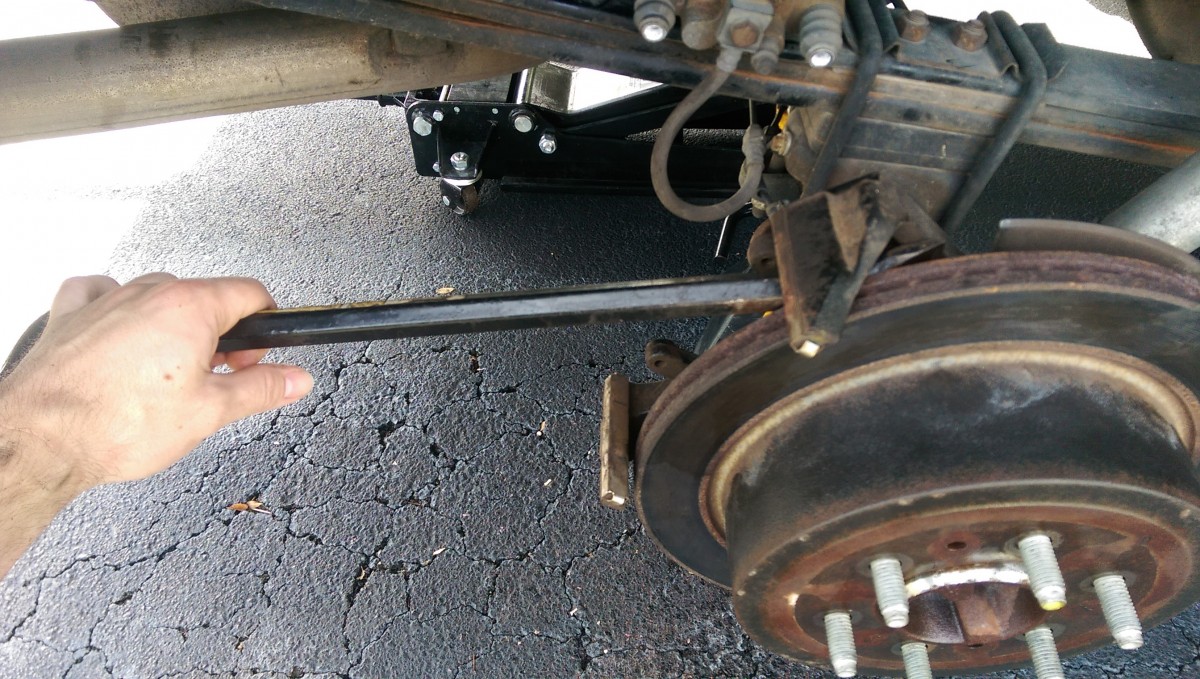
I had much more trouble freeing the right side rotors than I did the left, for some reason, but here is how I broke the right rear free. Wedge the crow bar against the anchor plate and the rotor itself and give it hell. I tried swinging a hammer for about 15 minutes to no avail. This worked much better, and its also much quieter than the hammer method. Once you get it to pop loose you might have to tap it back in place and spin it 180 degrees to break the other end loose before it’ll finally give.
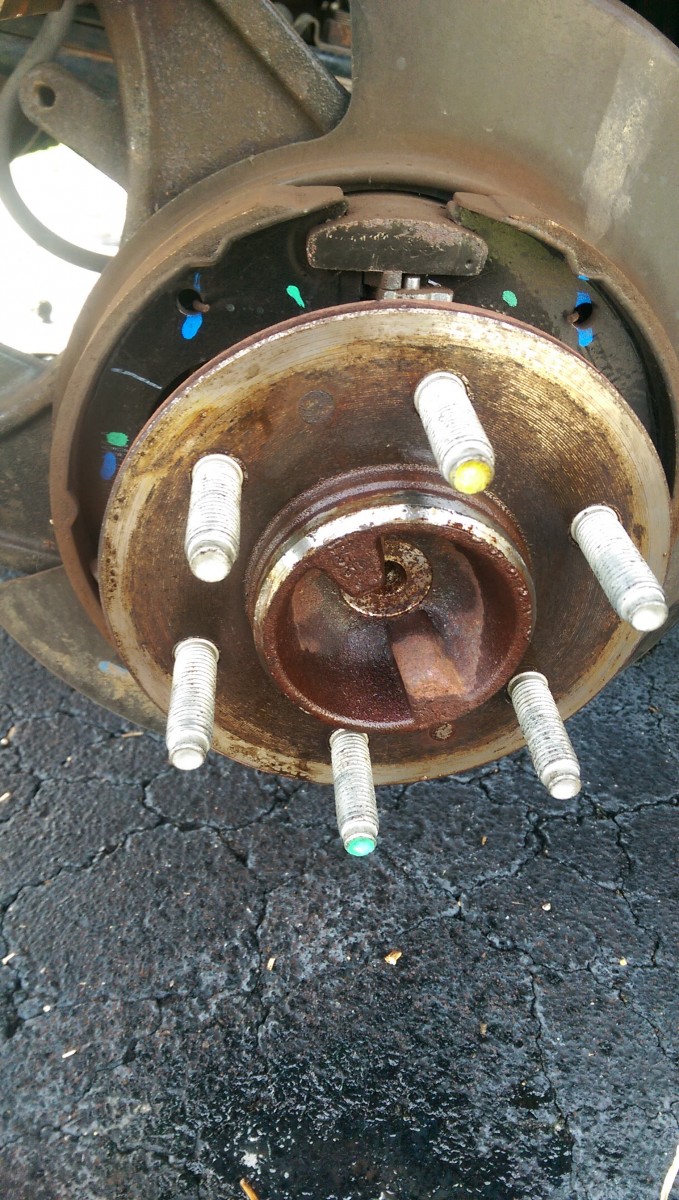
Rotors finally off! My parking brake shoes were in good shape so I left it alone.
For reference, at the bottom (6 oclock) of the drum brake is the adjuster. Its a star pattern nut that is held in place by a spring. If you have to replace your brake shoes or if your parking brake doesn’t work, this is what you’ll be dealing with. Make sure everything turns and moves freely. Sometimes the springs rust and break off, or the threads on the star pattern nut corrode and seize the adjuster. Once everything is set right you should be able to have it self adjust by hitting the parking brake while moving in reverse.
To prevent so much frustration in the future, I applied a light film of axle grease to the outside face of the axles, so that they dont rust-weld themselves as bad to the rotors.
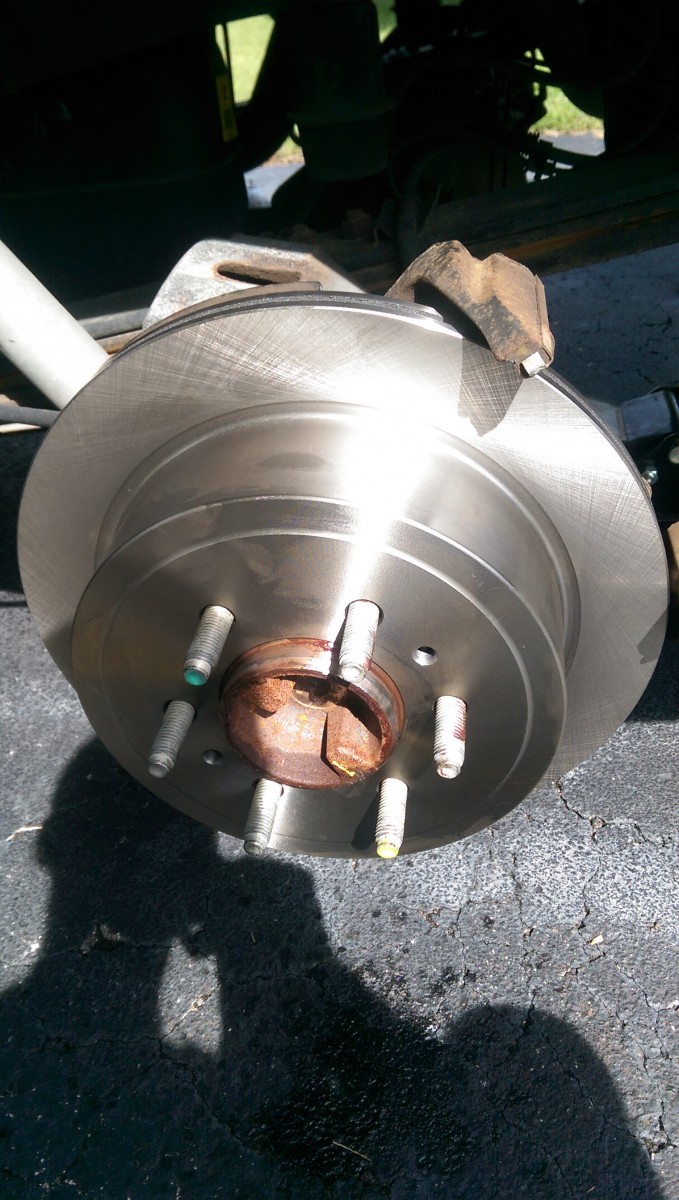
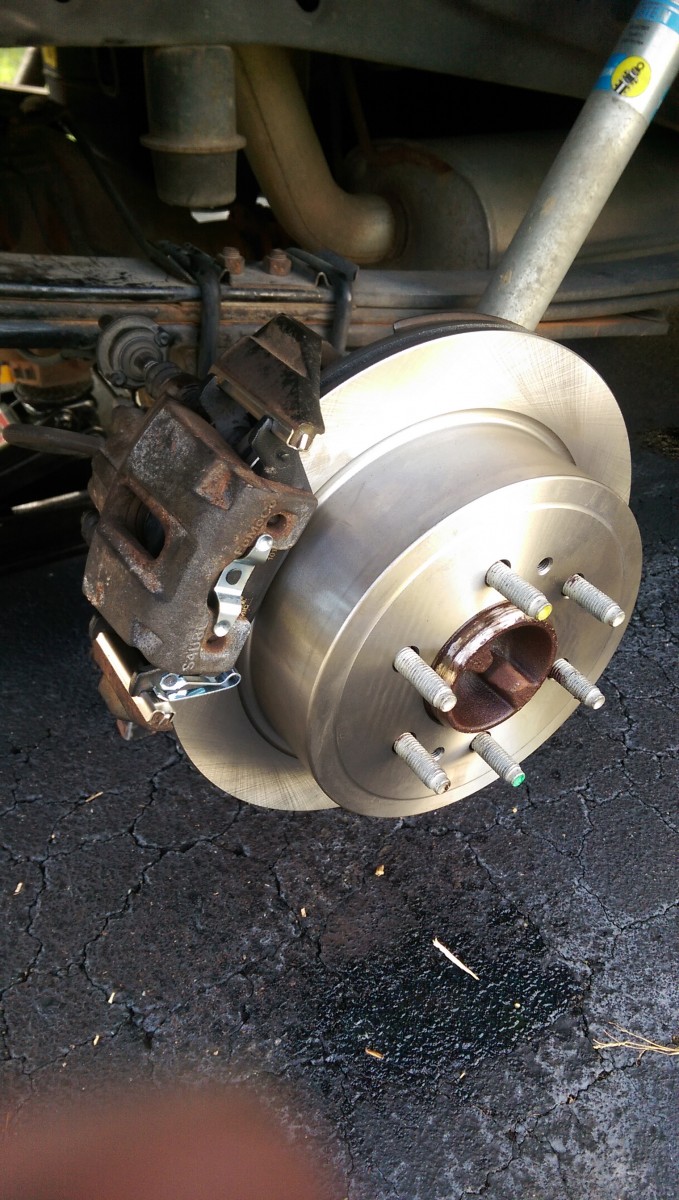
Slide those new rotors on.
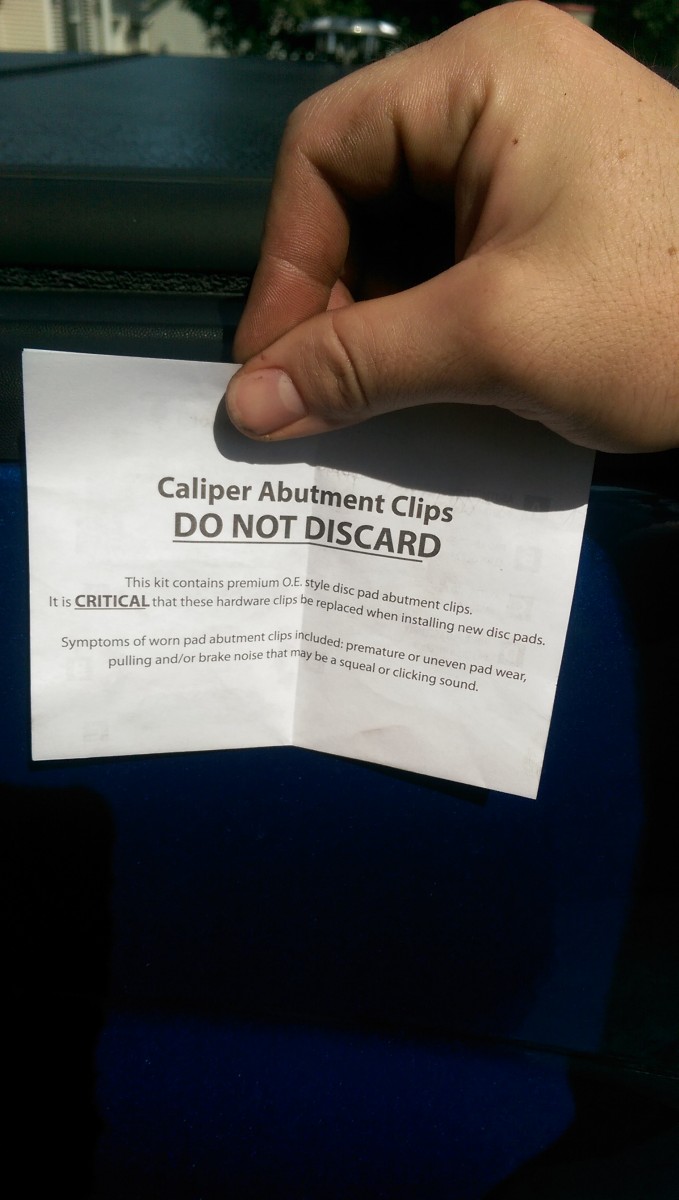
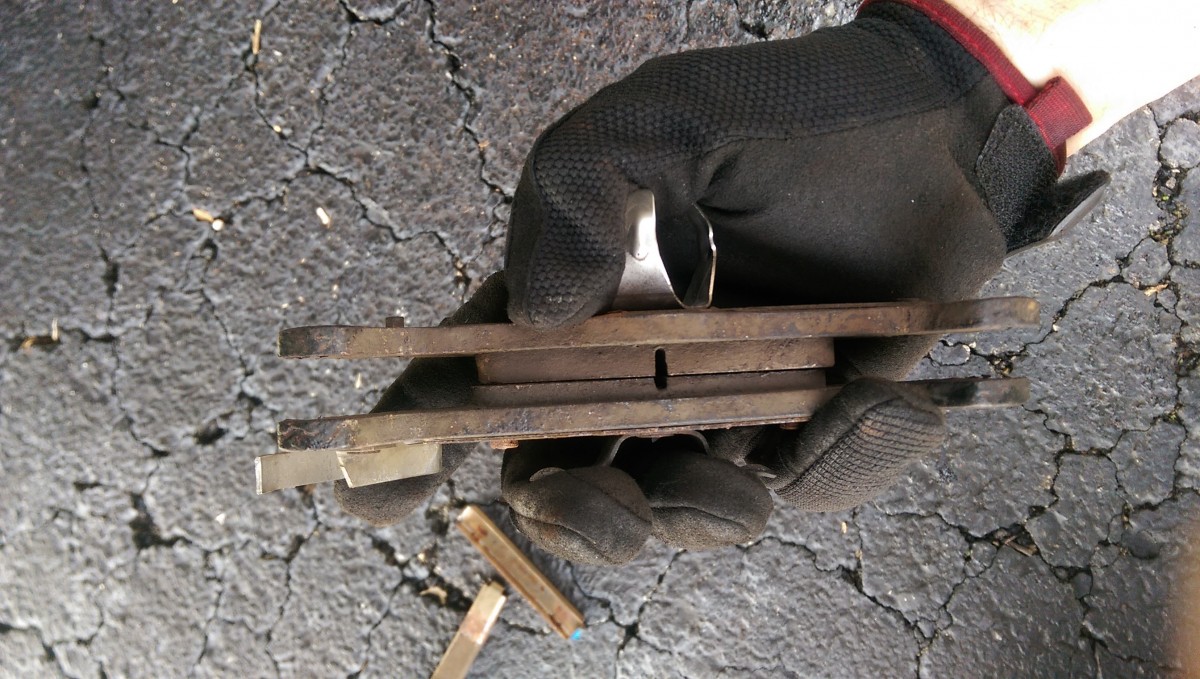
This was a note in the brake pad box I got. They provided new abutment plates. The abutment plates are highly polished, smooth plates that the brake pads slide on as they wear down. My originals were rusted out and rough, so, be sure your brake pads come with new plates. You don’t want to reuse the old ones or your pads won’t move as they should. More than likely, the force from the caliper will have them press the rotors fine, but they wont release right and you could be dragging your rear brakes.
Here’s the new abutment plates installed and looking good.
For reference, my brake pads didn’t wear evenly. I had alot of meat left on the inside one but my outsides were more worn down. I think this might have to do with the abutment plate point I made earlier.
Take the cap off of your master cylinder, and compress the pistons back in flush. Inspect the piston boots.

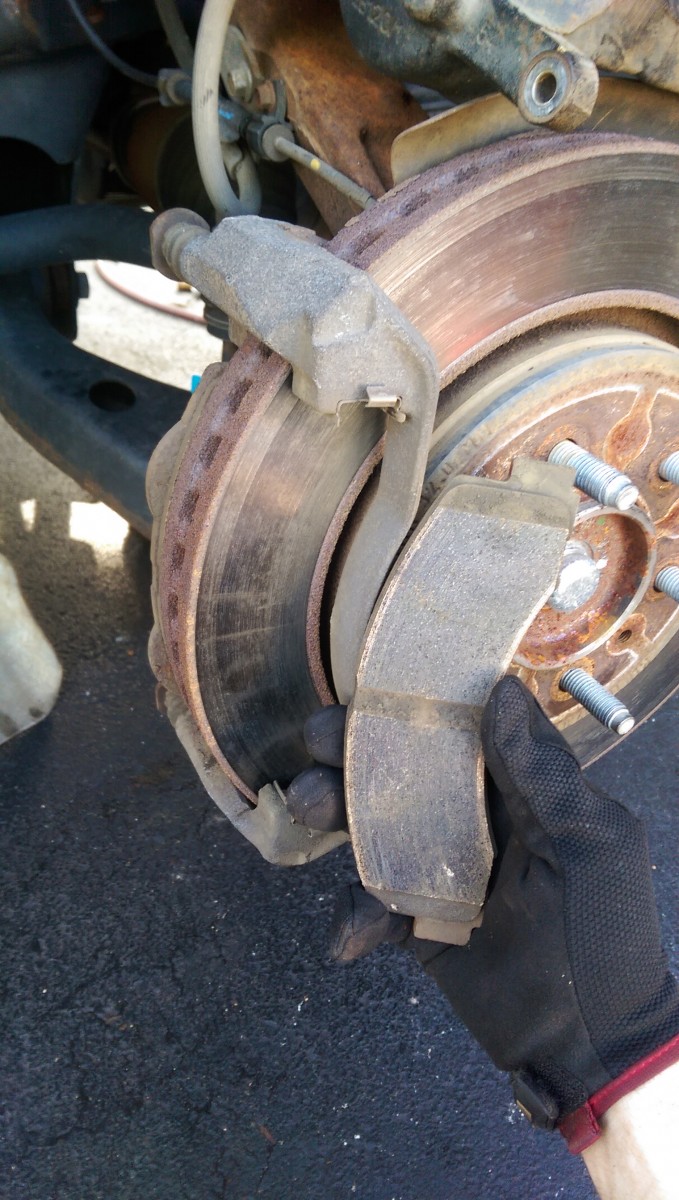
Regrease your slider pins!!! This is crucial for the operation of the calipers and so you dont drag your brakes. Inspect the boots as well.
Install the brake pads into the caliper and slide the caliper on, with the noise damper bolt. Follow the appropriate torque specs for, uh, the bottom bolt, and give it your best guess for the noise damper bolt.
Bleed BR and then BL. I bought 2 of the big bottles of brake fluid and rationed out half of each bottle to each corner of the truck. Honestly, I’d recommend getting a third bottle. At just 65k miles my brake fluid was already nasty and I didn’t completely clear it all out, but I got most of it.
Fronts
The front needed a little preparation before I could even jack it up. I had to remove the skid plate that protects my steering rack to expose the large frame member to jack from. There was a smaller frame member a little ways back but it just didn’t look very beefy to jack from. Having done it, I’m glad I did it this way. These trucks are heavy!
Remove this skid plate. It has 4 bolts and a convenient little tab to hold it in place so it doesn’t come crashing down when all the bolts are out. This also makes reinstallation a snap.
Ready to lift it up!
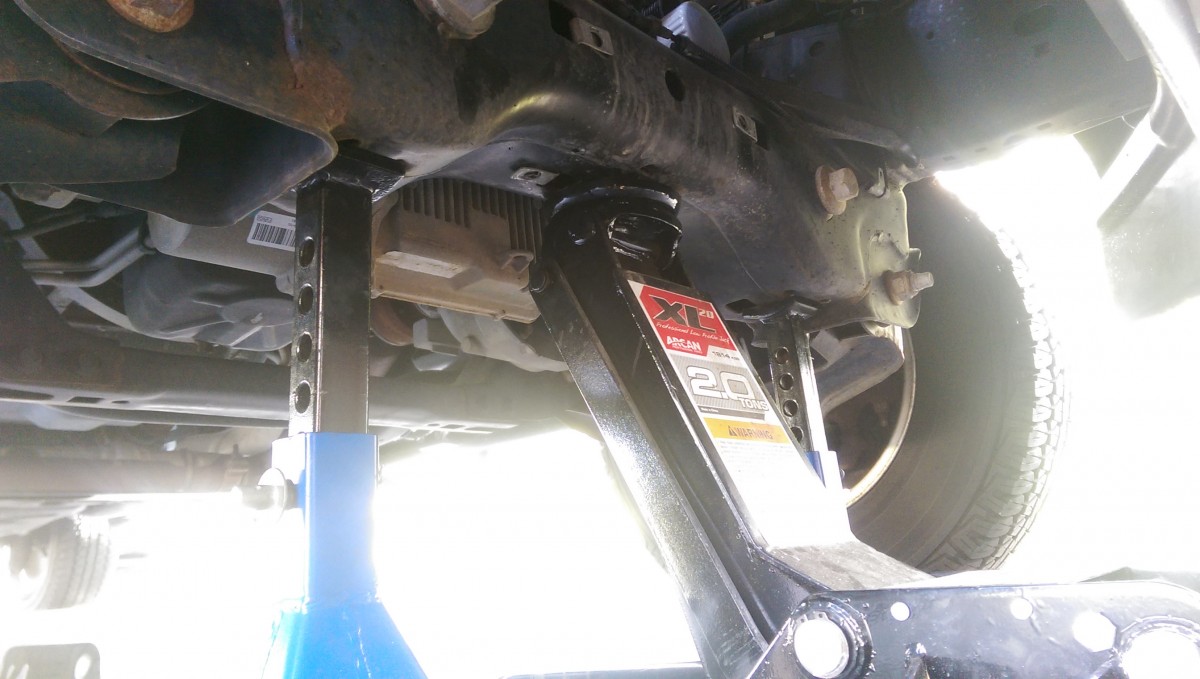
These trucks are tall! My jackstands were just about maxed out and my low profile jack that I need for my mustang actually was maxed out, but it was enough!
Bear in mind that with the hood up and with the front end on jackstands, these things probably wont fit inside most garages without hitting the hood on the garage door or door opener.
Ok, now that we’re up in the air and can take the wheels off, we’re ready to get cracking. The process is very similar to the rears. The biggest differences are: the front anchor plates have to be removed in order to remove the rotors, the front rotors don’t have the parking brake drum brakes in the center, and the front calipers have 2 pistons, not 1.
This picture and the next show the difference between the inside front pads and the outside pads. The inside pads have the bunny ears.
Bunny ears!
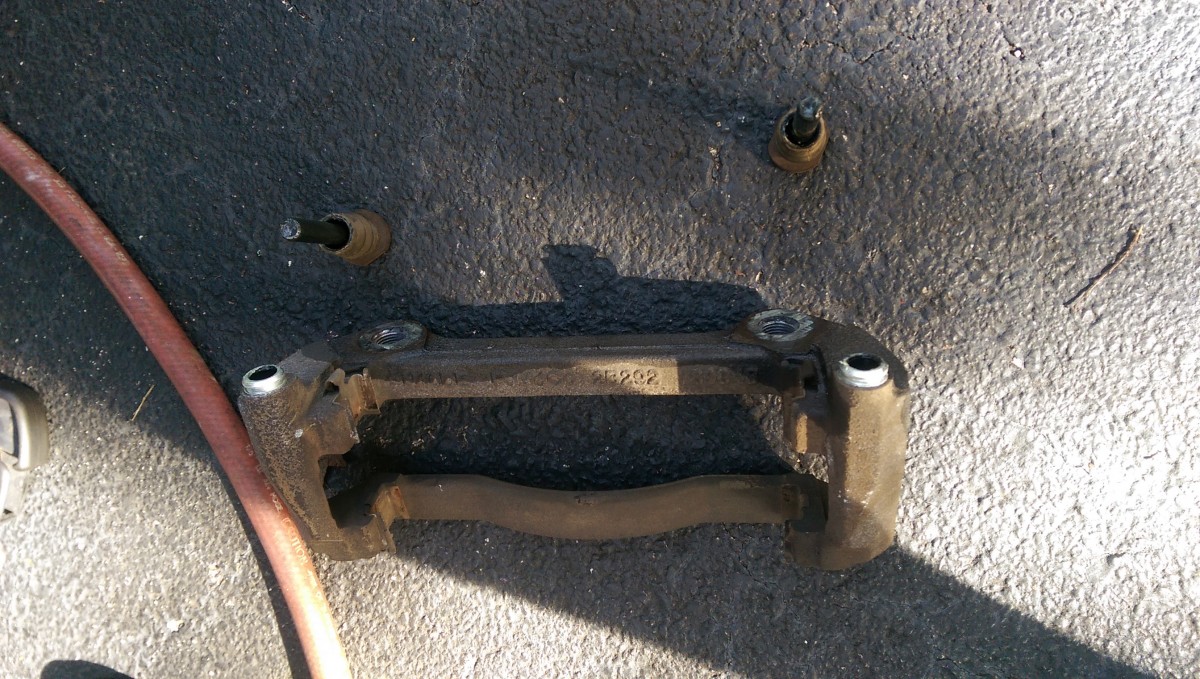
Removing the anchor plates is hard work but I did ok. Unfortunately, my air compressor can’t supply enough air to my impact wrench to break these loose, so I had to break them loose manually and then go back to the impact to turn them out the rest of the way. For the passenger’s side I used my floor jack on my socket wrench to provide the power. On the drivers side, however, using a floor jack would actually tighten the bolts, not loosen them. I just swung a hammer at my socket wrench to pop them loose. Once I got about 1/4 turn out of the bolts I went back to my impact and zipped them right out. They will fight you every millimeter of the way.
Once they’re out, regrease the slider pins and check the boots!
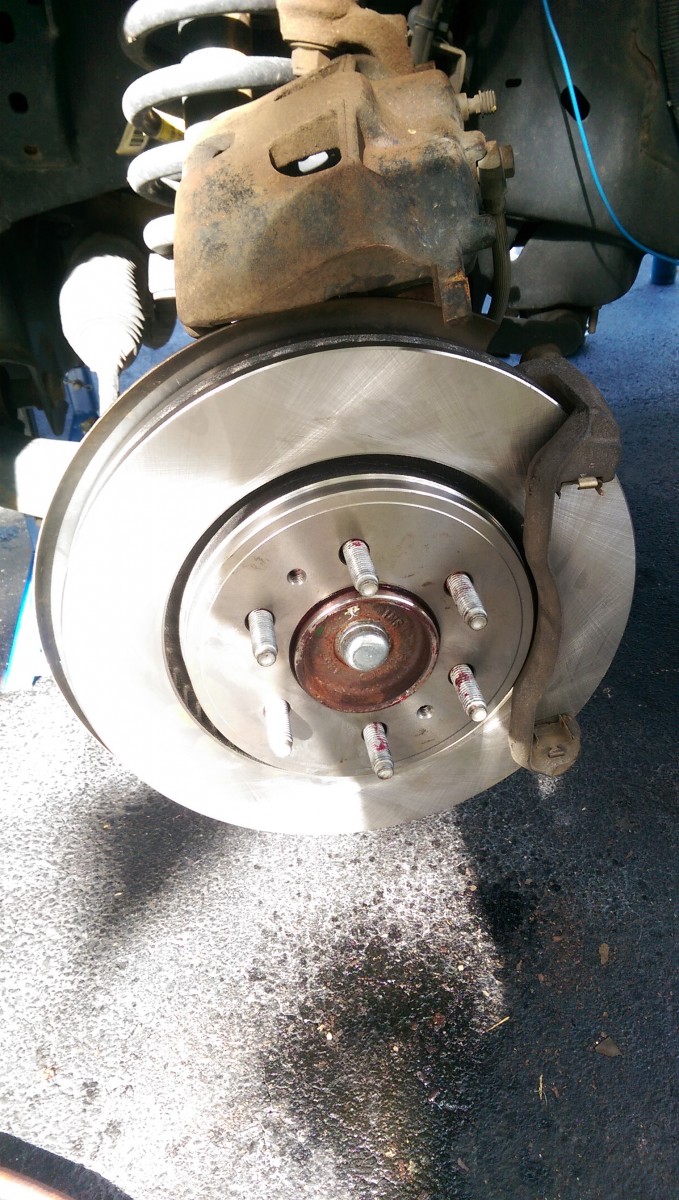
Removal of the front brake rotors is a similar process to the rears. Shoot penetrating oil into all6 lug holes and the 2 smaller holes, and either swing your hammer or try a crow bar. For the fronts, my hammer worked fine. Apply a thin layer of grease to the outside face of the hubs and slide the new rotors on. Reinstall the anchor plates and torque to spec. Shoot some brake cleaner at the lugs so they aren’t covered in grease when you torque the lug nuts down.
Same as the rears, the fronts really should have new abutment clips installed with the new pads.
New abutment clips on the front. There are 4 per side, 8 total.
Quick tip on torquing the caliper-to-anchor-plate bolts: for whatever reason, the flats in the slider pins didn’t lock against anything on the anchor plate like they do on other cars, but you can pry a flathead screwdriver against those flats to lock it in place so you can torque those bolts down to spec.
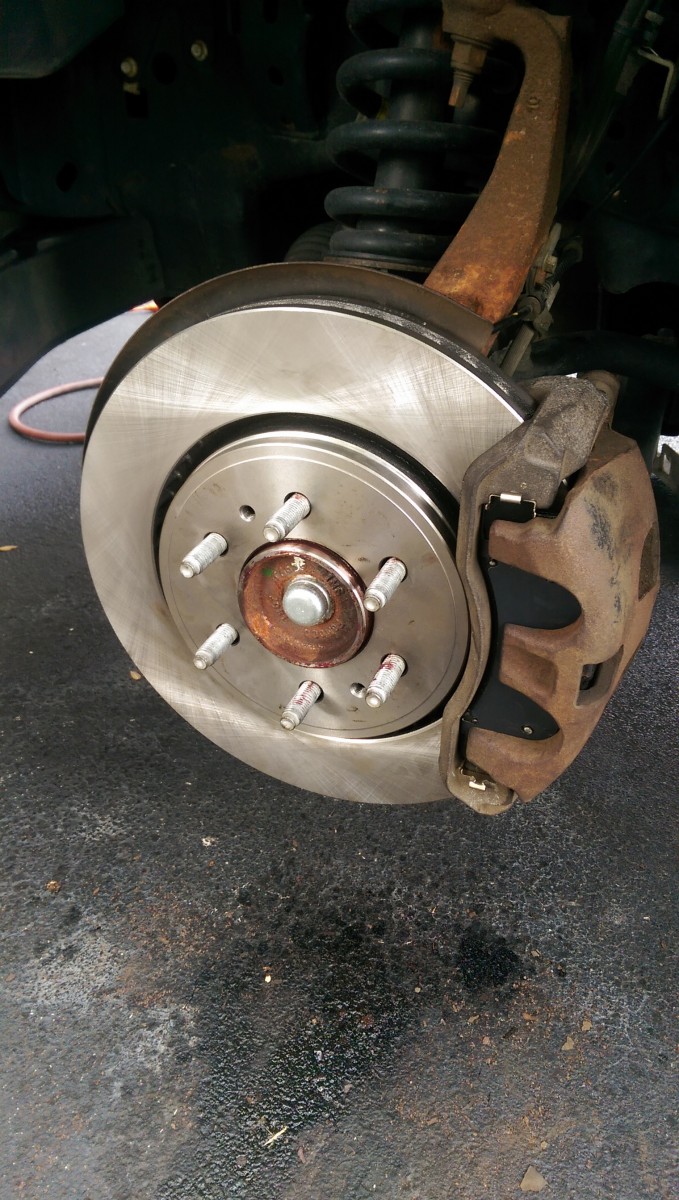
All put back together! Bleed FR, then FL. I was shocked to find that the bleeder screws on the front of my truck were 3/8″. The rears, along with literally every other fastener on the truck, are metric. I guess when it comes to bleeder screws and the size of the box, we can use inches and feet, but everything else has to be metric!
Last minute sanity check: bunny ears on inside pads are visible even with the caliper on.
Put the wheels back on, lower it to the ground, reinstall the skid plate, and torque the lugnuts. Enjoy!
[…] Hello all, Here's my writeup on how to brakes on our trucks. Hopefully this helps someone! Changing Brakes on an 09-14 F150 – Did It Myself googletag.cmd.push(function() { googletag.display('div-gpt-ad-13'); […]
Nice write-up, Should help out a lot. Thanks
The two holes you used to shoot oil through are actually threaded, with the proper bolt they’ll pop the rotors off easy peasy.
thank you .good to know before i begin
The smaller holes in the rotor are for removal. Yes you can shoot penetrating fluid in them but their main purpose is to run m8 x 25 nf bolt so that the bolt will push against the hub and pull the rotor off. You just have to be careful of the park brake shoe in the rear. F they are adjusted to tight, they will be pulled with the rotor. Also the rotor will be that much more harder to remove.
Very Nice How to for the brakes. If I may, the two holes 180 degrees apart, in the rotors are threaded 3/8-16, use two grade 5 or harder x 1.25″ long bolts to pry, or “back off” the rotors, turn each bolt a quarter of a turn at a time, evenly, along with the PB Blaster and a medium hammer. It works like a charm!
Great article, thanks!