Installing an Outdoor Post Lamp

Original post lamp
Our house has a post lamp in the driveway. The actual housing must have broken, because the previous owners simply sat a cheap lantern cover from Hobby Lobby on top of the bulb in the picture. Predictably, since it wasn’t secured at all, a storm blew the lantern off, damaging the bulb socket. This finally motivated me to replace this post lamp with a new one. Had I realized how simple installing an outdoor post lamp is, I would have done it much sooner.
Removing the Old Post Lamp
Undoing the mounting screws
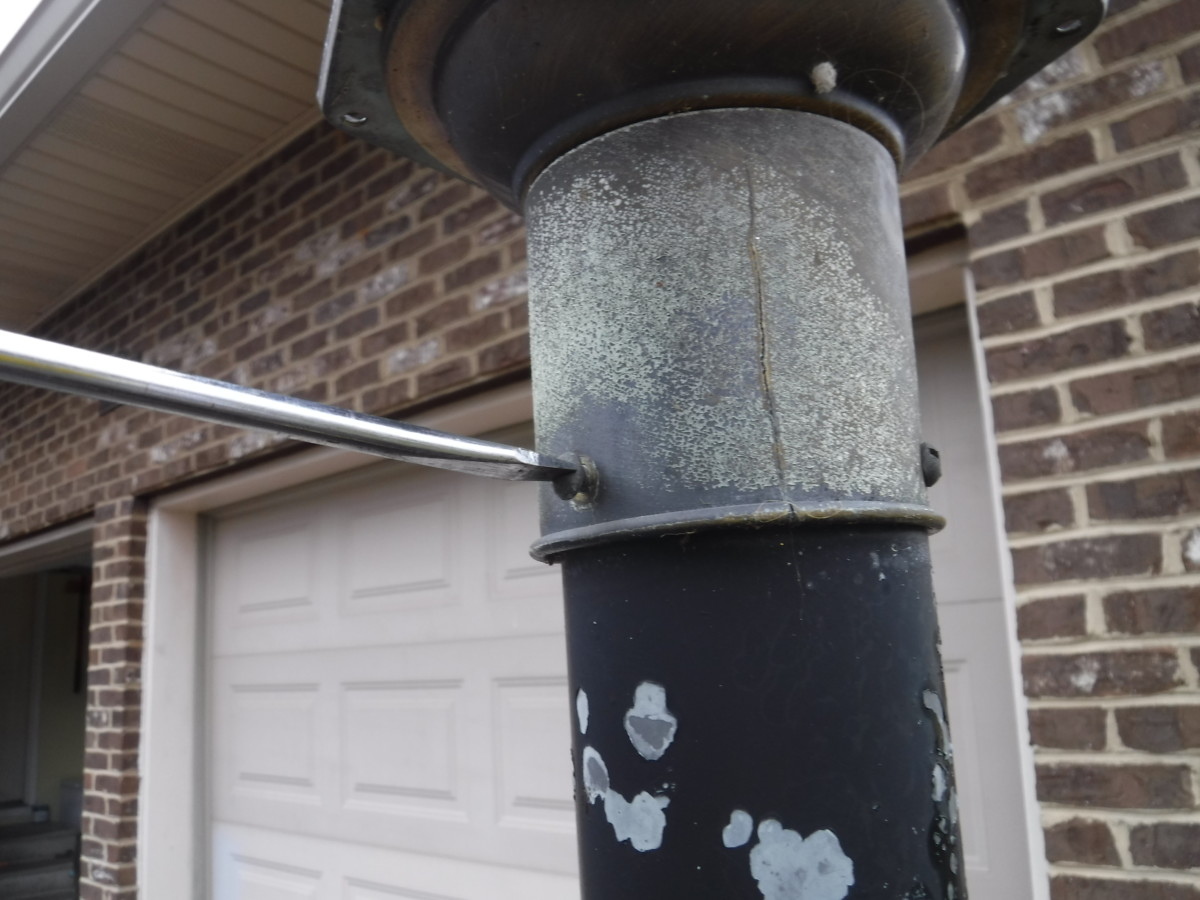
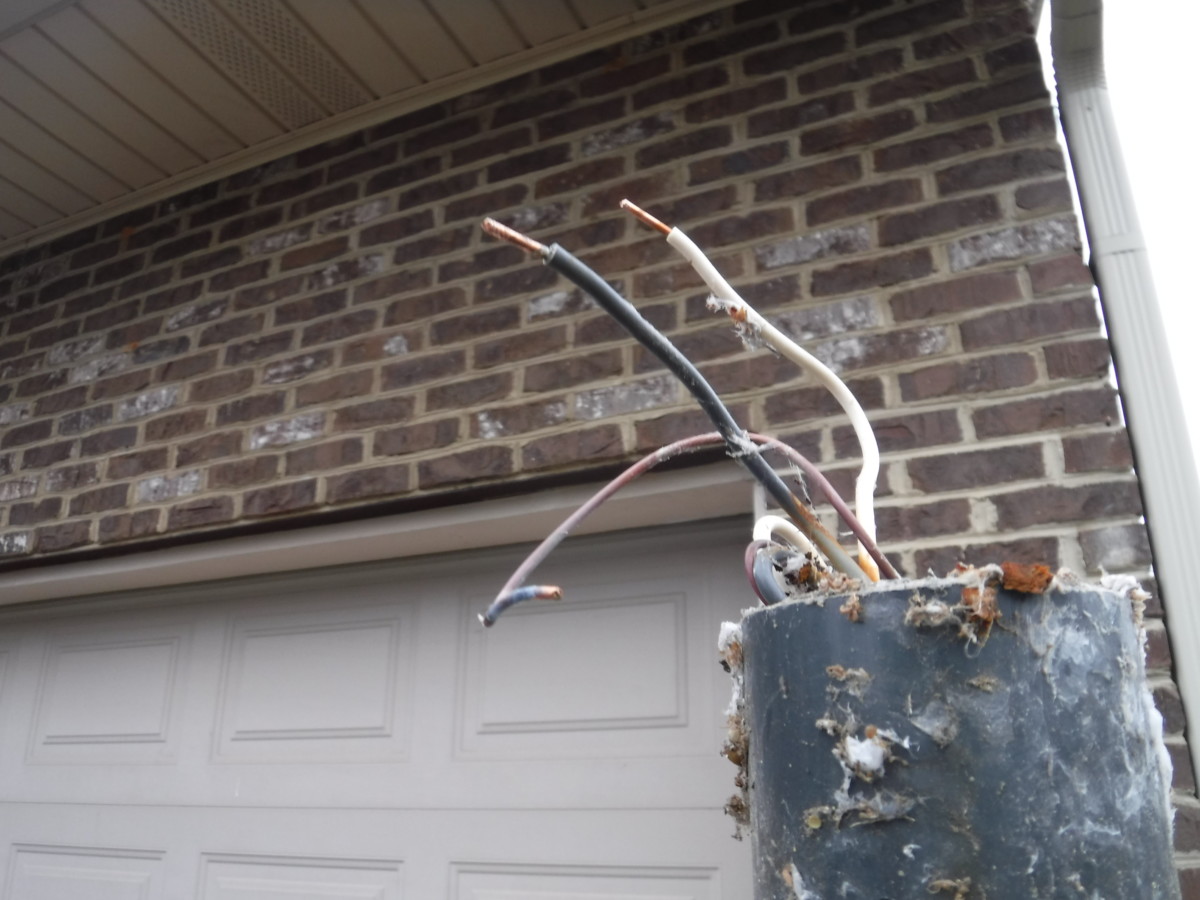
If you’re replacing an existing post lamp like I am, you need to remove the old one first. The top of mine is gone, but the procedure is the same either way. First, make sure the circuit breaker is off for your lamp. If you don’t know how to do this safely, hire a professional. You do not want to get shocked.
With both the light switch and breaker turned off, you can remove the mounting screws. There are usually three.
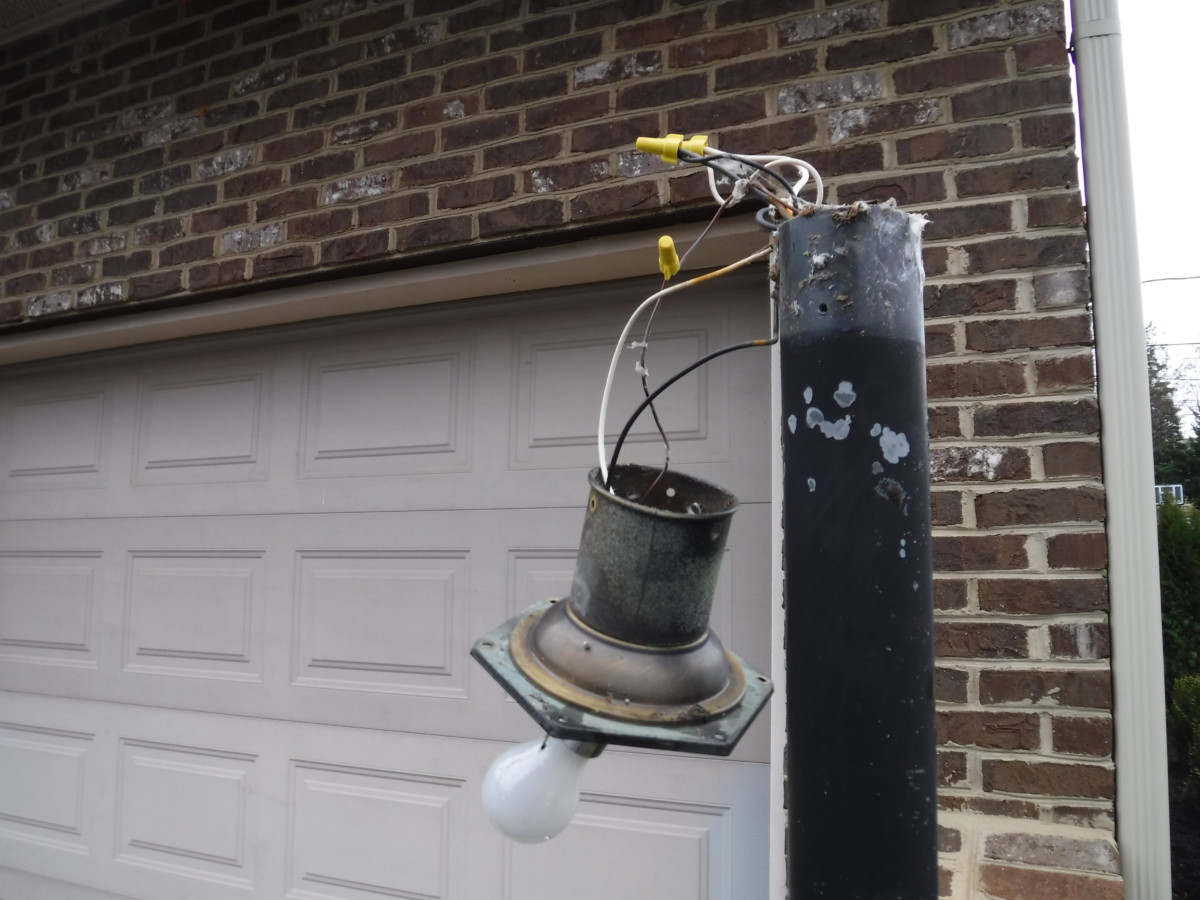
Wire nuts inside post
The mounting screws are the only thing holding the post lamp base to the post. With them out, the base will pull right off. This should expose the three power wires, which are usually connected with wire nuts.
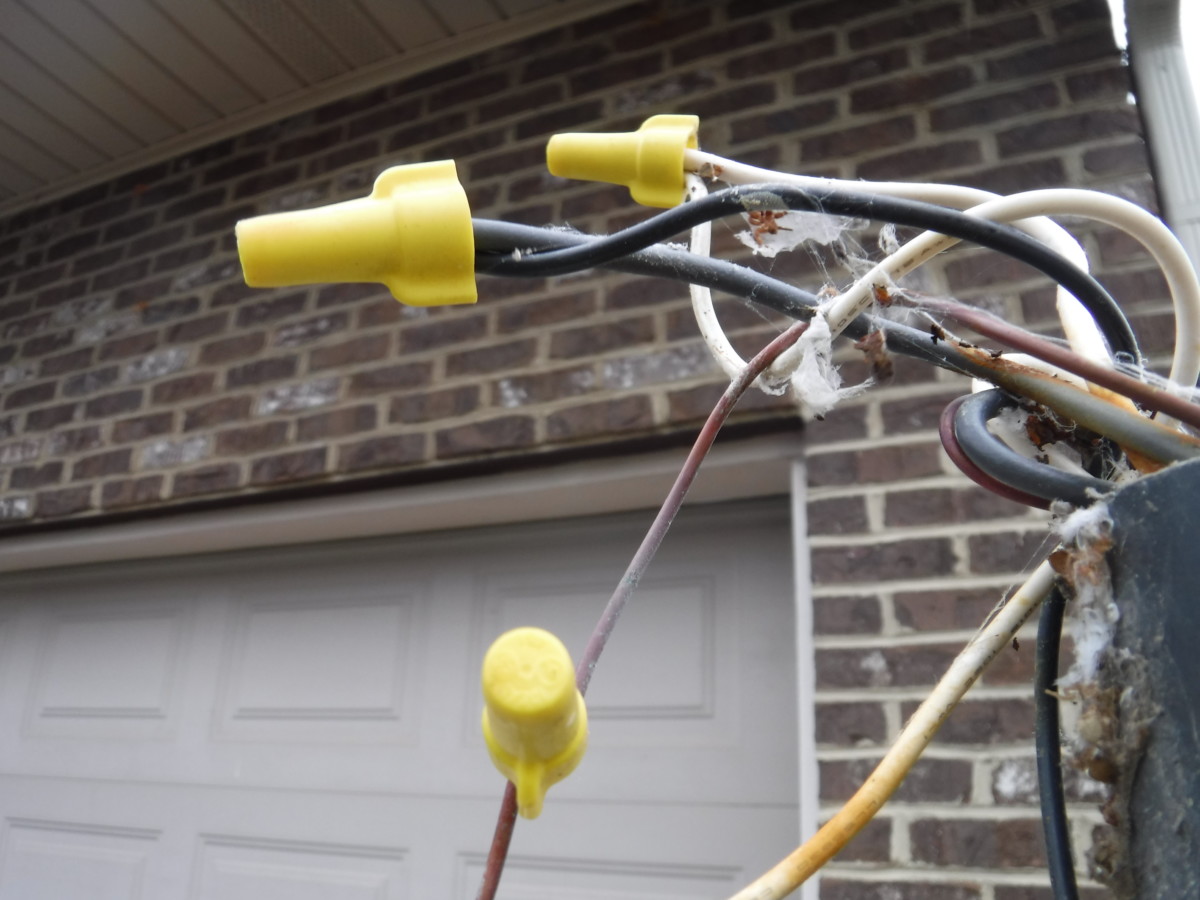
Untwist the wire nuts
Turn the wire nuts counter-clockwise to remove. Once they’re off, you may still have to untwist the wires themselves.
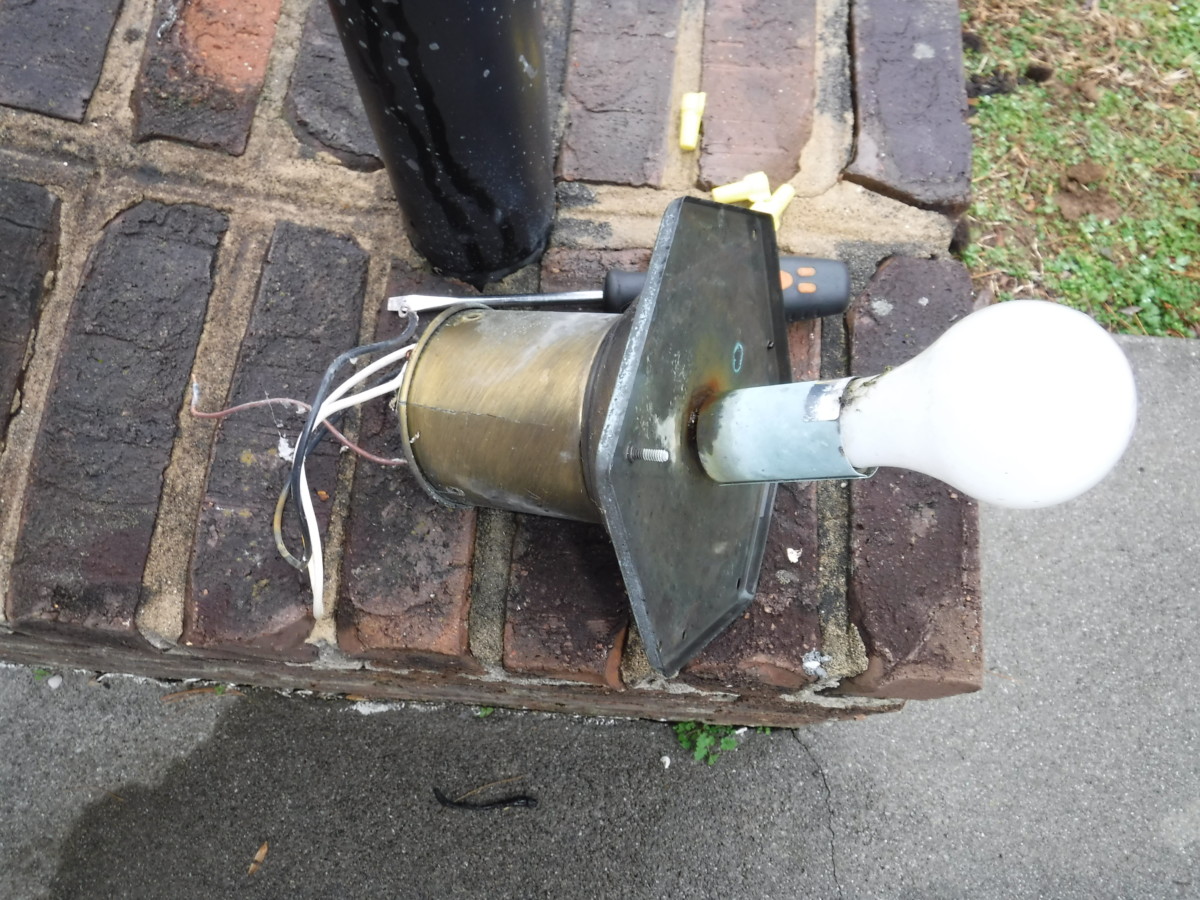
Base removed
At this point, the base should be free.
Assembling the New Post Lamp
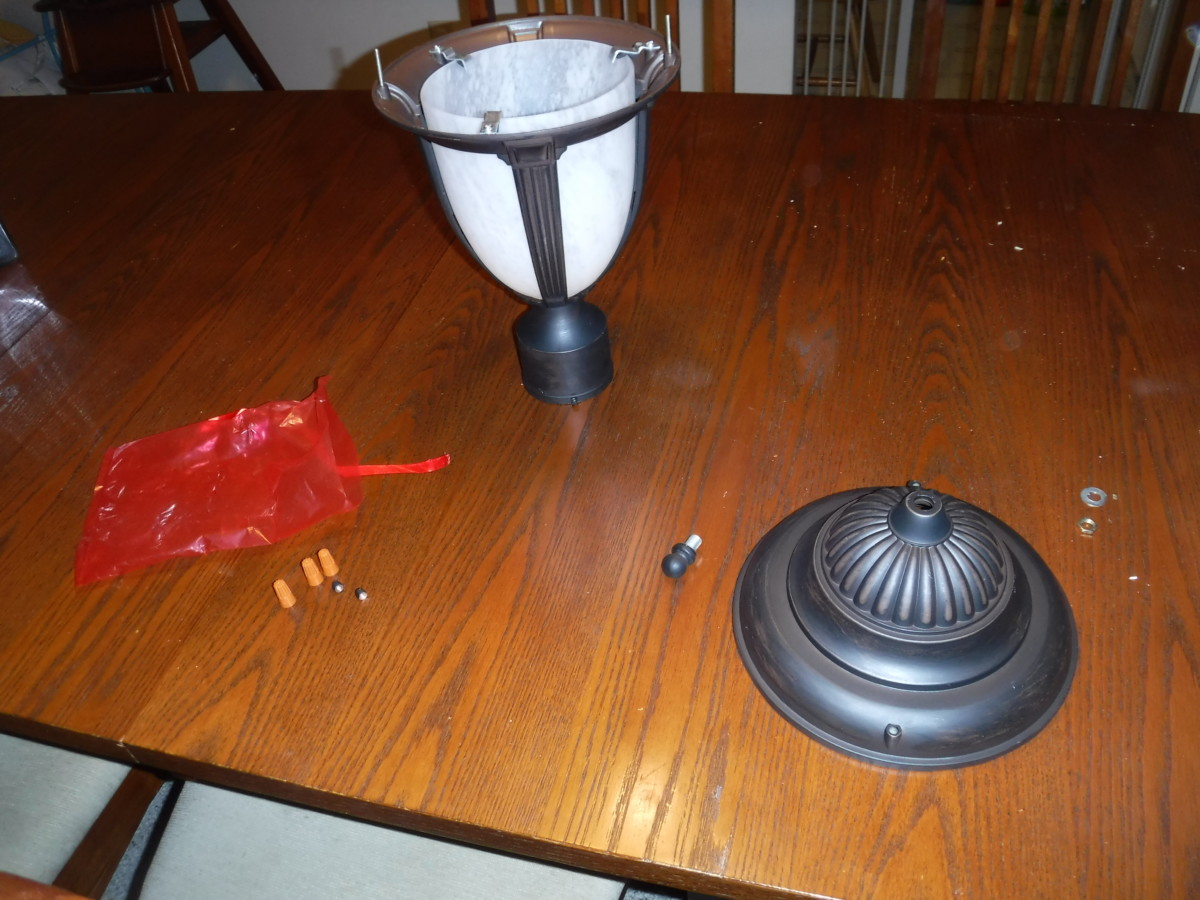
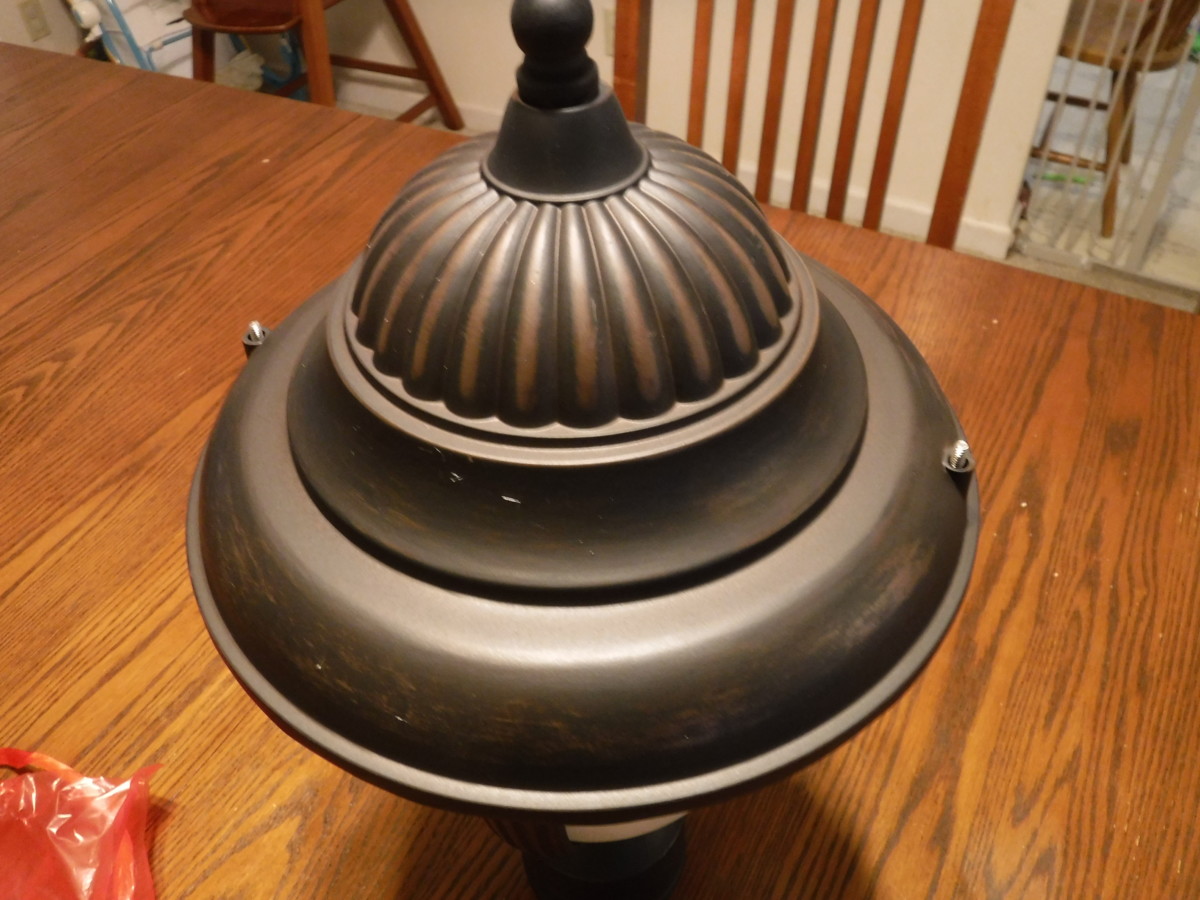
Pieces of the post lamp
I bought this Casa Sorrento post lamp

Bulb
First, of course, you need to stick in a lightbulb.
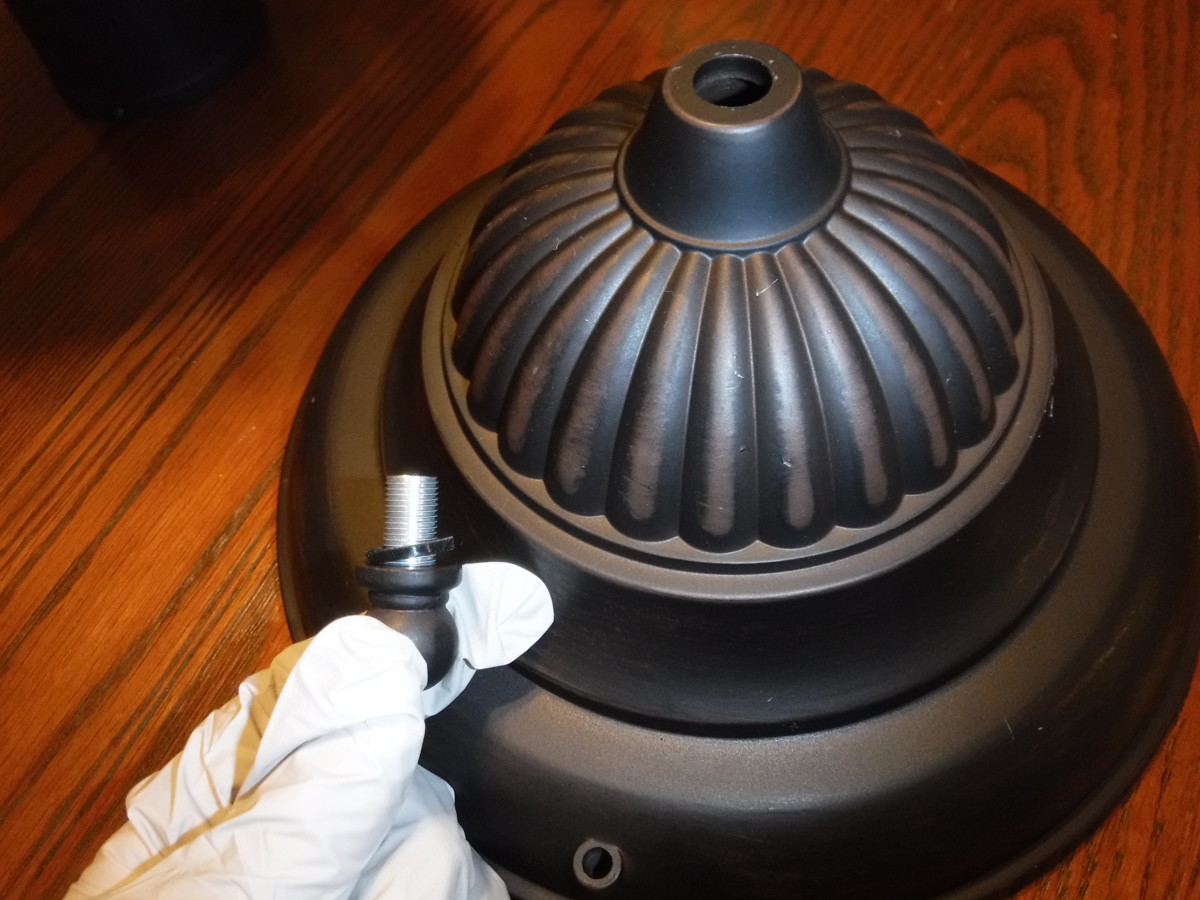
Decorative bolt with washer
Then, install this decorative bolt with a rubber washer into the top of the cover. The rubber washer presumably keeps water out.
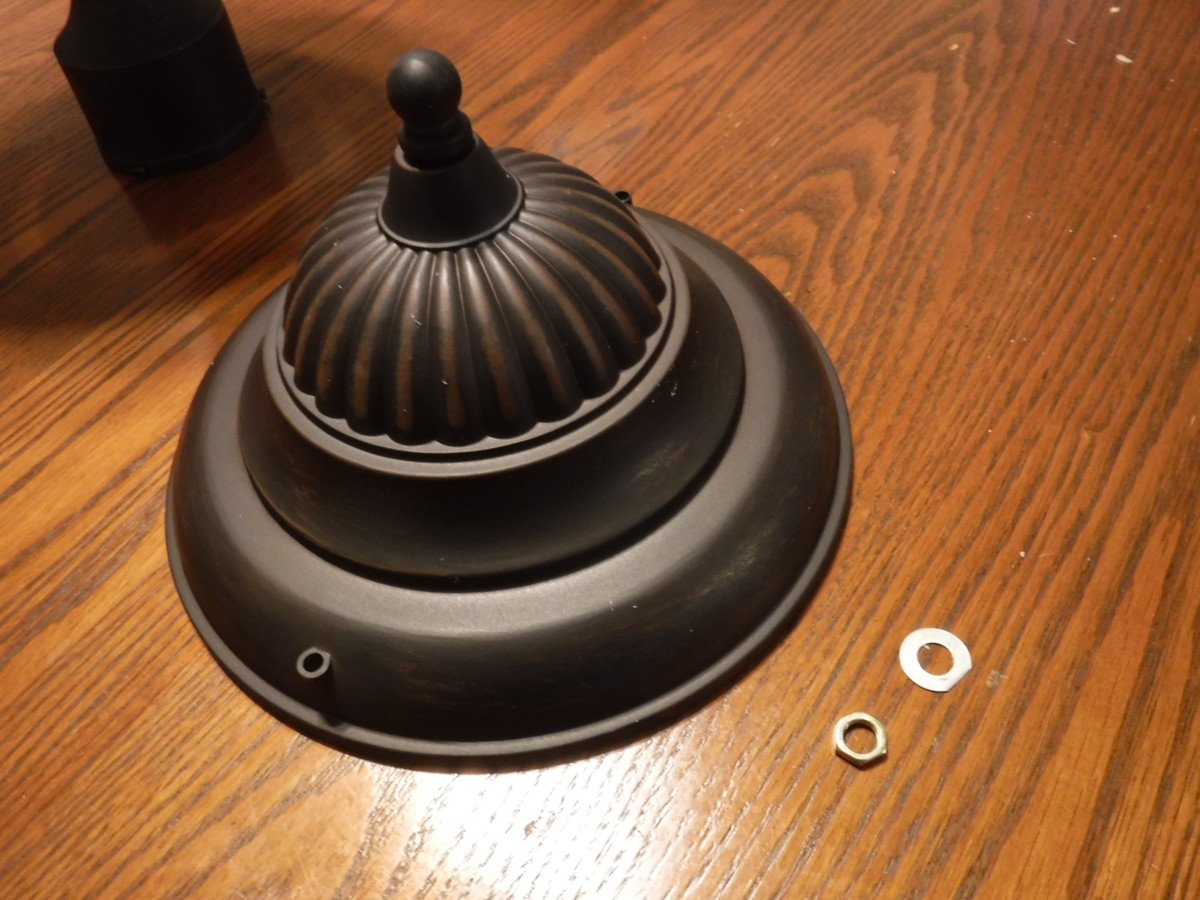
Nut and washer for the underside of the cover
Installed on underside
After that, this nut and washer go on the underside of the lid. Why the decorative bolt isn’t pre-installed or permanently installed, I have no idea. When I go to change the bulb, I’m positive that I’ll forget this doesn’t actually hold the cover on.

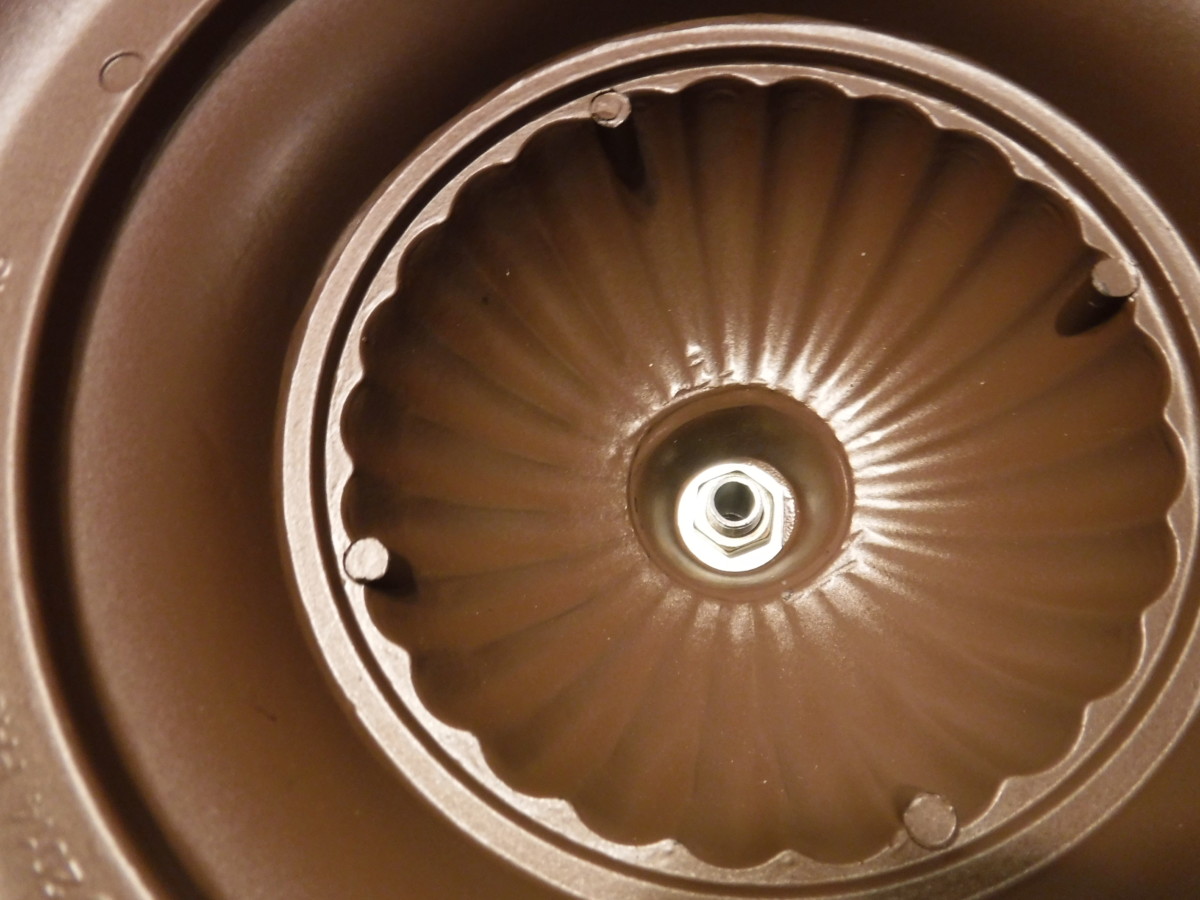
The lid goes on over these studs
Lid on, add decorative nuts to studs at this point
Finally, the lid slides on. These two long studs stick out through the cover of the lid. The two decorative nuts screw onto the studs once the cover is on. I didn’t get a picture fully assembled, but you can see that further down after it’s installed.
Wiring the Lamp on the Post
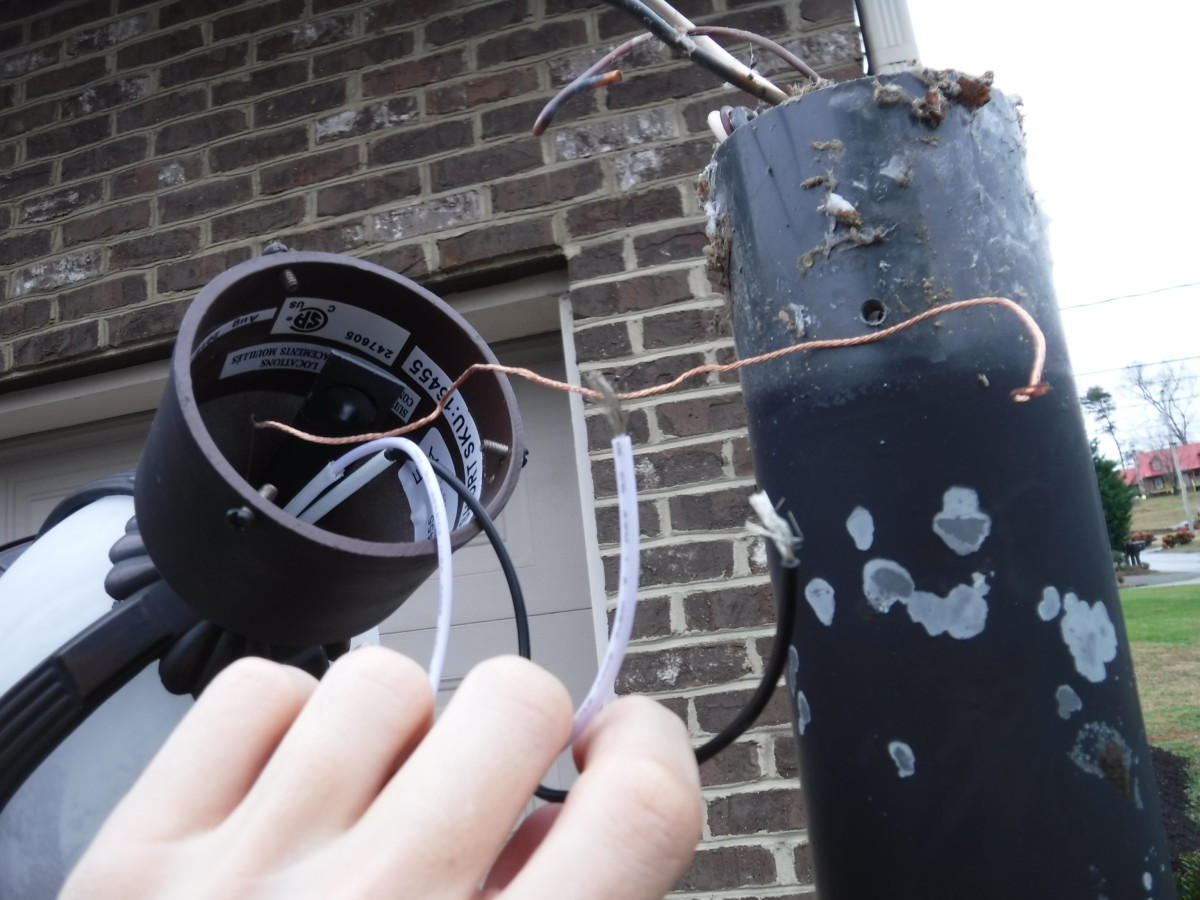
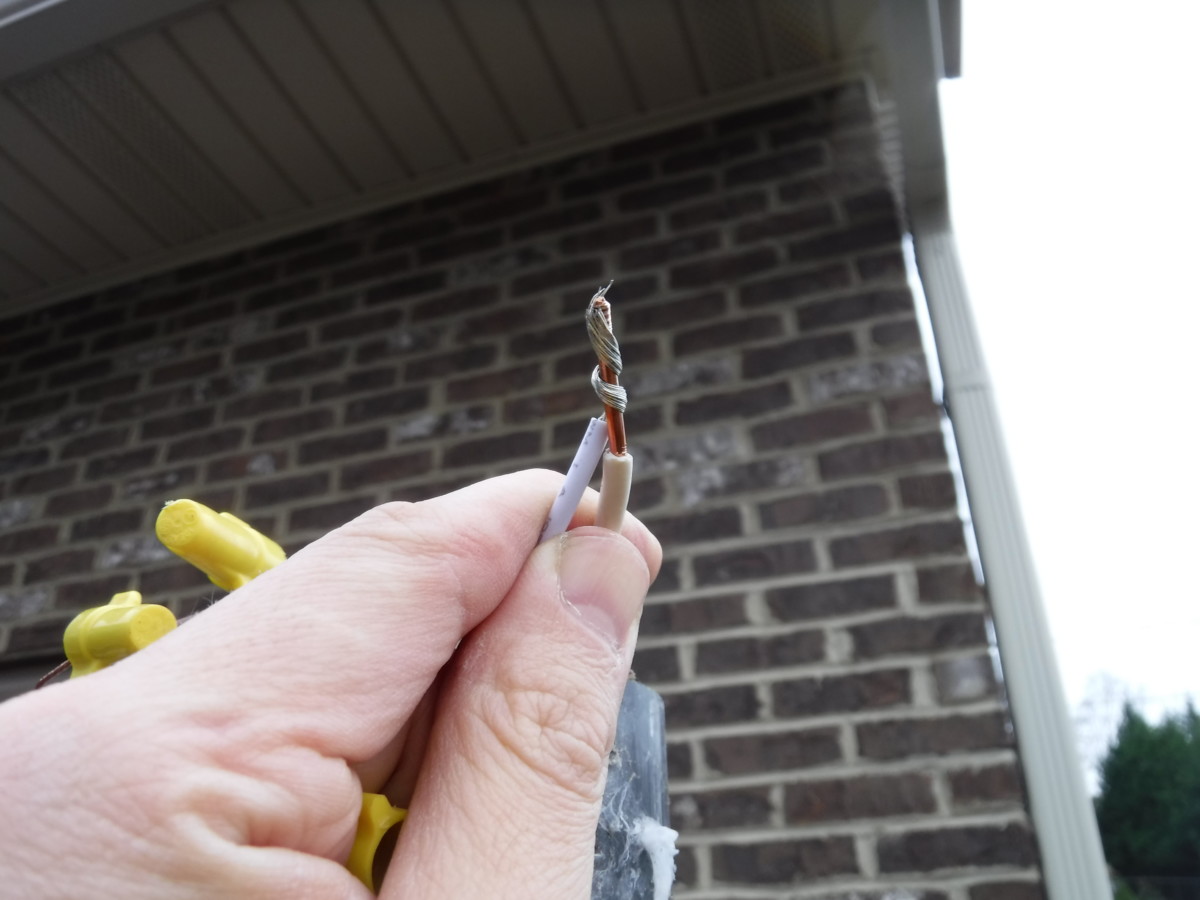
Strip the old wires to clean copper
Now the assembled lamp can be installed on the post. With the circuit breaker still shut off, strip the three wires coming out of the post. You want clean, uncorroded copper.
Match up white, black, and ground (bare copper) to the same colors on the post
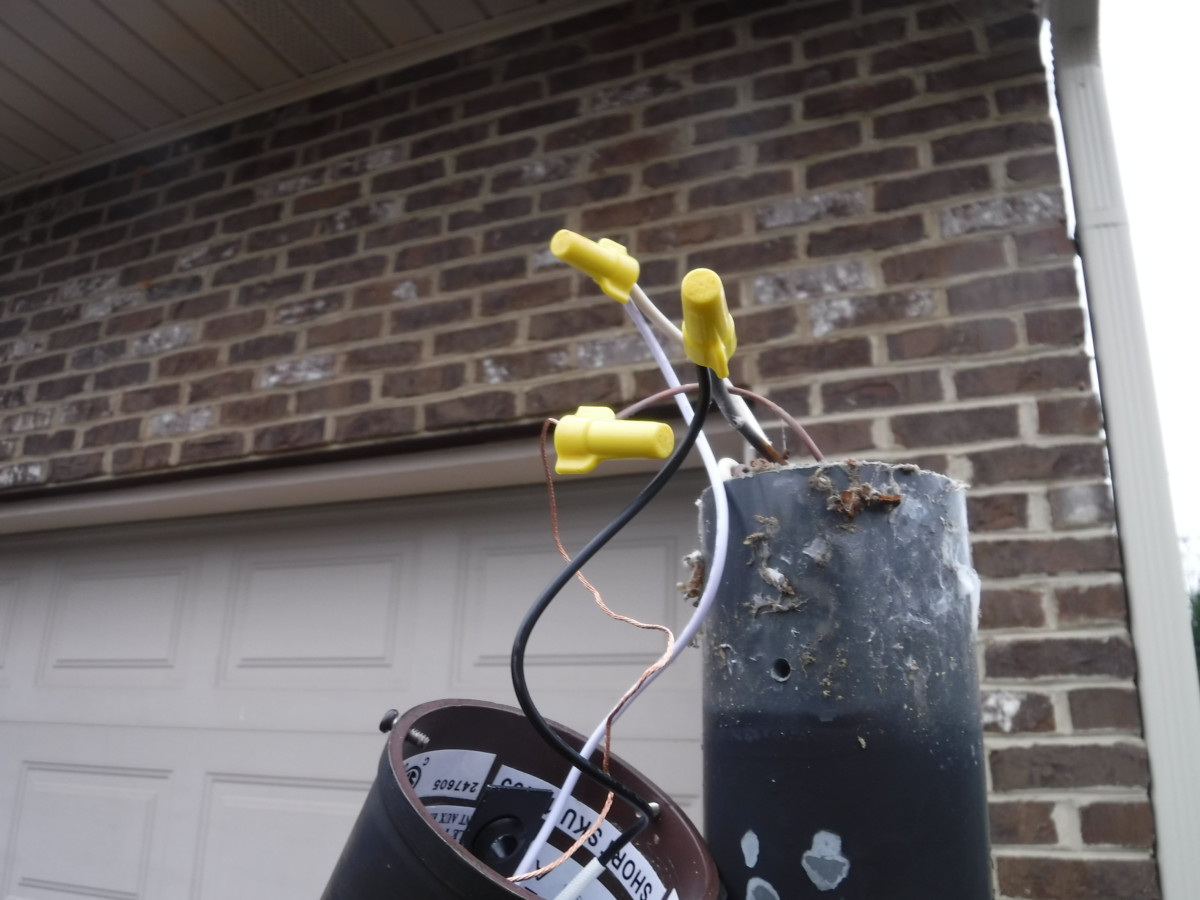
Use wire nuts to hold the wires in place
Wires are pretwisted before adding a wire nut
Now you can connect the post lamp wiring to the wiring coming out of the post. Simply match colors. Black to black, white to white, bare copper to bare copper. I like to slightly pretwist the wires together, and then screw on a wire nut. Make sure the wire nuts are tight, and give the wire a tug to make sure they don’t slide out. Be careful to not leave any exposed wire outside of the nut. If you’re unsure about doing this part of the job, ask a professional.
Installing the Mounting Screws
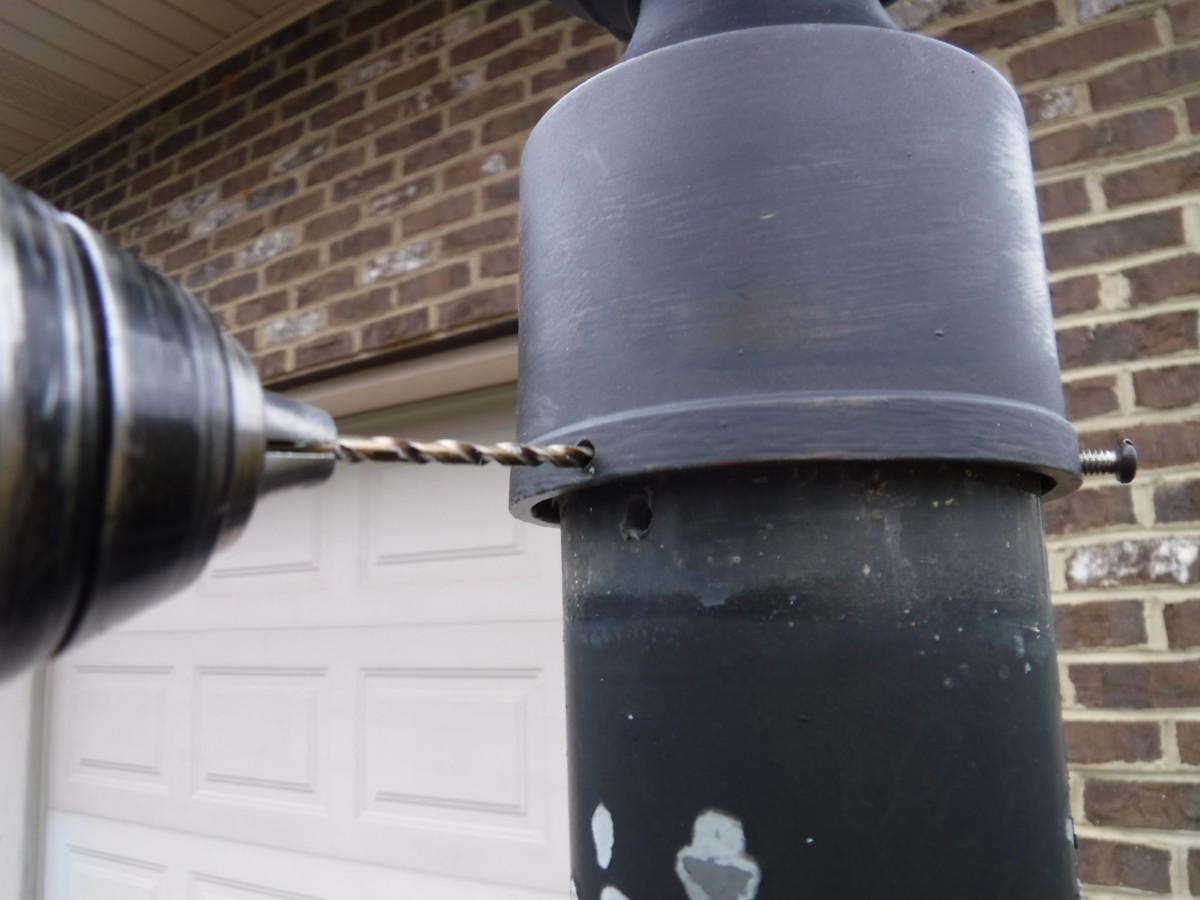
Drilling new holes
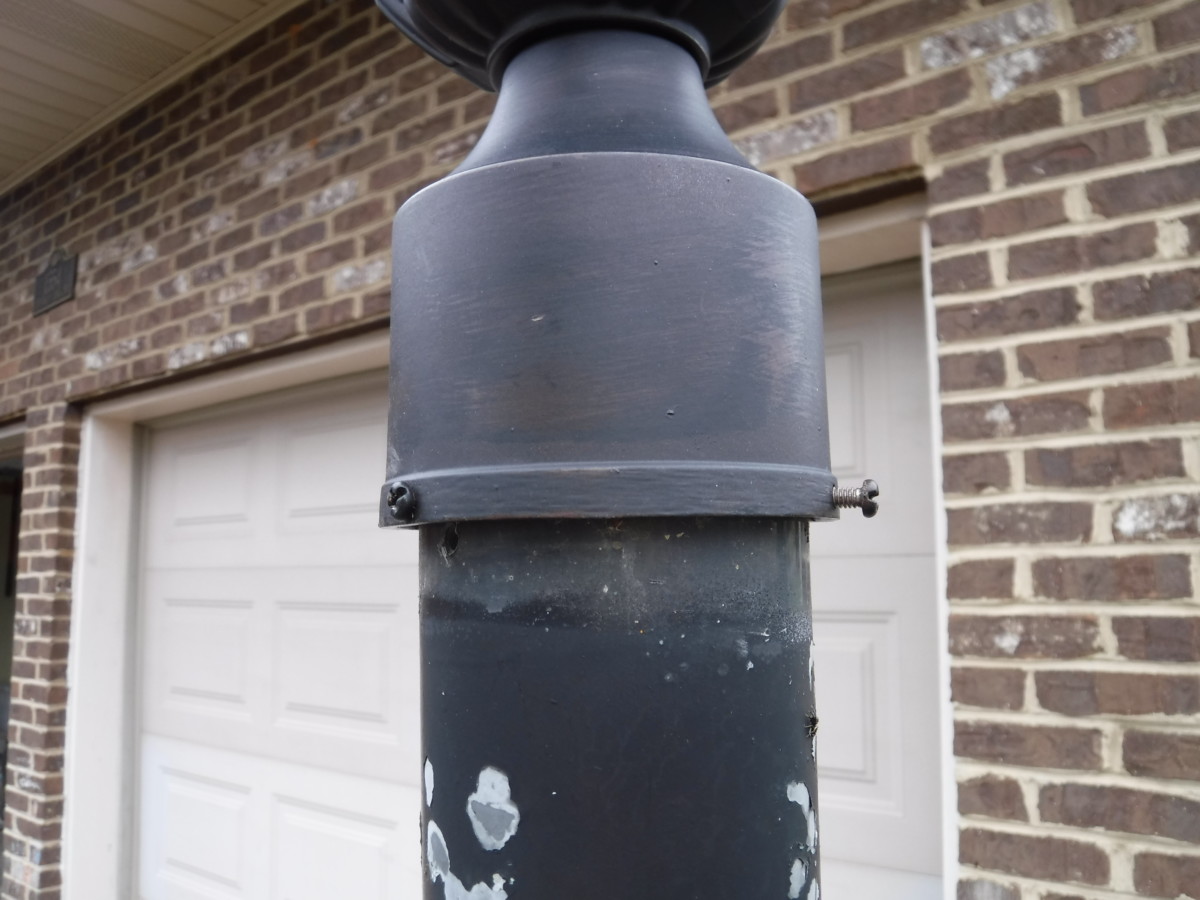
Installing screws
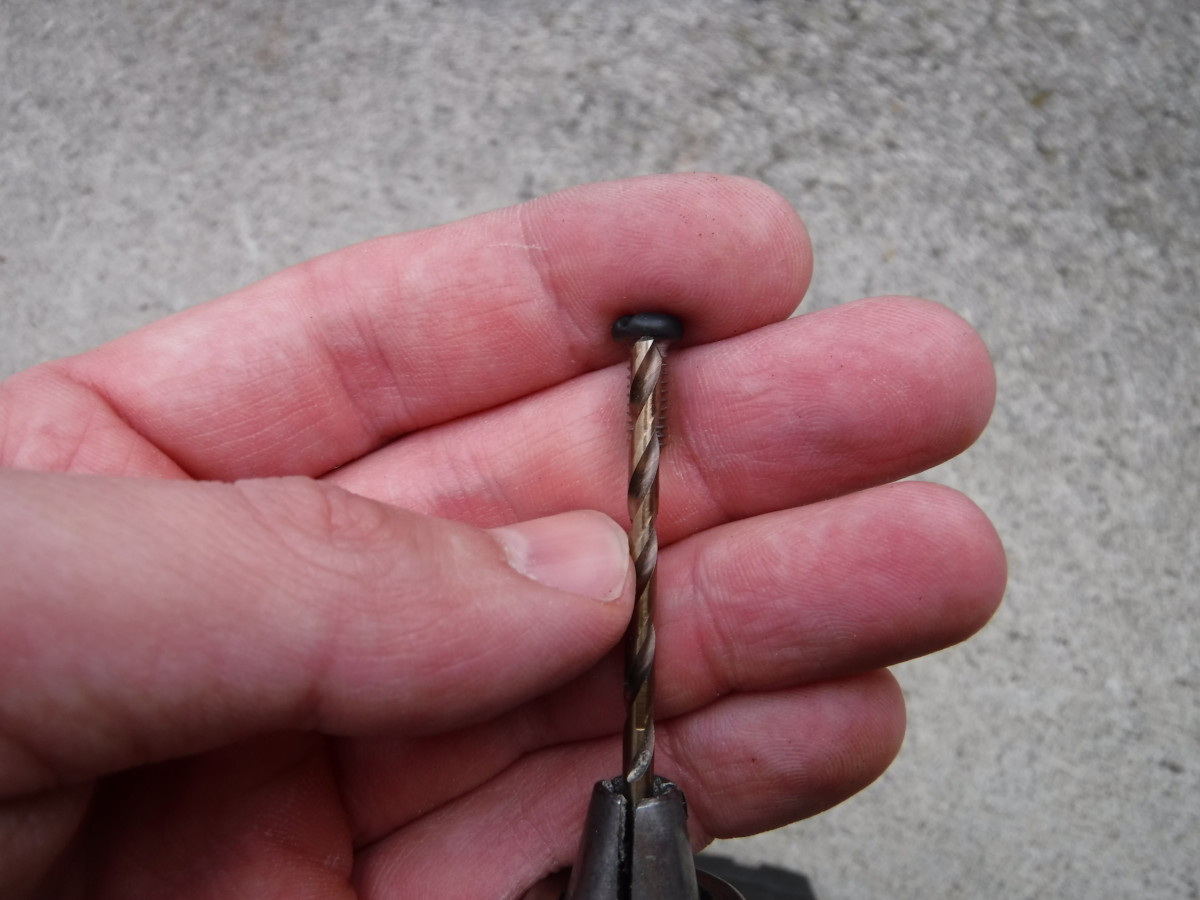
Used a bit just smaller than the screw
If you’re replacing a previous lamp like this, you may be able to just re-use the old mounting holes. In my case, the new lamp base’s collar doesn’t go down quite as far. Because of this, I simply had to drill three new holes. The correct size drill bit is about as big as the inner body of the screw, but narrower than the screw including threads. Hopefully the picture clarifies what I mean.
As for the old holes, you can fill them in with a welder if you have one, some silicone caulk, or even some RTV. It may also be fine to leave them alone, but then water may collect in the post. In any case, I sprayed the entire post with black primer plus paint
Wrap-up
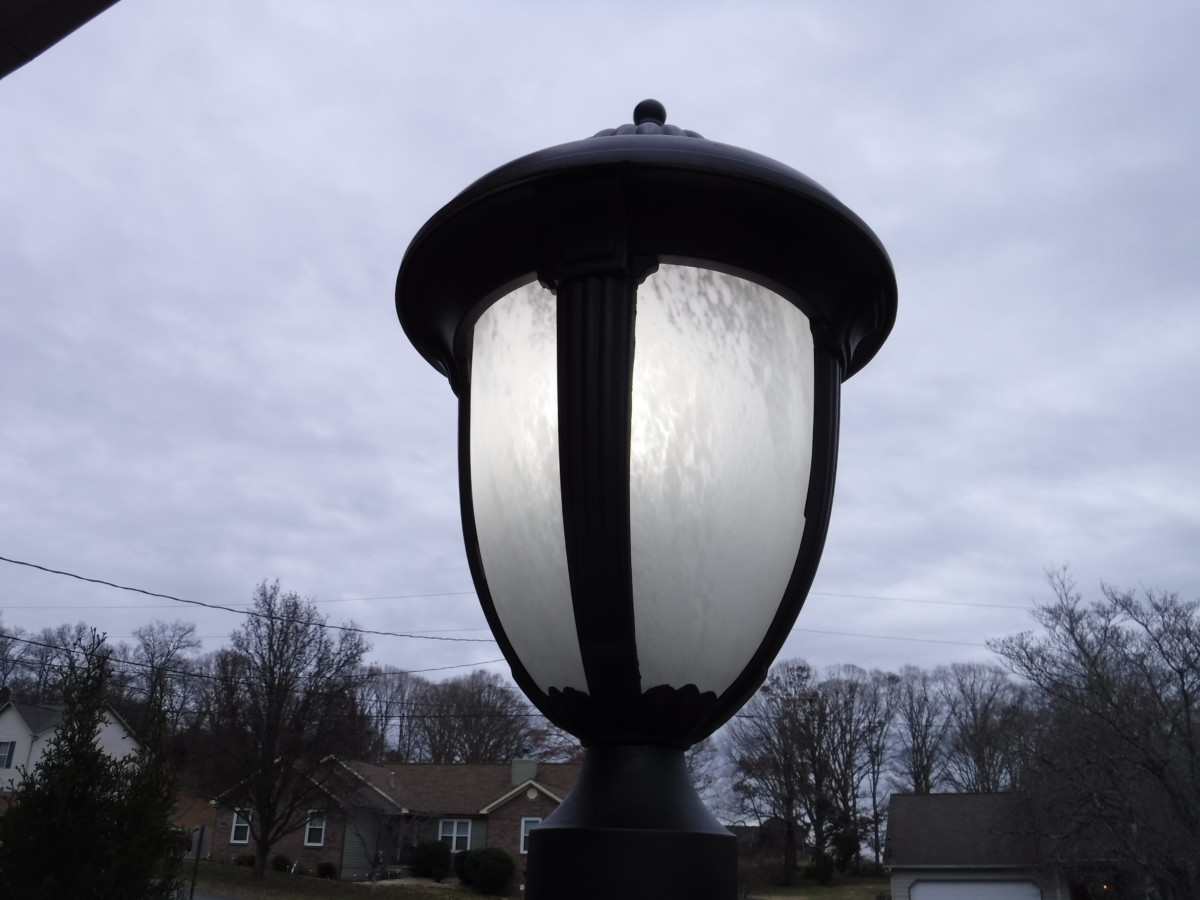
Complete
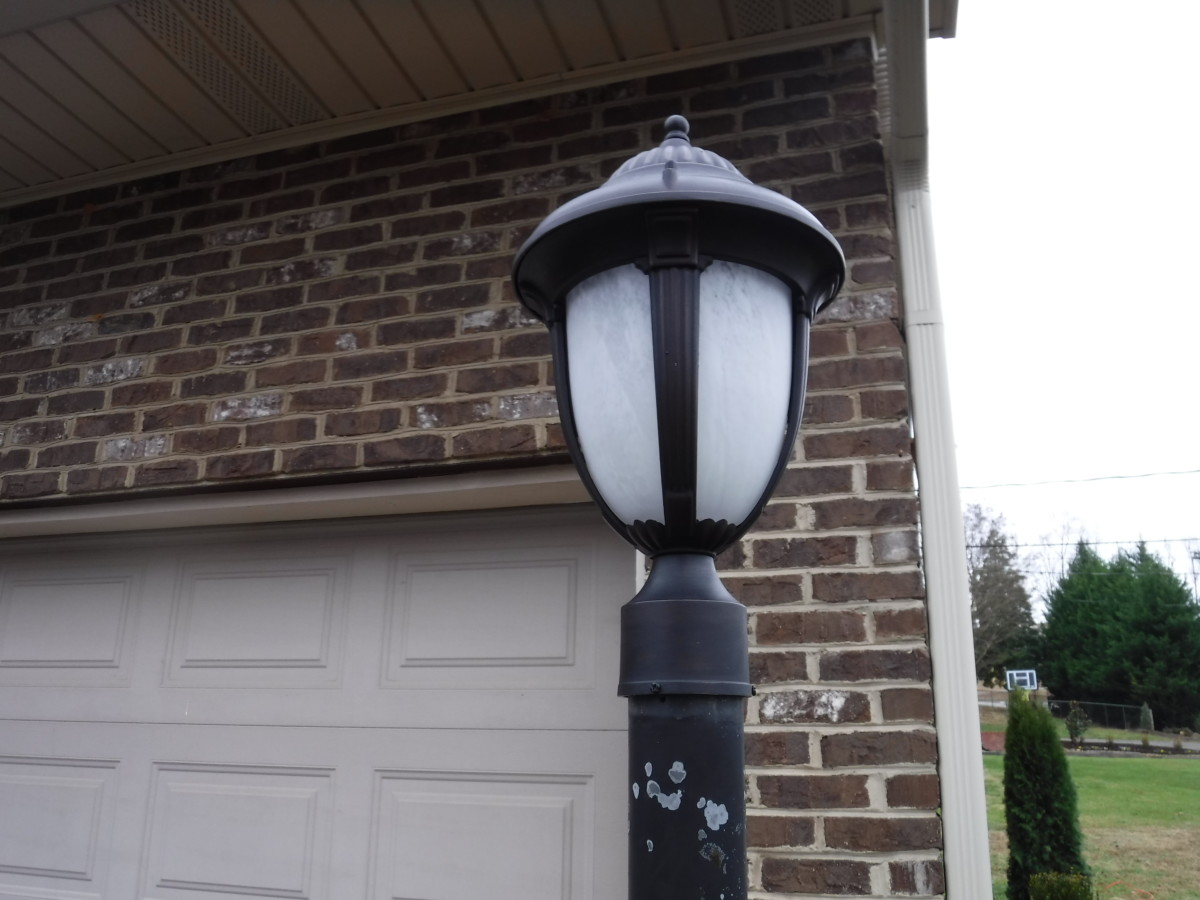
Final but not yet painted
And that’s about it. Once you’re sure the wiring is done and the lamp is secured, the breaker can be switched back on. As you can see, my lamp now works and looks much better – and is much safer – than a bare bulb. This is a simple project that lets you easily dress up or change the color scheme for the outdoor lighting in your house.