Installing Eclipse Vents in a Miata
Miatas come stock with “eyeball” air vents that rely on friction to stay positioned. Unfortunately, they tend to get loose over time and will annoyingly flop down and point at your feet. There are several bandaid fixes using tape or other material to bulk them up enough to tighten them again. However, an even better option is to replace them with a better vent from an 00-05 Mitsubishi Eclipse. Installing Eclipse vents in a Miata is a quick mod that cures the droopy vent issues, since it no longer relies on such a tight-tolerance friction fit.
Removing the inner vents
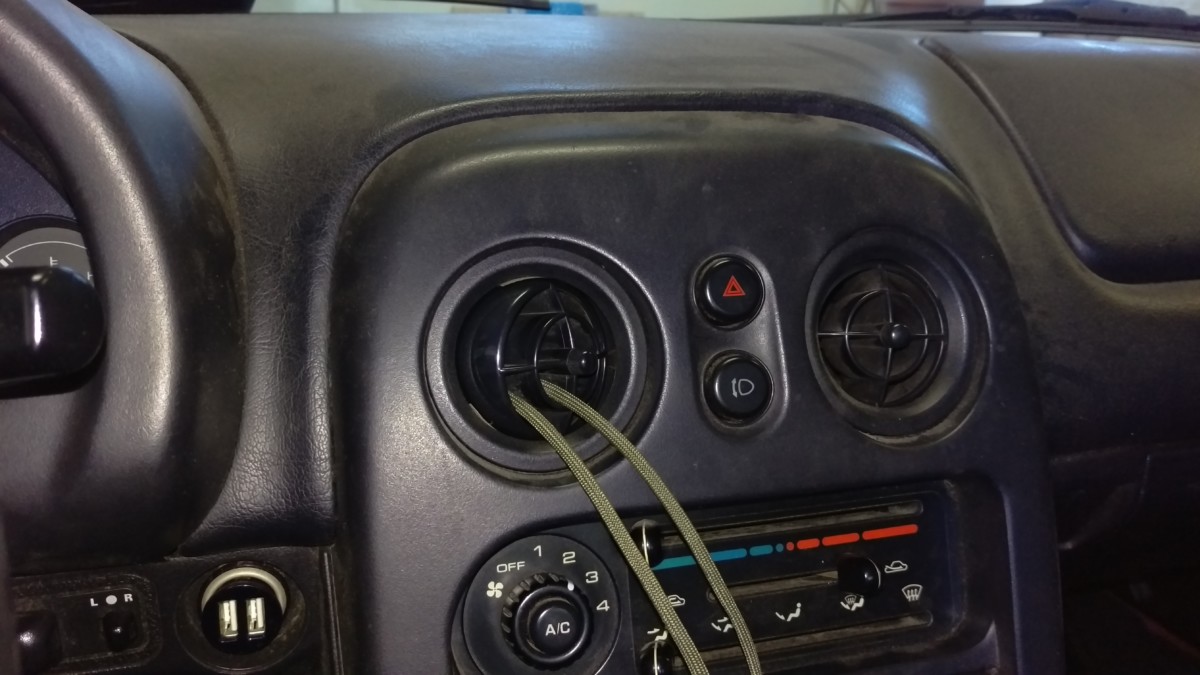
Loop some string through the vent
To get started, you have to remove the vents. The inner vents usually remove easily. Simply loop some strong string or twine through the vent itself and pull.
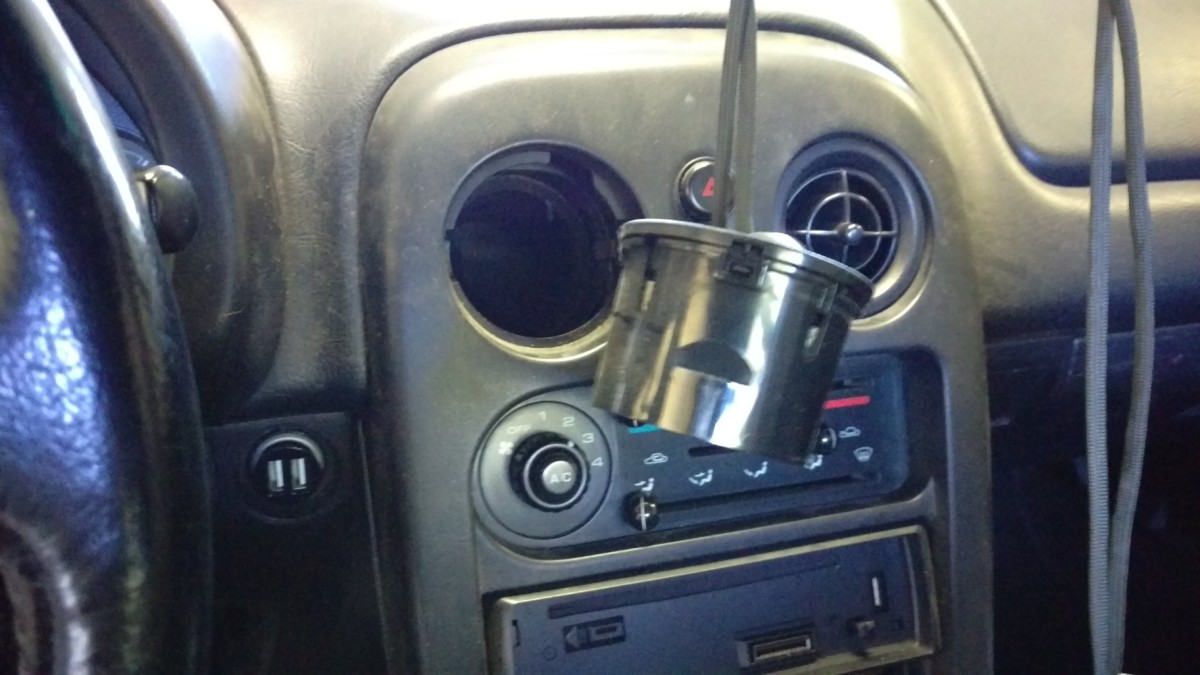
It should just pop out
Both inner vents should pop right out with a minimum amount of force. If you find yourself really having to pull, use the technique below that I used on my outside vents.
Removing the outer vents

These are more difficult
The outer vents are more difficult. If you try the technique above, you’re more likely to cause damage than successfully remove the vent.
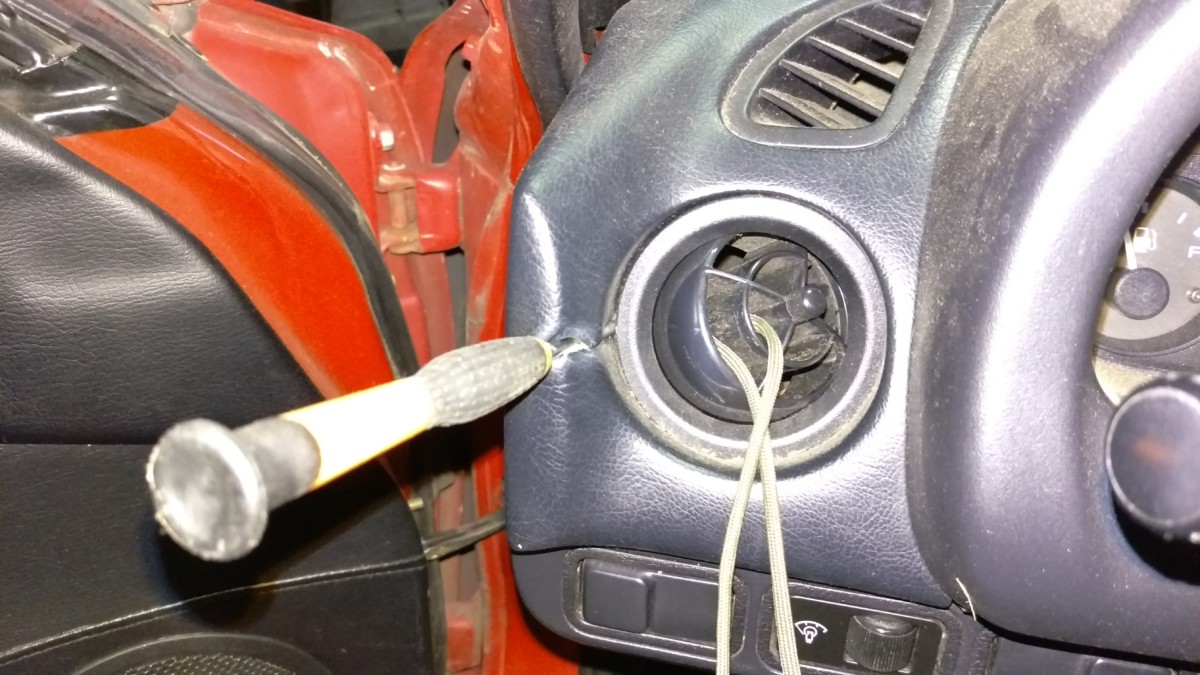
Pull on the string as before, but wedge something in the side
To get these out, you start by doing the same as before. Additionally, though, you should get a small pry tool that you can jam between the dashboard and the vent. This releases one of the two clips on the right and left side of the vent. I used a screwdriver, but I would actually recommend a flat, thin piece of metal. I have also heard that a credit card may work. On a 20-year-old brittle dash, it’s really hard not to crack off some of the vinyl, as I did here, but using something wider should help prevent damage.
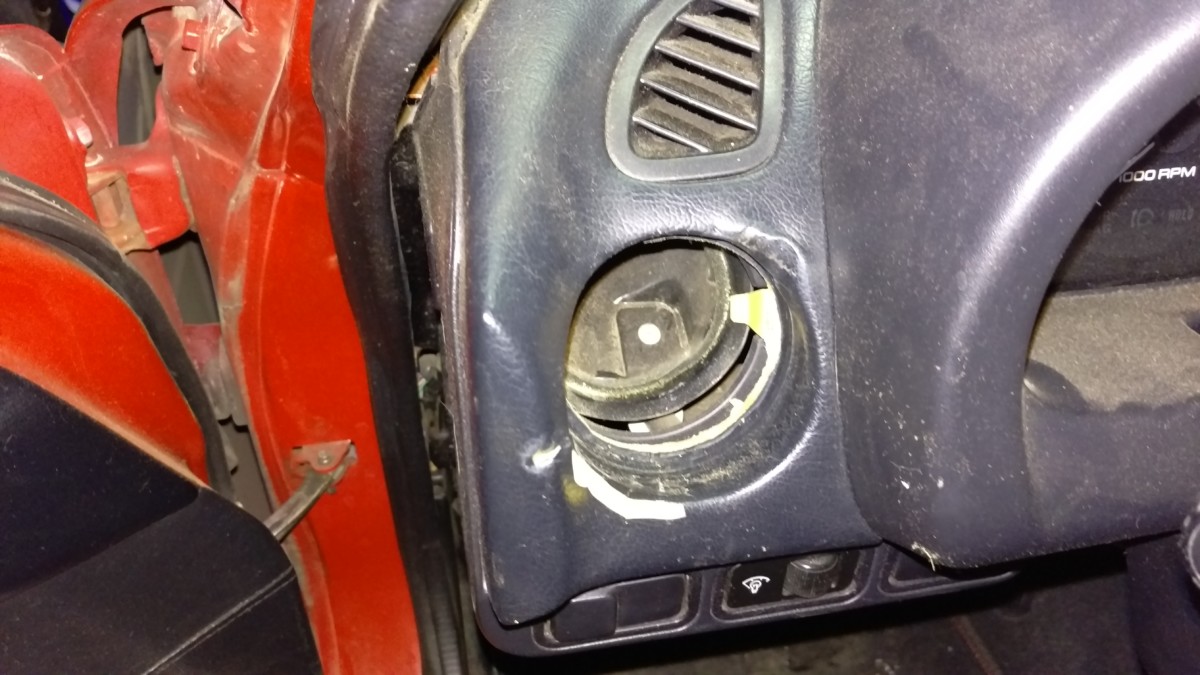
Removed, although I scratched the dash on this side
If you did everything correctly, it shouldn’t take very much force to slide the vent out. As I said, I did accidentally crack the vinyl. I went back with a bit of plastidip later to fix it. You can see where it is, but it isn’t a show car anyway. Whether you take the risk is up to you, but it’s very easy to accidentally do.
The new vents
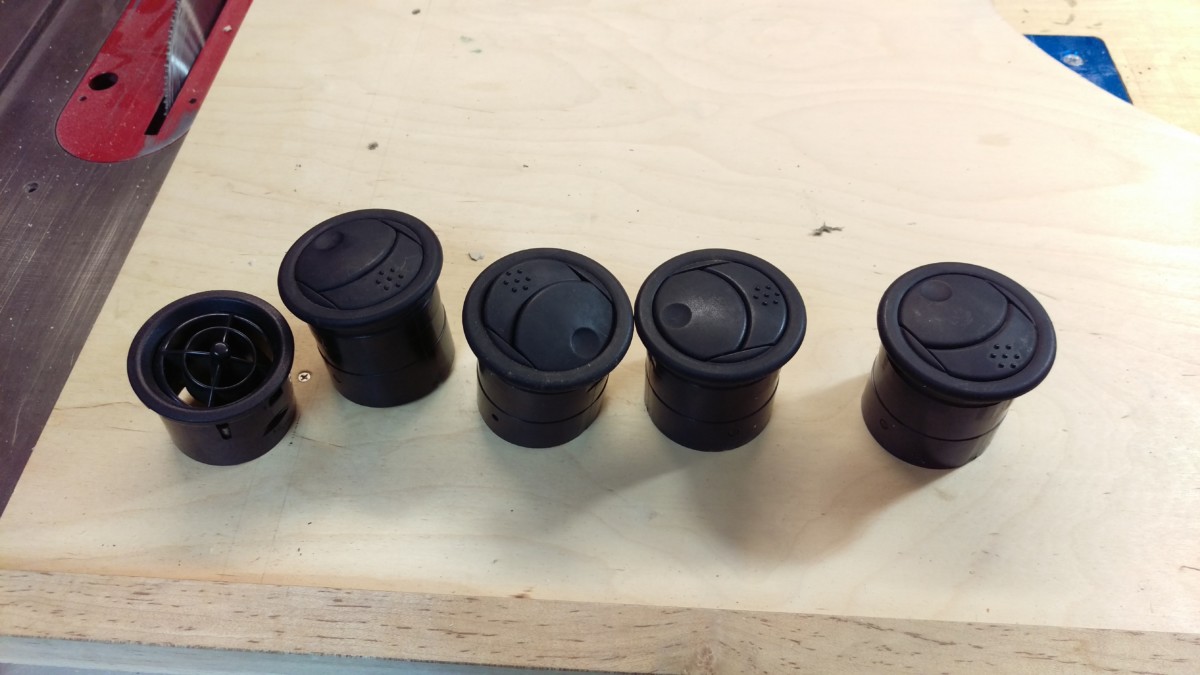
4 Eclipse vents on the right, 1 miata on left
You can get these vents on ebay or at the junkyard. They made a lot of eclipses, so they’re extremely common and easy to find for $40 or less. Mine were $15.
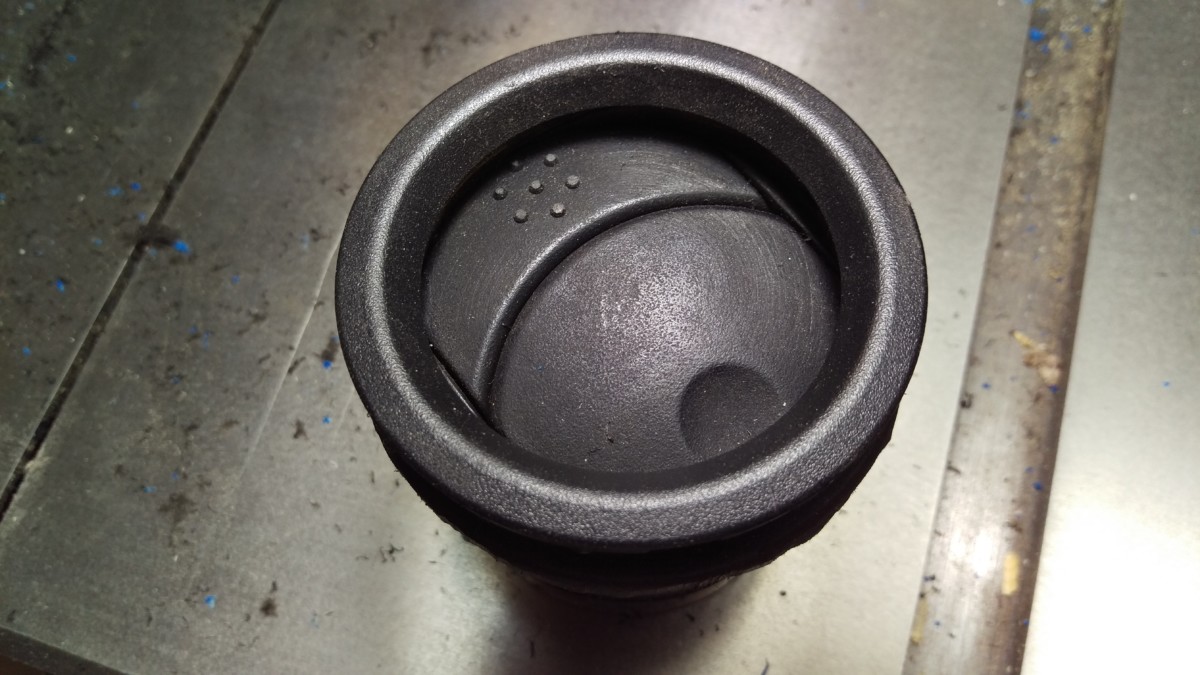
Removing the new vents’ rear flap
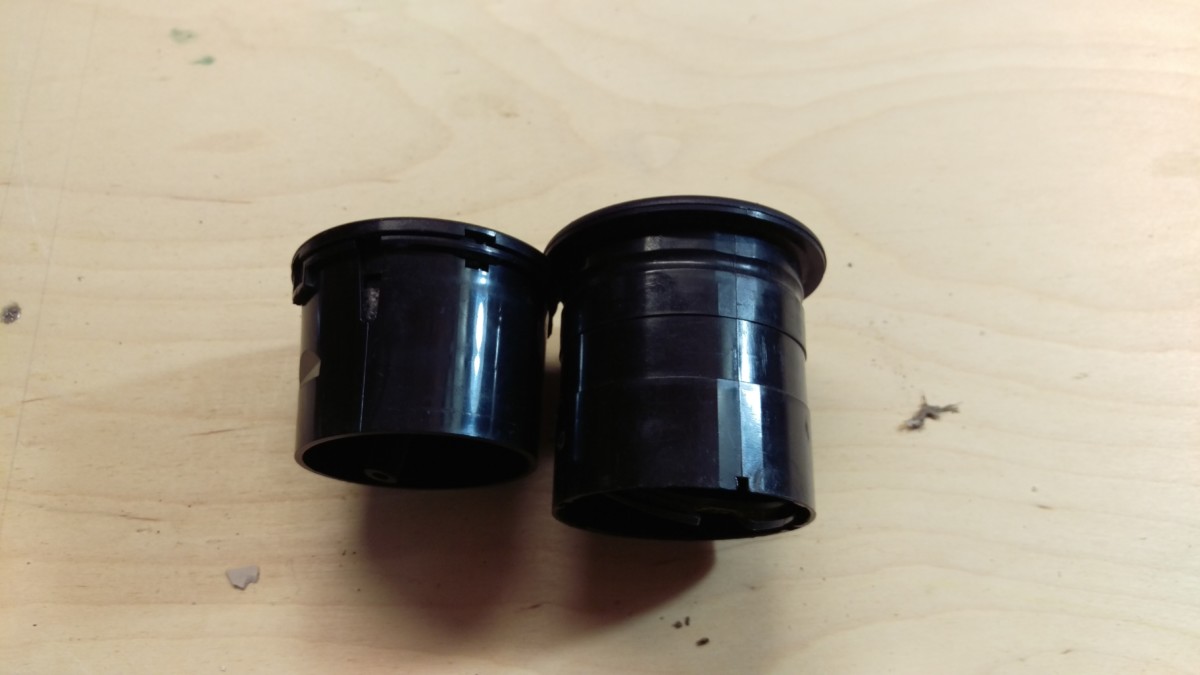
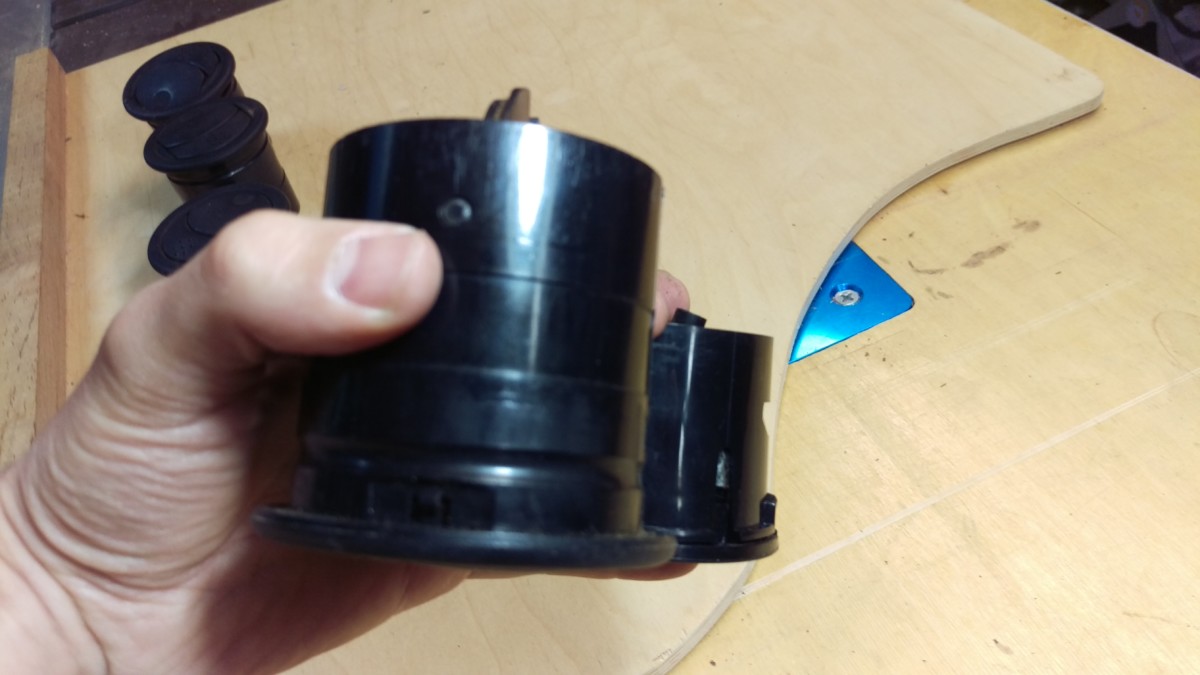
The new vent is a little too tall
The new vents are almost a perfect fit, but they are just a bit too long, as you can see with the comparison picture above.
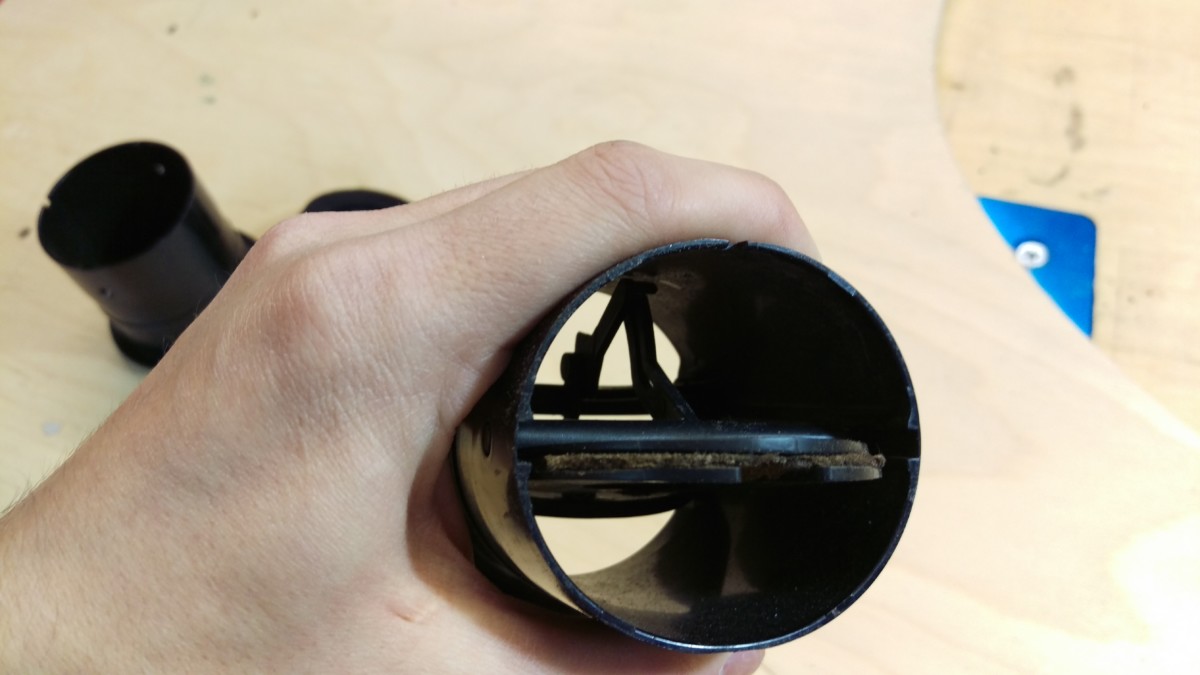
Disconnect the back flap
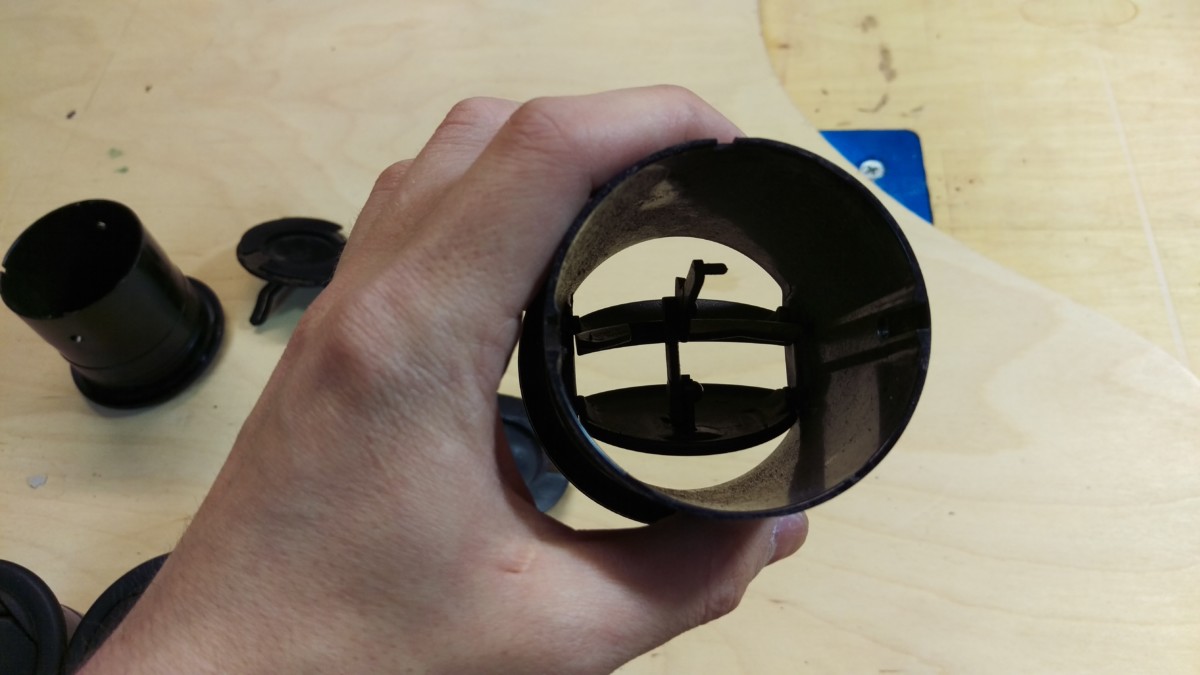
The flap can be pulled out once disconnected
They need to be cut down. However, before cutting, there’s a flap at the back of the Eclipse vent that needs to be removed. Simply unhook the flap’s latch from the main part of the vent, and then you can squeeze the sides of the vent and pull it out. It’s hard to describe, but extremely easy once you see it in person.

Removed all 4 flaps
Here are all 4 flaps after removal. Technically, removing this means closing the vent won’t be as effective, but considering the stock vents don’t close at all, I doubt it will be missed.
Cutting down the new vents
Cut the new vent to the same height as the old one
You can use almost anything to cut these vents down. A simple hacksaw or even a fine-tooth bandsaw would work fine. Because I already have a plastic-cutting blade on my table saw, I went ahead and did that. No matter how you’re doing it, you should mark where to cut based on the length of the old Miata vents.
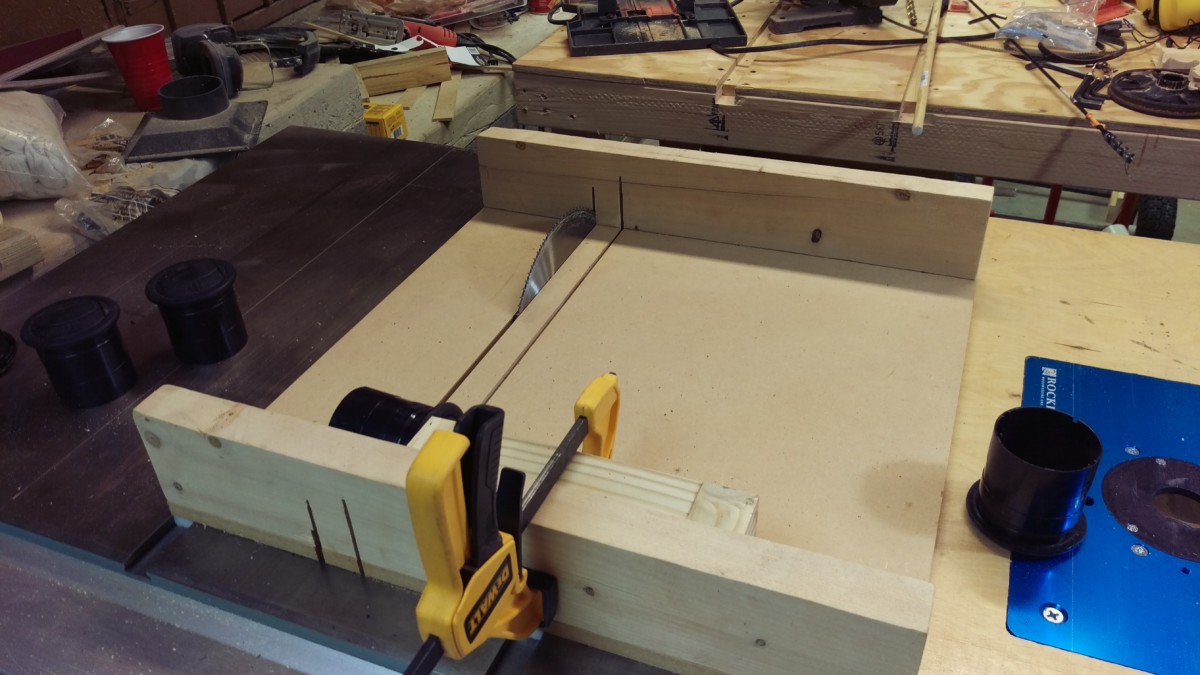
I used my table saw with a plastic-cutting blade
To use my table saw, I put in a plastic-cutting table saw blade
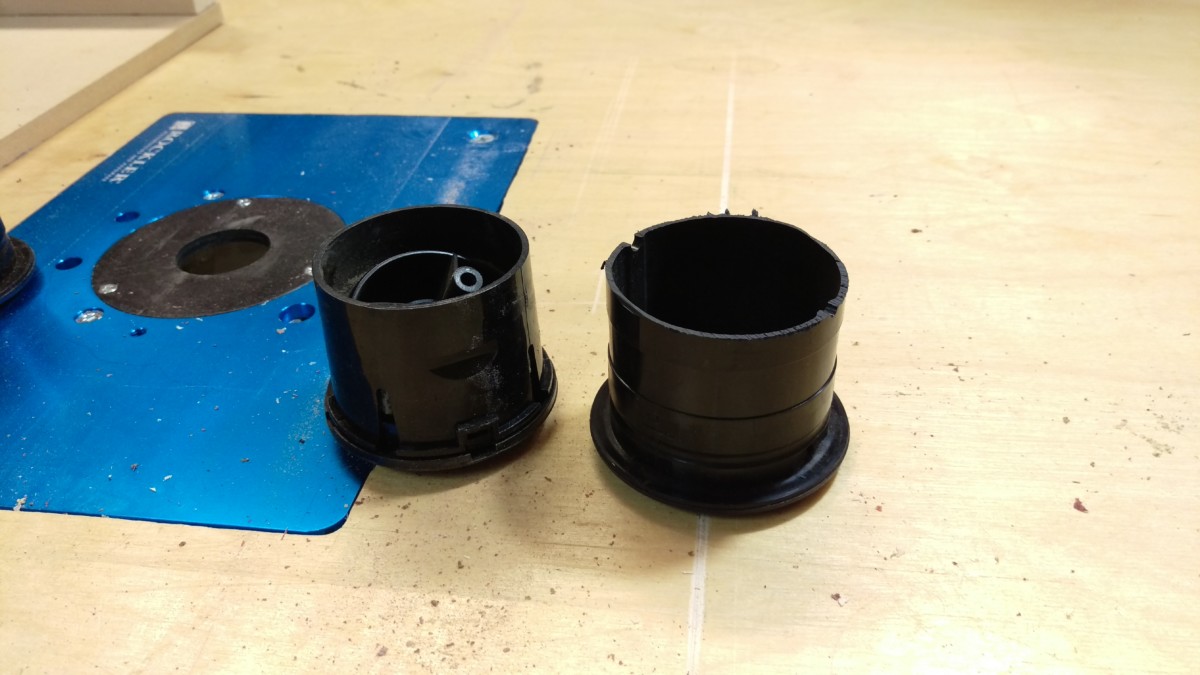
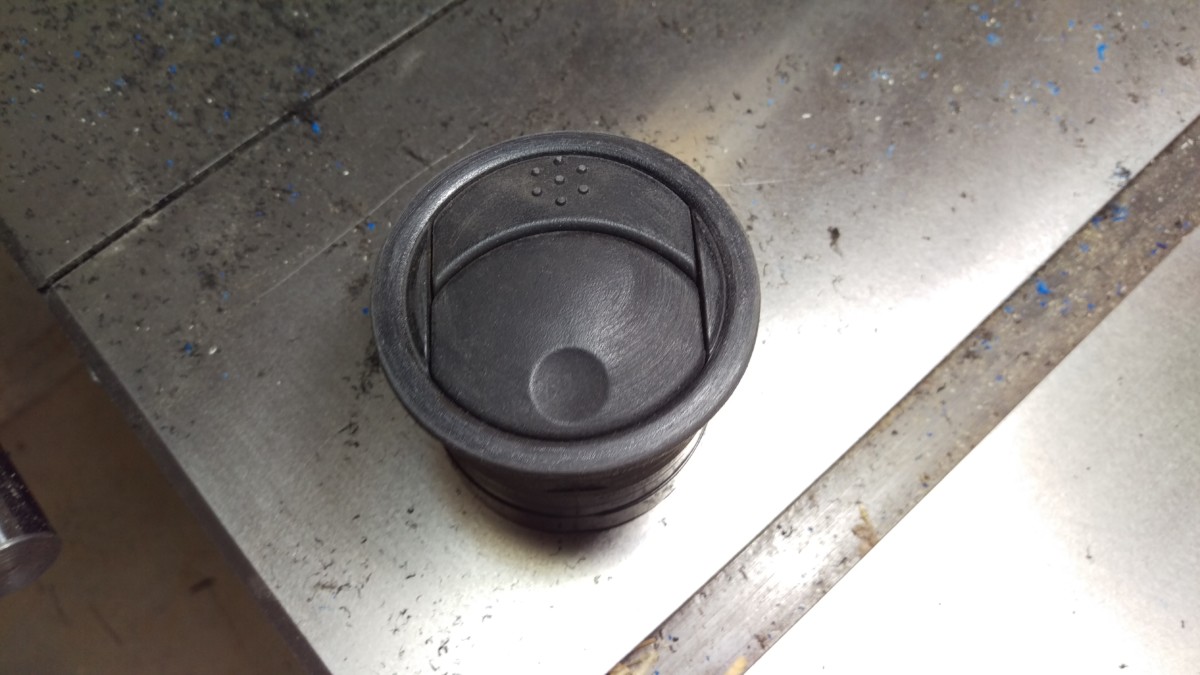
Cut down vent vs miata vent
And here’s a comparison shot after cutting. It doesn’t really matter how clean the cut is, since you’ll shove it into the dashboard and never see it.
Trimming the front of the new vents
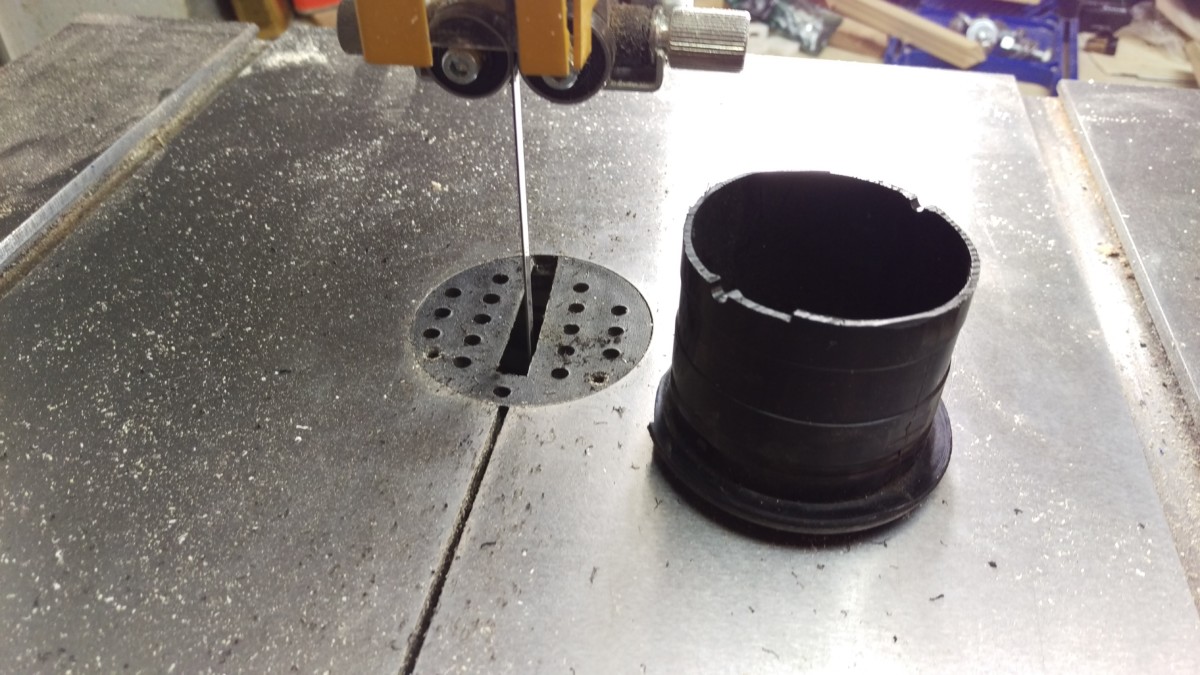
I cut mine down on the bandsaw first
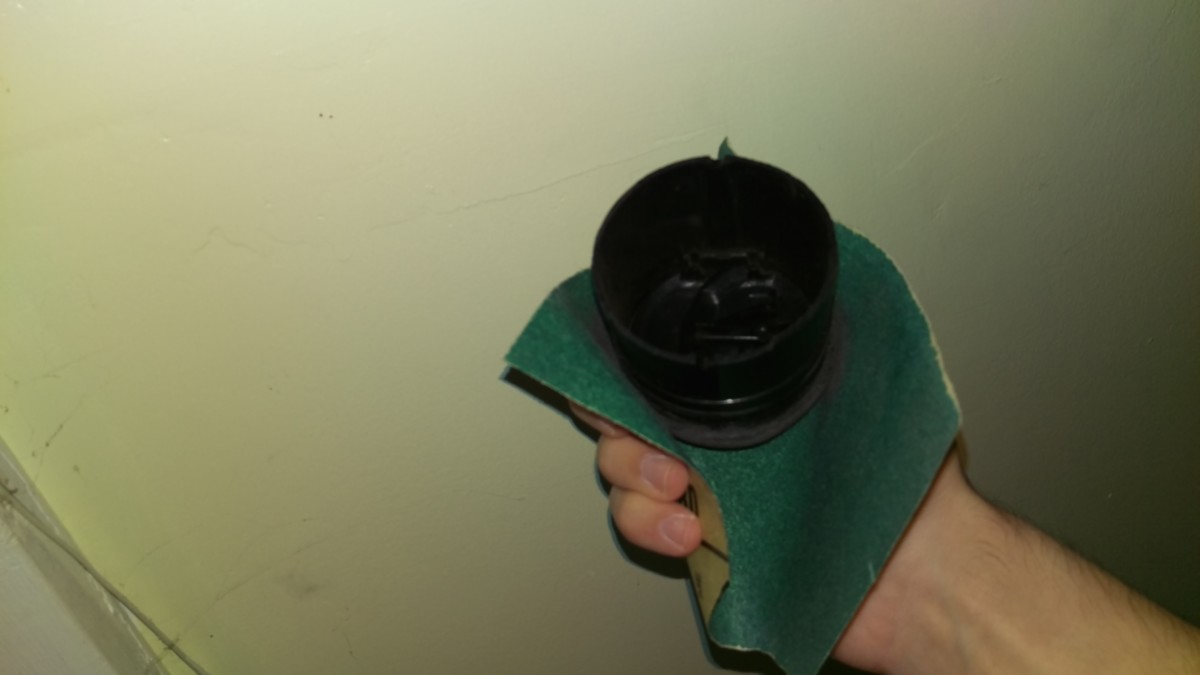
Sandpaper cleaned up the remainder
If you want, you can install the inner vents as they sit right now. However, the lip on the outer vents are just a little bit too large in diameter to fit. You can cut this down however you’d like, either using straight sandpaper, a dremel, or whatever else you think of.
I had a 10tpi blade for my bandsaw already, so I used it to do the bulk of the trimming. Mark how far you need to go using one of the stock miata vents and a sharpie. Once I took off the majority of the material with the bandsaw, I went back with some coarse-grit sandpaper, twisting it in my hand, to smooth it out. I wore gloves, because it builds up heat pretty quickly.
Old miata front acts as cover

Prevents sandpaper from scratching face
One tip I can give from sanding is to pry off one of the old vent faces and use it as a guard of sorts. Basically, I stacked them as shown and then went to town with the sandpaper. This helped keep the sandpaper from scratching the face of the vent.
Done and ready to install
Installing the New Vents

Left outer vent
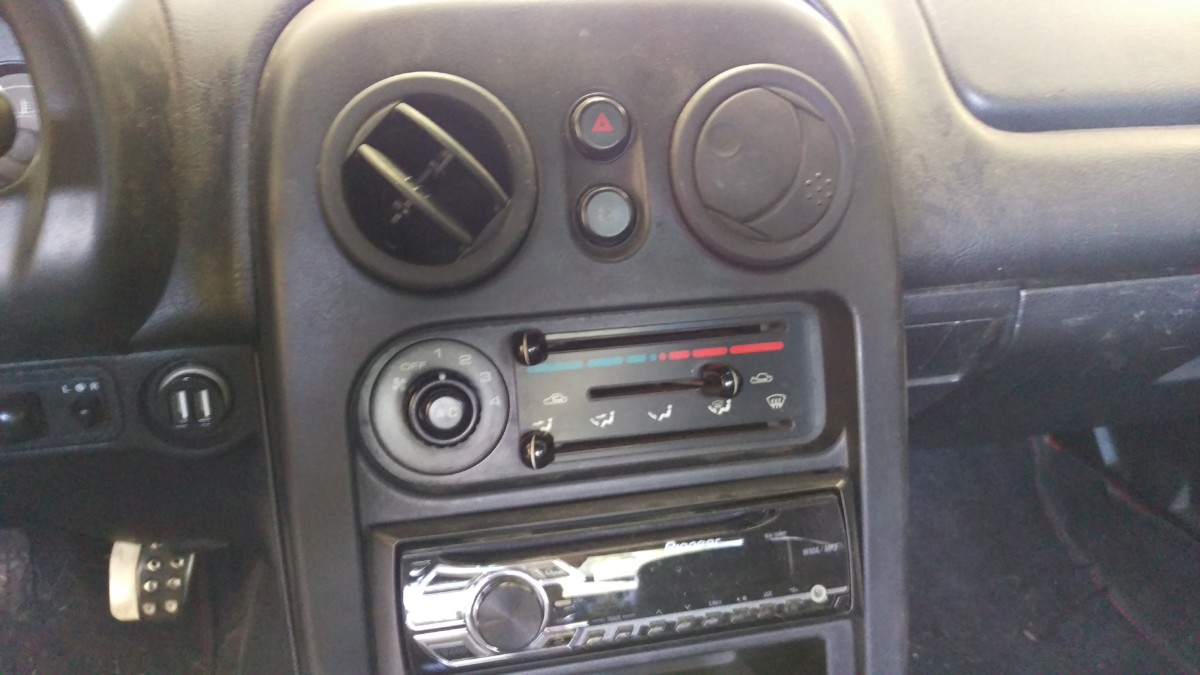
Center vents (untrimmed)
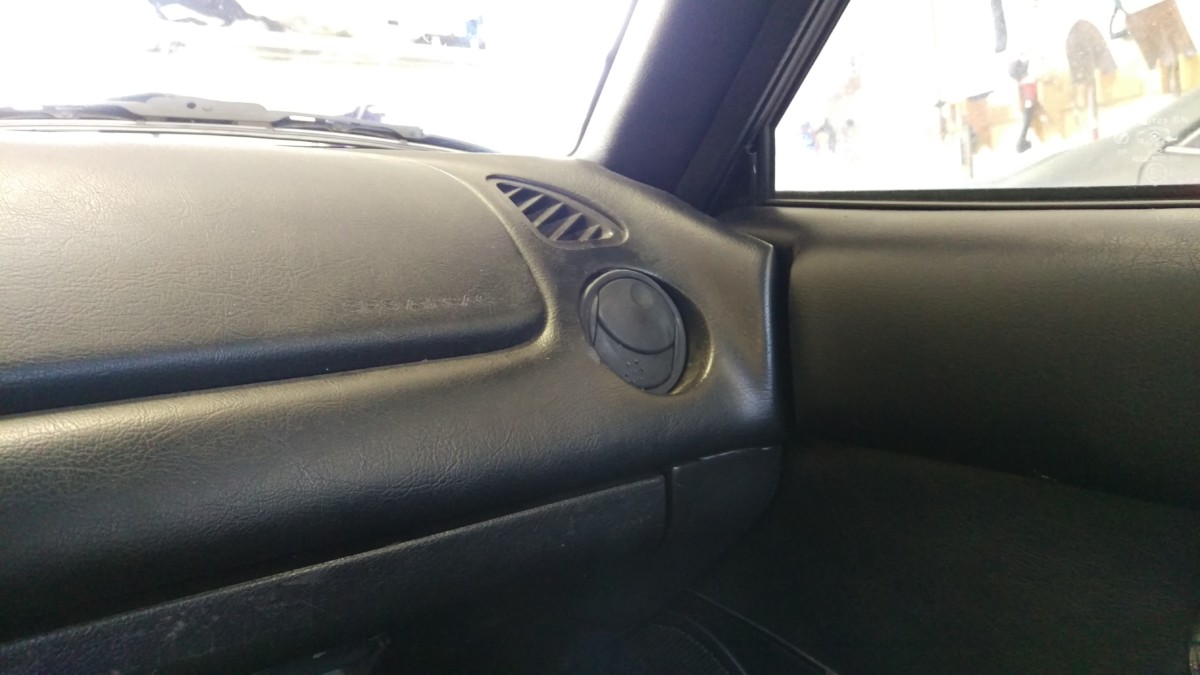
Right vent
And here are the final results. Because I used a screwdriver, I cracked the vinyl on the dashboard on the left side. I still haven’t tried to repair that yet, but I think a little plastidip will make it less noticeable. The center vents stand a little proud of the tombstone because I didn’t bother to trim them.
On the whole, I think this was absolutely worth it. If I had taken a little more time, it might have looked nicer. As it is, for my beater car I think it looks fine, and it’s definitely more functional. I can close the right side vents when I don’t have a passenger, and the vents stay where I aim them. Additionally, they don’t “clip in” the same way, so while they’re securely in there, the eclipse vents can also be removed more easily.