Fixing an Animated Christmas Decoration
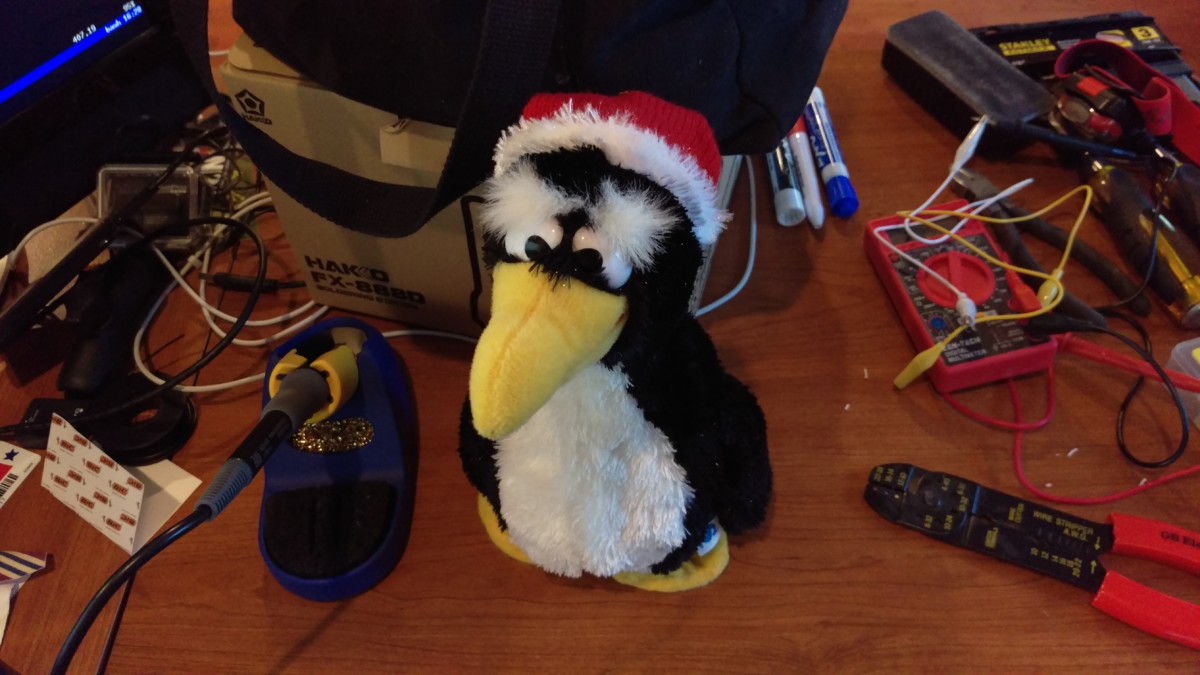
Obnoxious animated penguin
My mom and uncle like to give each other these animated decorations as Christmas presents. This one in particular is a penguin that waddles around and raps about Christmas at the top of its lungs. It’s pretty obnoxious. It quit turning on after a few years, and, rather than celebrate, my mom wanted it to be fixed. Fixing an animated Christmas decoration isn’t my idea of a good time, but it’s my mom, so I said I would look at it.
Diagnosis

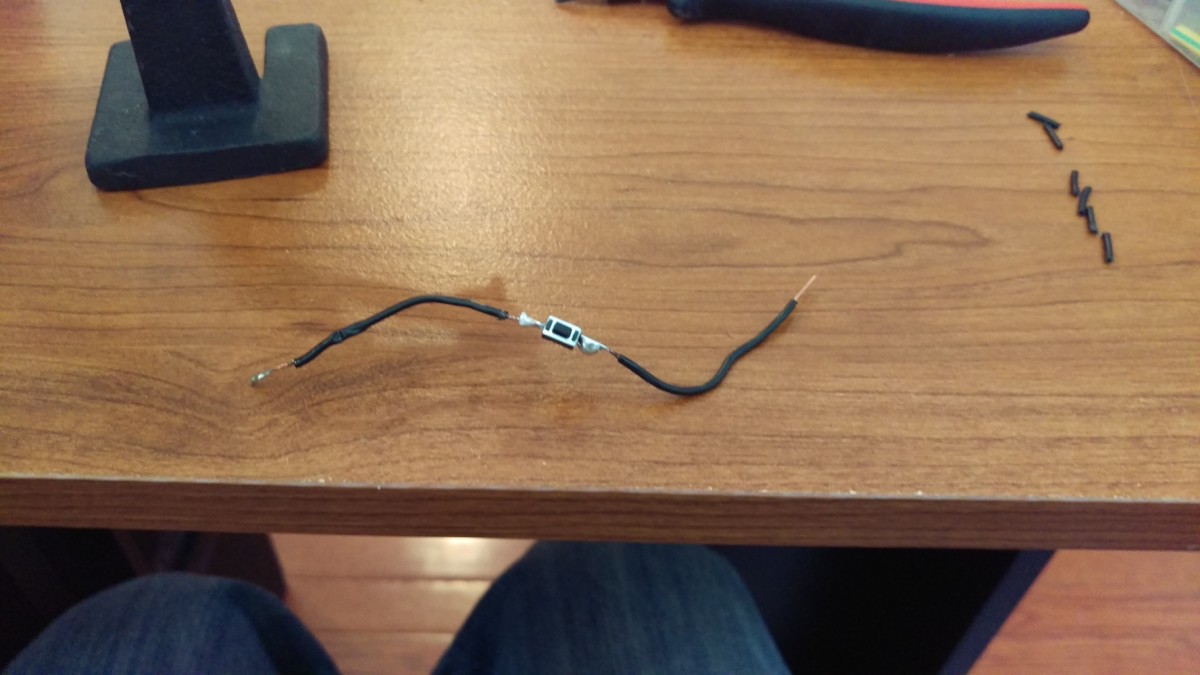
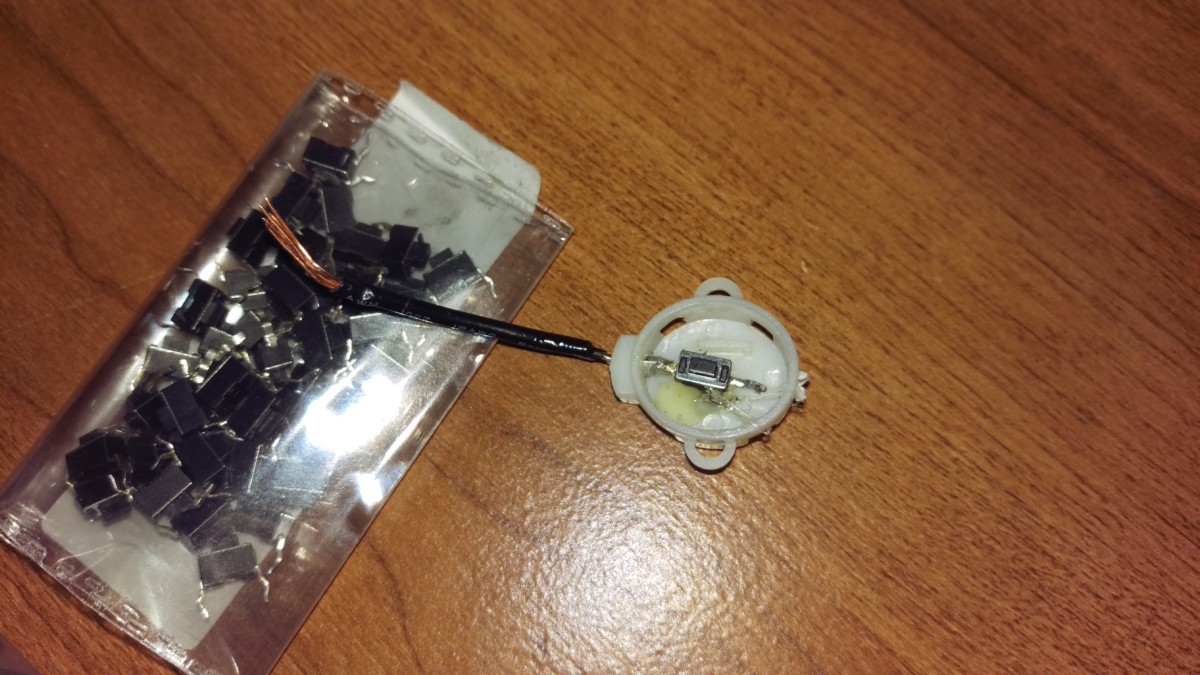
This switch is incredibly cheap
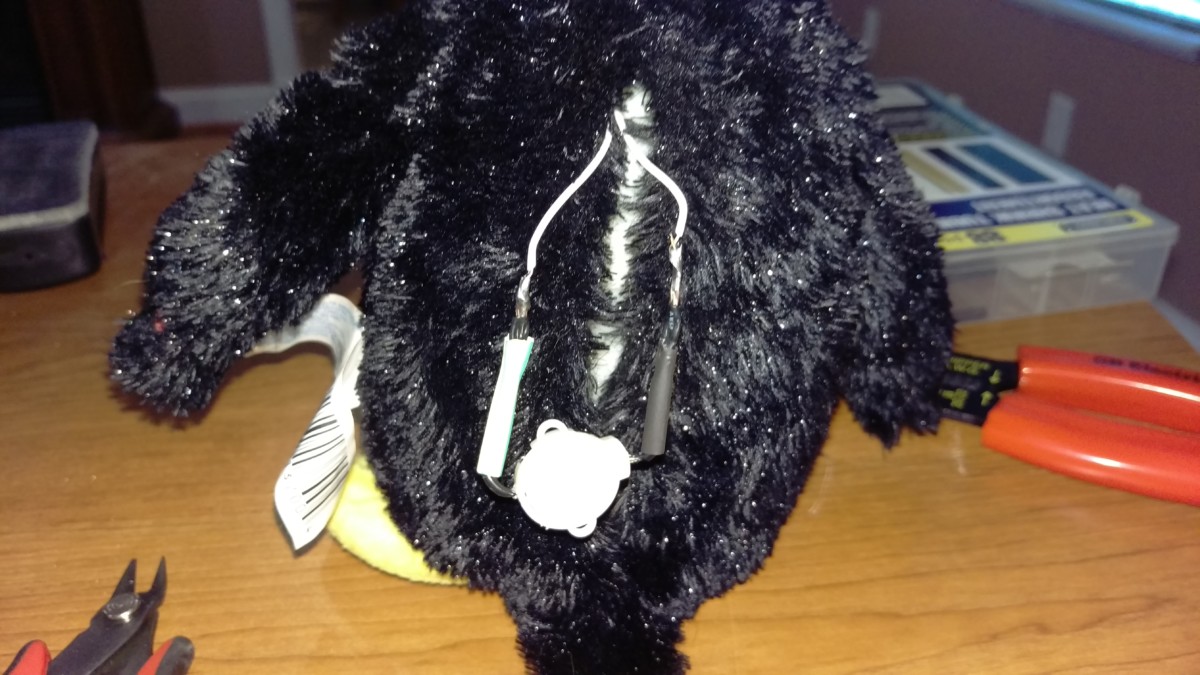
First, of course, I made sure it had fresh batteries. The second suspect was the switch to turn it on, since it would intermittently work. This switch sits in the penguin’s arm, with the two wires going to the battery compartment. As a quick test, I cut off the leads to the switch as shown. Touching the two wires together reliably turned on the toy, so I likely had a bad switch.
Testing the switch
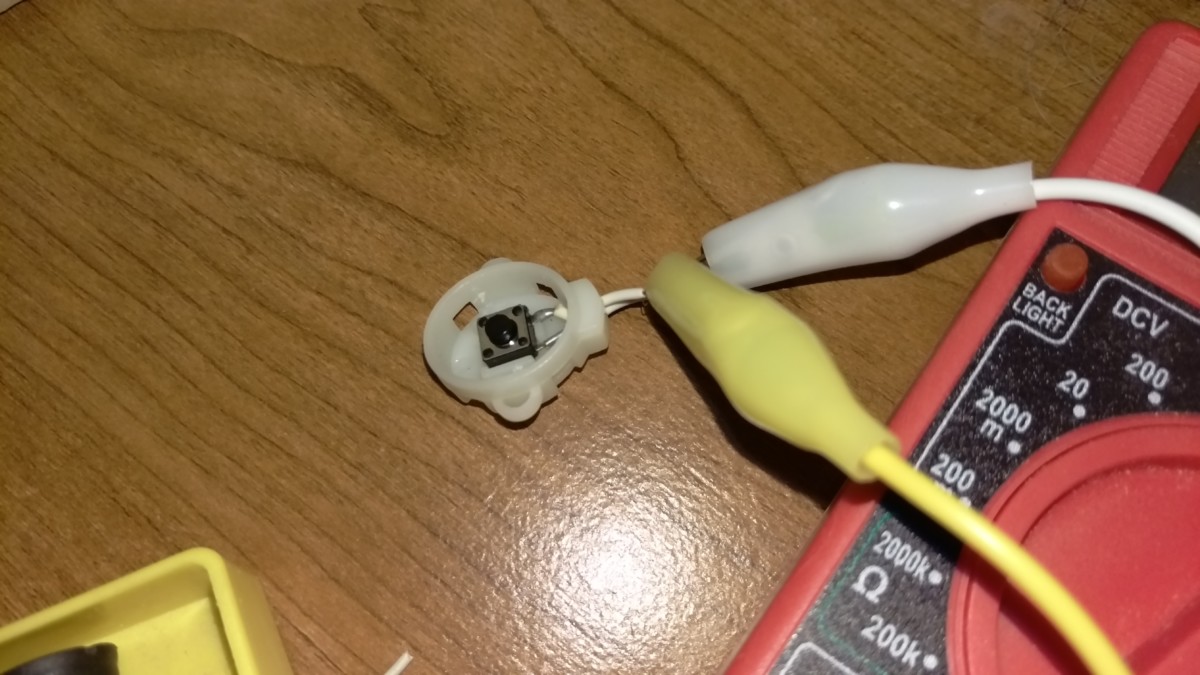
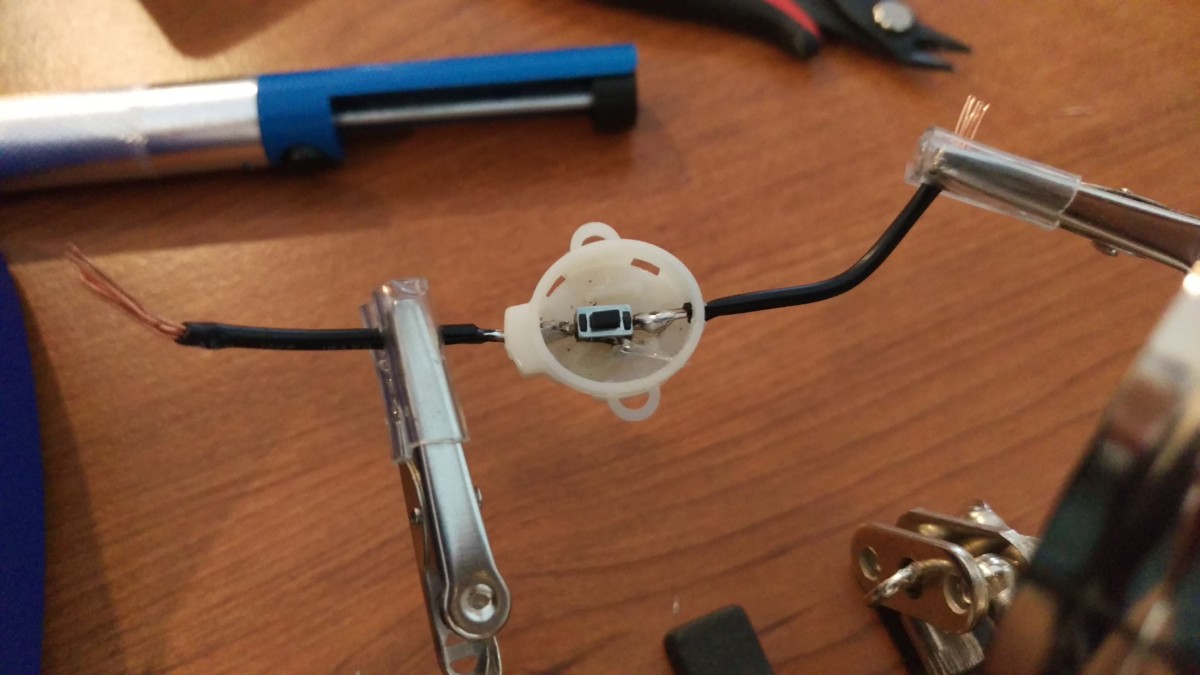
Using alligator clips to hook the bare switch up to a multimeter
A multimeter can quickly confirm whether a switch is operating correctly. I used a couple of alligator clips to hook the wires from the switch to the leads on my multimeter.

When pressing the button, it still shows no connection
To test connectivity, you can use the multimeter
In any case, this switch was showing a solid 1 like this most of the time, which indicates infinite resistance meaning no connection. Occasionally, if I twisted it a certain way, it would drop down to some reasonable number, which explained why it intermittently worked.
Finding a replacement switch

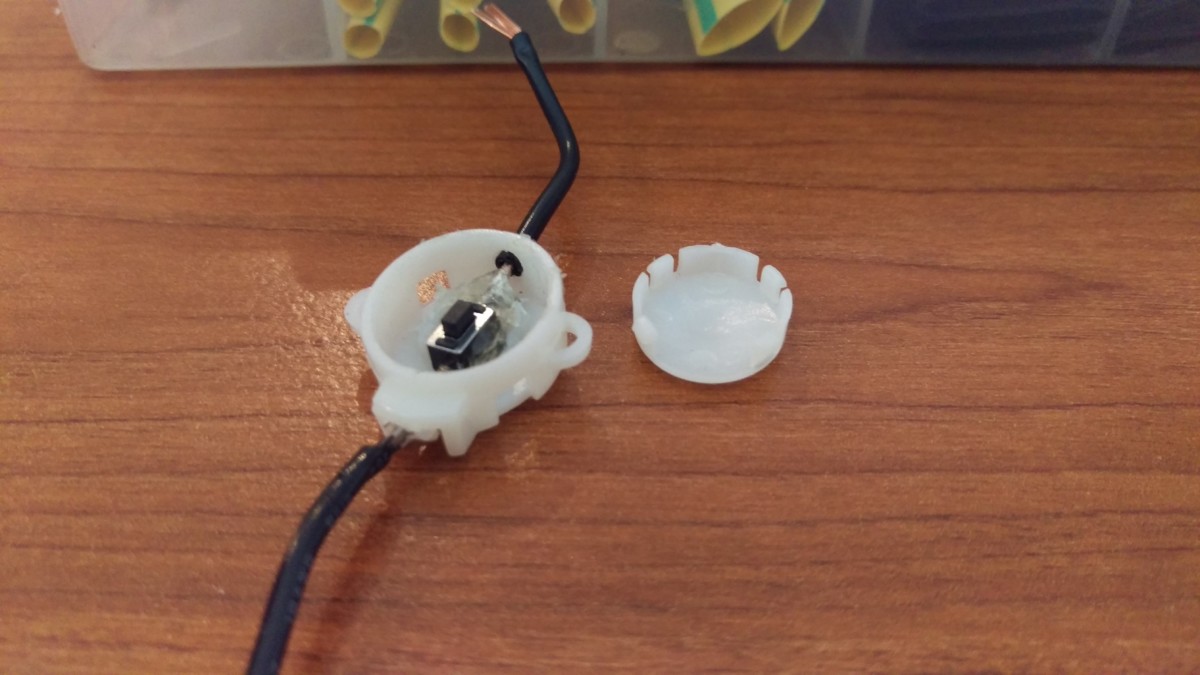
This is the little microswitch I had to replace
I pulled the switch out of the white housing and tried to find a replacement. I couldn’t find a direct replacement quickly, although I’m sure they’re out there, so I went with these switches from Amazon
Putting the new switch in the housing
Soldering leads on either end of the switch
The first step was to solder one of the two wires onto the new switch. While the picture shows both wires soldered, I recommend only soldering one to make it possible to fit into the housing. I used my new Hakko Fx-888

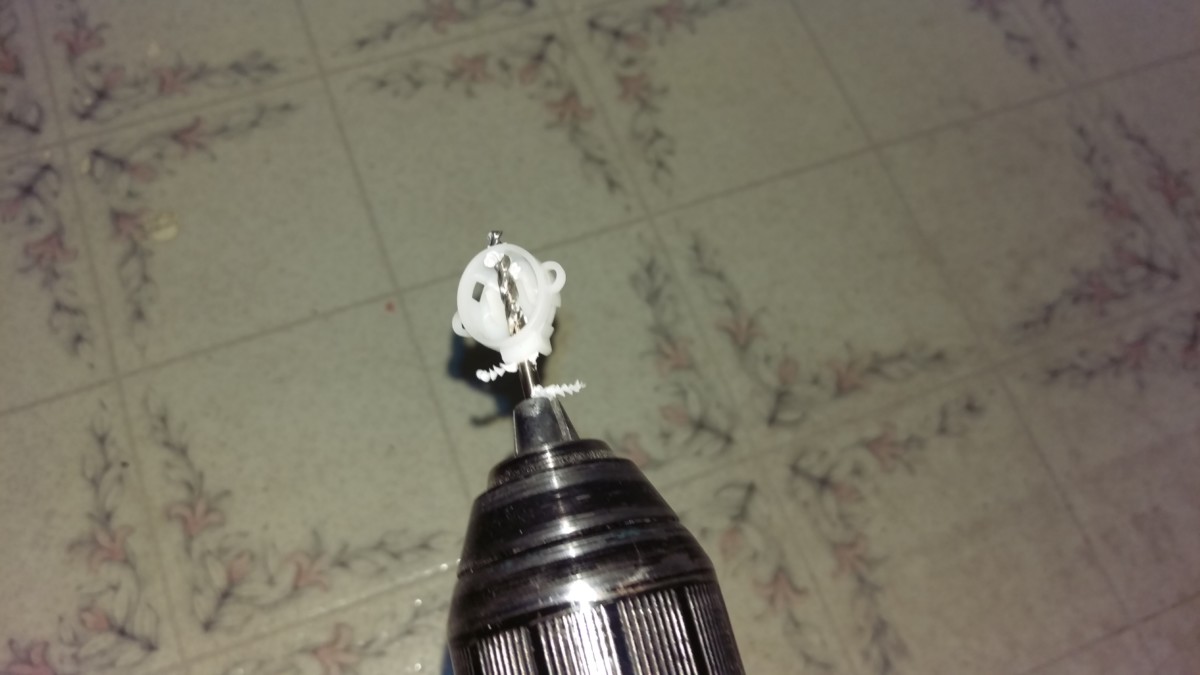
Drilling out a new hole in the holder
The new switch has leads going out to either side, whereas the old switch had both posts on one side. Long story short, the switch holder would need holes on either end. Fortunately, plastic is stupidly easy to drill. I just picked out a bit that was large enough to run the small-diameter wire through and drilled it by hand as shown.
The switch in the housing
Here’s the switch in the housing with one wire installed. The wire is just random small gauge that I had on a spool, by the way – diameter doesn’t matter for a low-voltage application like this. I used hot glue to secure the new switch to the housing.
Soldering the second lead with a helping hand
Here is the second lead after soldering. I’m using one of these cheap helping hands
Ready to put the cap on
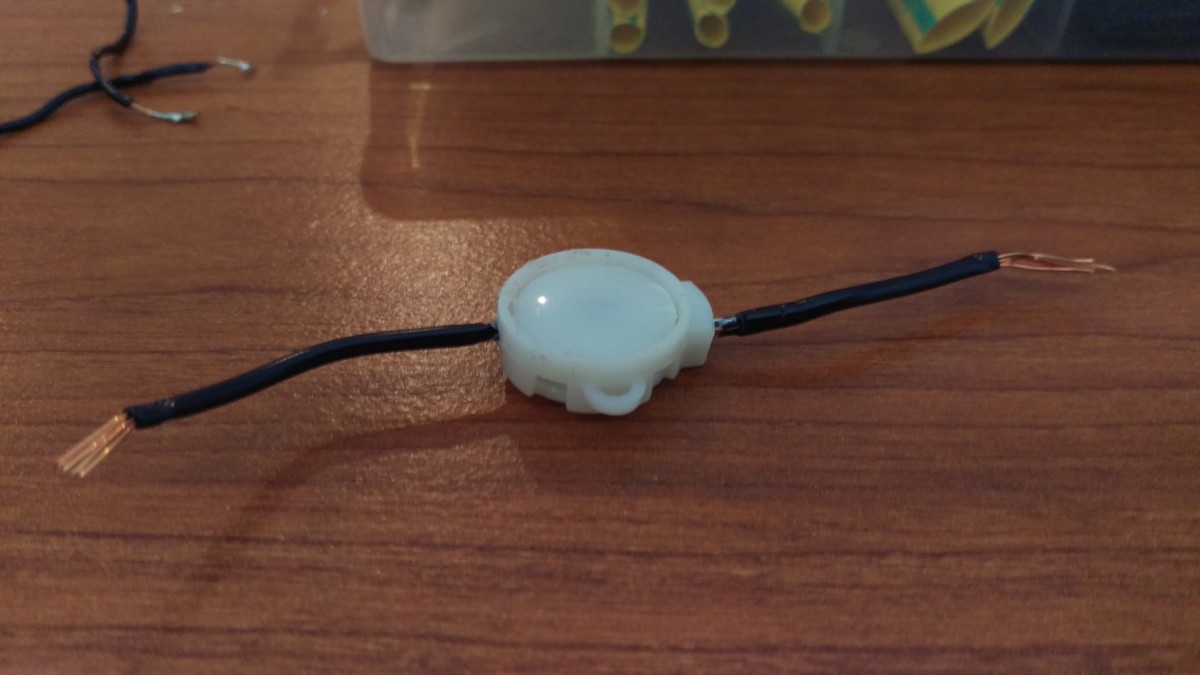
Done
It took a little finagling with a screwdriver to scrape excess hot glue out of the way of the cap. I just scraped it away with a flat head until I could press the button and have it operate properly. With that, the switch is repaired and ready to be reinstalled.
Reinstalling the switch

Wire prepared with heat shrink over it
I put some heat shrink over the wires to install first. After soldering the switch back to the penguin, these will be shrunk over the solder connection. This came out of a pack of assorted heat shrink tubing

Soldered back together
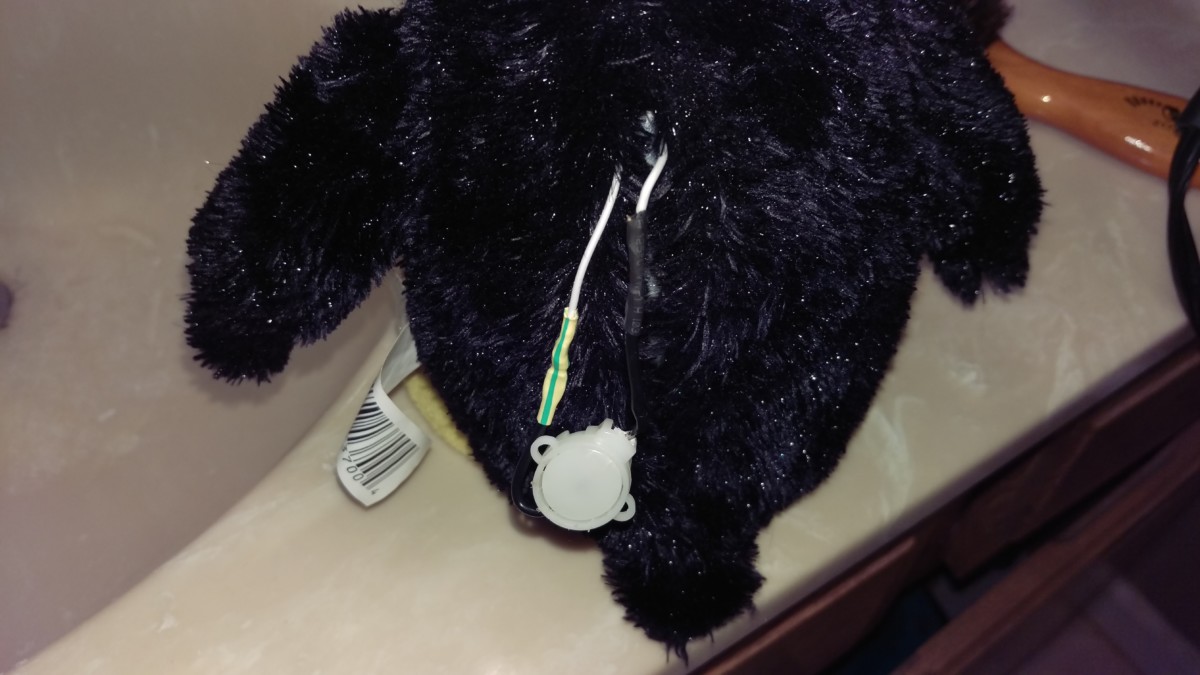
Heat shrink applied
With the tubing in place, but not shrunk yet, I soldered both wires back where I had originally cut them off. Then, I shrank the tubing over the solder connection. Finally, I jammed the switch back down the penguin’s arm and tested out my fix. It worked perfectly, and I promptly returned it to my mom so I didn’t have to listen to it anymore.