Refinishing Furniture with New Stain
The dresser didn’t match the crib I made
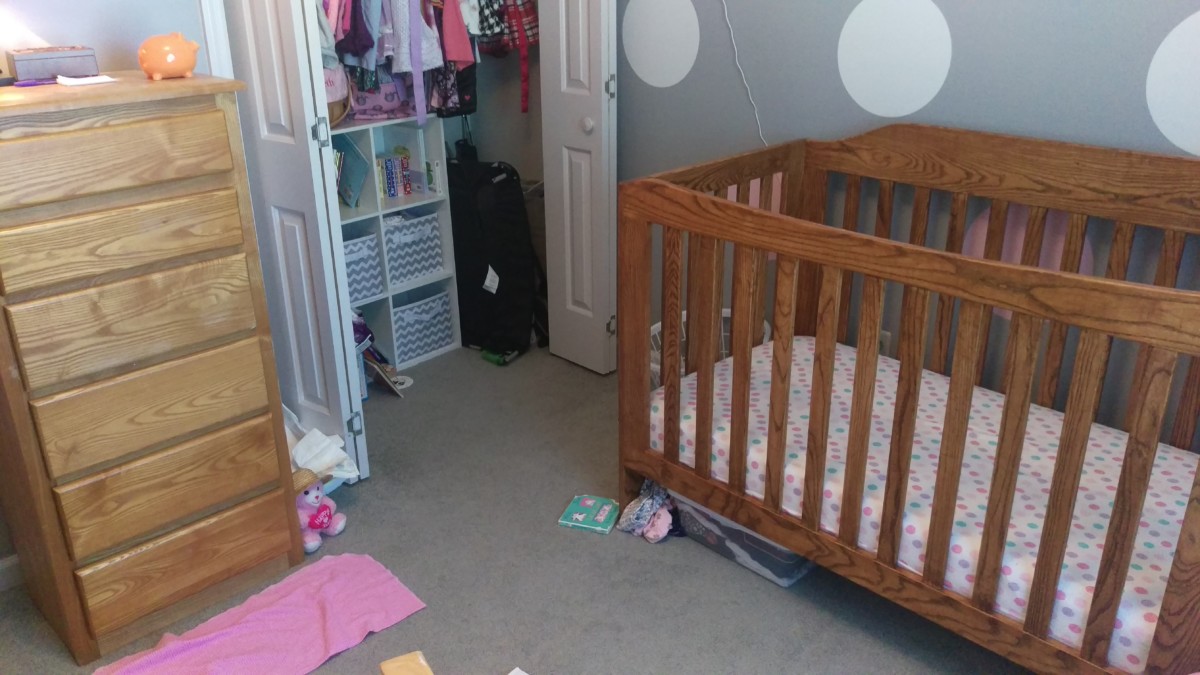
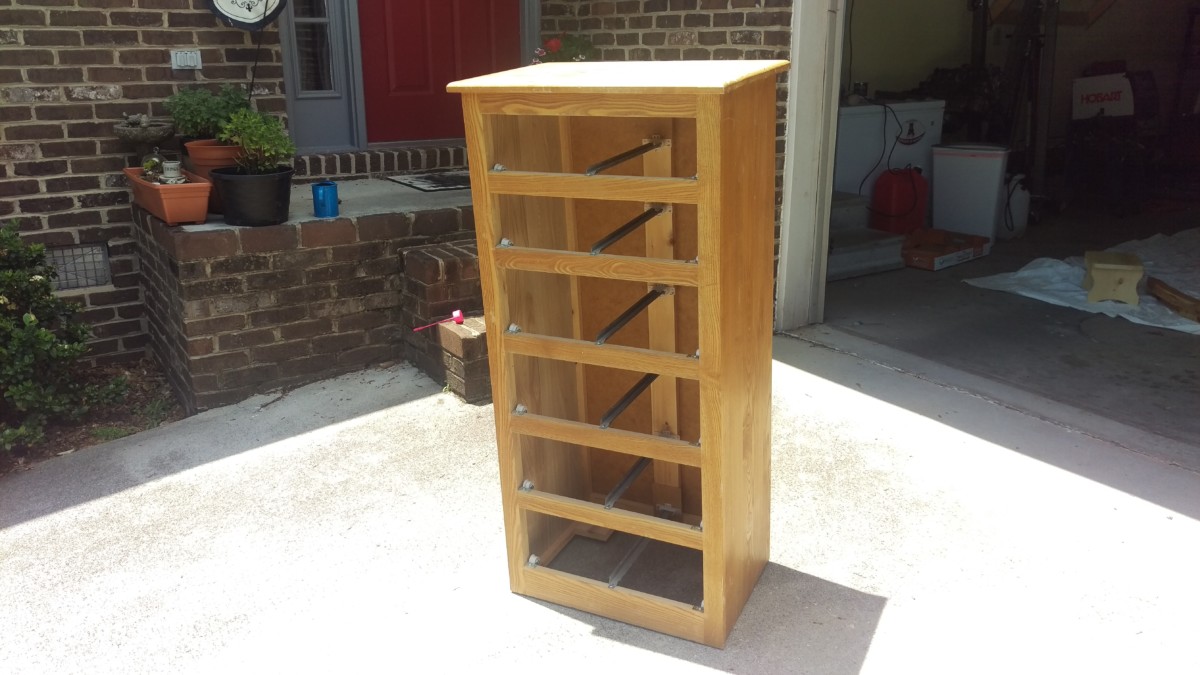
This cheap dresser came from Craigslist years ago for $20. At the time, it was sufficient to stick clothes in while I was renting. Now that we have a toddler, it has turned into the perfect size dresser for her room. However, as you can see, it doesn’t really match the other furniture.

After staining, it matches perfectly
Fortunately, this dresser is made of real wood. In fact, the face and sides appear to be some kind of domestic hardwood and are actually of much nicer quality than it would appear. Old furniture like this is very easy to spruce up with a bit of elbow grease. I’ll note here that you cannot do this kind of refinishing on cheap Ikea or Walmart furniture that is plastic veneer on particle board, which is one more reason to opt for used wood furniture over new cheap furniture. Refinishing furniture with new stain is an easy way to jazz up an old piece like this and make it match the other furniture in a room at the same time.
Supplies Required
- Random Orbit Sander
– You could hand sand if you would like, but an electric sander will go much faster
- 5″ Sanding discs in a couple of grits, primarily 80 grit
and 150 grit
- Nitrile gloves
– Nitrile gloves tear less easily than Latex. They’re available at Home Depot, Harbor Freight, Walmart, etc
- Disposable shop towels
– These actually work really well to wipe on stain without any lint
- General Finishes Gel Stain
– Amazon prices go up and down, but Woodcraft also sells this stain. Gel stain sits on the surface of the wood and is thus easier to get even color out of than traditional stain. It simply wipes on and off.
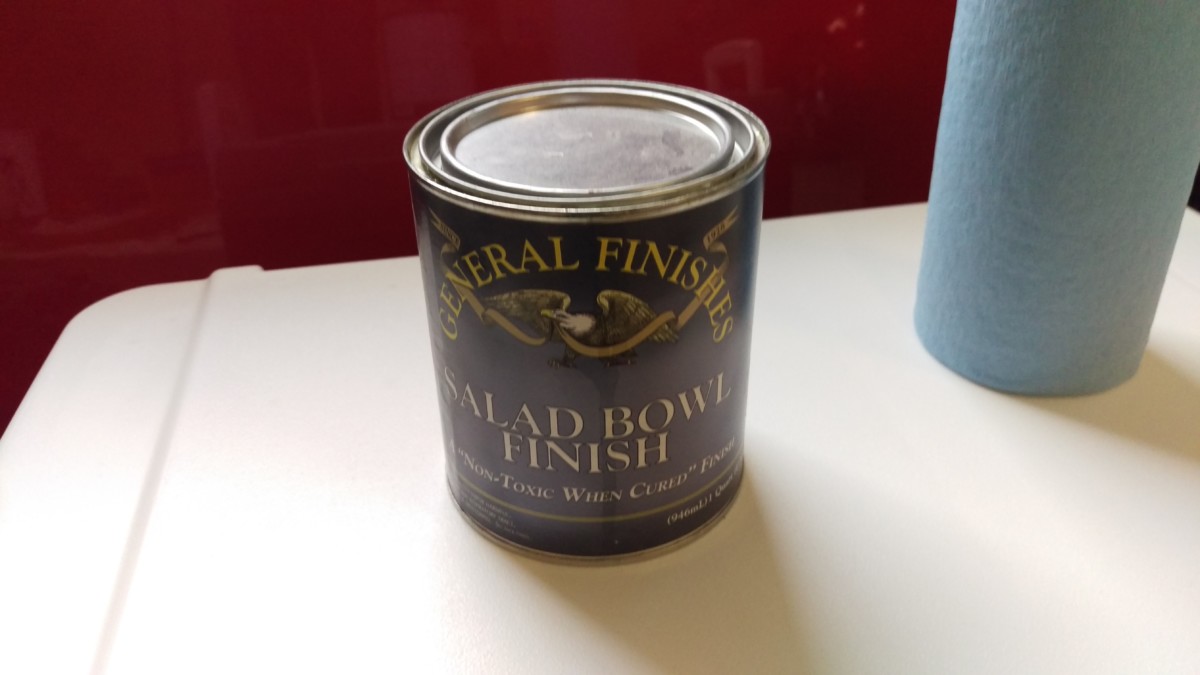
- General Finishes Salad Bowl Finish
or Polyurethane Floor Varnish
or similar – I use the salad bowl finish for anything for our toddler, because it is non-toxic very soon after application, just in case she bites the furniture. For anything else, regular polyurethane works great (and is also non-toxic after curing for a month or two).

Sander Choice
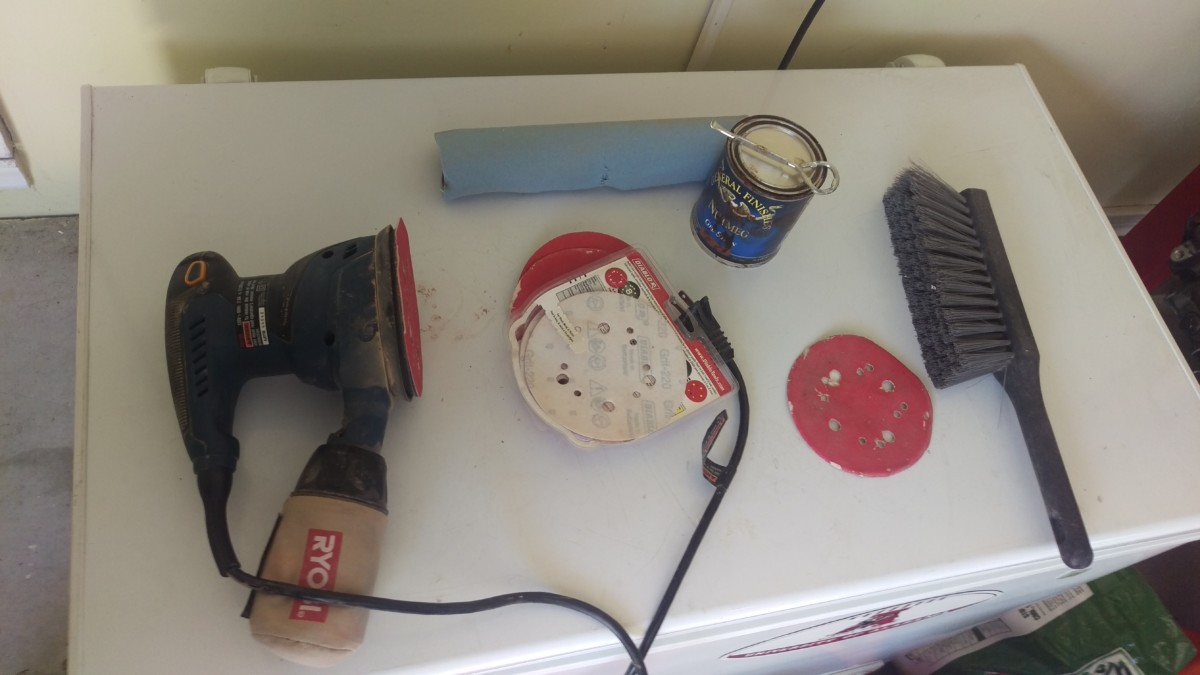
Sander and sanding discs
The first step is to remove any existing finish. I’m using an old random orbit sander


Stripping the Old Finish
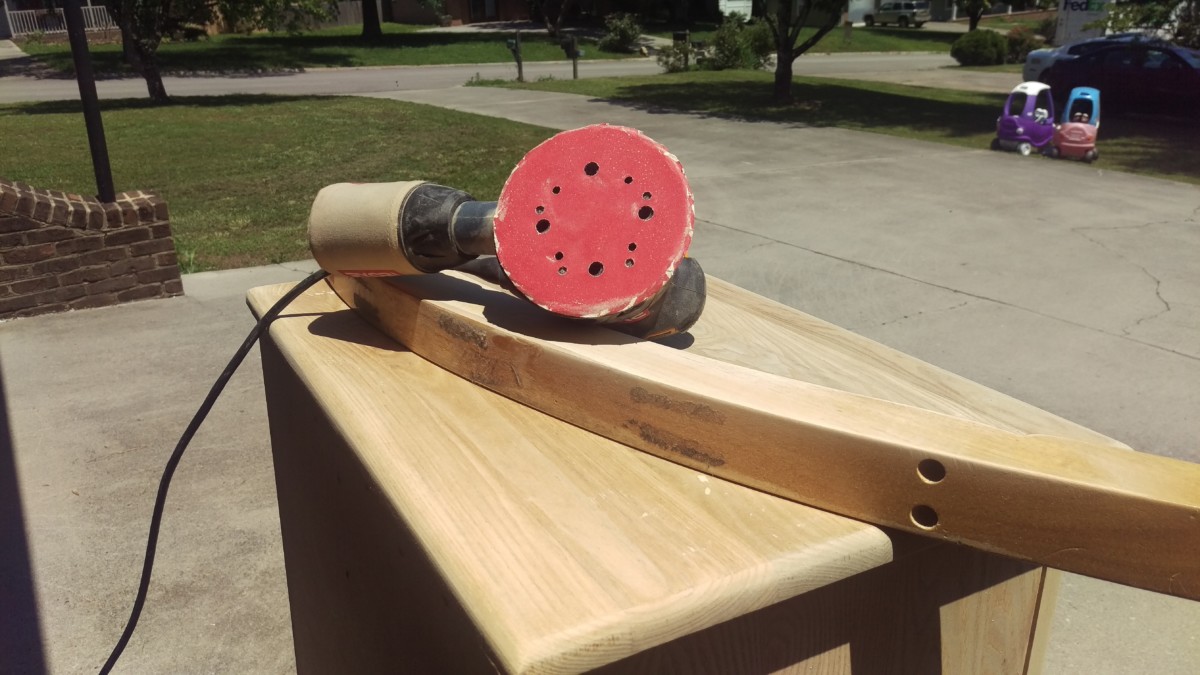
Put the disc on aligned with the vent holes
Removing the old finish with a sander is straightforward. First, put on the coarsest grit paper you have available, in my case 80. Lower grit is coarser, higher grit is finer. When using a random orbit sander, the disc simply sticks on with velcro. You simply have to be sure to orient it so that the holes in the disc for the sanding dust to vent match the holes on the sander. Note that sanding dust is extremely fine and probably not great to breath in.
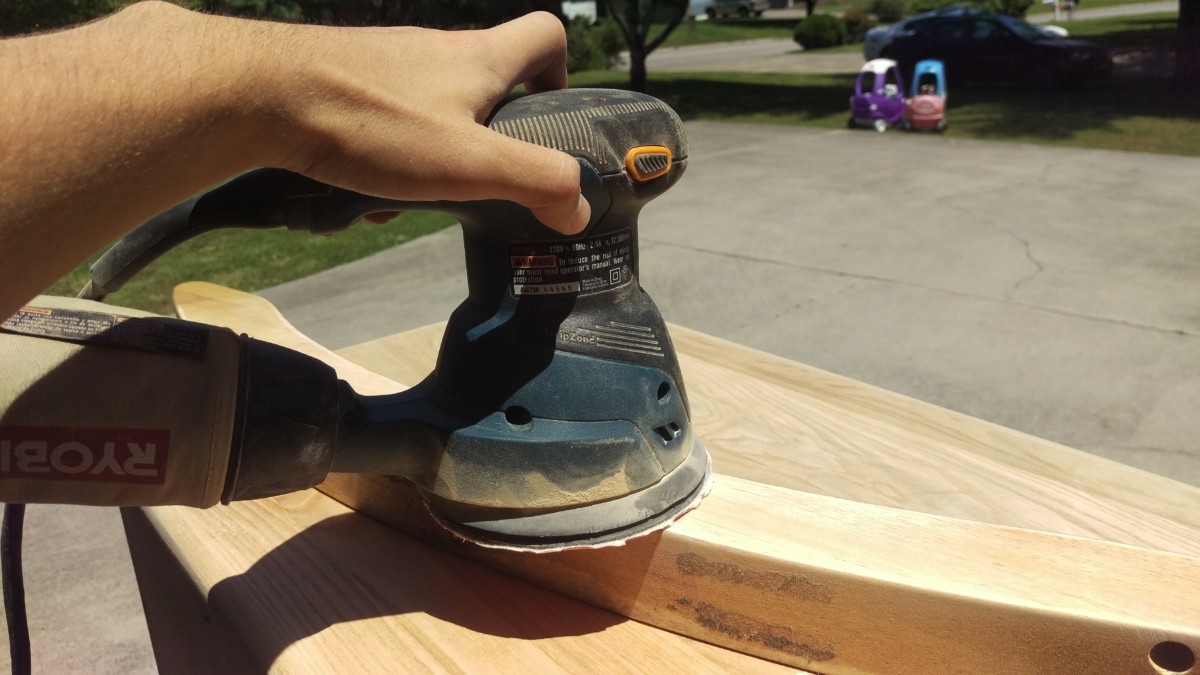
Let the weight of the sander do the work
Turn the sander on, lay it on the piece to be sanded, and move it along the grain. Much like using a clothes iron, you don’t want to let the sander sit in one place, or it can make a divot. Be careful when sanding curved edges, as you don’t want to accidentally alter the shape. The goal is to remove all traces of the finish and get down to bare wood.
Once you’ve gotten to bare wood, you can move up a grit and sand again. This won’t take nearly as long. The goal is to smooth out any scratches you made with the coarse sandpaper. The piece should be noticeably smoother to the touch. In my case, I went directly from 80 or 100 grit up to 150 grit, which is where I stopped.
General finishes gel stain suggests sanding no finer than 150 grit, in order for the stain to stick properly. For more traditional stain, you may want to do an additional sanding with 220 grit, as they tend to soak into the wood, and 150 grit might feel rough in comparison.
About to start sanding
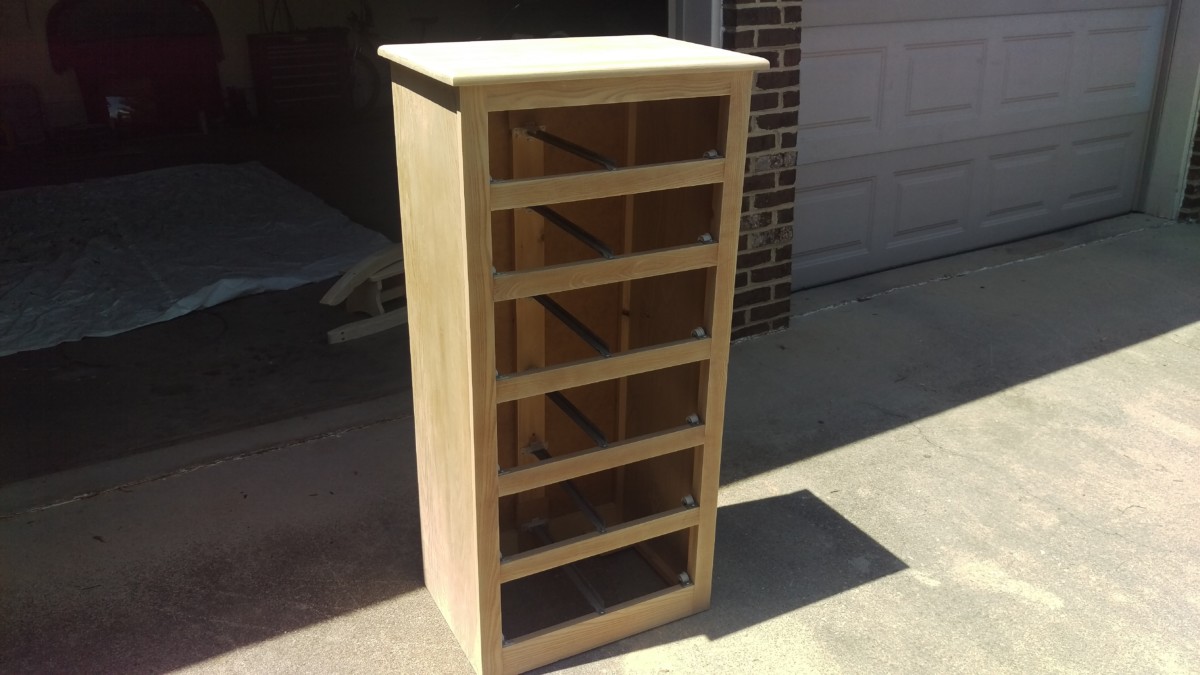
With the finish removed, you can see the natural color of the wood
Unfortunately, the lighting was pretty terrible, but here you can see a before and after on the dresser. Of course, I took all of the drawers out for the whole process. As pictured, the old finish is completely removed, and the wood is sanded to 150 grit and ready for paint prep.
Final Prep Before Stain
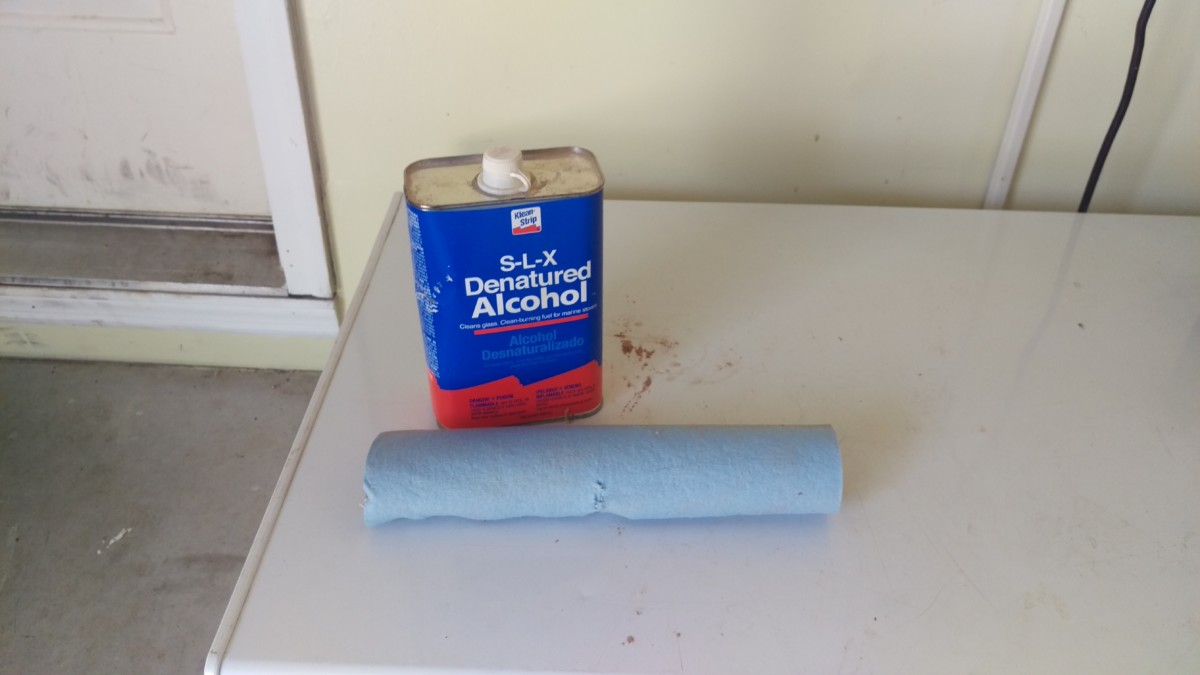
Wipe with some sort of alcohol, such as denatured pictured here
As a final step before staining, you want to remove any sanding dust, otherwise it will get embedded in the stain. I usually do a first pass with a brush, vacuum, or shop vac to get the coarsest dust off. After that, I use some sort of alcohol and a disposable shop towel. I simply brush over all of the surfaces with a towel dampened with the alcohol. Alcohol has the advantage of evaporating much more quickly than water, so it won’t interfere with the stain, and it also won’t raise the grain of the wood to the same extent that water will, which can ruin all that sanding work that was just performed.
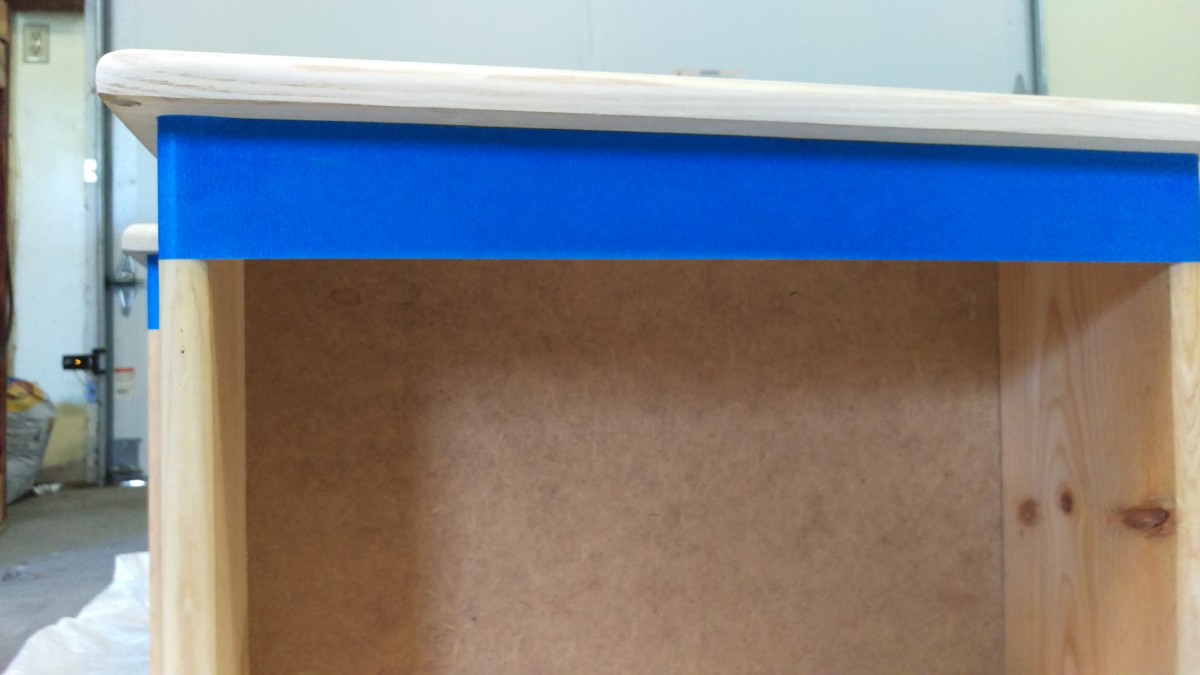
Tape off any areas that shouldn’t be stained with painter’s tape

All the drawers are ready
I only planned to stain the drawer faces. As a result, I applied some painter’s tape to make it easy to get a clean stain line.
Last Look Before Stain

I stained the dresser, drawers, a foot stool, and some rockers for a rocking chair
The picture shows all of the pieces ready to stain. In addition to the dresser, I also stained a pine step stool and the rockers for a rocking chair that were in the nursery. The pine step stool didn’t take a stain nearly as well as the hardwood dresser. In fact, I should have probably pre-treated the pine with conditioner even using a gel stain. It still came out looking nicer than it started, fortunately.
Applying the Stain
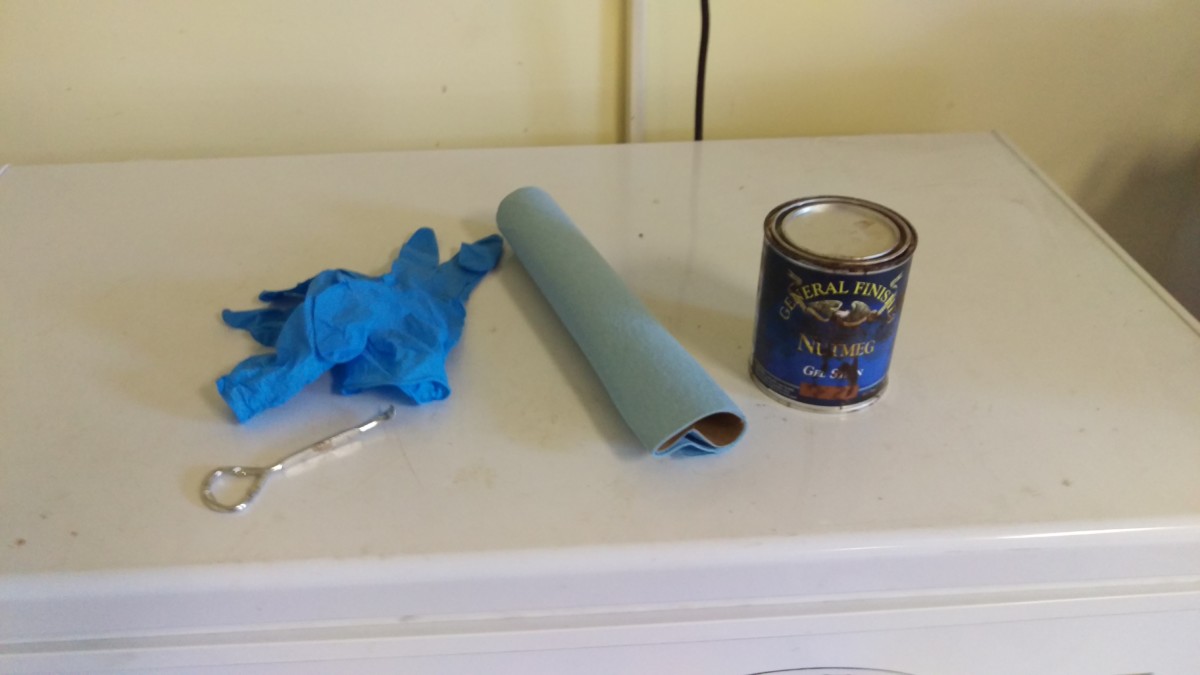
Gloves, shop towels, stain, and a paint can opener
Applying gel stain is trivial with the supplies shown. As mentioned earlier, it’s important to wear gloves as stain is rather disgusting to get off of your hands. Simply mix the stain in the can with a stir stick, dip the shop towel in the stain, and wipe it on. After you finish wiping the stain on a given surface, use a fresh shop towel to buff off any excess. Unlike traditional stain, you do not have to wait for the gel stain to set. You can wipe with the clean cloth immediately. It is important to wipe off all of the excess. Any extra stain left will become a sticky goo that is difficult to remove in short order.
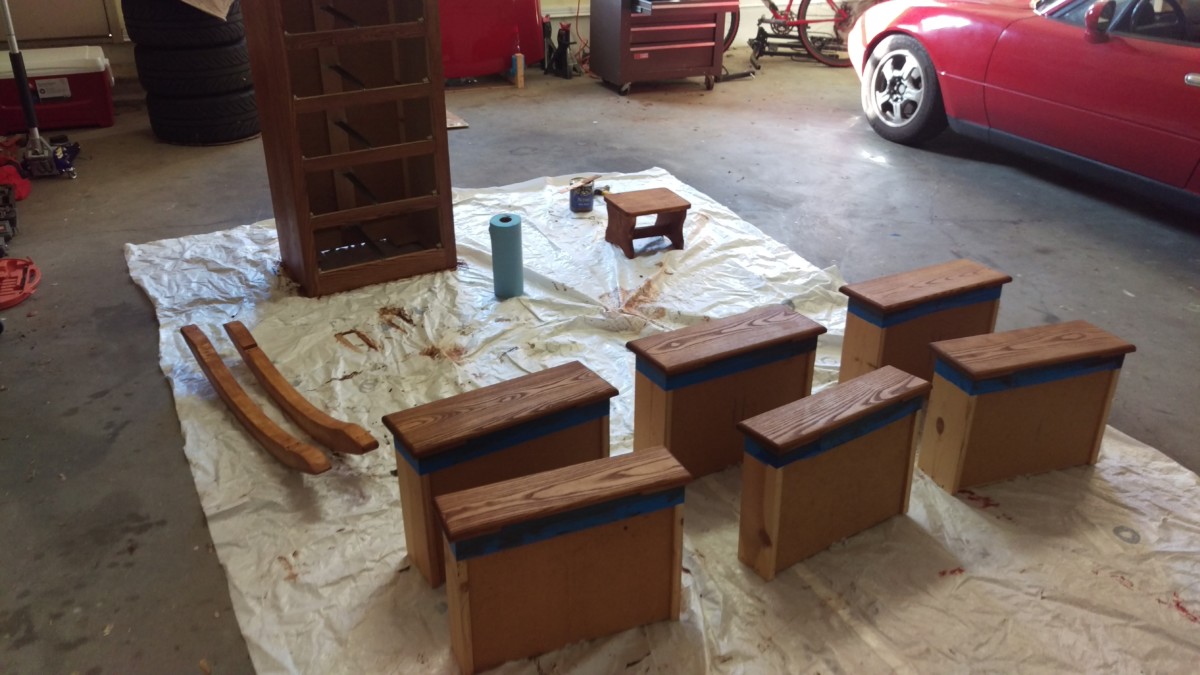
The pieces after a coat of stain
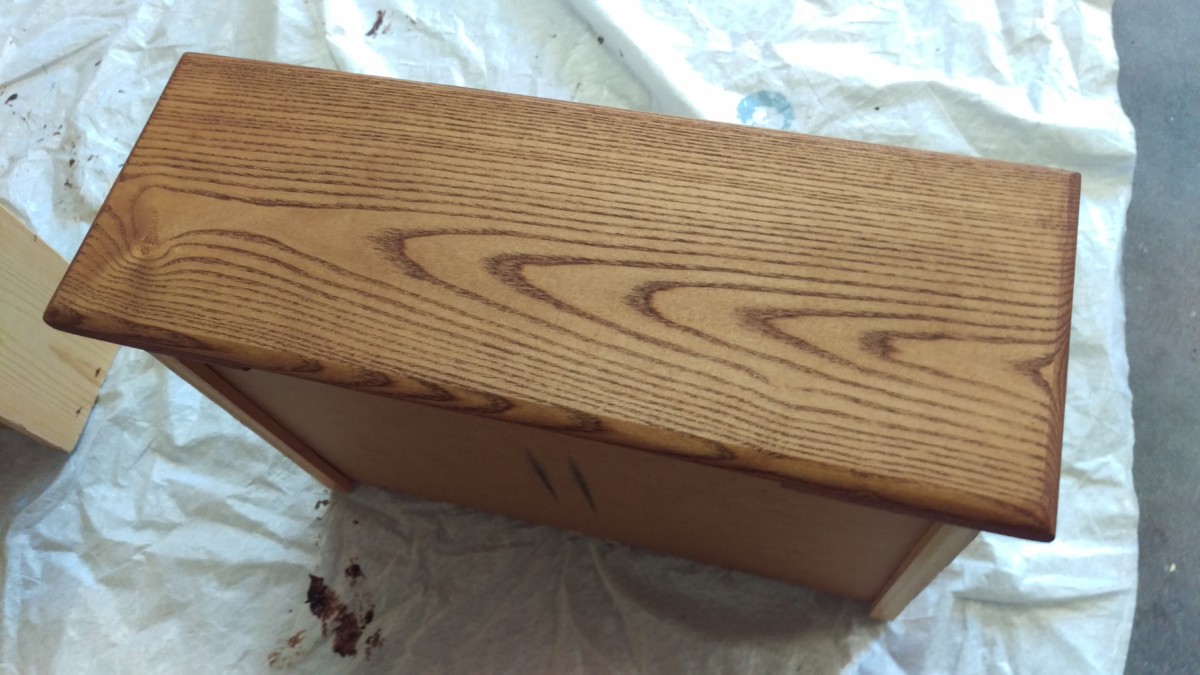
One drawer face after staining
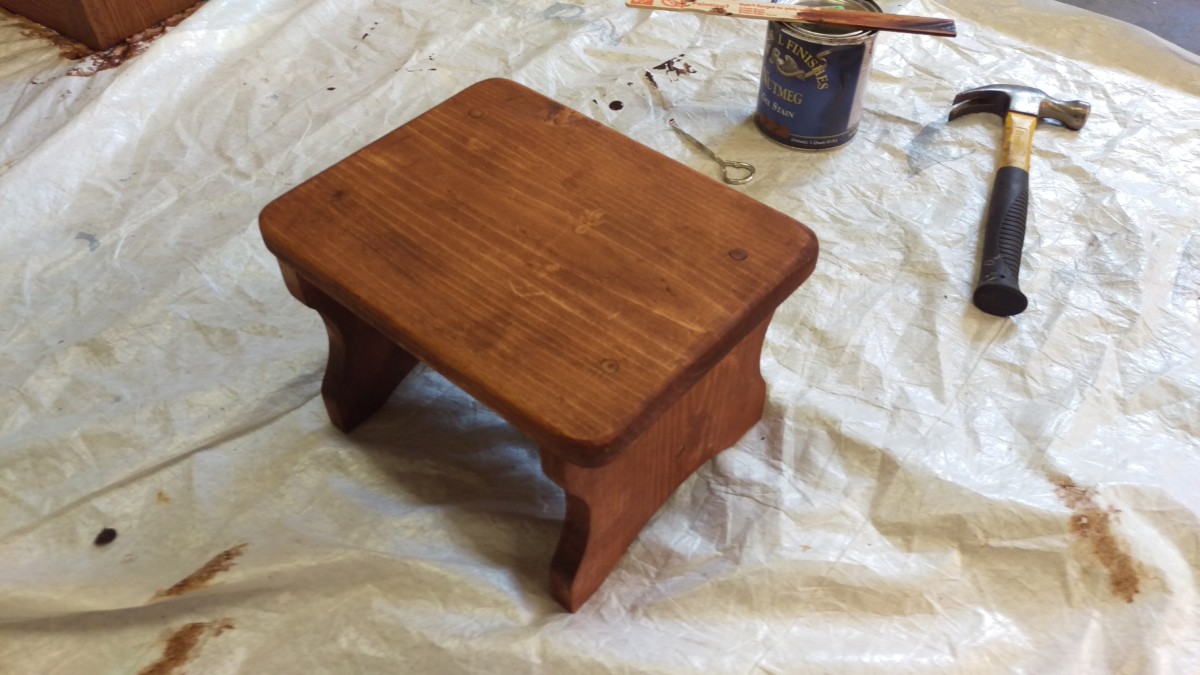
The stool didn’t take the stain as well
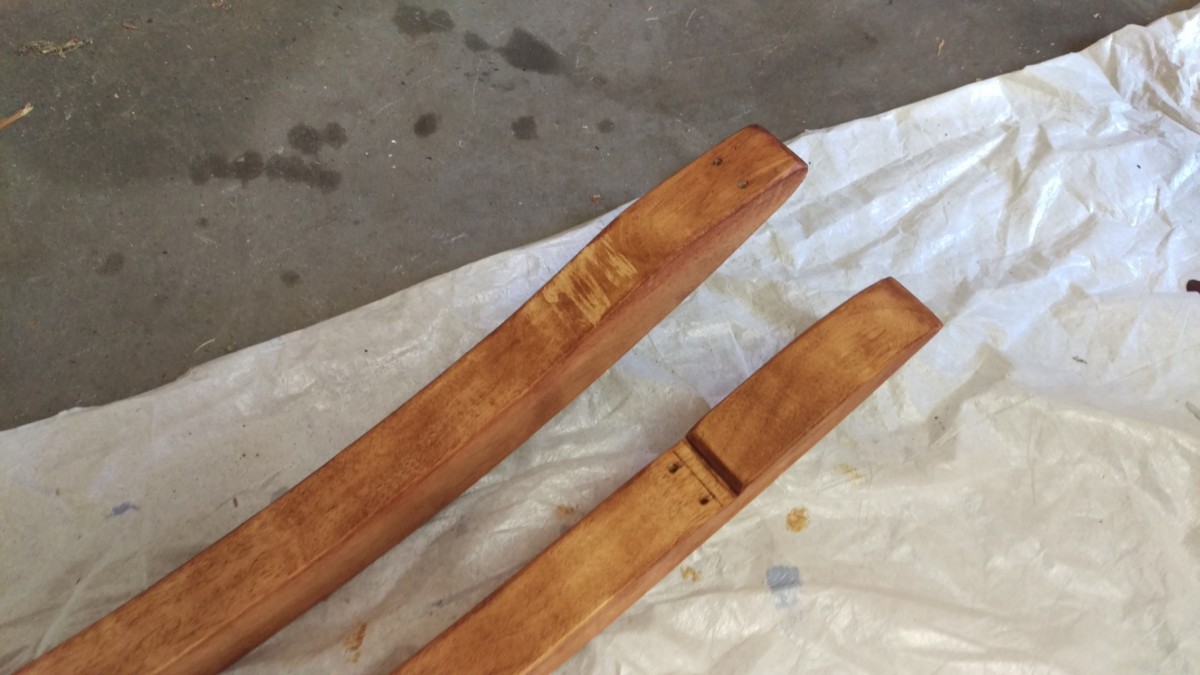
Rockers for the rocking chair

Dresser
Here is everything after putting the stain on. The lighting makes the single drawer face look lighter than the other pieces, but it’s actually a pretty close match. I put two coats of stain on everything, letting it dry overnight after each coat.
Applying the Clear Finish
The salad bowl finish is applied just like the gel stain
The salad bowl finish went on after the second coat of stain finished drying. It is applied identically, except that it only needs 6-8 hours between coats. I ended up doing three coats: one in the morning, one that evening, and then the final coat the next morning. Once you’re done applying all of the finish, it is worth letting it cure for several days outside. If you bring it inside too soon, the whole house will reek of polyurethane, and I assume the fumes aren’t good for small kids to breath in.
Wrap-up
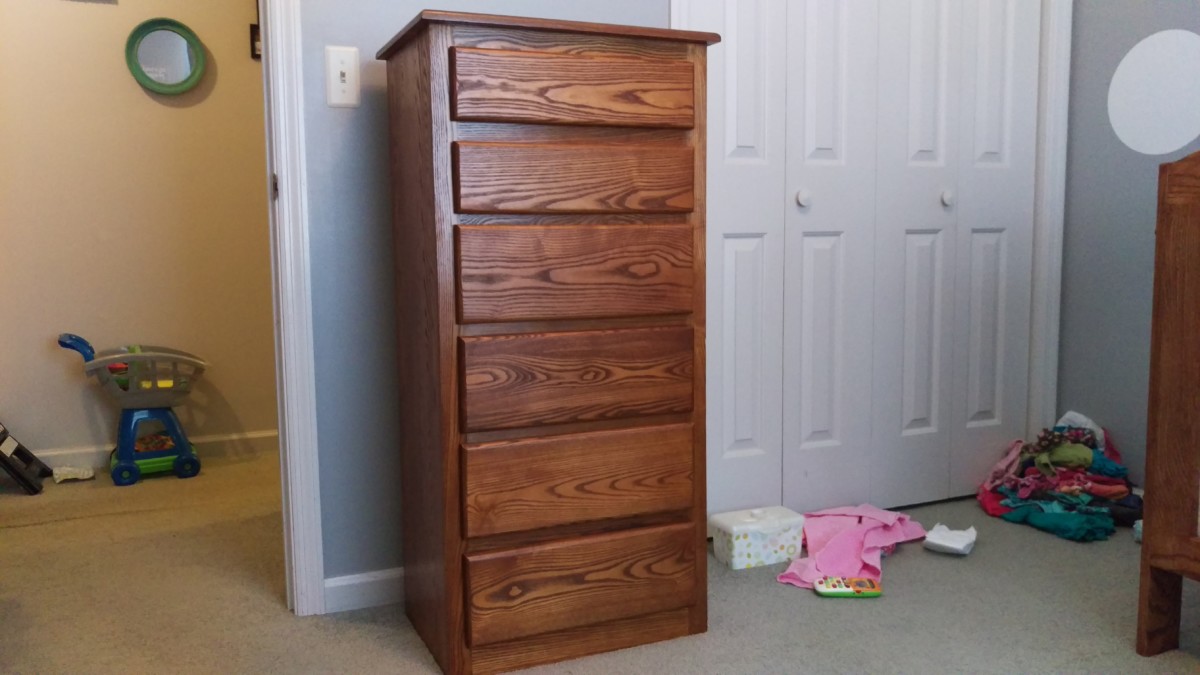
The stained dresser looks much better than before
With a few supplies, refinishing furniture with new stain is a great way to make an old piece of furniture look nice again. It’s also an easy way to make mismatched furniture match more closely.