Disassembling a Miata Short Block
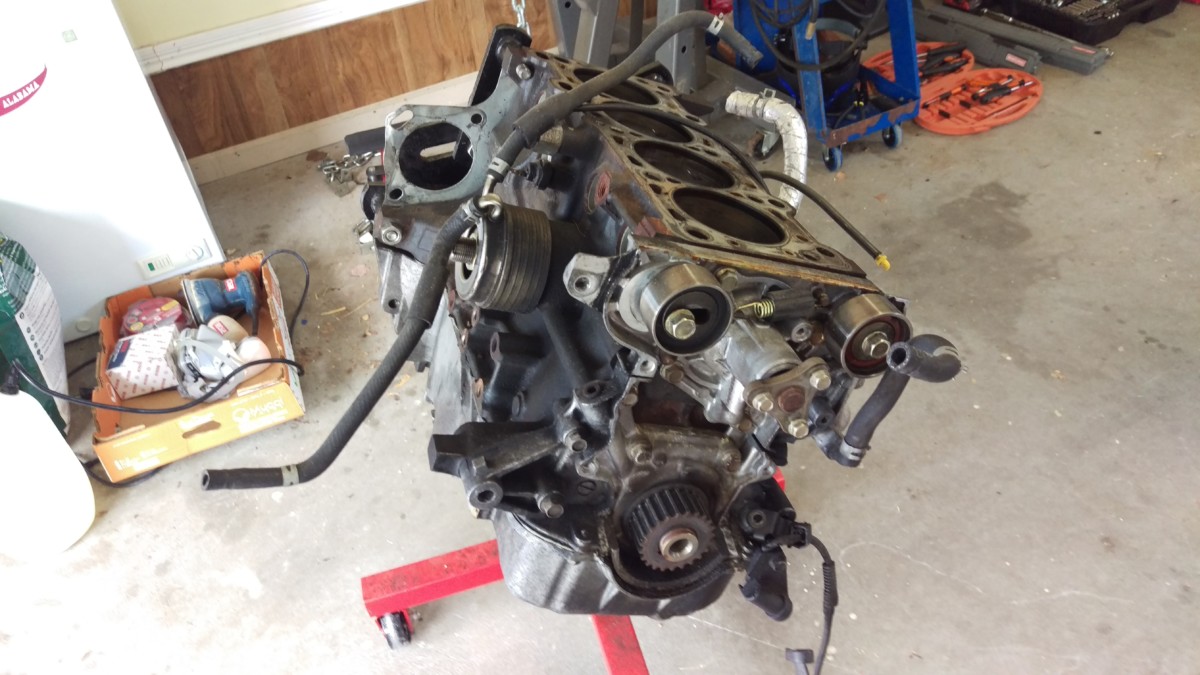
The short block in question
I bought a MazdaSpeed Miata (MSM) short block and a 99-00 cylinder head to use in a rebuild. After changing my mind and deciding on a K swap instead for track use, I sold them. The short block buyer asked if I could pull the crank, rods, and pistons to save on shipping, as he didn’t need them for the stroker build he had planned. Thus, I found myself disassembling a Miata short block and figured I should write about it. The only tools required for this job are a set of wrenches and an engine stand
. An impact wrench, such as this electric corded one that I have
, can also come in very handy, as can a 3/8″ extension set
.
Terminology Note
A bare block would be only the engine block itself, without a crankshaft, pistons, rods, or anything else attached. A short block is a term for a bare block assembled with everything you’d expect underneath the cylinder head, primarily including the crankshaft, pistons, and rods. A long block will always include everything in a short block, plus the cylinder head including cams and valves; in other words, it is a complete functioning engine. The exact definition of a long block varies from person to person beyond this, as sometimes a long block will also include intake and exhaust manifolds, certain accessories, and so on.
Removing the Cylinder Head
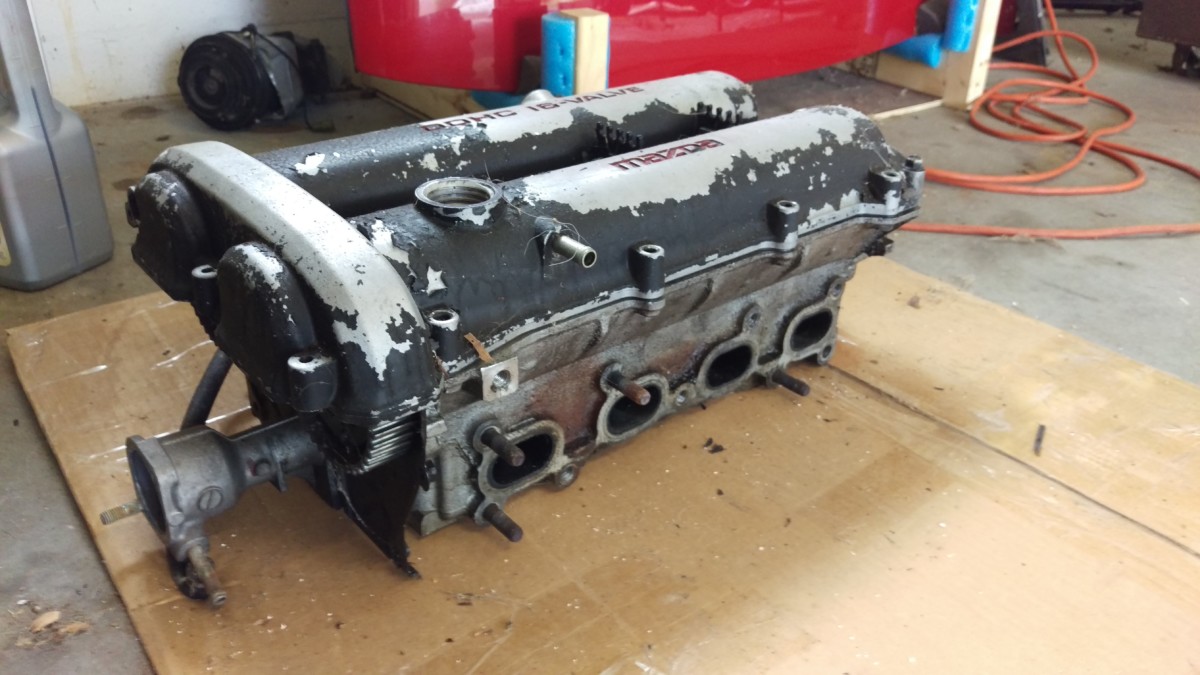
Sample cylinder head, already removed
I bought the block and head as two separate items, so I don’t have any pictures of removing the head itself. However, it’s a pretty straightforward process. I’m assuming the engine is already out of the car. If it isn’t, I have an article on pulling the engine here.
With the engine on a stand, you also need to perform the disassembly steps in the timing belt article, because the timing belt connects the head to the block and must be removed. With the timing belt and valve cover off, plus any other connections between the head and the body disconnected, you can actually unbolt the head. There are ten bolts connecting the head to the block. Once these are removed, the head can be carefully lifted off of the block.
Removing the Timing Belt and Water Pump Accessories

Timing belt idler and tensioner pulleys

Pulleys removed
Once you’re down to just the short block, you can begin to remove any remaining accessories. Since the timing belt is already gone, the timing belt tensioner and idler pulleys can come off next.
Remove these bolts to disconnect the water pump
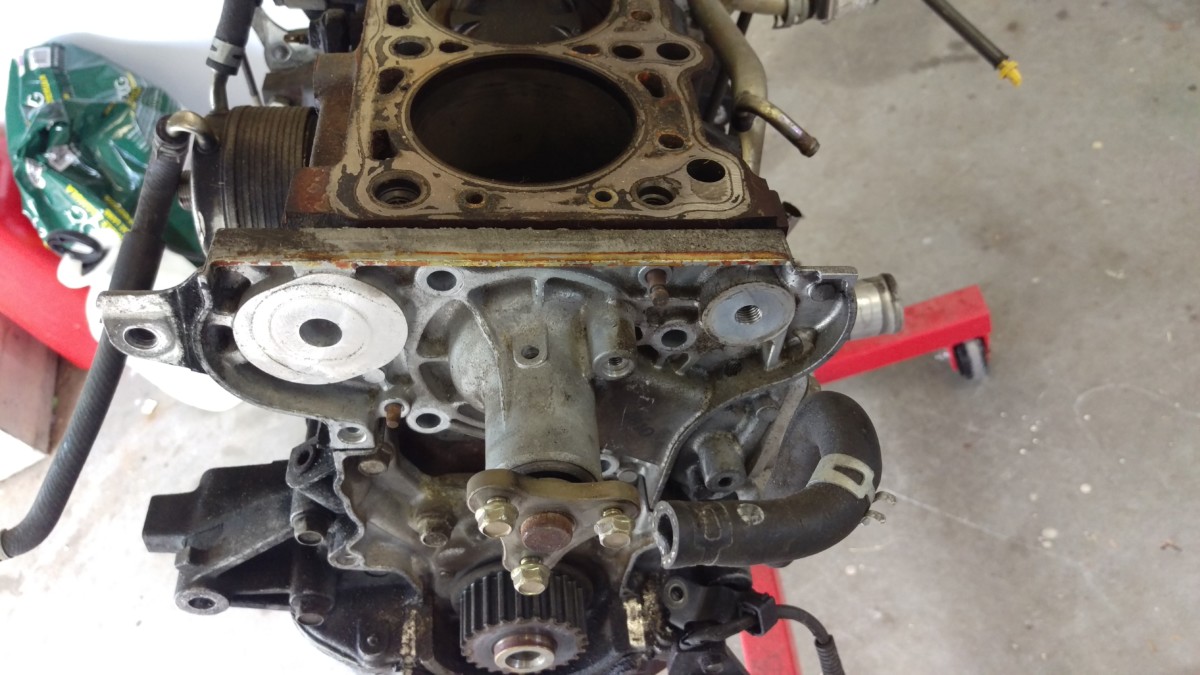
Unbolted

Water pump removed
You can also go ahead and remove the water pump. It will simply unbolt and pull off. You may have to yank on it fairly hard, as RTV is often used in addition to the gasket.

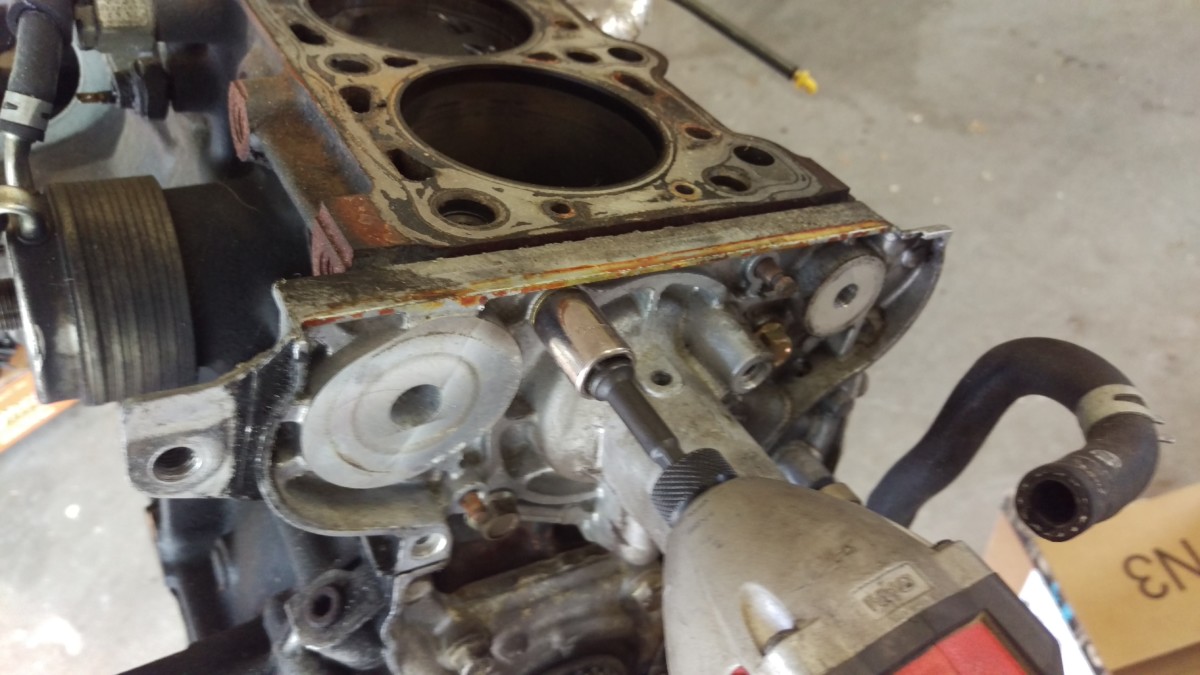
The timing gear should also be removed
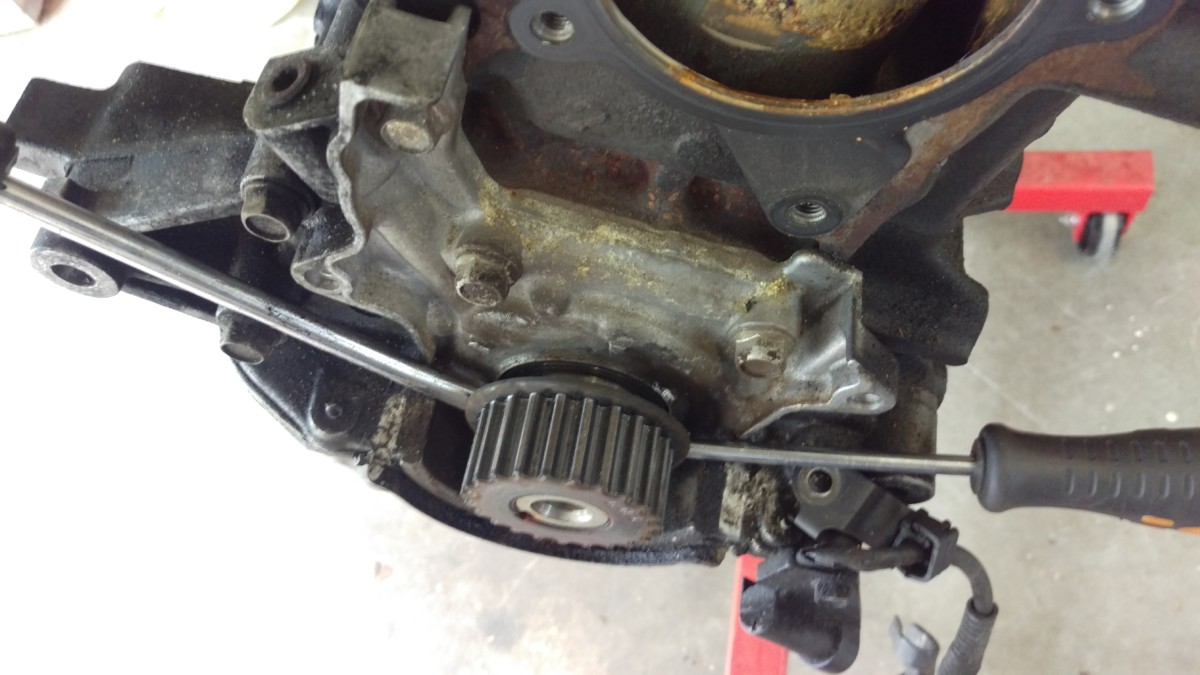
There are pullers for this, but I just use a couple of screw drivers and pry gently from either side
The timing gear, or whatever it’s actually called, also can come off at this point. If the crank bolt is still in, you probably need an impact wrench

In any case, with the crank bolt out of the way, you can remove the gear as pictured. There are socket pullers you can use, but I have found that this gear isn’t on the crankshaft all that tight. I simply use a couple of screw drivers and gently pry on it to get it started.
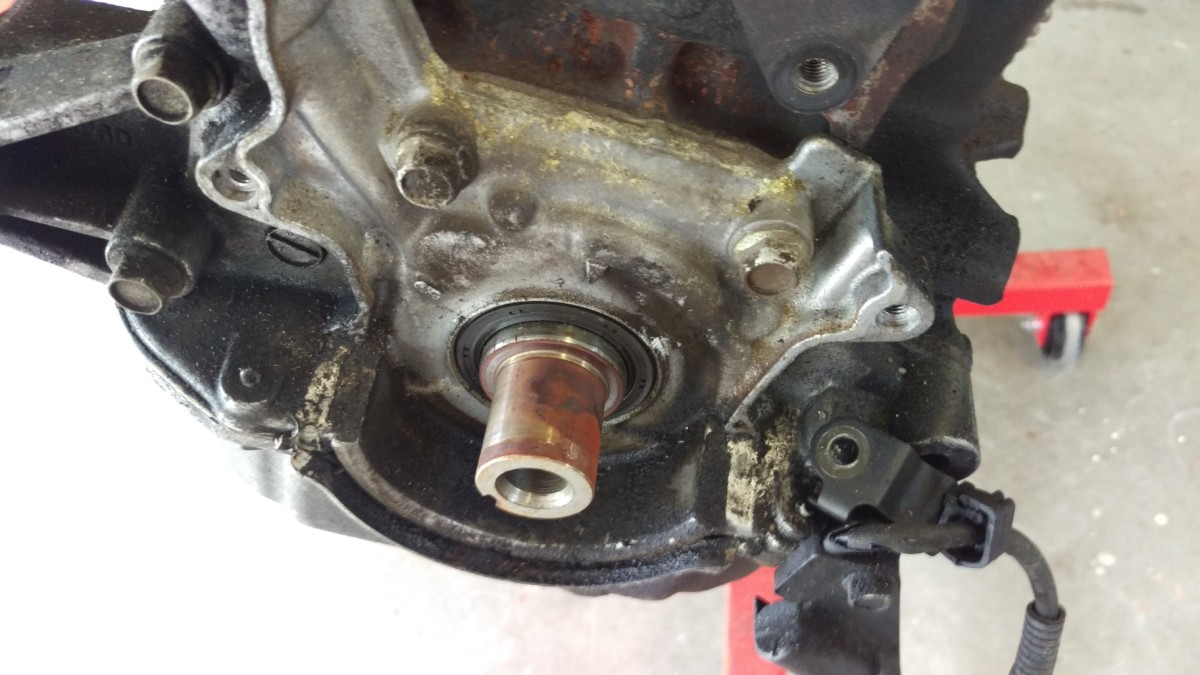
Removed
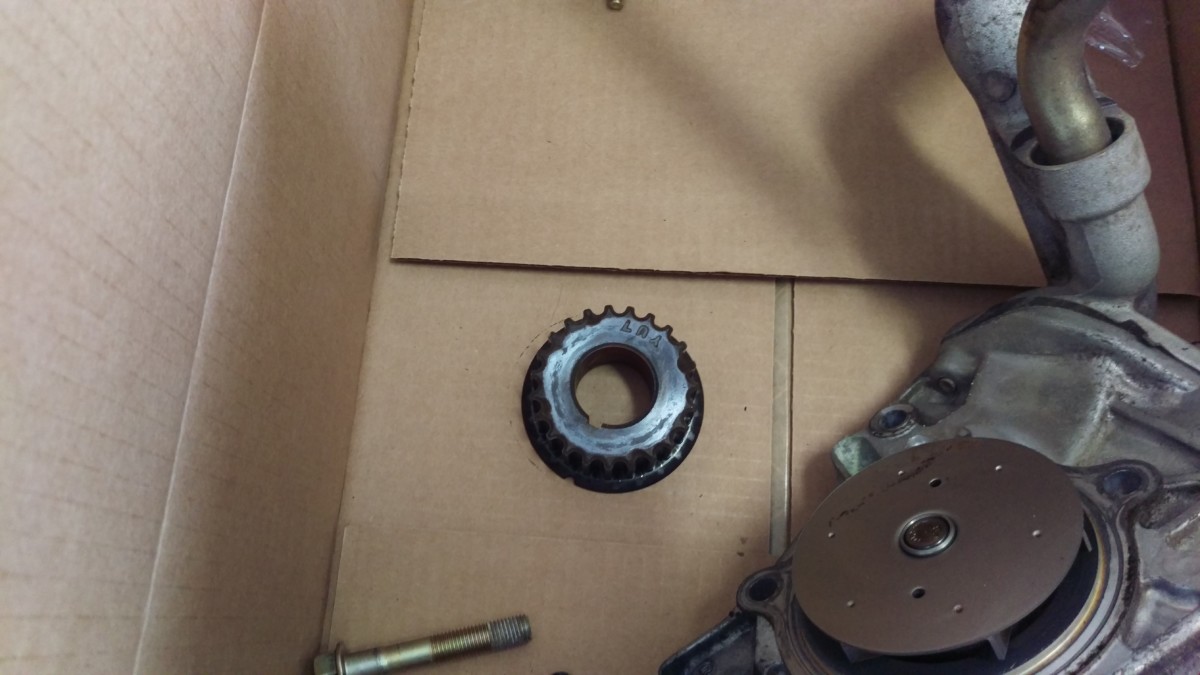
Gear in parts box
It really shouldn’t require much force to remove, the prying simply gives more leverage than my fingers would have by themselves.
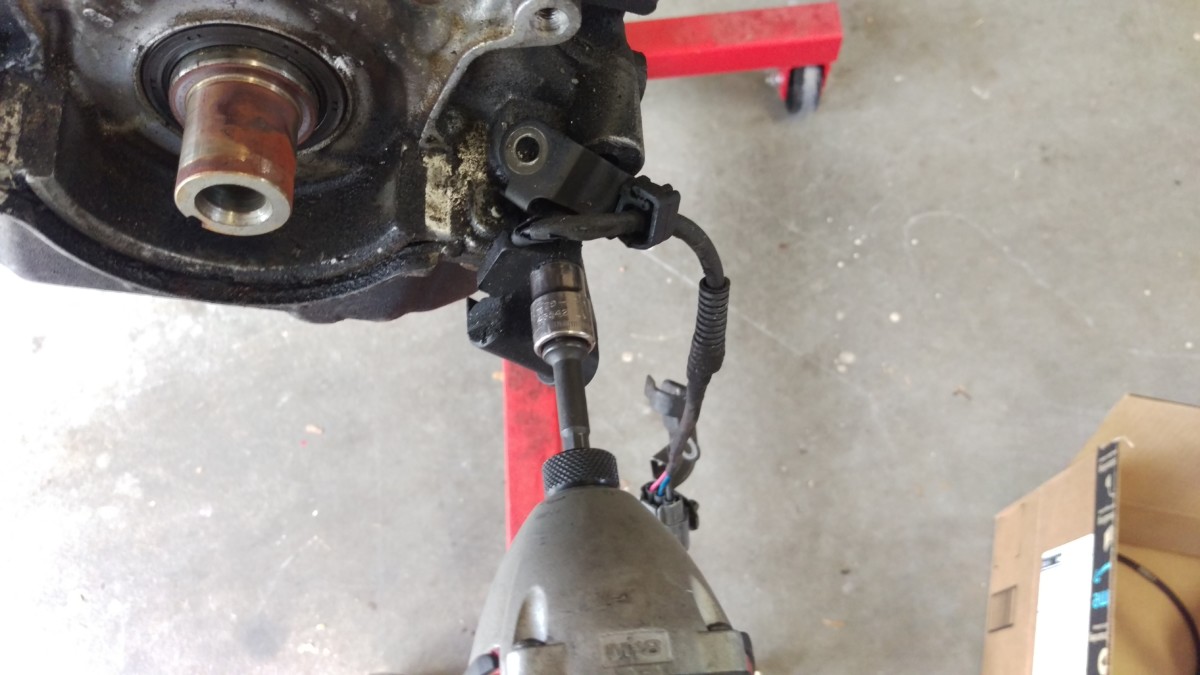
Remove the Crank Position Sensor (96+ only)
For motors used in cars from 1996 and newer, the crank position sensor should be removed. Older cars don’t use this sensor.
Other Miscellaneous Components
Knock Sensor, on 99+ shortblocks
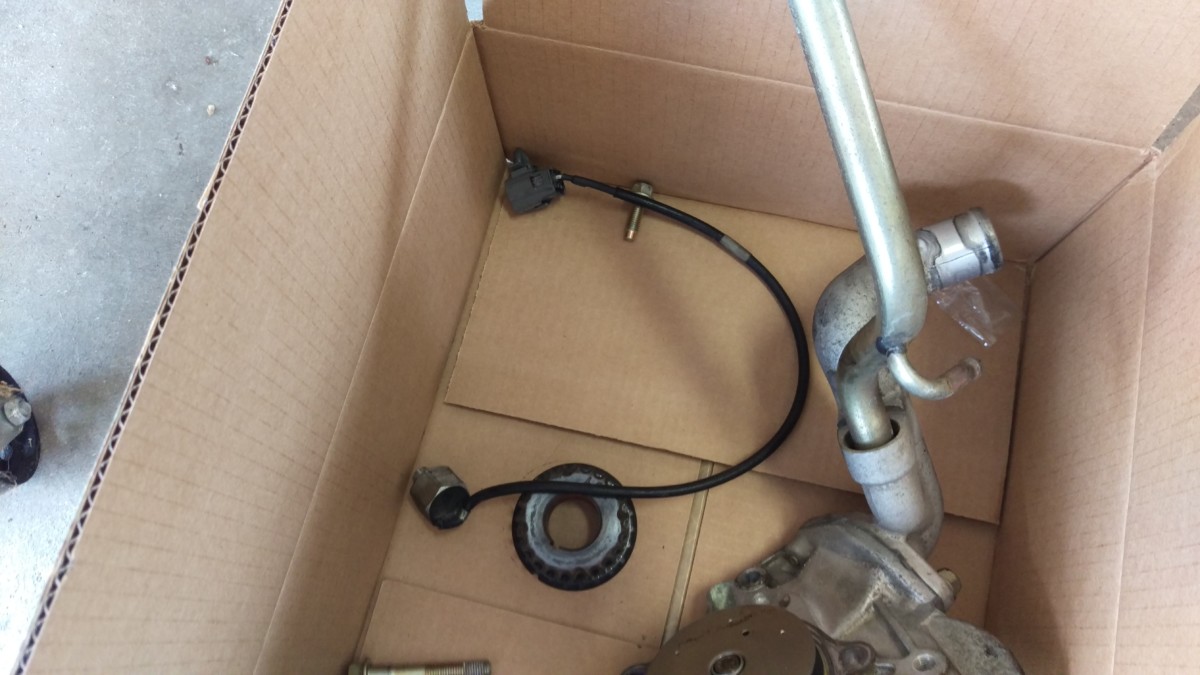
Knock sensor unplugged in box
There are a few things that should probably come off at this phase as well, since the short block is presumably being disassembled for a rebuild. 99+ short blocks will have this knock sensor near the oil filter, above the oil pressure sender. It should easily unscrew with a wrench. 97 and earlier short blocks won’t have this.
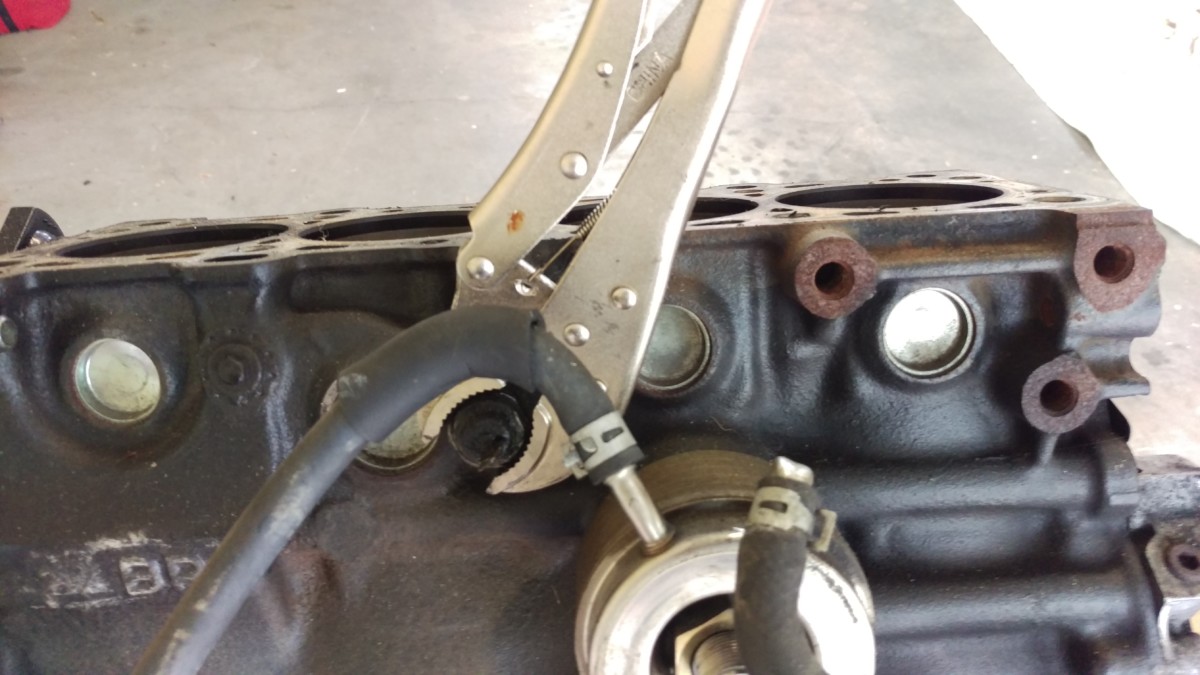
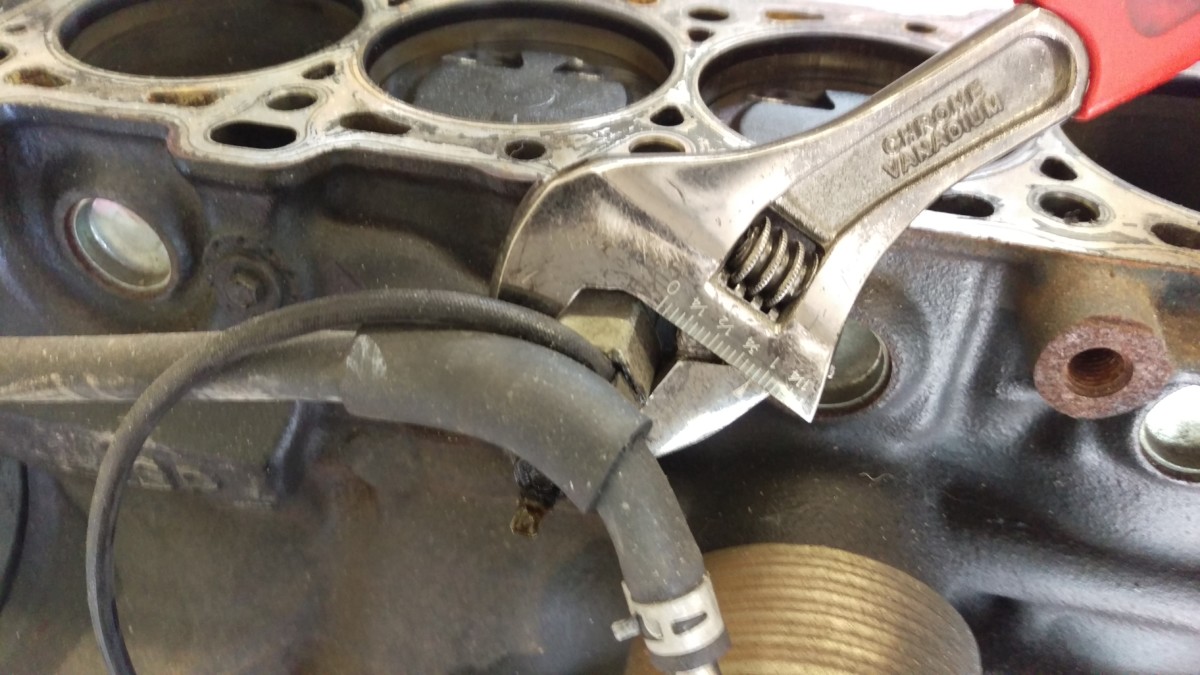
Oil pressure sender – this one was rounded already, so I removed it with vice grips
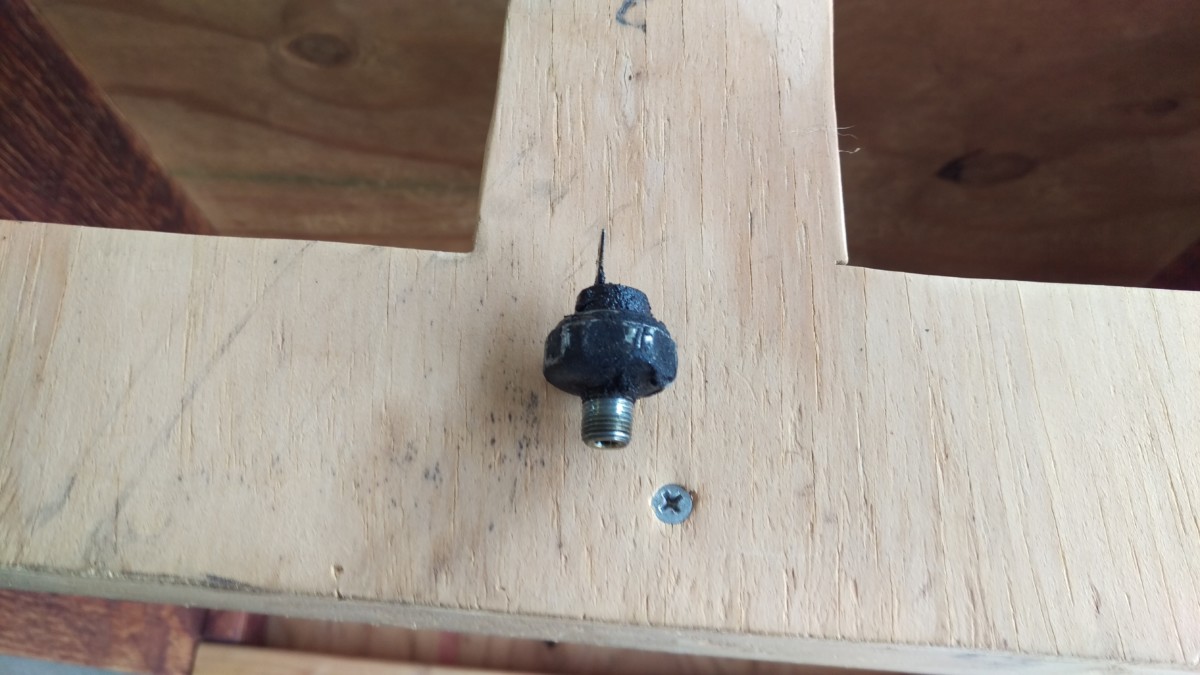
Removed
All years will have an oil pressure sender next to the oil filter. On 99+ cars, it will be below the knock sensor. This should be removed with a wrench, but on this block, the sensor was rounded off and covered in grime. 90-94 motors had a real oil pressure gauge, showing actual feedback, and those motors will have a larger-bodied grey sensor. Removal is the same in either case. The 95+ small-bodied “fake” sensors are common and worthless, as most people want to go back to the real sensor, so I didn’t worry about destroying this one.

Water neck
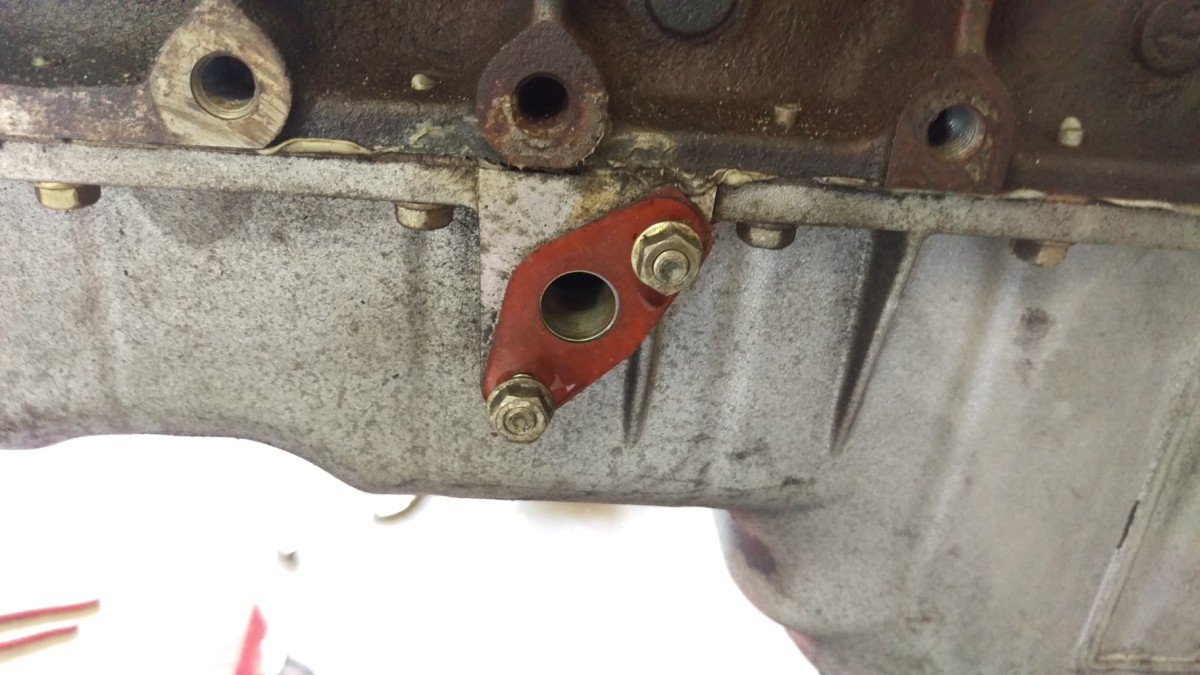
After removal, threaded nuts back onto the pan
This water neck can also be removed at this point, located on the opposite side of the block from the filter. After removal, I threaded the nuts back onto the studs to make them easier to keep track of.
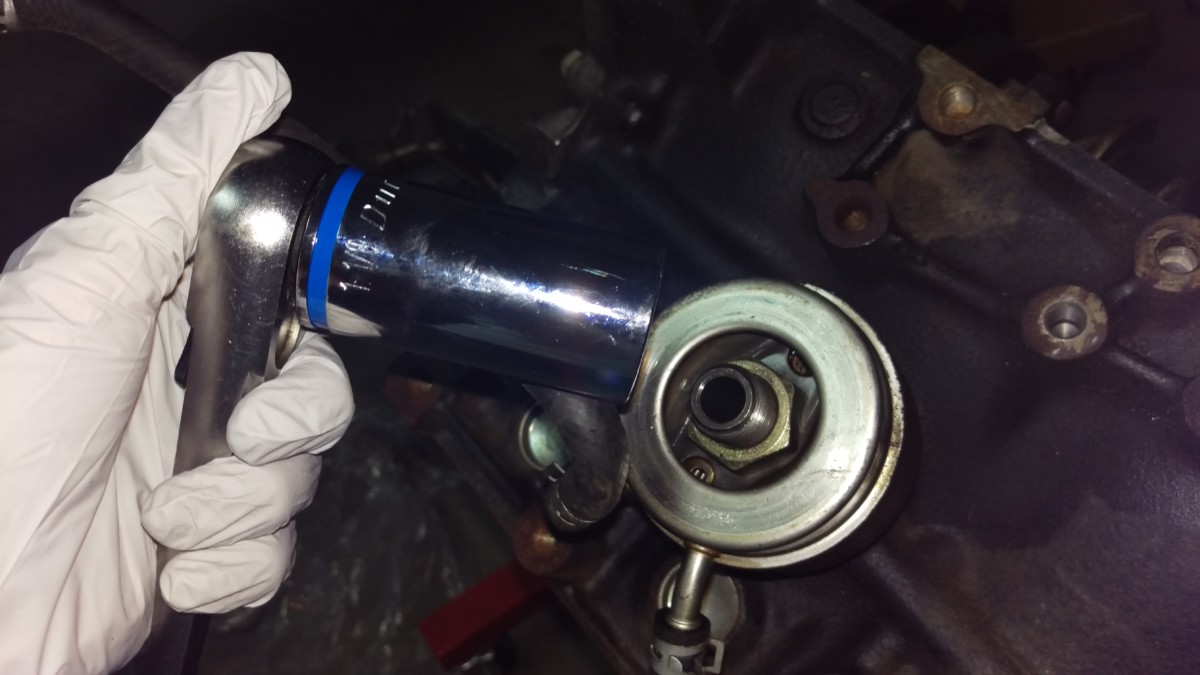
Removing the oil filter mount (optional)
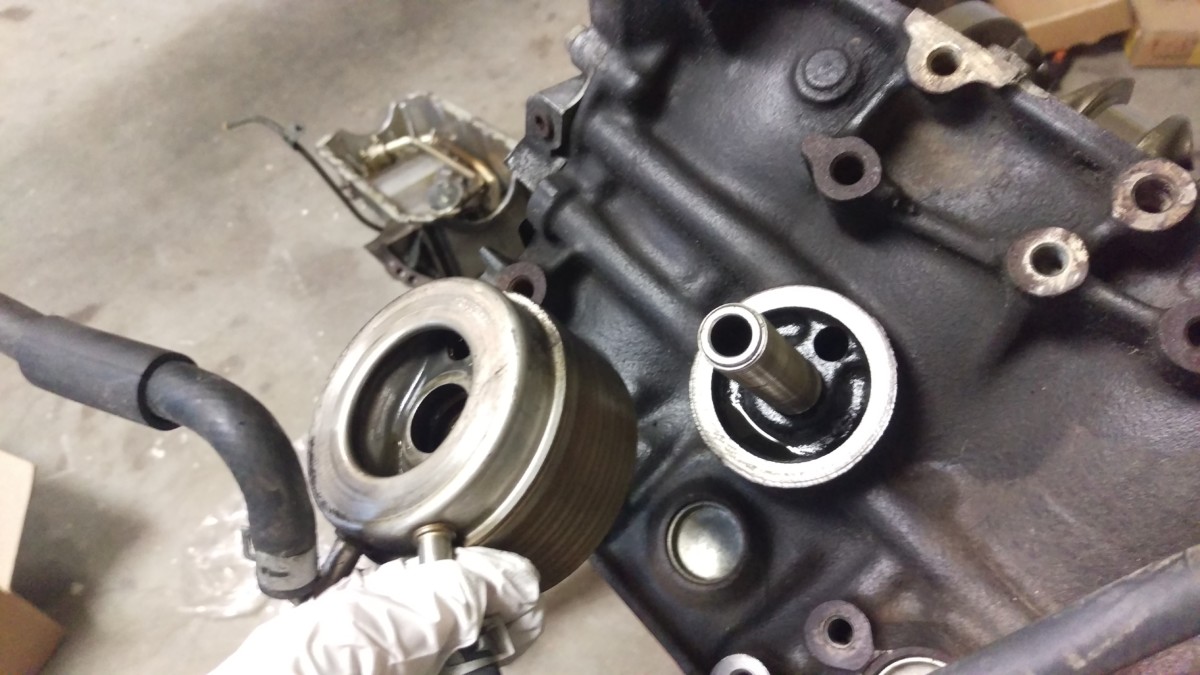
After removing the nut, it pulls off easily
Lastly, the oil filter can be removed. This takes a large 1-1/8″ deep socket, which is cheaply available at Autozone and similar stores. Once the nut is removed, the oil filter mount simply slides off as shown. I actually left this in place, because the buyer of the short block wanted to use it.
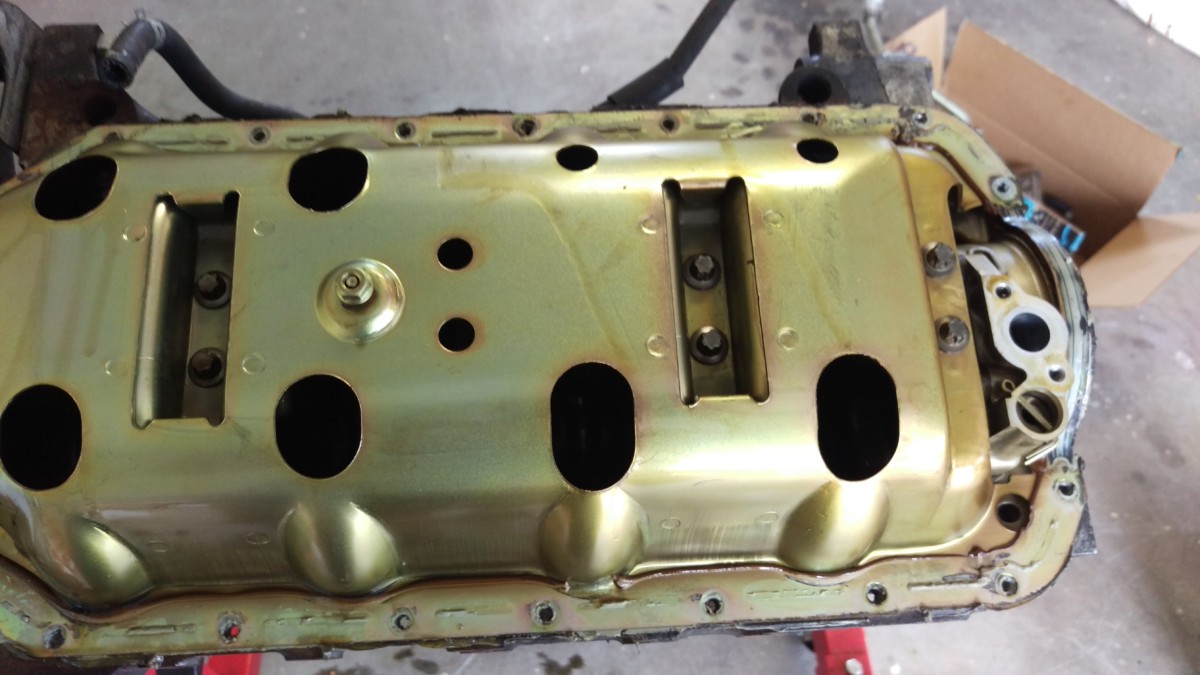
Removing the Oil Pan
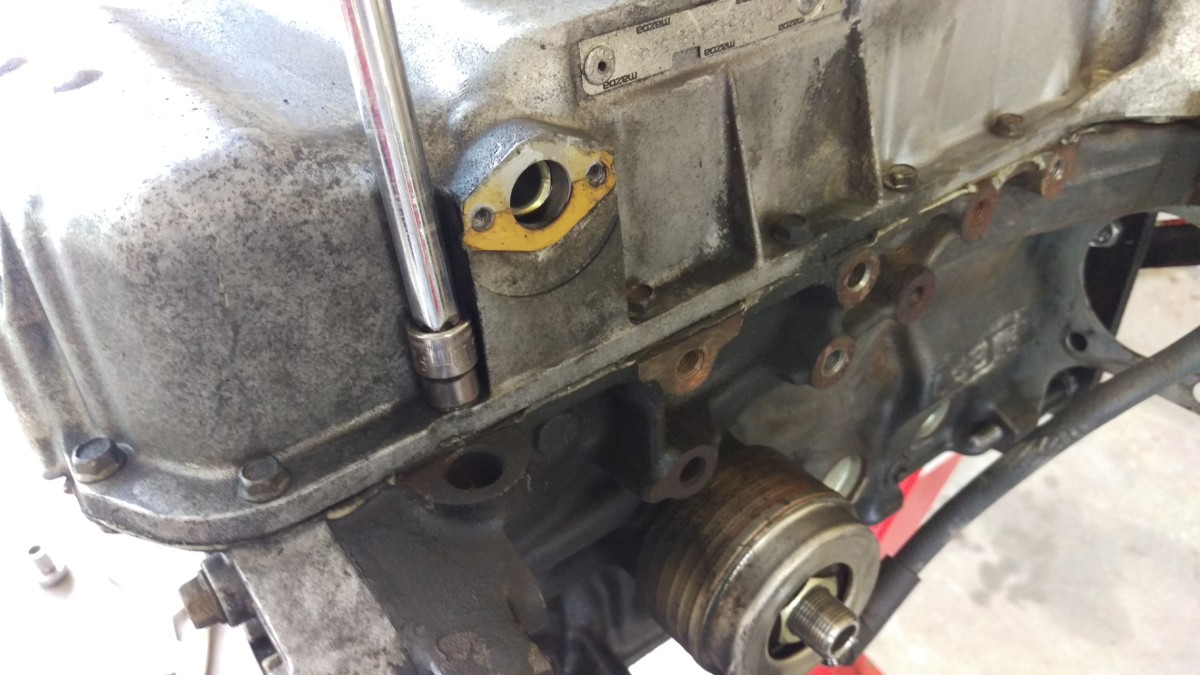
Undoing the first bolt
The next step is to flip the short block over and remove the oil pan. Hopefully you’re doing this on an engine stand where you can easily rotate it without resting the head on the ground. With the engine flipped over, remove all of the bolts holding the oil pan to the block, as pictured. You’ll want a fairly long extension for your wrench, which you can get from a small 3/8″ extension set like this
. There are several of these bolts, remove all of them.
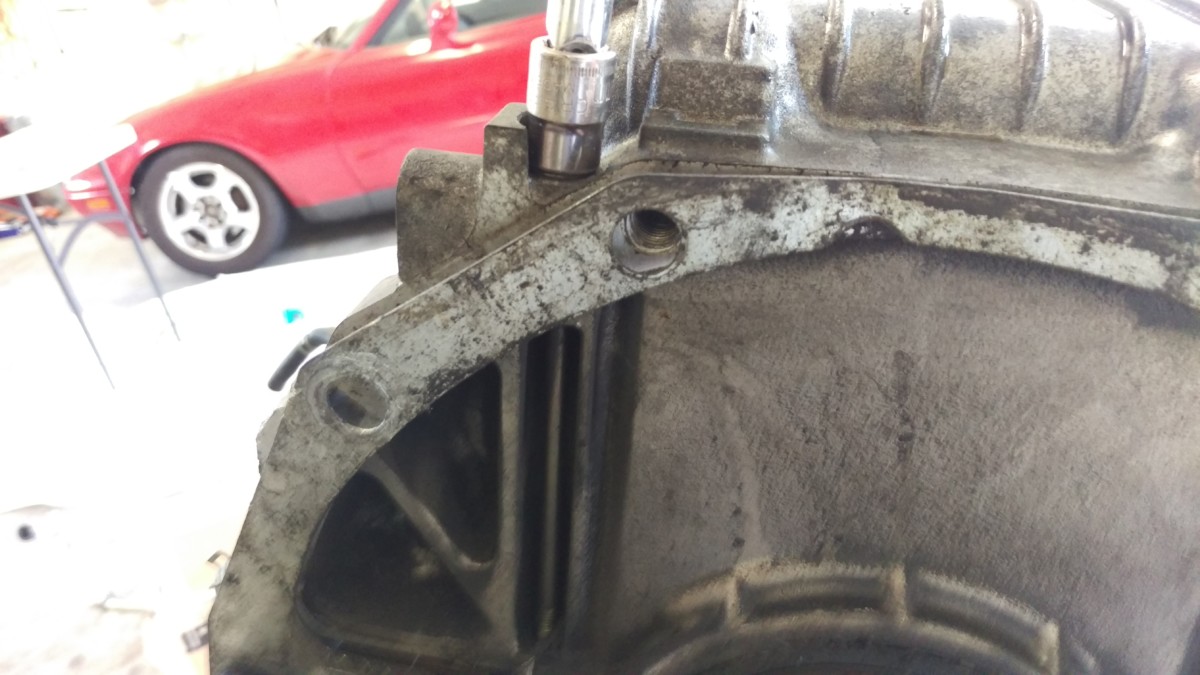
The back of the block has two longer bolts, here is one
And here is the second
There are also two longer bolts to be removed, as pictured.

Here is the resulting pile of oil pan bolts
Once the bolts are all removed, here is the resulting pile.
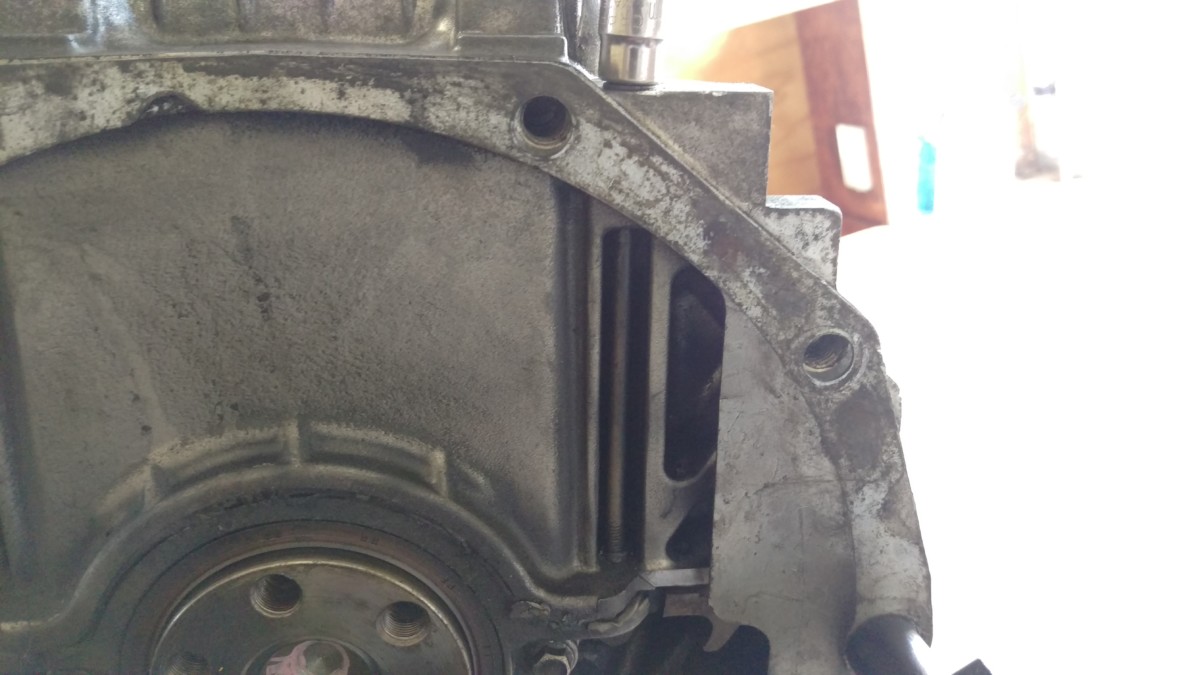
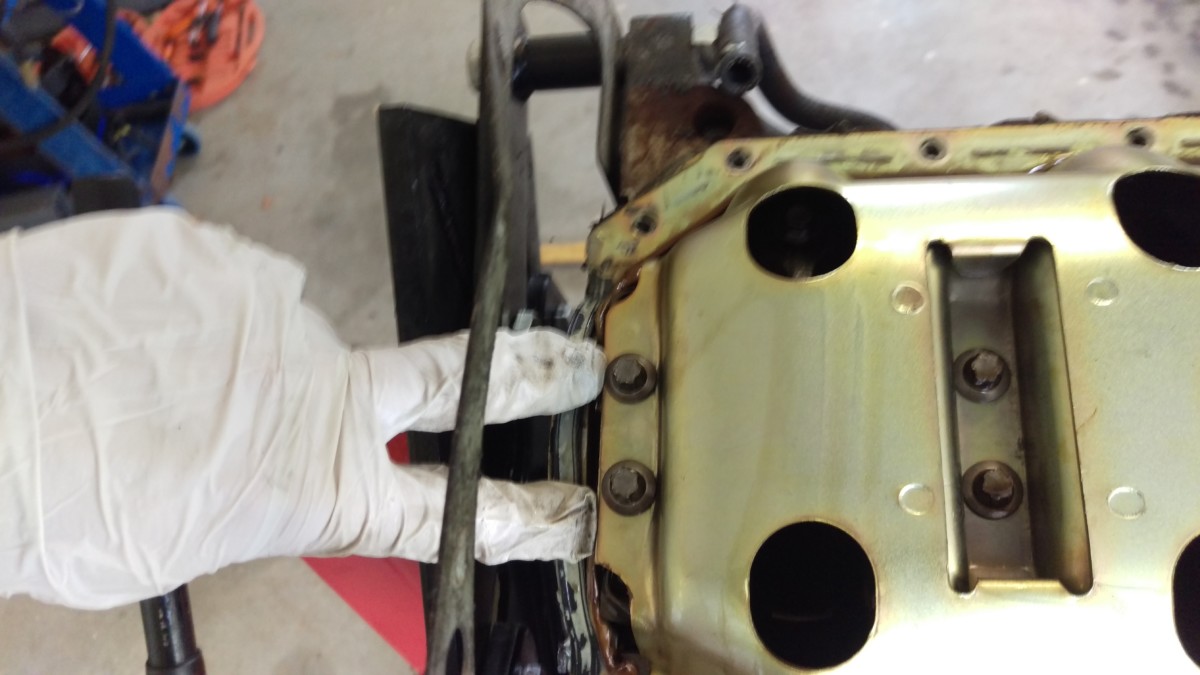
Gently pry the oil pan away from the block
Now you can gently pry the oil pan away from the block. I use this Stanley wonderbar, but any sort of pry bar will work, including a flat head screwdriver. The pictured spot at the back of the block on either side has a gap where you can use a tool like this. You don’t have to pry hard; the oil pan is going to be held on with RTV, so you’re just separating that seal.

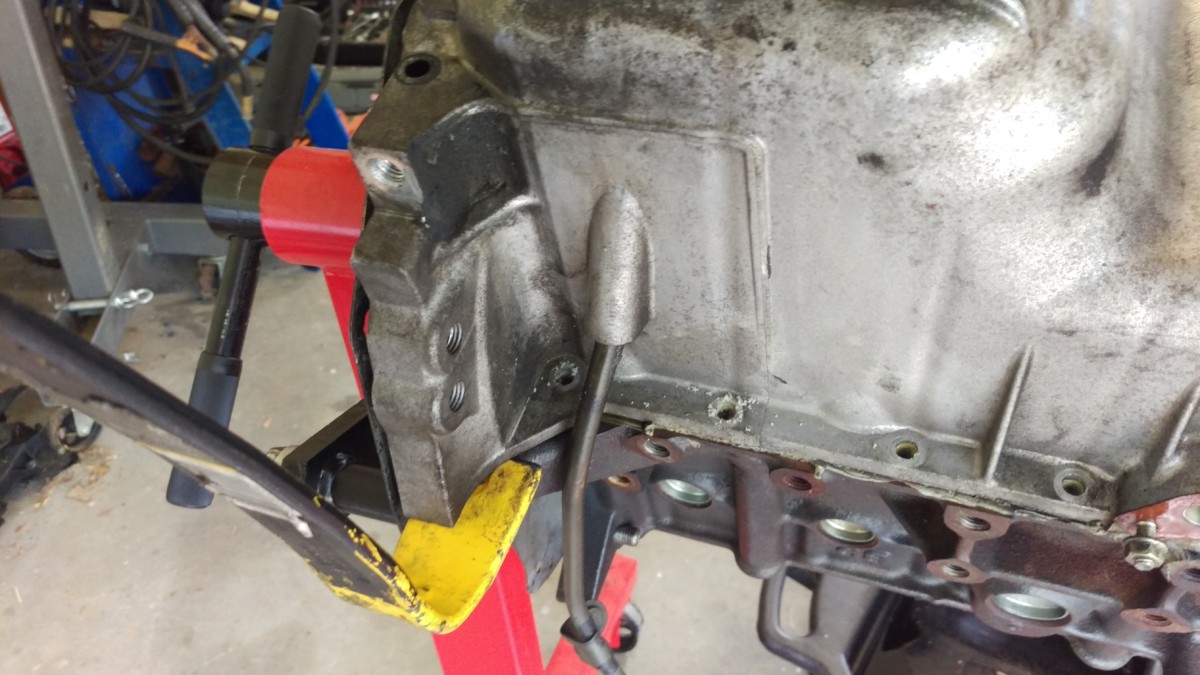
Oil pan on ground
At this point, you should have the pan removed. Here it is on the ground.
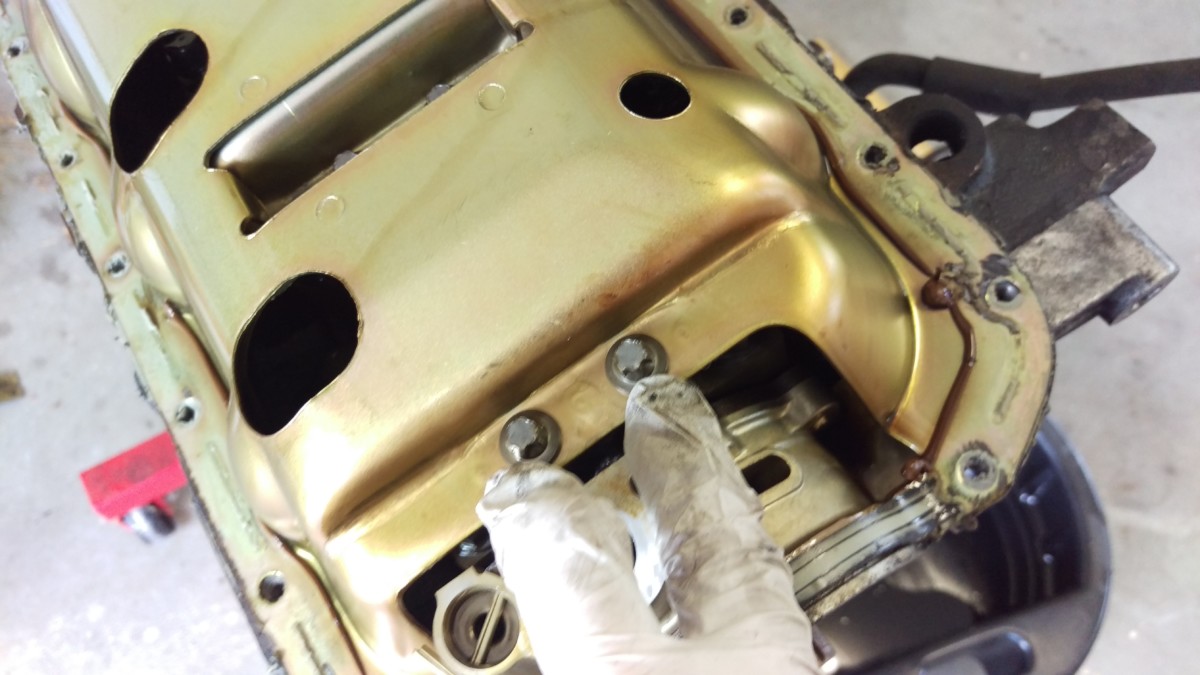
Removing internal oil baffling
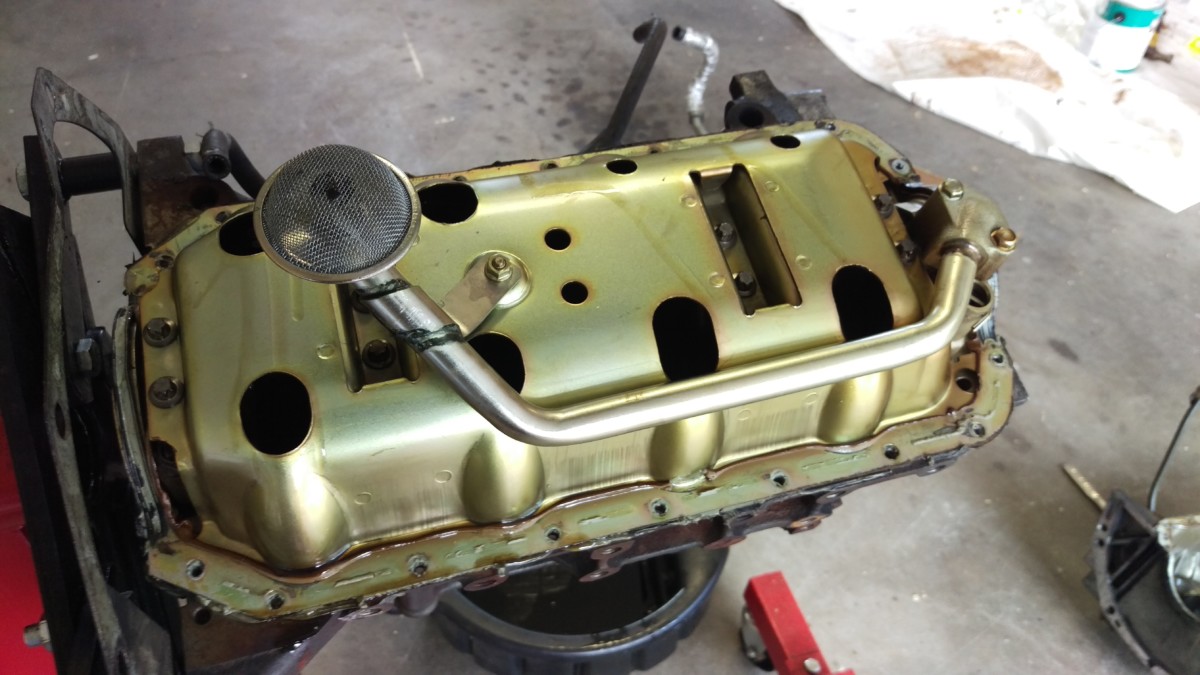
Internal baffling, I’m sure there’s a proper name for this
With the pan off, you can see this internal oil baffling, or whatever the proper name for it is. Whatever it is, it needs to be removed next.
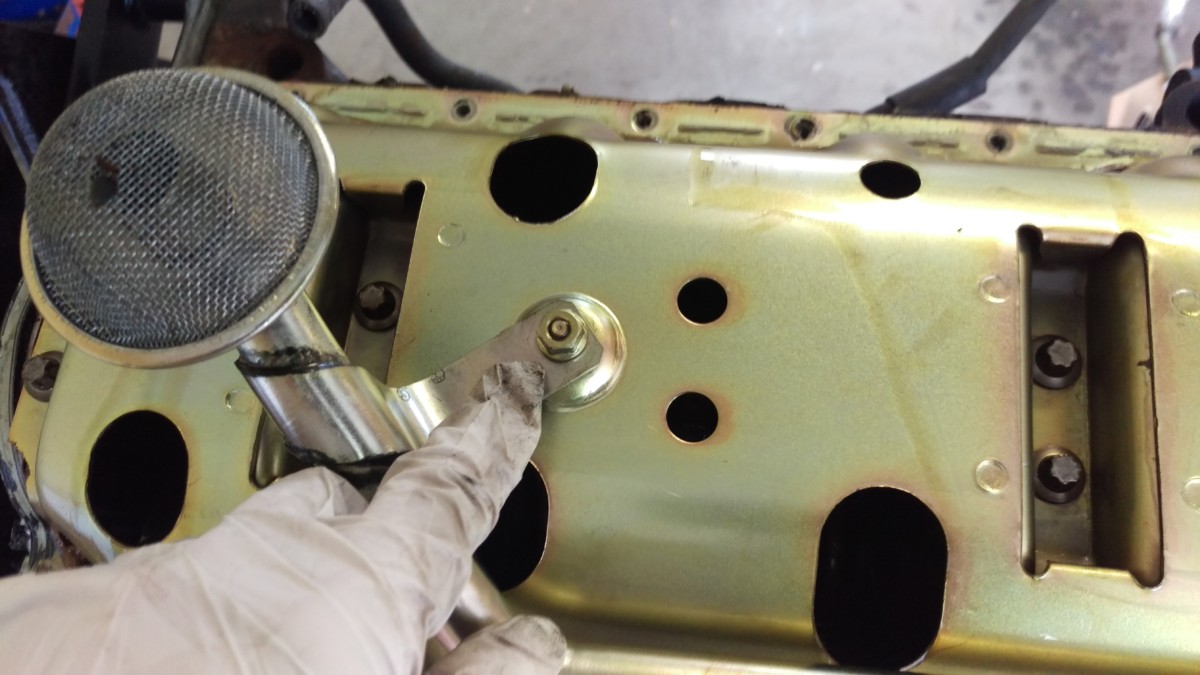
One nut
Other two bolts
These three bolts have to come out to remove this oil strainer thingy. Again, that’s the sure to be the appropriate technical term. I ain’t no mechanic.
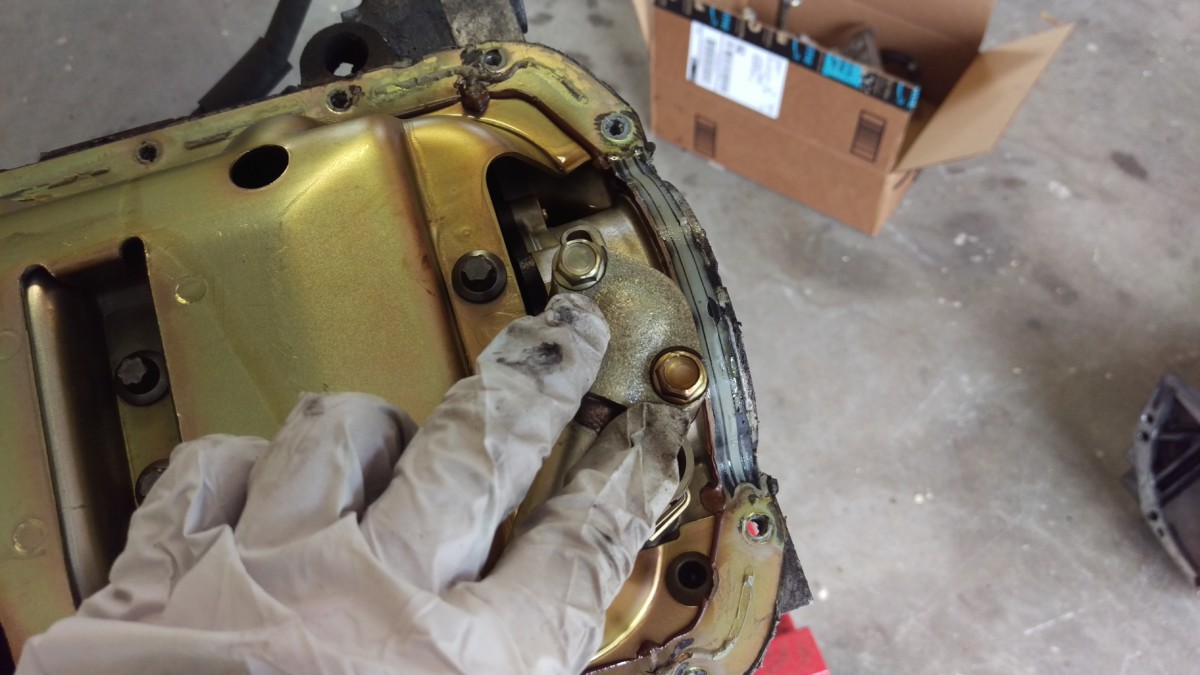
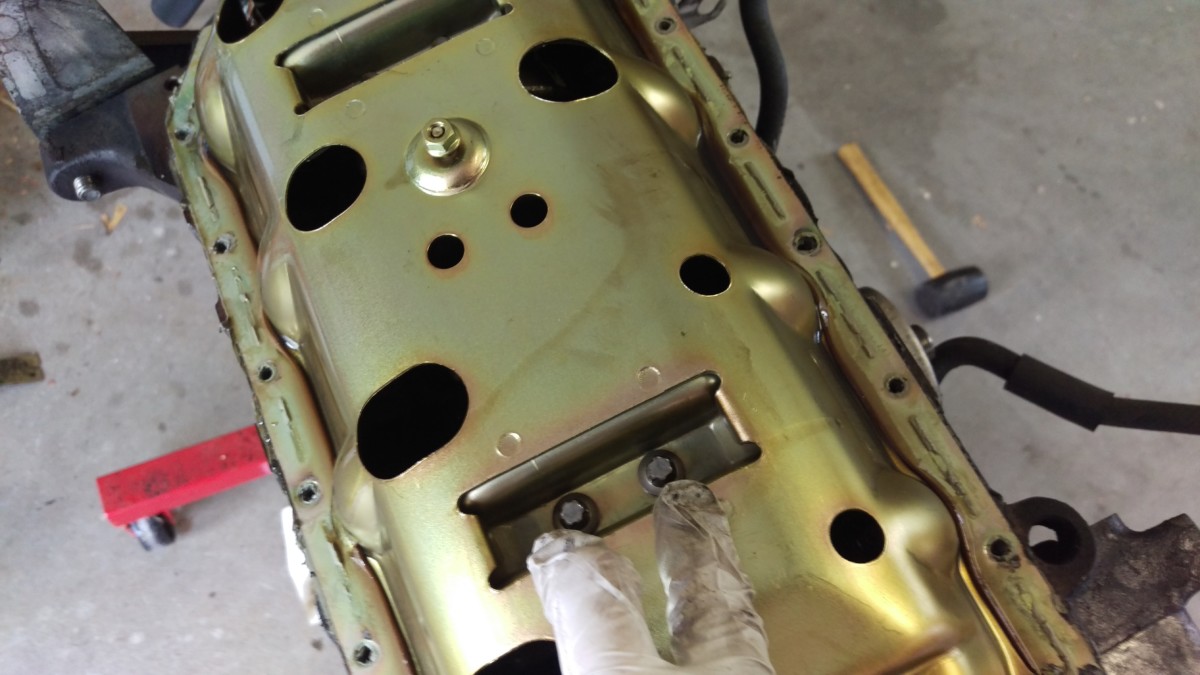
After removal
With that nut and two bolts removed, you now see this baffle thingy, ready to also be removed.
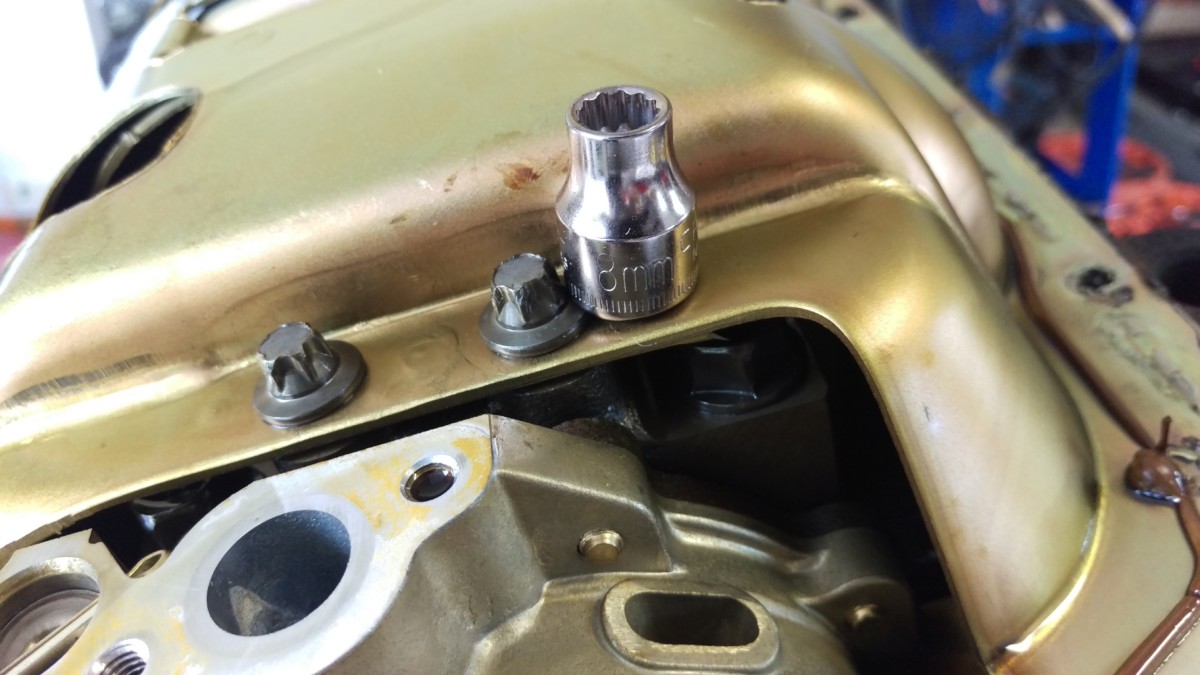
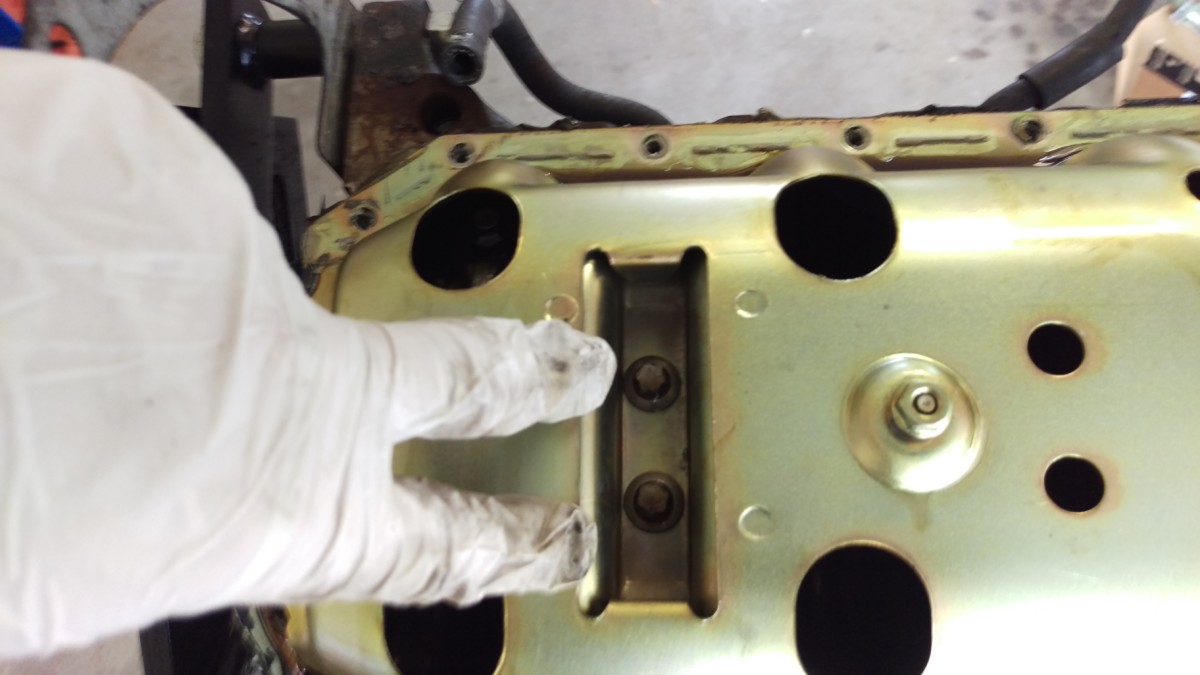
It uses these star bolts, which you can remove with an 8mm 12-point socket
This baffle uses these star bolts. I found I can remove them with an 8mm 12-point socket. It didn’t seem to cause any damage, although I’m sure there’s a more appropriate bit to use out there.
There are 4 pairs of bolts, this is the first pair
Bolts 3 and 4
Bolts 5 and 6
Bolts 7 and 8
This baffle is held down by 8 of these little star bolts total. They’re located as pictured, along the bearing housings underneath.

After removal, engine internals are exposed
Once those are out, the engine internals are fully exposed.
Removing the Pistons and Rods
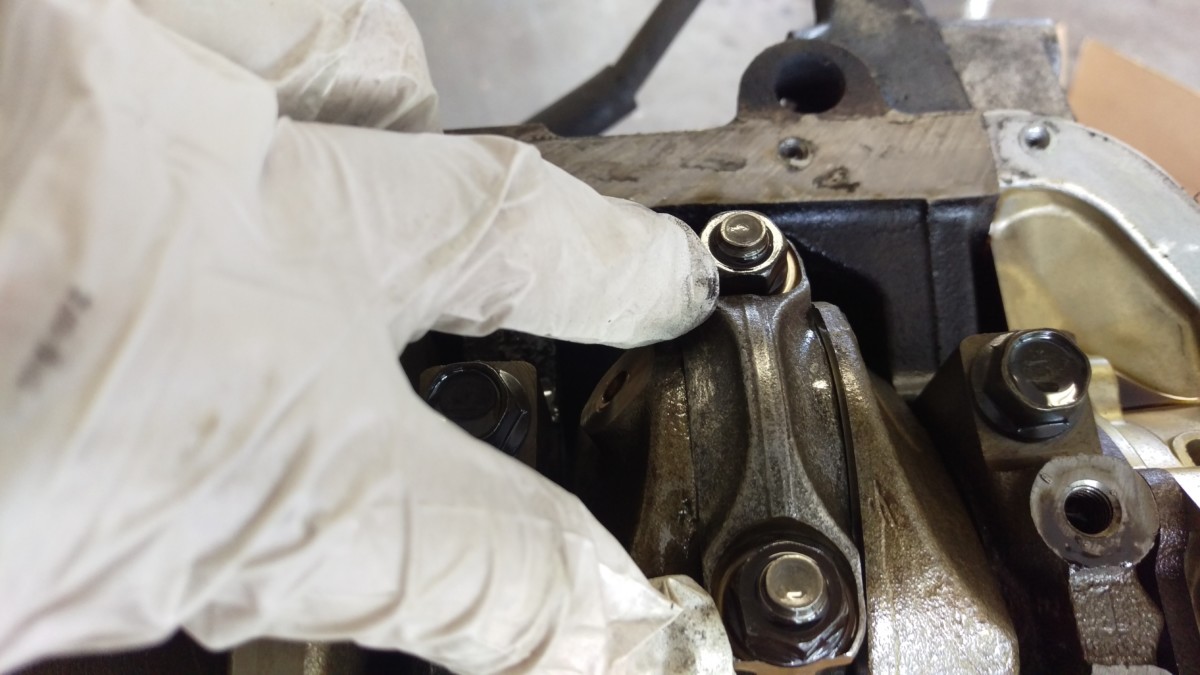
Rod cap on the end of the first piston
Each of the four pistons is connected to a connecting rod, which bolts around the crank shaft. The rods have a cap, pictured, holding them in place. The next step is to unbolt the rod cap and pull it off to free the piston. These two nuts should be removed. I removed the two outside pistons first, 1 and 4, because they were at the top and easiest to access.

Both nuts removed
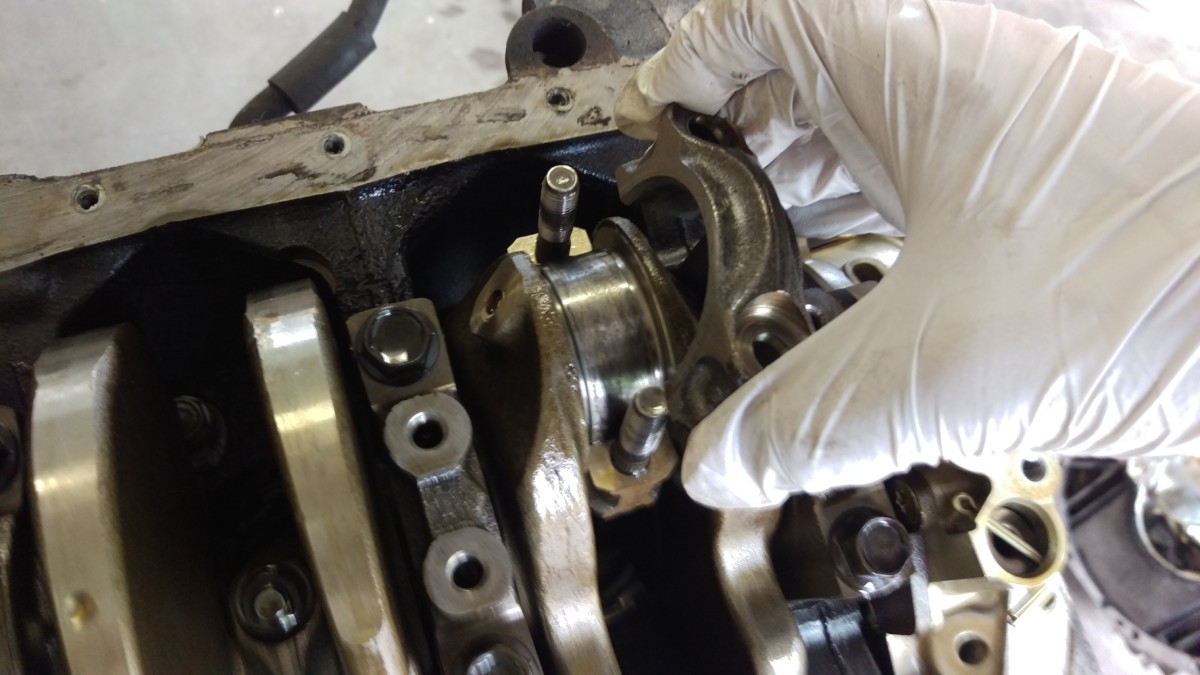
Cap wiggled off
With the nuts holding the cap unbolted, it can be gently wiggled off. The rod bearing under the cap will come free at the same time, so be sure to keep track of it.

The piston can be pushed out through the top of the block
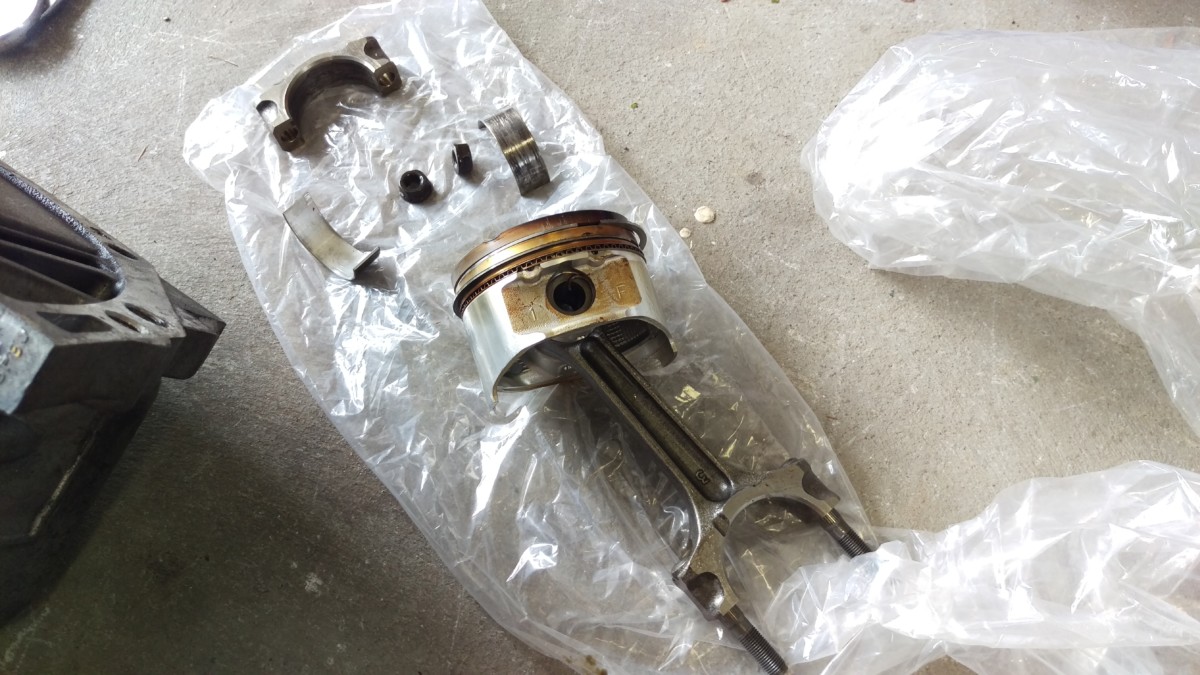
The piston after removal
Once the piston is removed, it can be pushed down out of the top of the block. Here’s a picture of it partway out. The piston rings will provide some resistance, but it isn’t too difficult to move. I’m not sure if this damages the cylinder walls, pistons, or rings, but I’m assuming you’re disassembling the engine to be machined and rebuilt with new pistons, rods, and rings. In that case, like with this engine, it doesn’t really matter, since the whole block will be checked over anyway.
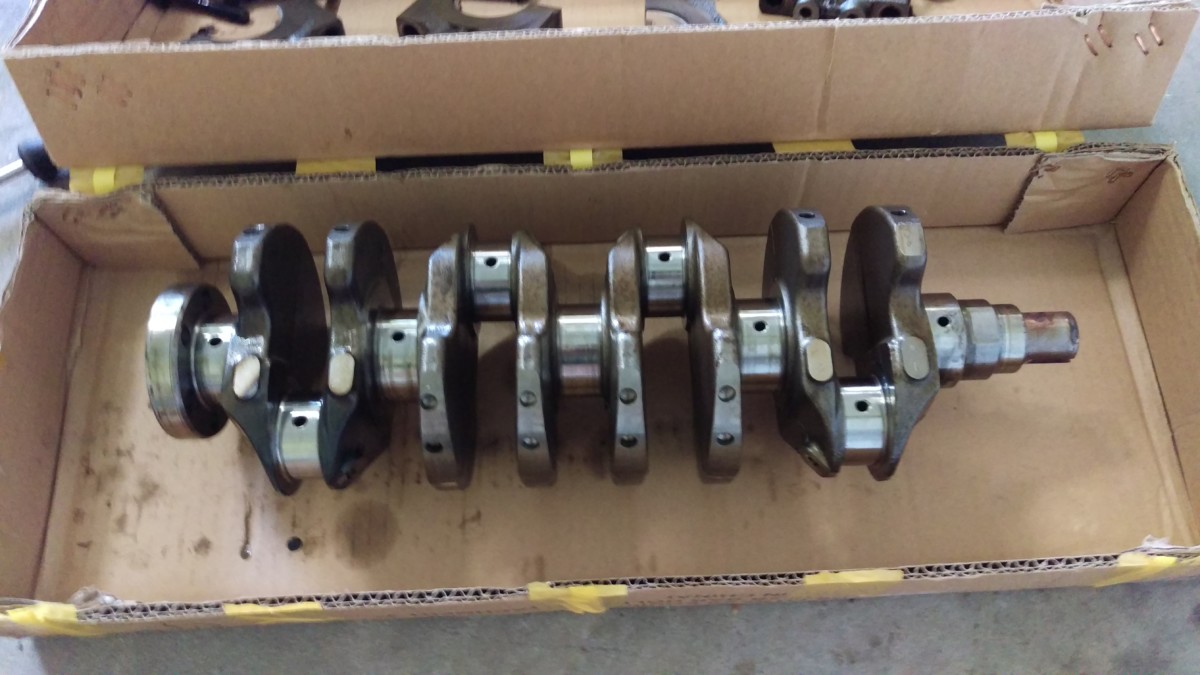
All four pistons and rods removed
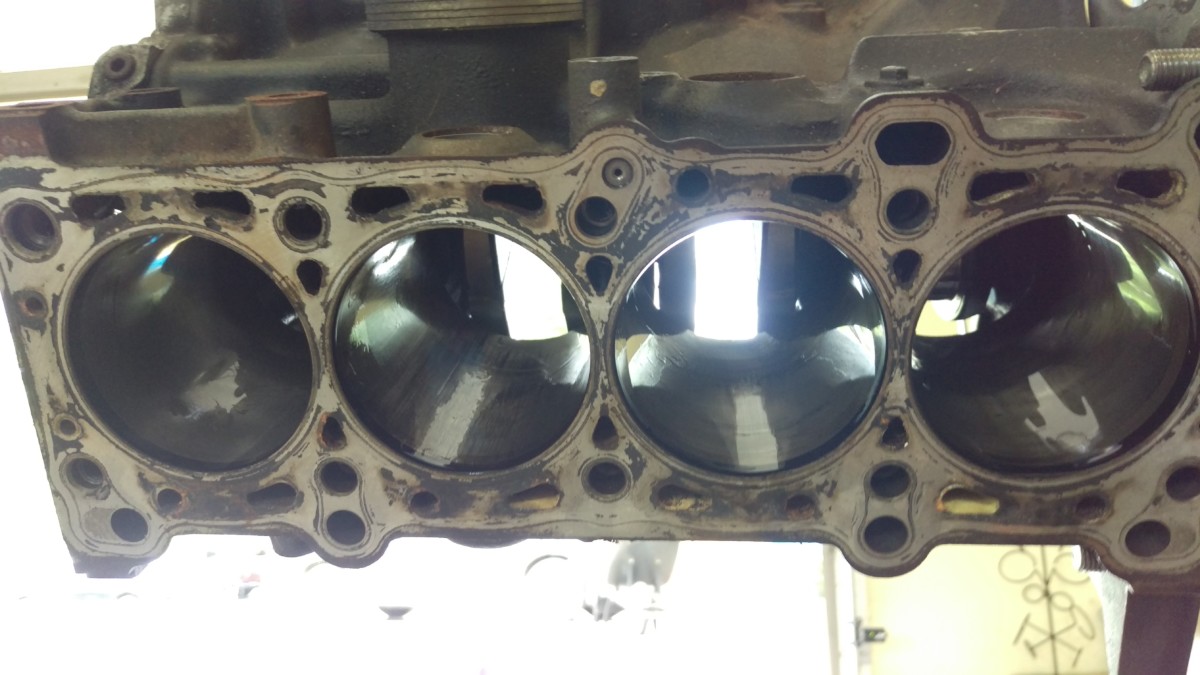
View from the top of the engine
Once the two easier-to-access pistons are removed, you can either remove the other two as they sit or rotate the crank by hand to make them easier to get to. The procedure for removing the inner pistons and rods is the same. When you’re done, you’ll have the bare crank shaft with four rods and pistons removed, along with 8 rod bearing pieces.
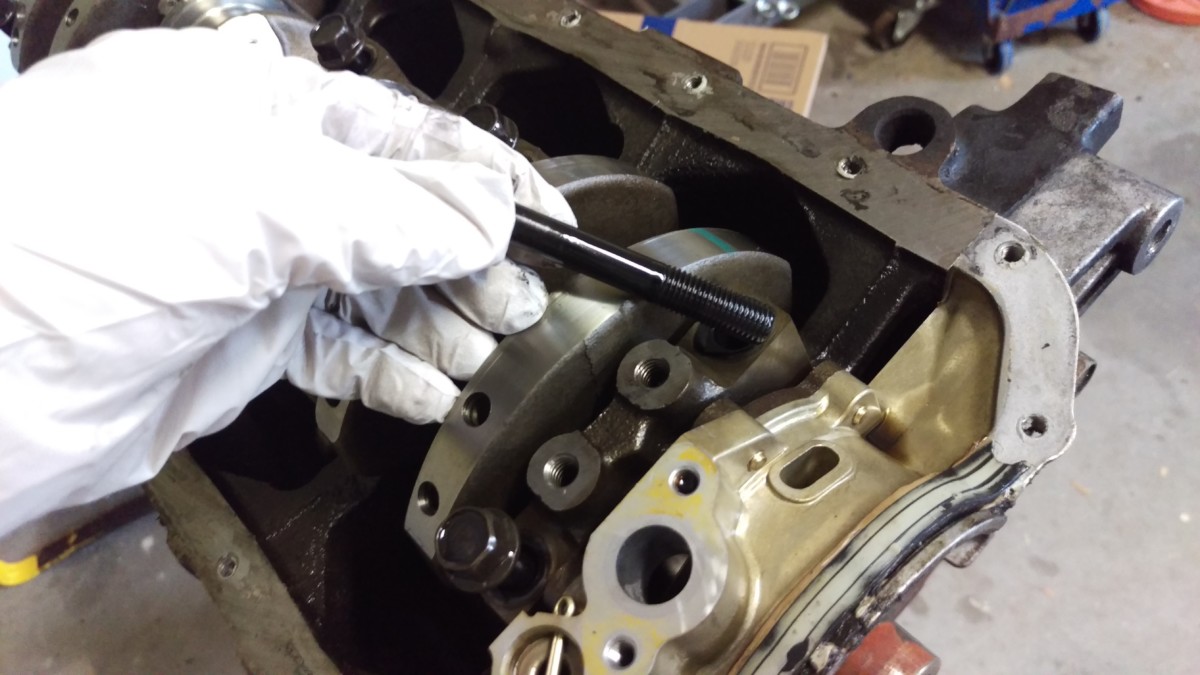
Removing the Front and Rear Crank Seal Holders
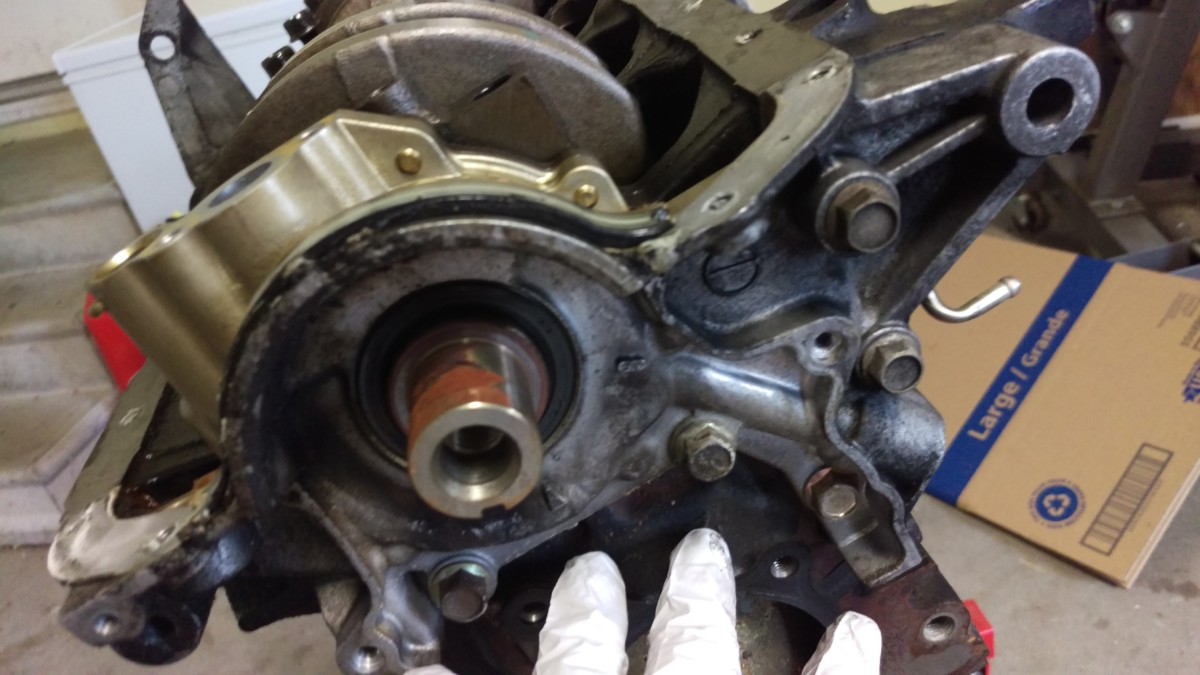
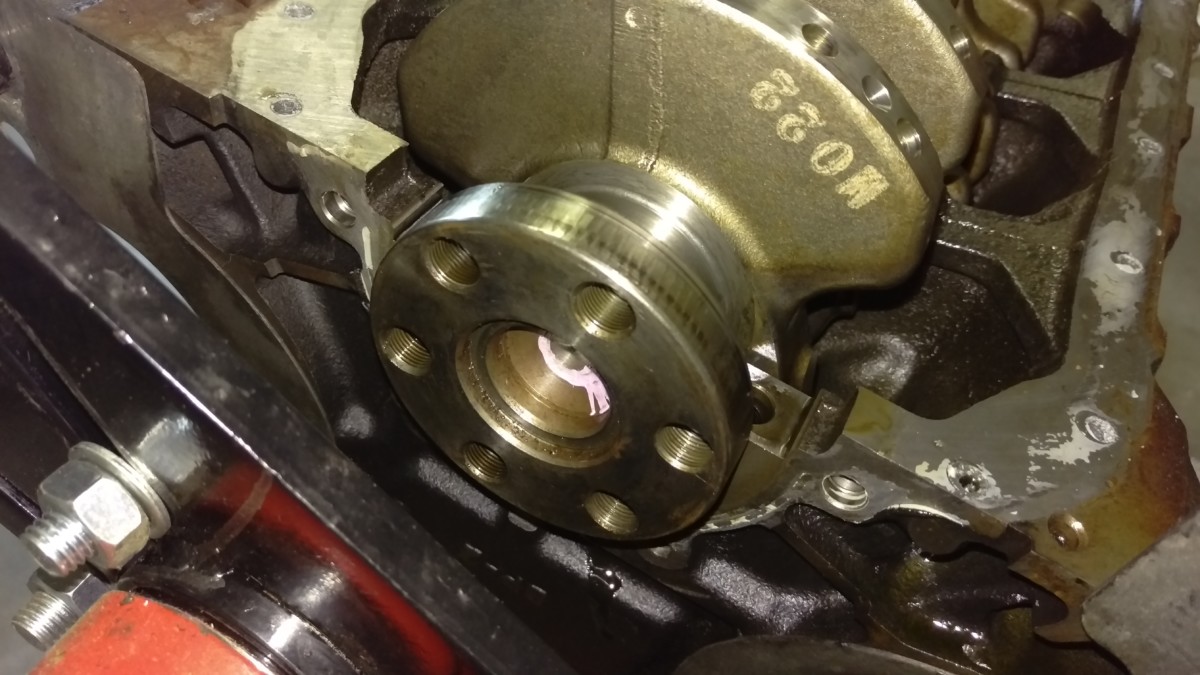
The front crank holder thingy

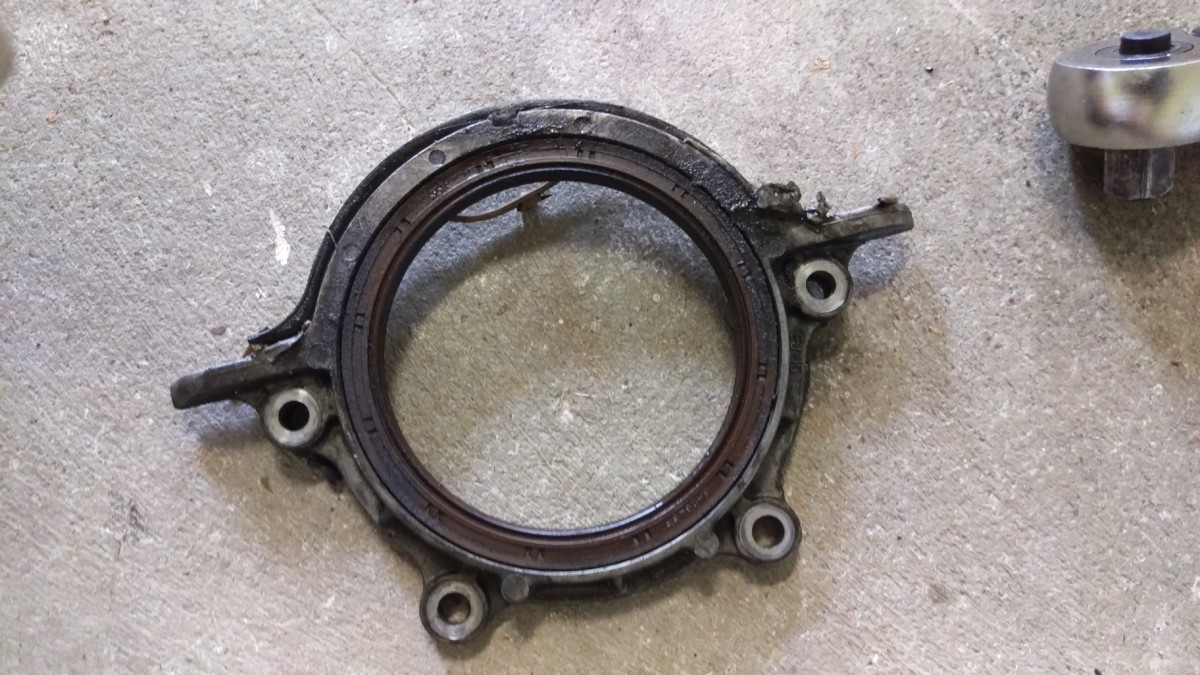
Rear crank holder thingy
The crank is held in by the main caps and these two end holder thingies. Again, I don’t know the technical term. In any case, it’s easy enough to remove these first. They hold the front and rear main seals in the correct place on the crank. They simply unbolt and slide off.
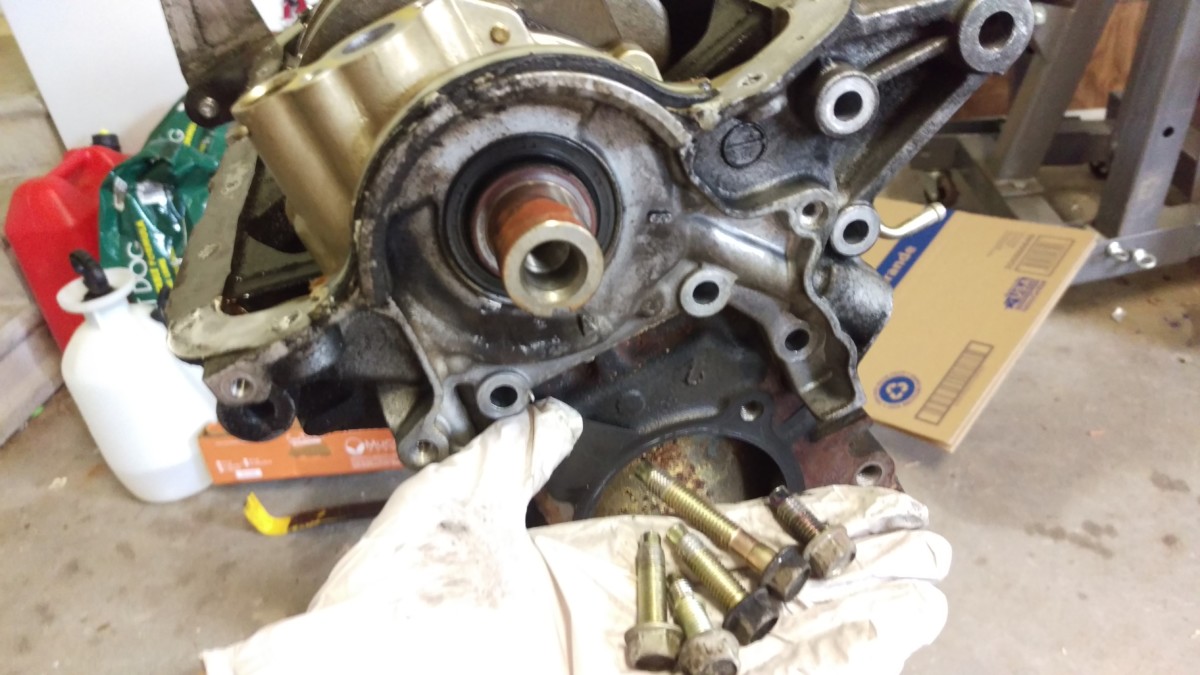
Front unbolted
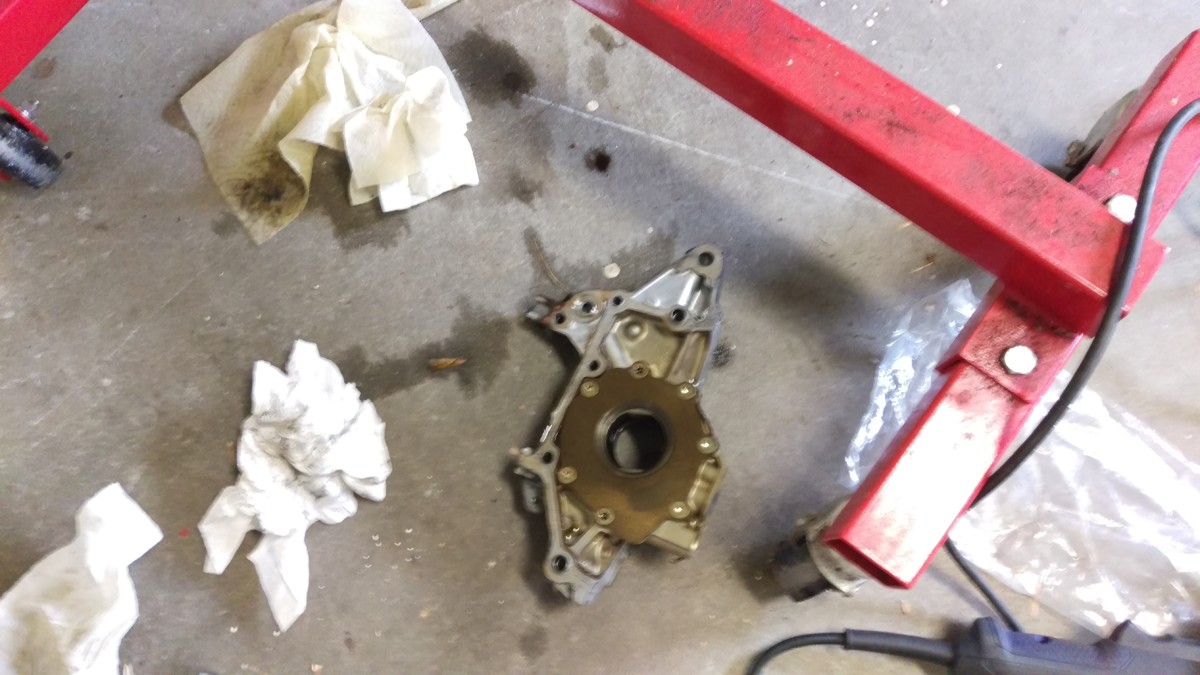
Front on the ground

Front holder removed
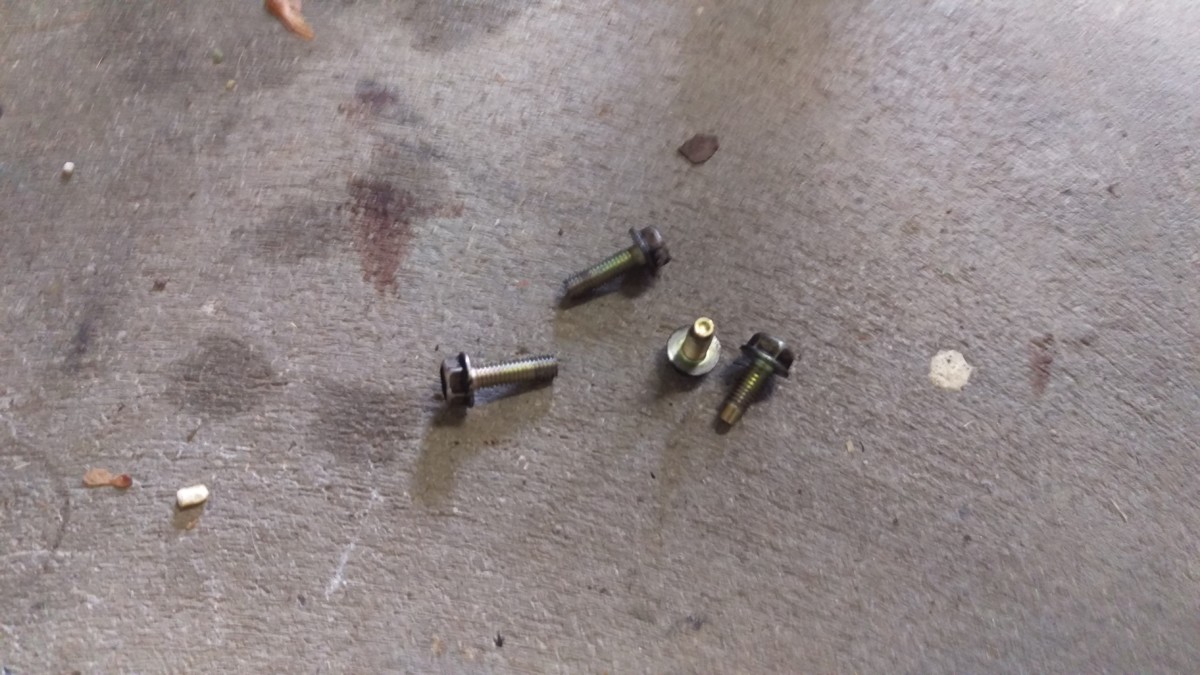
There are five bolts for the front holder. The bolts are in three different sizes, so make sure you remember which one corresponds to which hole.
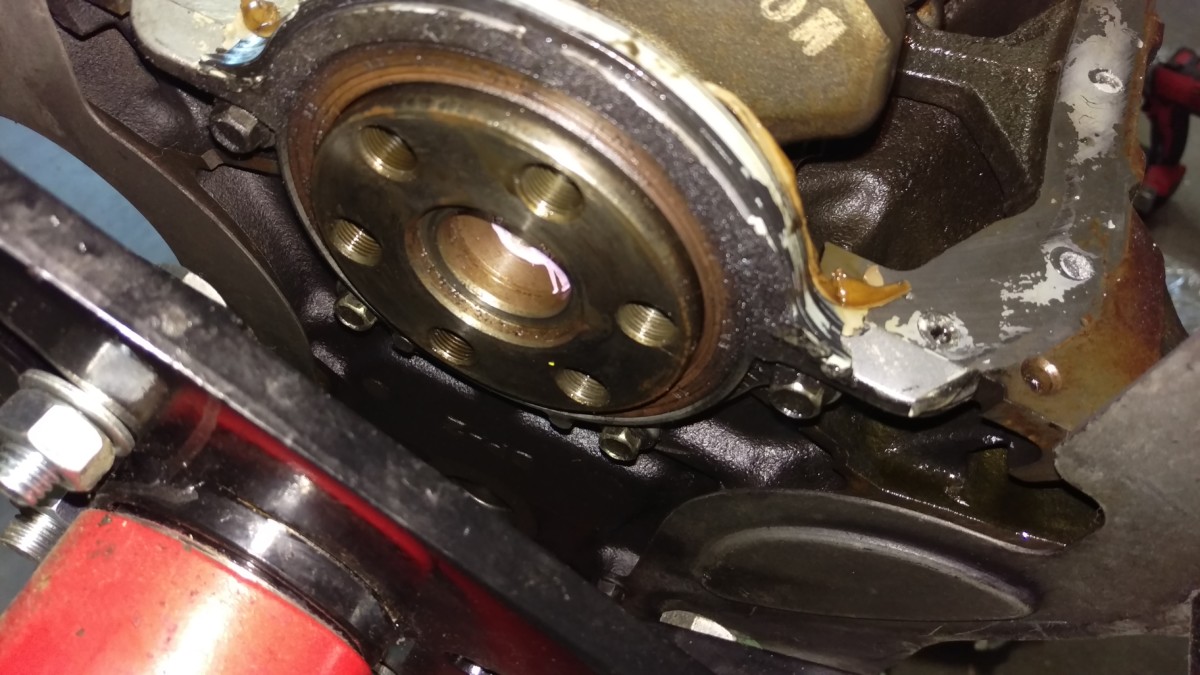
Rear holder
Four bolts removed
Removed and on floor
Crank free
The story is much the same for the rear, except it only has four equal-length bolts.
Removing the Main Bearing Caps
Main caps have two long bolts

Main cap pulls off after unbolting
The main caps come out much like the rod bearings, the difference being that the bolts are longer. With the two bolts removed, the cap can be wiggled free. There are also main bearings around the crank, so again be sure to keep track of these as they come out. You can rotate the crank as needed to get access to the bearing caps.
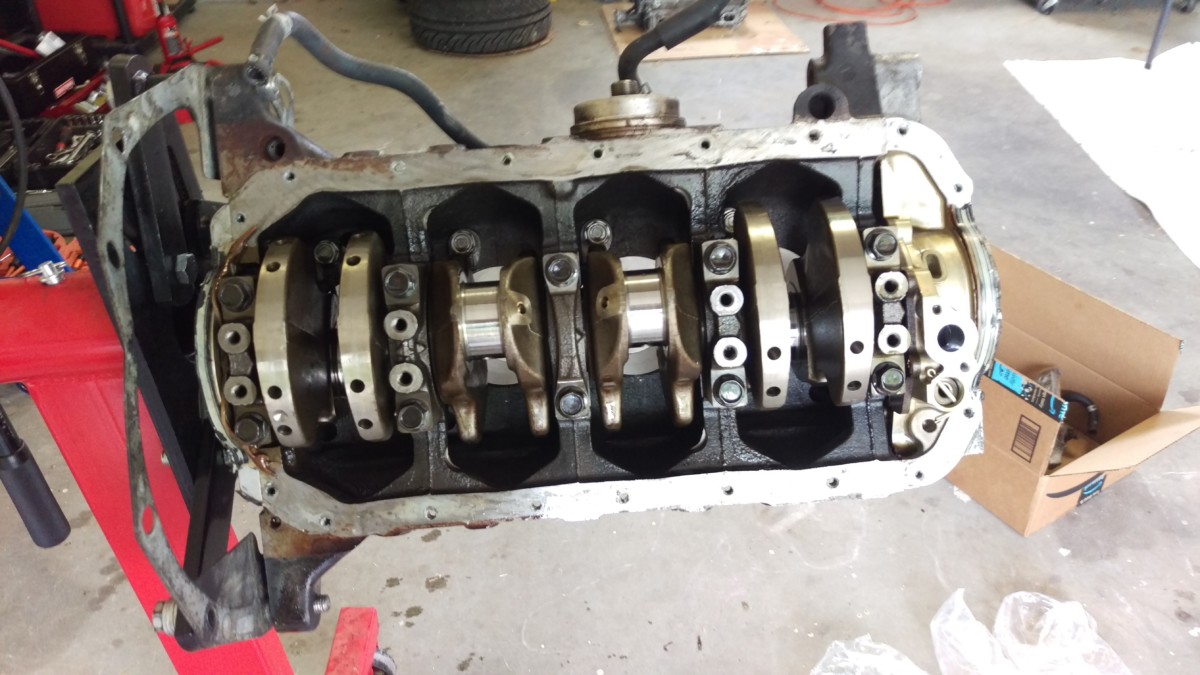
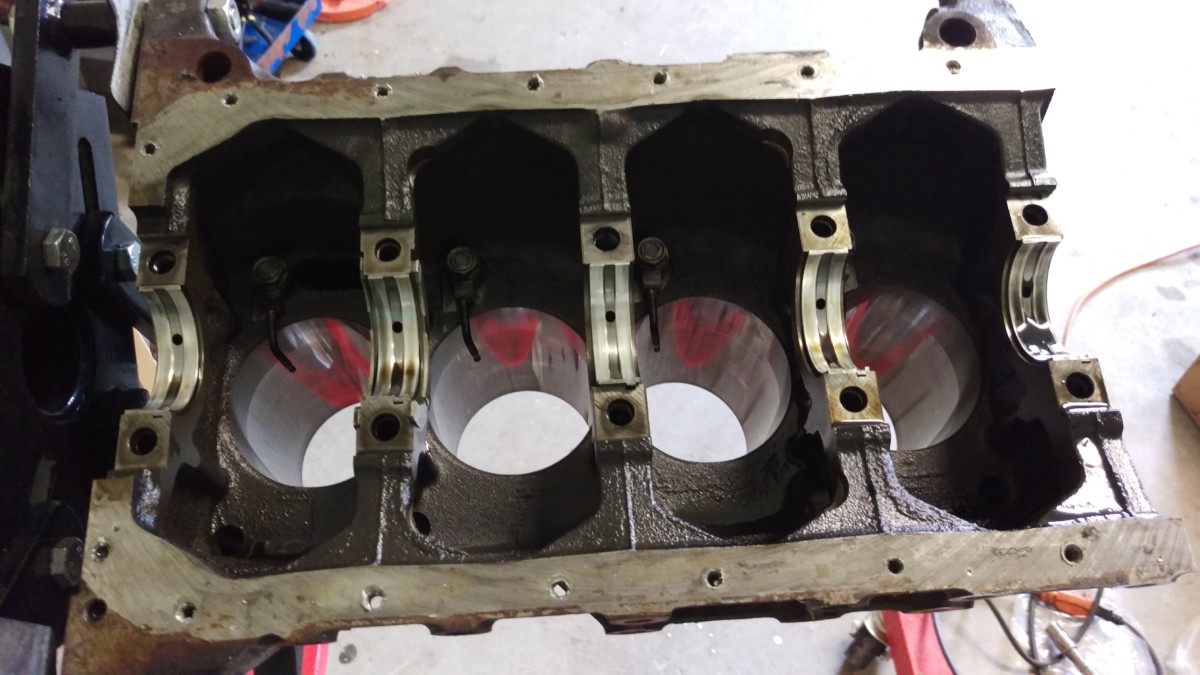
All the main bearing caps are removed
There are five main bearing caps in total, as they surround the pistons. Here’s a picture after they’re all removed.
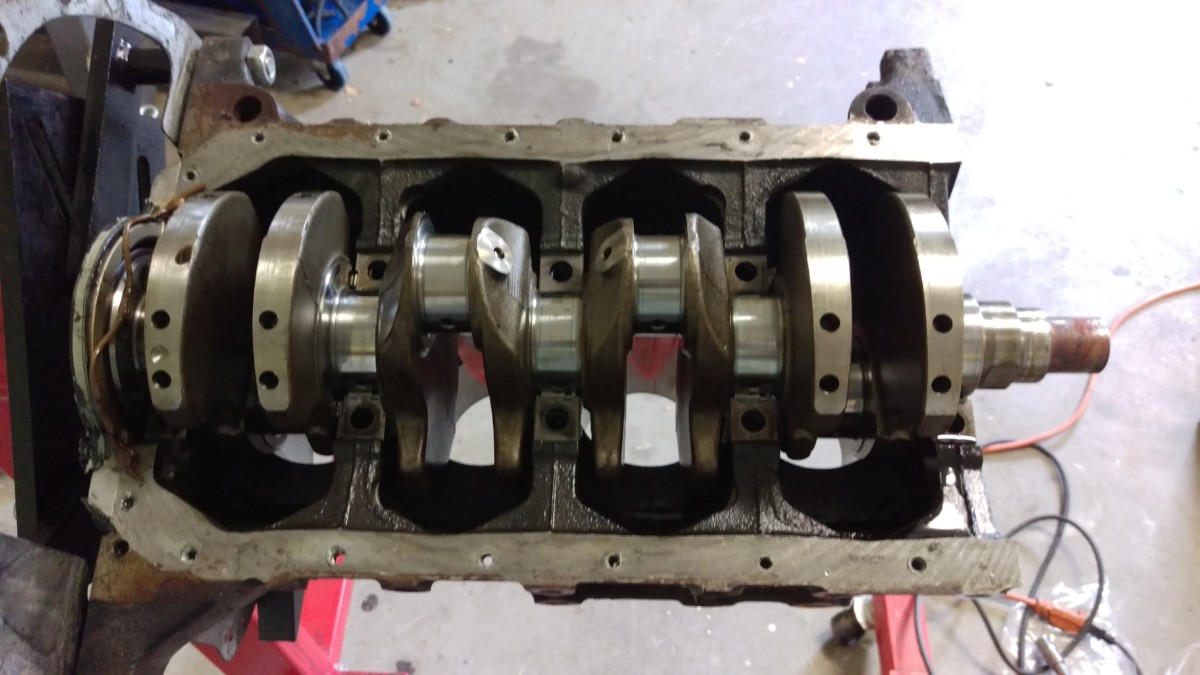
Finished
Crank lifted out of block
Bare block
At this point, the crank simply lifts out of the block, and the job is complete. Underneath the crank will be the remaining 4 bearing pieces, so be sure to pull those out as well. This would be a good time to inspect everything for damage, under the assumption that there’s a reason for disassembling the block. In the case of this engine, the rod bearings looked shot, but otherwise everything appeared okay.