Lower Balljoint Replacement on a Scion Tc
A pretty bad pothole was hit, the perpetrator shall not be named. It was the final nail in the coffin for the passenger side lower ball joint, so it was time for a lower balljoint replacement on the Scion Tc. We knew the alignment was out as a result; when we used our lifetime alignment to get that fixed, they pointed out the balljoint being bad. Sure enough, when I got it home, I was able to put the front of the car on stands and verify somewhat gently with a pry bar that it was getting pretty loose.
Tools Required
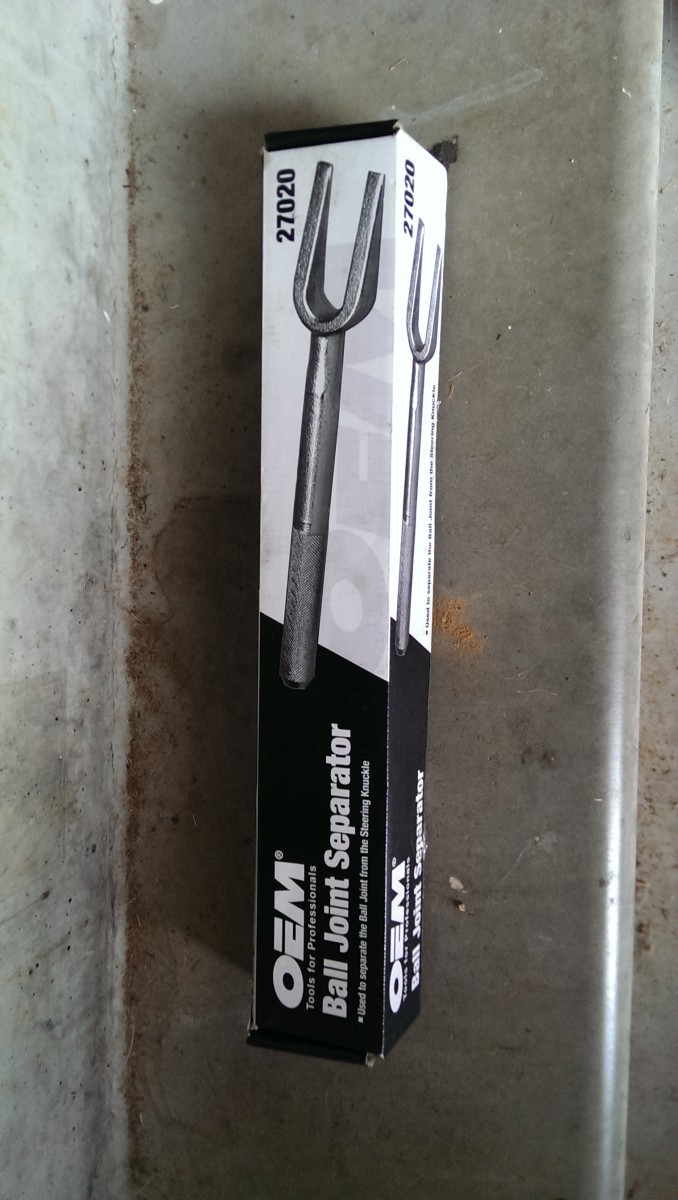
Pickle fork to remove balljoint from hub
- No press!
- Basic wrenches
- Replacement lower ball joint (I went with a Moog off of Amazon)
- Pickle fork (pictured, Autozone will rent you these for free under their Loan-A-Tool program)

Fortunately, you can replace the lower ball joints on this car without a press. In most cars, the ball joint itself must be pressed out of the control arm. In this Scion, the lower ball joint is pressed into a bracket that is bolted to the lower control arm.
You also have to decide whether to get greasable or non-greasable ball joints. I bought a Moog ball joint, because they’ve had a reputation for good suspension parts for a very long time. As such, it’s greasable, meaning there is a grease zerk for a grease gun to add grease to the joint. If you keep up with maintenance, I prefer this type, because you can ensure there is fresh grease in it on a regular basis; you should add a bit of grease every oil change or two.
In the last few decades, “lifetime” greased parts have become more common. This is what came on the car originally. The ball joint will be sealed, and you aren’t supposed to be able to grease it. The idea is that it’s sealed up better than a greasable joint, so it doesn’t need grease added for a long time. The reviews were pretty poor on the ball joints of this type that I found, so I went with a greasable moog.
Picture of the Replacement Part
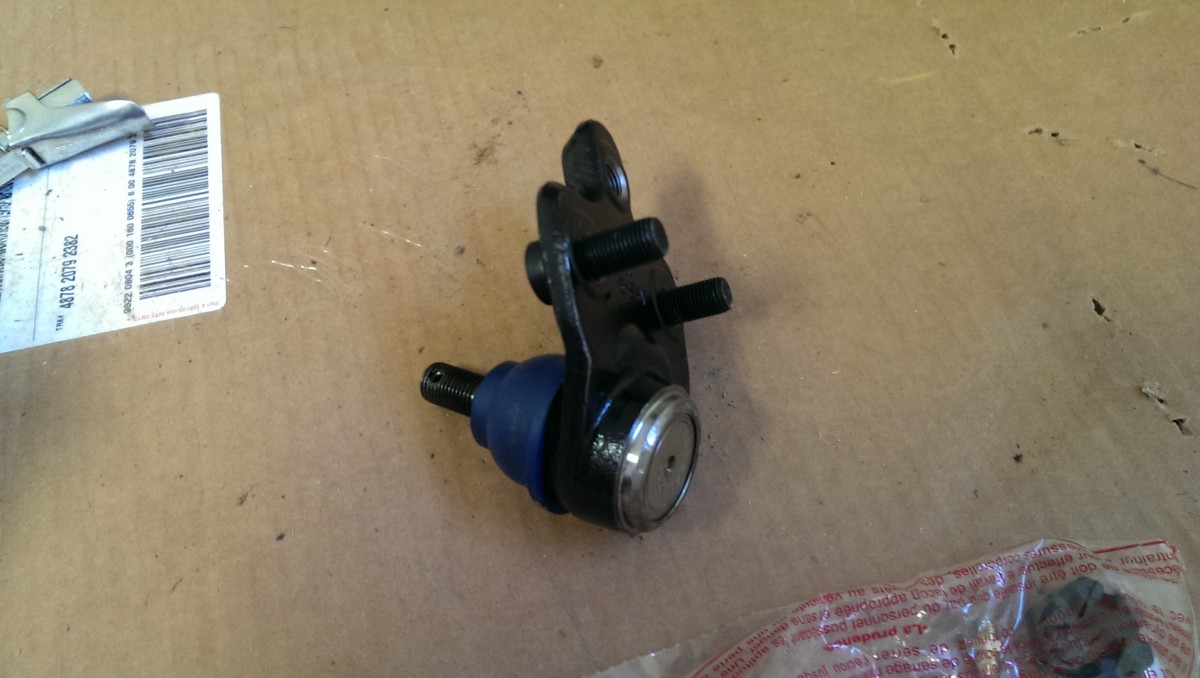
Moog replacement lower ball joint
The ball joint I got is pictured. As stated before, on these cars, the replacement joint simply bolts in, making this process much easier than on other cars that require removal of the entire control arm and a shop press.
Start the procedure by getting the front of the car in the air, wheels off the ground, if you haven’t done so already. Make sure it is safely supported with jack stands and wheel chocks, of course. Remove the wheel on the side to be worked on.
Remove End Link
Control arm link before removal
Control arm link after removal
I started by pulling off this end link attaching the lower control arm to the shock. It removes easily, and allowed the control arm to droop a little further, giving me a bit more room for the next step. It needs to come out to allow the control arm to move enough for the ball joint to be removed later on, as well.
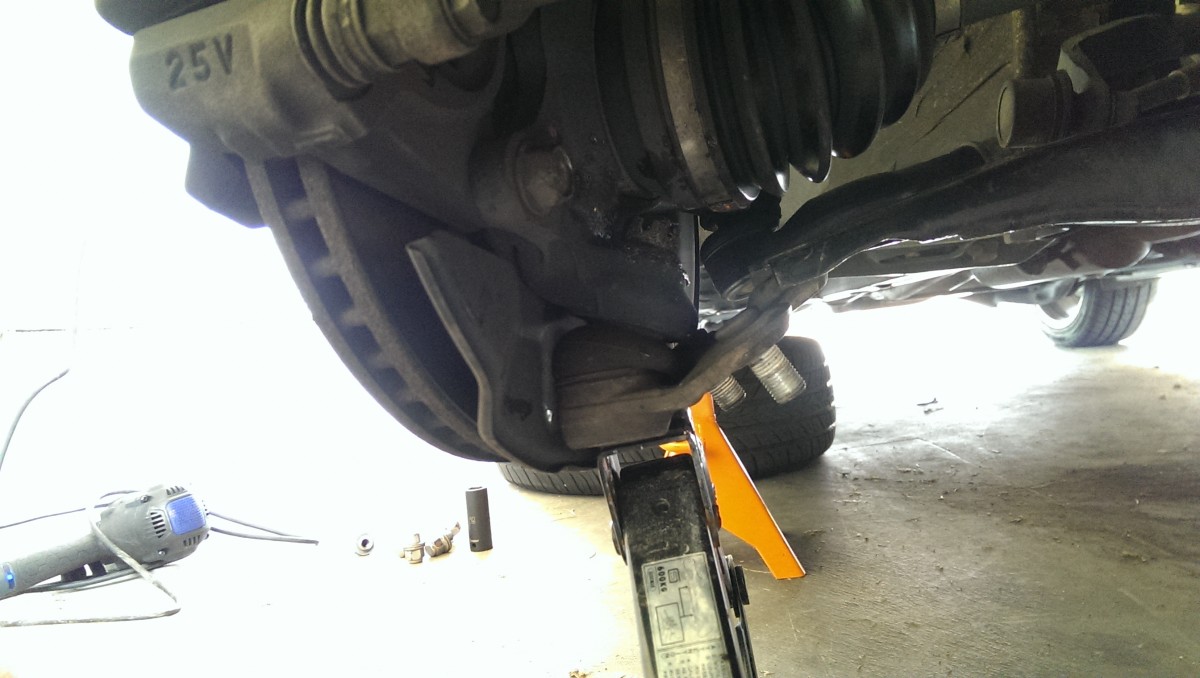
Remove Lower Mount Nuts and Bolt
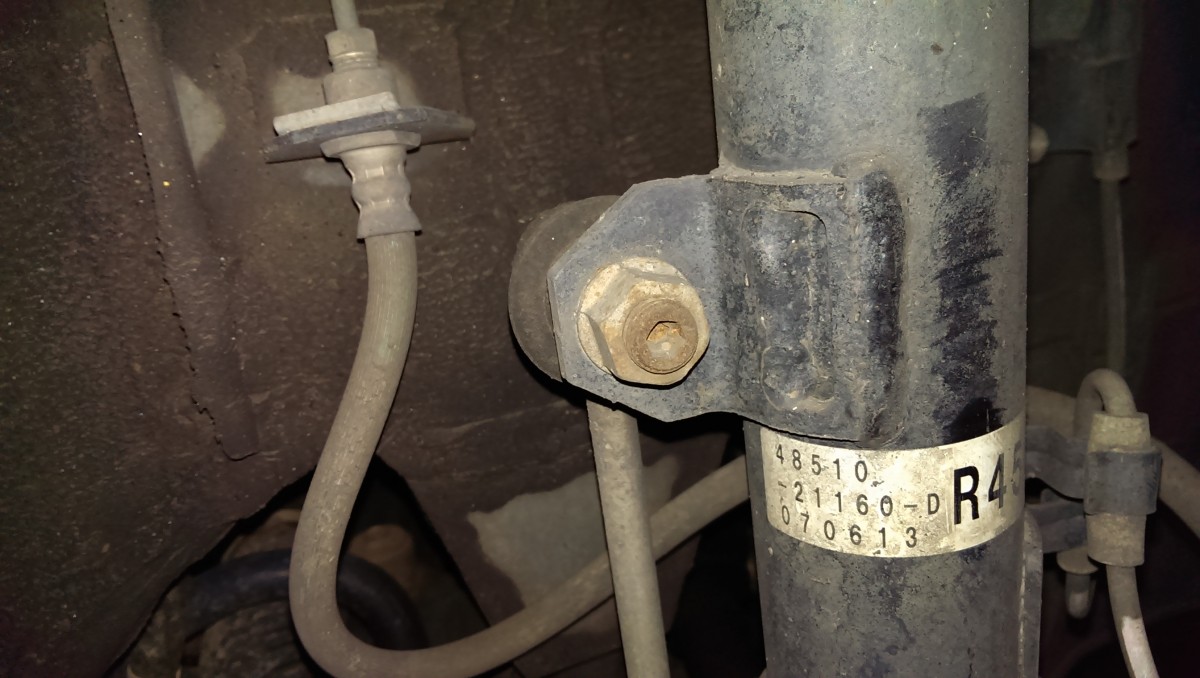
Two nuts and one bolt also must come out
The ball joint needs to be detached from the control arm. There are two nuts and one bolt pictured on the underside, which you’ll reuse on the new ball joint. They’re pretty easy to remove, since you have a lot of room. Breaker bars, impact wrench, etc are all in play, and they weren’t that tight.
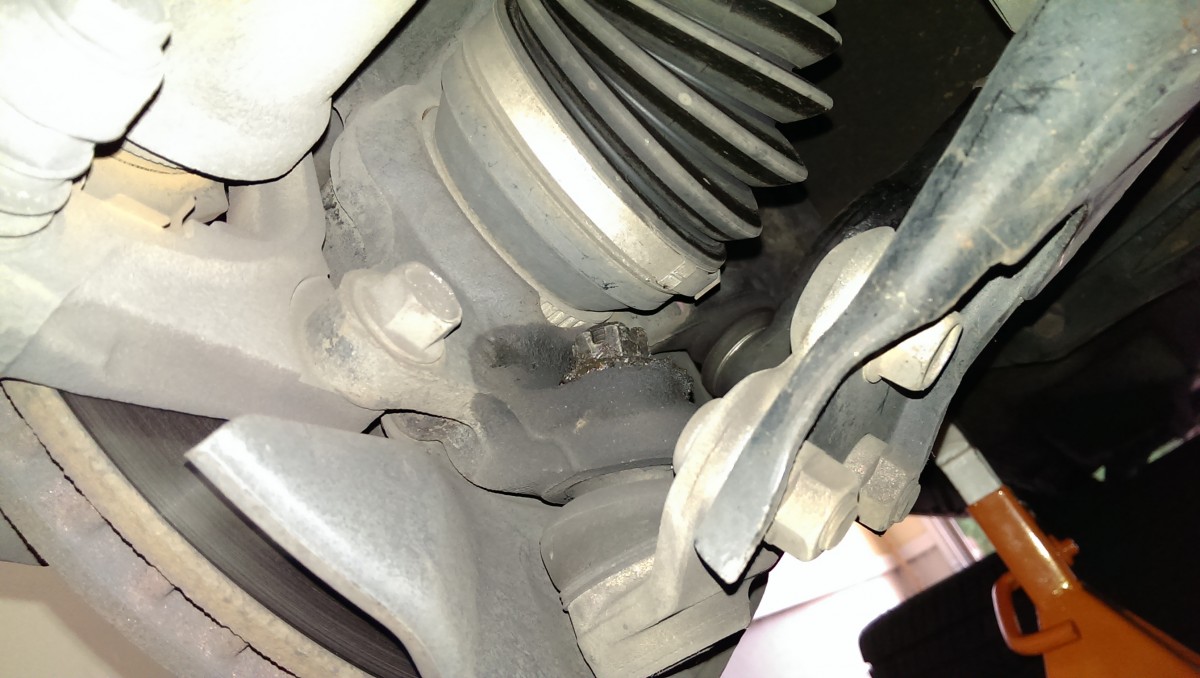
Remove Castle Nut
Castle nut that can be a pain to remove
This is about the easiest car to replace a ball joint on that I’ve seen. That said, getting this castle nut holding the off can be a real pain. If it’s like this one was, the cotter pin is rusted in place and difficult to remove, and there isn’t enough room to get a wrench or nut breaker on there effectively.
The good news is that this castle nut is sitting on top of the old ball joint, meaning you can use a dremel tool and a cutoff wheel and just grind the sucker off, which is what I ended up doing. Vice grips, etc are also in play here – you can destroy this thing as long as it comes apart, since it’s getting replaced. Getting this thing off was the longest part of the whole exercise for me. Just do not cut into the control arm, obviously.

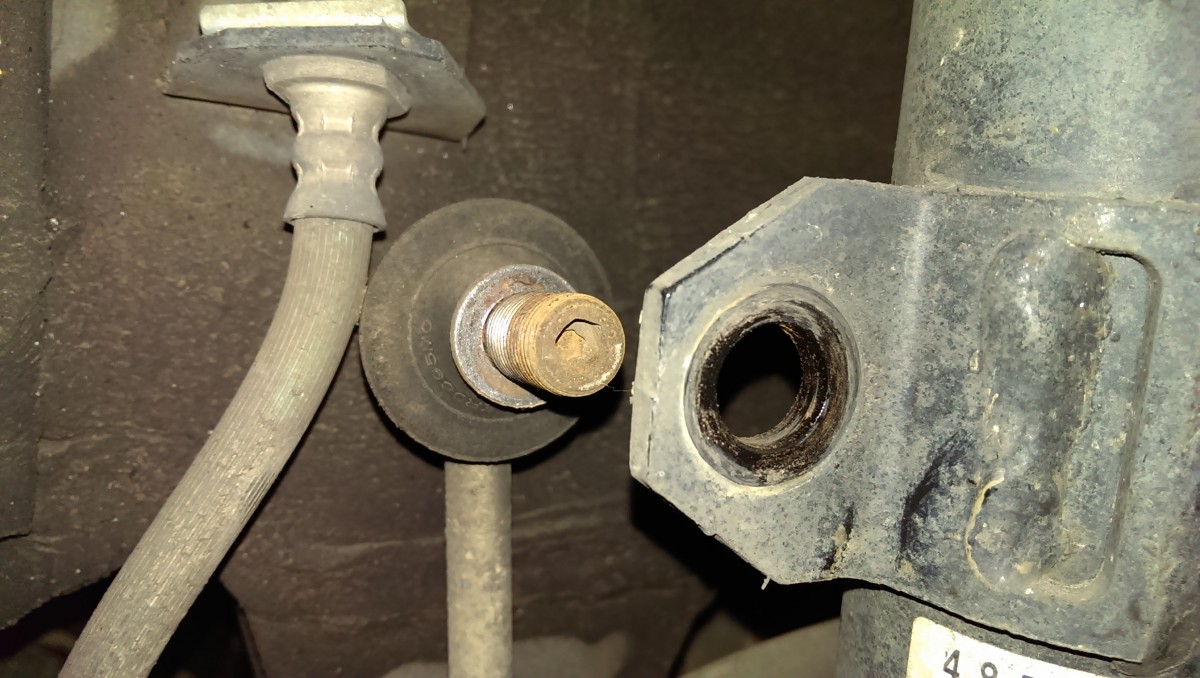
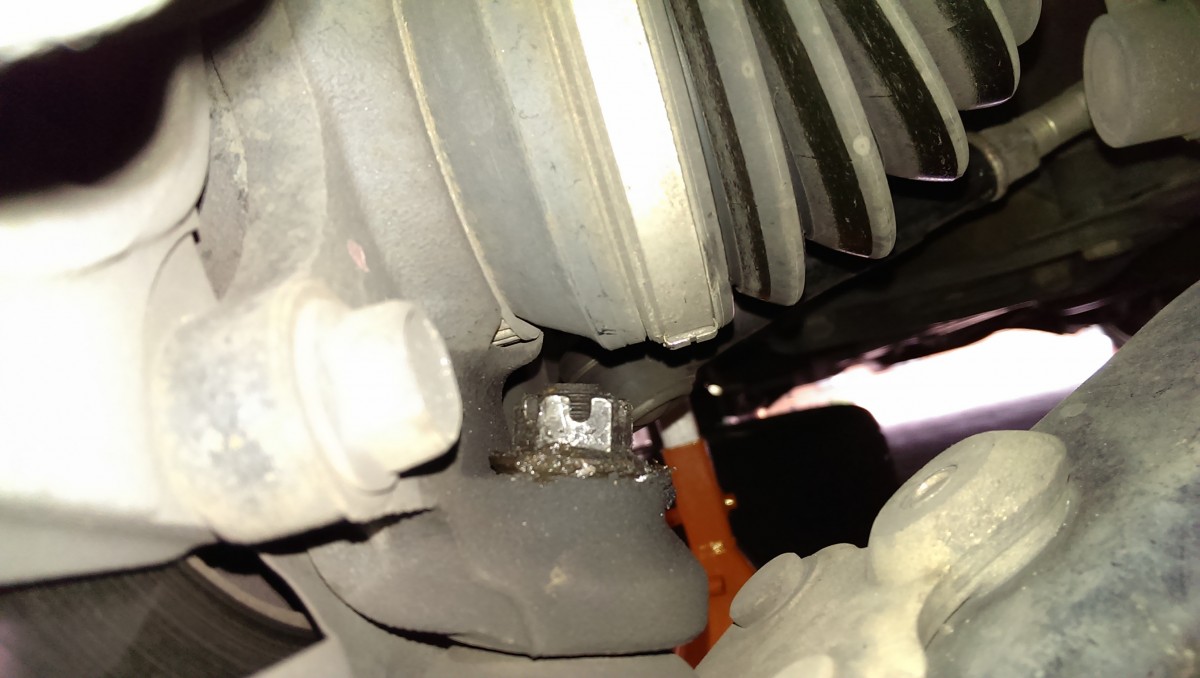
Removing it requires some finagling
Using the spare tire scissor jack helped angling it to try to get the castle nut off
Using the spare tire jack helped some to align the ball joint and ease the pressure on that castle nut. It really ended up being stuck on there pretty good. If I were to do this job again, I would try with a box wrench and some PB blaster just in case it decided to come free, but pretty quickly move towards a dremel tool to carefully cut the nut off.
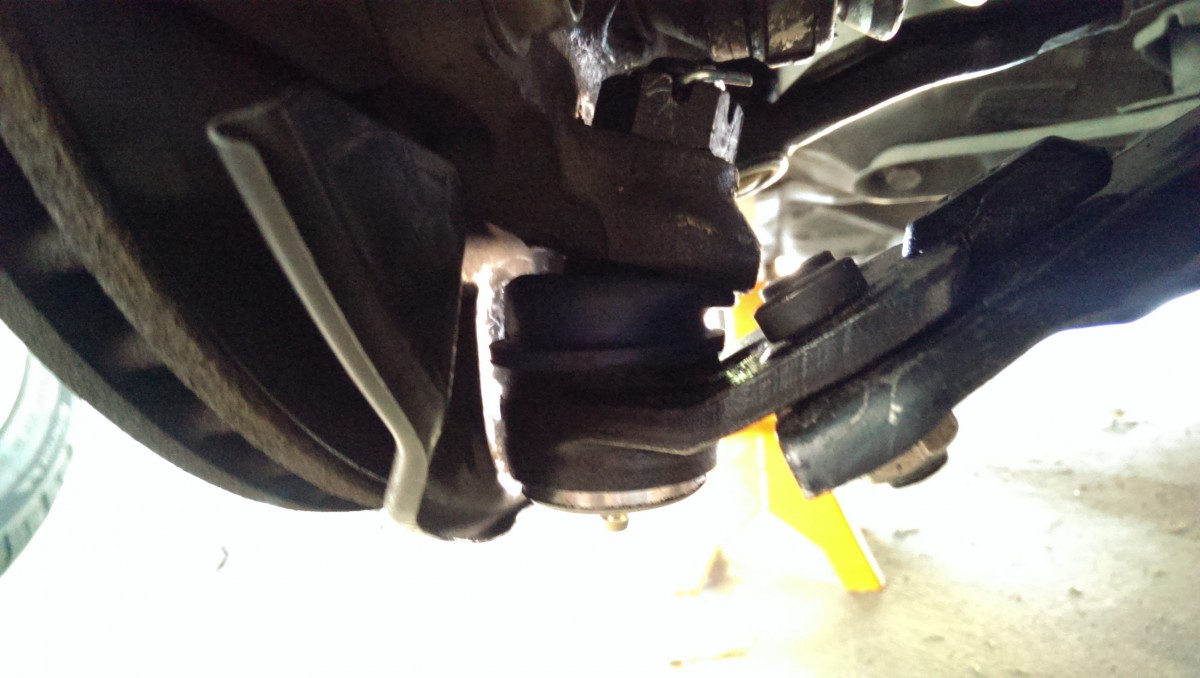
When you get that nut off, you can use the pickle fork. Place it around the ball joint and use a hammer to lightly tap it in, which will pry the ball joint out.
Installing the New Joint
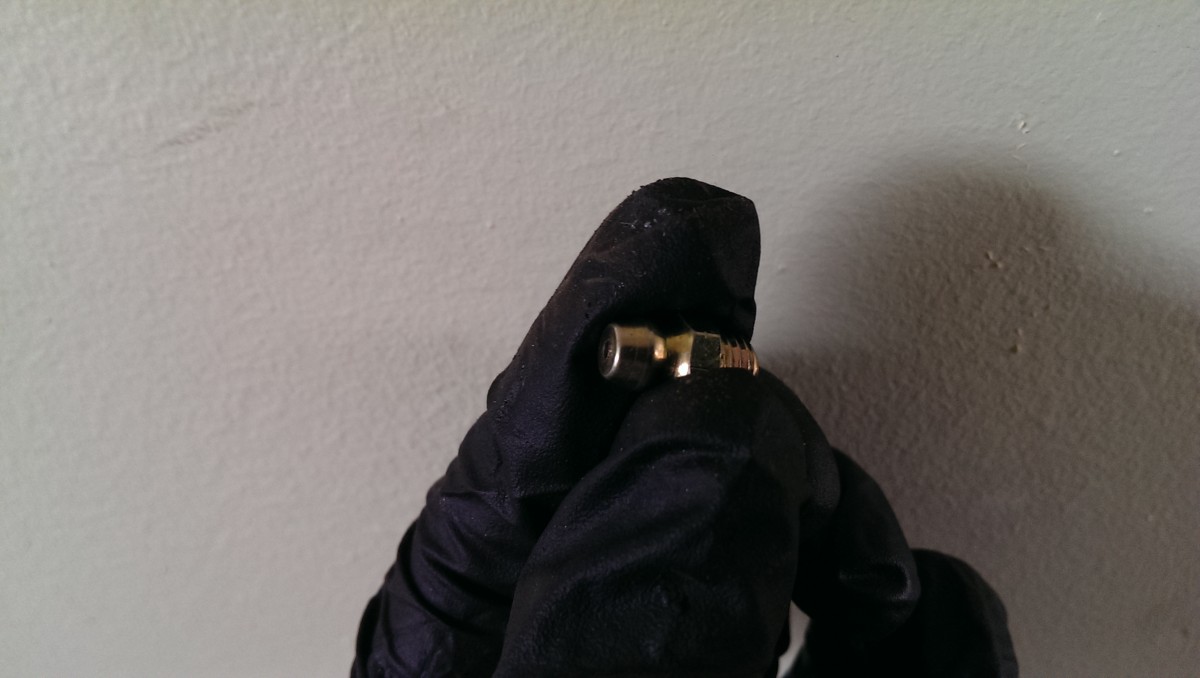
This is the grease zerk that screws into the new ball joint
New ball joint in place, with the grease zerk on
Once that stupid castle nut is removed, and the old lower ball joint is out, it’s a simple matter of finagling the new one in place and tightening it down. I couldn’t get a torque wrench in such a small space, so I just guessed at how tight to make it, erring on the side of ensuring the nut doesn’t back out. The new ball joint had its own cotter pin, which also of course keeps it from backing out anyway.
There will be no grease zerk to install if you got a lifetime joint.