Making a Carpenter Bee Trap

Finished trap
We have a few carpenter bees that hang out at the rear corner of our house. It’s not clear if they’re actually nesting under the vinyl siding, but it appears to be the case. Carpenter bees look a lot like bumble bees. They don’t sting, as far as I know, but they do tend to bore holes into wood, making them an irritating pest for a homeowner.
A carpenter bee trap takes advantage of their natural instincts. The trap is a block of wood with small holes / tunnels leading at an angle to a central hole / tunnel that leads to a clear jar
I did not invent this design; people have been making these traps for years. In fact, I didn’t even invent this design: I found it on http://www.myfrugalhome.com/how-to-build-a-carpenter-bee-trap/. The big difference between Erin’s article and mine is that I made my trap with a workshop full of woodworking tools available, particularly a miter saw and drill press. By contrast, she used all hand tools. If you would like to make one of these, I would follow the instructions that match your available equipment: if you’ve got fancy tools, making a carpenter bee trap my way is fast and very easy.
Tools Required
You should make the trap using these instructions if you have access to a miter saw, drill press, and drill press vise. None of these tools need to be particularly heavy-duty: I used a 10″ non-sliding miter saw. You also need a scrap piece of 4×4 and a mason jar
Preparing the 4×4

Cutting at 45 degrees
The first step is to cut your piece of 4×4 at a 45 degree angle, so that the back is about 7″ and the front is about 4″. With even a small miter saw, this goes very quickly.
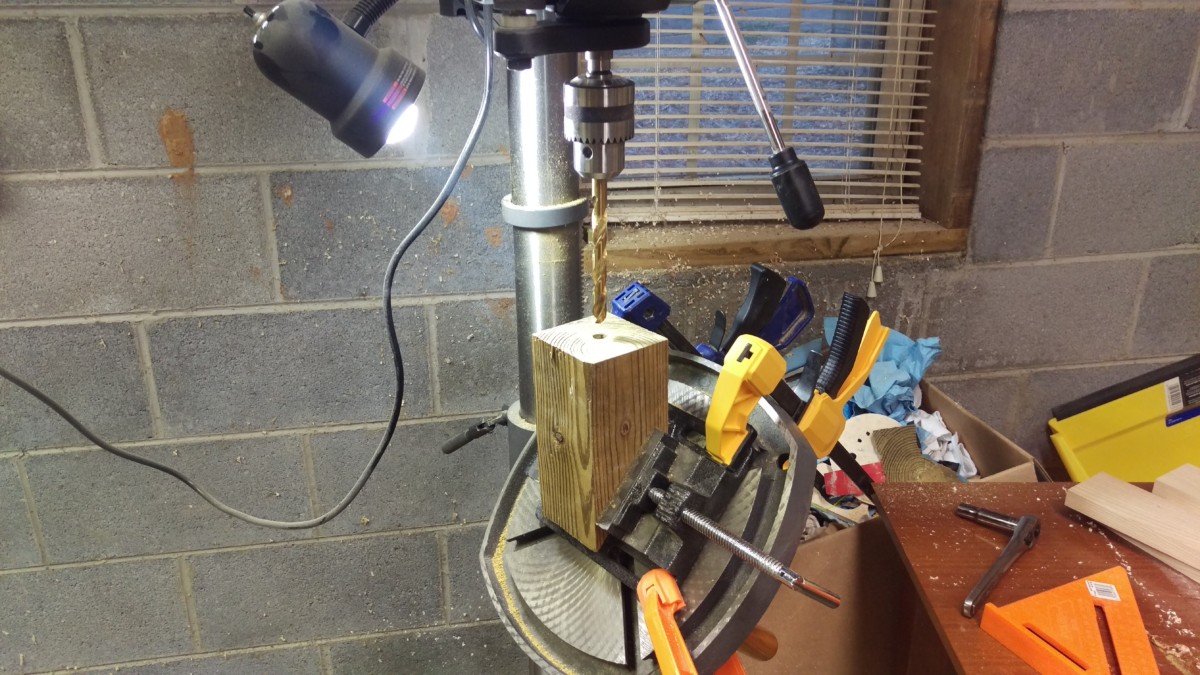
Drilling the center hole
Next, I drilled the center hole. This hole should go about as deep as possible while still leaving an inch or so below the miter cut; you do not want to go all the way through or you will ruin the trap. You could drill this hole first, and then perform the above miter cut, if you wanted. I didn’t do that because I figured it made it easier to make sure I wouldn’t go through, and I had to adjust the table to a 45-degree angle for the remaining steps anyway.
For all of these holes, I used a 1/2″ drill bit.
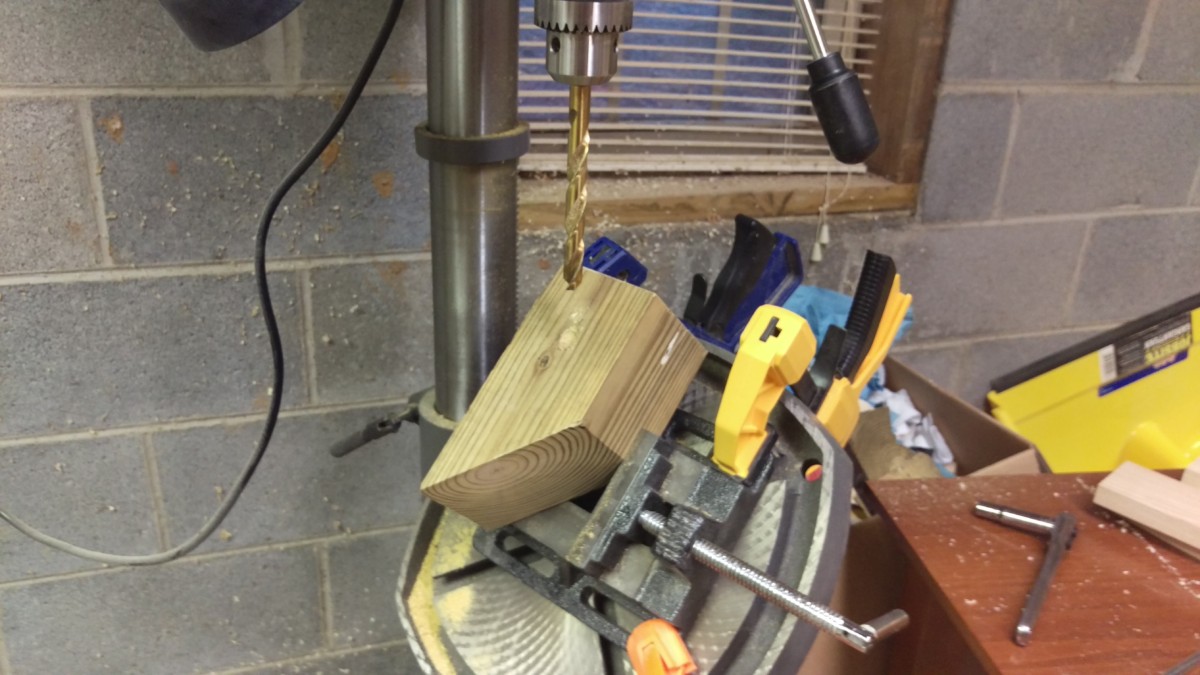
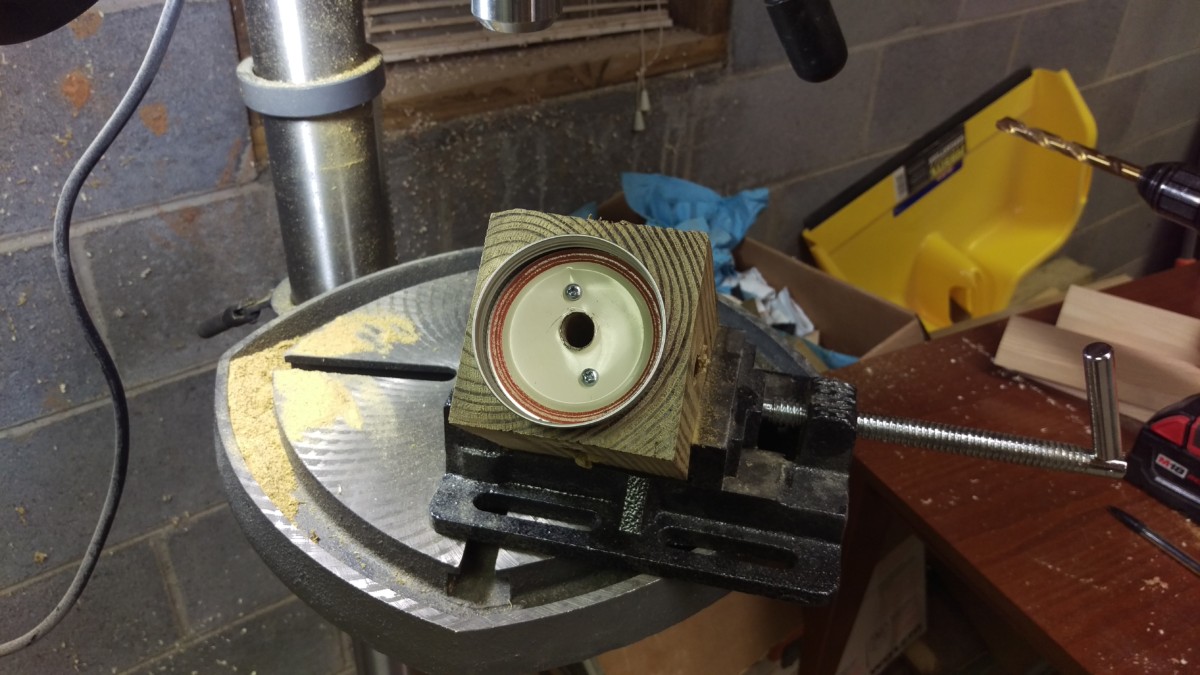
Angled holes
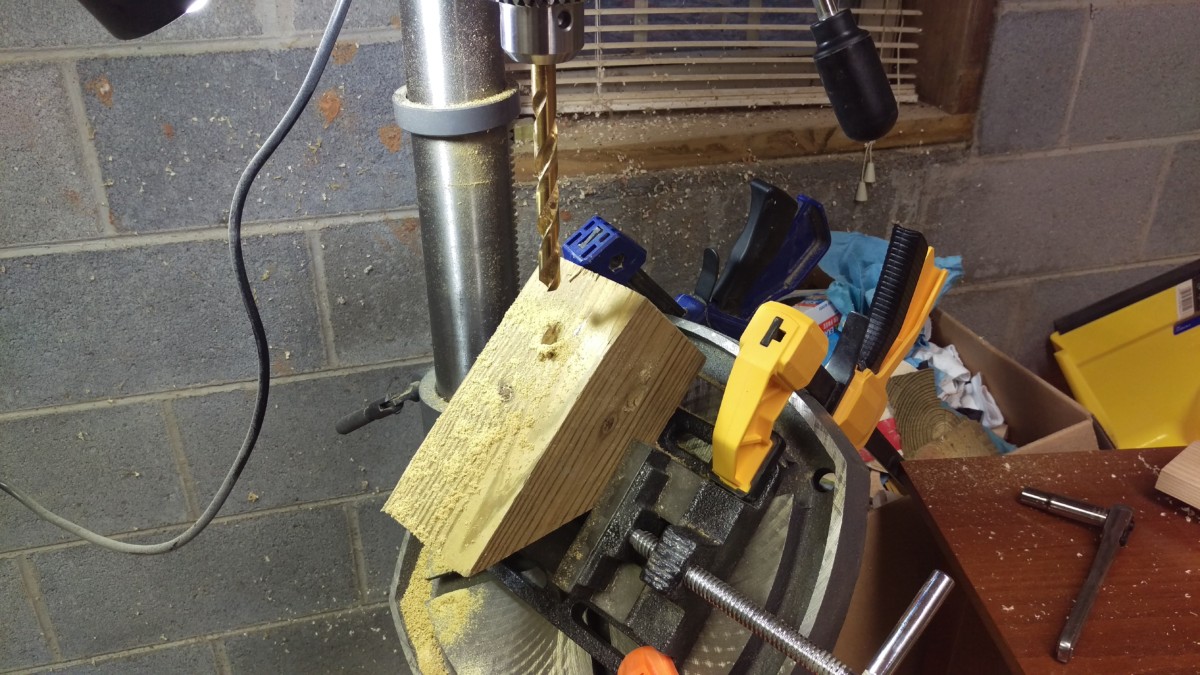
This is done on all 4 sides, I only show two
The next step is to drill the angled entrance holes. Since my drill press table was already set to 45 degrees, this was easy. Another benefit is that the vise is already positioned for my angled hole to meet up with the central one I drilled earlier. All I had to do was flip the piece around in the vise and drill until I broke into the central hole. I drilled a hole like this on all 4 sides.
Adding the Jar
Drilling the central hole in the cap of the mason jar
The next step is to remove the inner lid from the mason jar and drill three holes. The first one, pictured, should be 1/2″ like the hole in the wood. I simply used the drill press to make one approximately in the center; this doesn’t have to be exact.
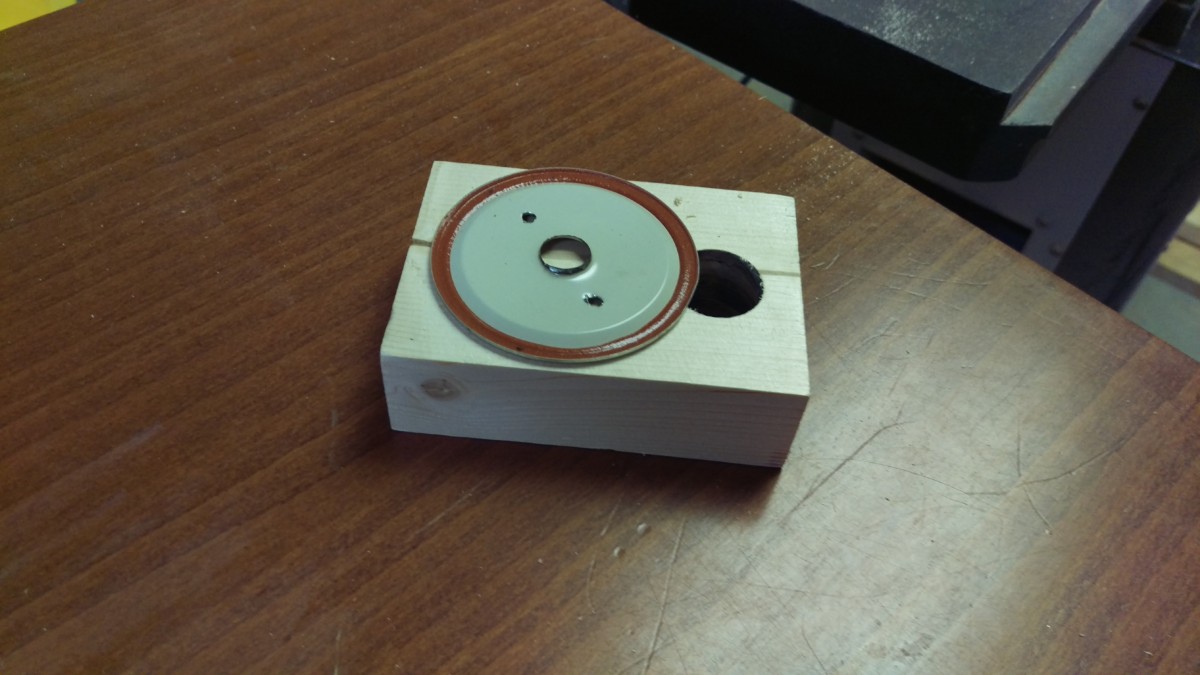
Two more holes for screws
Then, I added two more holes for screws. These will be sized based on the size of the body of the screw. Again, precision isn’t that important here, as long as they’re on the cap.
Screwed in
Once the lid has the three holes in it, you can put the cap back together and screw it to the piece of wood as pictured. All I did was center the main hole, drill two pilot holes for the screws in the wood, and screw it together. I stuck it in the drill press vise, but used a hand drill for convenience.
Wrap up
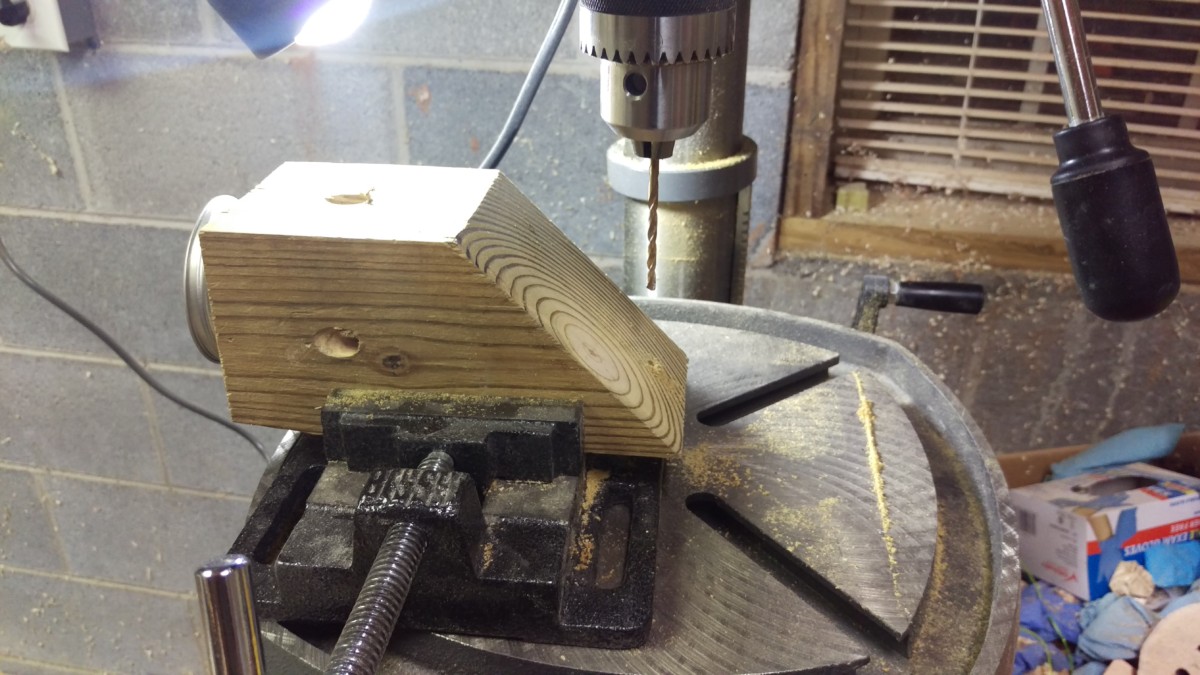
Hole for hanging
The only thing remaining is a way to hang the trap. I simply drilled a hole straight through near the top. The drill press is handy to keep the drill bit from sliding around but not required.
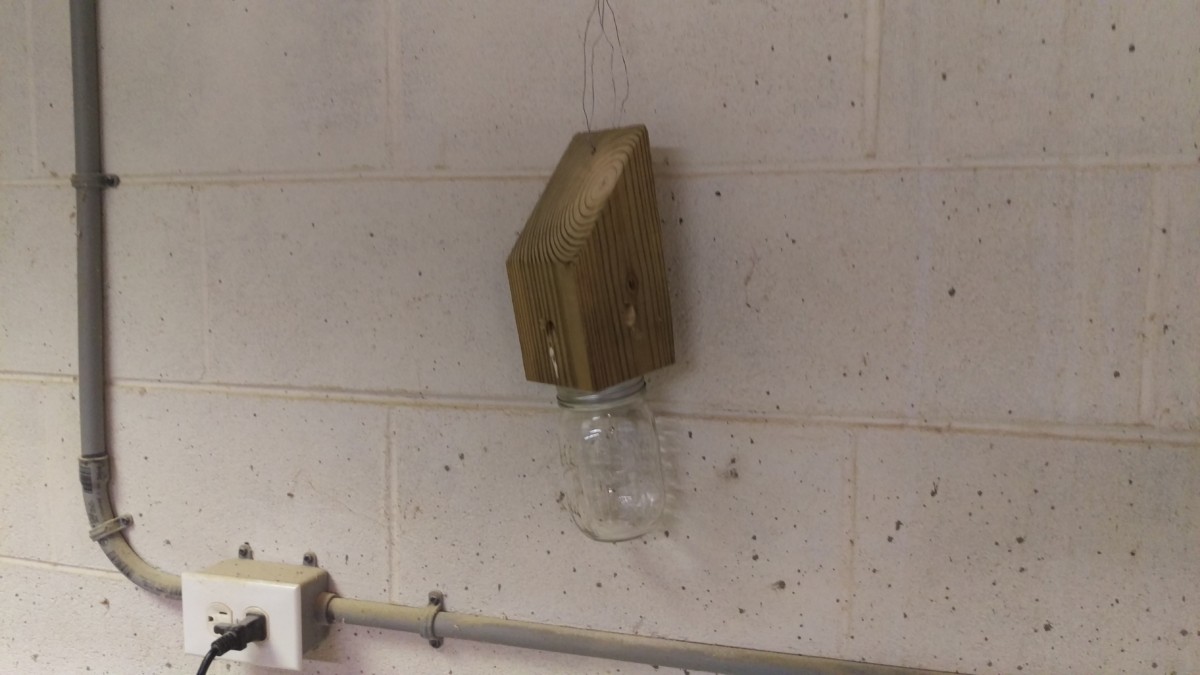
Hanging by bailing wire
And here’s a test run in the shop. I simply used some scrap bailing wire to hang it, but anything similar would work, such as twine.
Finished trap
And that’s that. Here’s where I would love to report that the trap has caught a ton of bees. Unfortunately, while there is a bit of sawdust in the jar, indicating to me that the bees have gone in, they haven’t gotten stuck. I have subsequently read that a trap like this really has to be under eaves or have a roof to ensure it doesn’t get too much light. I may try moving it when I get a chance and see if it makes a difference. In all, though, it was a quick little project that only used scrap material, so it is worth a shot. Certainly better than paying $20+ for something premade!