Miata K24 Swap – Starter and Alternator Wiring
You need to do some starter and alternator wiring to merge the Miata wiring to the K24 harness. The starter and alternator wiring in the Miata runs along the power plant frame (PPF). The overall procedure here is to identify the Miata starter and alternator wires and splice them with the correct Honda connectors.
Unplug Your Battery
Make sure your battery is unplugged. This should be obvious, and you probably haven’t had a battery in the car for quite a while by this point, but still, you don’t want to pop fuses or get hurt.
Tools and Materials Required
Tools:
- Lug crimping tool
to safely crimp the really big wires
- Soldering iron
or crimp tool
, depending on how you’d like to join your small gauge wires
- Engineer hammer
or something else substantial to hit the lug crimping tool
- Wire strippers
of some variety
- A cheap multimeter
really helps sort out wires
- A heat gun
for heat shrink, although a lighter can work fine too if you’re careful
Materials:
- 6 gauge wire
- 6 gauge wire butt connectors
- Solder
and flux
or else assorted of butt connectors
, depending on whether you’re soldering or crimping small gauge wires
- 6AWG terminal lugs
- A nut and bolt that fit in at least one of the terminal lugs
- Wire loom tape
, works better than electrical tape in a car
- 4:1 heat shrink
*, zip ties, etc


*Note: 4:1 heat shrink will shrink 4x its initial diameter. This is much more than the typical Harbor Freight stuff. You want heat shrink that will properly encapsulate larger connectors on smaller wires.
6:1 or more is even better.
Stock Miata Wiring Locations
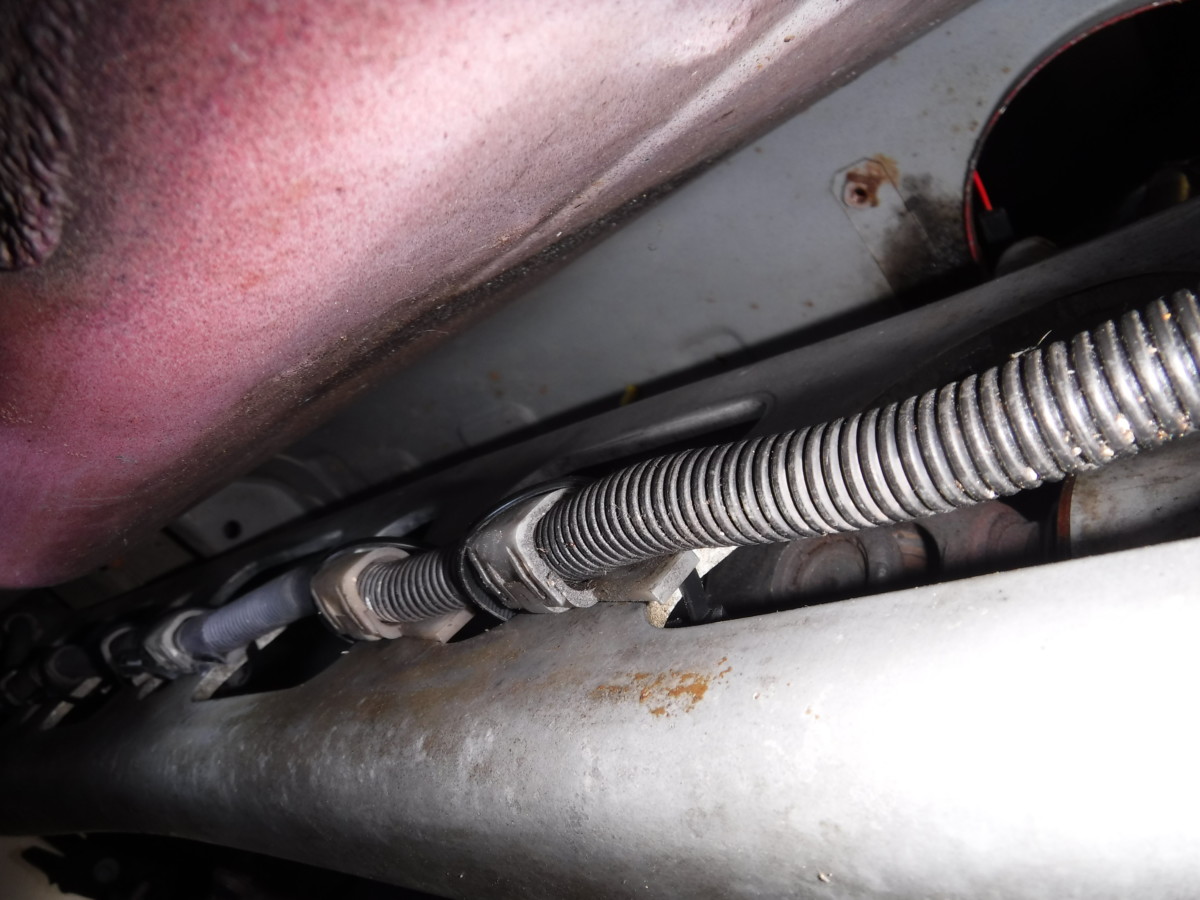
First shot of PPF wiring
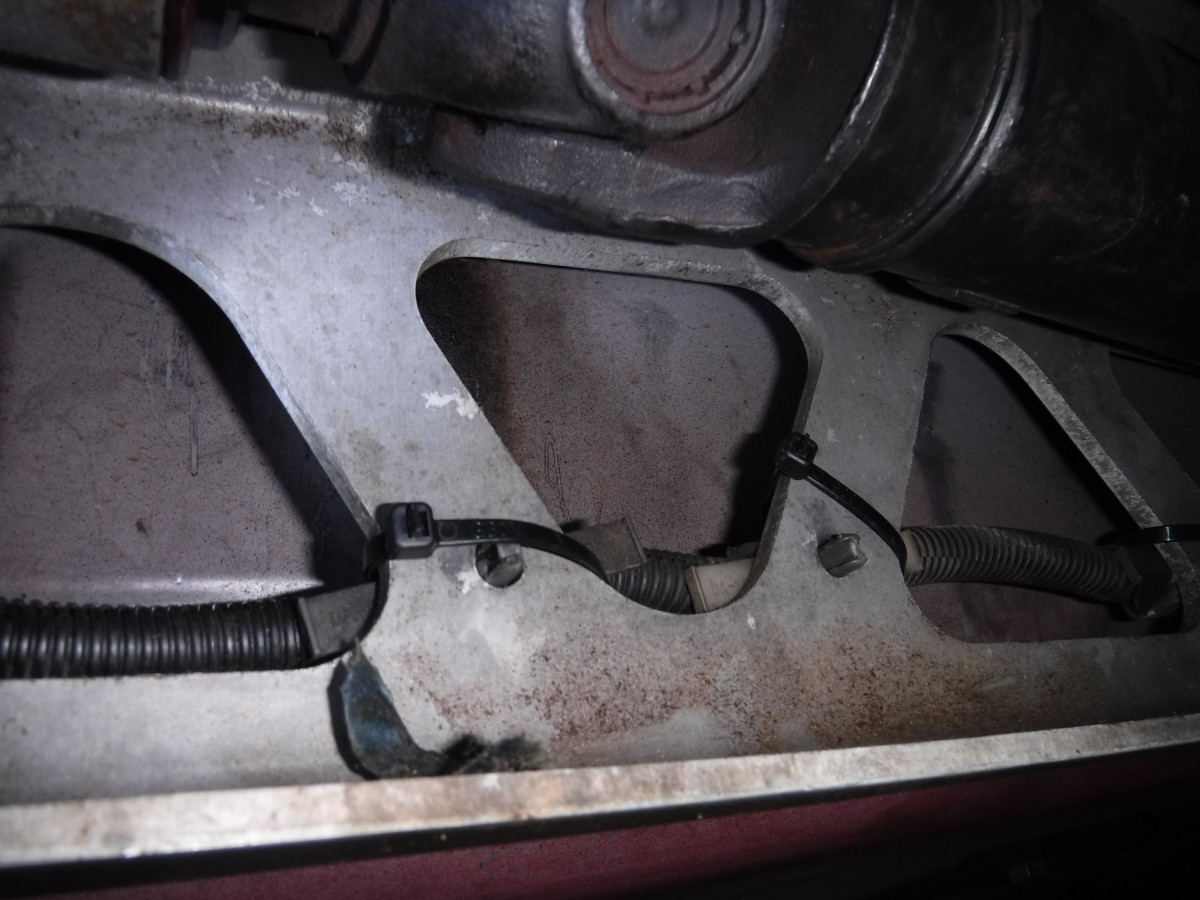
Second PPF wiring picture
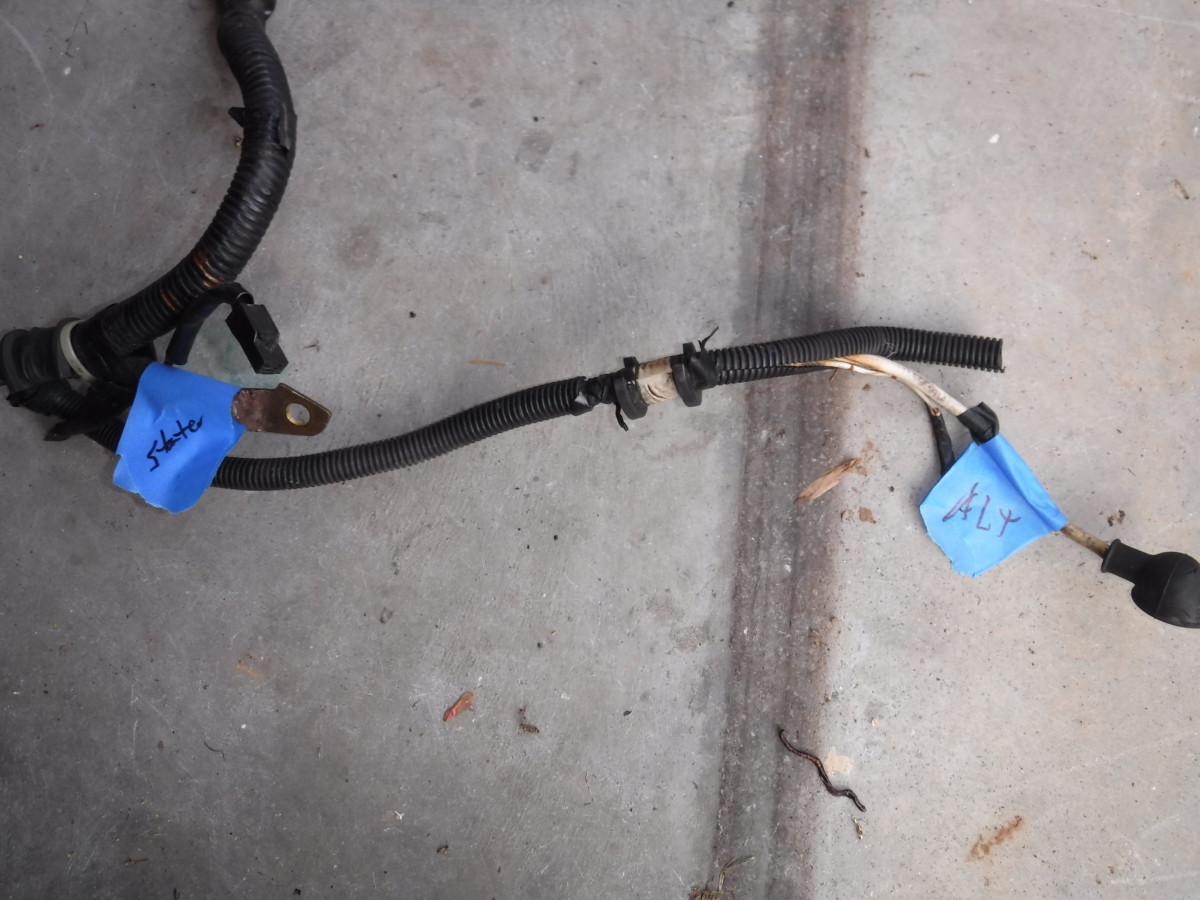
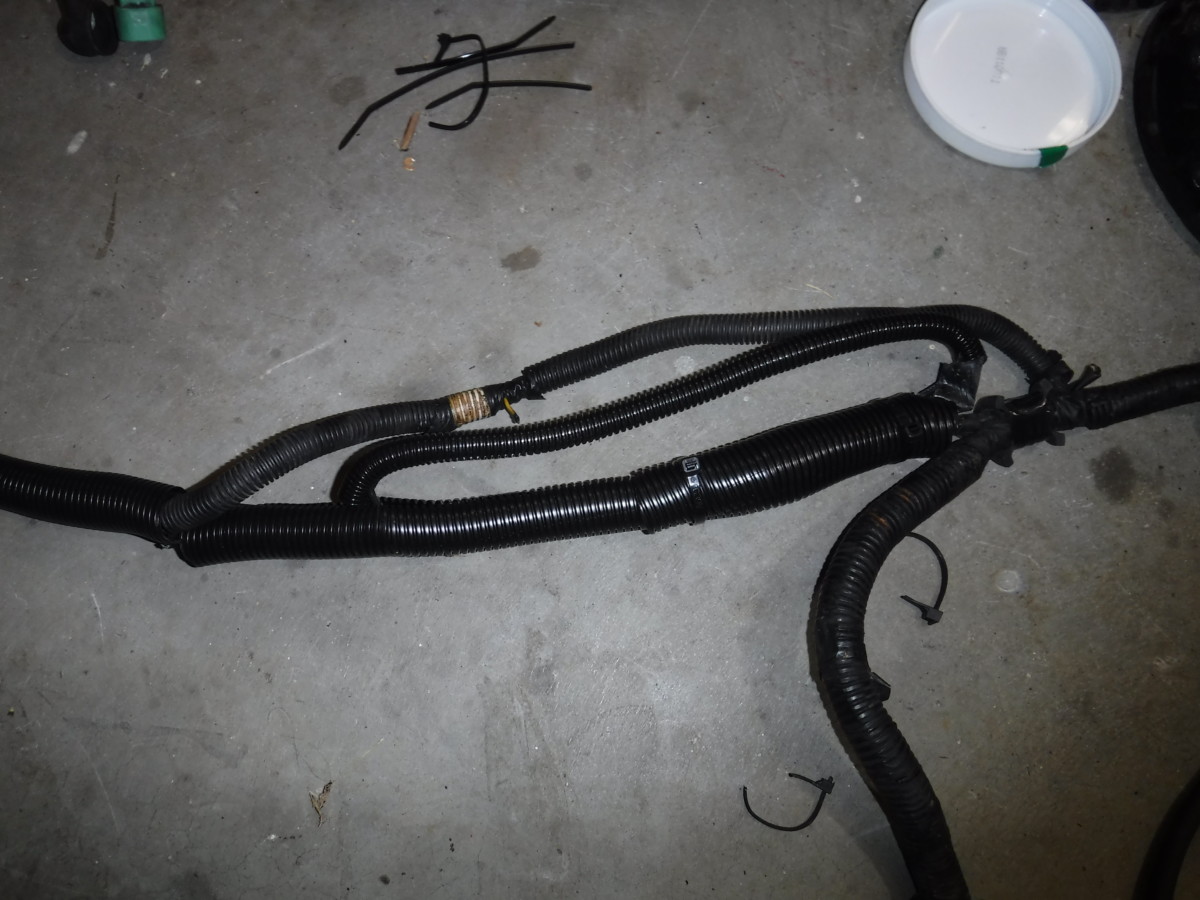
Don’t disconnect anything quite yet. For reference, here is the target Miata wiring harness. Many of my clips are broken from previous owners and replaced with zip ties.
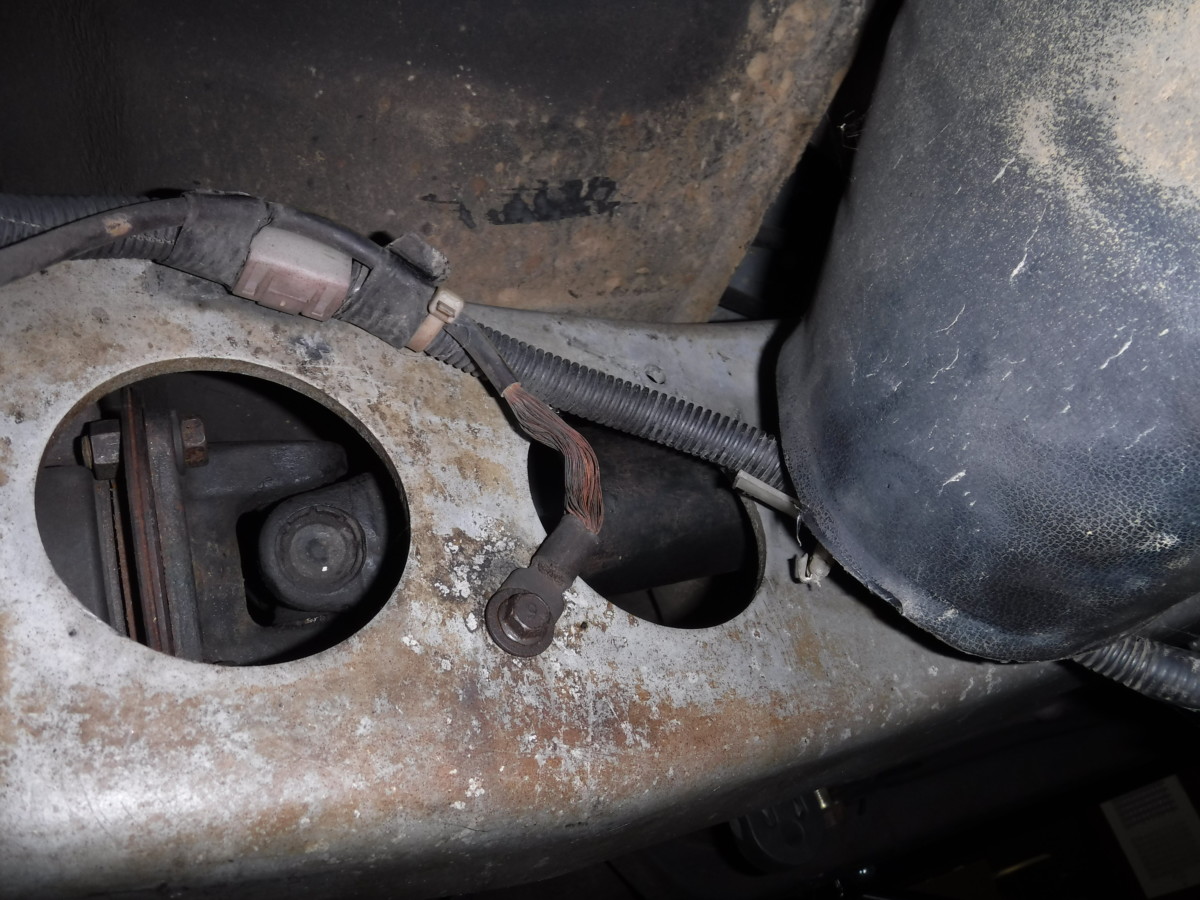
When you remove the harness, don’t forget this ground
When you remove the harness, don’t forget that there is a ground connection to the PPF. More importantly, don’t forget to reinstall it after you’re done.
Check Length on Miata Wires
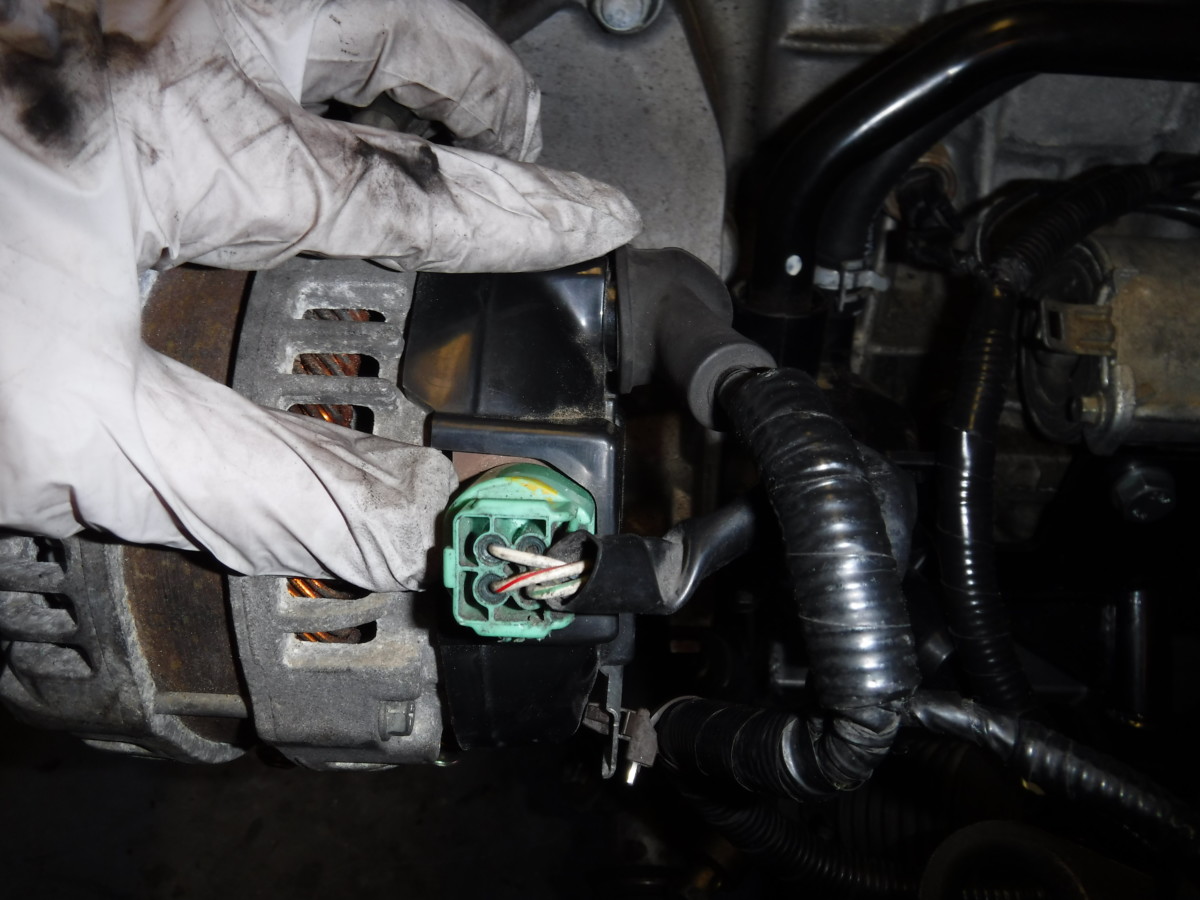
These two plugs are for the alternator (duh)

And these are for the starter (also duh)
Before starting, make sure you know what wires from your charge harness go where, even though it should be pretty obvious. As mentioned, the stock Miata alternator and starter wires run along the PPF from the trunk to the engine bay. With them still in place, pull some 6 gauge wire to the starter and alternator locations on your K motor. This lets you figure out how much you need to extend them. I ran my wiring from the driver’s side of the car straight back and over the transmission to the PPF.

I pulled the wires out behind the back of the car to give maximum room
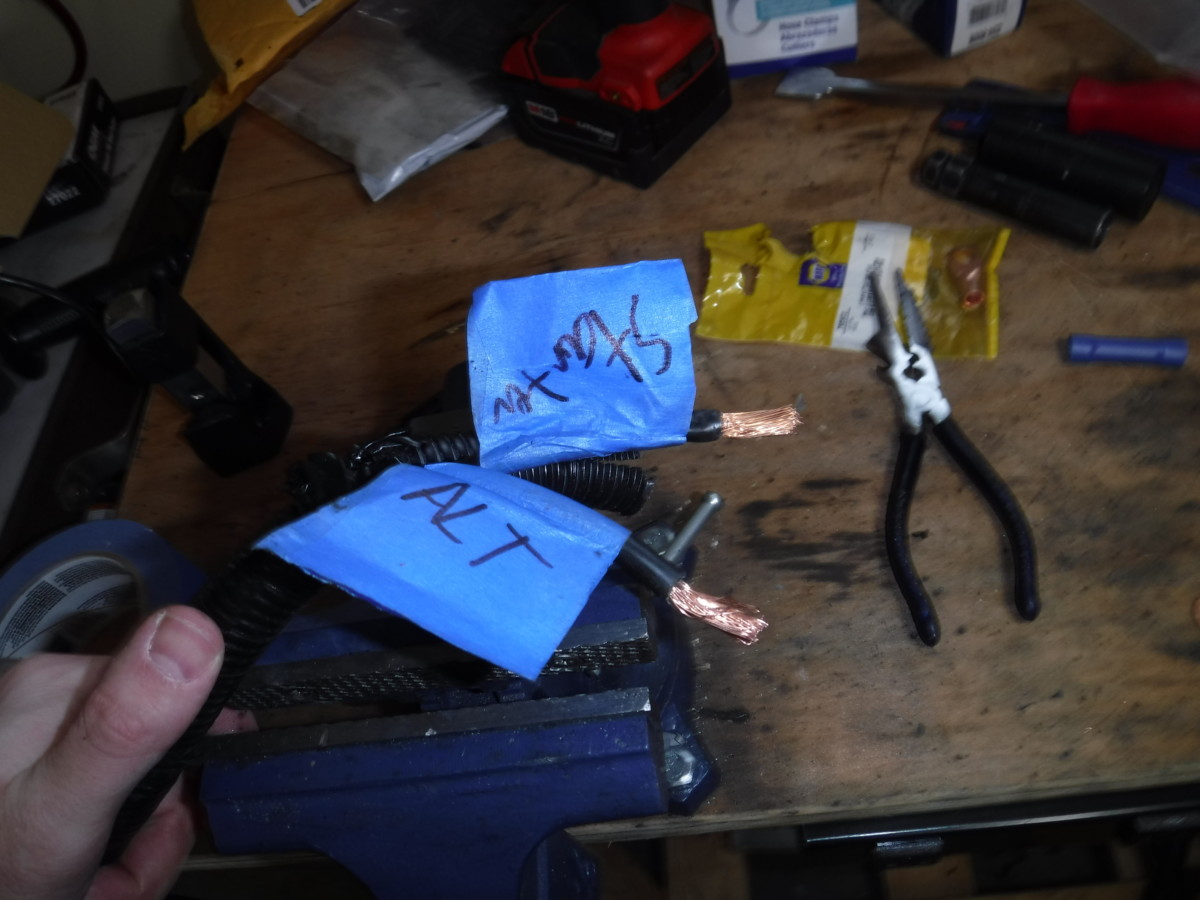
Once that’s done, go ahead and pull them out by the back bumper. This gives enough slack. You can see the wires, after pulling, along with the extra wire that I cut for my starter and alternator. I did all my work on the garage floor behind my car, with the wires still connected to the trunk.
Labels, labels everywhere
Do yourself a favor and label the stock Miata wires, as well as the new lengths of wire you cut BEFORE you go doing anything else. Both of these connectors are going to go, so I wanted to be completely sure I didn’t mix them up. I also didn’t want to splice the wrong length wire.
Checking K24 Harness Connections
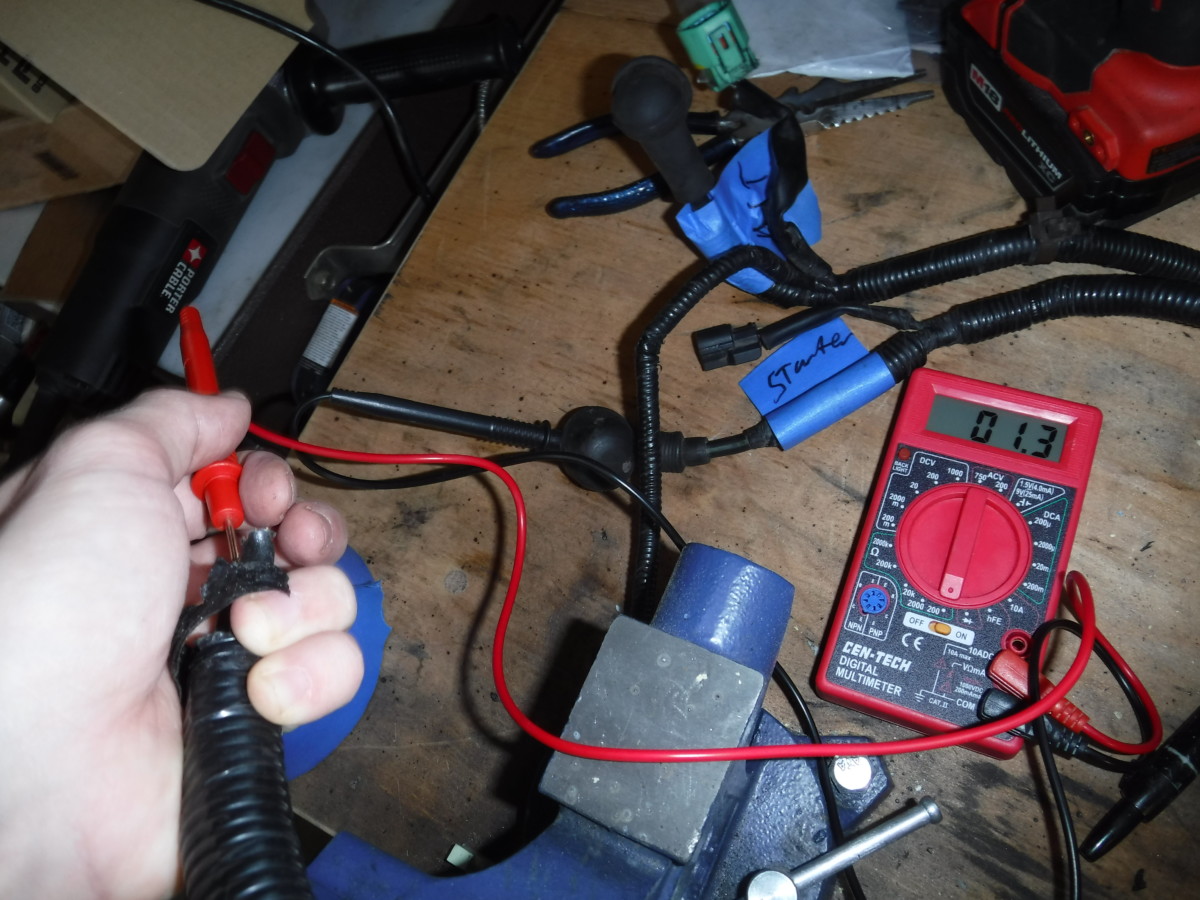
Unless you are 100% positive which connector is which, check continuity to ensure you’ve got it right

On my harness, these were starter and alternator
Next, go to the Honda harness with your multimeter
Connect Lug Terminal to Extension Wire
Again, labels help avoid mistakes
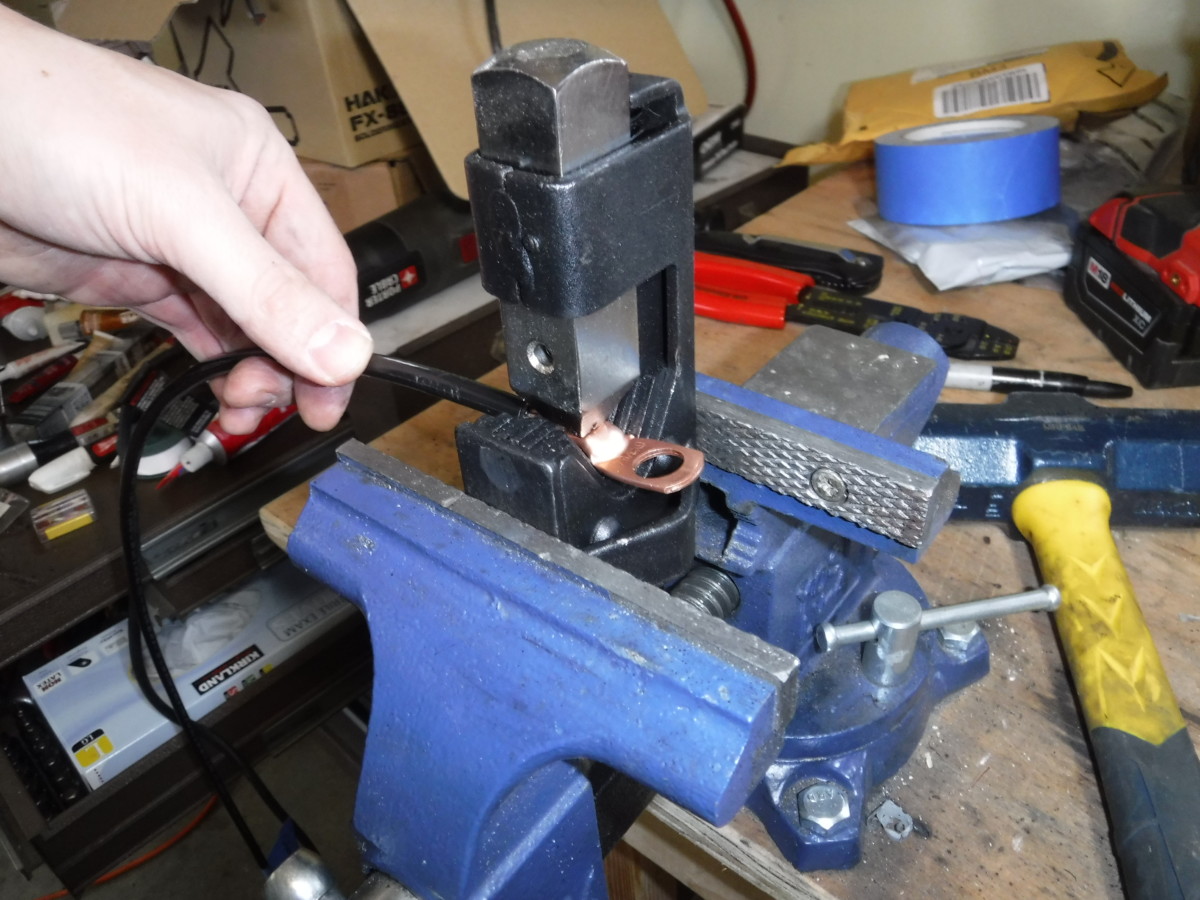
This thing can be used with a vise to crimp large gauge wires
You may ask yourself, “How do I crimp 6 gauge wires with my tiny hand crimper?” The answer is that you don’t, you use a big hammer and one of these things. I put a lug terminal connector on my new 6 gauge starter extension wire in this picture.
This is unlikely to go anywhere
This high-force crimper should put a nice dent in the lug terminal and make sure it’s well secured to the wire.
Note: You do NOT want to solder large gauge wires in a car. You could do it with a torch, but it makes essentially a large ball of metal at the middle of a wire. Add the vibrations from a running car and you’ll get stress fractures and failed wires. Smaller gauge wires are less subject to this effect, although many people never use solder in a car.
Connect Both Extension Wires to the Honda Harness
This 6 gauge butt connector will securely connect these wires
Now you can connect the extension wires to your main Honda harness using the 6-gauge butt connectors. I again used a big hammer and the lug crimper.
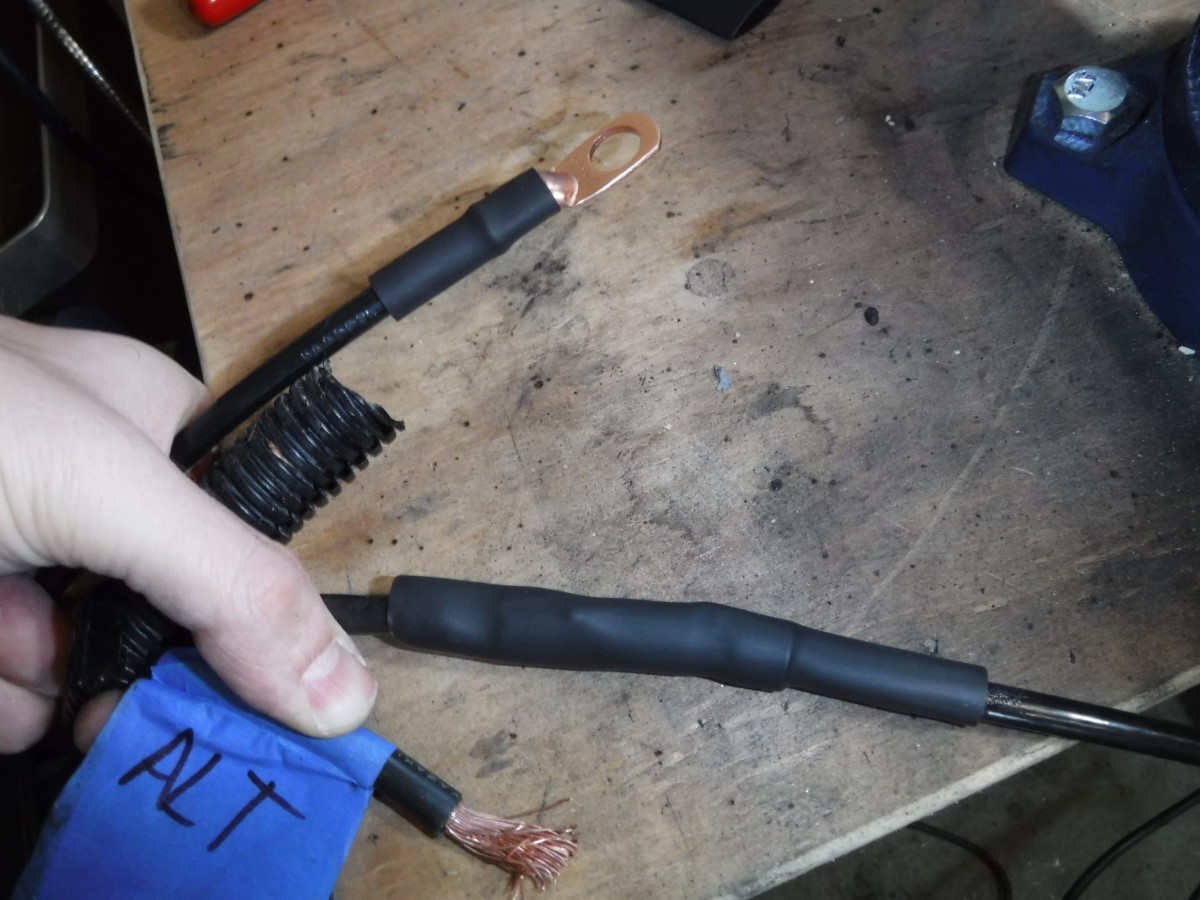
Heat Shrink Time
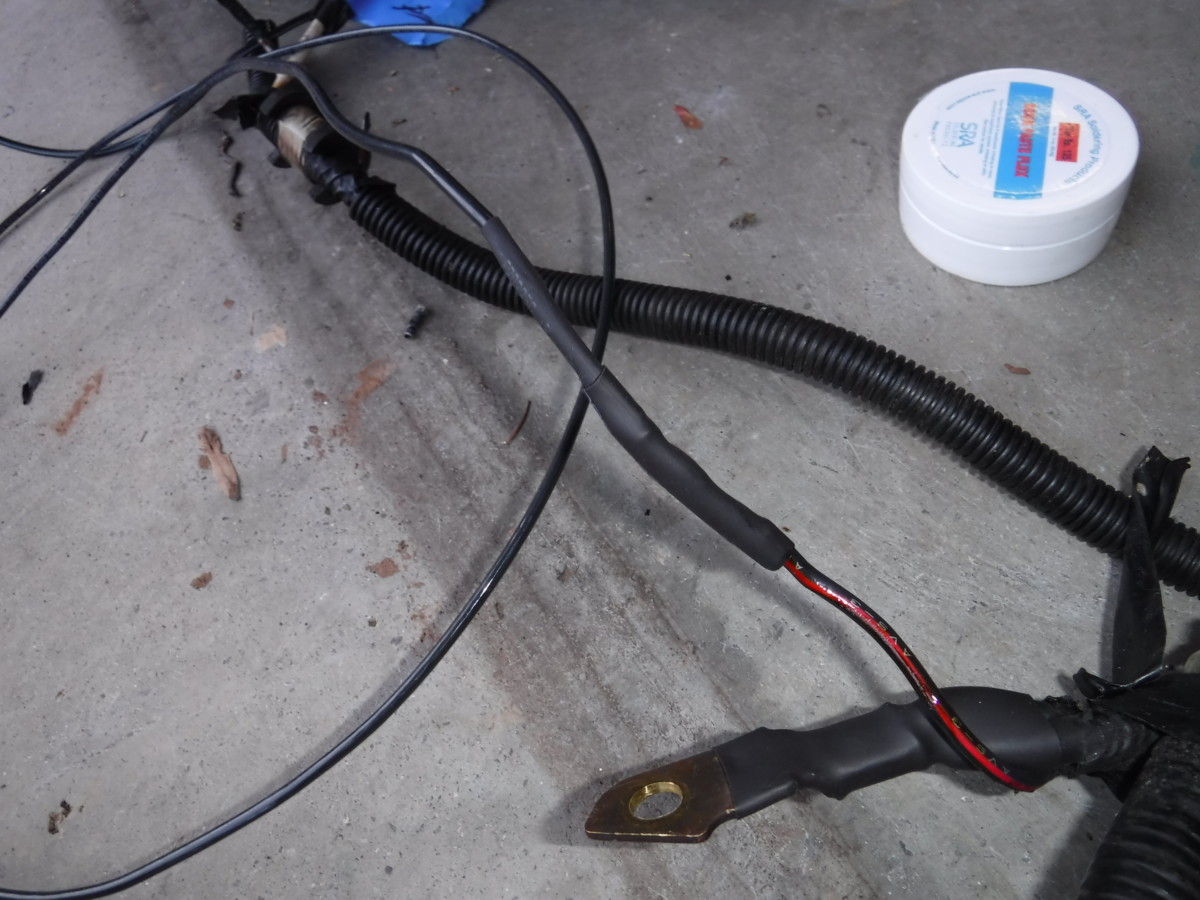
Here is where you find out if your heat shrink is really 4:1
Once the extension wires, lug terminal, and Honda harness are all connected in harmony, don’t forget to heat shrink the connections. This will both insulate them against water and help with strain relief on the connection. Note that the heat shrink pictured is NOT 4:1, which is why it didn’t shrink enough. If this happens, do what I did and replace with 4:1. If you insist on being stubborn, you can use some liquid electrical tape
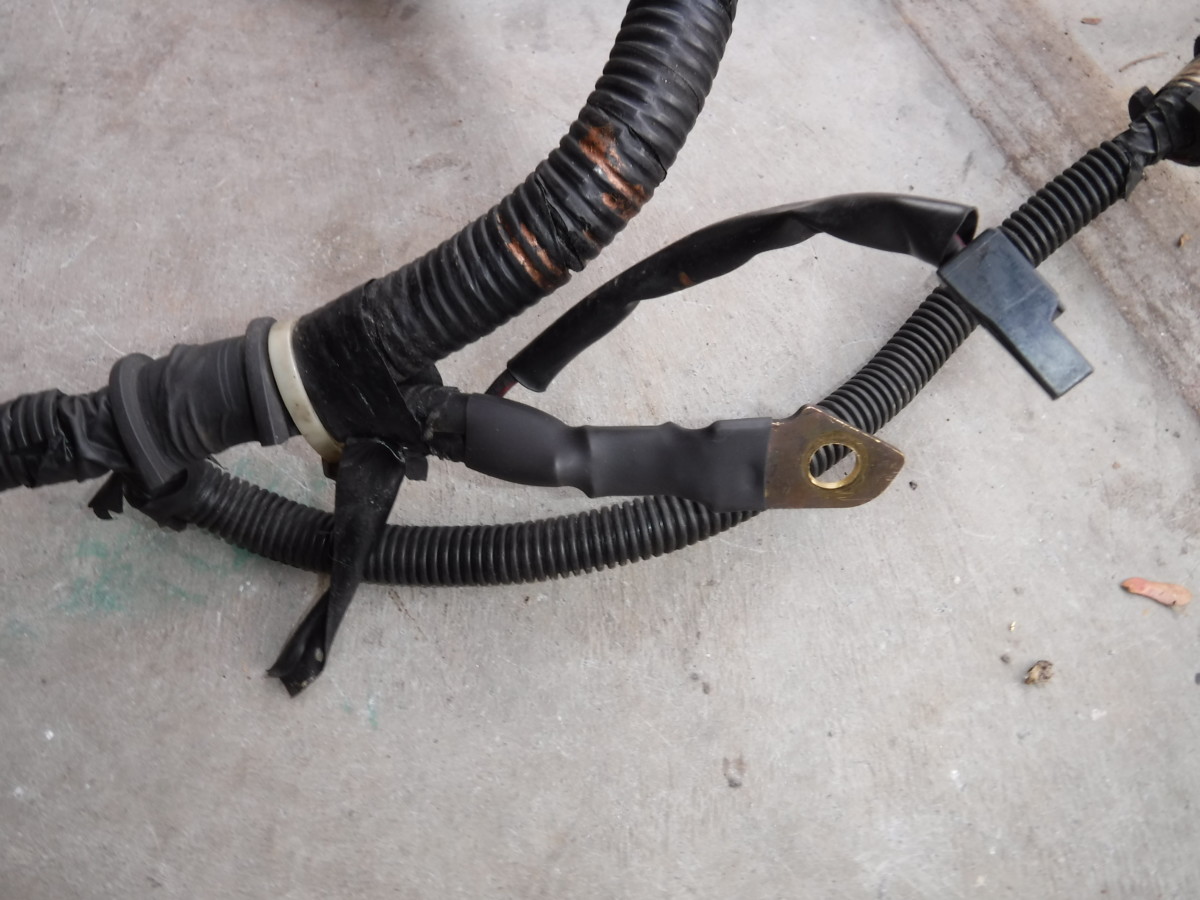
Connect the Miata Starter Solenoid Wire

Ready to connect this to the Miata harness
At this point, the large gauge Honda stuff should be ready to connect to the Miata stuff. However, there are a few smaller wires that also need to be extended, such as the starter solenoid trigger wire.

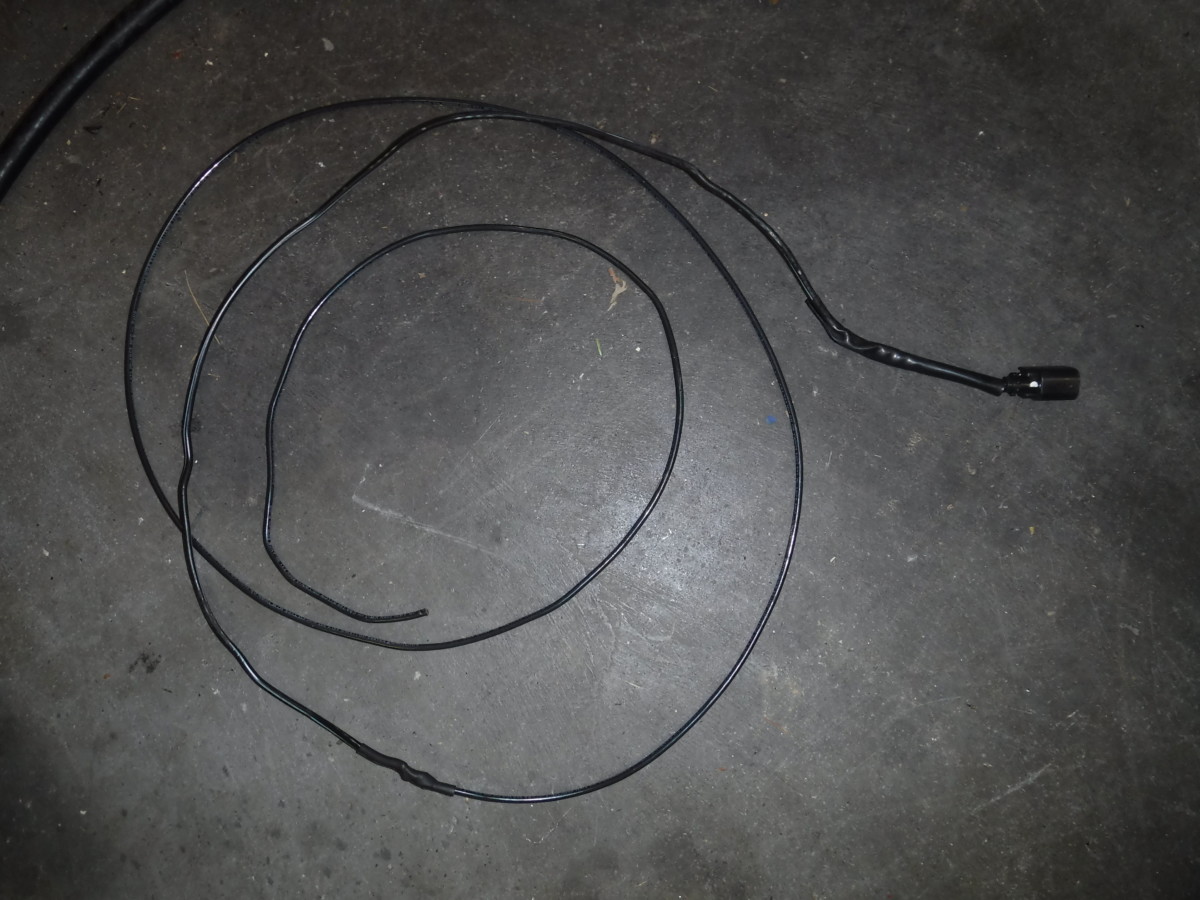
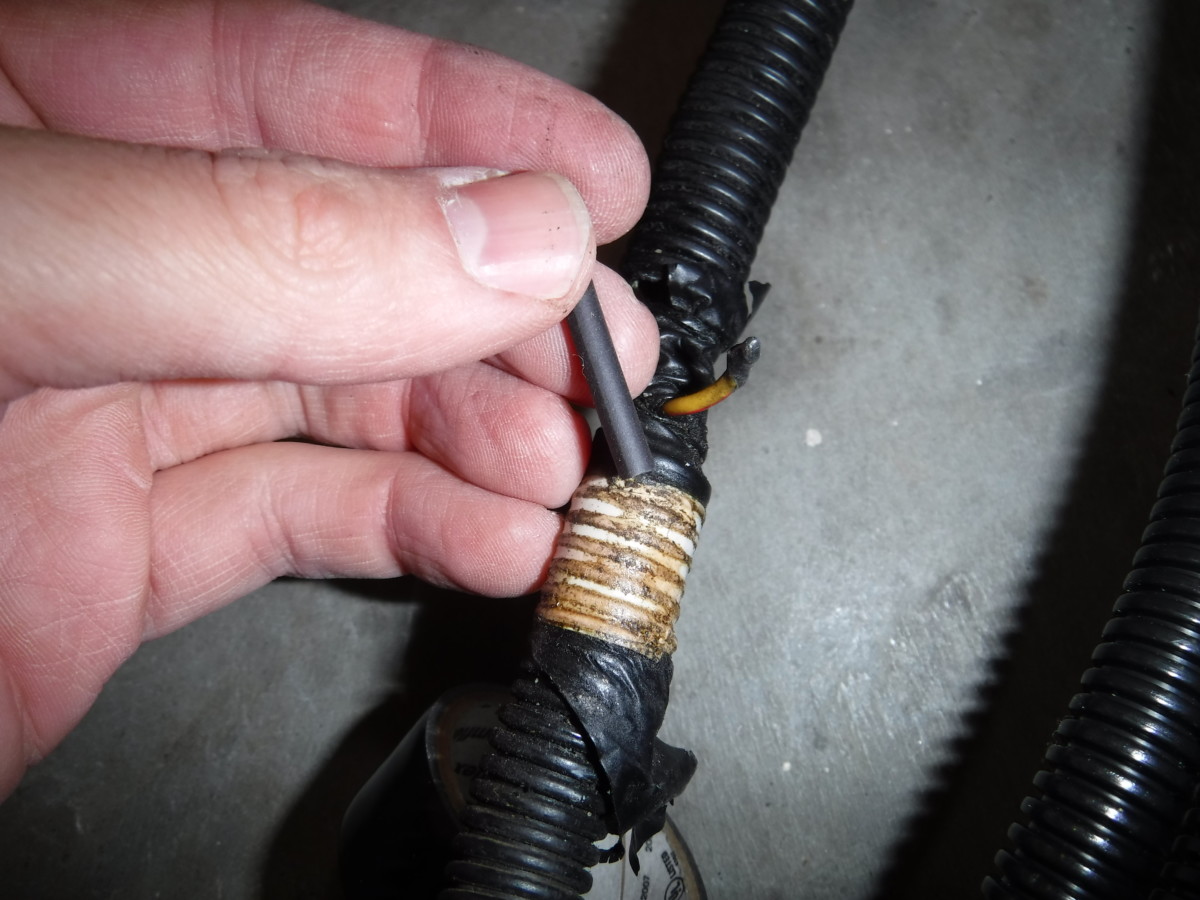
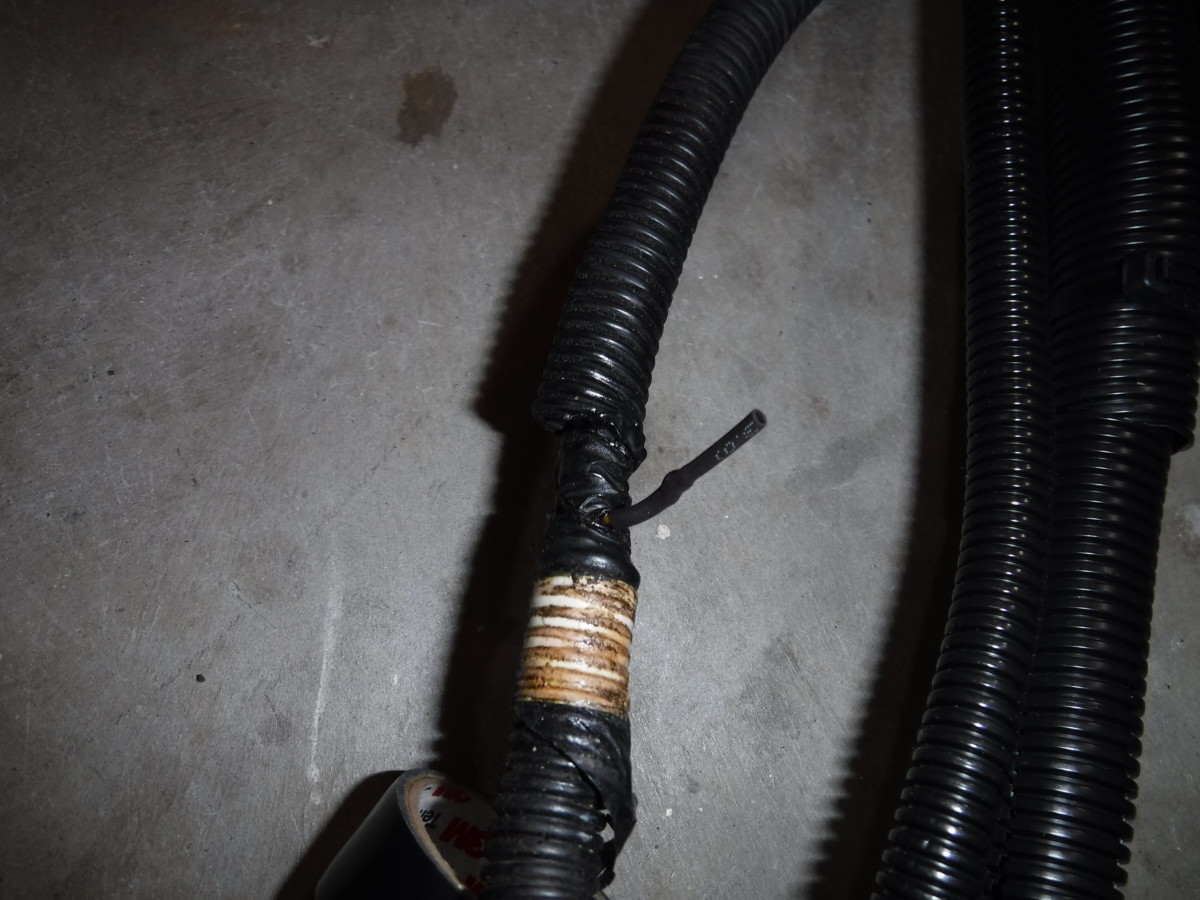
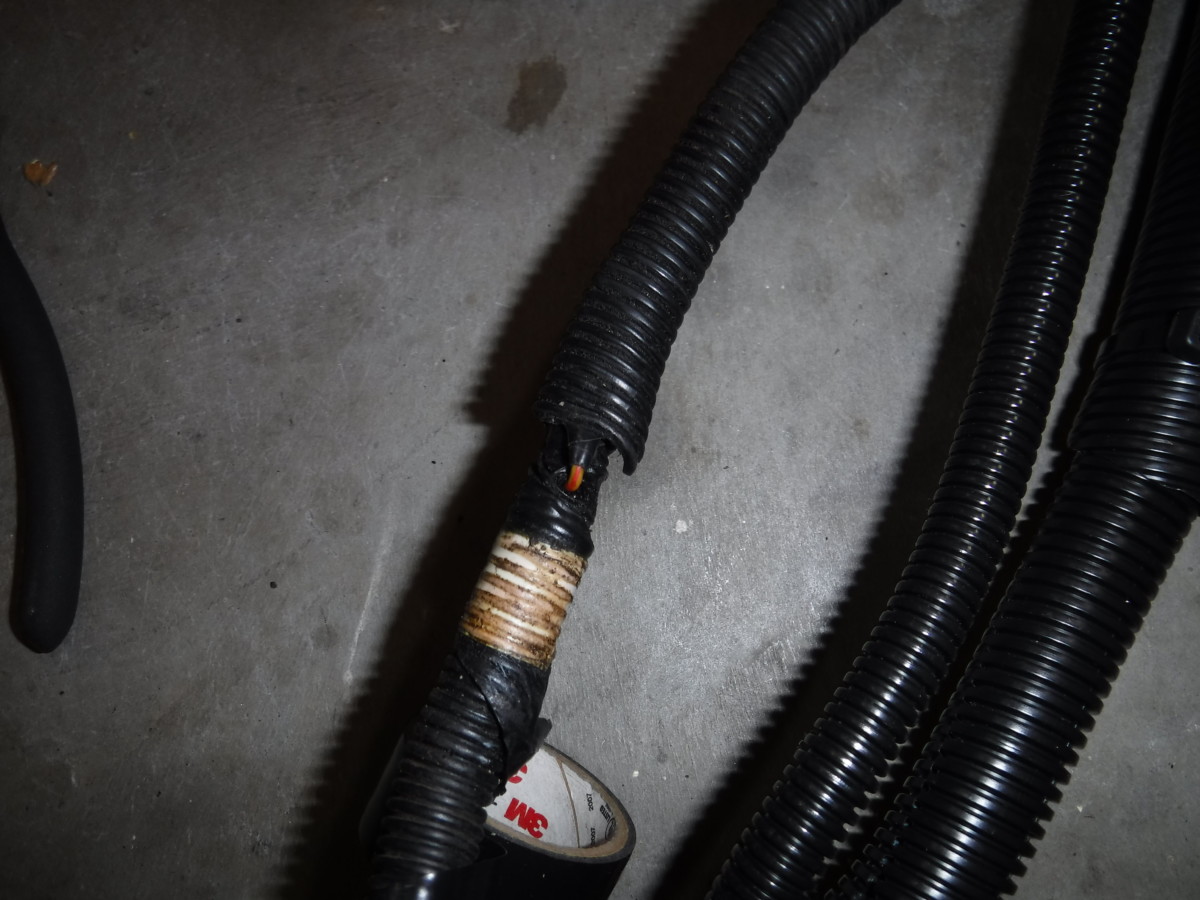
Starter wire needs heat shrink
Yeet
You may have to open the insulation around this connector before heat shrinking, to remove the smaller-gauge wire adjacent to it, but I honestly don’t remember. You definitely need to cut the signal wire visible in the second picture, extend it to match the 6 gauge main starter wire extension, and splice it into the Honda connector. Figuring out the length may require climbing under the car a time or two.
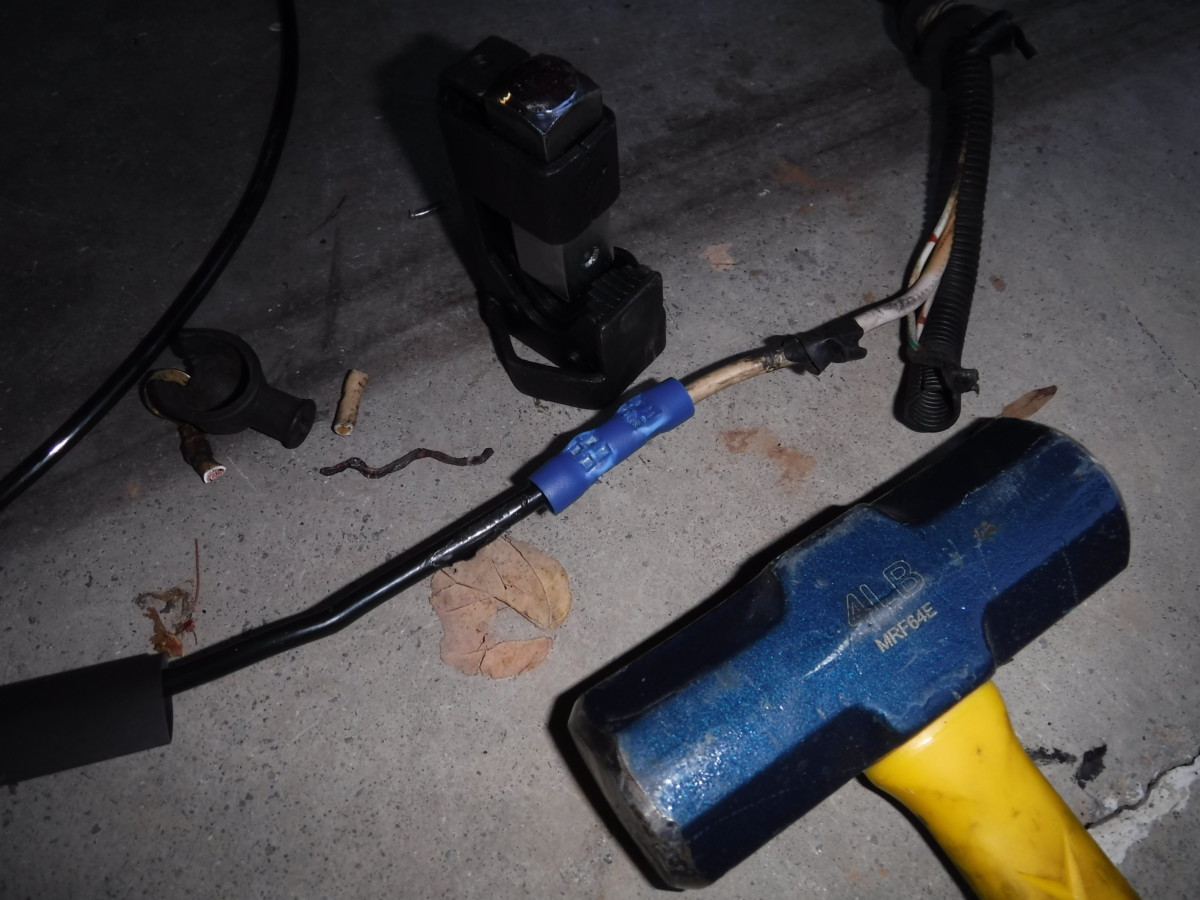
The signal wire has been extended to match the bigger starter wire
This connector came off of the Miata harness. I matched the length of the starter extension with some thinner gauge wire and spliced it to the Honda connector. I could have probably de-pinned and re-pinned but… sue me. OK, moving on. This starter and alternator wiring won’t wire itself. This wire will trigger the Honda starter solenoid.

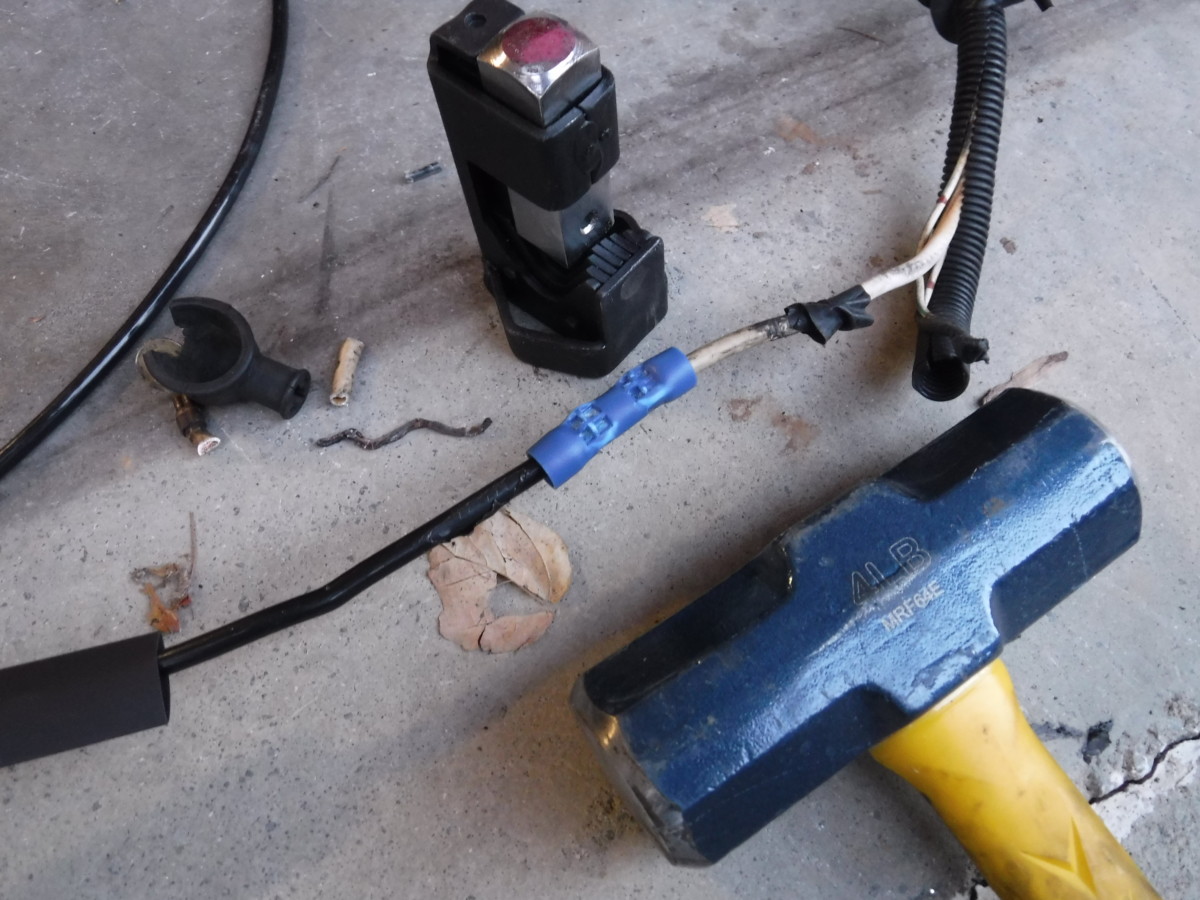
Soldered this connection, although arguably a crimp would be better
Don’t forget heat shrink!
For this connection, I went with solder and heat shrink, but a lot of people would argue a crimp would be better here. The starter solenoid wire is now connected.
Connecting the Alternator Wire
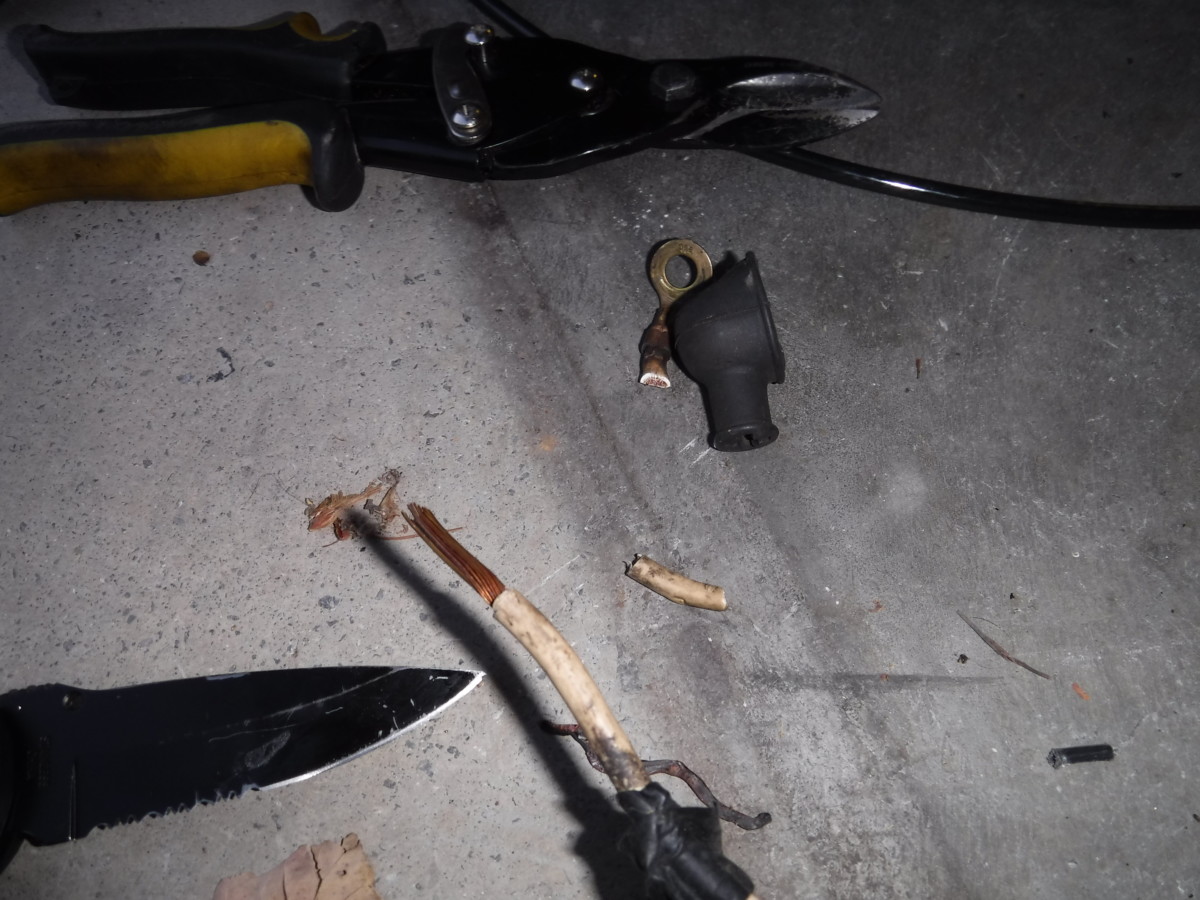
Finally cut off the connector
Used a butt connector to combine them
Now you can finally cut and splice the main alternator wire to the extension from the Honda harness. Don’t forget heat shrink afterwards.
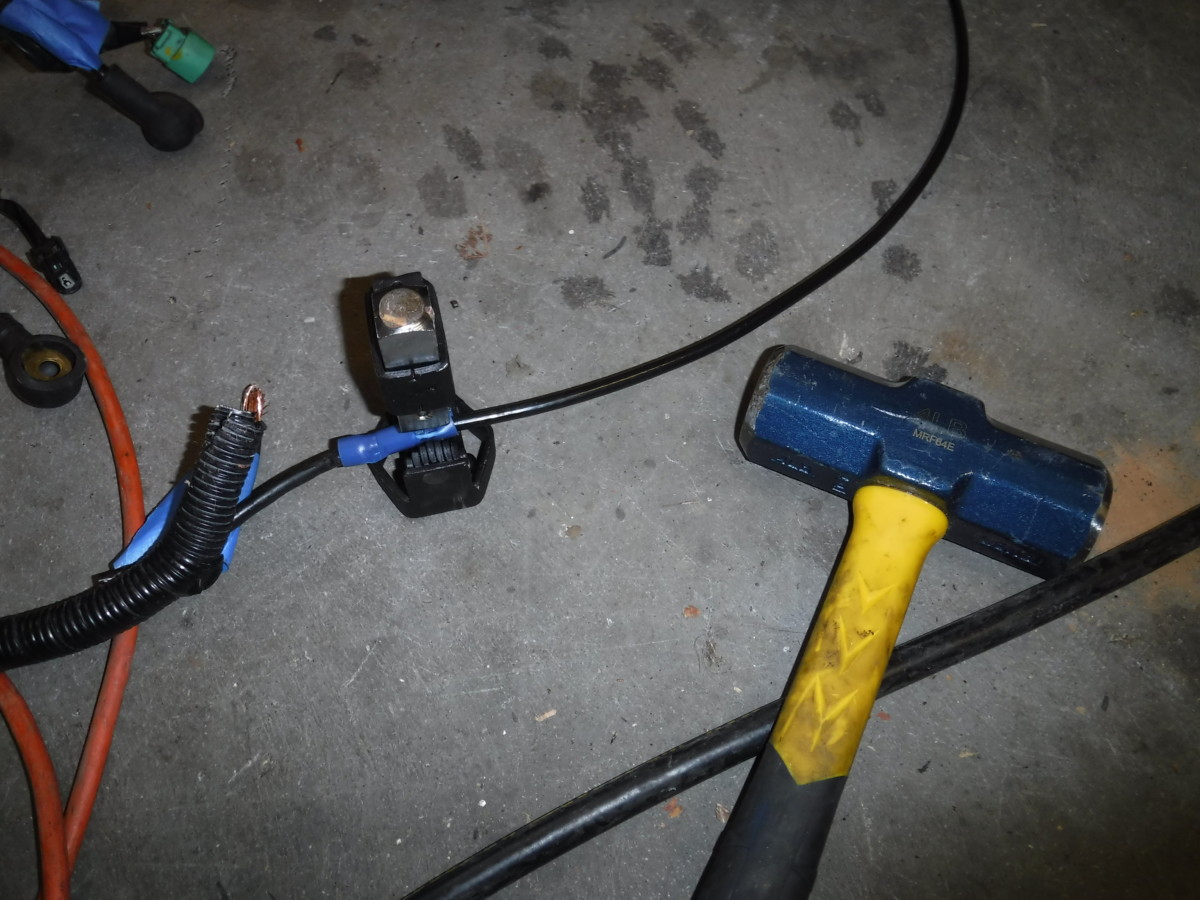
Connecting the Main Starter Wire
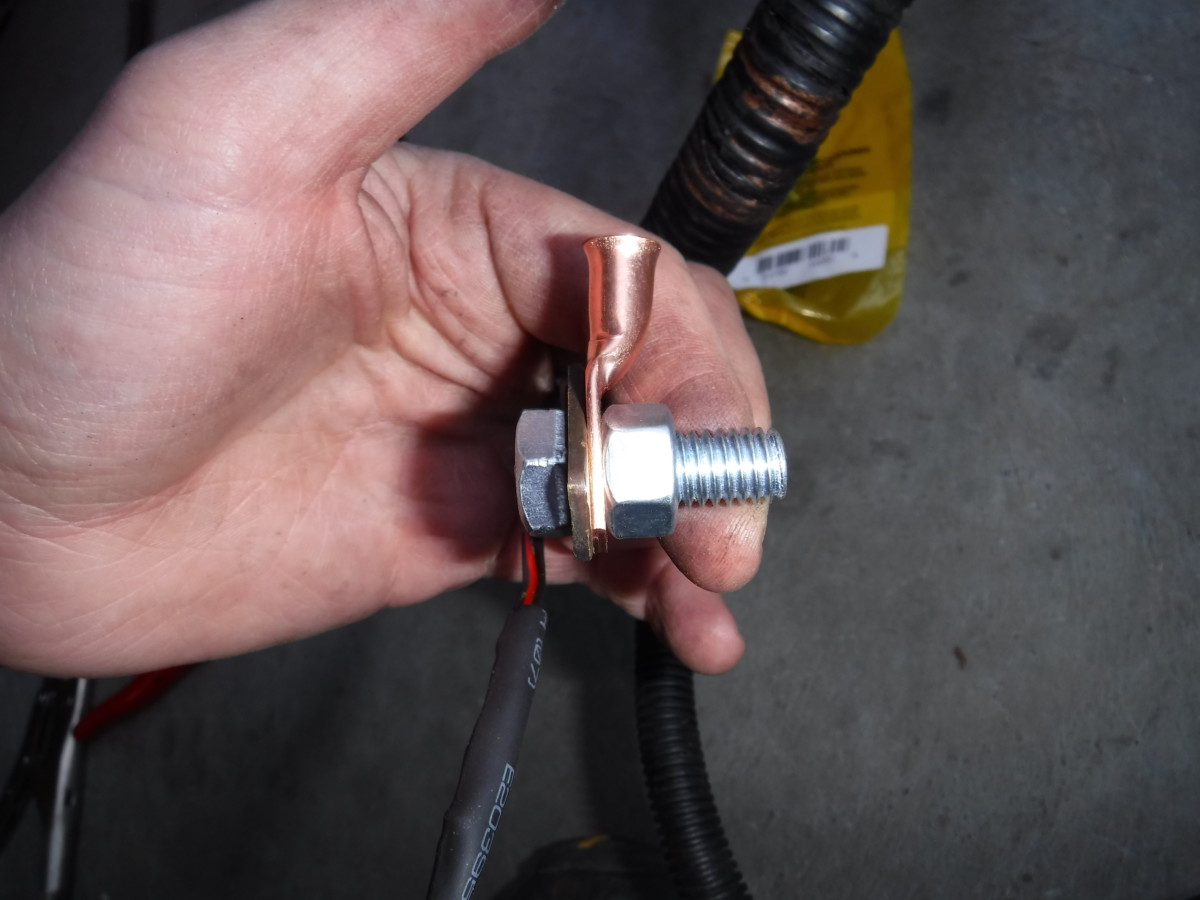
This bolt is too long
Rather than cut off the lug terminal already on the starter, we put a second lug terminal on the Honda extension wire. The idea is to bolt these two together with loctite blue and heat shrink them. The bolt I purchased, however, is too long, so I cut it off with an angle grinder. Note that the lug pictured is just an extra I had to check the bolt length.
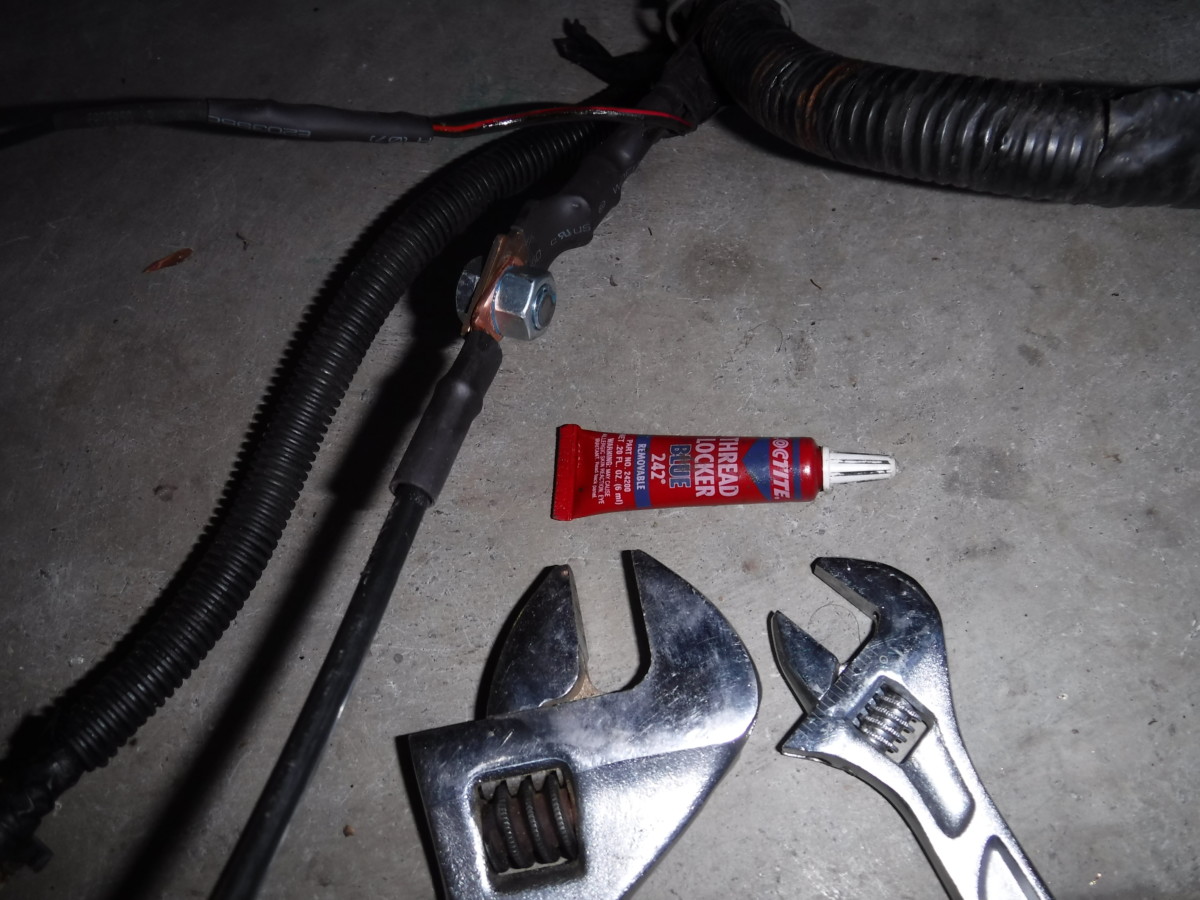
Bolted together
Don’t forget your heat shrink
Some wrenches, loctite, and heat shrink completes this part of the job.
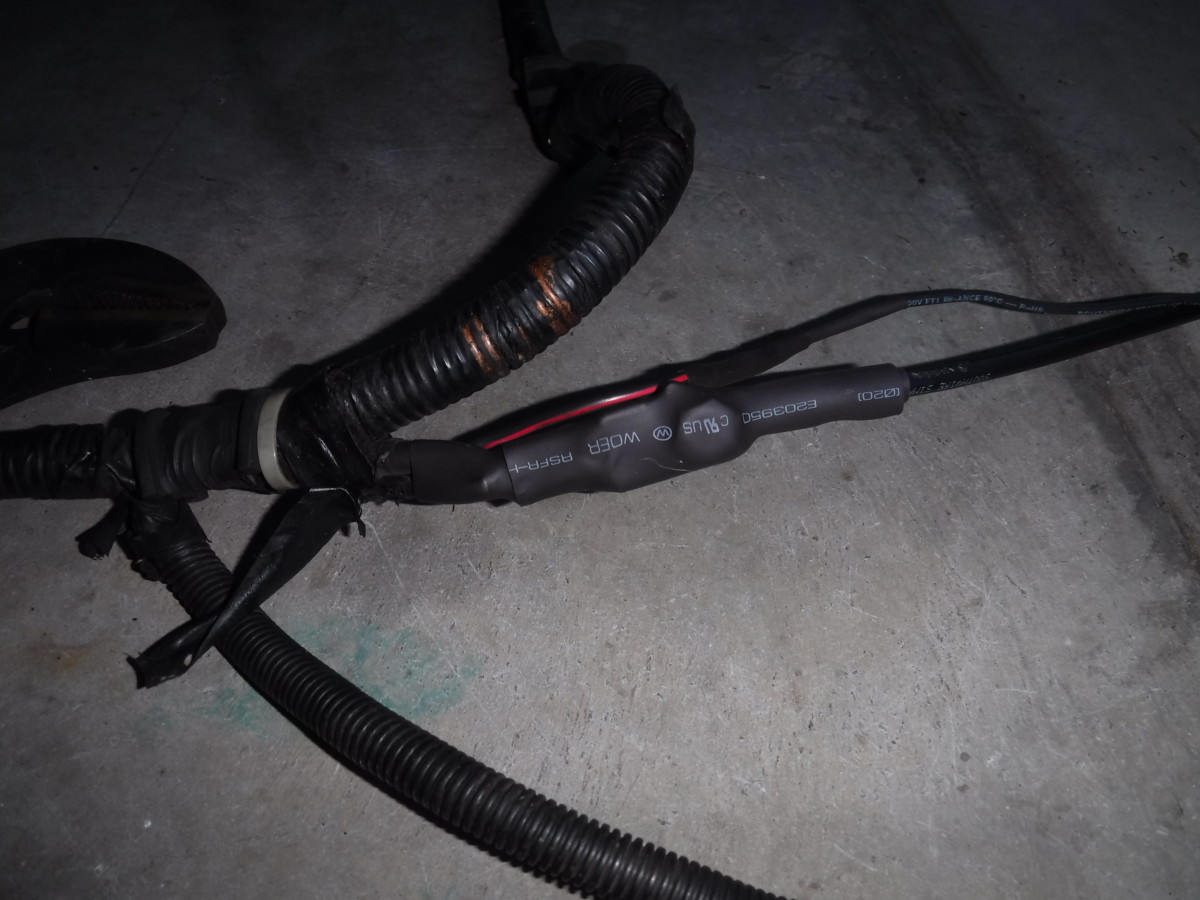
This ugly zip tie thing provides strain relief
Some wire loom and tape to protect against abrasion
Given that the starter wire includes this big bolt hanging, I wanted to add extra strain relief. This ugly abomination of zip ties supports the wire at either end, hopefully taking tension off of the heavy connector. Starter and alternator wiring is fun!
Cleaning Up the Harness, Adding Loom
Liquid tape and heat shrink to make sure this can’t short
This should now be sealed
There were a couple of extra wires on the harnesses that I didn’t need. Rather than totally strip and redo it, I simply added some liquid tape and then put heat shrink over it. Alternatively, you can clip the wire, fold it over, and heat shrink it. Either way, the goal is to protect the wire against accidentally shorting something out.
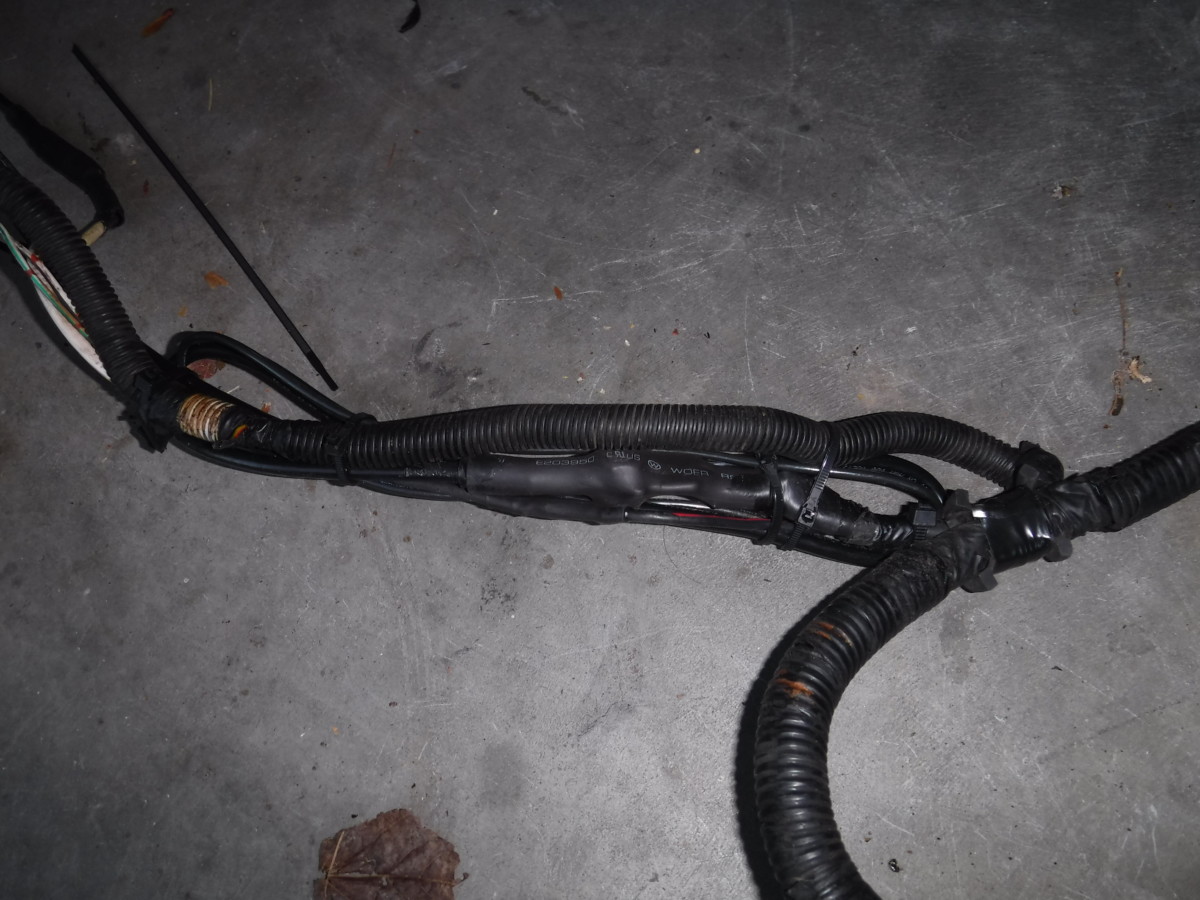
Wire tucked into the loom afterwards
The extra unused wire can be tucked under the loom for further protection before taping. This goes for any other unused wires you find in either harness.
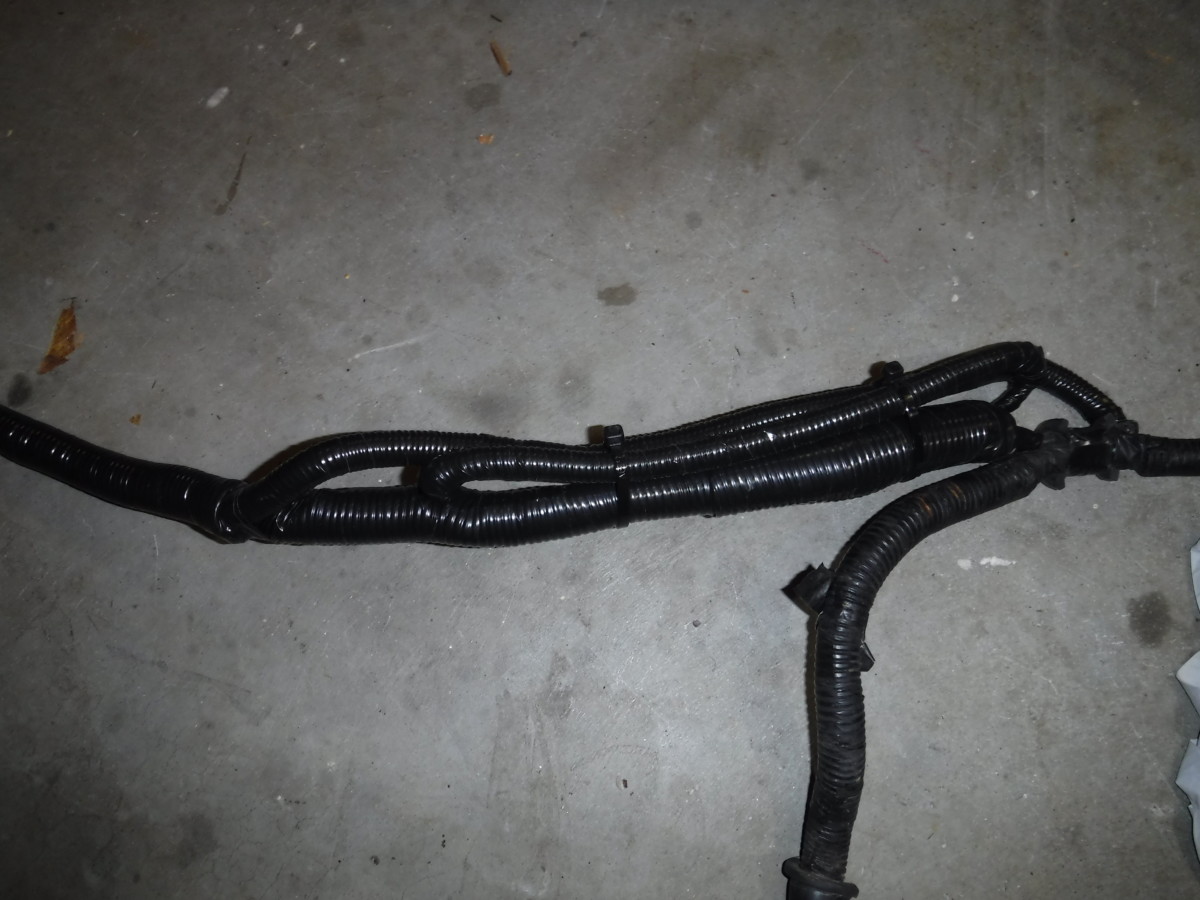
Good enough for government work
And here’s the final product. I should have used Tesa loom tape
Conclusion

This wiring is now ready for reinstallation into the car
That completes the starter and alternator wiring. This wiring is now ready to be put back into the car.