K24 Miata Swap – KMiata Header and Exhaust Installation
KMiata header and exhaust installation is pretty straightforward. The header bolts right up. It ships with the gaskets you need, as well as a v-band clamp to connect it to the exhaust.
Header Installation
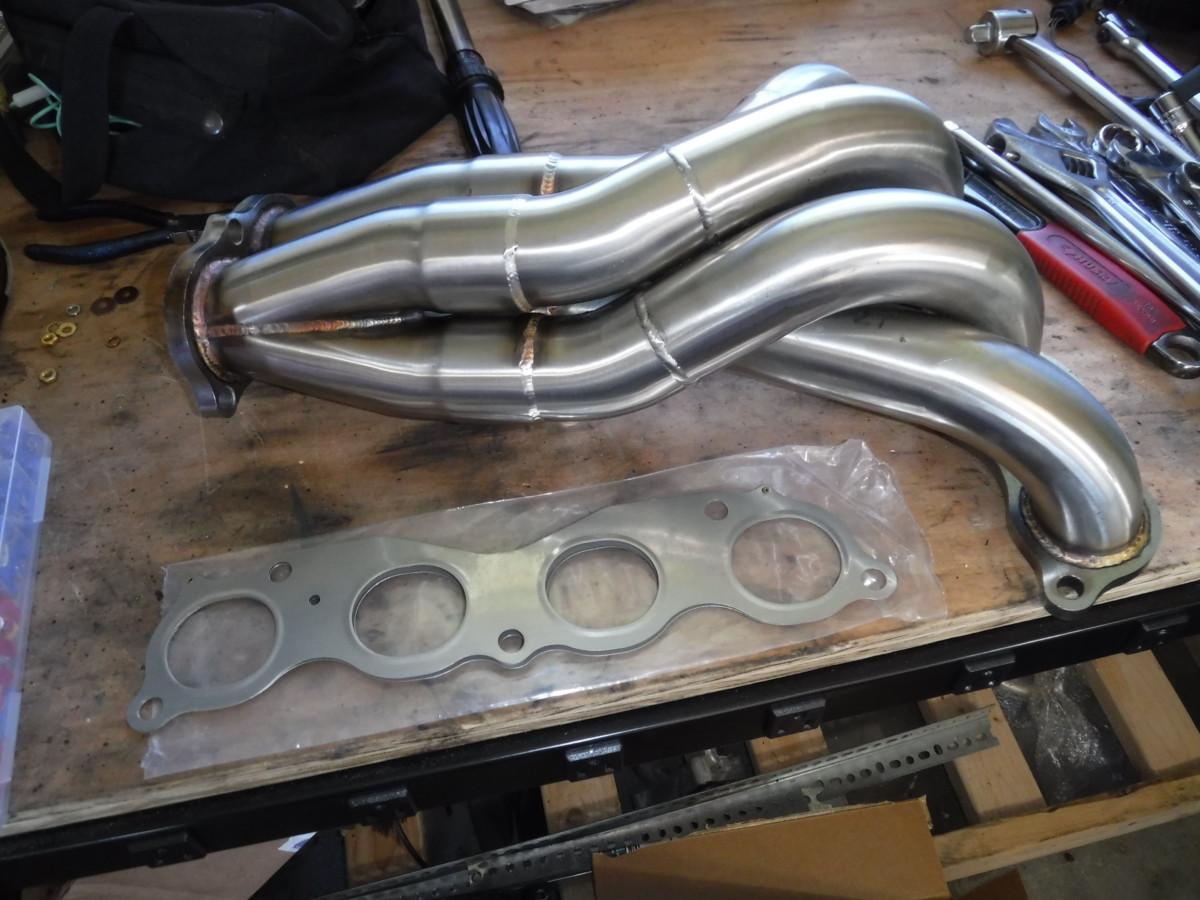
Header and gasket
Here is the header and gasket.
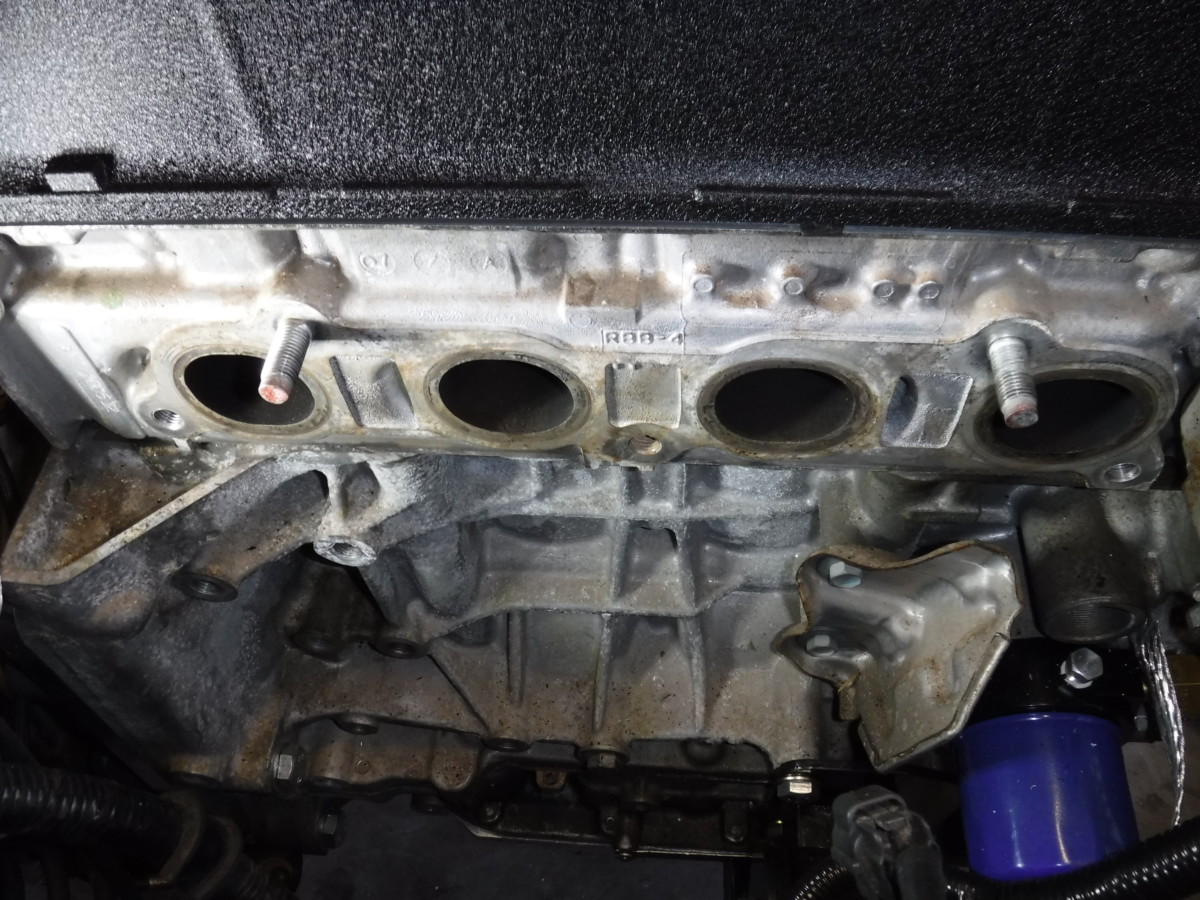
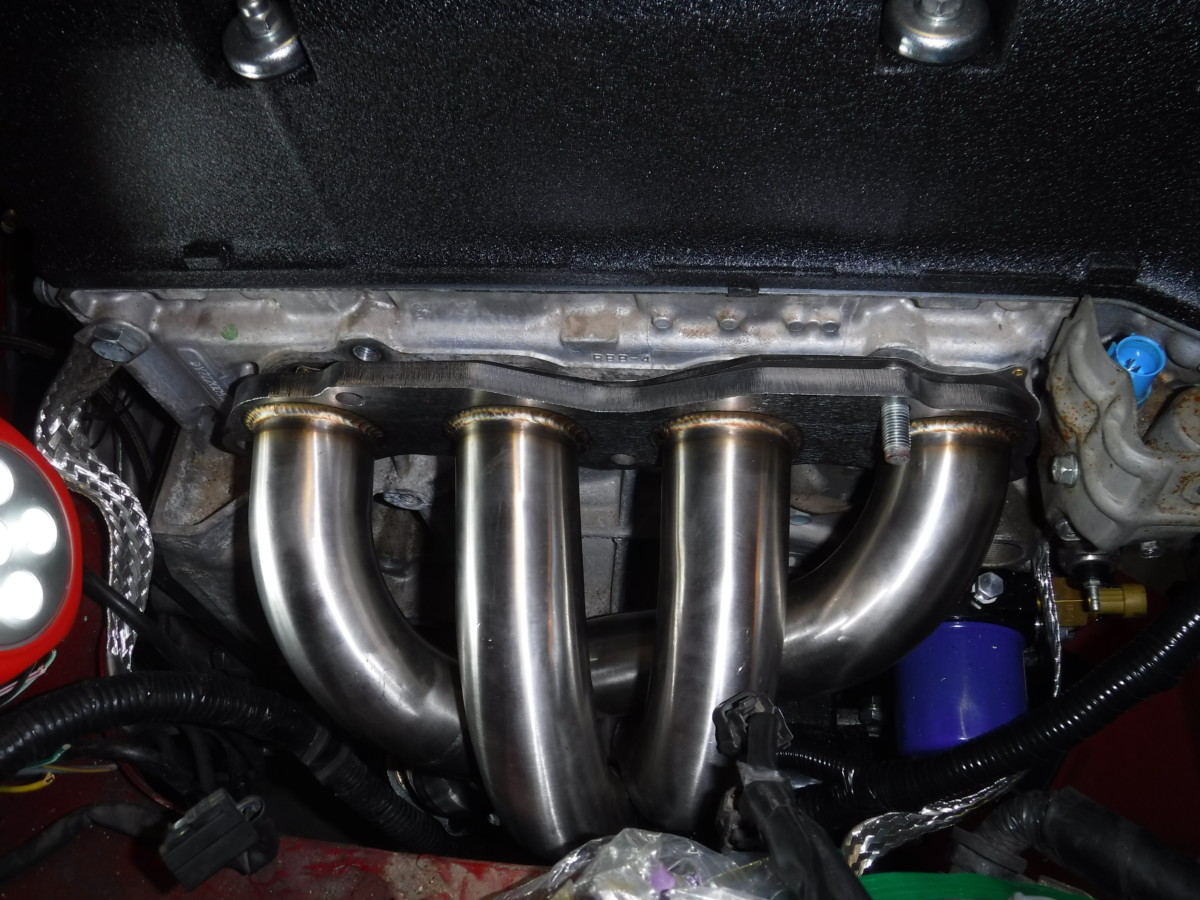
There’s not enough clearance to put the header on with the studs in the way
When you go to install the header, you’ll find immediately that there isn’t enough clearance to actually fit it over the studs.
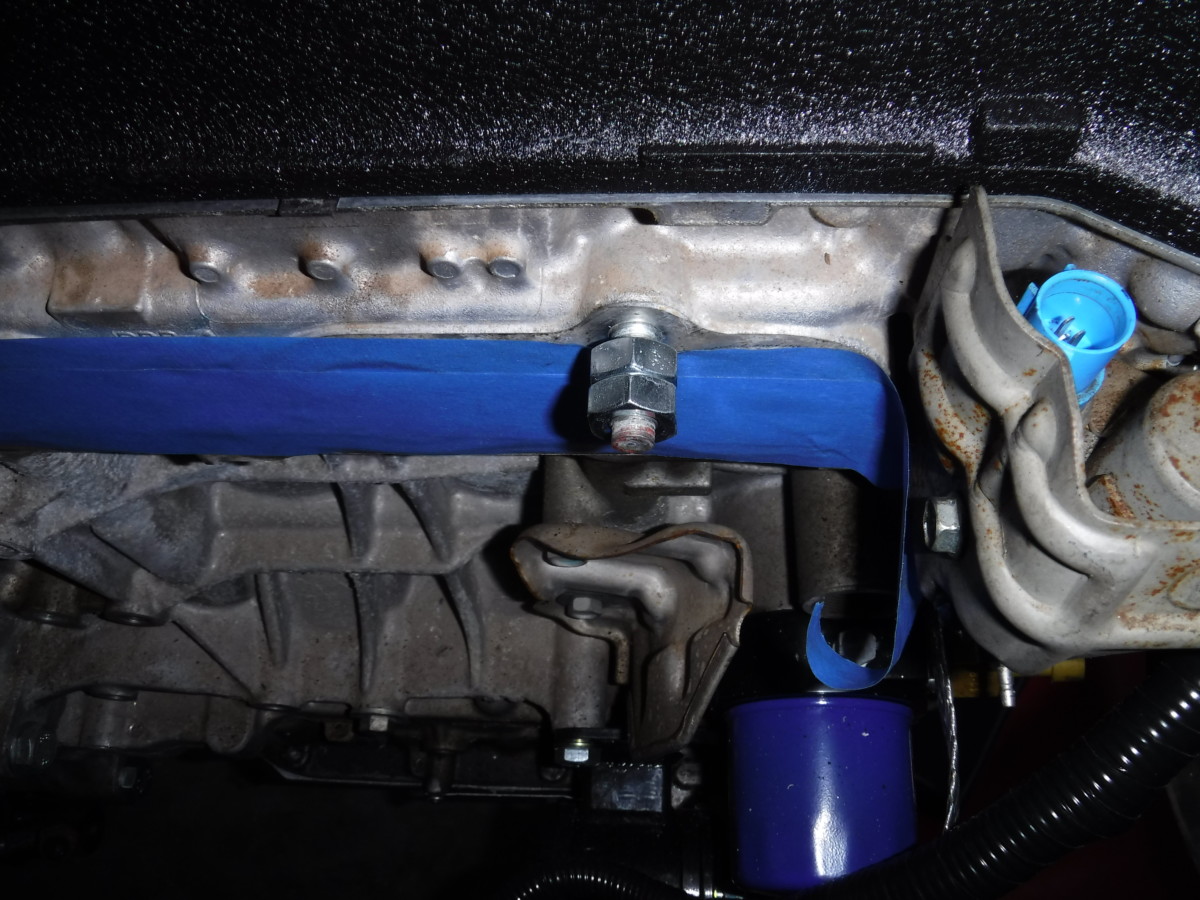
Double nut on the studs for removal
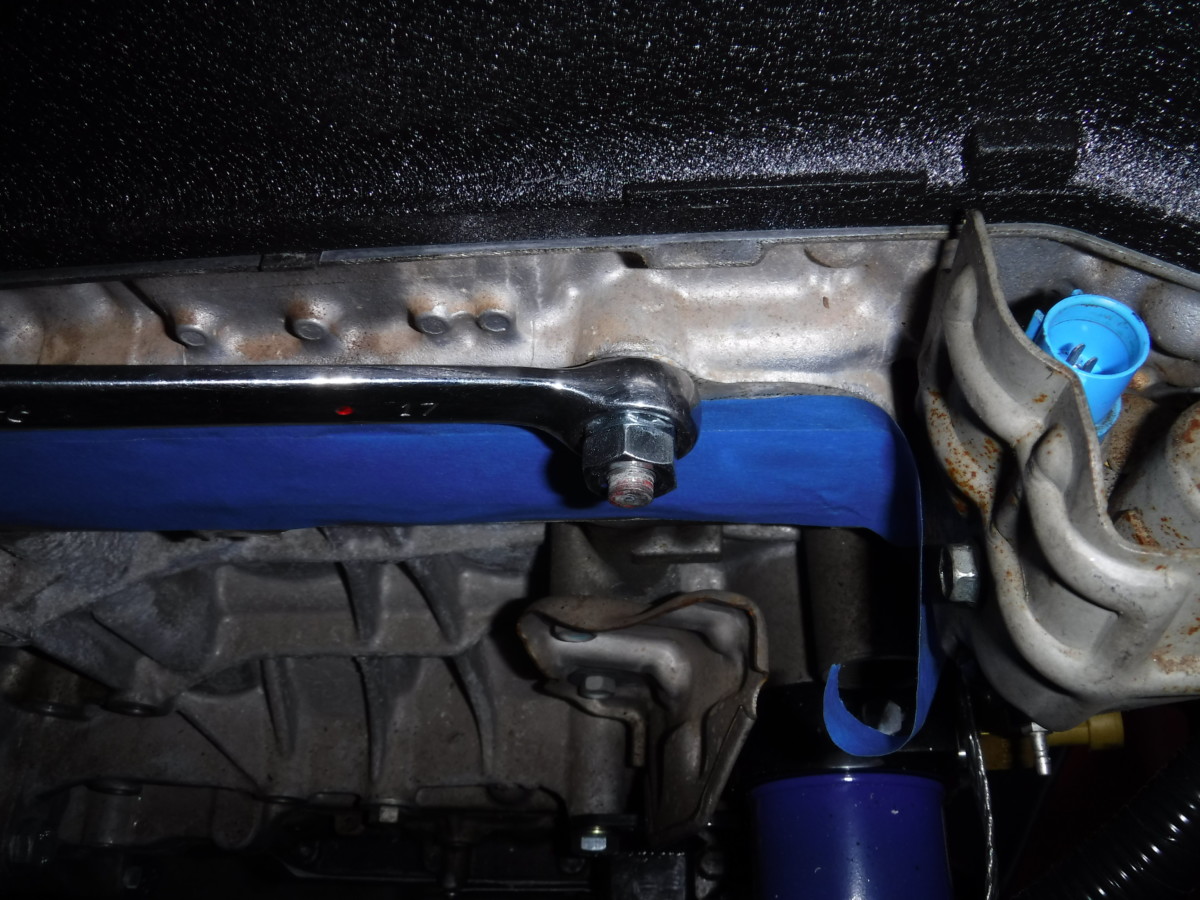
Using a box wrench on the rear nut to remove the studs
I ended up removing both studs using an old trick with two nuts. Thread both onto the stud and use a wrench on the rear nut. The front nut will lock it and allow you to remove the stud. I also put some painter’s tape on the exhaust openings to keep any junk out, but that was probably completely unnecessary.
Put the header on and then reinstall the studs
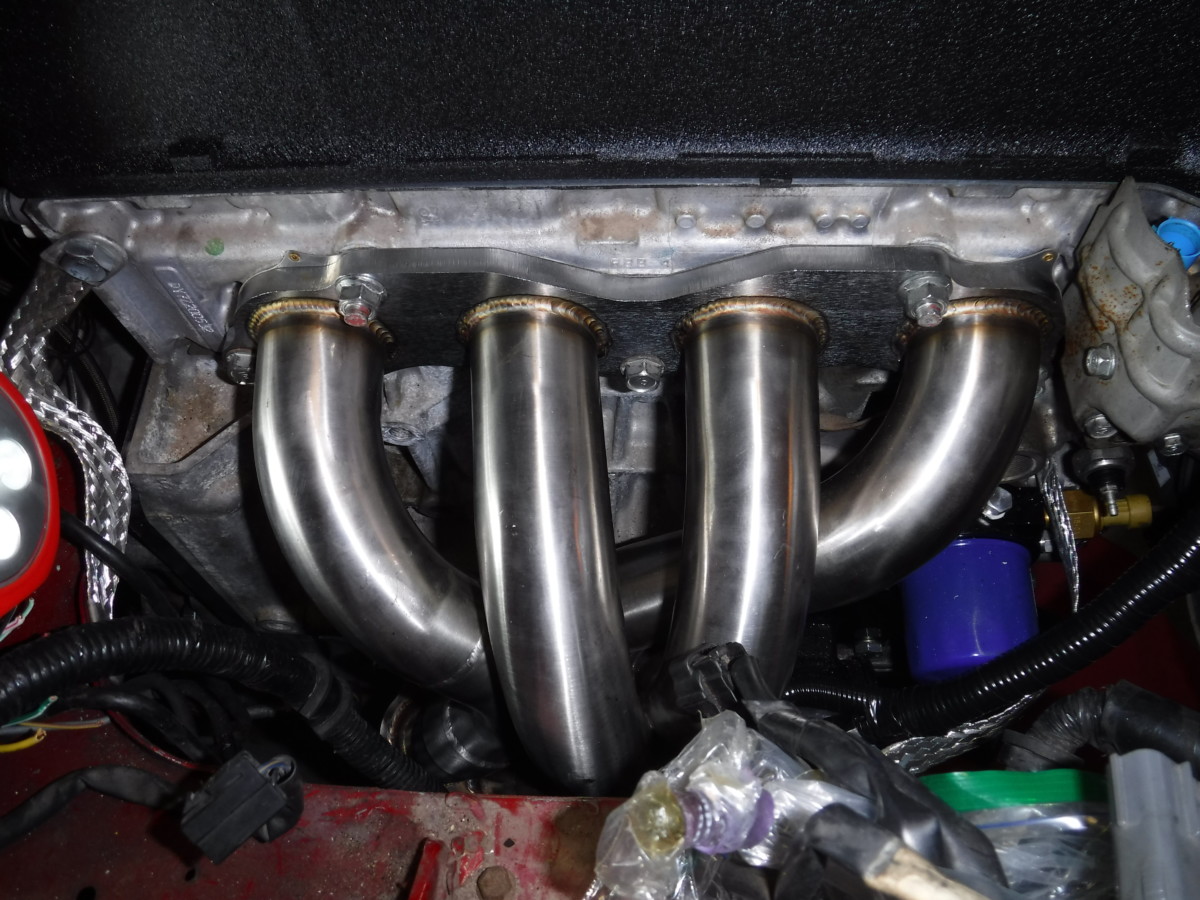
Done. Torque from the inside out
With both upper studs out, I was able to fit the gasket and header in place. I put the studs back in afterwards, using the same double-nut trick. Lastly, I torqued everything down to 33 lb-ft. For a flange like this, you torque starting with the center nuts or bolts and work your way out, alternating sides. This ensures the flange is seated properly.
Downpipe Installation
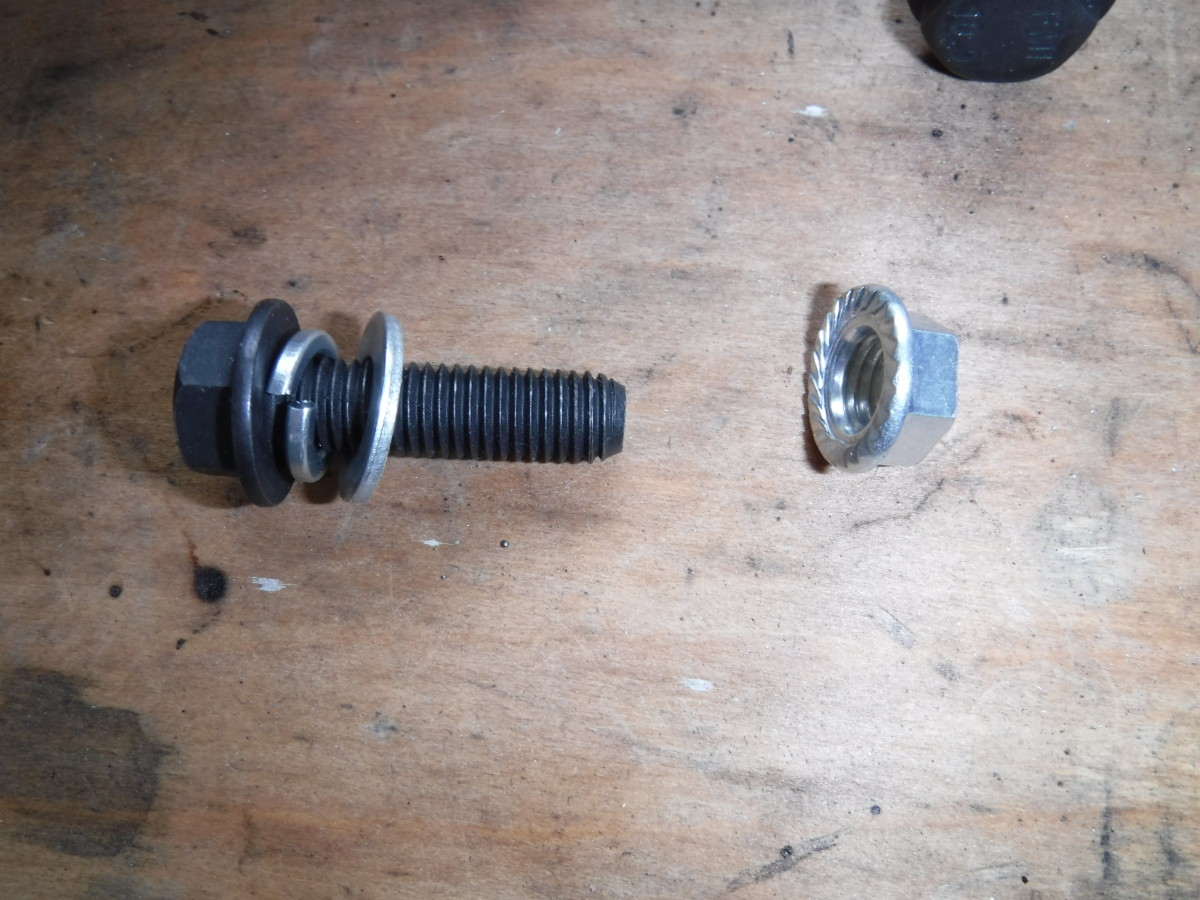
The order for the bolts and washers
After installing the header, you can move on to the downpipe. This requires getting under the car. The downpipe using three of these bolt and washer setups. Note that the flat washer is actually optional and unnecessary, according to KMiata. Also note that the older flanges were threaded, including this one, but newer ones will not be. The bolt can go in either way, whichever is easiest for installation.
Don’t forget the gasket
Of course, don’t forget the gasket.

Bolt orientation

Another view
As described above, I placed the bolts in whichever direction was easiest to install. As a result, they face different directions, but this has not caused any problems whatsoever.
Exhaust
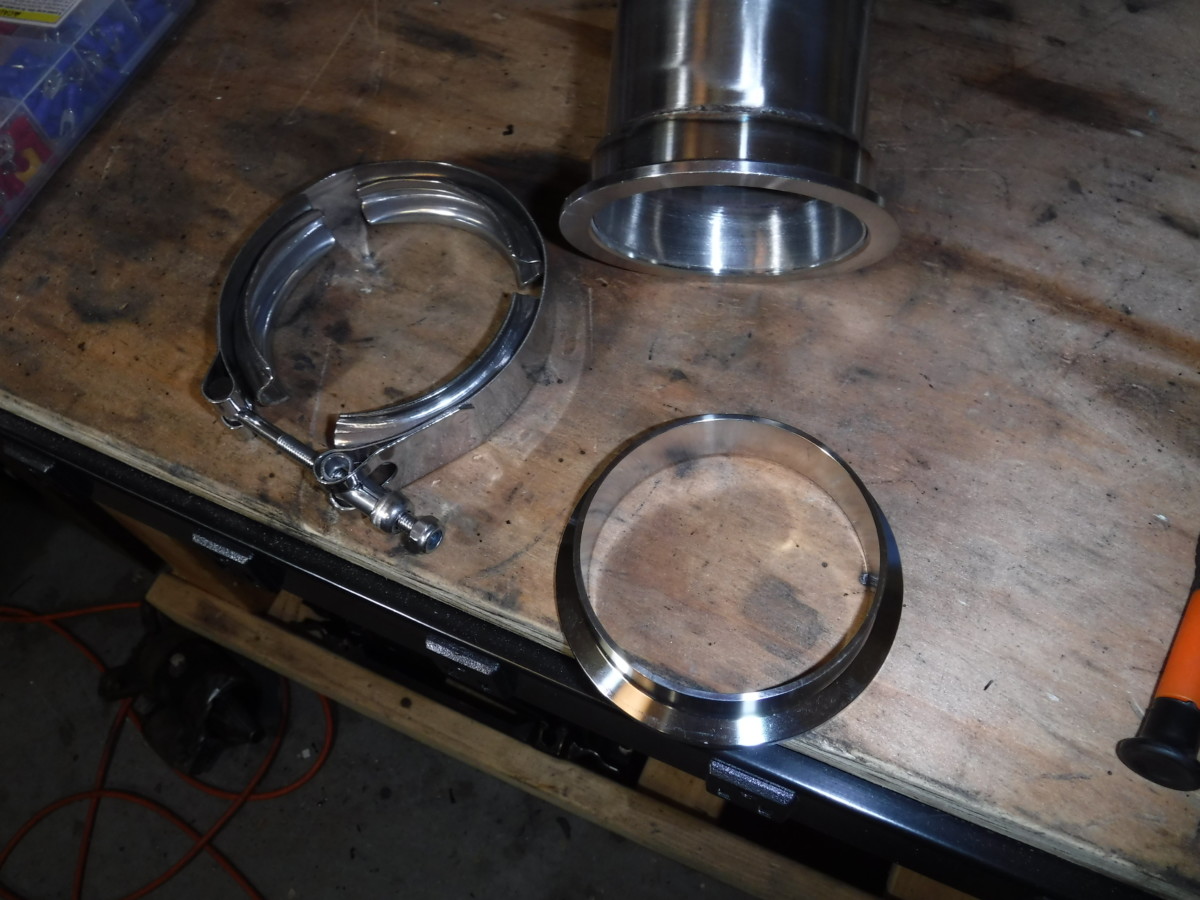
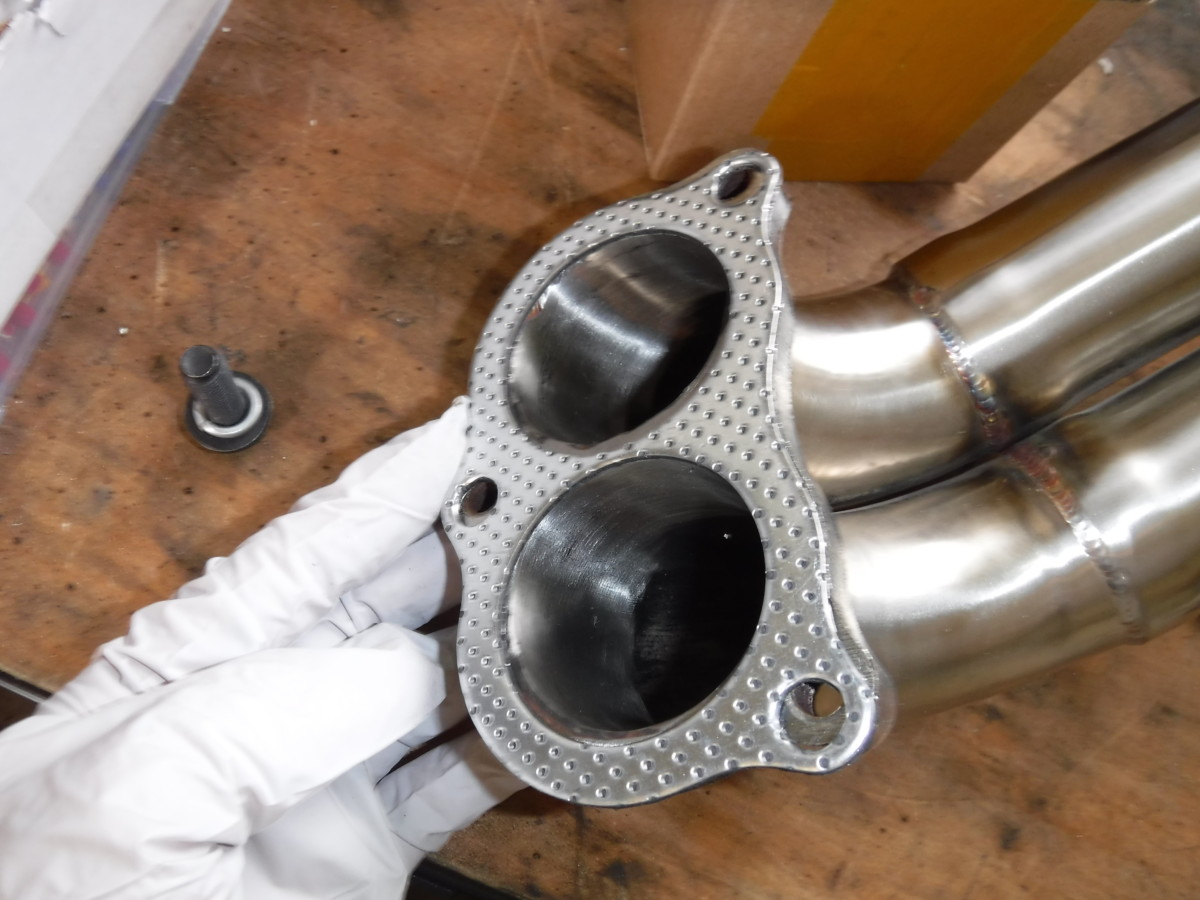
V-Band parts, including both flanges and the clamp
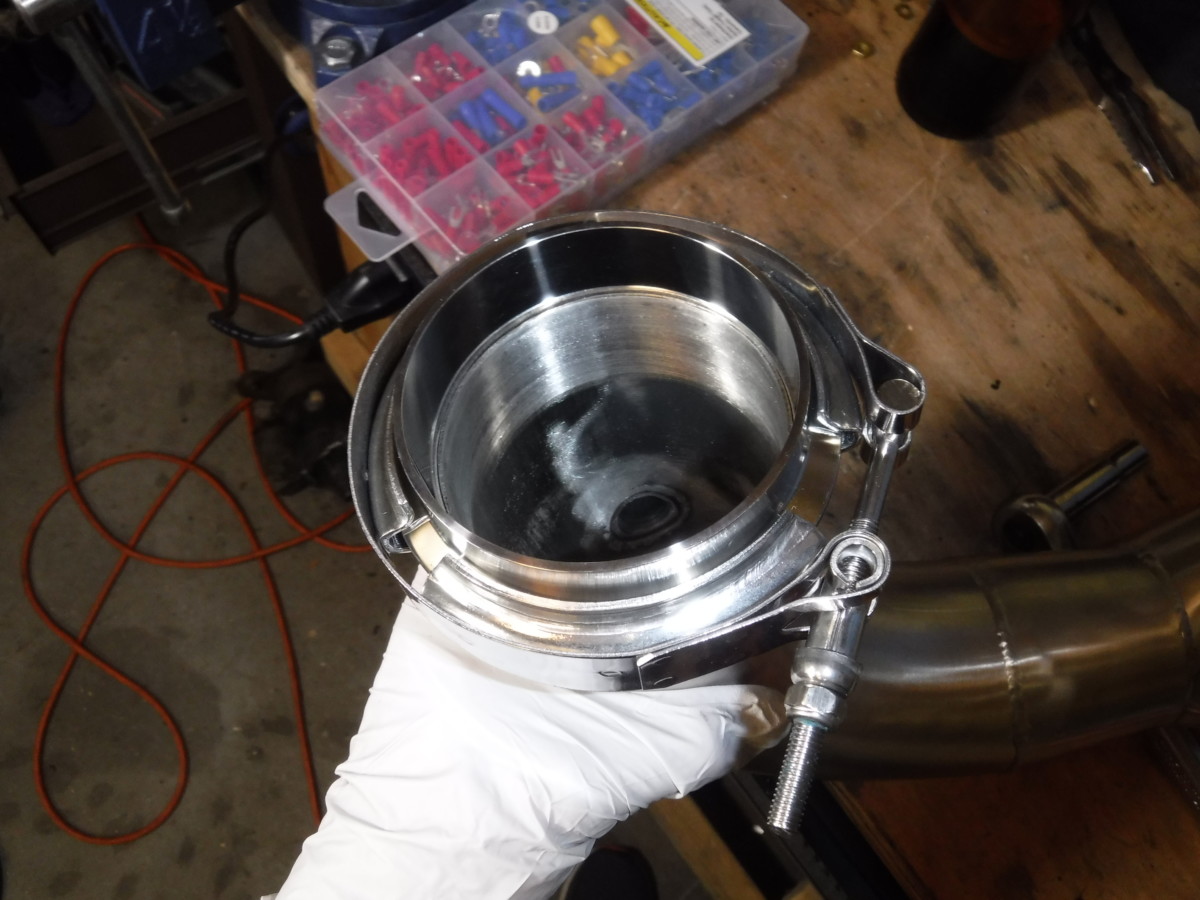
Assembled v-band
The downpipe to exhaust connection uses a v-band clamp, which seals better than other types of flanges. KMiata also includes the opposite flange for DIY exhaust. When I did my swap, they didn’t yet sell their exhaust kit. If I were doing this all over again, I would probably buy theirs.
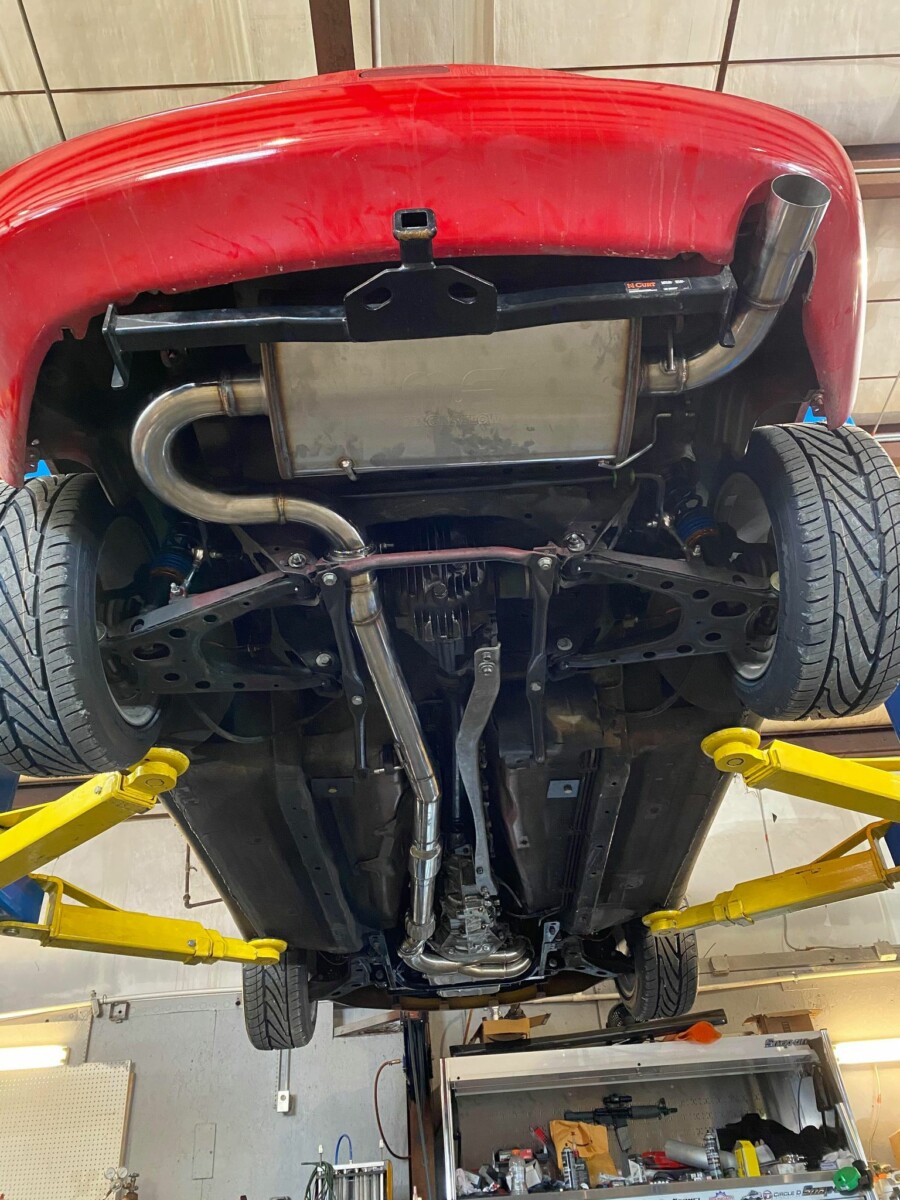
Complete exhaust
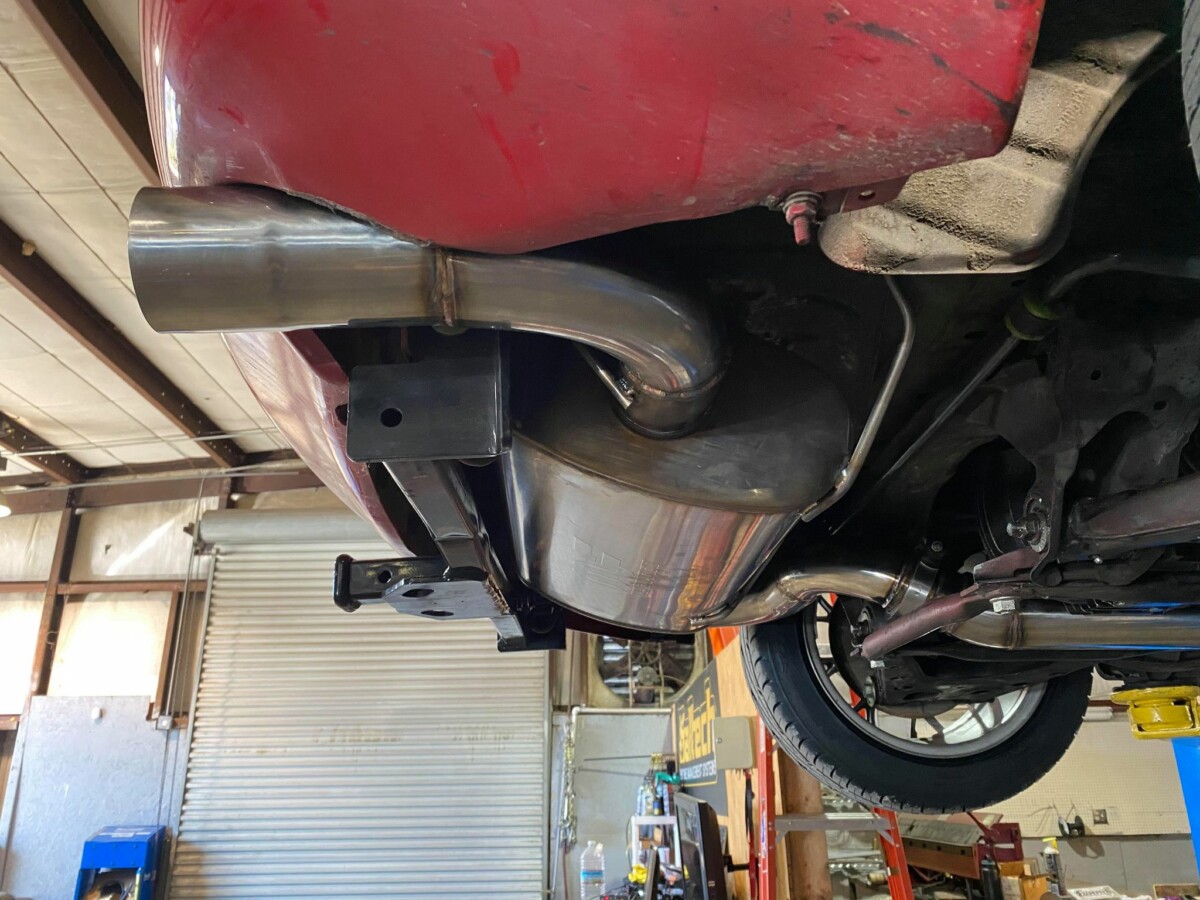
Muffler angle for fitment
If you can tig, you can save yourself some cash though. I hate the sound of Honda motors, so I tried to silence mine as much as possible. For my DIY exhaust, I bought:
- Magnaflow 12579
- 3in Stainless Mandrel Straight and Bend Kit
- 3in V Band Clamp with Flanges
(for straight section to right angle)
- Vibrant 1794 Resonator
- Stainless Exhaust Hangers


The muffler had to be turned as shown to fit, it’s very big. The overall noise isn’t too loud though, although there is a bit of a drone with the hardtop on. I may try to further dampen that with a 3in Vibrant Ultra Quiet Resonator
KMiata header and exhaust installation complete.