K24 Miata Hood Clearance
K24 Miata hood clearance can be something of an issue, particularly on NA Miatas. K24 engines are pretty tall. Exact fitment varies between cars, but there are three ways to increase hood clearance: trimming the hood, the KPower slashcut valve cover, and subframe spacers. Another option, not discussed here, is to simply buy or make a cowl hood, such as the Simpson design hood or the CCP fabrication version.
Trimming the Hood
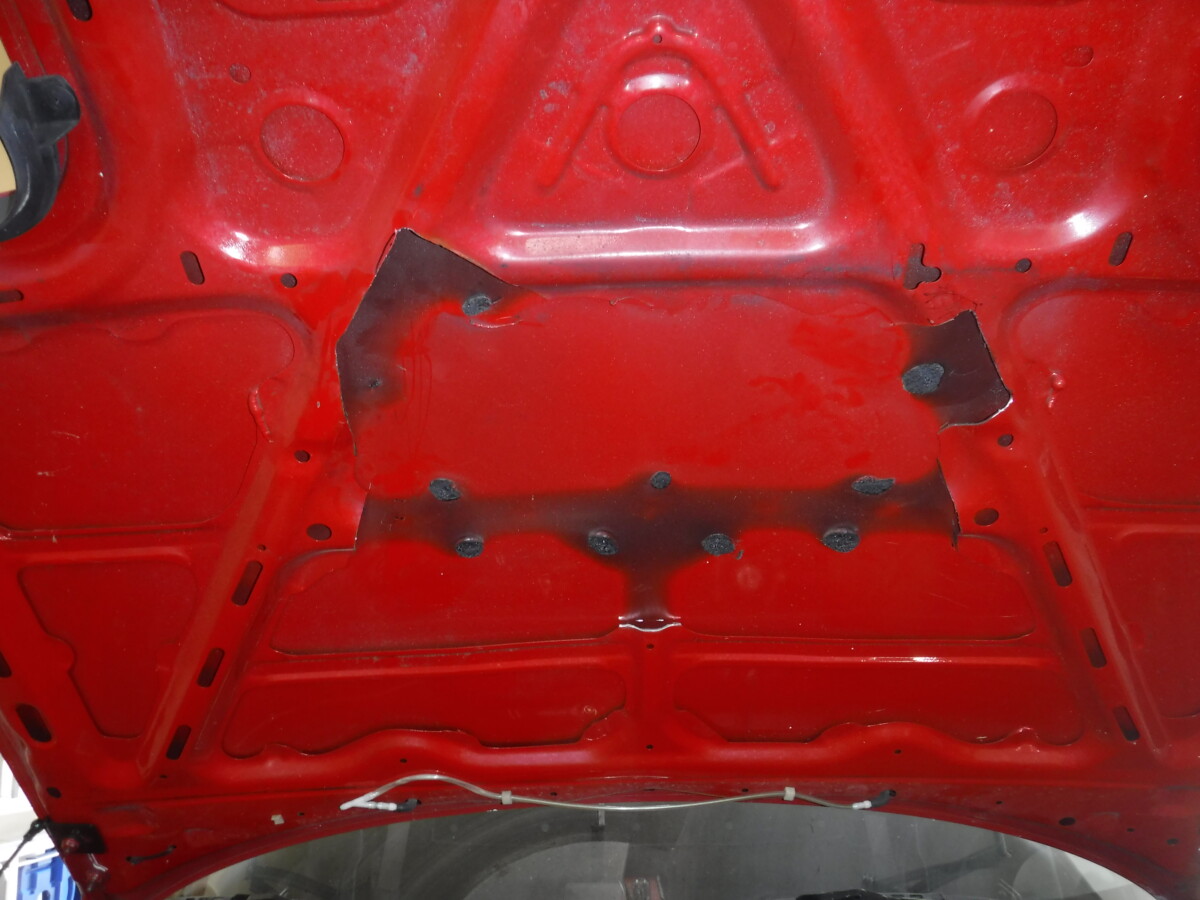
Hood after trimming
Unless you get an aftermarket hood with extra clearance, you’ll almost certainly have to perform this step. The front of the K24 will likely contact the support structure under the hood. I lowered my hood against the motor and carefully marked out where it made contact with a sharpie. After pulling the hood off, I trimmed it with an angle grinder

KPower Slashcut Valve Cover
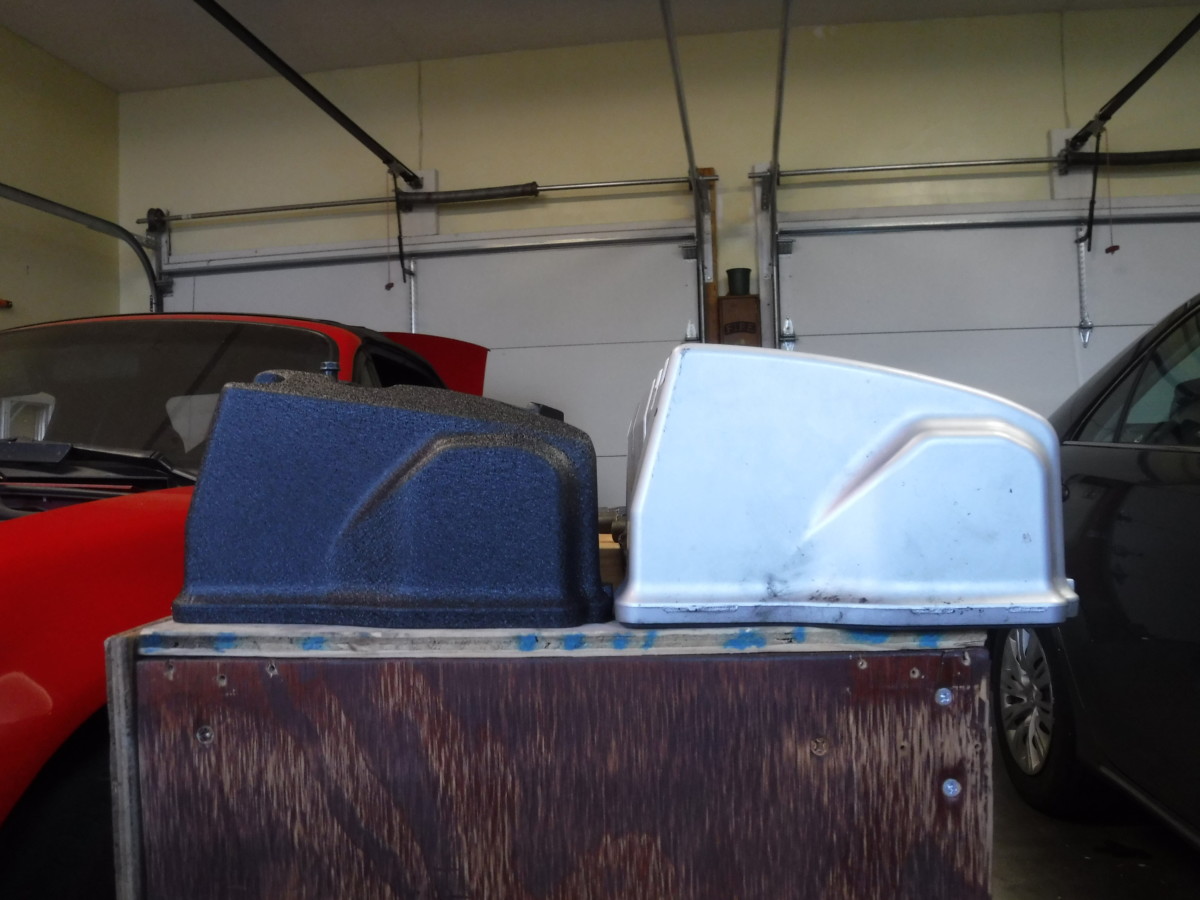
Clearance difference between slashcut valve cover and factory
This is the most expensive option on the list. KPower sells a version of the K-series valve cover with the area over the cams cut as low as possible. A new piece of aluminum is welded on, and the entire valve cover is powder coated.
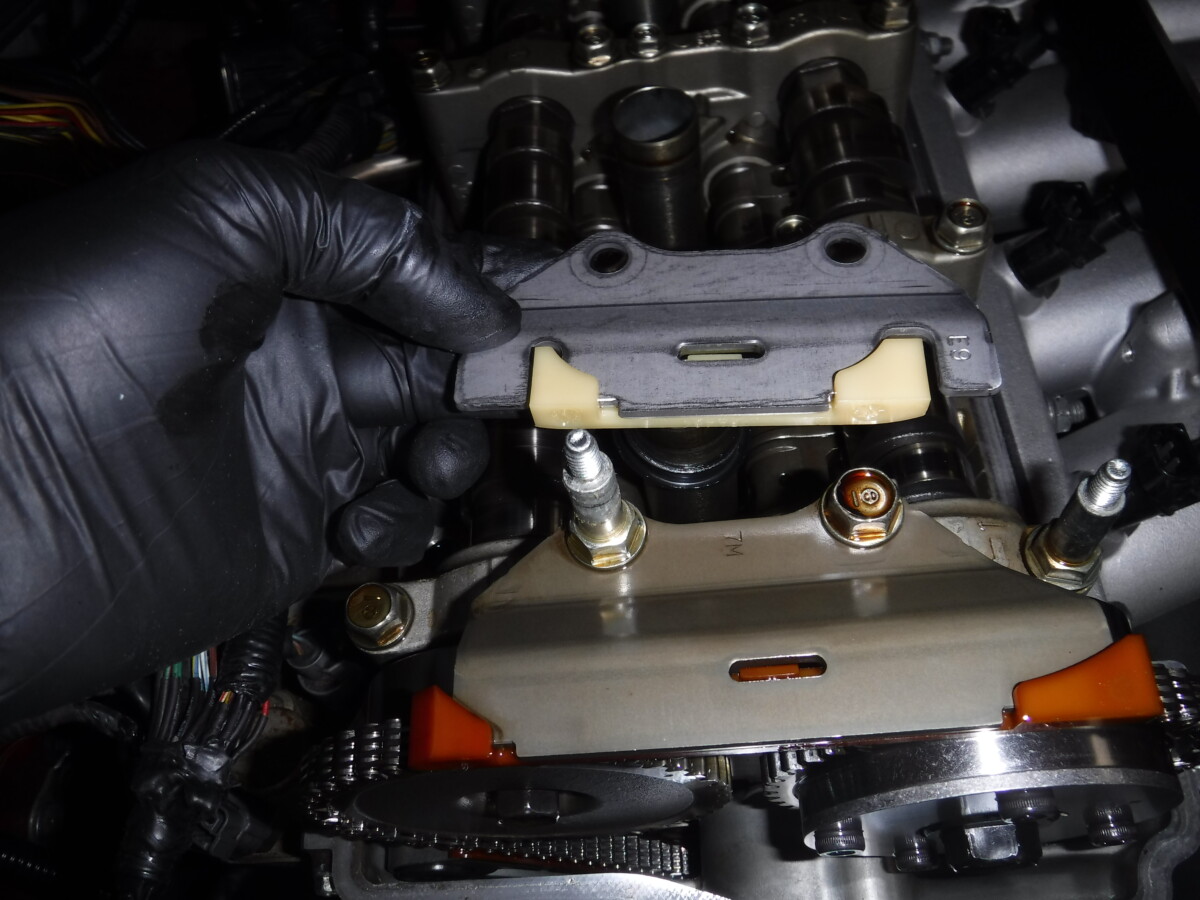
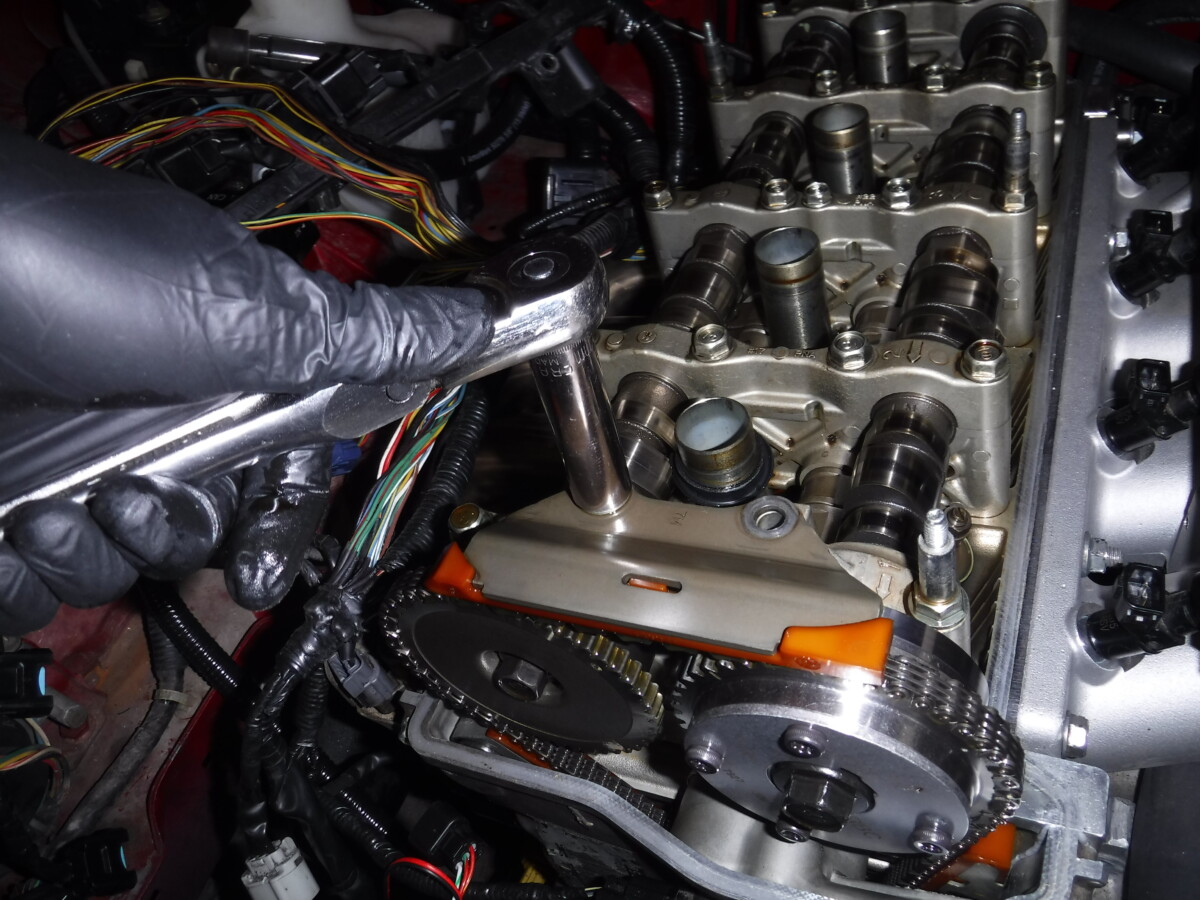
You must use this narrower chain guide
It is worth noting that later TSX motors had a wider timing chain guide, as mine did. The valve cover will not fit with this chain guide. It must be replaced with the earlier, narrower version, Honda part number 14540-PRB-A01.

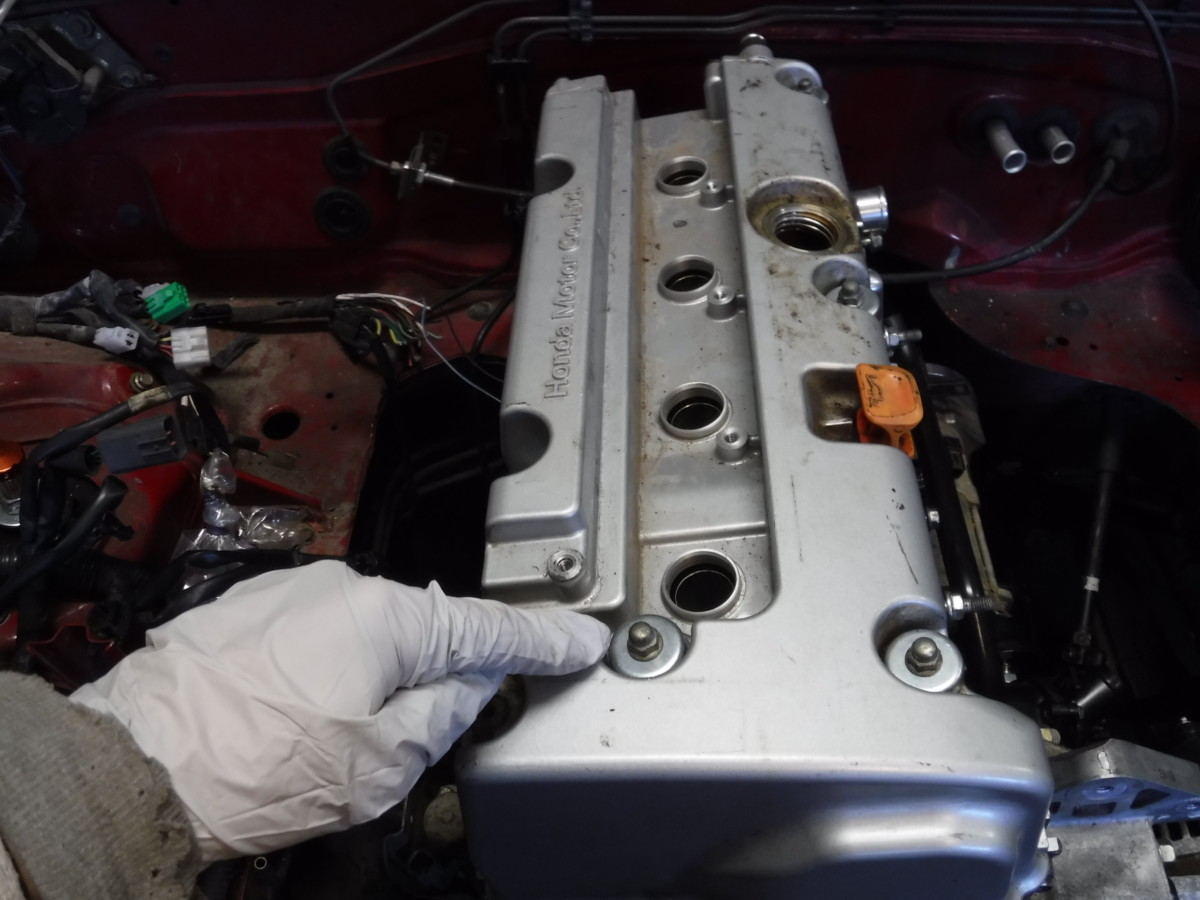
Remove these valve cover bolts to pull the cover off

These washer seals may fall off when you remove the old cover
To remove the old cover, simply undo all of these small bolts with a 10mm head. You may also want to go ahead and remove these washer seals so they don’t fall off on their own and get lost. Don’t forget to remove the oil dipstick. When all of the bolts are out, the cover should pull right off.

First bolt for chain guide
Second bolt for chain guide
Once the valve cover is off, you can swap chain guides if necessary. Older engines will already have the narrower guide. Simply remove these two long bolts, swap the guides, and reinstall them. Torque to spec.

Seals for spark plug wells
On the new cover, you’ll need to install these four seals for the spark plug wells. I placed them as flush as possible and used a deadblow hammer to gently tap them in. A bit of silicone lubricant or oil helps them slide in place.
Once that’s all done, add a valve cover gasket to the valve cover and install it as normal. Don’t forget to add some RTV
Subframe Spacers
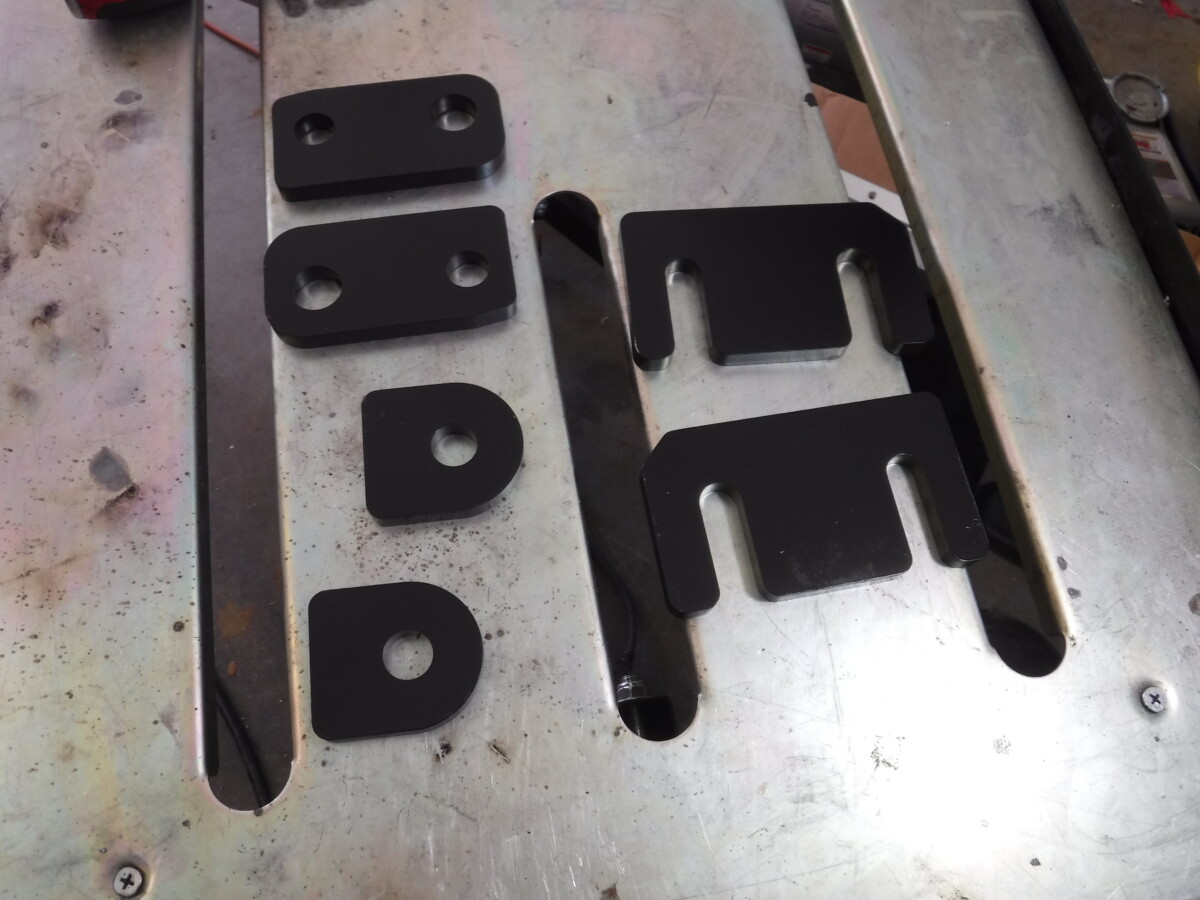
Last resort for hood clearance
Unfortunately for me, all of the above procedures still didn’t quite give me the clearance I needed. Eventually, I plan to make or buy a cowl hood. In the meantime, I opted for the quick fix of these KPower 3/8″ subframe spacers. Note that these ship unpainted, and I painted them myself before installation.
This is admittedly the worst option for K24 Miata hood clearance, because it will reduce ground clearance for the subframe, oil pan, exhaust, etc by an extra 3/8″. However, it is cheap, easy, and effective.
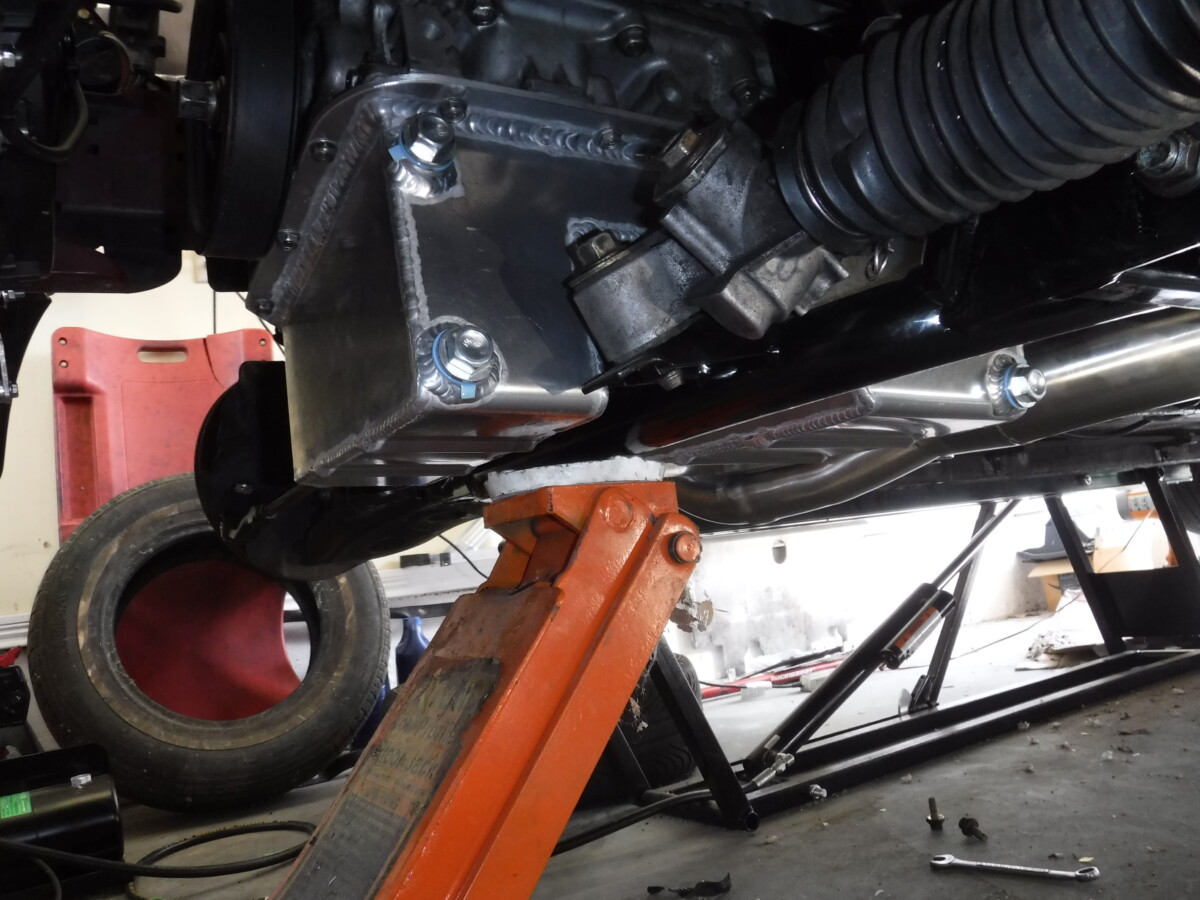
Floor jack under the subframe
To start, get the car in the air. I used my Quickjack, but jackstands or ramps will work as well. With the front end in the air and stable, I raised my floor jack to where it lightly supported the subframe without lifting the car. The goal is to support the subframe while the bolts are loosened.
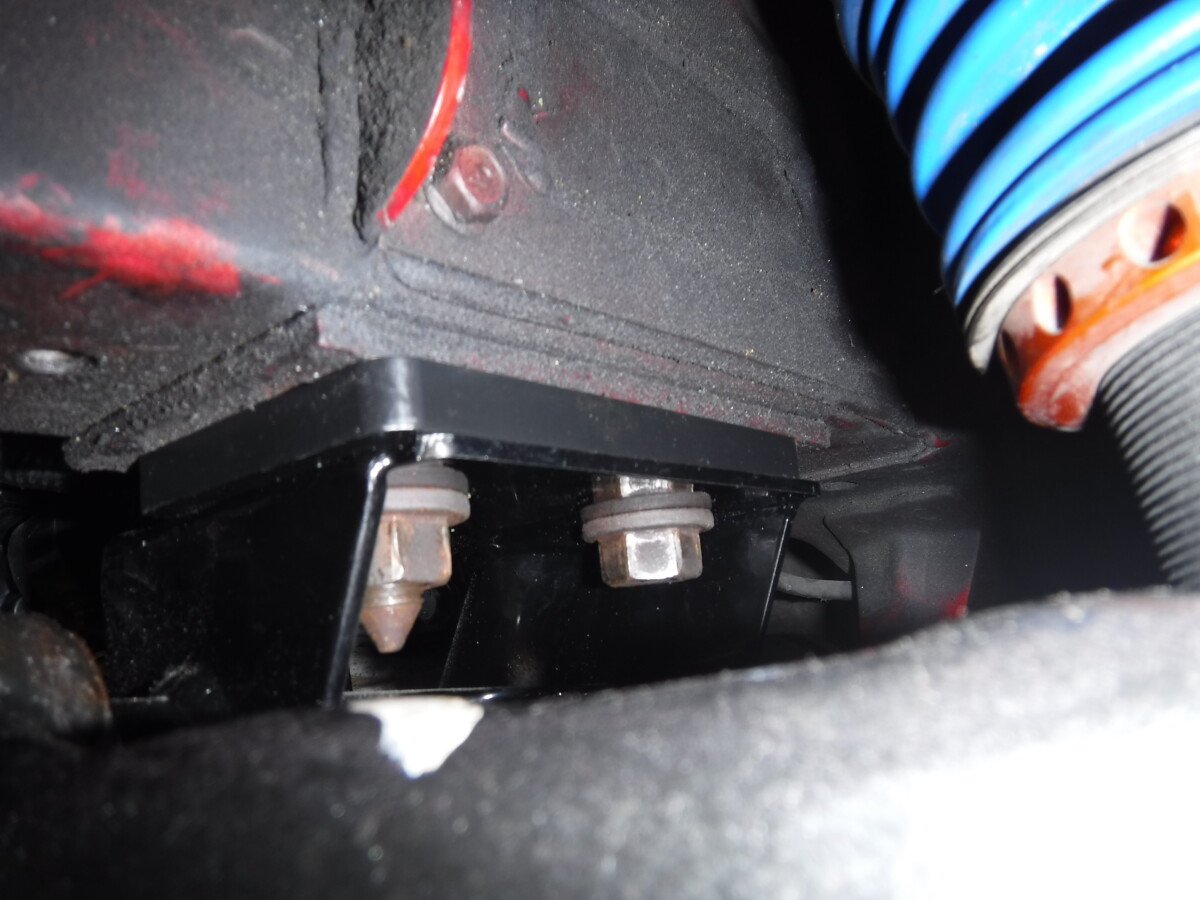
Rear two subframe bolts removed on this side
With the car and subframe both supported, remove the rear four subframe bolts. There are two on each side.
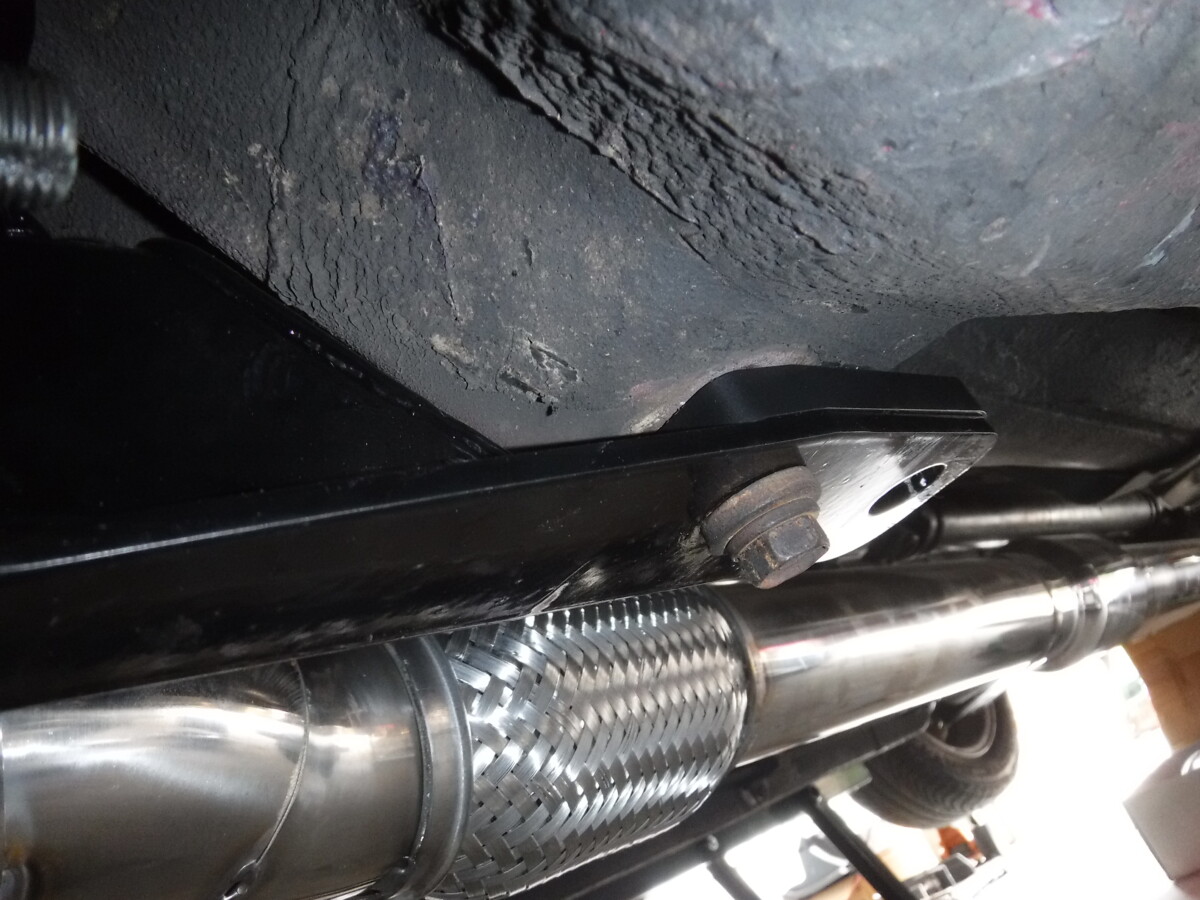
Lowered subframe with front nut still attached
Then, remove the rear nut from the main subframe brackets. Loosen the front nut most of the way, but do not completely remove it. With that done, you can lower the floor jack slowly until the subframe drops as shown.
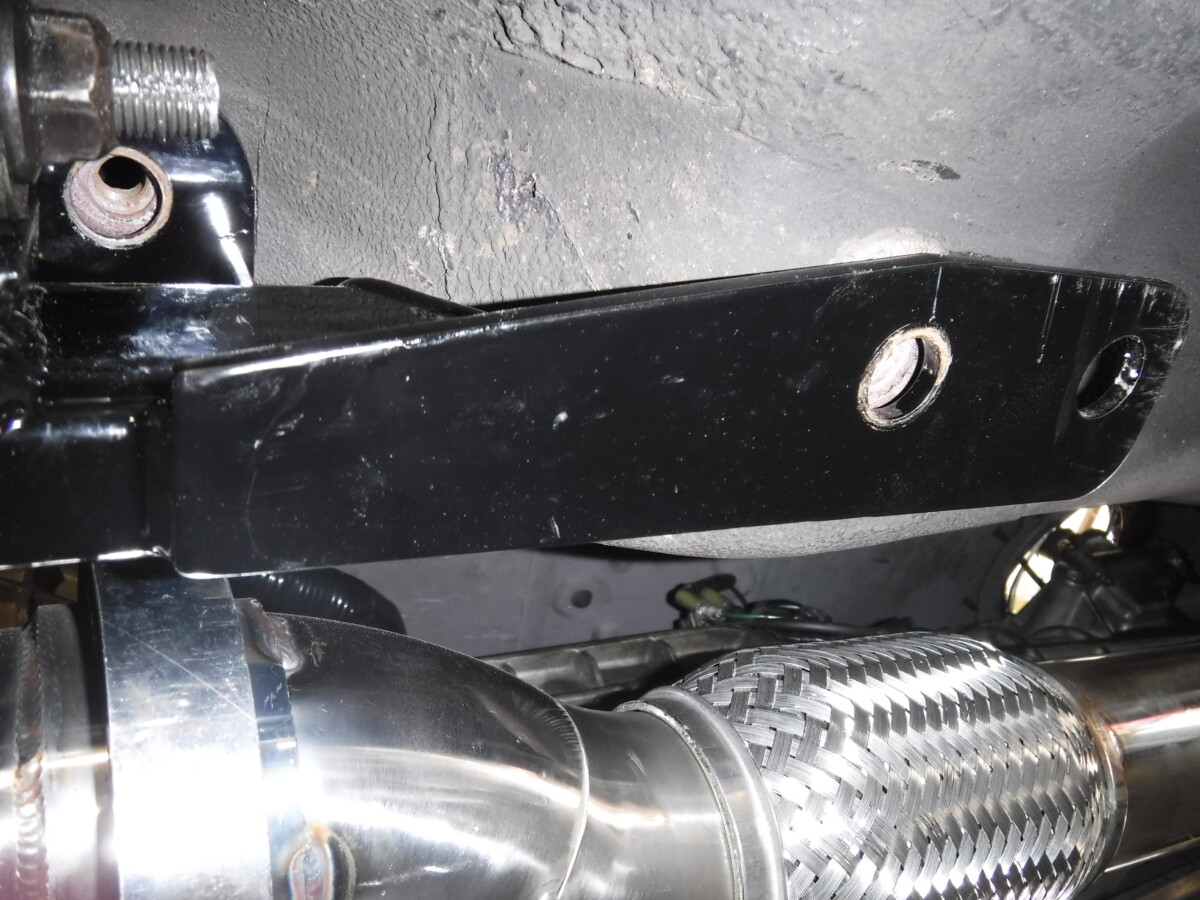
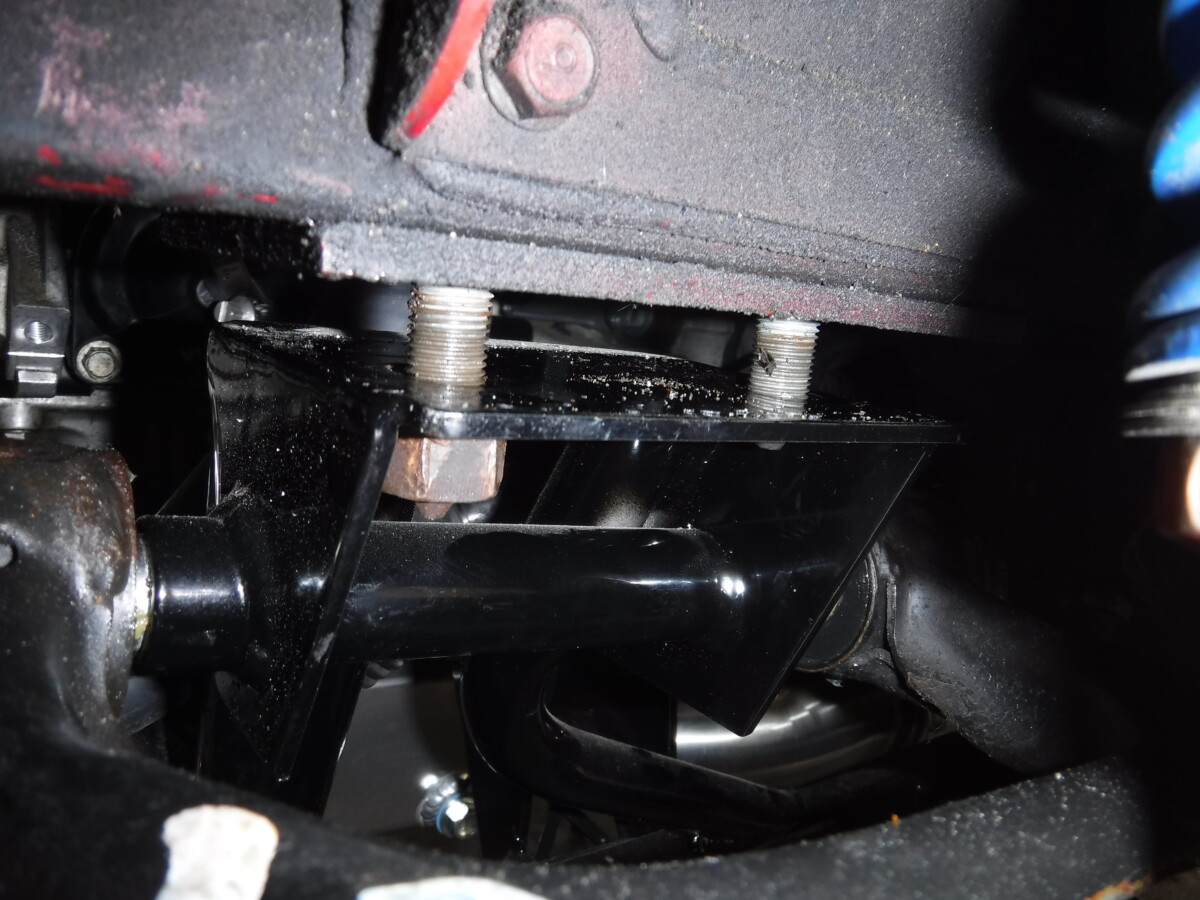
Rear spacer installed
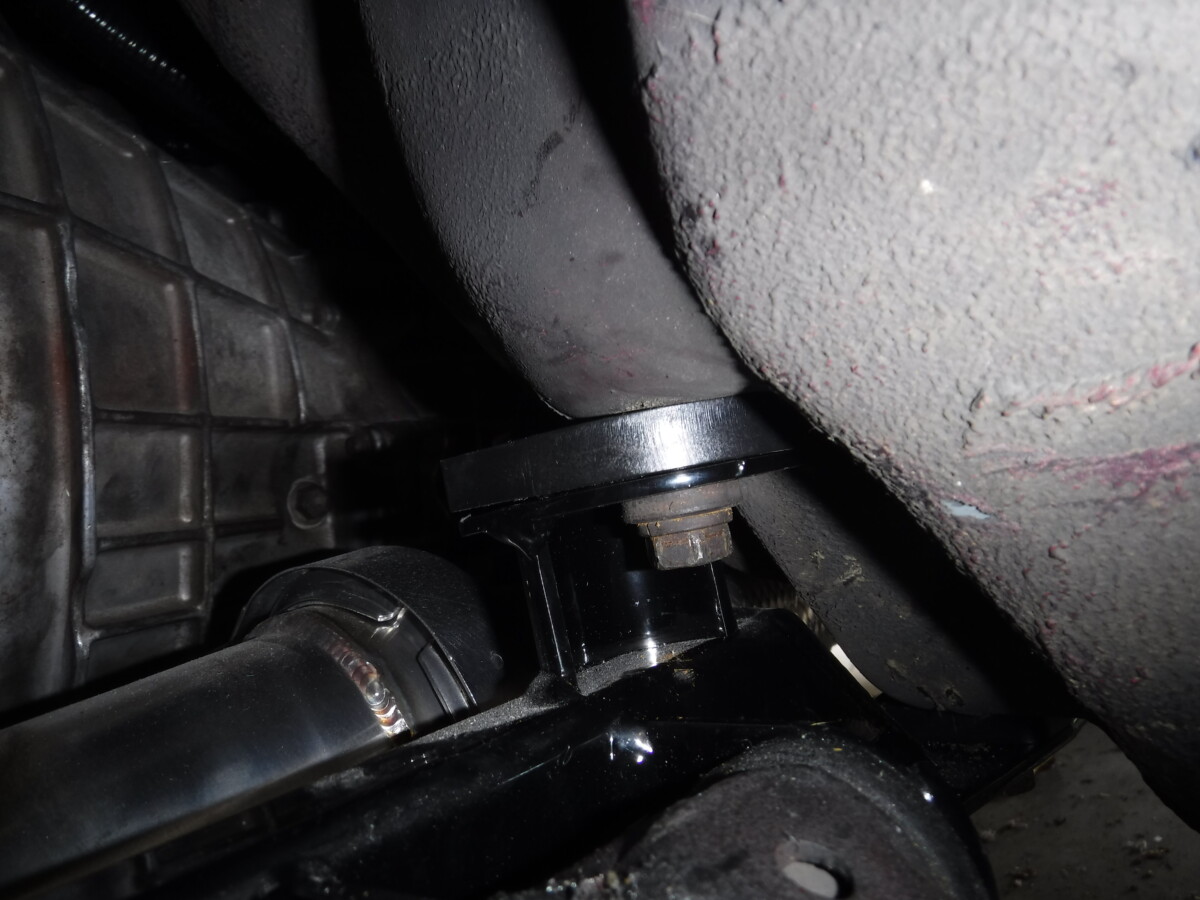
Middle spacer installed
Front spacer installed
With the subframe lowered, insert all of the spacers. Use the floor jack to raise the subframe back up and reinstall all of the nuts and bolts. Torque to spec, and you’re done.
Conclusion
K24 Miata hood clearance is a little bit tricky, particularly on an NA Miata. The above tricks are in the recommended order to gain hood clearance with minimal negative downsides.