Miata Parallel Fan Wiring
The Miata has two cooling fans mounted, but (at least in an AC-option car) only one of them will turn on based on engine temperature. The passenger side turns on when the AC is running. (Correction: Apparently the passenger side will eventually turn on, but not until the engine is at 225F, which I don’t want to see my engine reaching!)
This generally works OK. However, with the AC removed from my car, the passenger fan was never being used. Since it was just sitting there, I figured why not wire it to come on at the same time as the driver’s side. From other people who have done this mod with AC, parallel fan wiring appears to provide plenty of circulation for the AC as well.
If you’re at all handy with electrical work, this can be done in 10 or 20 minutes.
Undo the AC fan wiring
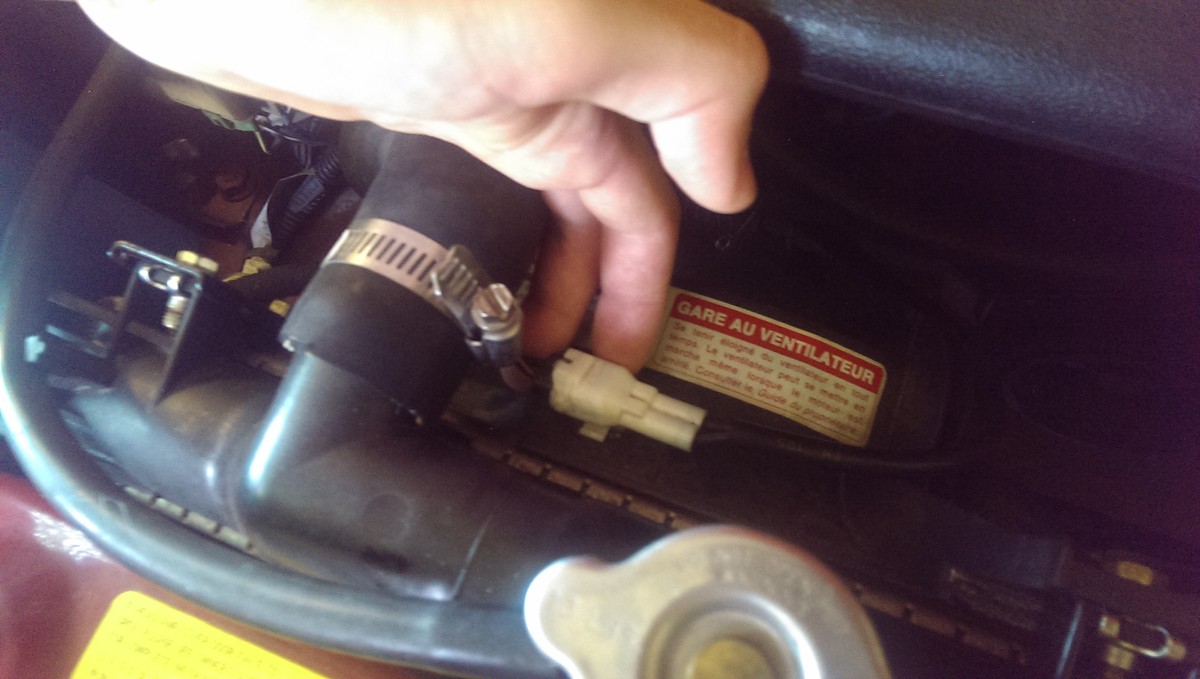
Unplug the passenger side fan from its connector
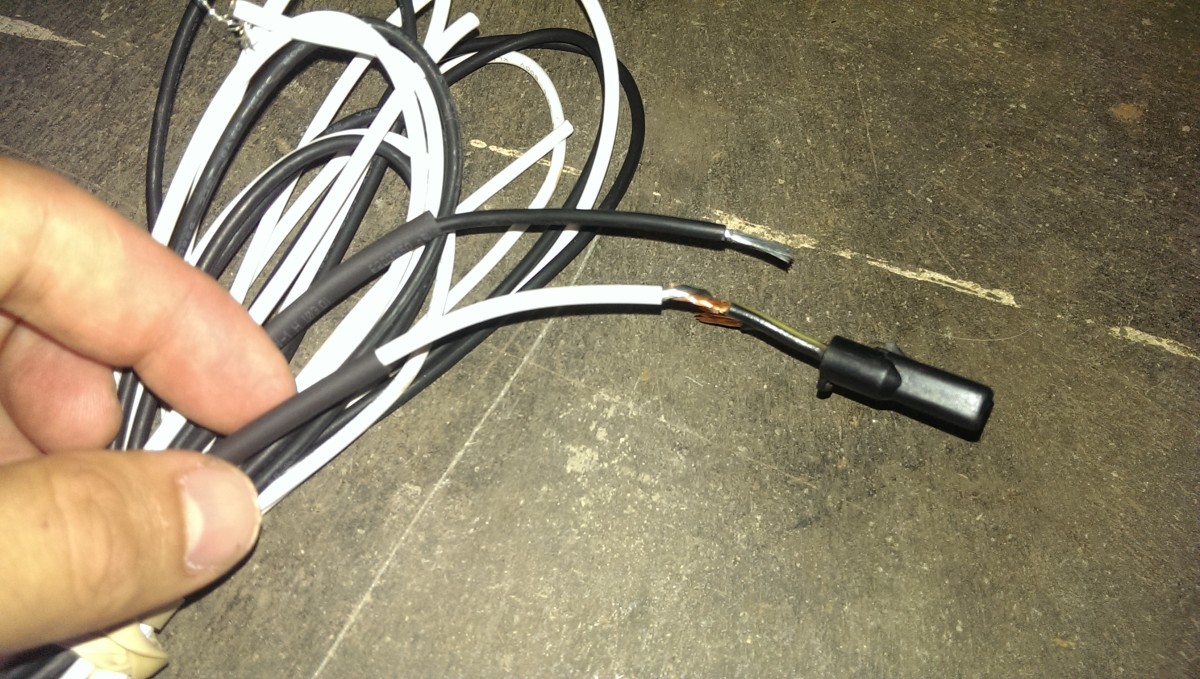
Start by unplugging the passenger side fan. The white connector is the female portion that hooks up to the fan.
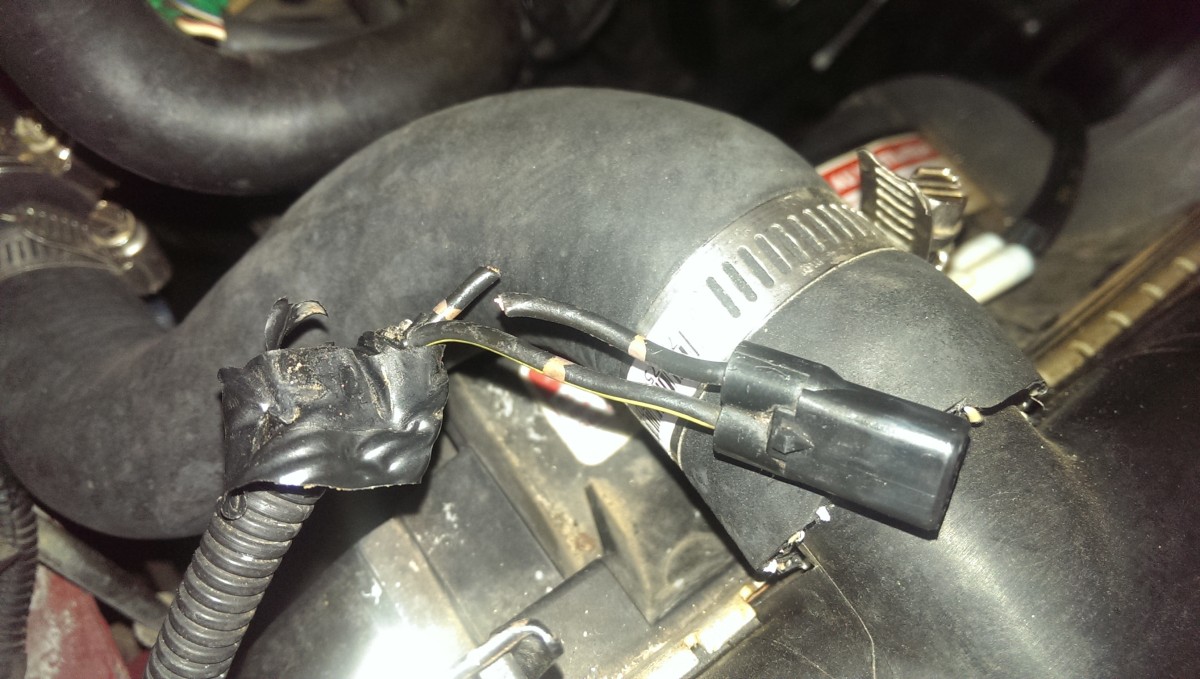
This is the power going to the AC fan from the relay

Heat shrink tubing will keep it from shorting
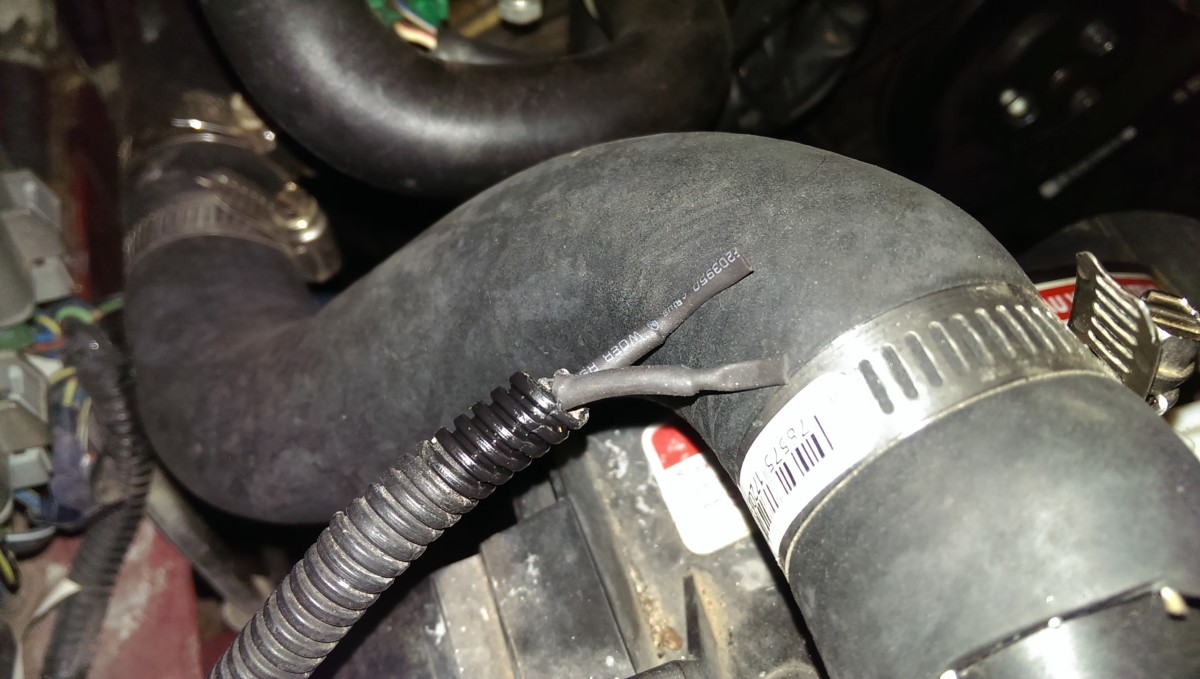
After sealing it up
The power for the AC fan (passenger side fan) comes from a relay on the passenger side. I ended up simply snipping this connection off and sealing it with heat shrink tubing. This insulates it and prevents it from causing a short, but allows me to easily restore its original function later. If you wanted to fully remove it forever, you could also probably remove this relay, etc.
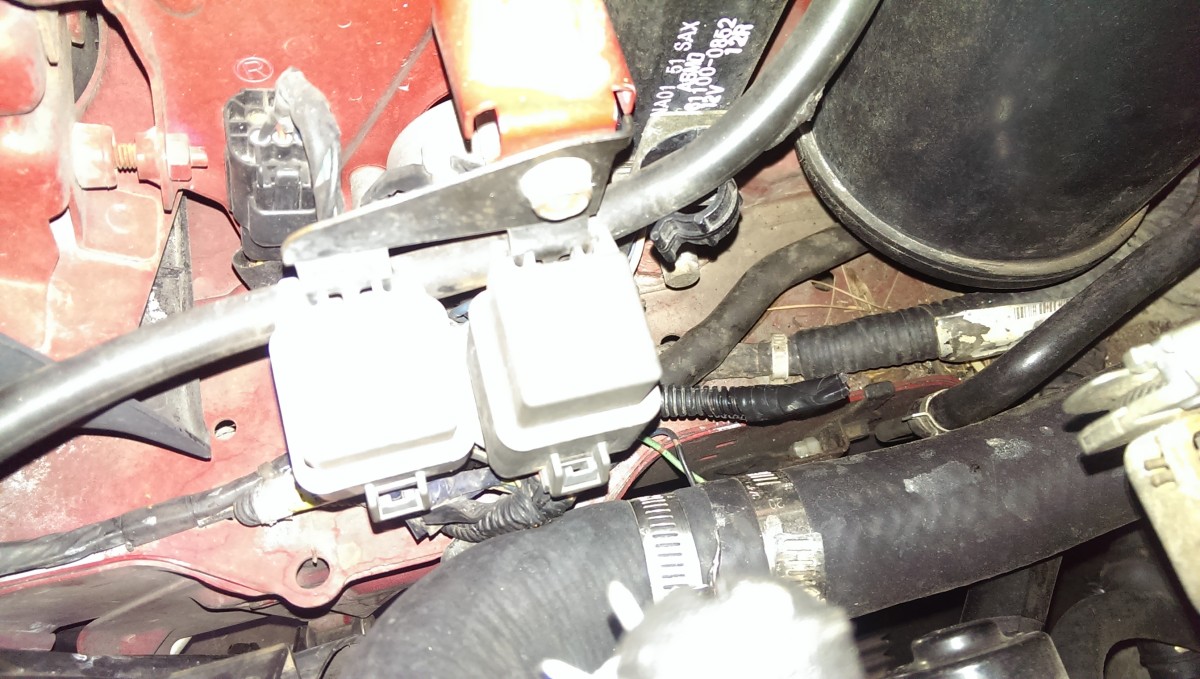
I just taped and tucked it away near the relay
I wrapped both leads in some electrical tape afterwards and tucked it away near the relays.
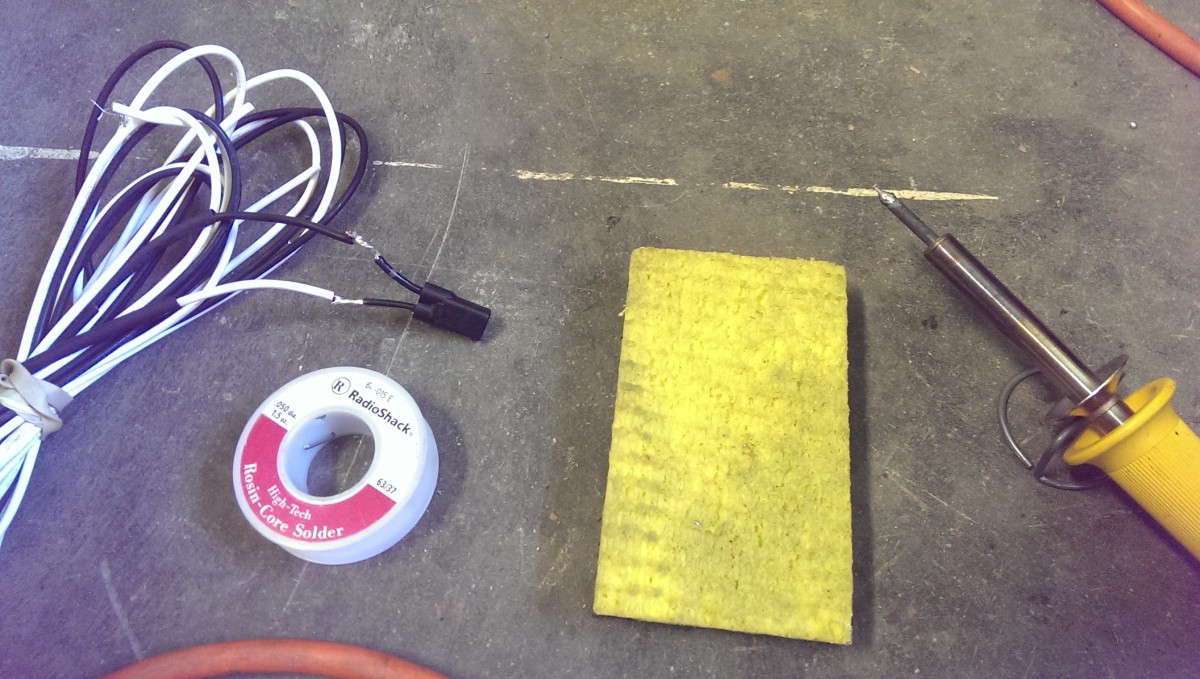
Mounting the connector on some wire

Stripping the plug
I wanted to still be able to quick-disconnect the fans to remove them from the car. I kept the black plug I had just cut off, and soldered it to some 12 or 14-gauge wire I had leftover from a past project.
In this picture, I’m stripping the wire to make the connection.
Heat shrink tubing slid on, then soldered
Both connections soldered
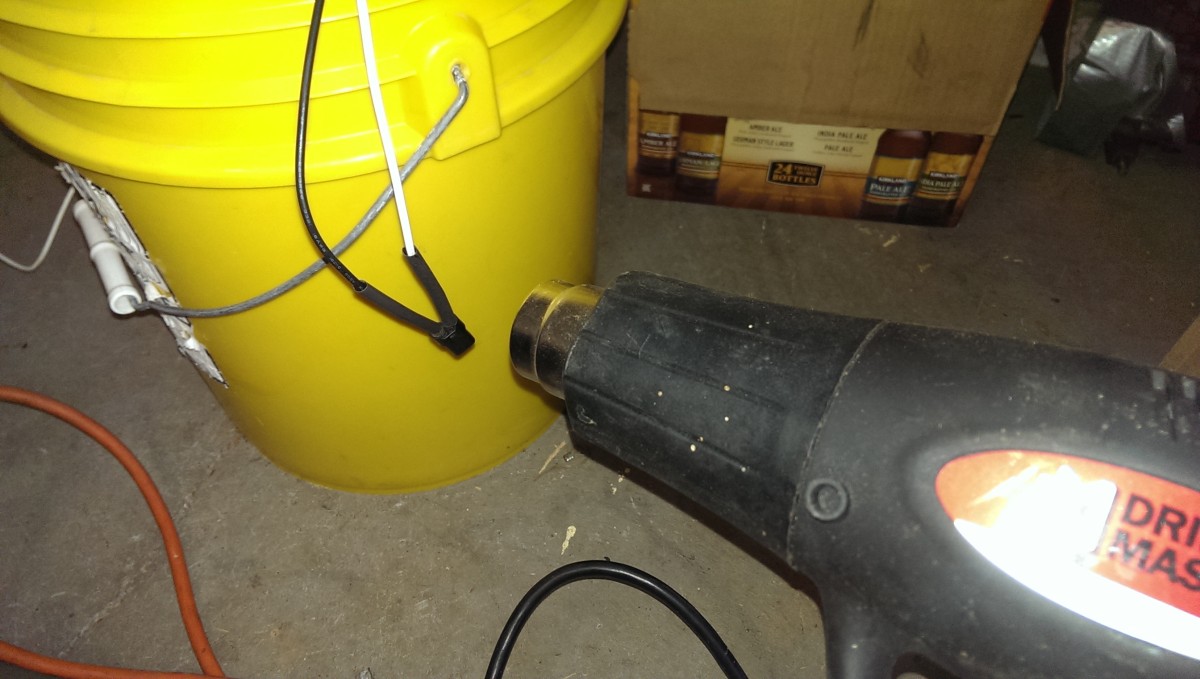
Using heat gun to shrink tubing over connection
I use heat shrink tubing whenever I solder a connection. You can get a whole assortment of it very cheaply on Amazon
I assumed the yellow striped wire is positive. I connected it to the white wire for my new run.
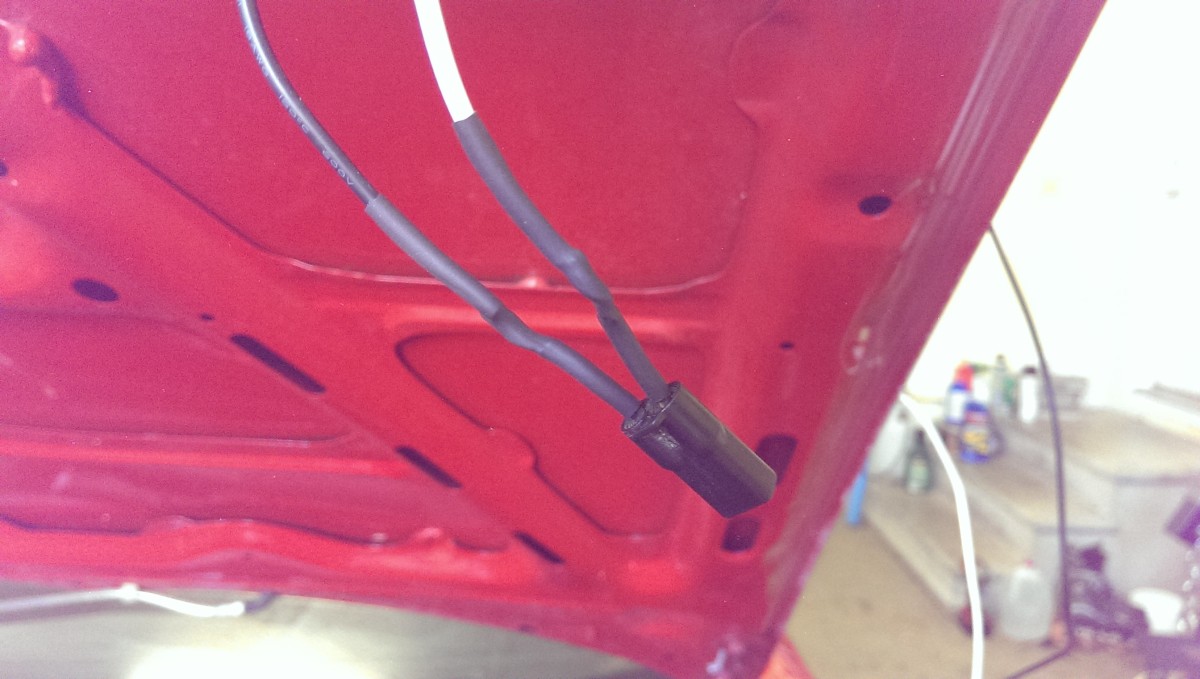
All done
And with that, this wire can now be plugged into the passenger side fan. Half of the work is completed, now we just need to tap this wire into the driver side fan power.
Connecting to driver side fan power
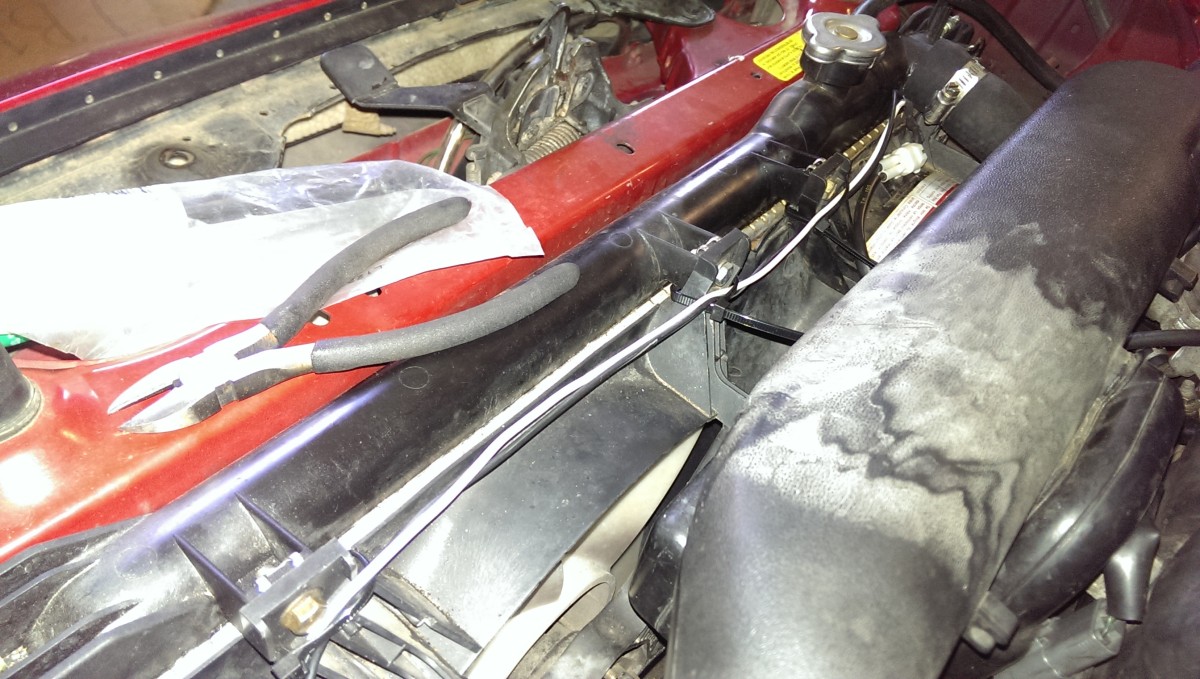
Routing wiring over the fans
I plugged the connection in next and ran the wire over the fans, routing them so that they stayed secure.

Wire tap
I used two wire taps to tap into the driver side fan power. You close one of these on top of each wire you want to tap into. It pierces the insulation on the wire, and when closed you can plug a blade connection into it. This way, you can connect a wire to an existing connection without having to cut it and juggle with connecting 3 wires together. The pictures should make this more clear.
Wire taps are sold in various sizes. I think these were for 12-gauge wire.

Wires tapped
The first step is to close the wire taps on the driver side fan wires, as shown. They’re now ready.
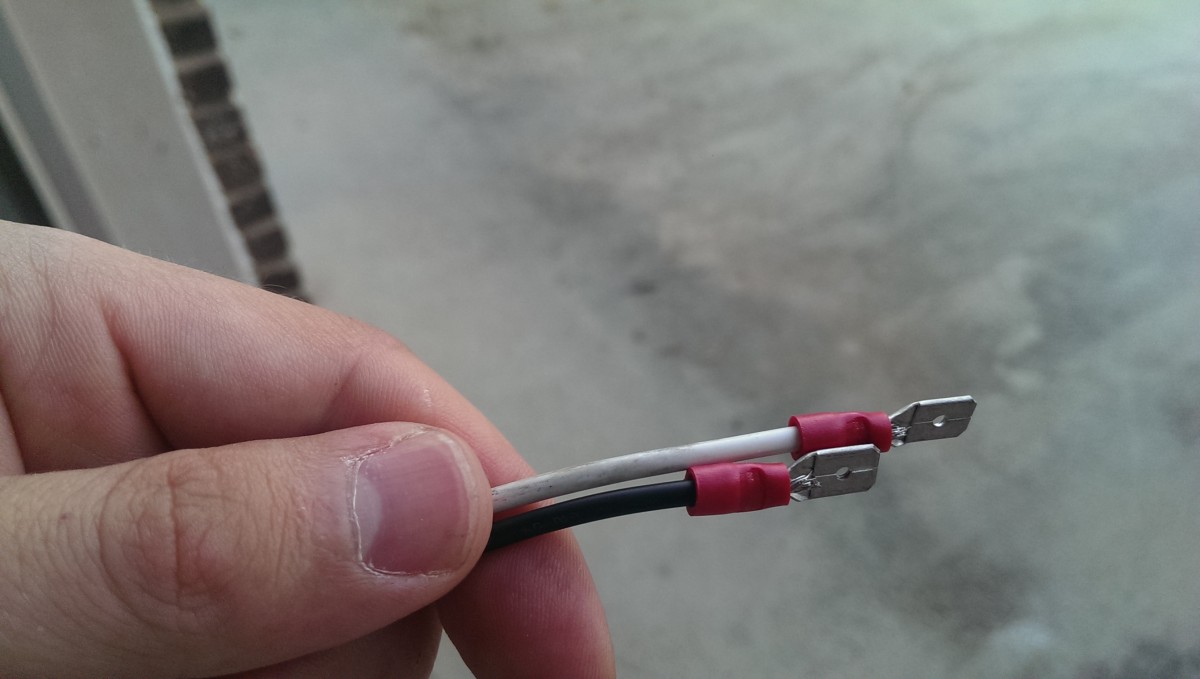
Blade connectors

Heat shrink
Now I cut the wire from the passenger fan to length and put a blade connector on each wire. These are crimp on, and with a proper crimp tool, you can do that. I have had awful luck with crimping though, so I usually add some solder. I also add heat shrink tubing to further seal it against water, etc, but this is optional.
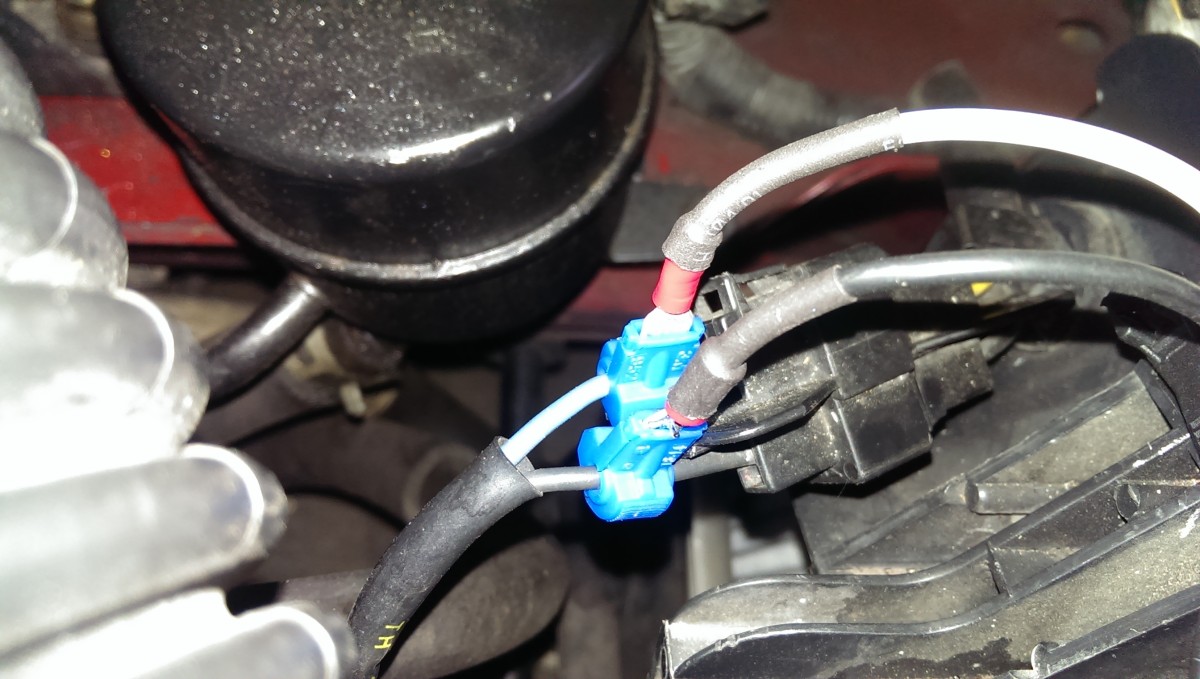
Plug blades in

Wrap in electrical tape
Finally, you can go ahead and plug the blades into the wire taps. I assume the blue wire in the driver side harness is positive, you can test with a multimeter. This should complete the job. To test, just let your car idle and watch the temperature. After it heats up, both fans should eventually kick on together.
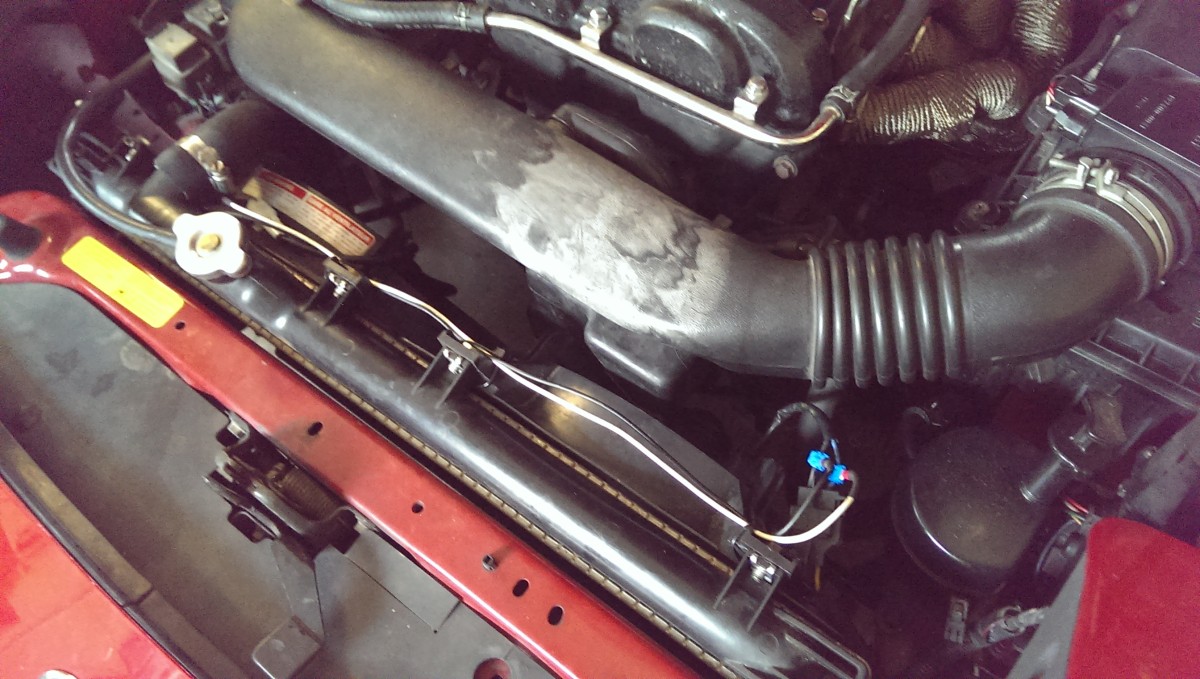
Farther away shot

Another close up
The only final wrapup is to ziptie the wire to the fan housing to ensure it doesn’t move around.
Thanks for your great instructions. I’ve seen other parallel wiring instructions that say to only connect the HOT wires of the cooling and a/c fans and leave ground connected. You are connecting both hot and ground a/c wires to the cooling fan wires. I followed your lead, but now curious whether you know of any reason not to connect both wires as you did (other than not having to make splice on the ground wiring)? Thanks!
Glad it helped! It wasn’t something I carefully considered, to be honest. If the positive wire is sufficient diameter to carry the fan current without overheating, then the negative should be too, so there’s no reason I know of not to connect both.
On the practical side, wiring this way allows you to delete the AC fan wiring completely, so it’s a little cleaner.
Sound good.
A few folks recommended installing a relay along to run to the a/c fan out of concern for over-stressing the cooling fan relay, but clearly this hasn’t been an issue for you––and if the cooling fan relay should fail (which it could anyway as a matter of course even without parallel wiring) you would have to be totally oblivious to all signs of overheating for it to do any real harm.
Anyway — in addition to providing for easier a/c delete, I actually think that your method is a little cleaner, wiring-wise. (Of course, I live in Los Angeles where the occasional coincidence of bumper-to-bumper traffic and a heatwave would make a/c delete rather masochistic choice.)
Incidentally, I want to thank you also for your detailed water pump/timing instructions. The high quality photographs are particularly helpful. It’s people like you who make the internet worthwhile.
Yeah, I read that as well but I’ve had zero issues on stock or stock-like fans. If you go to a spal, then you’d want to upgrade the relay. Really glad the site helped you out, good to hear!