Miata Window Switch Repair
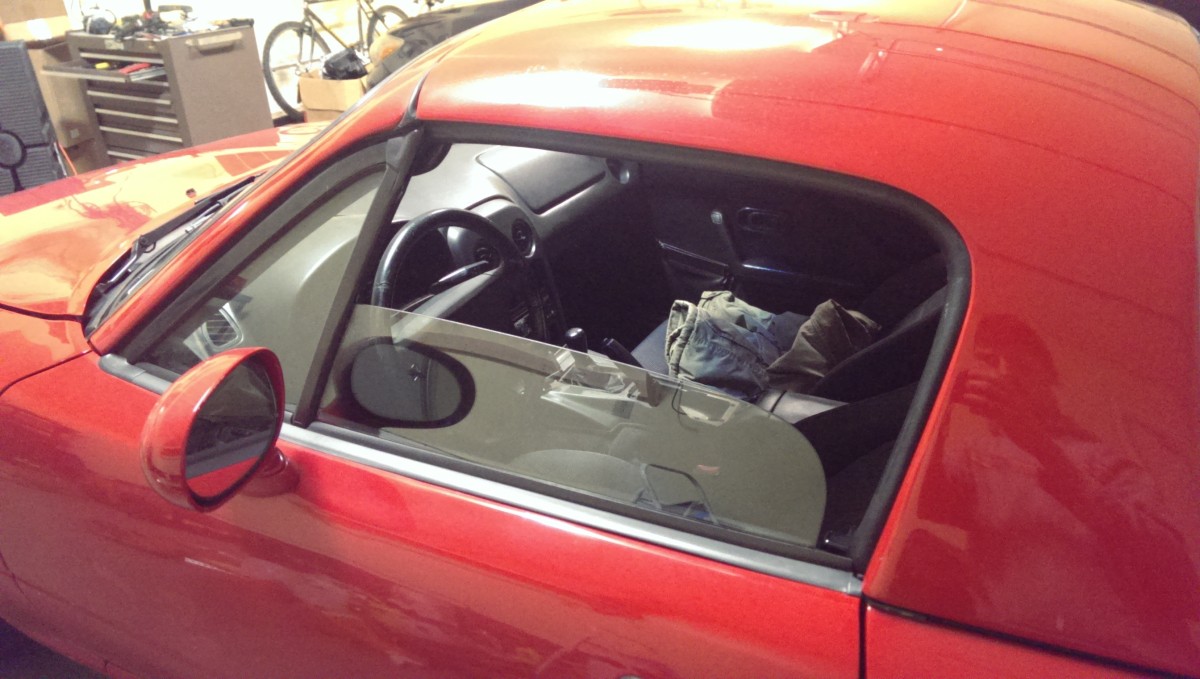
Window stopped in this position
I went to put my windows down while driving, and the driver’s side stopped in the position pictured. I couldn’t get it to go back up or do anything else. Fortunately, it didn’t rain that day.
On these cars, the power window switch contacts have a tendency to go bad and simply stop working. This is what happened in my case, and here’s how I fixed it. Miata window switch repair is an easy job, only requiring a screwdriver and some minor soldering and sanding.
Here are some tools I used for this:
- Lead-based rosin core solder
- Really nice soldering iron I use or you can use a cheaper alternative that is supposed to work OK
- Knock-off Dremel that I prefer
Pulling out the Window Switch

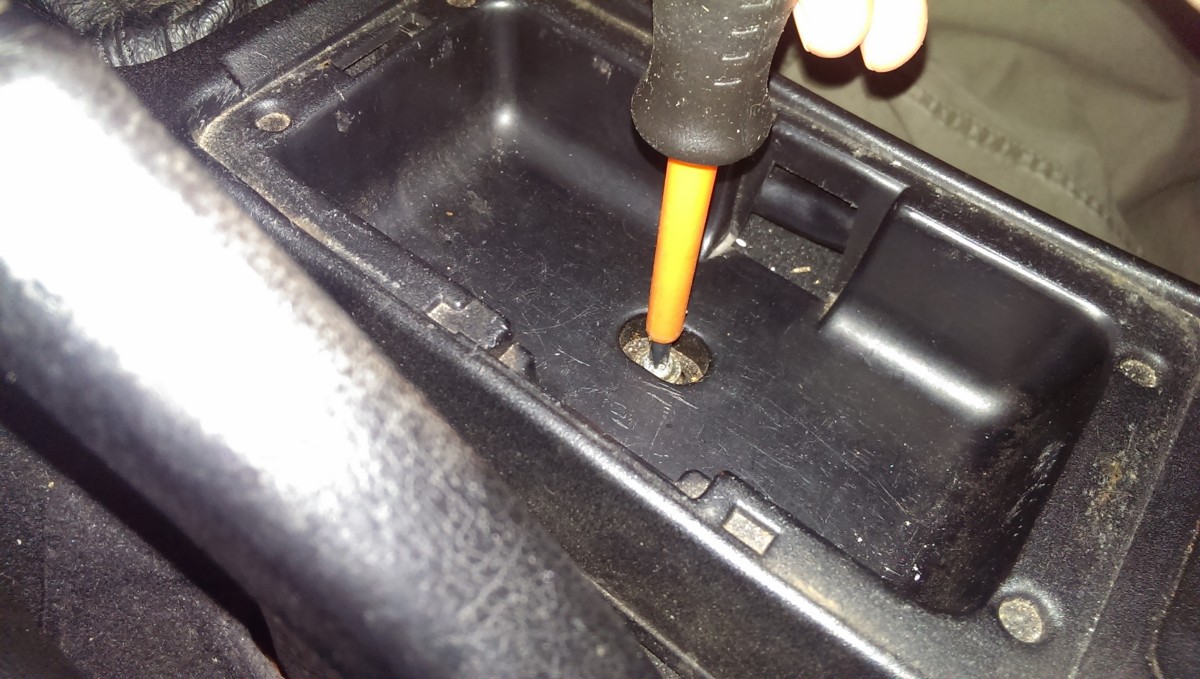
The shift knob simply unscrews by being twisted
The power window switch has to come out for this job. Step one is to undo the shift knob.
Screw 1
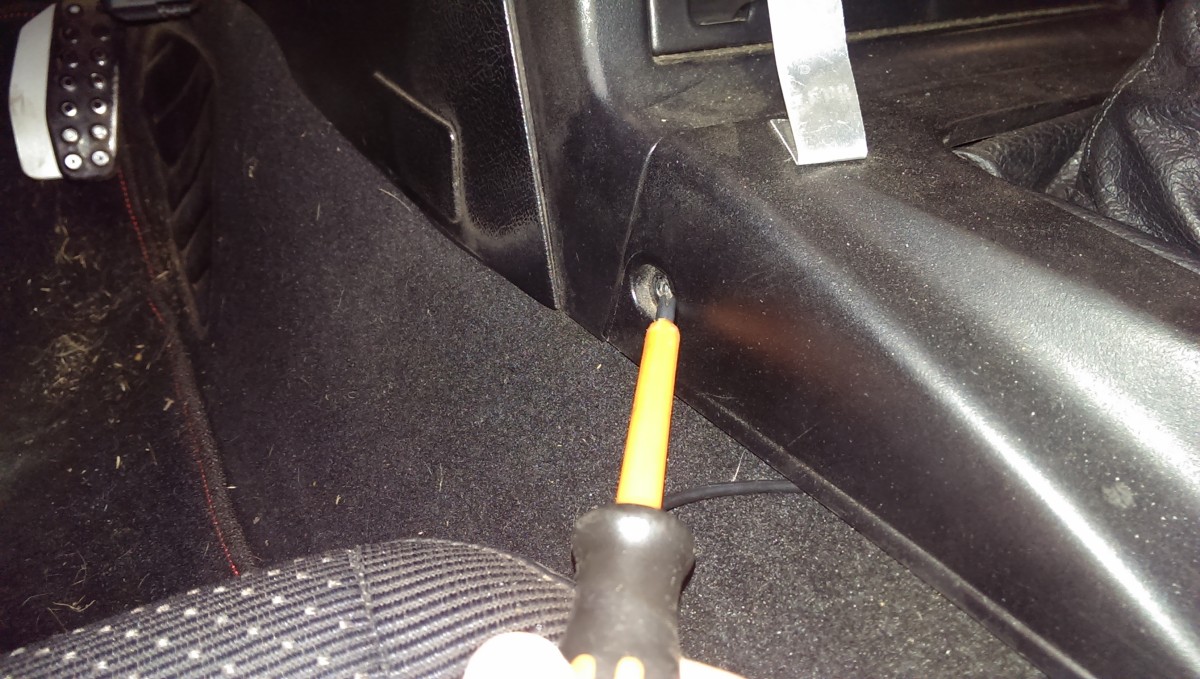
Screw 2
Screw 3

Screws 4 & 5
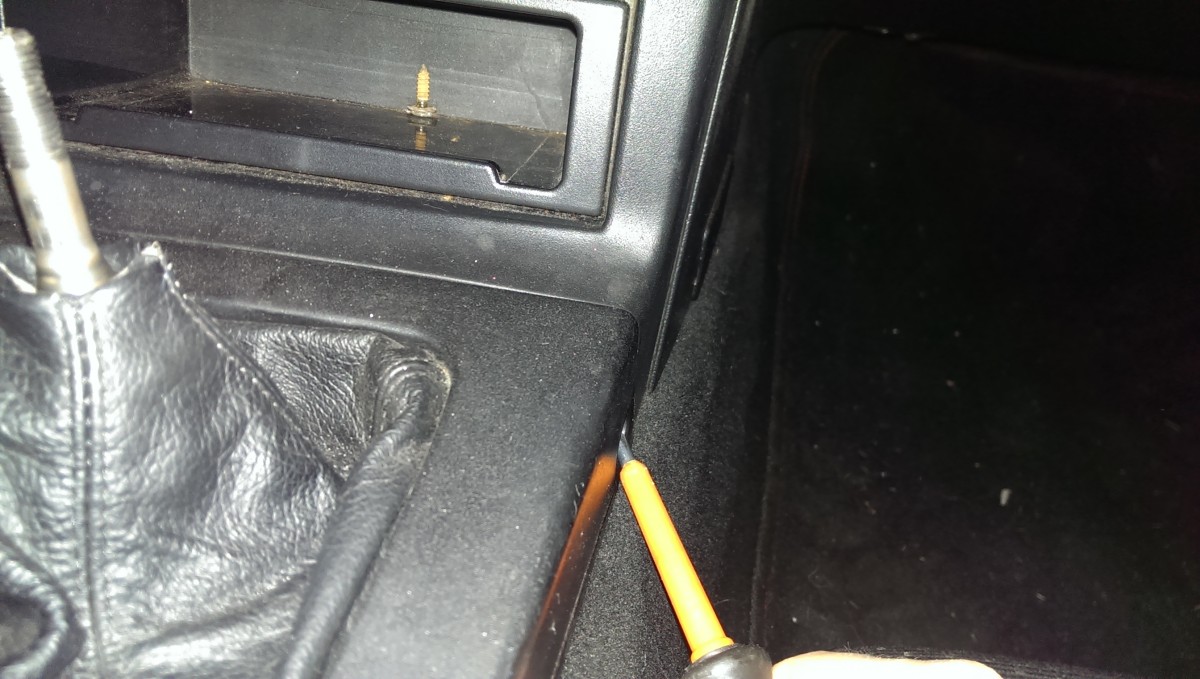
Then, there are 5 screws to remove from the center console.

Lift the console up and then forward to clear the trunk/gas cap levers
Once that’s all off, you can simply pull the console up and off. You have to pull it forward over the gas cap and trunk release levers.
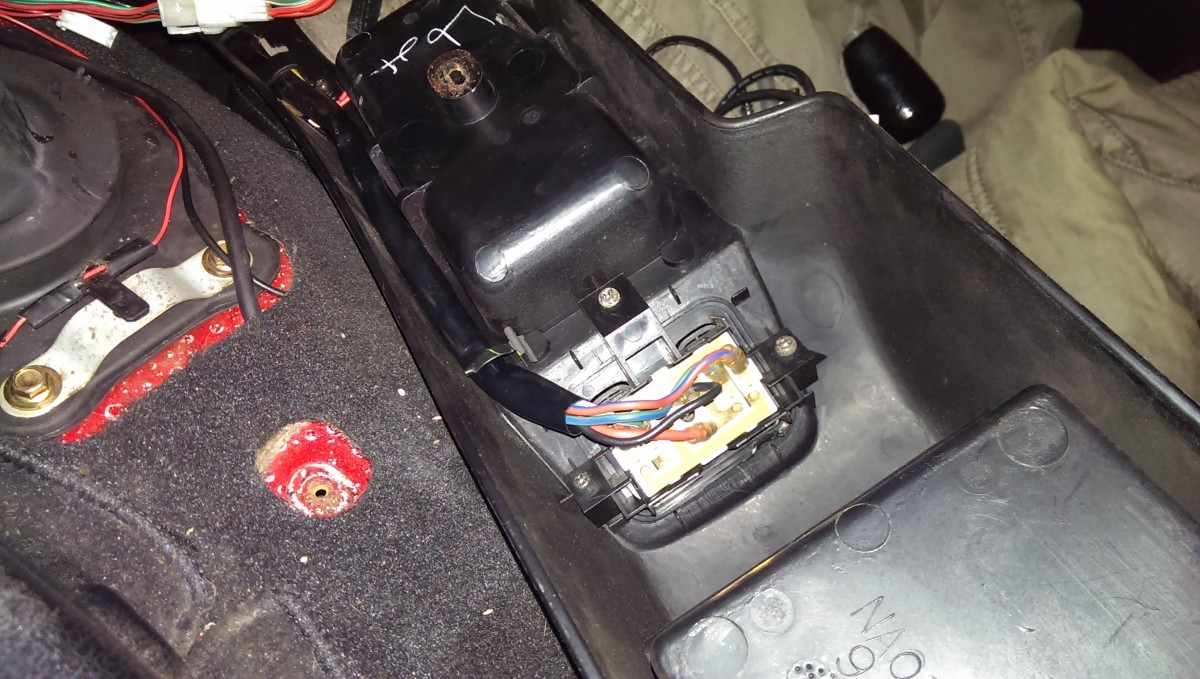
Screws hold the switch assembly to the underside

Comes out pretty easily
You then can flip the center console over, and undo the screws holding the window switch assembly on. This comes out fairly easily.
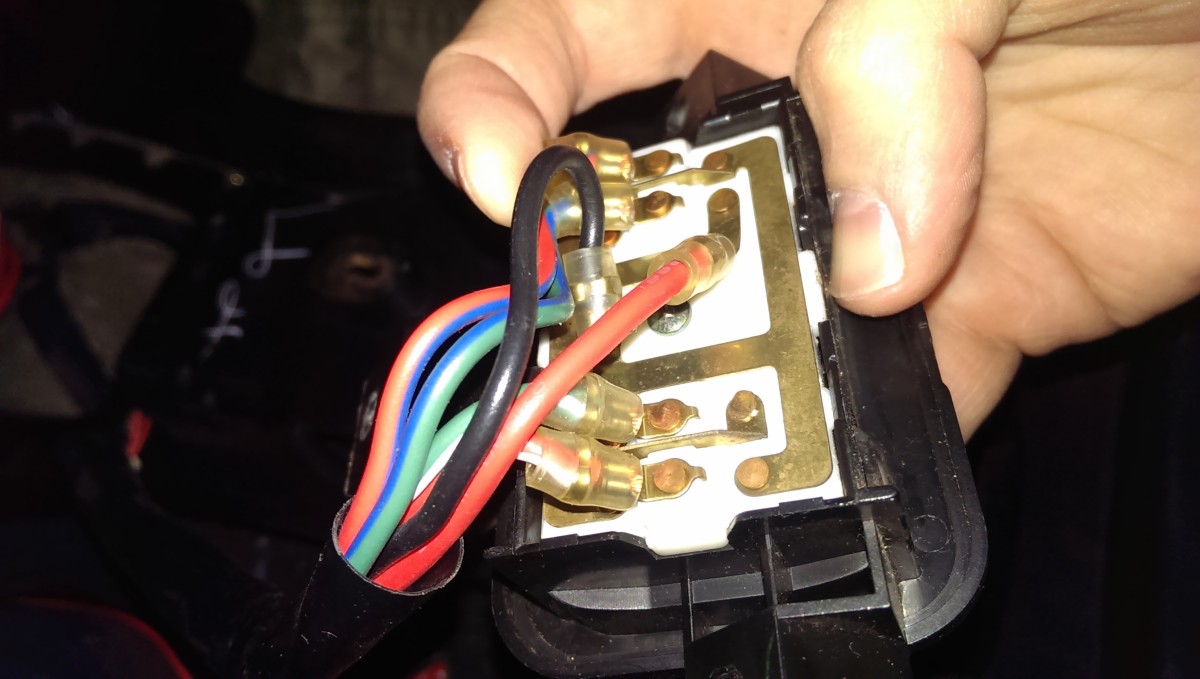
Back of switch panel, needs to come out
Held in with clips, can be pried and lifted out
If you look at the switch assembly, the white panel is what we’re after. It comes off by gently prying a few locking clips and lifting out.
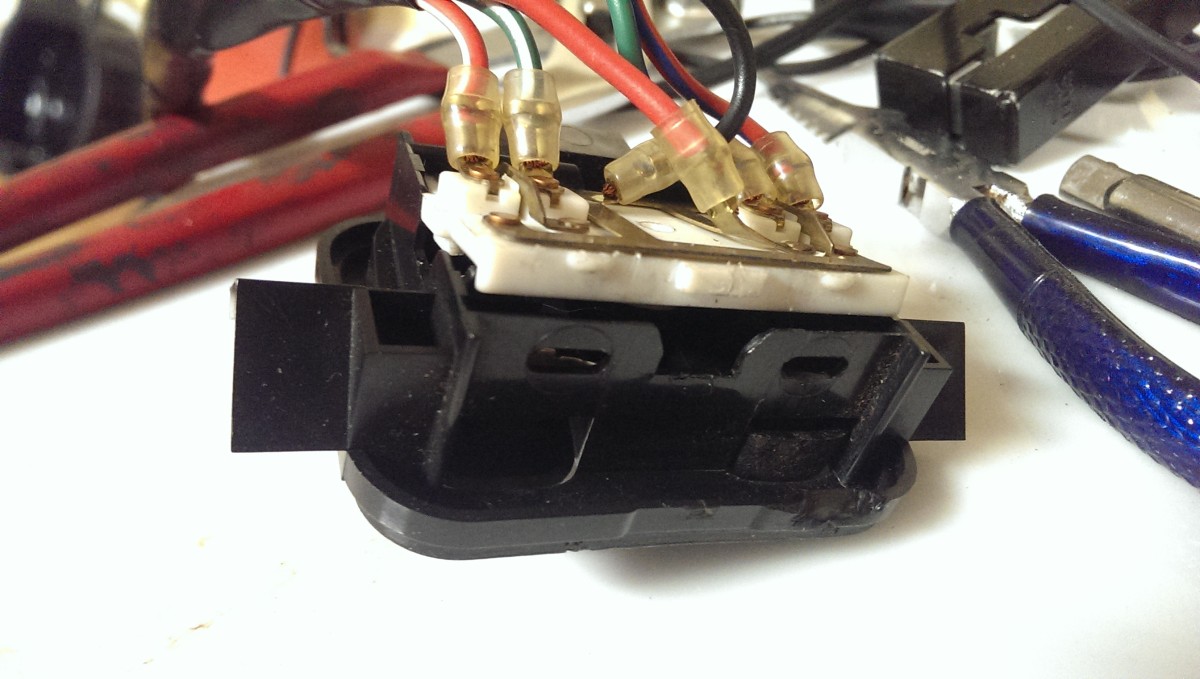
Buttons removed and can be set aside
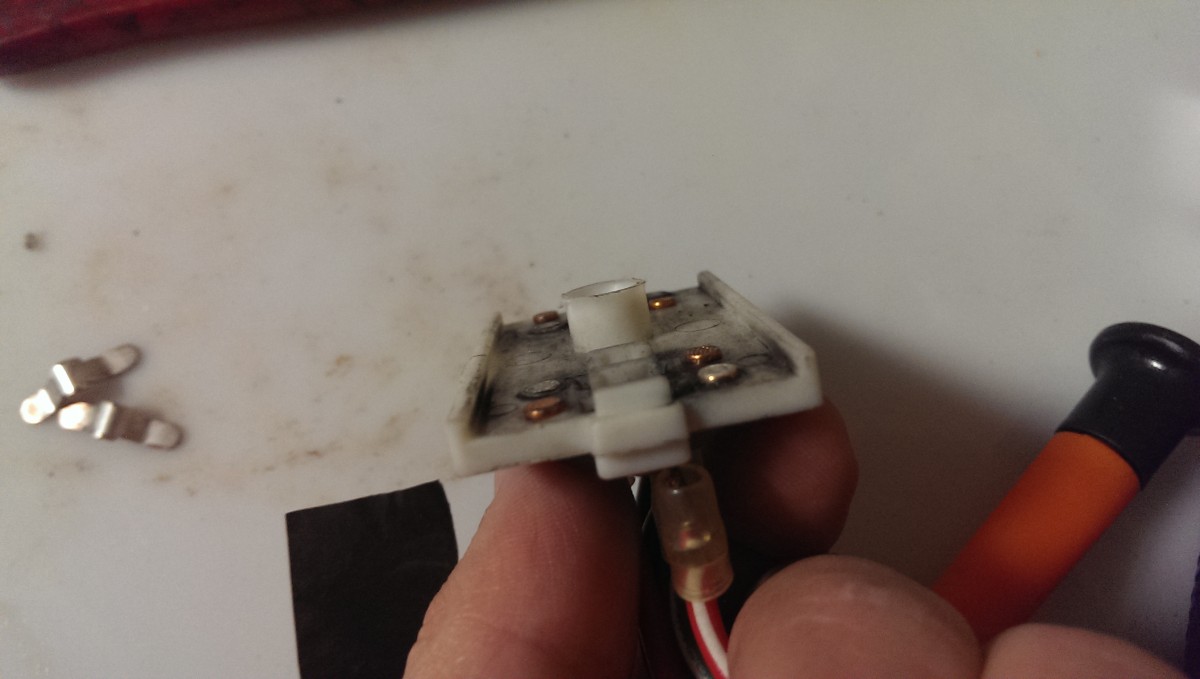
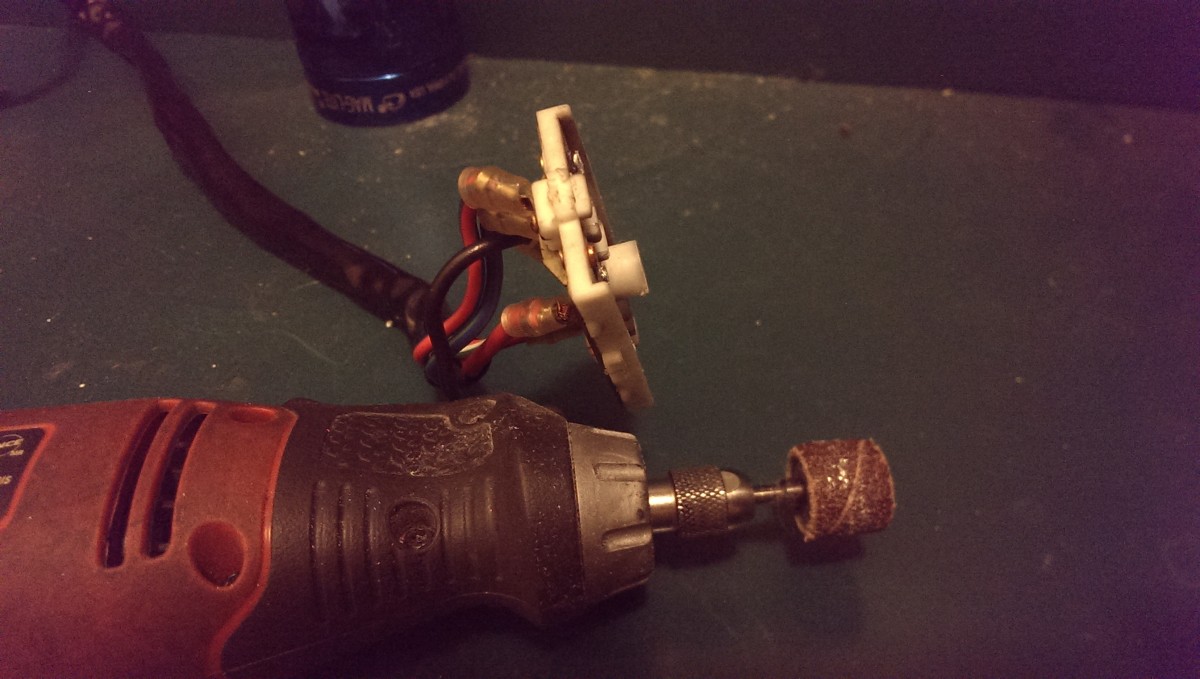
The black button panel is now free and can be set aside. At this point, we can focus on the white backing panel. It can be unplugged from the car and taken to a more convenient work area.
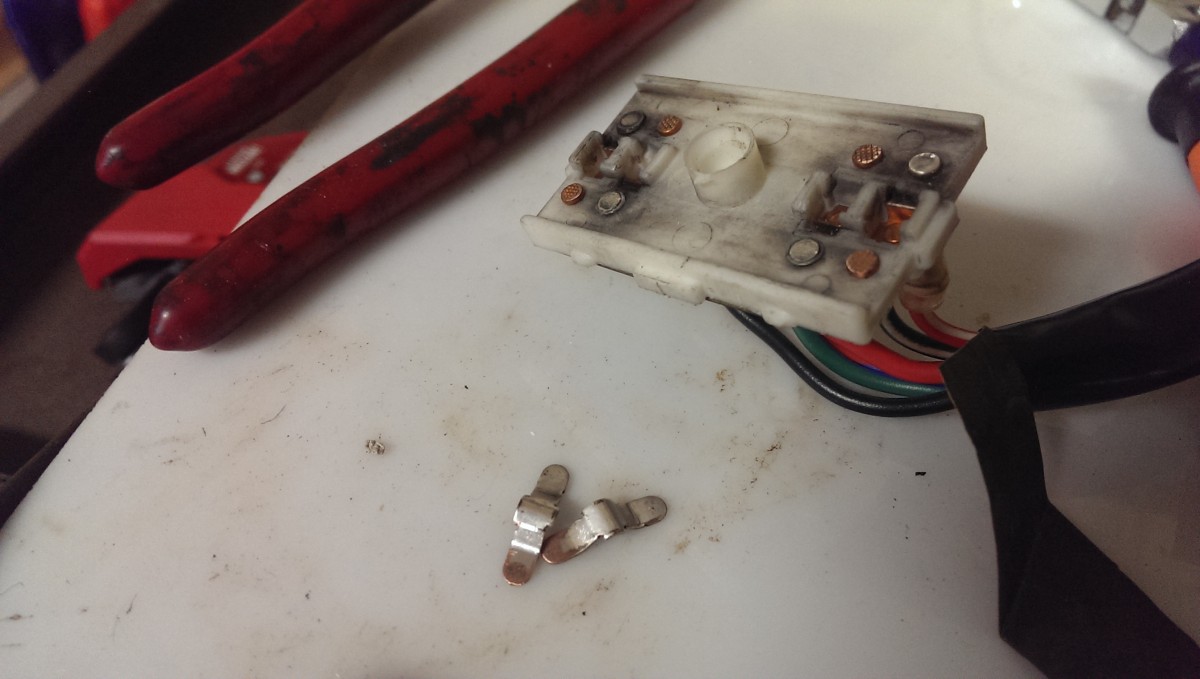
Inspecting the connectors
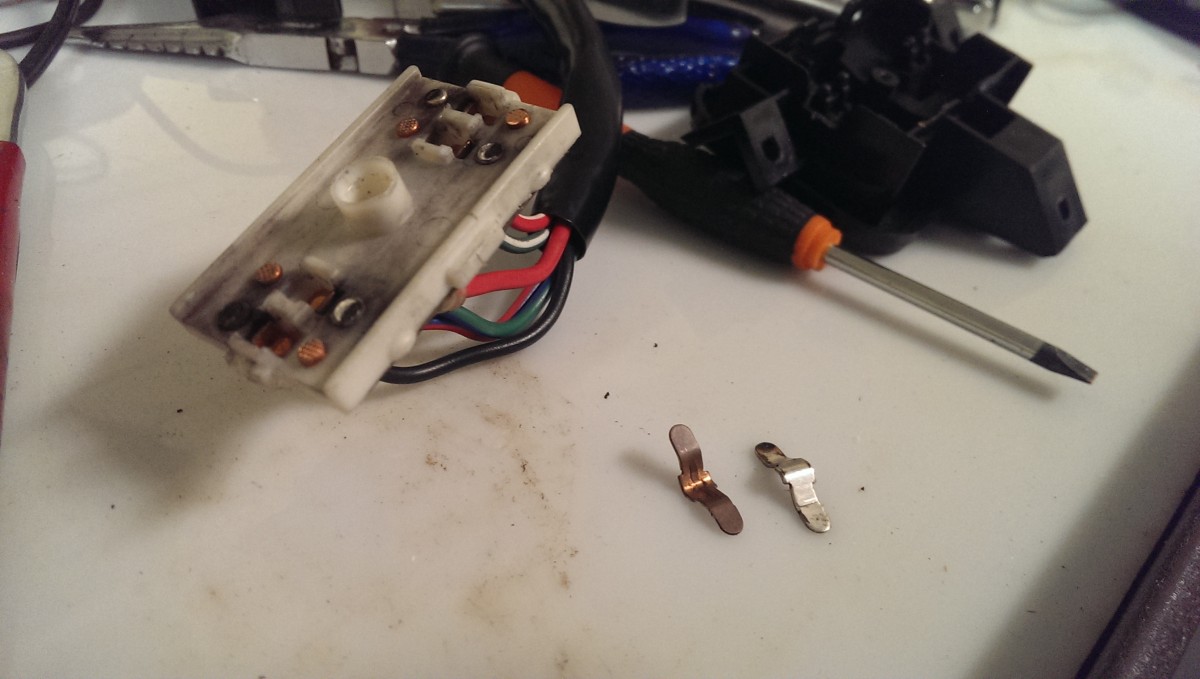
Well, there’s your problem
If you flip the back panel back over, you can see the contacts. The window switch works by using the little arched plates pictured to make connections when pressed down. With the contacts this grimy and worn down, no connection will be made and the window won’t move.
In particular, all of the black dirt on the contacts, and the rust-colored grime on the arched plates will inhibit function. No wonder my window stopped working.
Soldering the panel
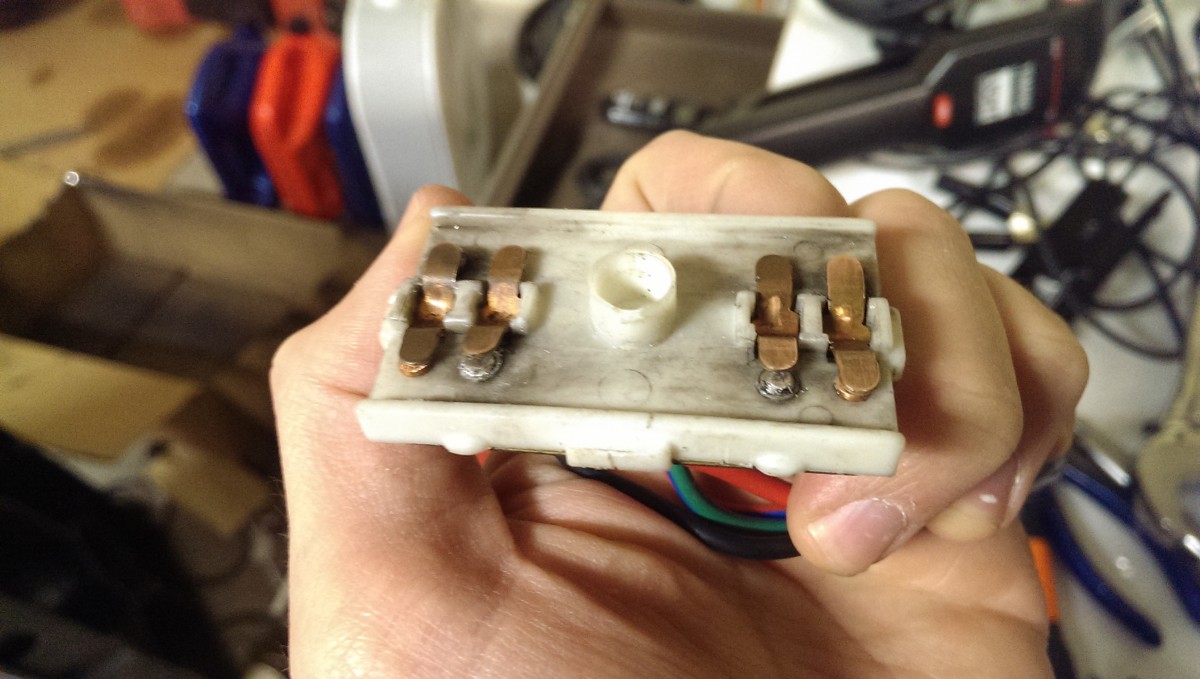
Contacts sanded to clean metal
Getting the panel contacts clean is the next step. First, we need to get to clean metal. You can do this with sandpaper or a dremel tool; it doesn’t take much. Just get the layer of grime off to where you can see nice clean metal as shown.
At least two of the contacts had to be sanded really far down
Slap some solder on
Some of the contacts will likely be very short now, depending on how bad a state they were in. They also wear down over time from use. The next step is to simply put a blob of solder on these contacts. It doesn’t have to be pretty, we’ll shape it in a second.
Dremel helps clean up the solder

Solder cleaned up
Lastly, we can sand down the solder to a flat shape of approximately the right height. I used a sanding drum on a dremel, which made short work of this. You could just as easily hand sand it or use a file.
Cleaning up the arched plates
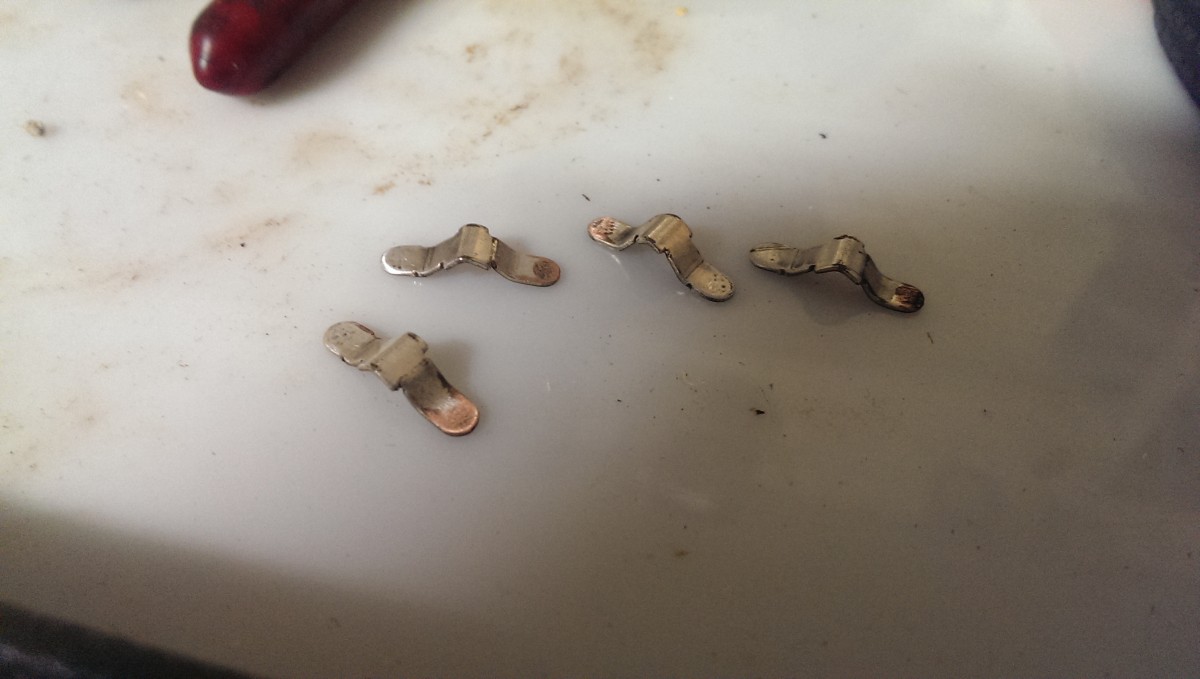
Plates after sanding
I’m sure there’s a real name for these, but “arched plates” is all I have to go with. Anyway, these need to be hit with a little sandpaper as well, on the contact ends. Just getting the corrosion off is enough.
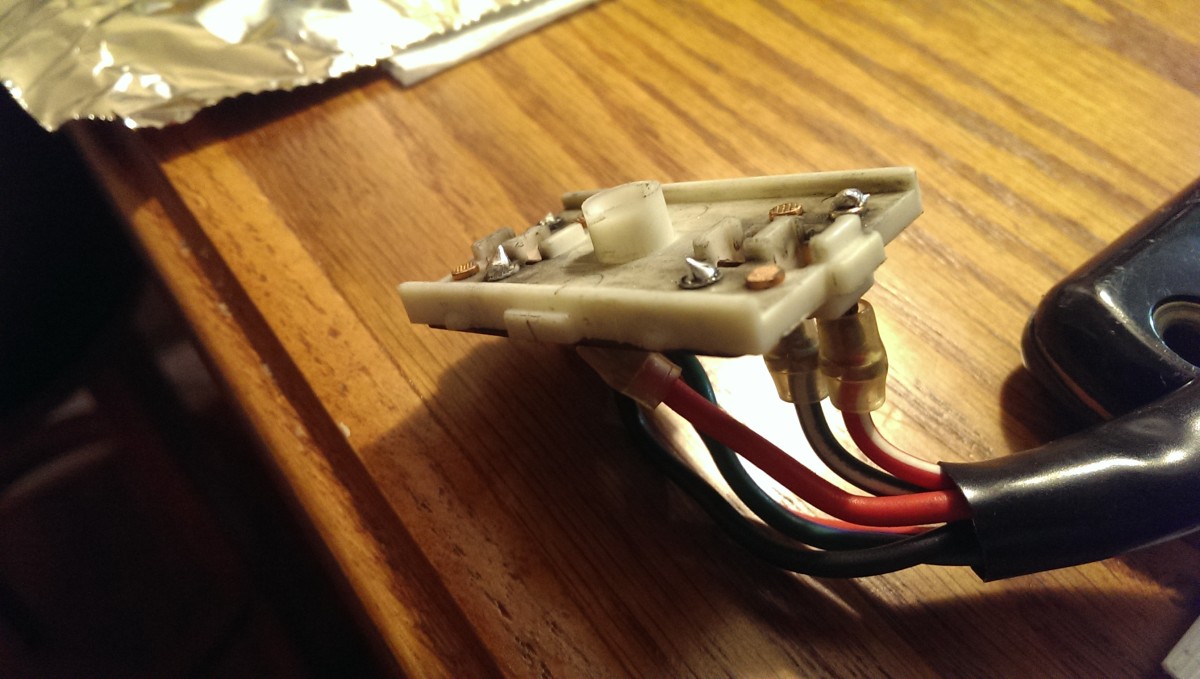
Ready to reinstall
And now this is ready to go back in the car. Reinstallation is the reverse of removal. After this, I was able to start the car and roll my window back up.
Hi,
Awesome post! My driver side window stopped working a while ago.
I carefully followed your instructions–cleaned/sanded the panel, arched plates, and applied some solder material to the contact points as you specified.
But I must have done something wrong because now BOTH driver & passenger windows will not roll up/down.
I am quite a NOOB at DIY projects and brand new to the soldering process, so I am unsure if I used the right kind of solder material:
Lead-based solder wire Or Lead-Free Solder wire
Flux cores: Acid core Or Rosin core
Which type of solder should I use? Could you provide an example, link, pic of the product I need?
Thanks kindly,
Andrew C.
Hi, you definitely want to use lead-based solder. Lead-free is intended for ROHS compliance, but it’s a lot harder to work with. Leave lead-free to the people making bulk electronics.
You want rosin core solder as well. Acid core is for soldering materials like steel, which you’re not going to be using. If you used acid core, you might need to clean up the resulting contacts.
The last solder I bought was this stuff: https://amzn.to/2H45ZRr
Hi James,
I very much appreciate your prompt and helpful advise/pro tip! I will give give it another try with the recommended solder.
Thanks,
– A.C.
No problem. If you were using acid or lead-free solder (or both), that may have been the issue.
You can remove old solder by melting it with your iron and sucking it up either with some desoldering wick or a desoldering vacuum sucker tool – There’s a kit with both for $7 https://amzn.to/2EAA7m1
Hi there. I just wanted to write to say “THANK YOU” for this posting! My 1993 Miata’s driver side electric window would not go down. I found this post and my brother followed all of the instructions exactly as written and in 35 min. the window was fixed! Saved us a lot of money for sure! Thank you again for this very helpful DIY posting.
I’m glad I was able to help! Just so you know, I’ve found the fix here lasts for quite awhile, but not forever – eventually the new pads you built up will wear down, and you’ll have to do it again.
At some point in the next few months I intend to post a write up showing how to add relays to this switch for a permanent fix, but other major projects on this car are coming first.
Still, if you have the problem recur, know adding relays is a permanent solution you can look into!
This is a great diy write with excellent pictures. One important extra point though. There is a screw in the center of the white panel. Without taking it out, no amount of prying the locking clips will let you separate the two. I learned the hard way and broke a little plastic around the lock tabs. Also, I only used elec sensor cleaner and sand paper. Didn’t need solider. Great write though. Thanks!
I know I am late to this great DIY project…my switches are working as expected. My question is this: are the switches backlit when the lights are on? Mine are completely dark when the lights are on and I can’t remember if they were backlit in the past. Thx!
They are not. The only lighting as far as I know is the bulb in the ashtray / cupholder area.