Removing Exterior Sail Panels on SN95 Mustang (94-04)
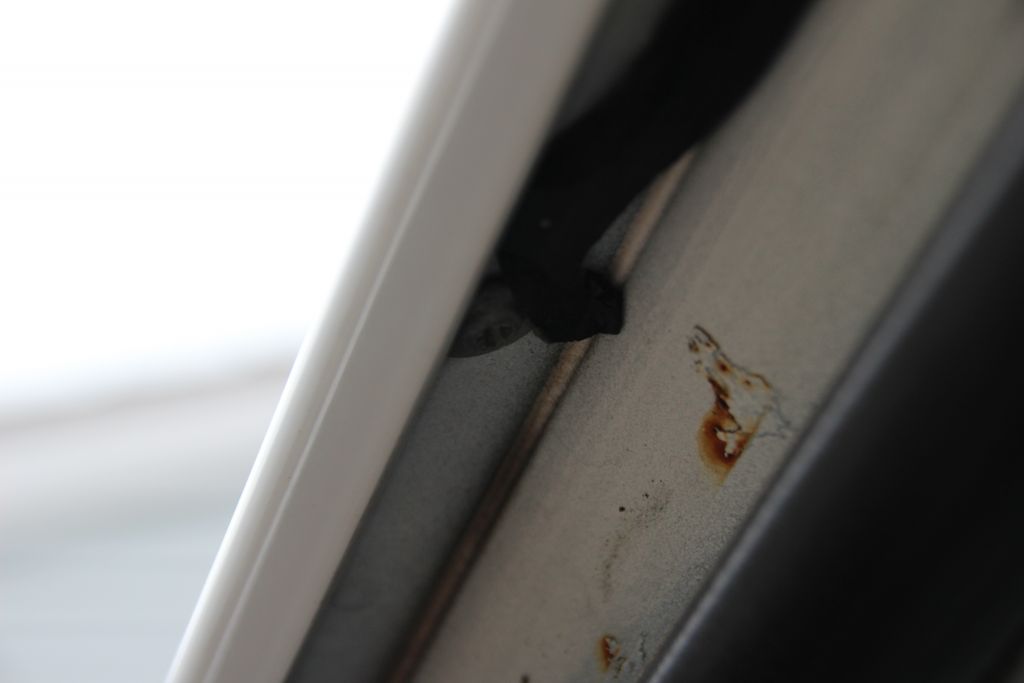
This will be an article on how to remove the exterior “sail panels” on an SN95 Mustang (94-04). In this case, my 1999 Mustang GT. For clarification and background, this car has about 70,5xx miles on it right now and about 30k of those miles have been at various tracks throughout the country. The previous owner unfortunately let it sit outside most of its life. That, combined with what I’m assuming is a few rock chips from the track days, have left a few surface rust spots on the roof. I also found some rust along the sail panel line, so I decided enough was enough and that I’m going to take the sail panels off and do a DIY paintjob on the roof. I looked online for tips on how to remove the sail panels and was a little disappointed that there wasn’t a better writeup out there. So here’s my shot at it.

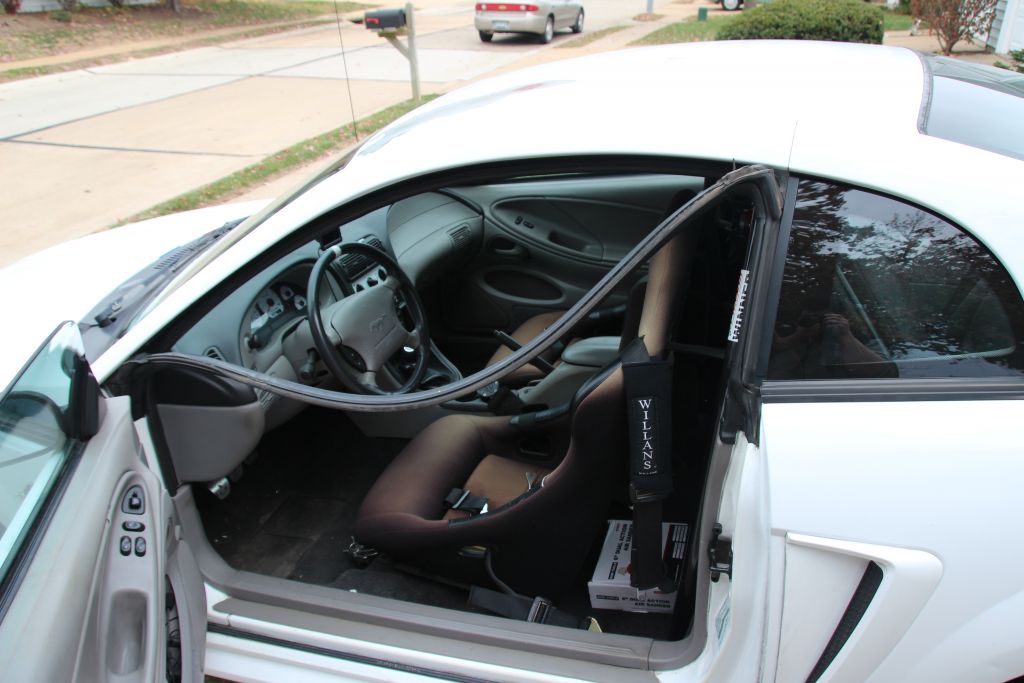
First, an overview of the car the day I bought it. The “sail panels” are the two plastic pieces that cover the A and C Pillars of the car and go over the doors.
Step 1
Weather stripping coming out
Take a prying tool or flathead screwdriver and gently pull the rubber weatherstripping out of the weatherstripping channel. This is easy. Once you pry one part of the weatherstripping out of the channel you can just use your fingers and work the rest of it out. When you’re done, you’ll have something like this.
Step 2
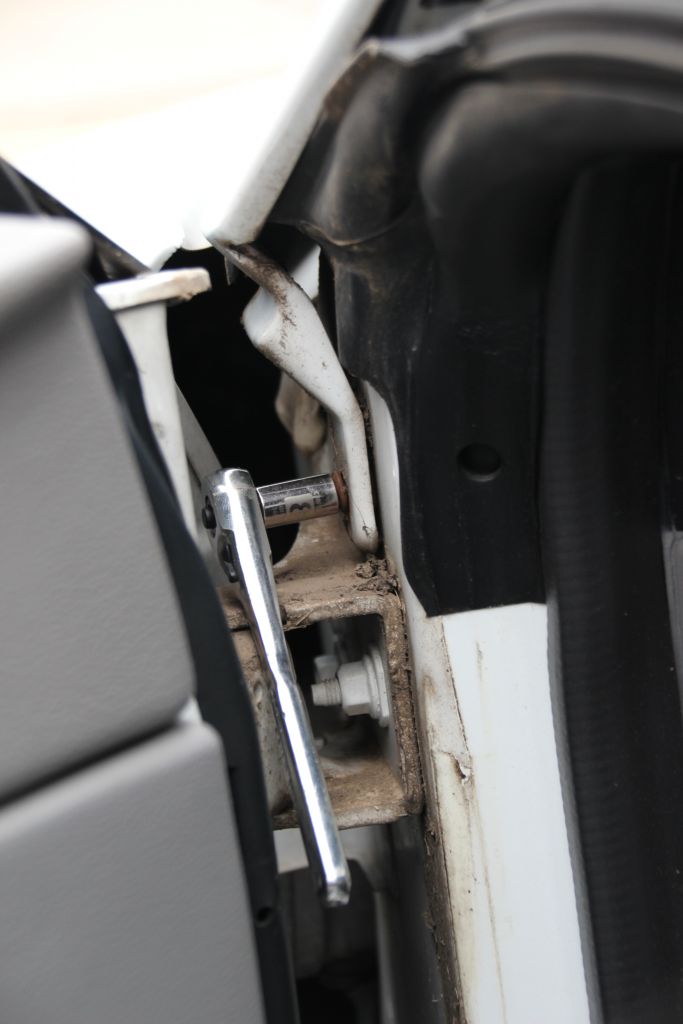
Removing torx screws
Remove the torx screws along the weatherstripping channel, and the bolt at the front of the car just above the door hinge. Here’s a pic of that bolt (8mm) with my socket hanging on it.
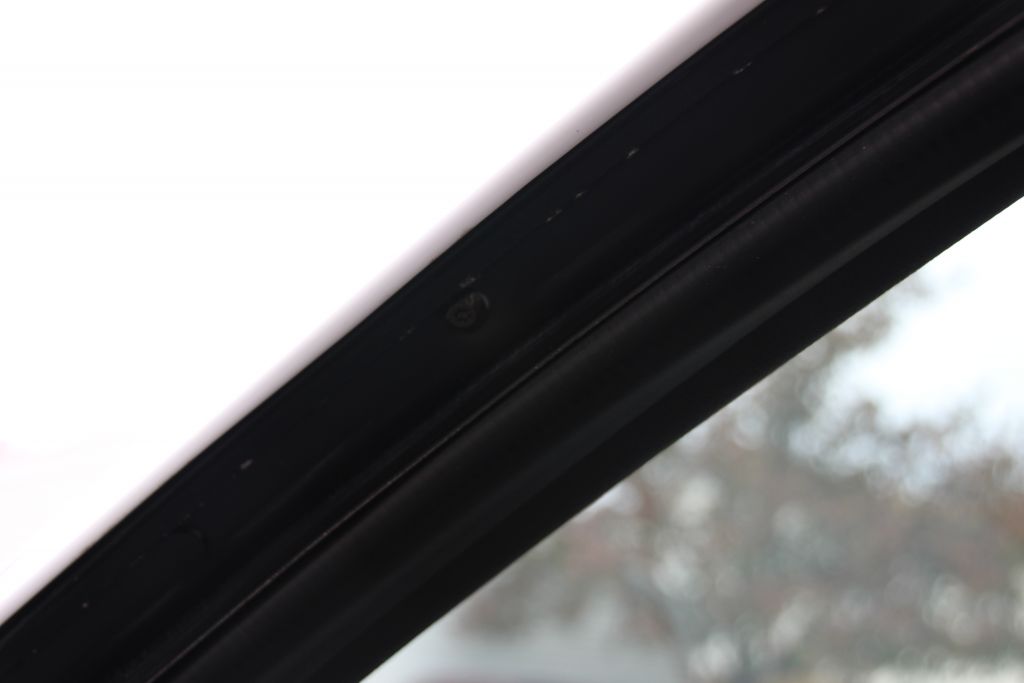
Torx screw in the middle, black
For clarification, here’s a pic of one of the torx screws holding the weatherstripping channel to the car. With my car being white its easy to see the weatherstripping channel.
Step 3

Channel removal
With the torx screws and the 8mm bolt removed, just working the channel out with your fingers is all that’s necessary. There’s one final male-end rubber grommet towards the back that pops into a hole. That’s just there to hold it loosely in place before/after removing the hardware.
When the weatherstripping channel is removed, you can finally see the underside of the sail panel.
One of the phillips screws, hard to get a picture
You expose 3 more phillips head screws that hold the sail panel to the car. Remove them.
Step 4

Sail panel removed
You can now pop the sail panel off the car. There are some spring clips along the top-side but they aren’t too difficult.
Step 5
Pictured: A Pain
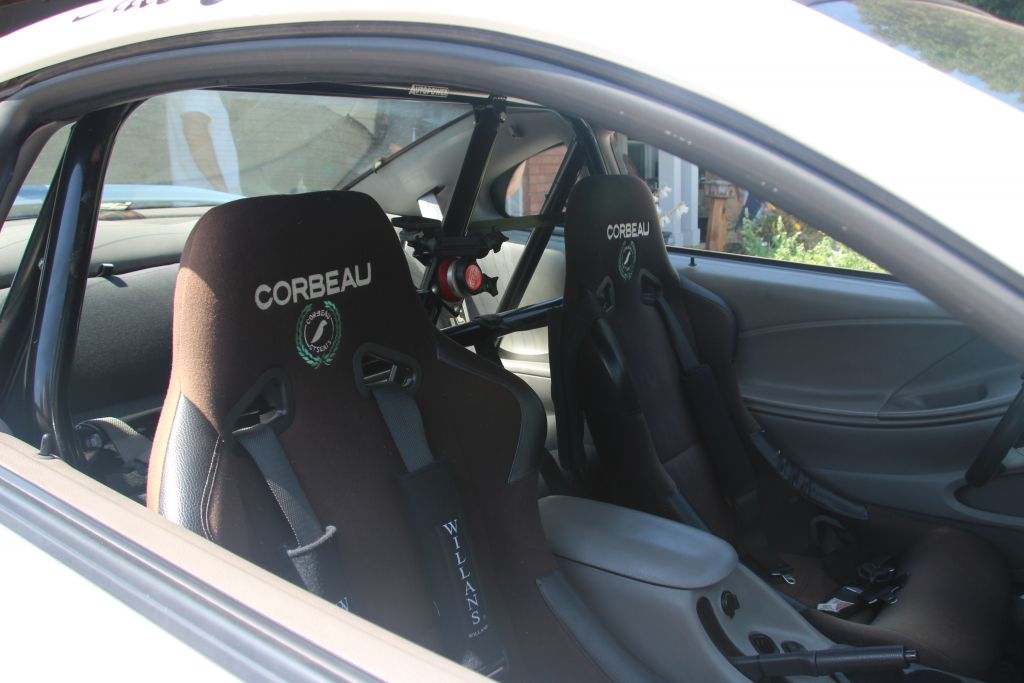
The rear sail panel was a bit of a pain with my car because it has a harness bar in the back seat.
In either case, the goal is to remove the upper rear quarter panel on the inside of the car. This reveals 5 nuts that hold the rear sail panel to the C Pillar.
Harness-bar-less SNs will enjoy the space available to them to actually remove this panel. Unfortunately, you also have to bust the seatbelt bolt loose, and I hear that’s a complete bitch! Since my car had the stock seatbelts removed already, all I have to do is remove the coat hanger screw and I can bend it like a wet noodle.
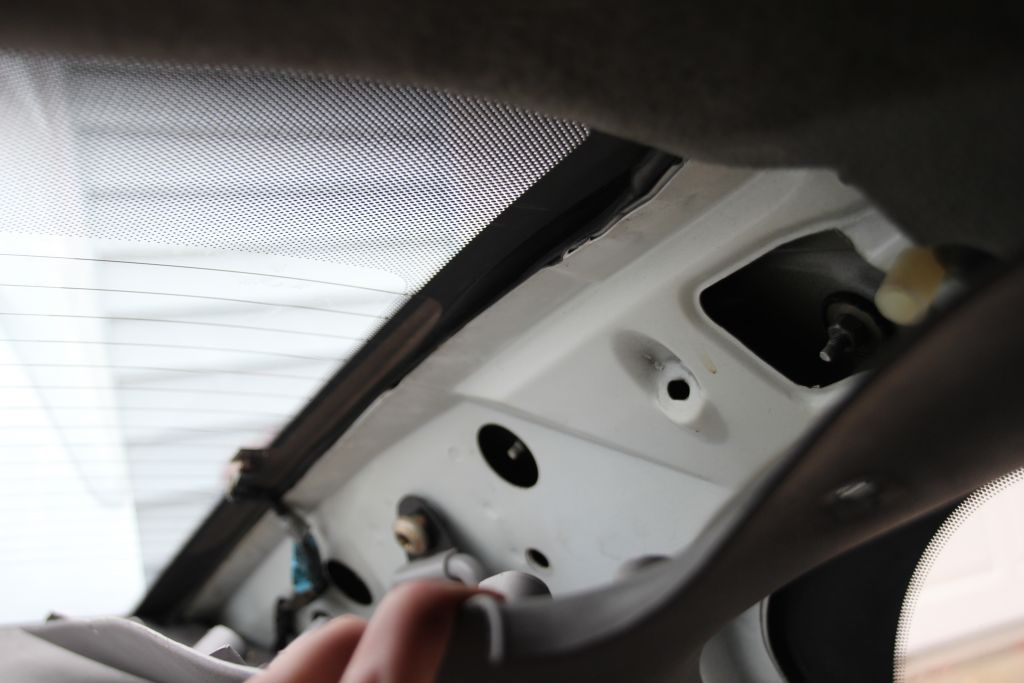
Pictured: Nuts
The picture to the right shows 3 of the nuts. The two not shown are basically directly above and behind the centerline of the quarter window. I was able to get the nut behind the quarter window, however, to my dismay, I was completely unable to access the one above the quarter window. Without taking that panel completely out, you can’t access it. My harness bar didn’t want to play nice, so I put the mill bit on my dremel tool like a goddamned redneck and cut a hole big enough for my socket to fit through and removed that last nut that way. The Mustang gods may frown upon this, however, I will cover these holes with some plastic grommets and move on. I’d rather have no rust on my roof. And I wasn’t about the disassemble that harness bar!
This had some good info too: http://www.paladinmicro.com/documents/RoofSideMouldingR&R.pdf
Again, if you dont have a cage or harness bar in the backseat, you dont have to do this!
Regardless, I apologize for not having a final picture, but, with those 5 nuts removed, the rear sail panels pops right off.
[…] that there was some missing info and a definite lack of pictures on this, so, here's my writeup. Removing Exterior Sail Panels on SN95 Mustang (94-04) – Did It Myself Hope this helps. __________________ 94 GT – Fun dd 99 GT – Track Car 11 F150 XLT 5.0 4×4 Screw […]
Thanks .. Nice write up
I have a great sail panel photo for you.
I need some real help I have a 1999 mustang GT and I had my windshield replaced and that broke both side and I can’t find them both sides please help, randygrimsley4@gmail.com