Riding Mower Belt and Blades Replacement
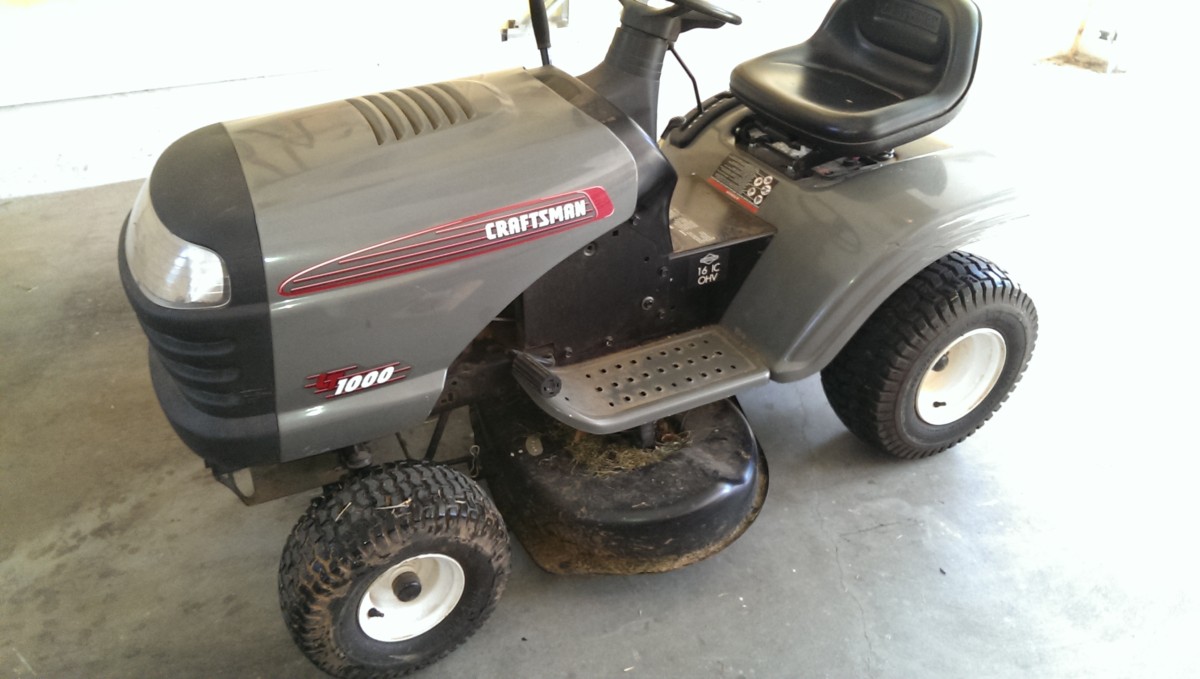
My 2008 Craftsman 38″ Mower
My 2008 Craftsman 38″ LT1000 riding mower, which I picked up on Craigslist a few years ago, was finally in need of some maintenance after last season. The blades had clearly gotten dull; you can tell when this happens because the mower chops and pulls at the grass, rather than cutting it. If you have to go back over areas you just mowed twice, you probably need a sharpening or new blades.
I knew it was a matter of time, but I kept putting off the job. Finally, the belt in the deck gave out one day, and I had no choice but to do the replacement. Riding mower belt and blades replacement is the same for just about every mower, so while the pictures below may not have exactly the right cotter pin locations, etc, these instructions should still generally apply.
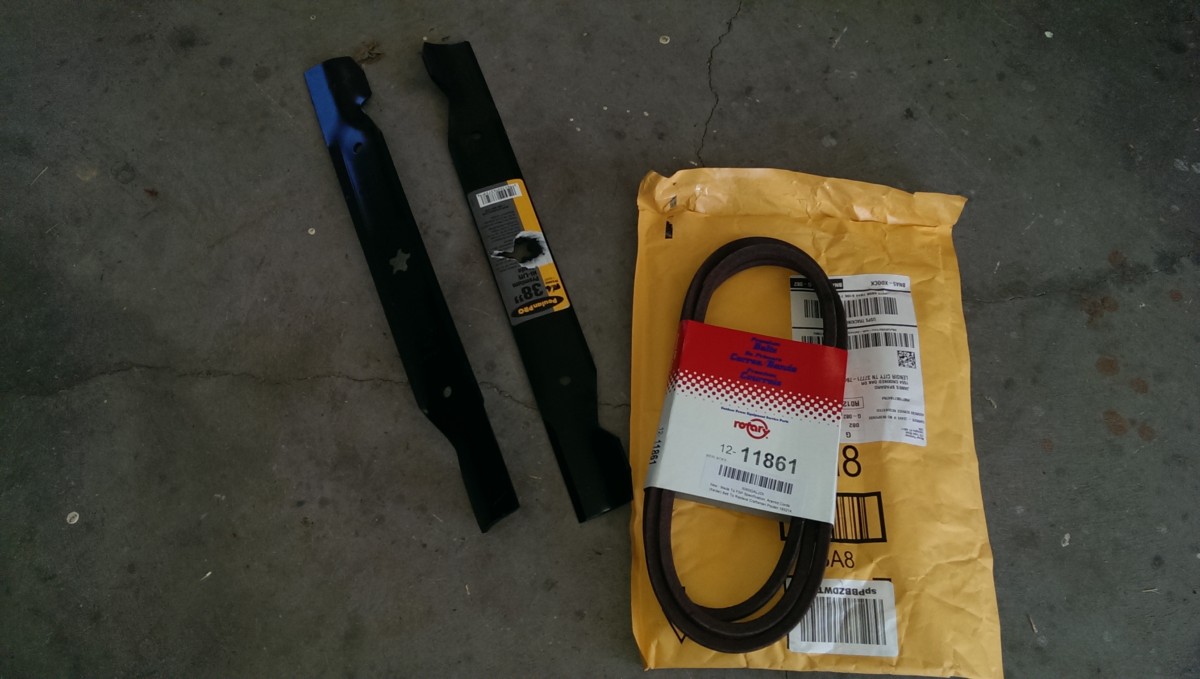
Parts required: one belt and two blades
I had previously raised up the deck and inspected the blades and knew they were in rough shape. As such, I didn’t want to bother trying to sharpen them. Sizes of belt and blades will vary depending on your mower, but the blade set and belt were about $30 apiece.
Removing the mower deck
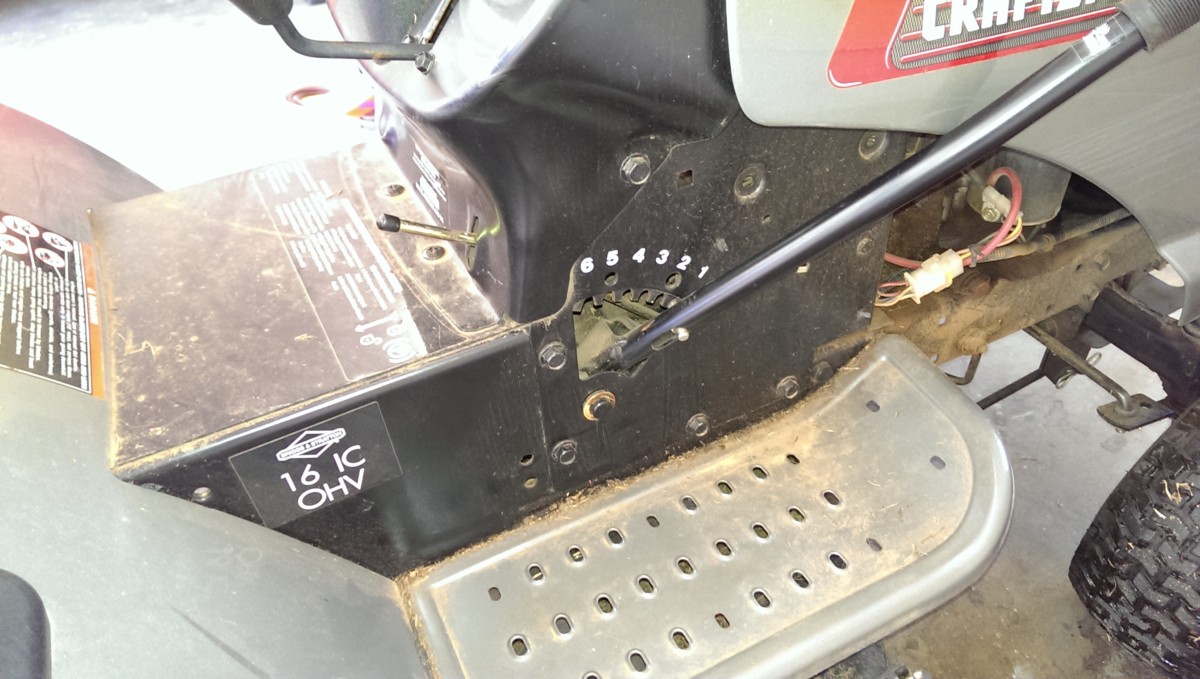
Completely lower the deck first
The first step is to remove the mower deck from the mower. Most riding mowers are attached similarly. Lower the mower deck into the lowest position.
Detaching

Freed
Detaching
Freed

Detaching
Freed
Detaching
Freed
Detaching
Freed
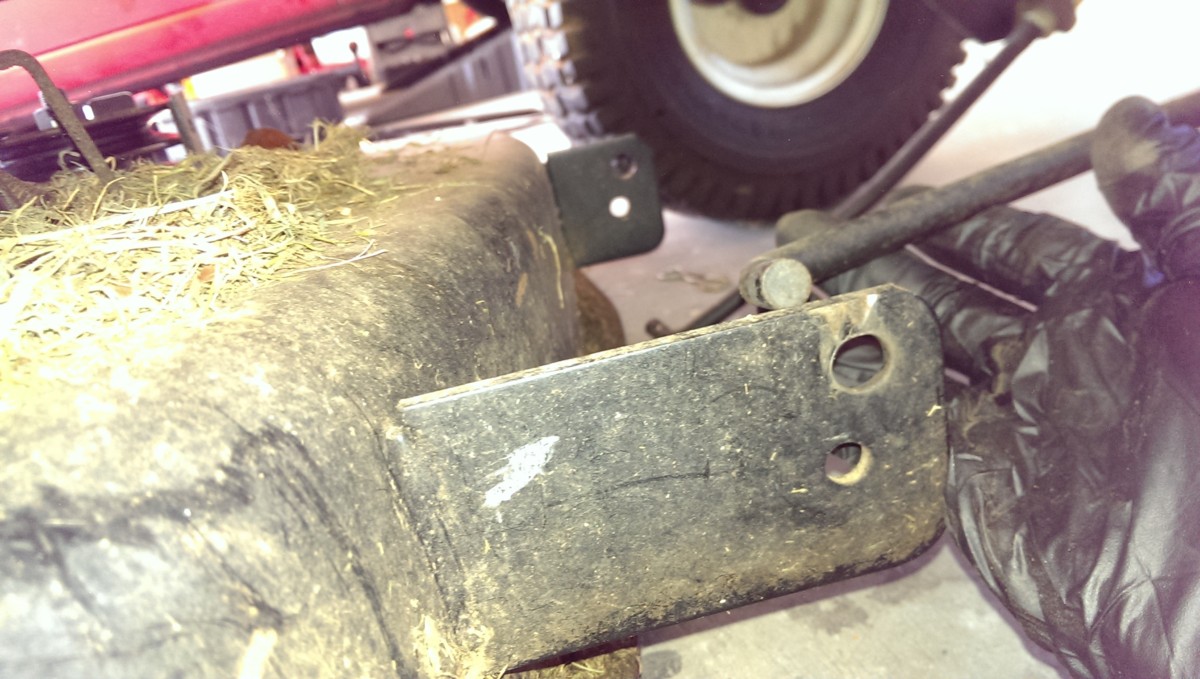
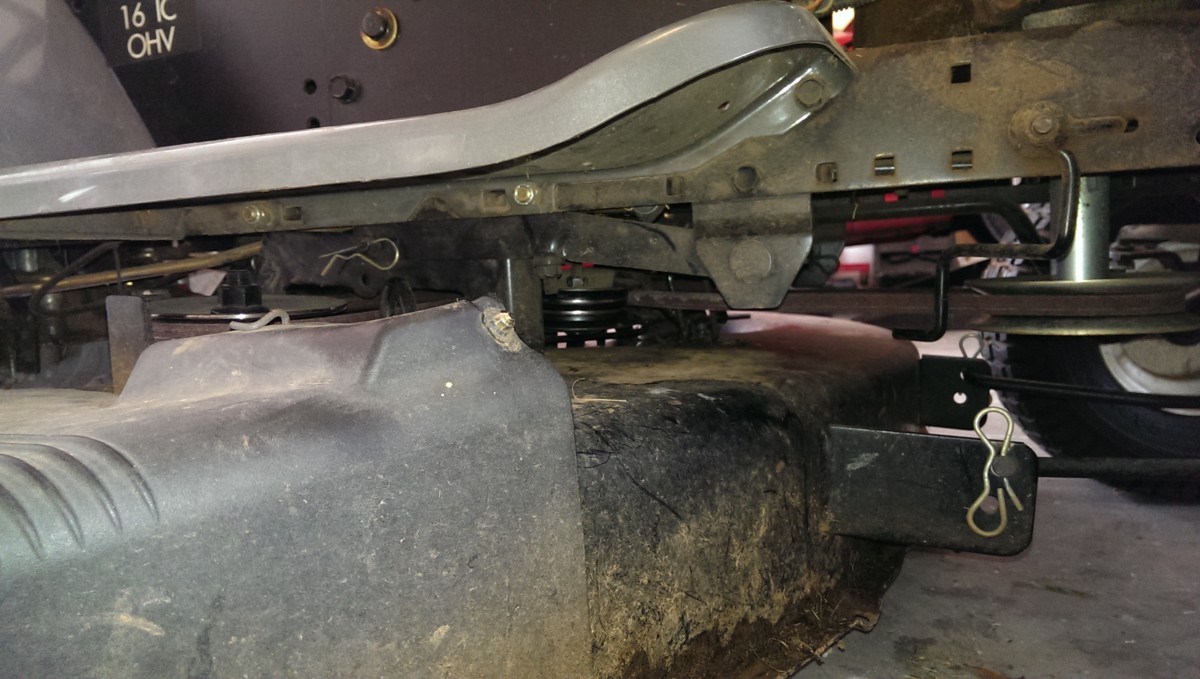
With the deck lowered fully, you maximize access to the top of the deck to get to all the cotter pins attaching it to the mower. There are a bunch of these, I pictured most of them above. The way I work is simply to start on one side, and remove every visible cotter pin and undo whatever it attaches. Then, switch to the other side and repeat. I usually lay out the cotter pins in order, so I can remember how to put it all back together. As you can see, the last time I did this, I lost a cotter pin, and replaced it with some baling wire I had laying around.
Step 1: Cotter pin
Step 2: Twist and release

Step 3: Pull back

Step 4: Profit (It’s now free.)
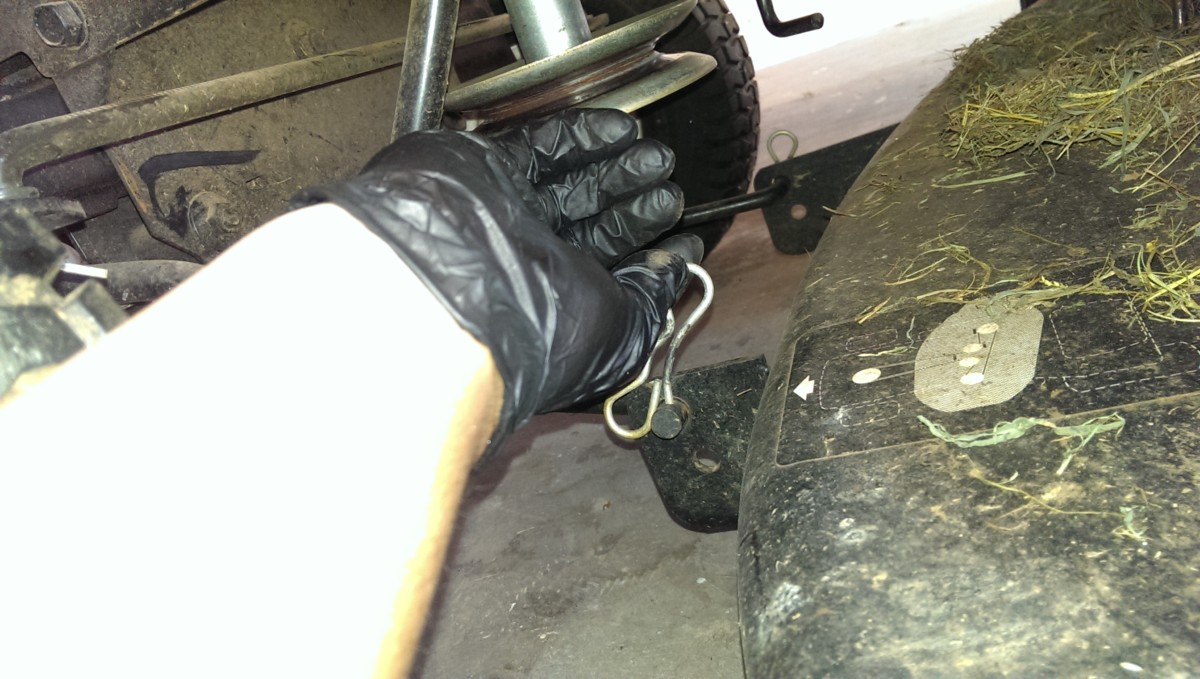
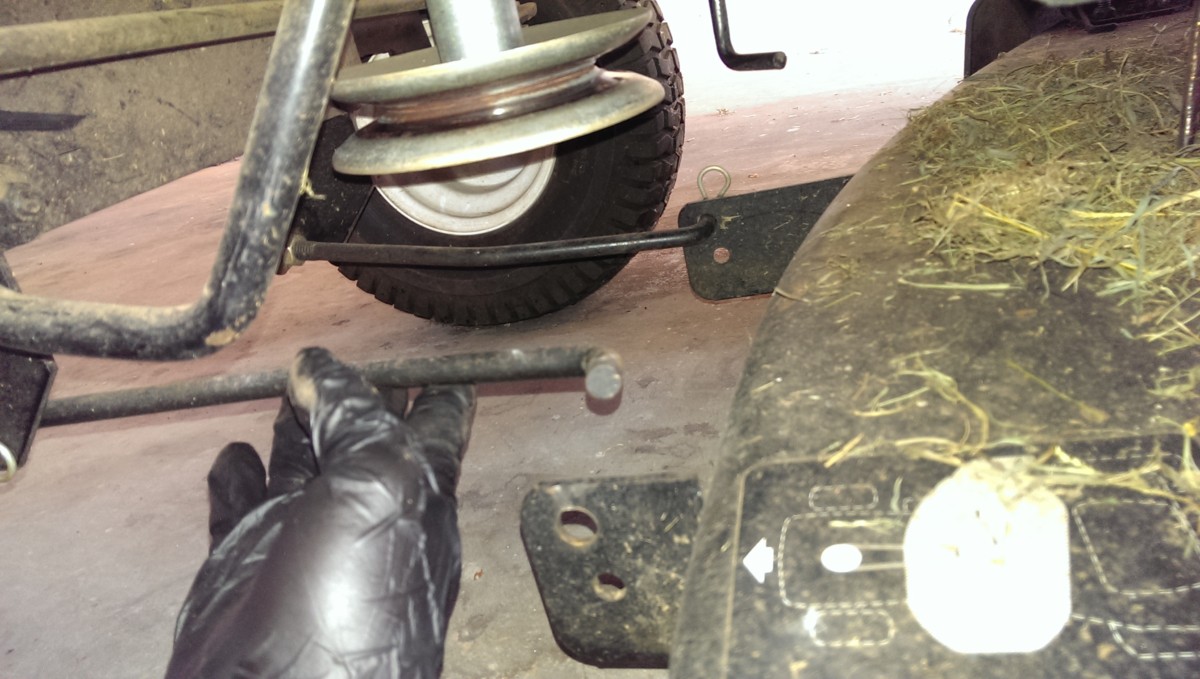
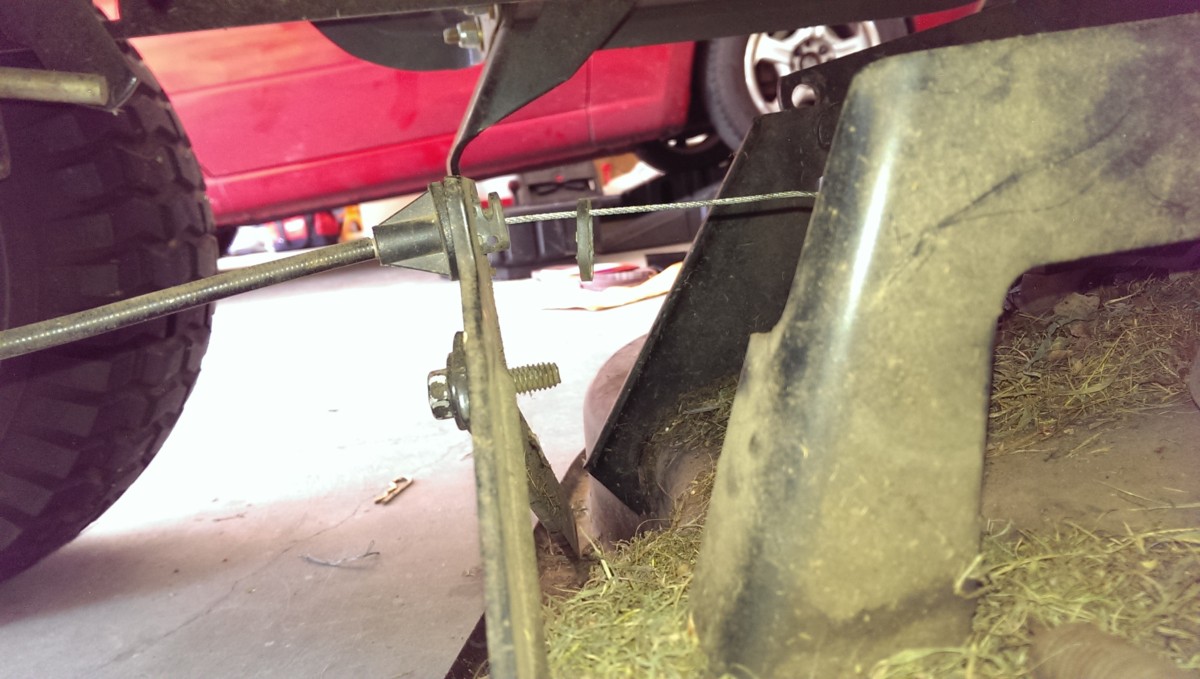
A cable actuator routes next to the deck in the pictured location. It has to be freed for the deck to come out. Simply pull the cotter pin, twist the little housing and release it through, and slide the whole thing out to the slide. The rubber grommet on the front can just hang on the wire.
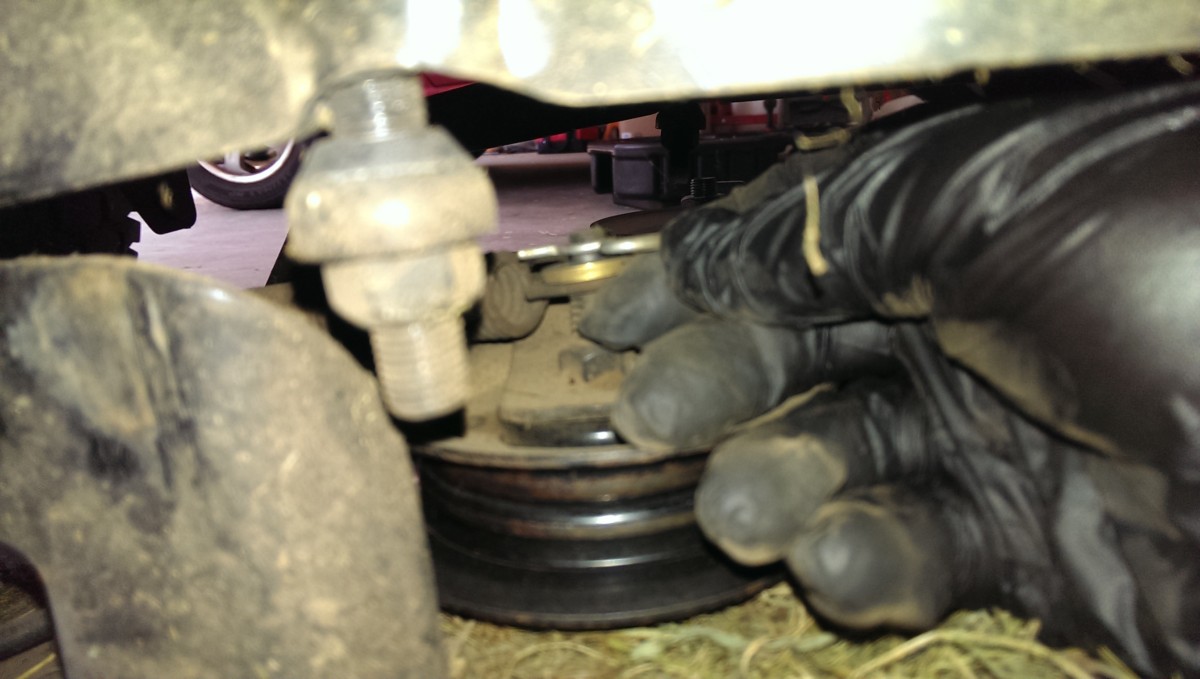
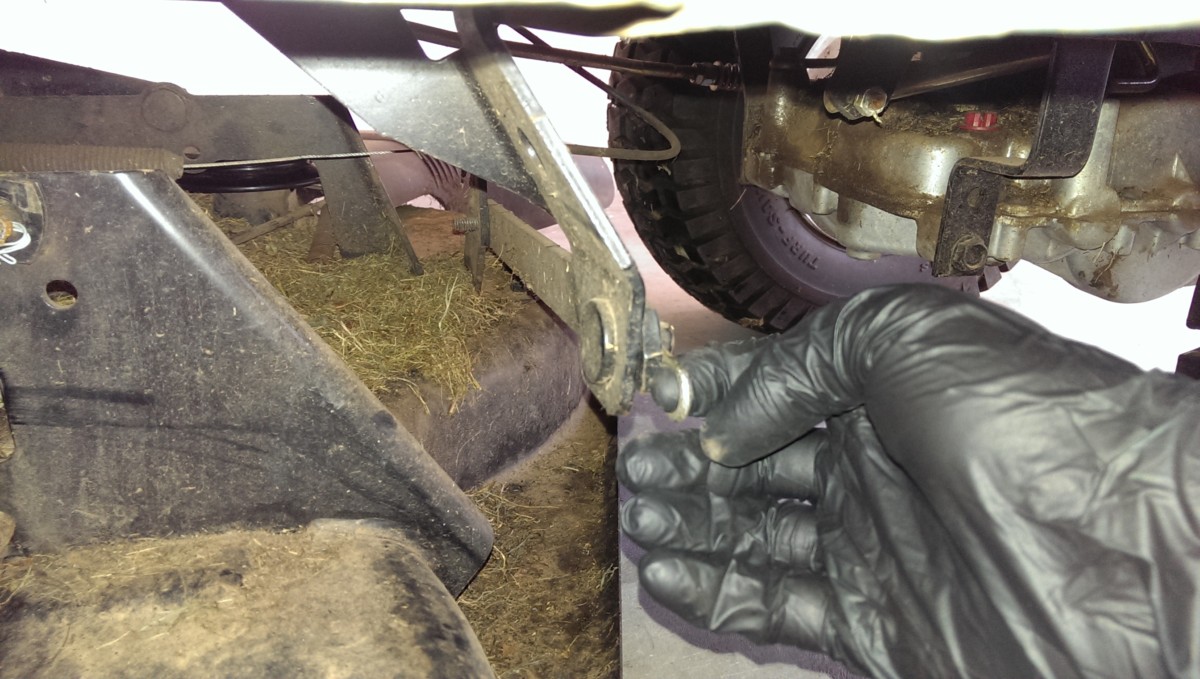
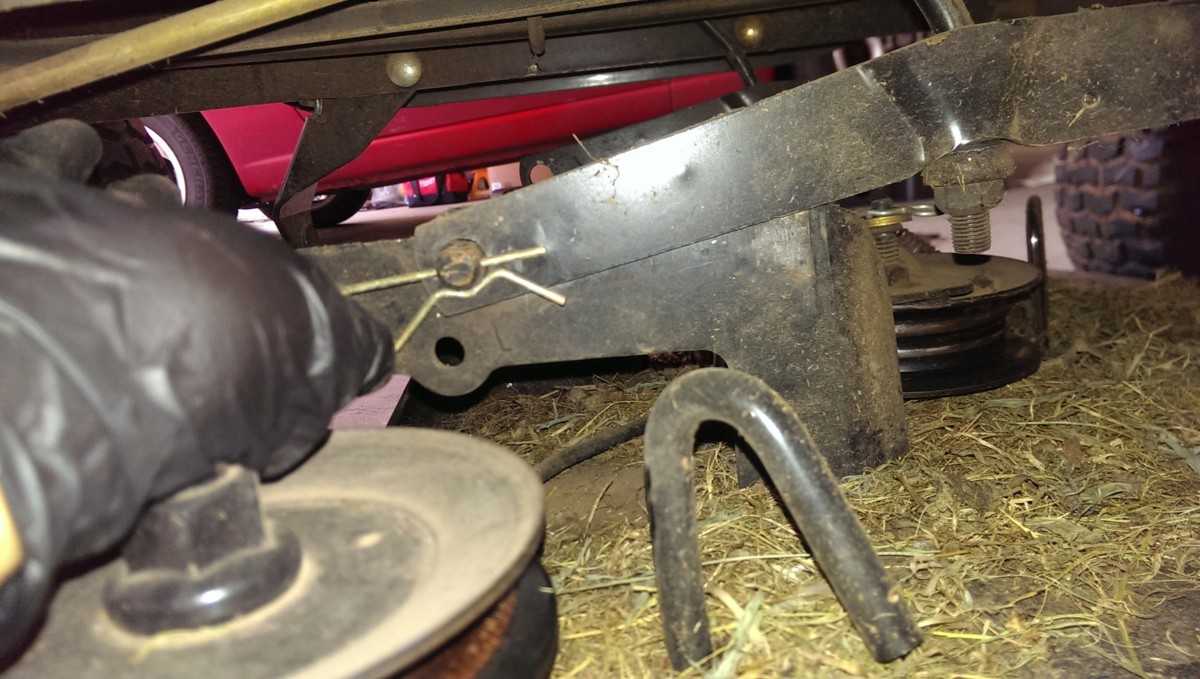
Step 1: Remove cotter pin
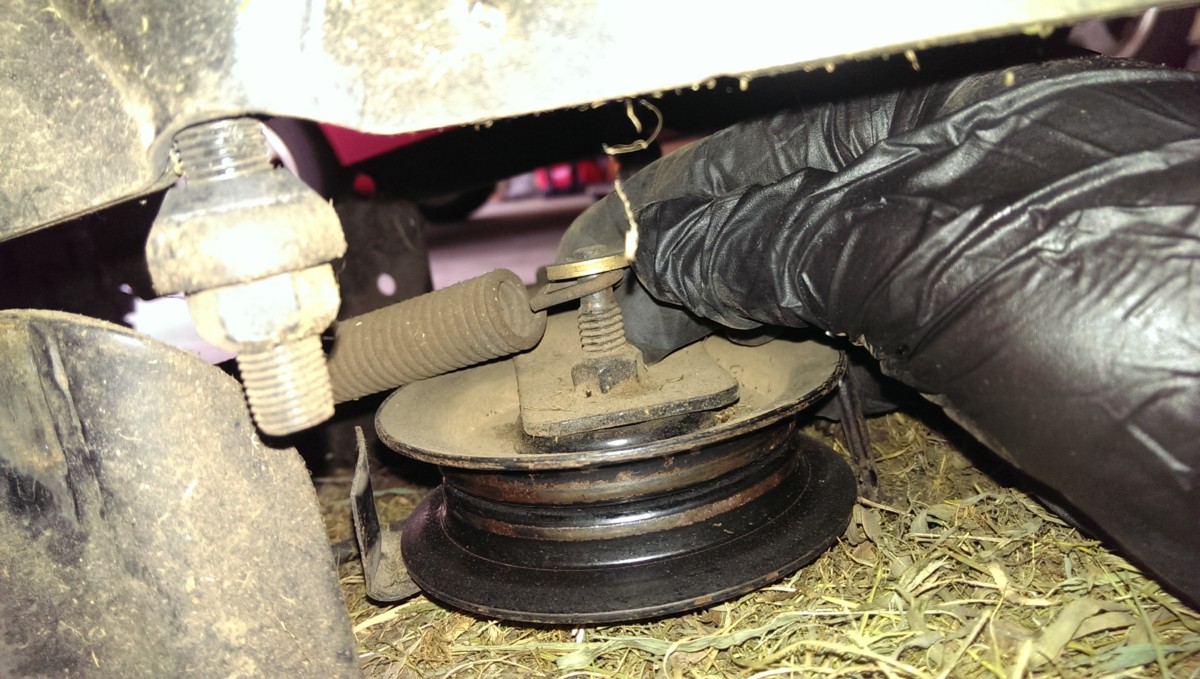
Step 2: Push pulley
Step 3: Release hook
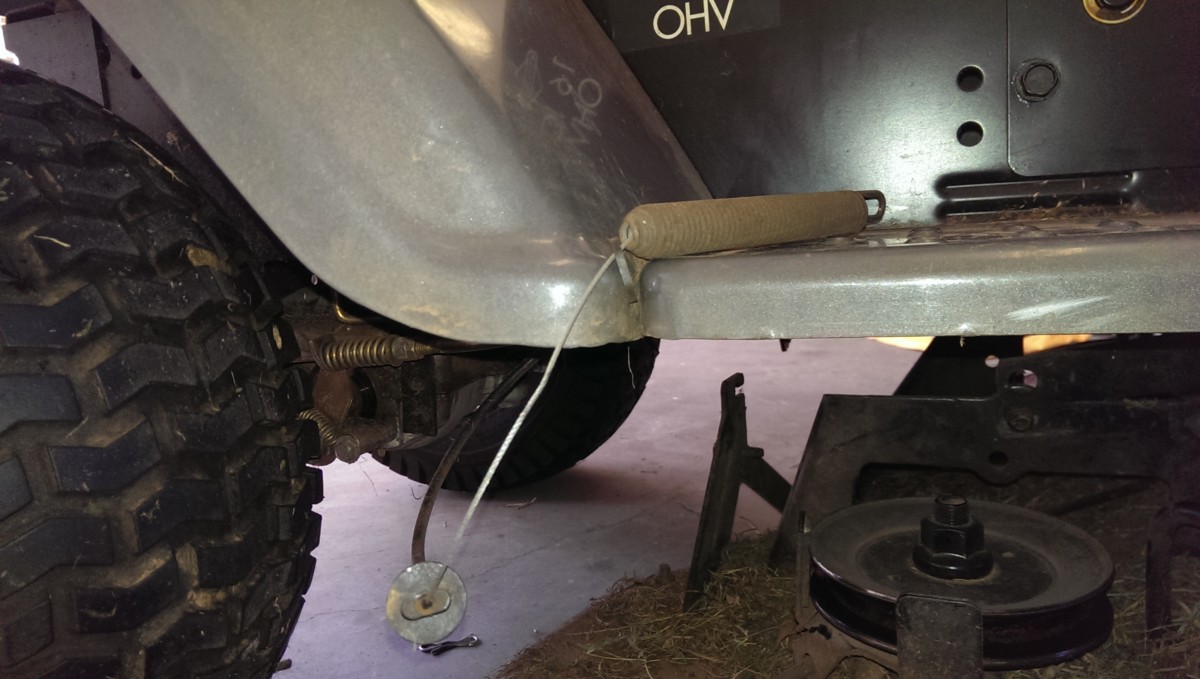
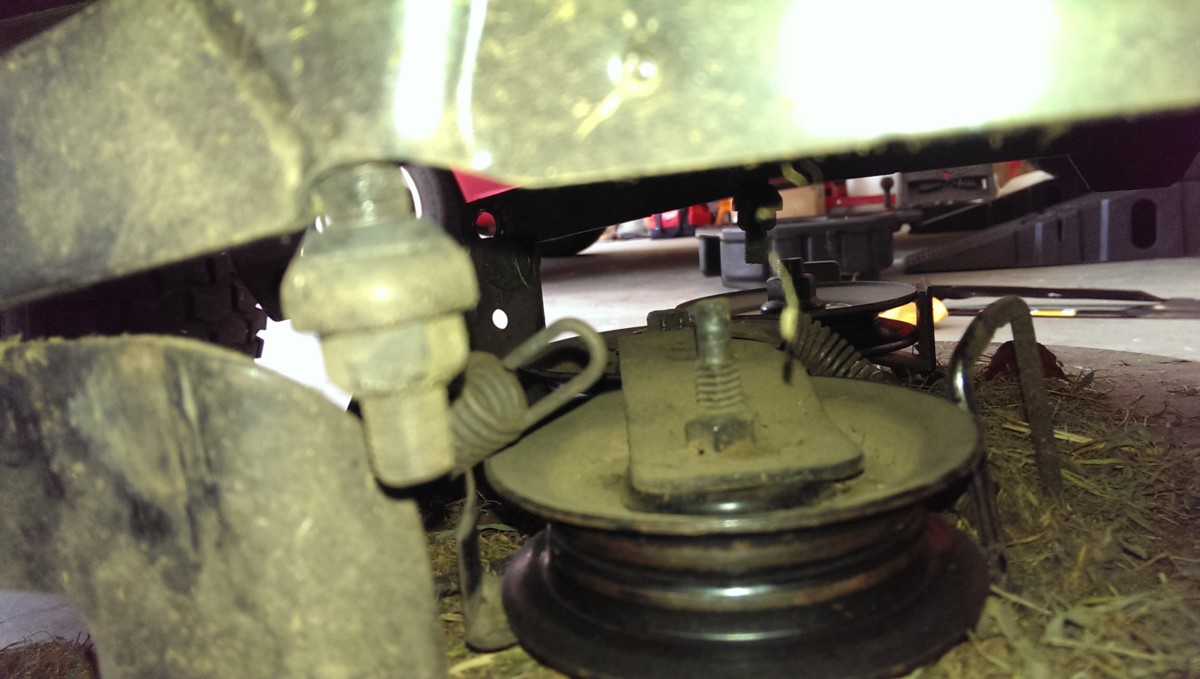
I simply let the spring sit on the foot area of the mower, out of the way
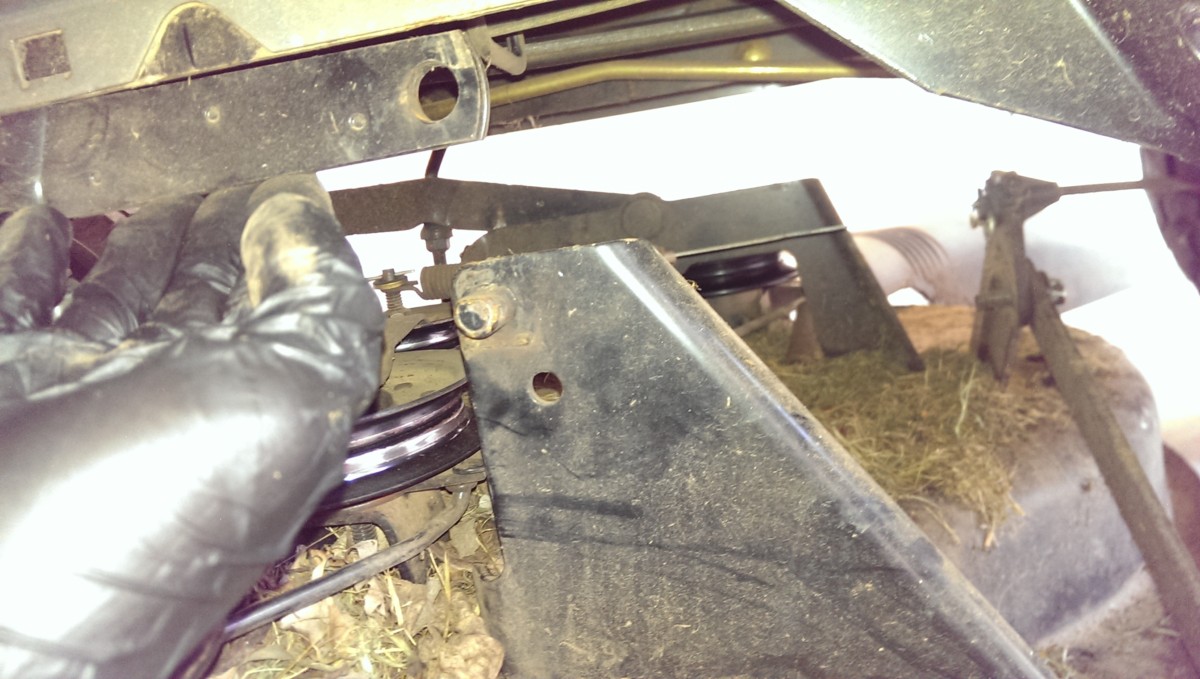
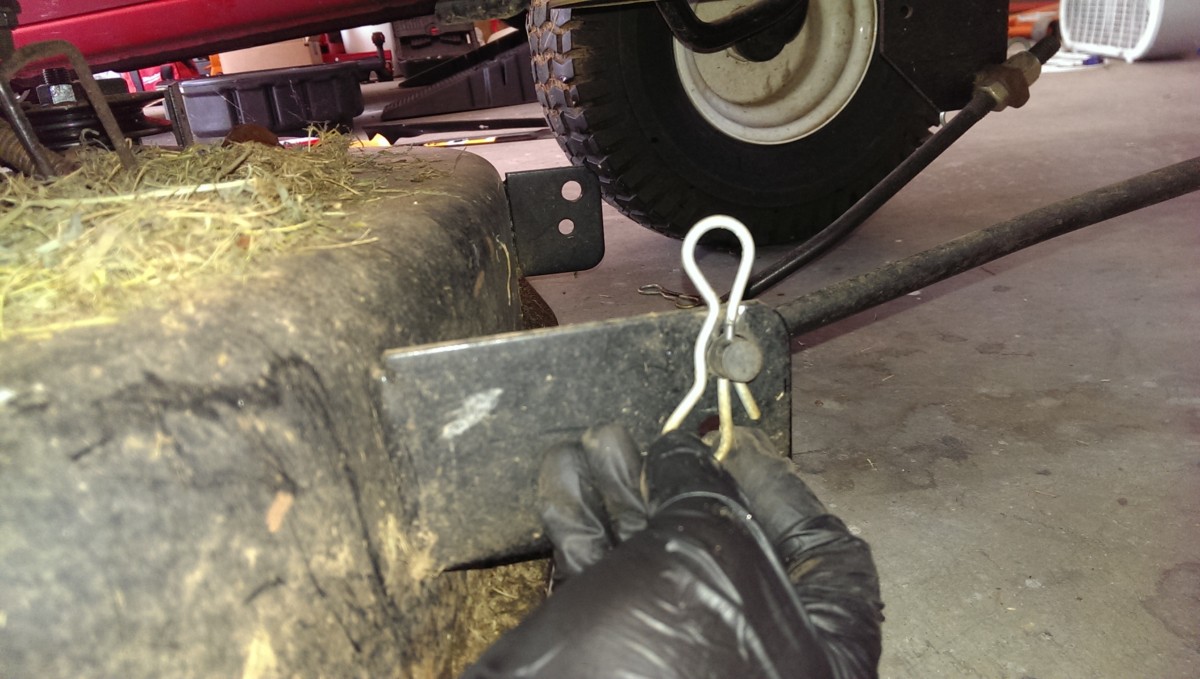
The last part is to disconnect this spring. It hooks to a pulley on top of the deck as shown. Once the cotter pin is released and washer removed, the pulley can be pushed to give the spring some slack, and it can be unhooked. I simply place the spring up on the mower’s foot area as shown to get it out of the way.

The deck is removed
Once that is all done, you can slide the deck out from under the mower. If your mower belt is still intact, you’ll have to also free it. I don’t have any pictures of that, because my belt completely fell apart prior to doing this, but [i]removal[/i] is very intuitive – just slip it off and out. Reinstalling, on the other hand, is a bit trickier, but I go over this below.
I cleaned up the deck at this point
While the deck is out, I’ll note that this is a good time to go ahead and clean up the top of the deck. In particular, I went ahead and got all the grass clippings and other garbage out.
Replacing the blades
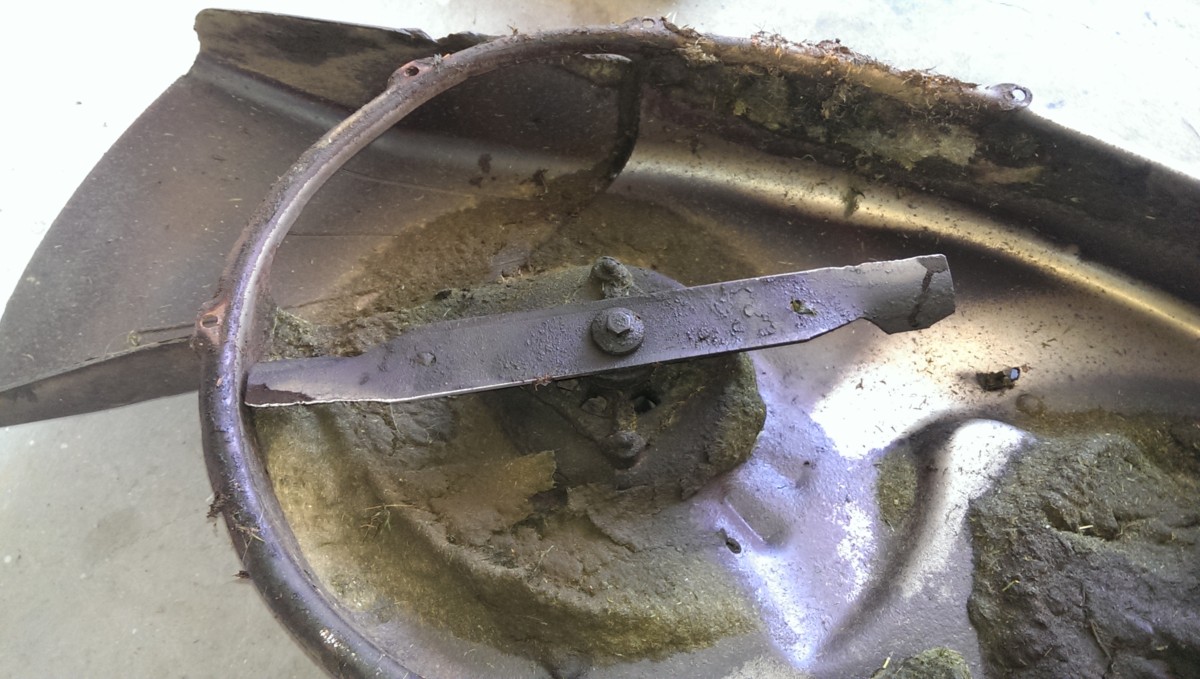
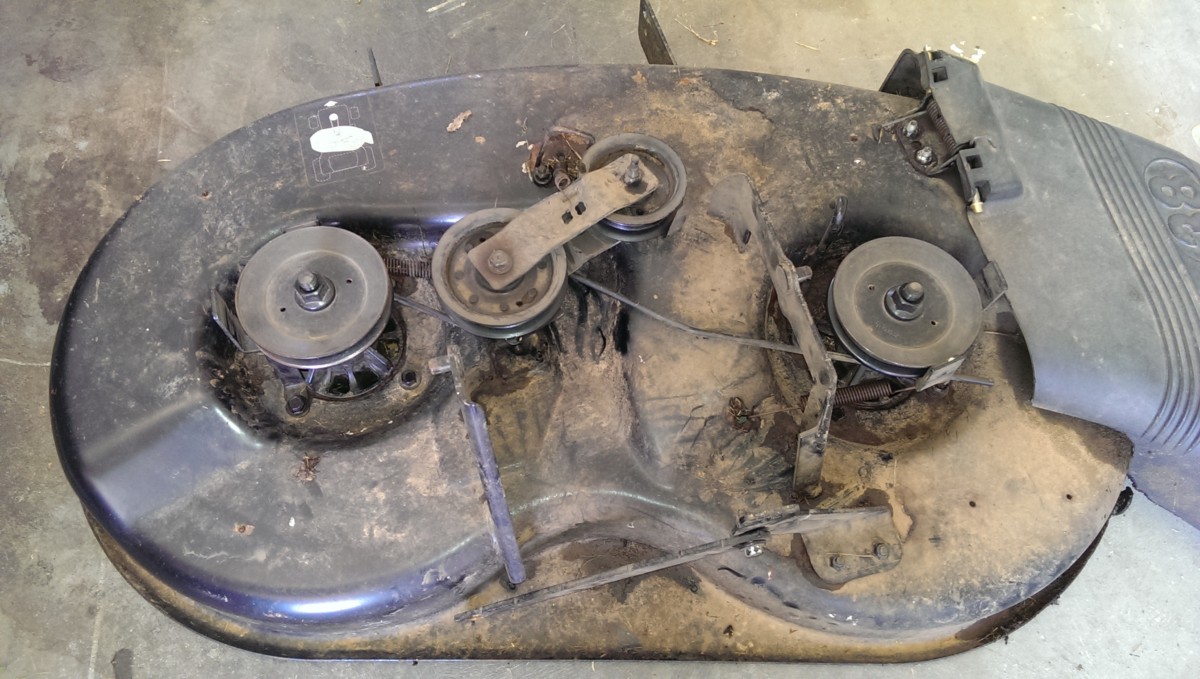
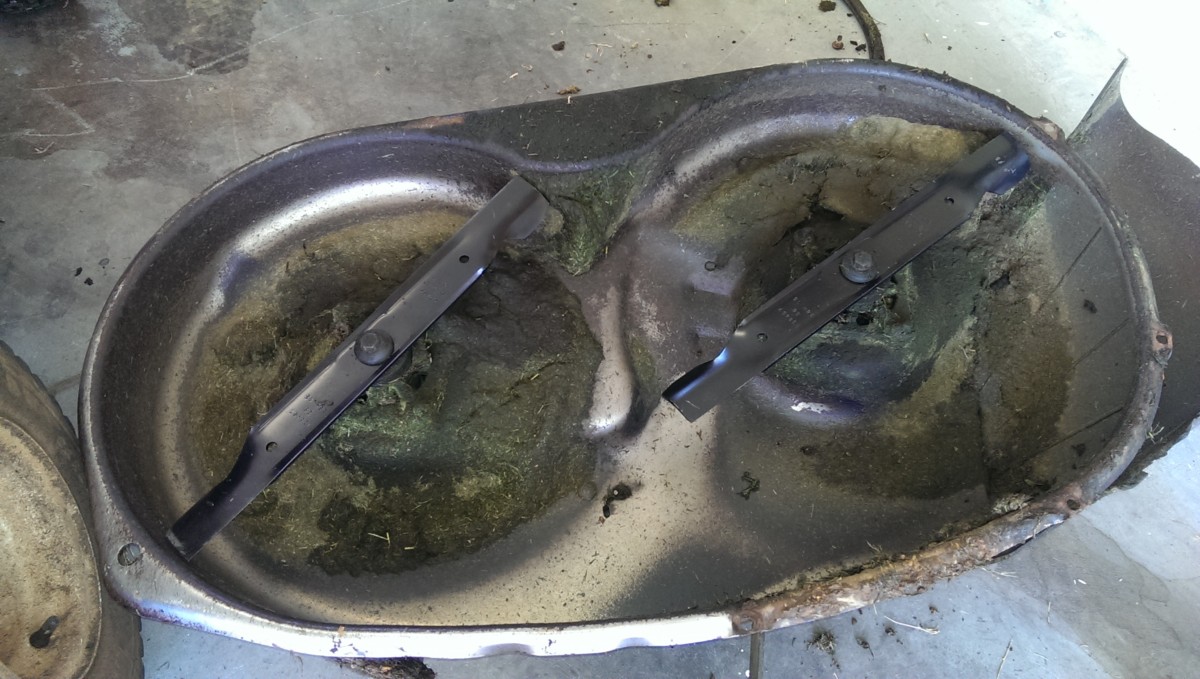
If you flip it over, you can see the blades
If you flip the deck over, you can see both blades. Most riding mowers will have two. I only describe the procedure for one of them, but it’s identical for both.
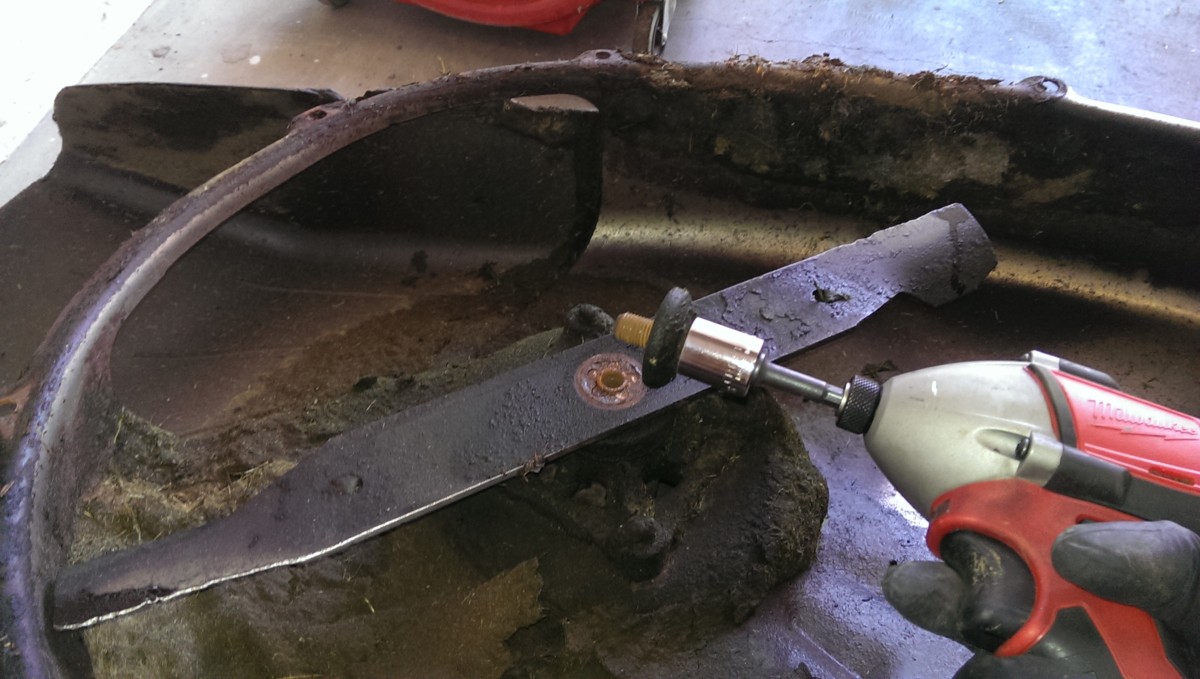
An impact driver is your friend for this
To release the blade, there is a bolt in the middle that must be removed. Of course, if you spin the nut, you’ll spin the blade, which is dangerous. Be extremely careful getting this free. If you use a wrench, you could use a block of wood or something similar to hold the blade while you undo the bolt.
I chose to use an impact driver. Being extremely careful to keep my hands clear of the blade, I just put the impact driver with an appropriately-sized socket on that nut and cranked it. The impact can spin faster than the blades will rotate, and the bolt should come right out.
With the bolt removed, the blade will just lift off.
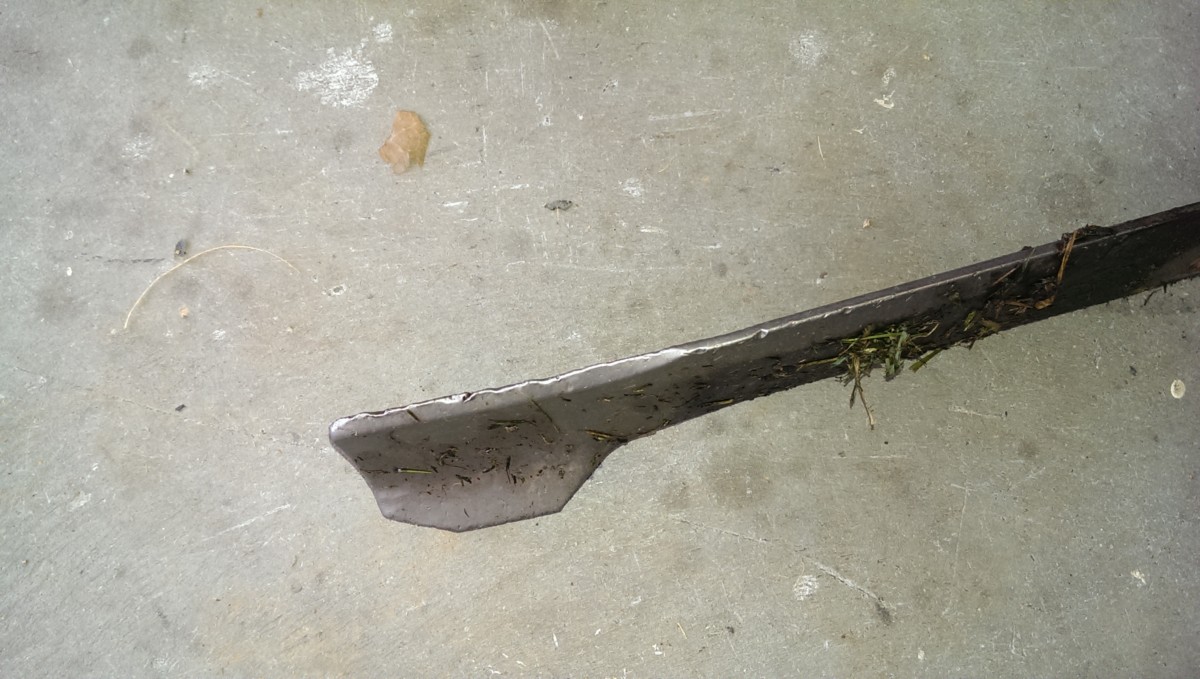
This old blade is in pretty bad shape

You can see a big difference in the edge between the old and new blades
As I said in the introduction, I knew these blades were at least 3 years old, since that’s when I bought the mower. I have no idea when the previous owner last changed them. As such, I simply chose to replace. You can see what a bad state these blades had gotten in.
It is also possible to sharpen mower blades. You can take them to a lot of lawnmower repair shops or sharpening shops and get this done. Alternatively, you could do it yourself. Actually describing how to do this is outside the scope of this article, but I will mention that if you choose to do so, it isn’t much more difficult than sharpening an ax or any other utility blade.
That said, there is one crucial element to lawnmower blades: The blades must be balanced. You want both sides to weigh the same. You can do this by periodically hanging the blade on a nail or dowel or something and seeing if it will stay horizontal. If one end swings down, it is heavier than the other.
New blades installed

Cleaned out built-up grass
Installing the new (or newly-sharpened) blades is the reverse of removal. I didn’t have a torque spec for this, so I just got it good and tight, in true American fashion. I also used the opportunity to clean all the built up grass on the underside of the deck.
Replacing the belt
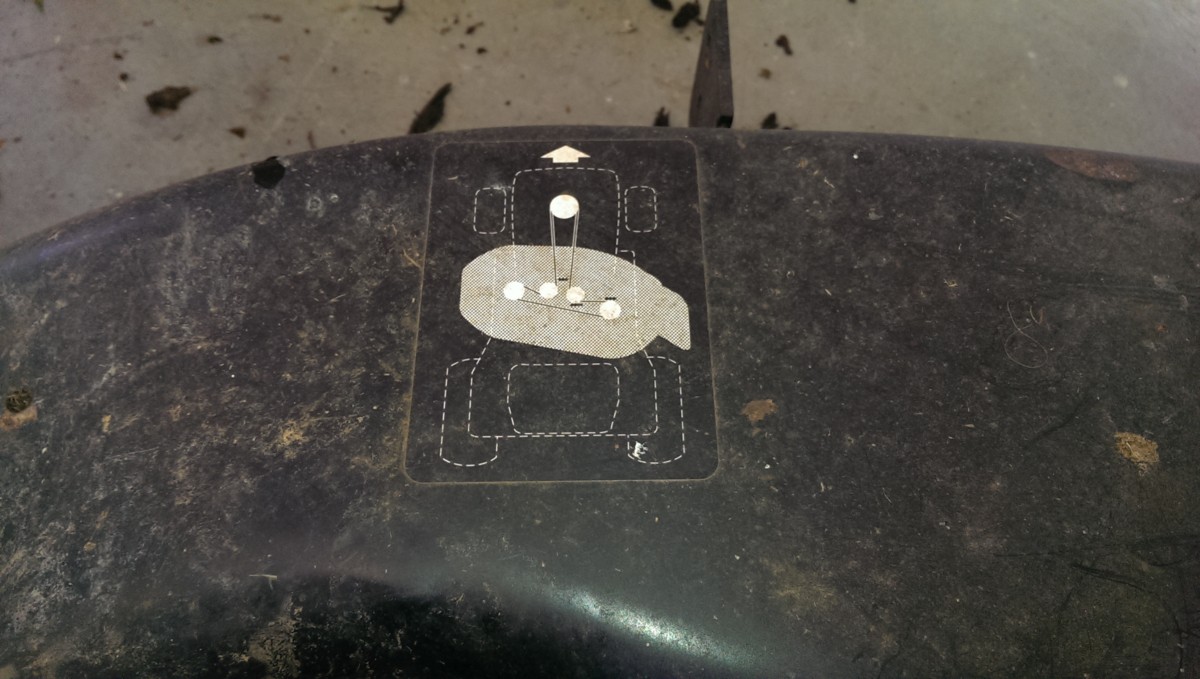
How to route the belt is printed on the mower deck
As I said, my belt had already snapped and fallen off. There aren’t pictures of removing it, because it removed itself. Here is how to put the new one on, though. Hopefully, the deck has a sticker like this indicating how to route the belt. If not, you’ll have to figure it out on your own or track down the manual for your mower.

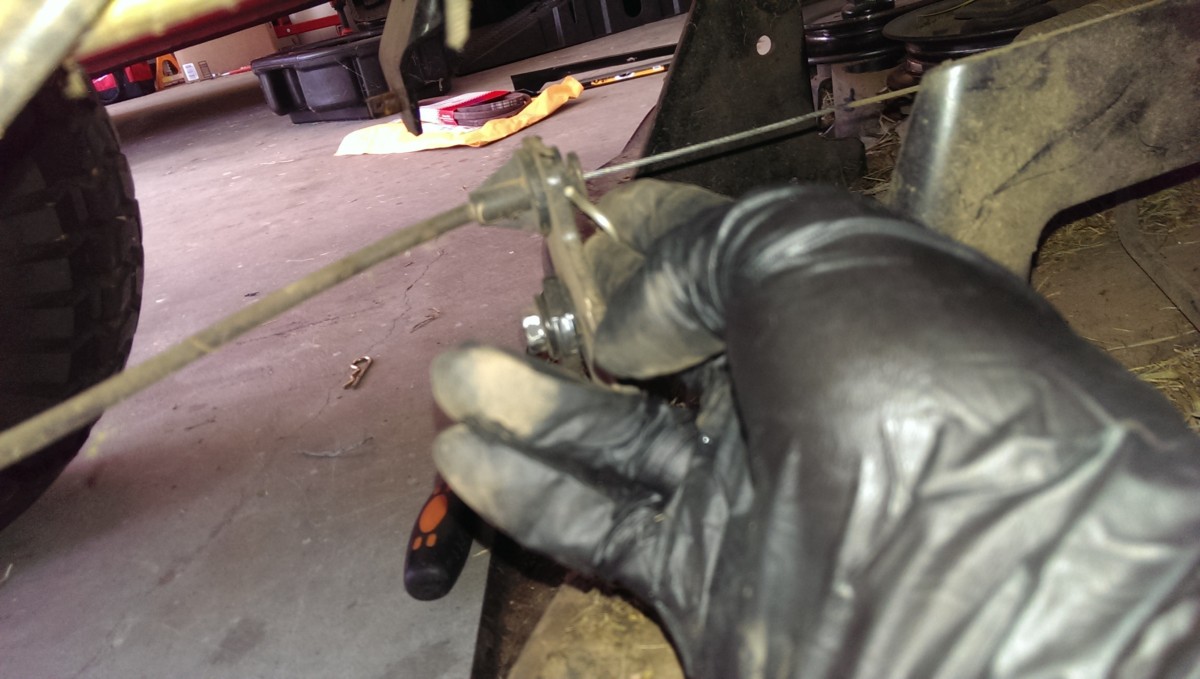
Pulling back on the detent to slip the belt on the pulley
I started putting the belt on in the indicated pattern. The first pulley had one of these spring detents that I had to pull back and slip the belt past.

Pull the pulley back to stretch this spring on
The other tricky area was getting this spring attached. I had to detach it to get the belt on, and then pull on it to hook the spring back. Watch your fingers doing this.

Here’s what it looks like
Here’s what it looks like, ready to go back on the mower. The route matches the pattern on the sticker on the deck, and all of the springs have tension like I think they should. Aside from the two tricky parts shown above, the belt just slipped over the rest of the pulleys. The portion at the bottom left will hook around a pulley on the mower itself that it uses to engage the blades.
Reinstalling the Deck
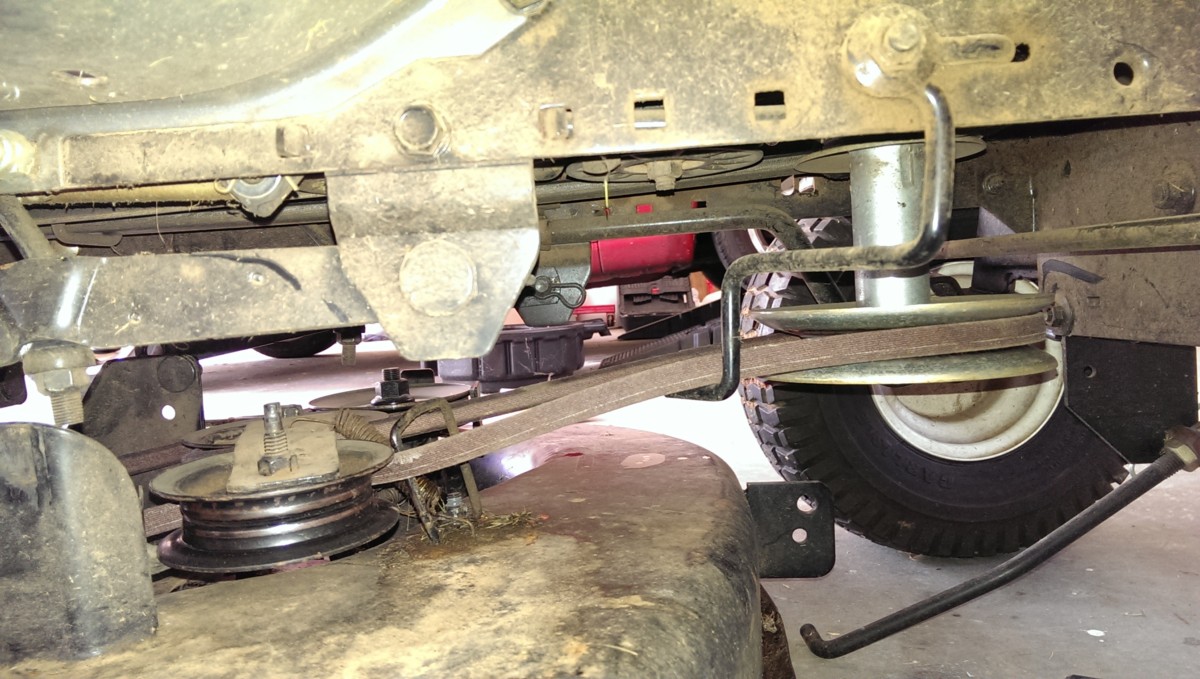
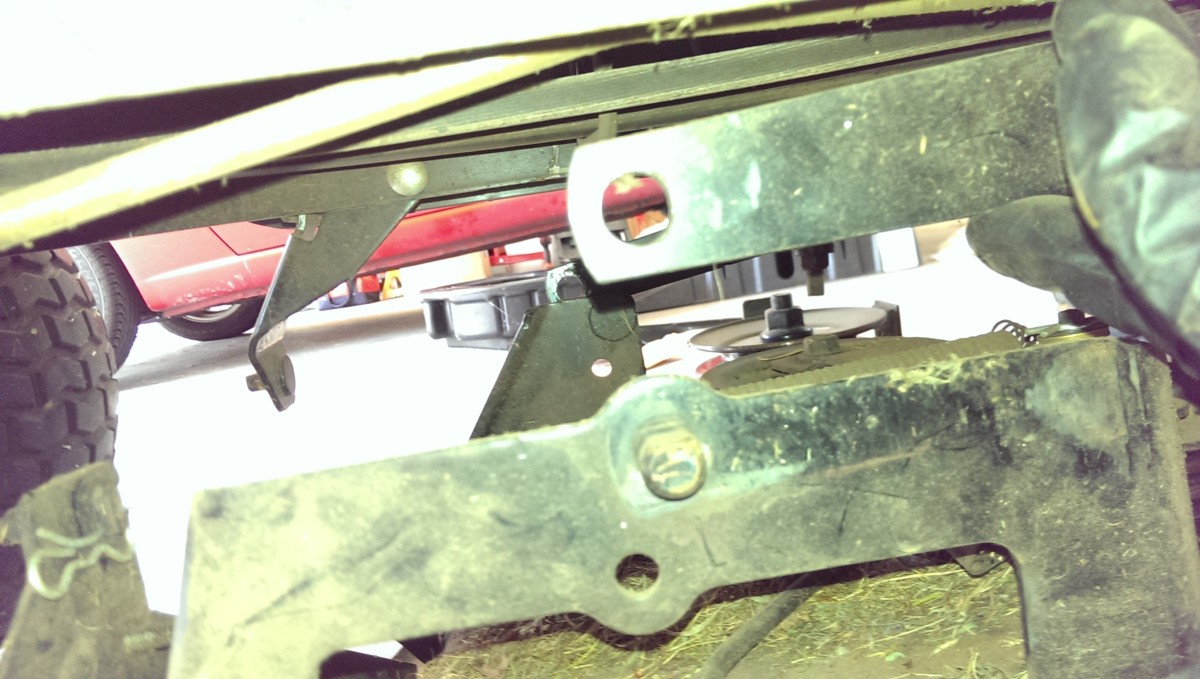
Slip the belt over the mower’s pulley
Once the belt is routed, it’s time to put the deck back on the mower. It slides right back under the mower. Now that the belt is on, the slack end of it needs to be slipped over the mower’s pulley as shown. Note that the black bar serves to keep it from slipping off, and it should go over this.
Reinstalled
Then, simply reattach and re-cotter-pin all of the areas that were disassembled in the first part. After that, fire up the mower and see how it does. The new blades gave me a much better cut.
Hi, I’m having trouble finding out the correct way to route the belt on my Craftsman lt1000? 38″ deck. Your photos are the only images I can find that match my deck, in that mine and yours have that inverted U shaped metal loop between the idler pulleys and the engine drive pulley. Now my question is should the belt go through this loop or as in your photos either side of it. I ask because when I took my deck off it was through the loop and not around it.
Hi Martin, I assumed it went through the outside because I assumed that U-shape loop was to keep the belt away from that spring. If it went through the inside, you’d think it would contact the spring.
The diagram on top of the mower deck isn’t very clear, either – I could interpret it either way. I can say that with it routed as shown, my mower has worked fine, but it only gets homeowner levels of use.