Rooting the XT1920DL Moto E5
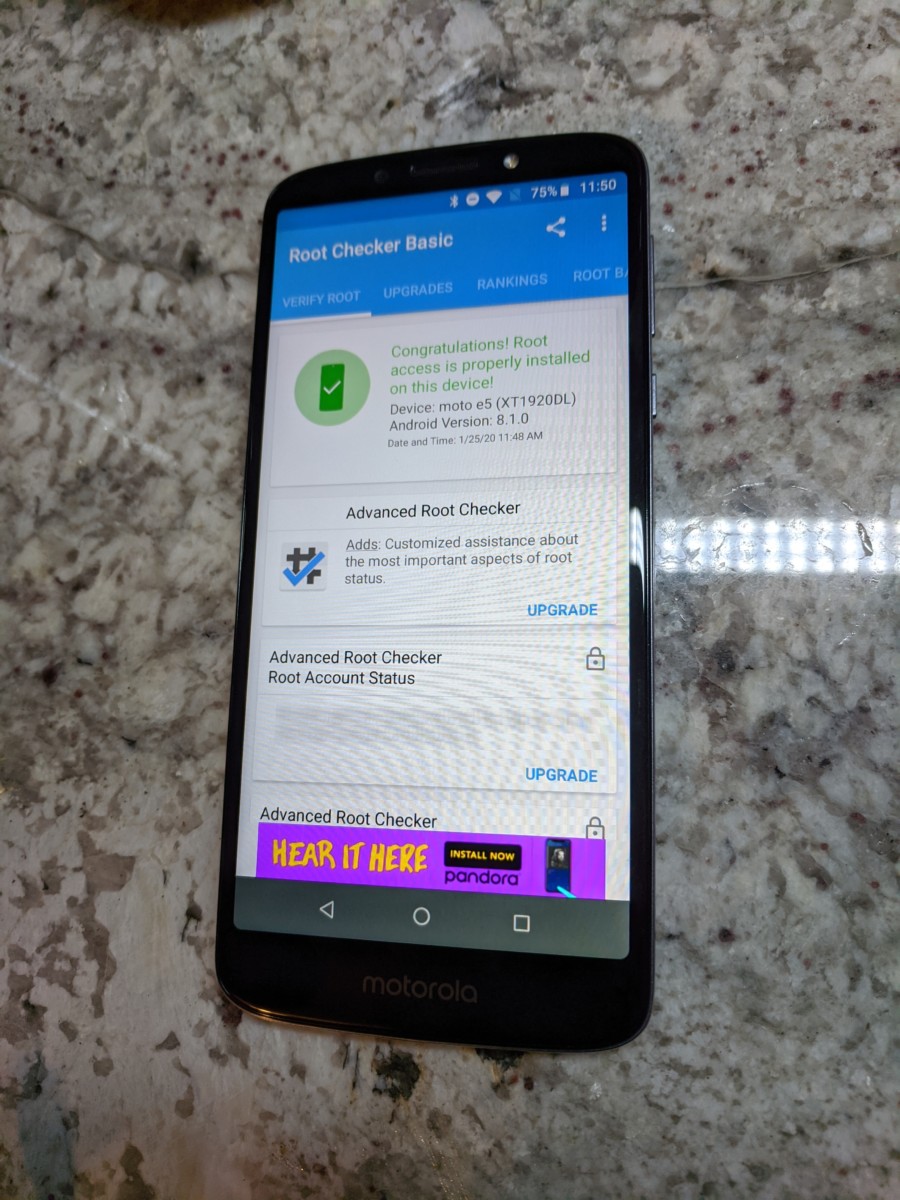
Rooted XT1920DL Moto E5
I bought a Moto E5 XT1920DL
Unfortunately, this specific model, the XT1920DL, turns out to be a specific Tracfone variant that is less common than the E5 Play or E5 Plus. Most of the instructions on the internet document one of these other phones. Fortunately, rooting the XT1920Dl Moto E5 is possible as long as you know what images to install.
Notes Before Continuing / Disclaimer
Following these instructions, particularly if you make a mistake, can permanently ruin (“brick”) your phone. If you’re unsure about how to perform these steps, get help doing this or don’t do it at all. You assume all risk and liability for damage to your phone. These instructions worked for me, but they may not for you.
Stock Firmware
It’s good to know where the stock firmware is before starting. In this case, it is codenamed “nora”, and is available here: https://mirrors.lolinet.com/firmware/moto/nora/official/Tracfone/
You may want to download the latest .zip file from that website and store it somewhere, just in case you ever need to revert your XT1920DL back to stock.
Set Up ADB and Fastboot
If you already develop for Android, these are part of any recent SDK you’ve got. If you don’t, you can get the SDK Platform Tools here, which includes ADB and fastboot. Follow the instructions for PC, Mac, or Linux.
Download Other Required Files
You’ll need to download these files to your computer before continuing:
- flash.qcom, which I have mirrored on this site
- Magisk Release Zip – I downloaded Magisk-v20.3.zip
- TWRP 3.3.0-0 “nora” – There is a newer release, but 3.3.0-0 is the one that worked on my phone
These files are optional, but you probably want them:
- SuperSU APK – Lets you become and manage root access once enabled on your phone
Enable Developer Settings
On your Motorola E5, go to Settings -> System -> About Phone. Scroll to the bottom, and tap “Build number” several times. Eventually, this will prompt you to enable Developer options.
Go to Settings -> System -> Developer options. Scroll down to “OEM unlocking” and enable it. Also scroll down to “USB debugging” and enable that as well.
Push TWRP to Device
From a terminal in the same location as the TWRP image you downloaded earlier:
adb push twrp-3.3.0-0-nora.img /sdcard/
Note: A permissions prompt may come up for USB debugging. Allow your computer USB debugging access.
Unlock Your Bootloader
From the terminal, like above, run adb reboot bootloader to reboot your E5 into bootloader mode. Alternatively, reboot your phone while holding down the volume down and power buttons to reach the bootloader.
Your phone should now be at the bootloader screen, with “OEM unlocking” having been enabled. You’re ready to unlock the bootloader.
Create an account at this website and follow the instructions Motorola provides: https://motorola-global-portal.custhelp.com/app/standalone/bootloader/unlock-your-device-a
You’ll essentially register a free account, run a fastboot command to get a code off of the device, punch it in the website, and get an unlock code. Run another fastboot command with this code and voila, you should be unlocked.
Boot to TWRP, save a backup, and install:
Boot to TWRP with this command:
fastboot boot twrp-3.3.0-0-nora.img
From TWRP, first use the menu options to make a full backup of your phone. You need to do this if you ever want to go back to a stock state on your phone. It is also a good idea in case you make a mistake.
Then, in TWRP, select “Reboot” and then “Reboot Bootloader”.
The phone should come back up in the bootloader again. At this point, you can permanently flash TWRP:
fastboot flash recovery twrp-3.3.0-0-nora.img

fastboot reboot recovery
Unlock Root
Your phone should now be back to TWRP. You need to fix your phone’s partitions to allow root access. First, mount vendor:
adb shell mount -o,rw /dev/block/bootdevice/by-name/vendor /vendor
Then make a backup of the old fstab.qcom:
adb pull /vendor/etc/fstab.qcom fstab.qcom.backup
Finally, after you have extracted the fstab.qcom from the zip file listed earlier in this article, push it to the phone:
adb push fstab.qcom /vendor/etc/fstab.qcom
You can now push Magisk to your phone:
adb push Magisk-v20.3.zip /sdcard/
From TWRP, go press the Install button. Select Magisk from the screen that comes up and install it.
You can now reboot to regular Android. When your phone comes back up, you should be rooted.
Other Wrap-Up
Once your phone is booted back up, you can install your root apps. One example is SuperSU, mentioned earlier:
adb install supersu-2-82.apk
You likely also want to install the TWRP App to manage your TWRP installation.
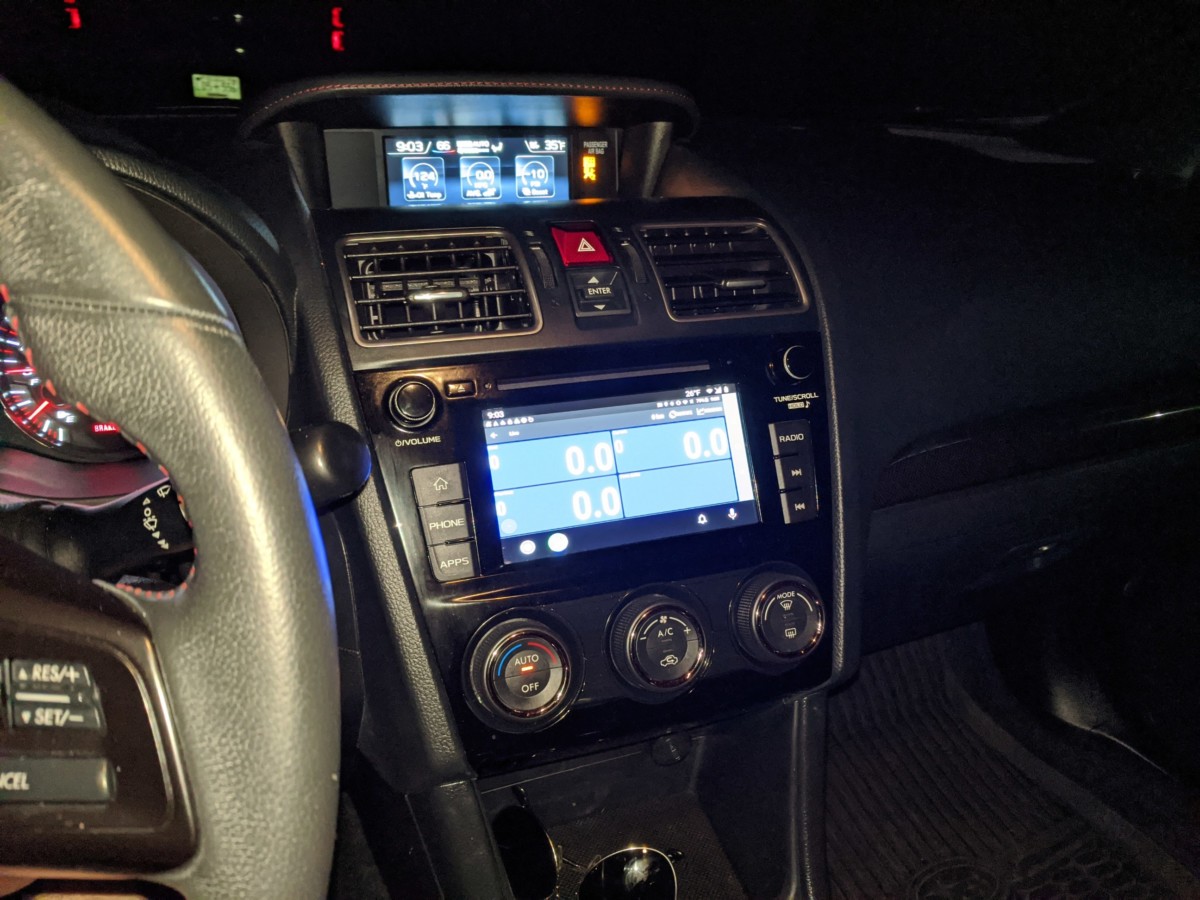
RaceChrono running on my WRX’s Android Auto stereo
As mentioned earlier, I rooted this phone in order to make Racechrono work with Android Auto using AA Stream. The result of this is shown in the picture.
Rooted XT1920DL Moto E5
That about wraps it up. Rooting the XT1920DL Moto E5 was not as well documented as the other variants, so hopefully this article helps!
Getting “Your device does not qualify for bootloader unlocking.” on my XT1920DL Tracfone version from the Motorola site. I’m surprised yours worked.
Not sure. I linked to the exact variant I bought on Amazon, but I guess others are locked down by Tracfone?
Ah, yeah that looks like it’s carrier unlocked which would explain it. Thanks.
Same problem here. Unlocking bootloader not possible.
You can try to unlock bootloader with Sunshine app, but it cost 25 USD http://theroot.ninja/download.html