Simple Wood Raised Garden Beds
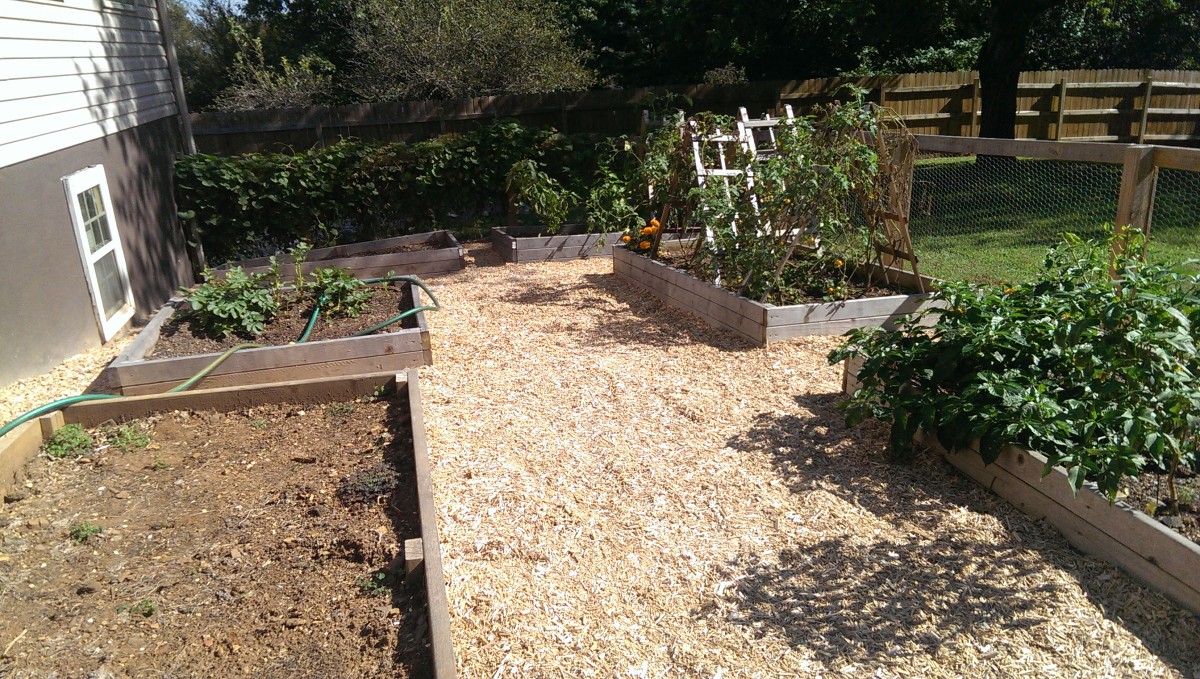
Final product
After putting together a nice garden fence, the next step was to build some raised garden beds. This allowed us to easily delineate spaces for vegetables and get good compost and topsoil to fill them with, rather than relying on the dirt in our backyard. I looked up some various designs using 2×12 or cinderblock, and I didn’t really like any of them.
I chose to use non-pressure-treated 2×4 mainly for looks and price. Cinderblock raised beds are easy and cheap, but I don’t find them very visually appealing. Using 2×12 was more expensive, at least for the wood in my area, without really adding any value. The larger 4×8 beds cost roughly $20 each in materials.
I went with non-pressure-treated wood because my wife wanted to grow fruit and vegetables. Modern pressure treated wood no longer uses arsenic and SHOULD be safe to use with food plants, but we didn’t see a reason to run the risk. Even without pressure treating, the wood should still last for 5 years or so before needing to be replaced.
Materials

2.5″ deck screws
To secure the wood together, I bought a box of 2.5″ deck screws. I always use deck screws for any project like this, as opposed to wood screws or something else, because they’re made for outdoor use and they do the best job biting down into the wood. They also have hex heads, so they don’t strip very easily.
Obviously, you also need wood. For a single 4×8 bed, you need 6 8′ 2×4’s for the long sides, 3 8′ 2×4’s for the short sides, and 1 2×4 for the six 10.5″ vertical pieces to hold everything together. That amounts to a little under 10 2x4s per bed, which is about twenty bucks around here depending on current lumber prices, which have fluctuated a great deal.
Cutting up the wood
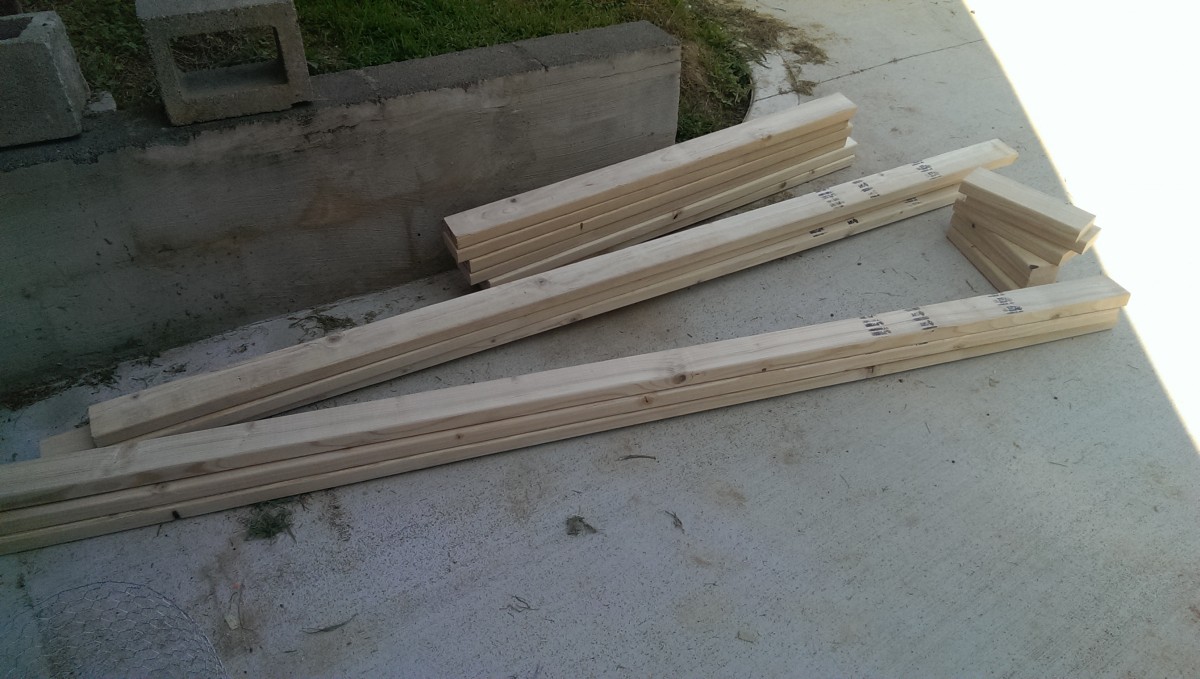
2×4
The 6 8′ boards can be left as-is, they’re good to go. 3 of the boards should be cut in half to make 6 4′ pieces. A miter saw made quick work of this job. Lastly, you need 6 10.5″ pieces. This is all pictured above.
Assembling the long sides
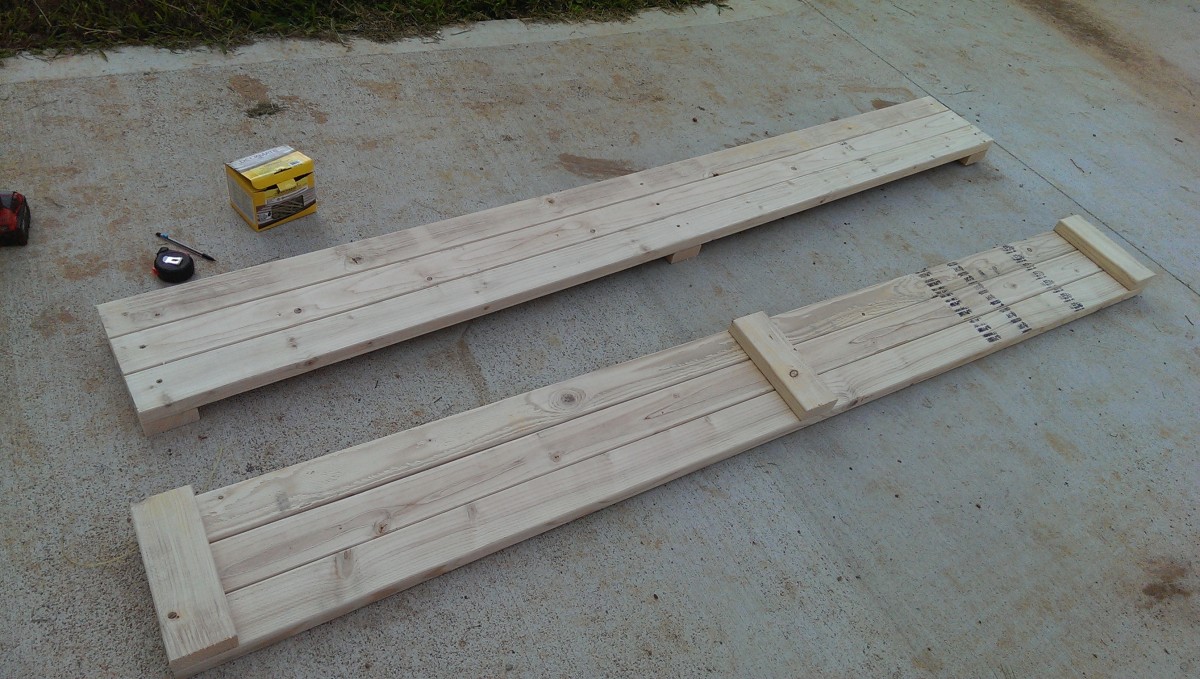
The long sides screw together
Next, you can put the long sides together. Simply line up 3 8′ boards as pictured, and screw in a 10.5″ piece at each end, plus one in the middle. At this stage, I put in 1 screw through each 10.5″ piece at each 8′ board, meaning 9 screws total. More will be added later as the bed is finished. I used a clamp to hold the 3 long boards together as I screwed them into the 10.5″ sections, to help keep everything straight and even out variances in the wood.
Adding the short sides
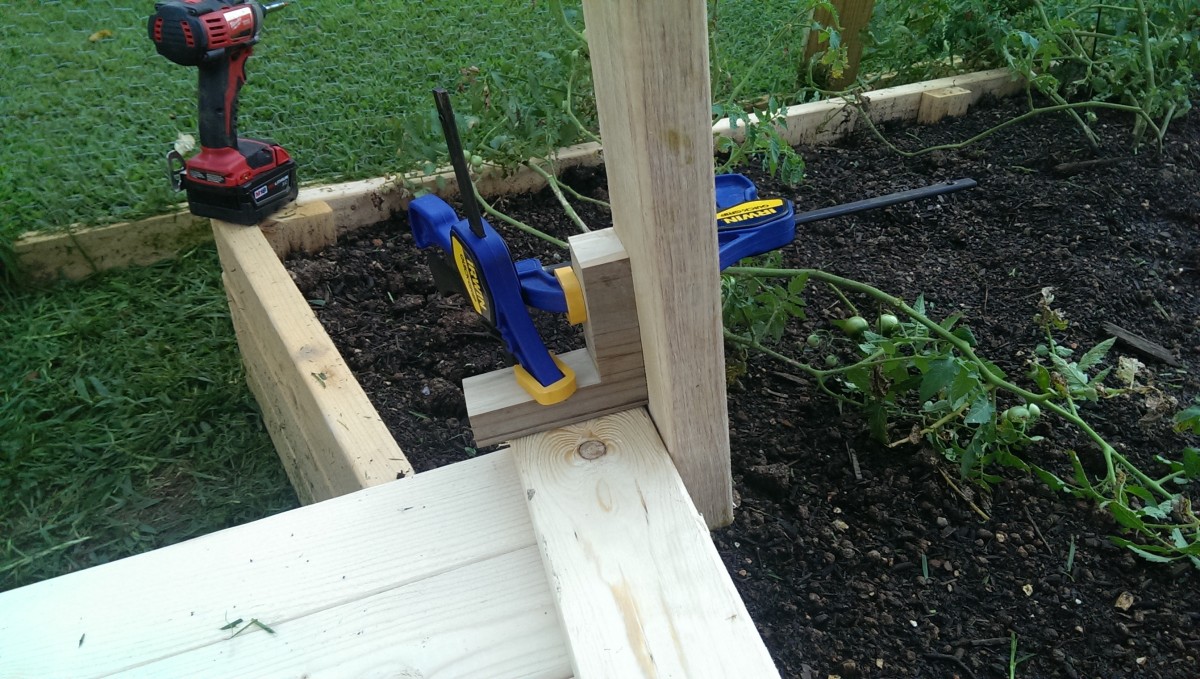
Corner clamps can hold the short sides initially
Once both long sides are assembled into the panels shown above, all that remains is to attach the short sides. There are a couple of ways to skin this cat. What worked best for me was to put a long side on the ground and then clamp one of the 4′ boards in place using a 90 degree piece of wood as shown. Then, I was able to put a screw through the 4′ board into the end of the long panel to hold it. I only put one screw at this stage until final assembly.
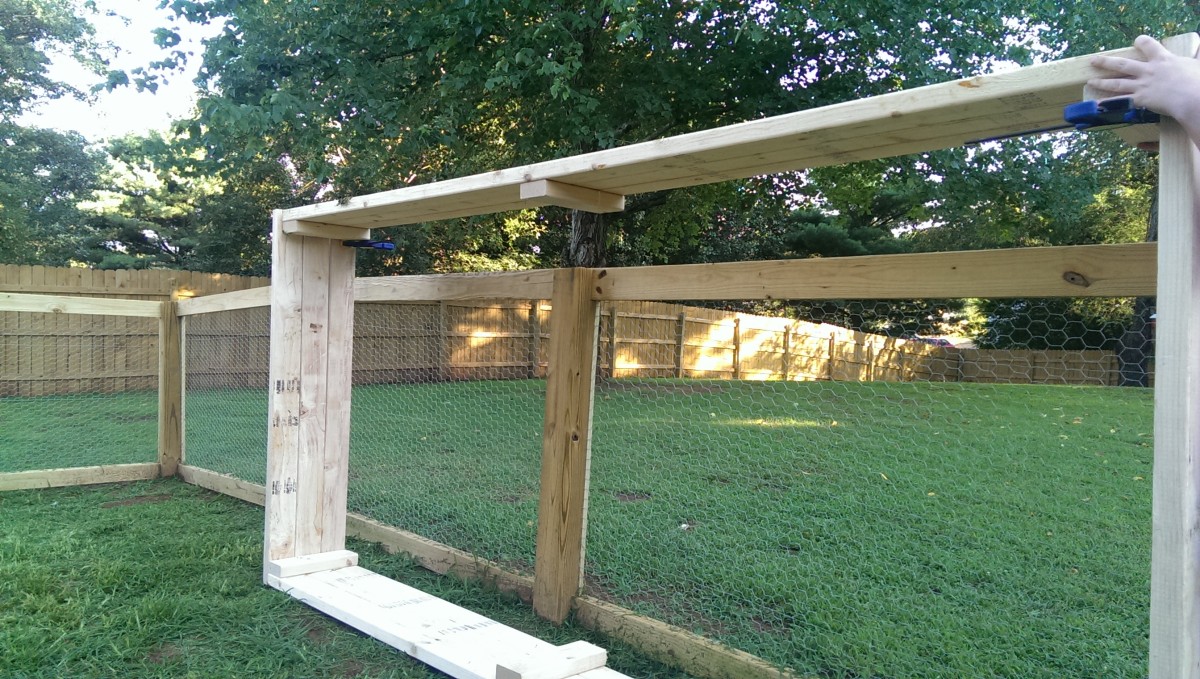
The top long piece can be held with clamps as it is screwed in
Once one long panel has all 6 4′ 2x4s screwed into it, making a C shape, the other long panel can go in. I just clamped clamps near the top of the 4′ boards, and sat the long panel on them, then clamped the long panel to the 4′ boards. It’s hard to explain in words, but the picture above shows the procedure. Basically, the clamps let the top long panel float there until you can sink a few screws in. At this stage, I again did one per 2×4.
Finishing up
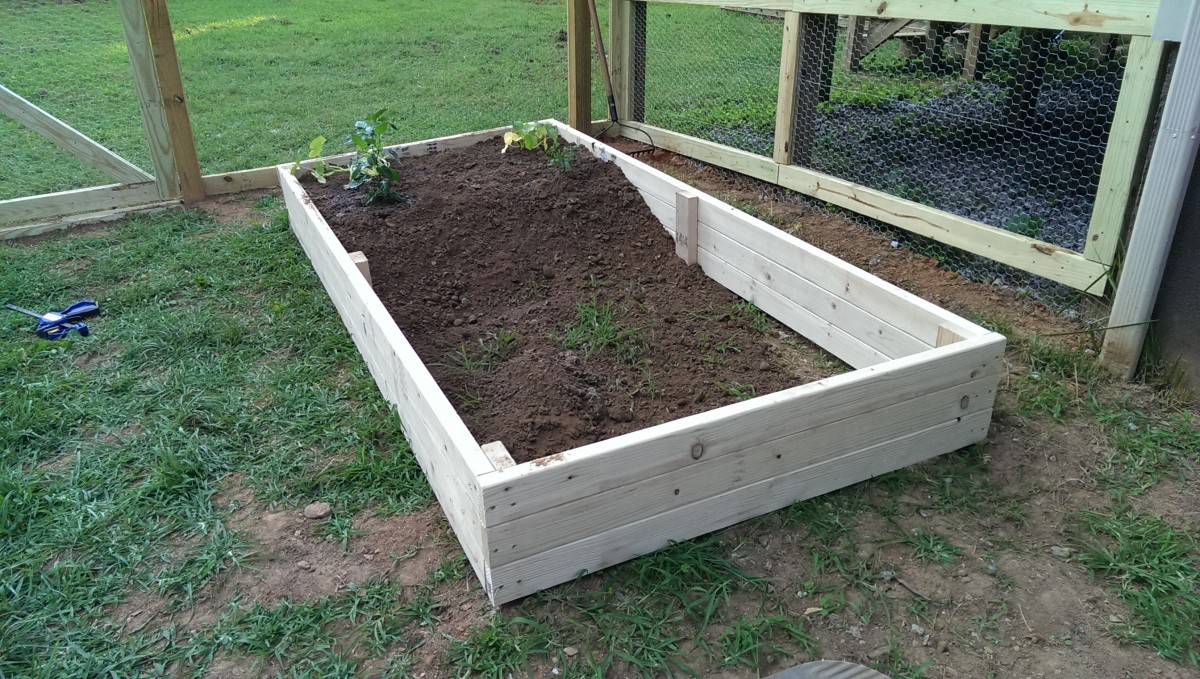
Filling with dirt
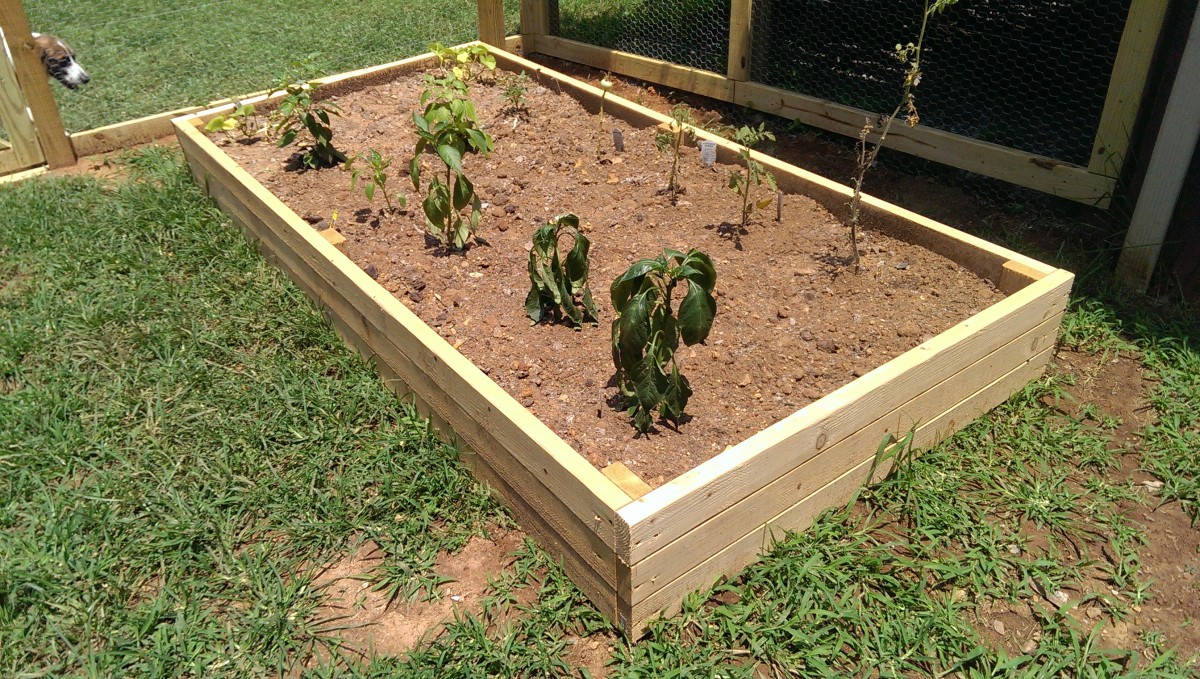
Later on after filling
Once every joint had a single screw and the whole thing was in place, I added another screw between all of the boards to tighten everything up. I probably went overkill with the screws, but by the same token, they are holding back a pretty heavy amount of dirt. The final results are above.
Alternative sizes and sloped yards
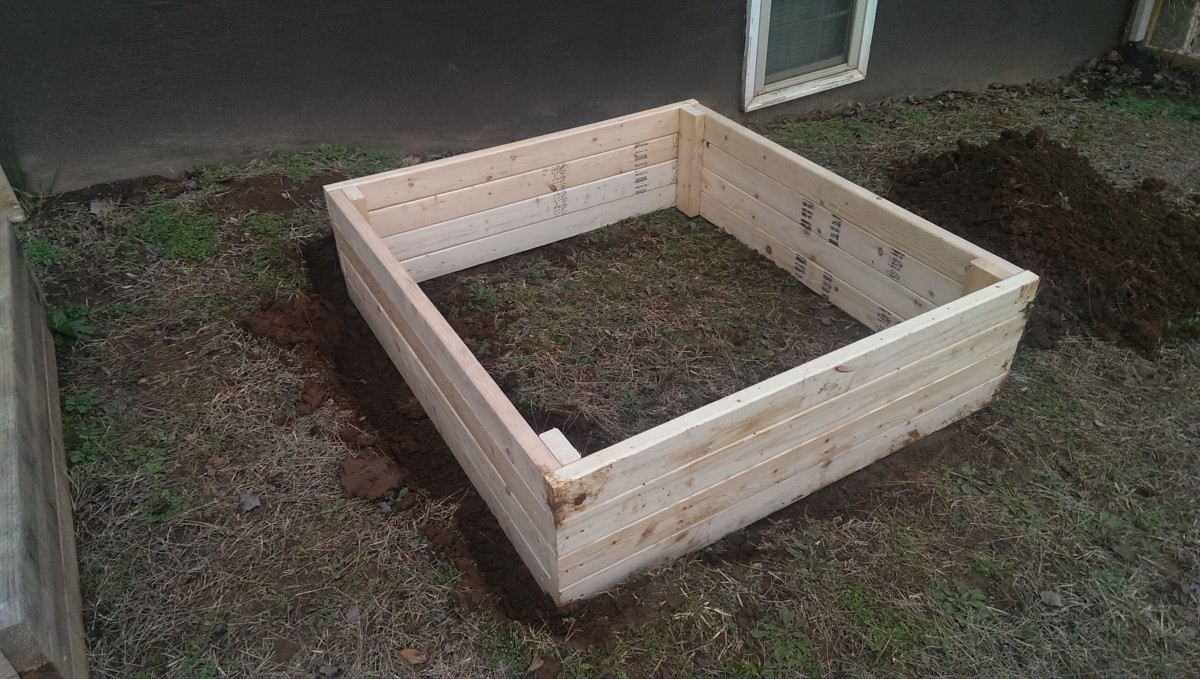
4’x4′ raised bed on a slope
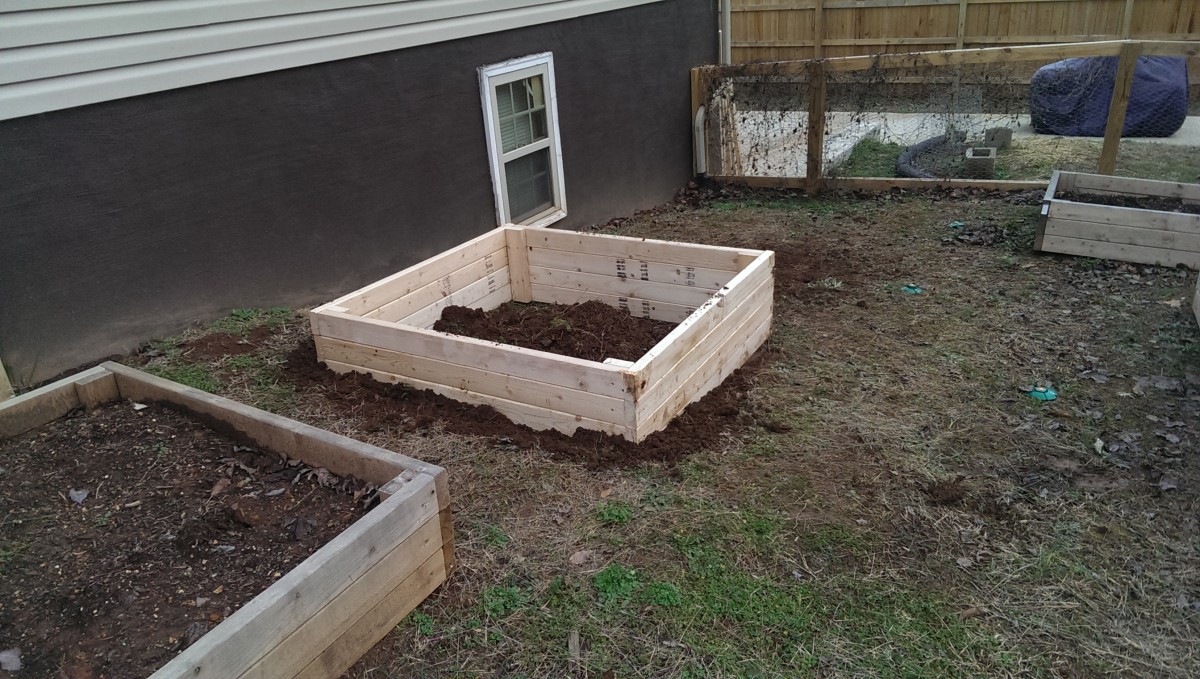
Image of slope
There was one spot in particular where we didn’t want to obstruct a window, so we needed a shorter bed. It was also on a particularly sloped part of the garden. What I ended up doing was digging out a trench for the bed to rest in, to help flatten it out. Instead of making the bed 4×8, I cut down all of the pieces to make it 4×4. Also, to account for the trench, I made it 5 2×4’s high instead of 3, to give it some extra depth. The end result looked pretty good and illustrates the flexibility of this type of raised bed.
Dirt
As discussed earlier, one of the purposes of raised beds was to allow us to put in good quality compost and topsoil rather than relying on the dirt in our yard. I just wanted to make a public service announcement regarding where to acquire dirt for this purpose. We’ve seen a bunch of people buying dirt by the bag – this is extremely expensive.
Since we have a truck, (and you could certainly rent one for this purpose) we went to a local place that specializes in taking in yard waste and composting it. We were able to get a bed full of high-quality dirt, which is enough for 2 or 3 of our large raised beds, for about $30. It would have taken dozens and dozens of $7 bags from the hardware store to match it.
The same goes for mulch. When we got to the mulching stage below, we were able to get 2 beds full of playground mulch for about $40, rather than having to pay out the nose for individual bags.
Mulching and finalizing

Weed barrier cloth before mulch
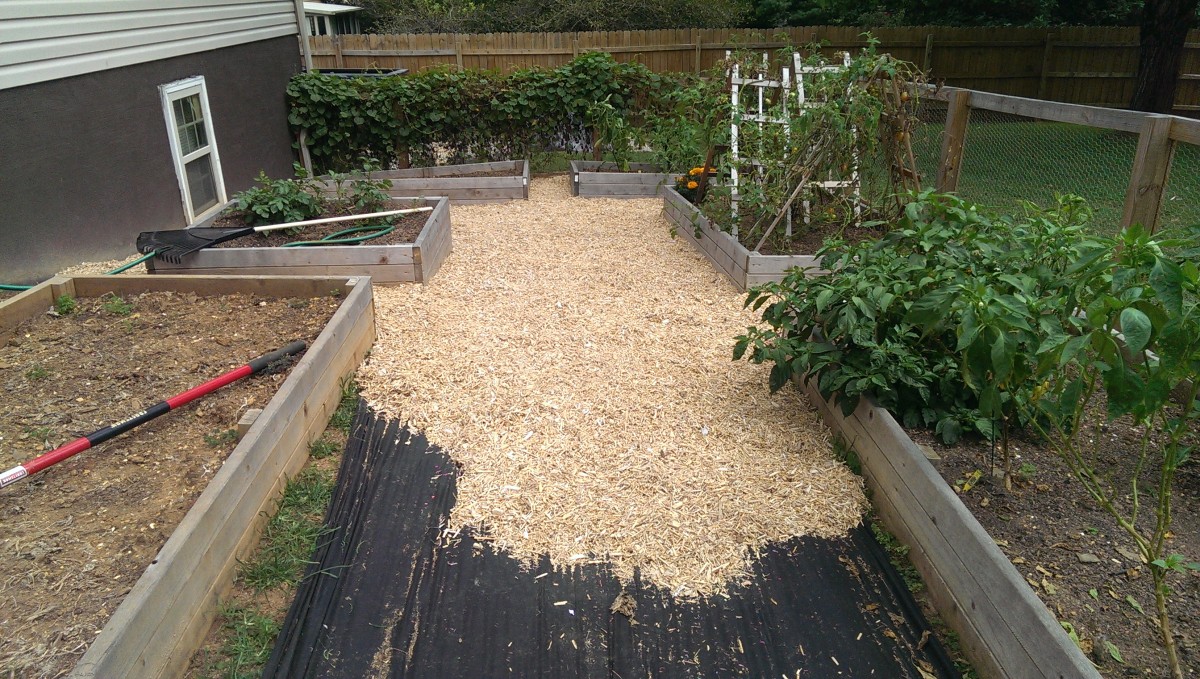
Some mulch added
We weren’t planning to leave the area around the beds as grass. For one thing, trying to mow or weed it was abysmal. The goal was to mulch the area to keep it neat. First, my wife put down some weed barrier cloth from the hardware store. This did a great job killing any weeds we didn’t pull. You simply unroll and stretch it, and use these plastic pins to hold it down. Then we went and got a couple truck beds full of playground mulch, as mentioned earlier, and spread it around about 4″ deep.
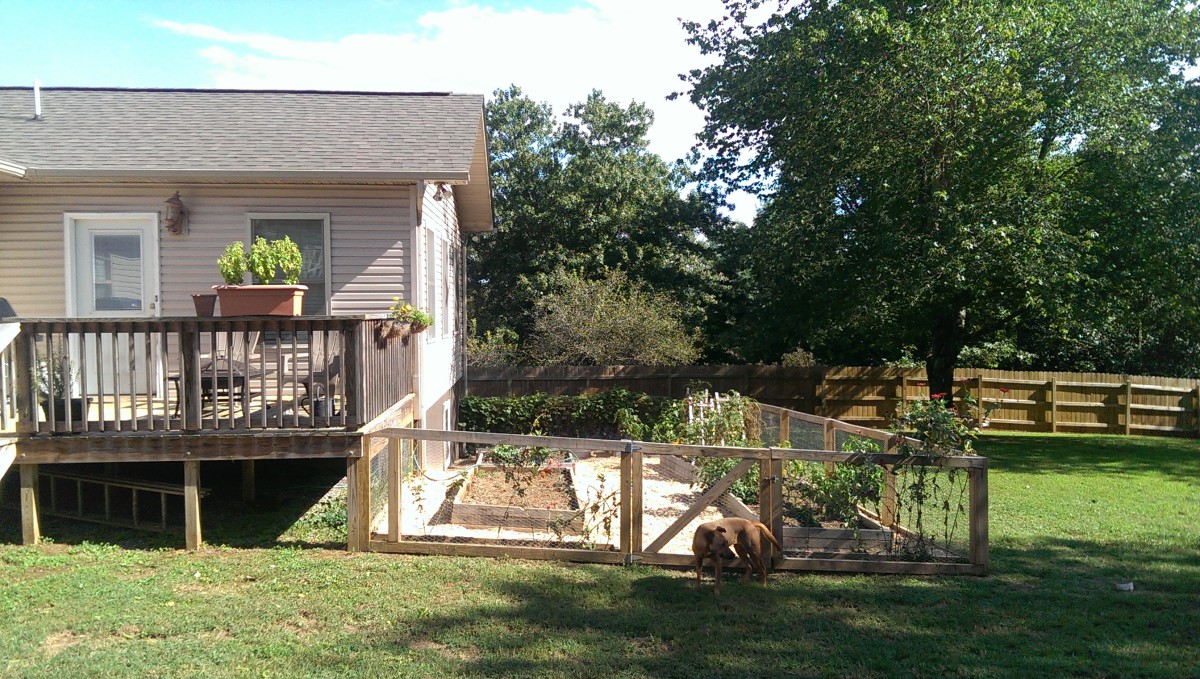
Garden fully completed
Inside of garden
Once it was all said and done, we think it turned out really well. The garden fenced used no concrete, so if a future buyer of our home doesn’t want the garden, it is easily removed. The beds were cheap and chemical-free; they’ll need to be replaced in 5 years or so, but they look good and work well in the mean time.