Miata Clutch, Transmission, and Rear Main Seals
While doing the engine replacement, I decided to freshen up a bunch of seals, including the clutch, transmission, and rear main seals. I also opted to go ahead and install a Flyin Miata FM Level 1 clutch. The clutch is an upgrade from stock in that it can handle 318 lb-ft of torque. The goal was to go ahead and upgrade with the engine out so that when I turbo later, I hopefully don’t have to yank the engine again.
Cleaning the Transmission
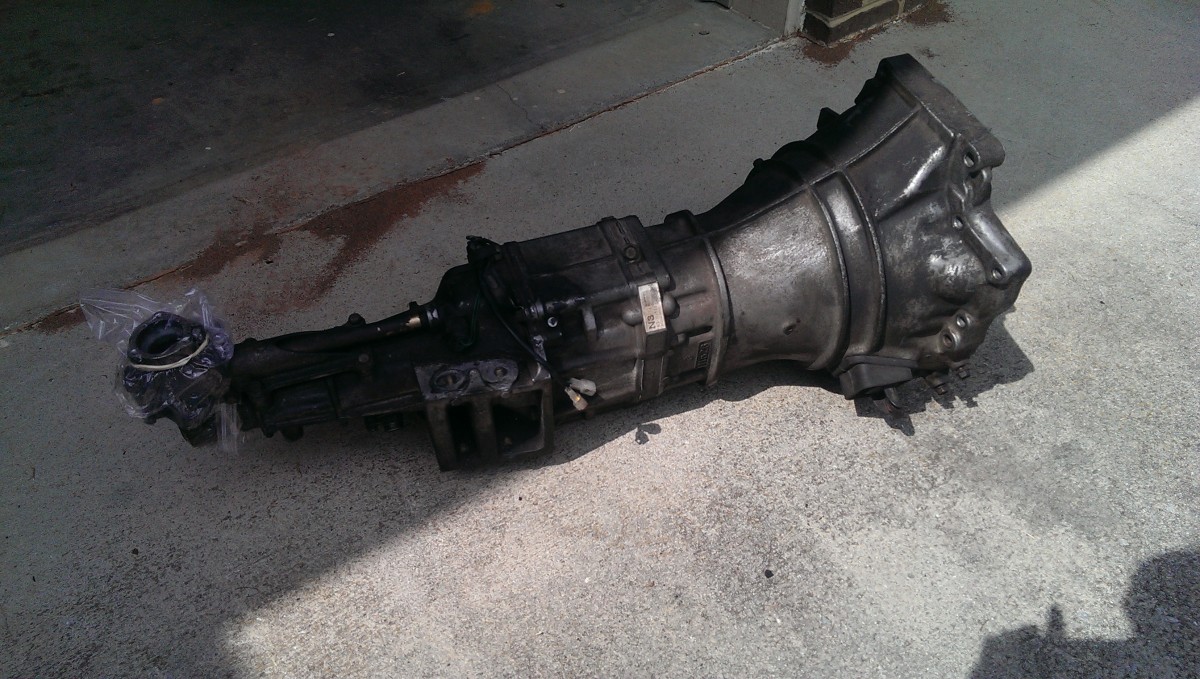
Before cleaning
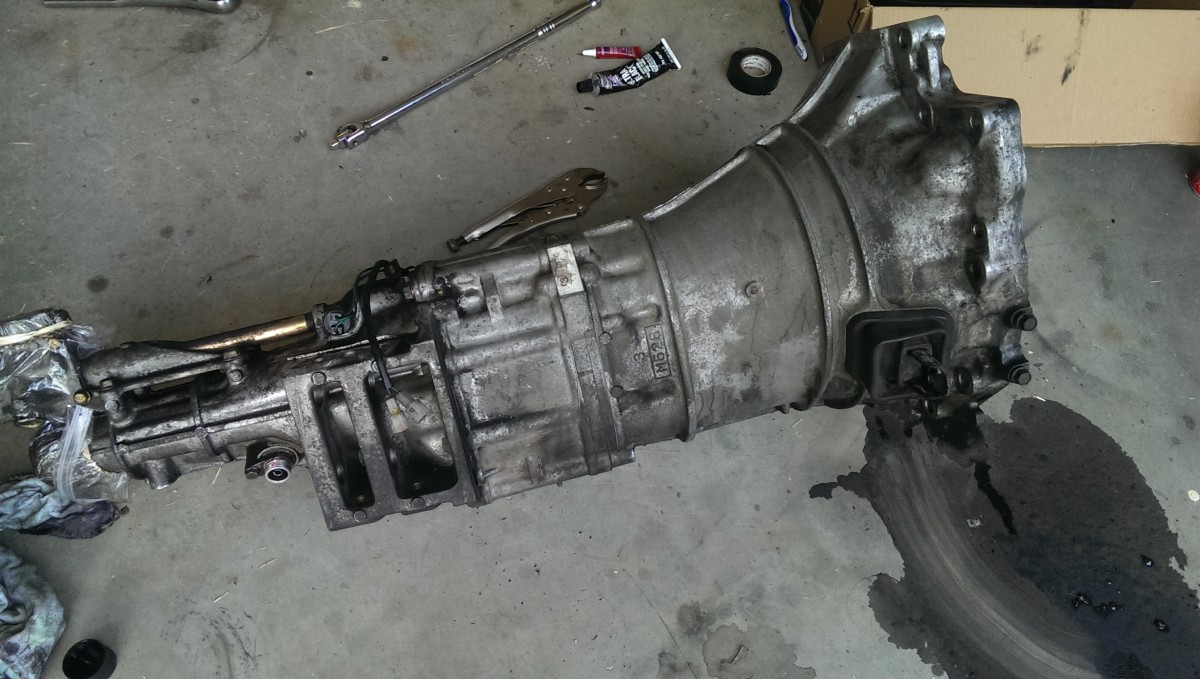
After cleaning
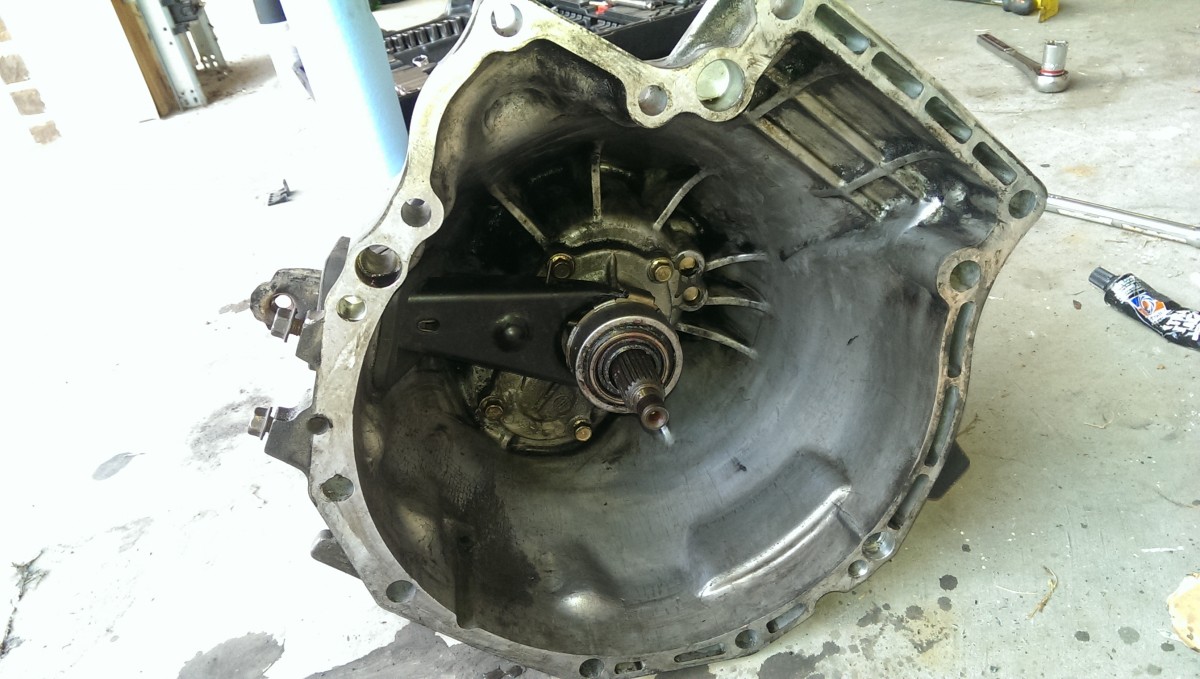
Inside the bellhousing after brake clean
I went ahead and cleaned everything out first using a combination of
Simple Green
Brake Clean
y transmission was so covered in crap that I thought it was worth the 10 minutes of work.
Rear Transmission Seal
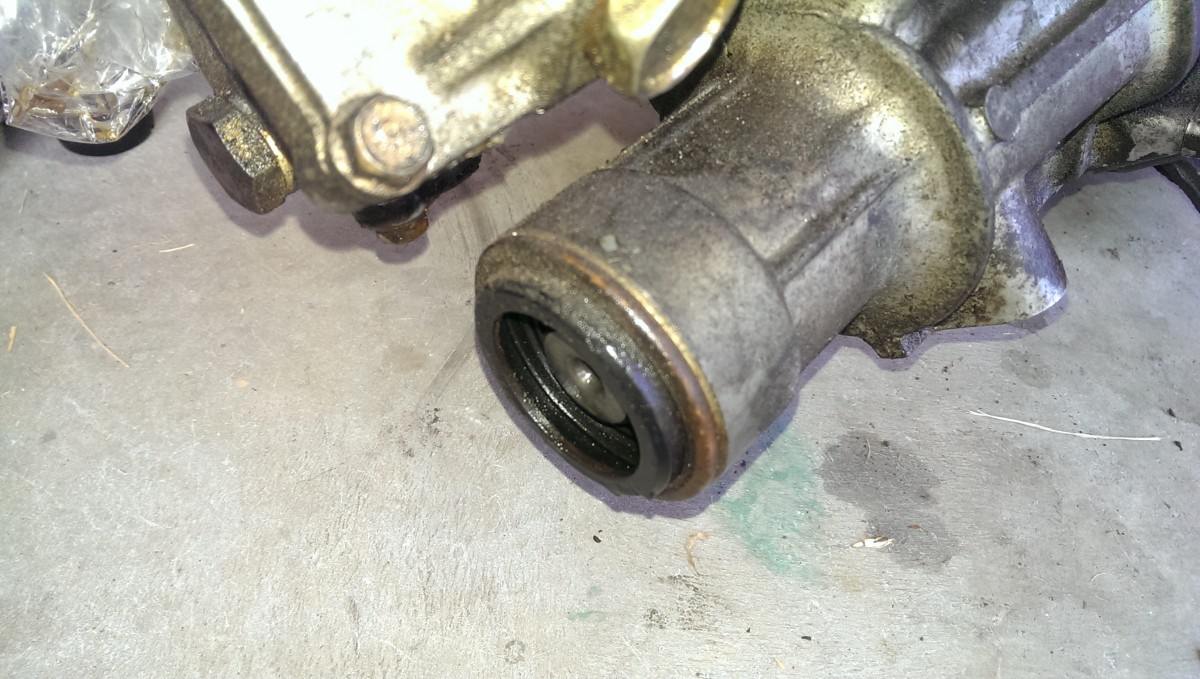
Rear transmission seal before removal
This is what the rear transmission seal looks like. The driveshaft slots in here, and this seal keeps transmission oil from leaking out past the driveshaft-to-transmission area.
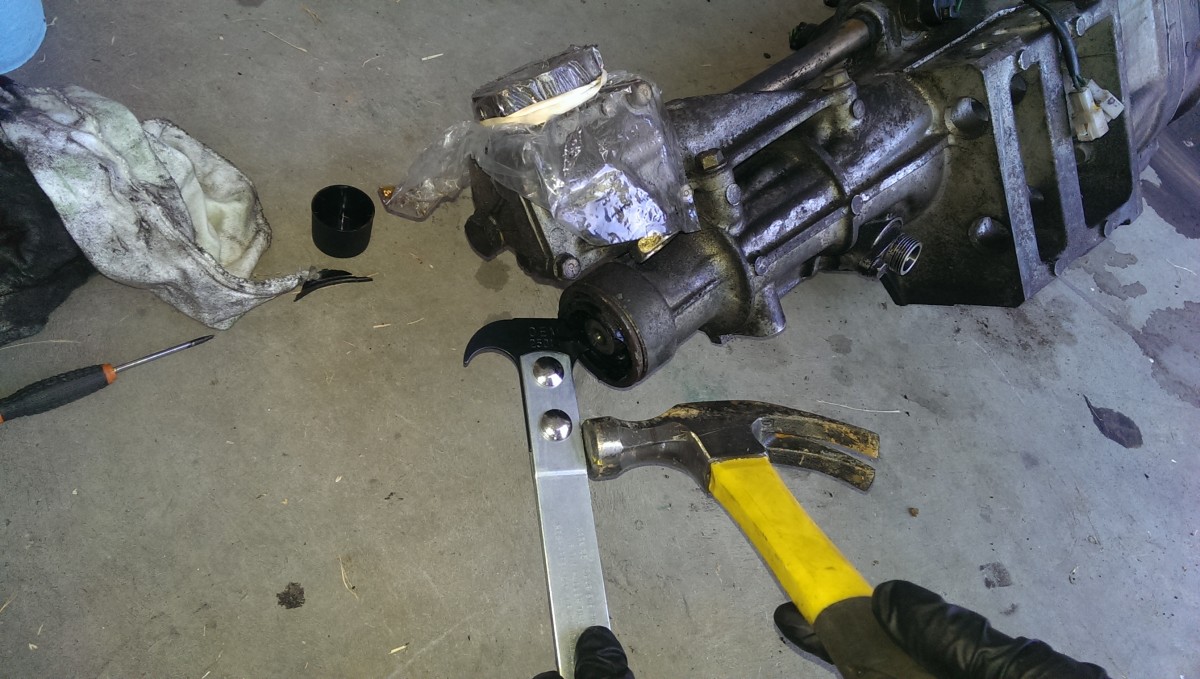
Rear seal removal

Rear seal after removal
I ended up using a hook-shaped gasket puller
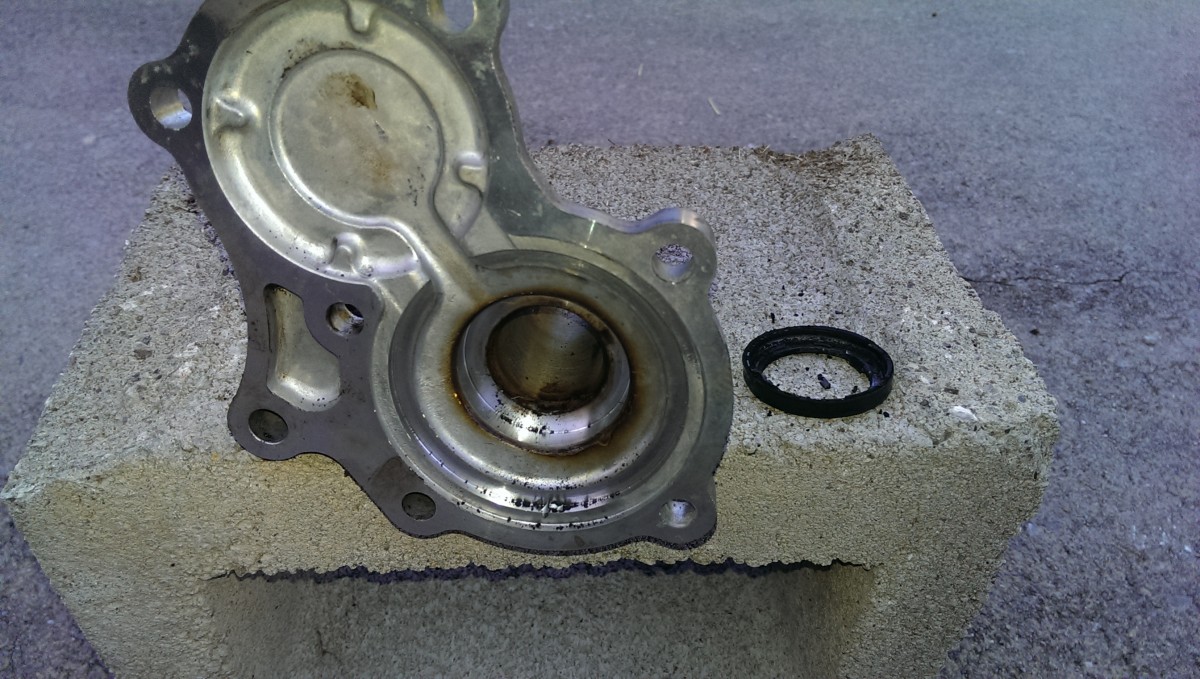
Front Transmission Seal
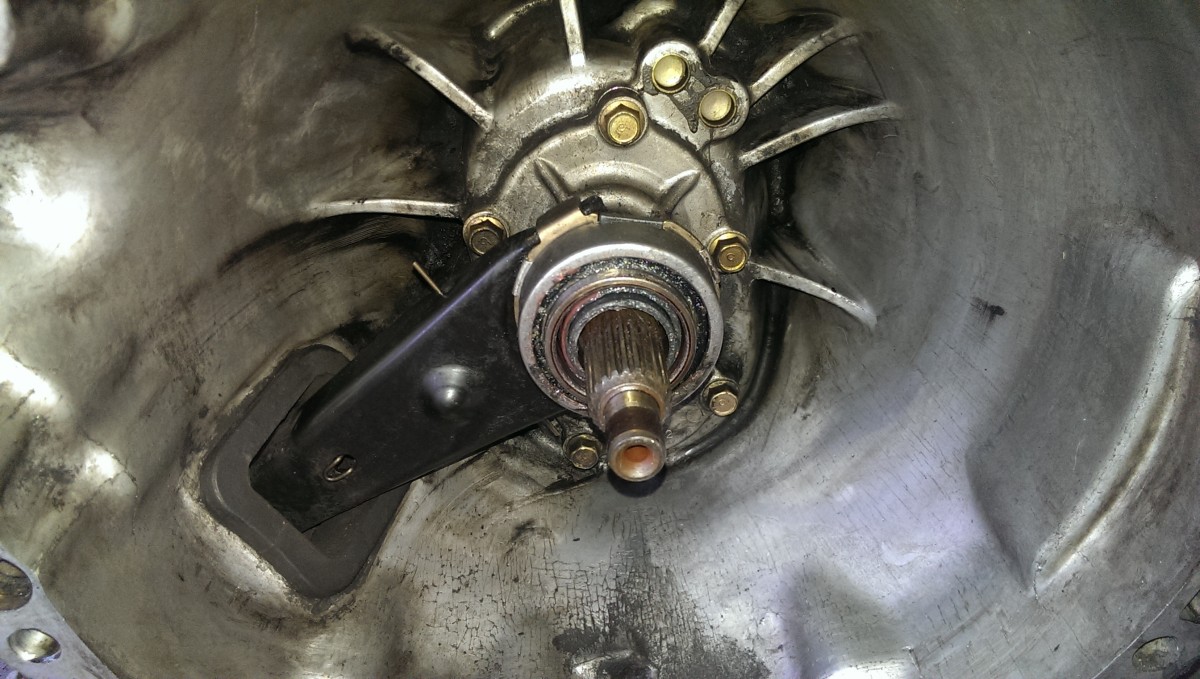
Seal cover is behind release bearing and clutch fork
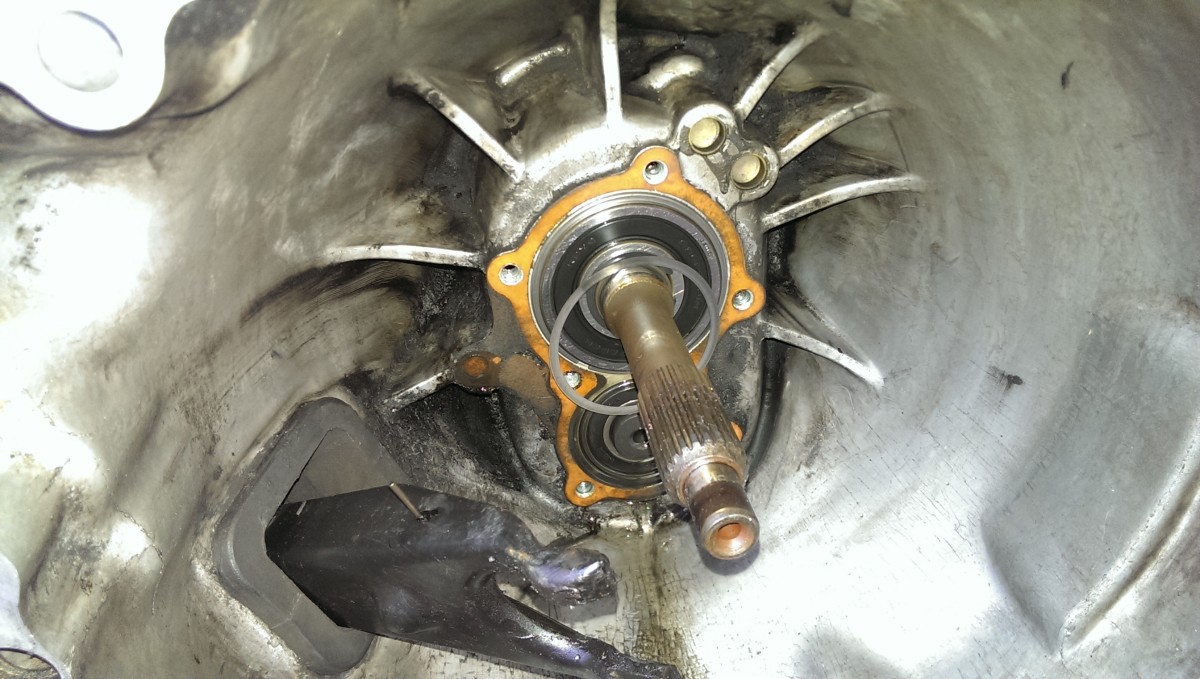
Cover after removal
The front transmission seal is behind a cover that sits behind the release bearing AKA throwout bearing and the clutch fork. The bearing simply unhooks from the clutch fork. Then, after removing the 6 visible bolts, the cover simply pulls off.
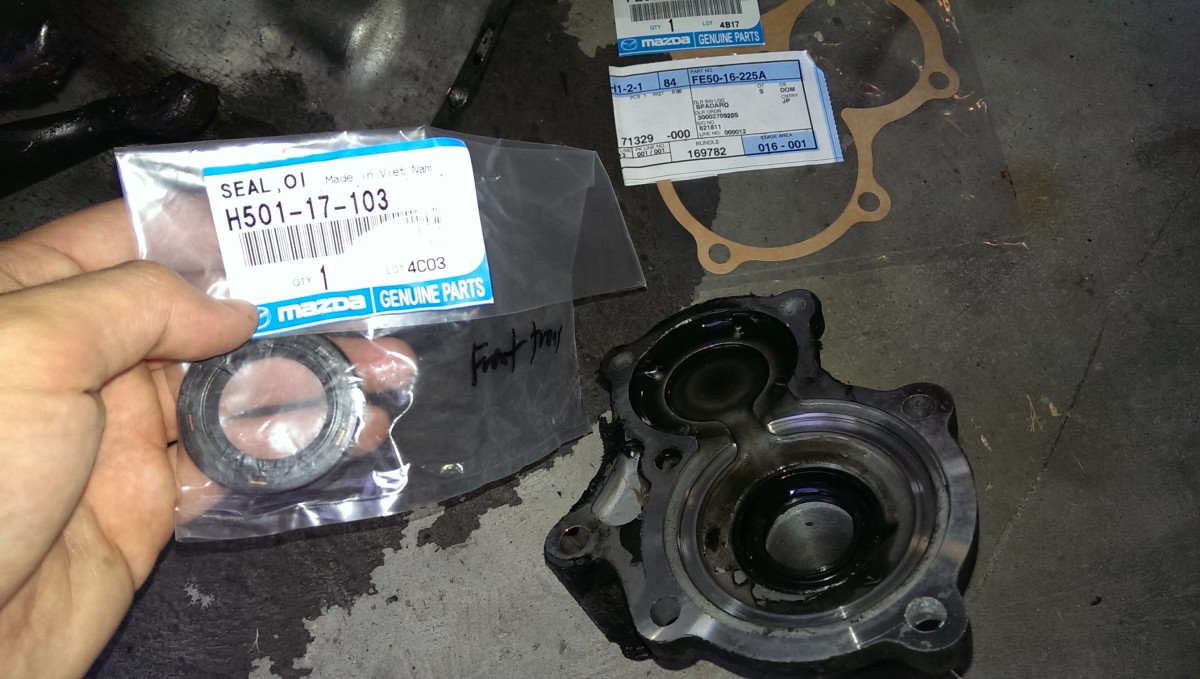
Cover with replacement seal and gasket
You not only need a replacement seal for this job, but also the paper gasket that goes around the edge. The next step is to remove the rubber seal itself, which is the black rubber ring in the picture. I tried to carefully remove it with a seal puller and the paint can opener, but it was firmly stuck and wasn’t coming out. The good news is, if you screw this up entirely, Tom at partsgroup.com told me you can simply order a brand-new one for Mazda for something like $100. He said he often has trouble with this seal and ends up doing that half the time.
Burn out that seal with a torch
There is another way. It is called fire. After studying this for a bit, I opted to give a propane torch a shot, figuring if it didn’t work, I could always order a replacement cover. It worked awesome. I just lit up the seal like christmas, the rubber burned and then fell out, and that was that. It didn’t appear to cause any harm to the aluminum cover.
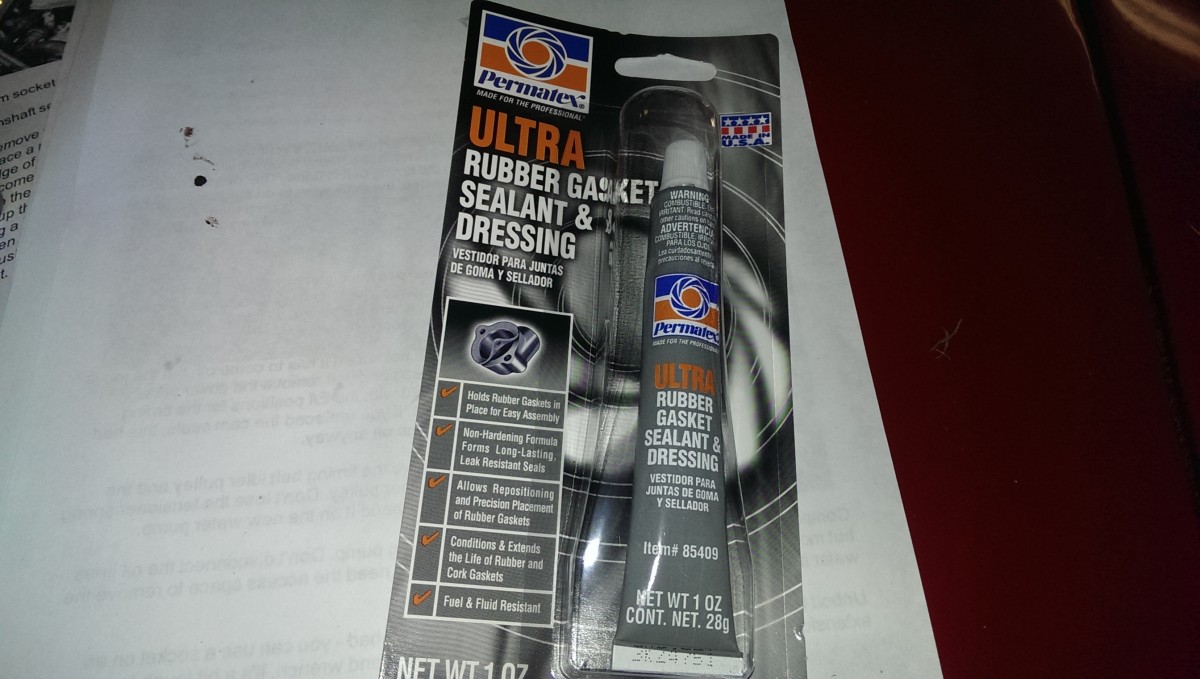
Used this for insurance
I did end up using some Permatex gasket sealant
Upon reinstallation, I also put some Permatex Ultra Black RTV
The new release / throwout bearing goes on the same way as you removed the old one.
Rear Main Seal Replacement
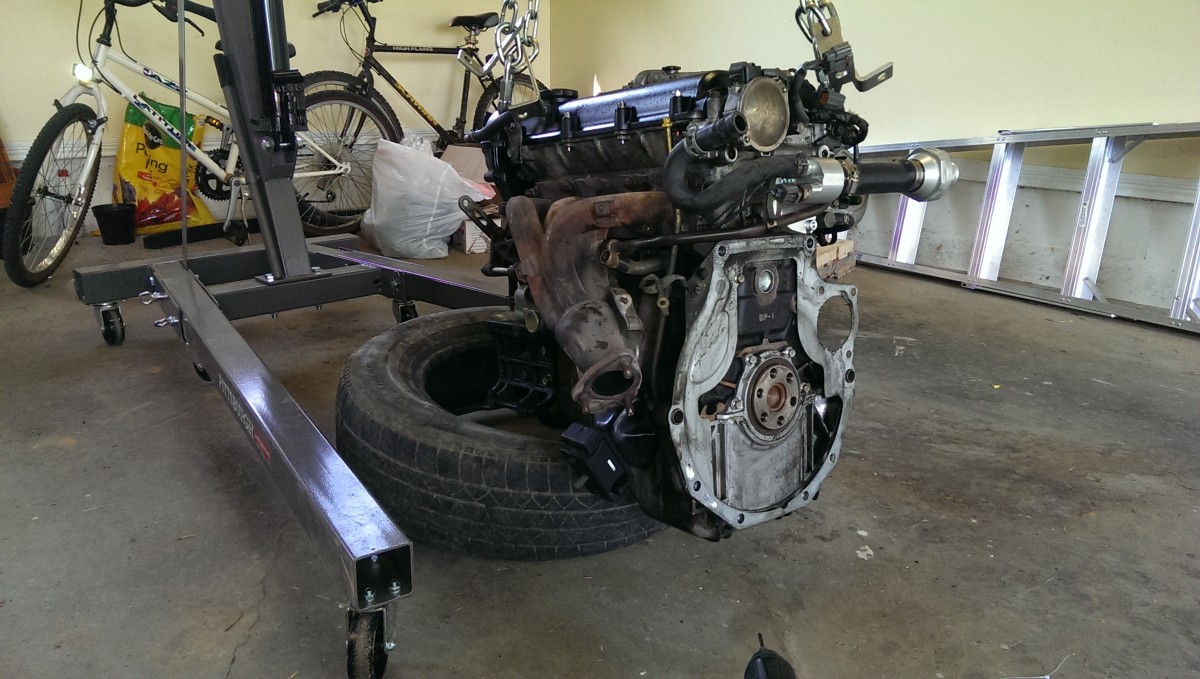
Perspective shot of the RMS

Rear main seal next to new Mazda seal
The rear main seal is one to be very careful with. Of all the external seals on the engine, it is the most difficult to get to once everything is back together, since you have to either remove the transmission again or yank the engine, and the clutch has to come out as well. Unlike the transmission seals, it is also under pressure, so it is more prone to leaks.
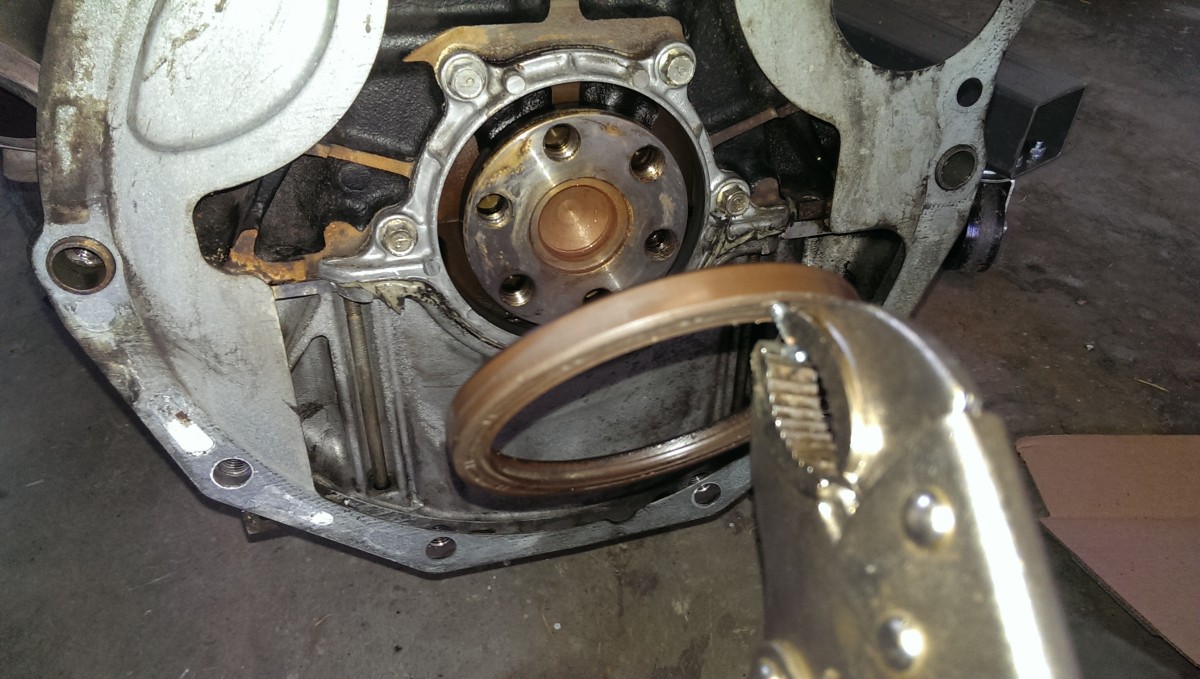
RMS removal with the screw trick
Much like I did on the front main seal, I went ahead with the screw trick. Tape a drill bit a fraction of an inch from the tip so you don’t go too far. Drill a small hole in the middle of the seal. Thread a screw a couple of turns into the seal. Grab the seal with vise grips and yank.
Once the seal is out, be very certain that the interior surface is very clean. You can use a sparingly small amount of carb cleaner and a rag to get any gunk off of the surface. Run your fingernail over the surfaces and ensure you don’t feel any gouges. If you do, grab some fine-grit (800 or so) sandpaper or emery cloth and lightly and evenly sand the surface until it is smooth again, then clean it thoroughly. This should ensure that you have a good surface for the seal to grab against.
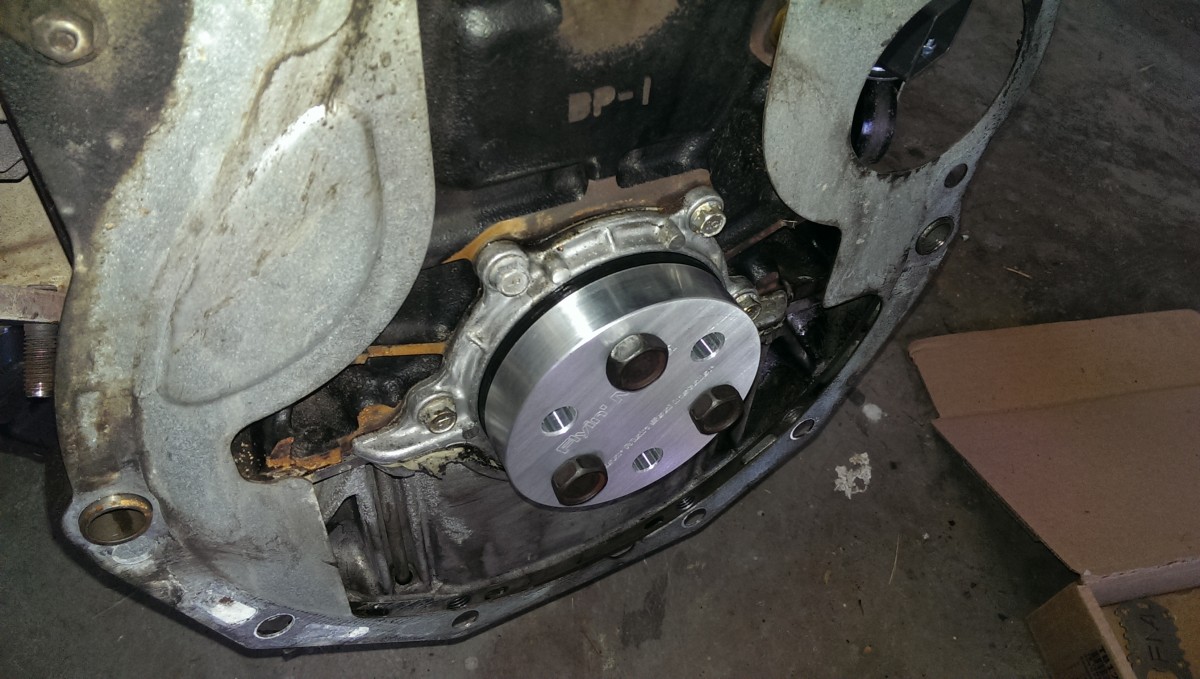
Using the FM seal installer tool
I used yet another fancy Flyin Miata tool to do the rear main seal. You simply get the seal pushed in a bit, and then use a few flywheel bolts to bolt the tool down, which pushes the seal in to the correct depth.
Cleaning the Transmission Mounting Holes
Metric rethreading chasers

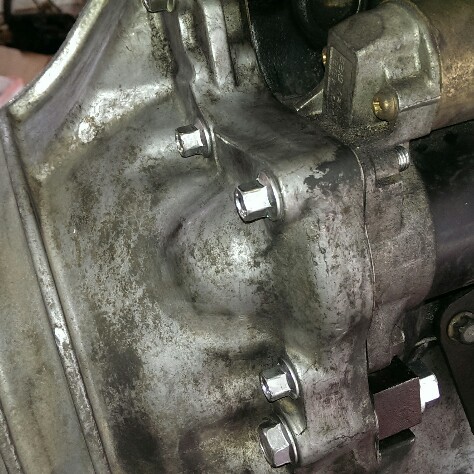
Using chaser to clean bellhousing mount threads
One thing I really like to do on these motors is clean out the transmission mount bolts with rethread chasers. A rethread chaser is basically a bolt with additional grooves cut perpendicular to the threads to give any gunk within the threads a place to go. In fact, you can grab an old bolt and a dremel to make your own.
I ordered a fairly comprehensive metric set on Amazon for about $15
You can use some brake clean


Flywheel Installation
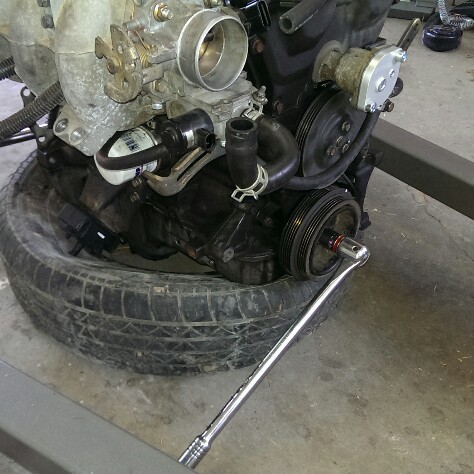
Breaker bar on the crank holds the engine while torquing flywheel
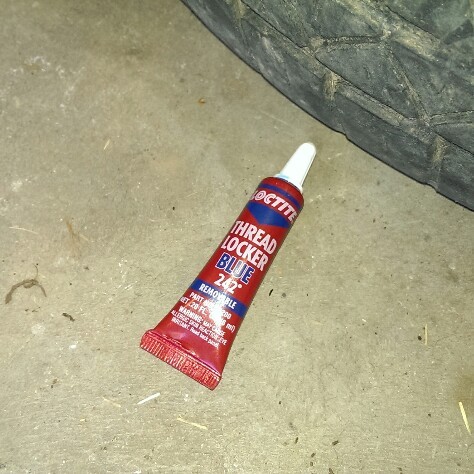
Be sure to use loctite blue to ensure the flywheel bolts don’t back out
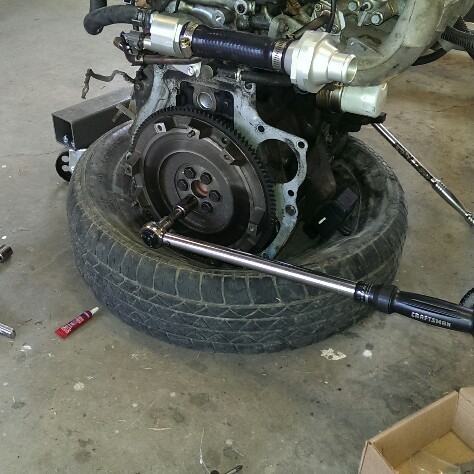
Torque the flywheel bolts incrementally in a star pattern with the breaker bar holding the engine from turning
Reinstalling the flywheel is pretty easy with a trick or two. If you just start trying to tighten the flywheel bolts, you’ll eventually start turning the engine. If you put a wrench or breaker bar on the crank and brace it against the ground or have somebody hold it, you can stop the engine from turning while you torque the bolts down. You must use loctite blue
If you’re changing the clutch, you want to make sure your flywheel is in good shape while you have access to it. I was able to get mine turned for about $50 or so at a local O’Reilly’s. This means they put it on a machine and grind it down flat again. The alternative is to simply buy a new one. Flyin Miata includes them as part of a kit. You can also get it shaved down or buy a lightweight one to increase how fast your engine revs up. In any case, you want to make sure your flywheel is balanced and in good shape before putting it on.
Pilot Bearing Installation
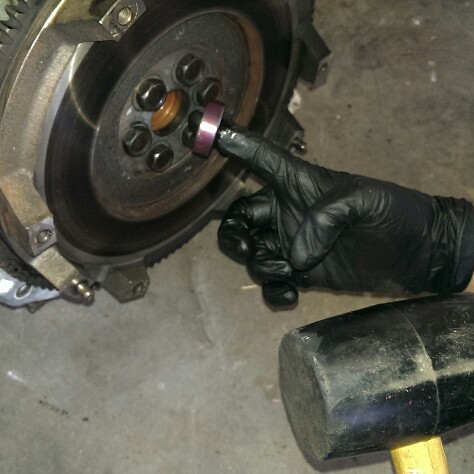
Pilot bearing with grease
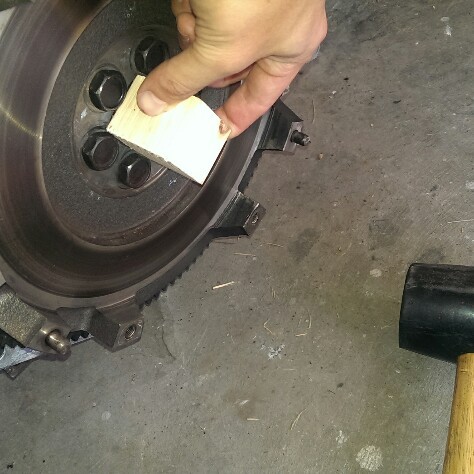
Tapping in the pilot bearing flush with a block of wood
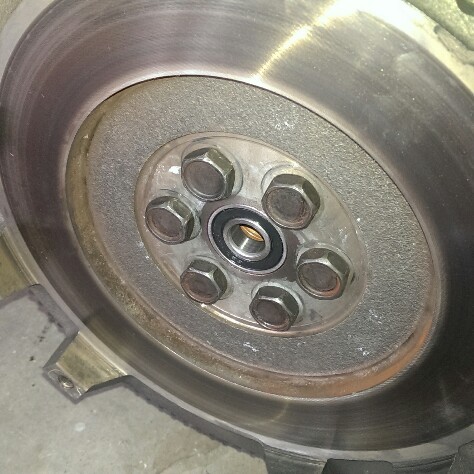
The pilot bearing sits inside the flywheel, outside of the transmission input shaft, ensuring they can turn inside each other without hurting anything. Installation is simply a matter of applying a liberal amount of grease to the bearing and pushing it in flush with the flywheel. The pilot bearing is a cheap part that is hard to get to and can make a ton of noise when it fails, so it’s worth replacing while you’re in it this far.
I simply add some grease, in this case Mobil-1, and push it in partway. Then, I grab a block of wood cut down to fit between the flywheel bolts and a rubber mallet, and simply tap it until it’s flush. The block of wood allows me to ensure I install it evenly without pushing it in too far.
It is very important not to get grease on the flywheel itself. If you do, clean it with brake clean. In fact, it’s a good idea to hit the flywheel with some brake clean before putting the clutch on anyway. If you have grease on the flywheel and it gets slung onto the clutch, the clutch will absorb the grease and never clutch correctly.
Clutch Installation
Flywheel after brake clean
The flywheel is shown all cleaned up and ready for the clutch.

Clutch in proper orientation
The clutch needs to go on the correct way. Most of them will have writing on one side telling you which direction is which, like “transmission side”, etc. You can also go based on which side has the springs more prominent. Be sure not to mix this around, though! It is possible to install backwards, and of course your car won’t shift correctly.
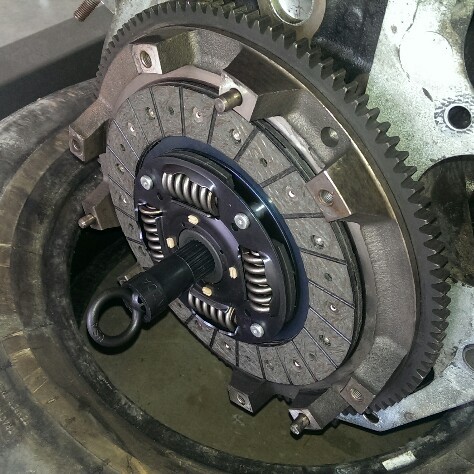
Clutch aligned with alignment tool
Most clutch kits will have a little plastic alignment tool that has splines that slot into the clutch and flywheel, allowing you to line it all up properly. The splines match the ones on the input shaft.
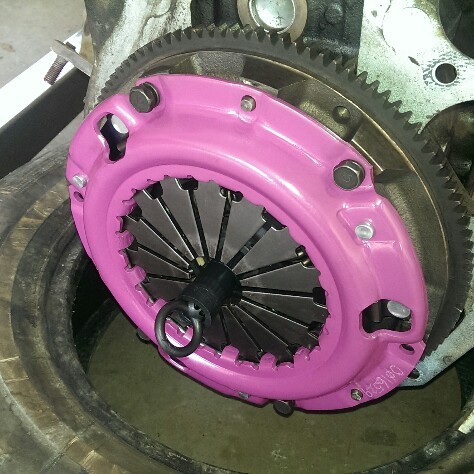
Pressure plate aligned on clutch
The pressure plate sandwiches on top of the clutch. You keep using the same tool to keep it all lined up until you can torque it down.
Pressure plate on alignment notch

Pressure plate installed
Here it is all done. You torque the pressure plate bolts down in the same star pattern in increments like everything else. Once it is all torqued, you can remove the alignment tool and the engine is ready to accept the transmission.
Reinstall Transmission
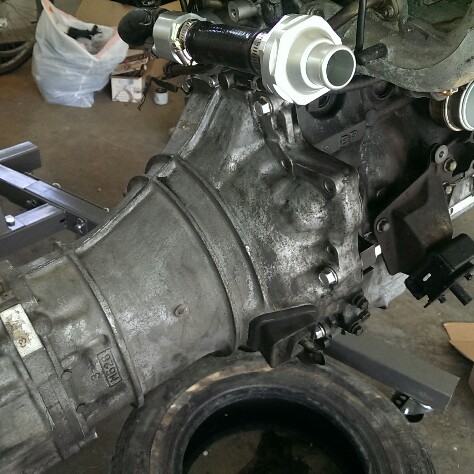
Transmission on
The transmission is now about ready to go back in. You should add a few dabs of grease anywhere metal will ride on metal. This includes spreading some along the input shaft and the notch on the clutch fork. If you have a Haynes manual, it has a good graphic on where to apply grease.
Getting the transmission on can be a bit of a pain, because you have to get it slid on and also get the splines on the input shaft lined up. It is much easier with the engine in transmission out of the car because you have more leeway to turn it to get it to slide in.
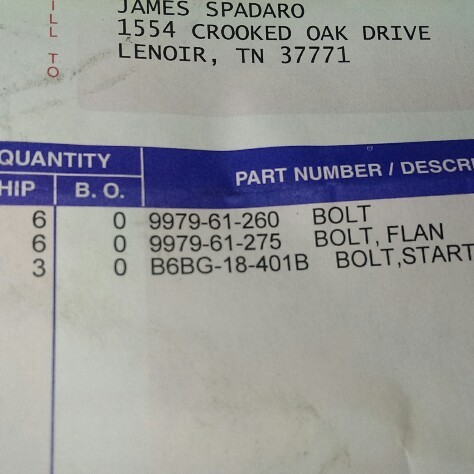
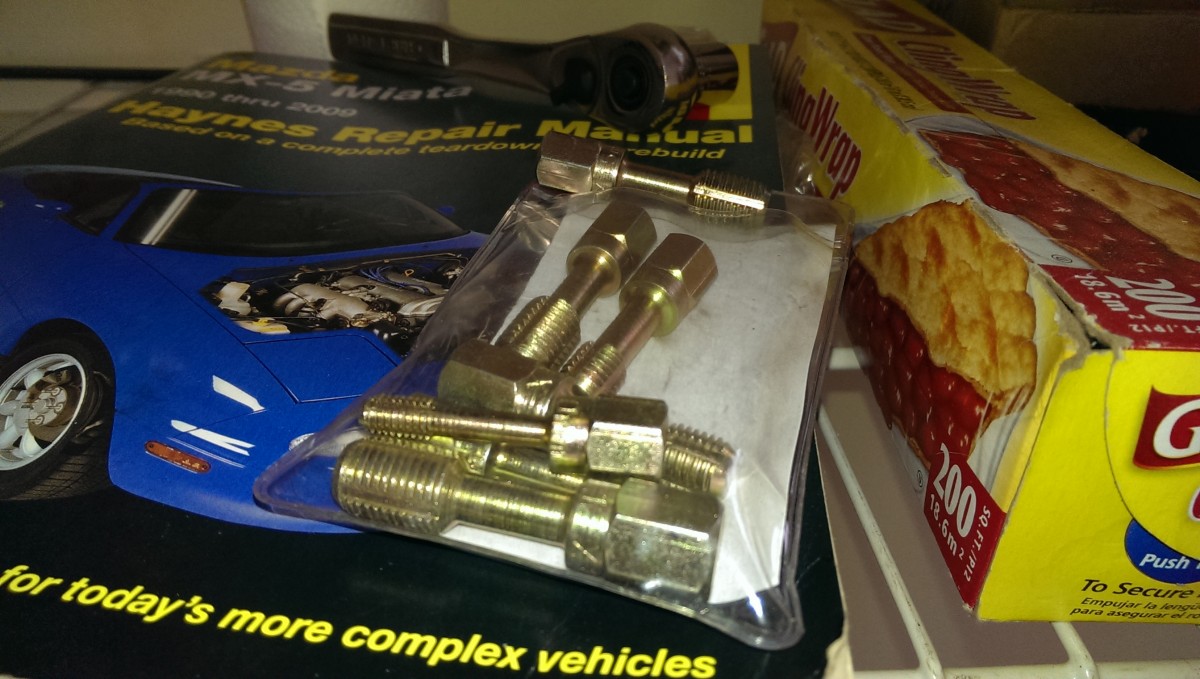
I needed fresh bolts
When I did this, I got all-new Mazda transmission mount bolts from Arlington Mazda. The picture shows the part numbers. Most people successfully reuse their old bolts. However, the first time I did this, I cracked two of the original bolts in half trying to torque them to spec, either because the bolts were old and brittle or the holes were gunked up or both.
You can also try to find matching grade 10.9 bolts at Ace Hardware or similar, and you will find m12x1.5 if you look hard enough. However, you will have to get fully threaded bolts because the partial threads will all have the wrong thread length. Long story short, it’s nearly impossible to find a proper match, and it wasn’t that expensive to just order the real thing. I would recommend it, but YMMV.
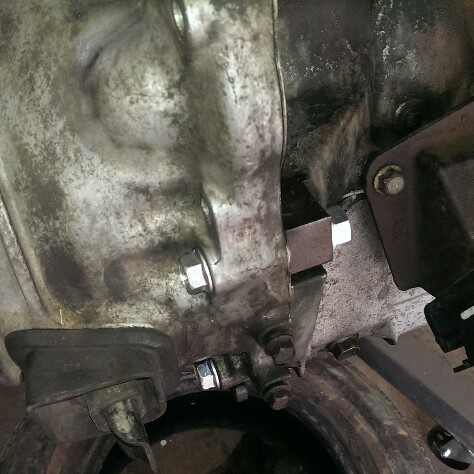
Transmission bolt
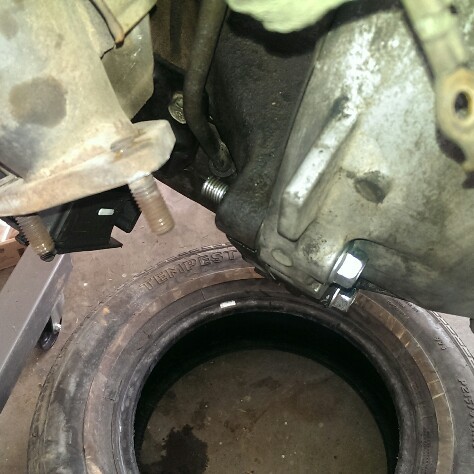
Transmission bolt
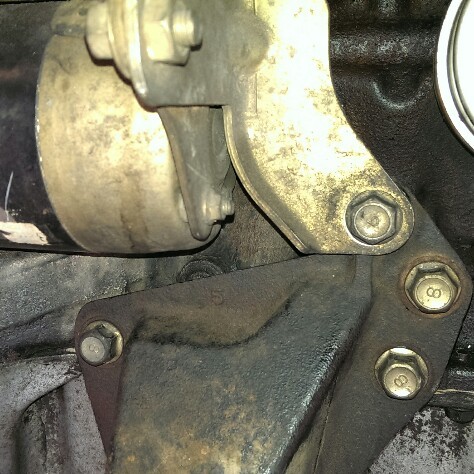
Transmission bolt
Transmission bolt
Like everything else, once the transmission is lined up, simply torque the bolts down in a star pattern incrementally. The smaller M10 bolts are for the starter. There is also one bolt on the right side that actually is a bolt and a nut. Lastly, on the left side, stock miatas have a bracket that holds the downpipe against the transmission. I have removed this because it’s a pain to deal with, but you’ll want to reinstall it if you’re choosing to continue using it.
And that’s it, you’ve got fresh rear seals and a new clutch.
Related Articles
Removing a Miata Engine
Miata Timing Belt, Water Pump, and Seals
Is this a 1.8 liter engine? ’94-’97 or ’99-’00?
Yes, this was on a 97 miata with a 94 engine in it and a 5-speed. These instructions apply to any 1990-2005 though.
The only slight difference might be with the transmission seals on a 6-speed, but I believe they’re still basically the same.
Would you recommend buying the Flyin’ Miata Rear Main Seal Tool?
I would. I liked all of the FM seal tools aside from the cam gear aligner.
Unless things have changed in the last 30 years you have switched the words “clutch disk” and “pressure plate”. Thank you for the articles.
Hah, I sure did. First time in three years anyone has pointed that out, but I fixed it now. Thanks!