Miata LRB Speed Under Tray Review
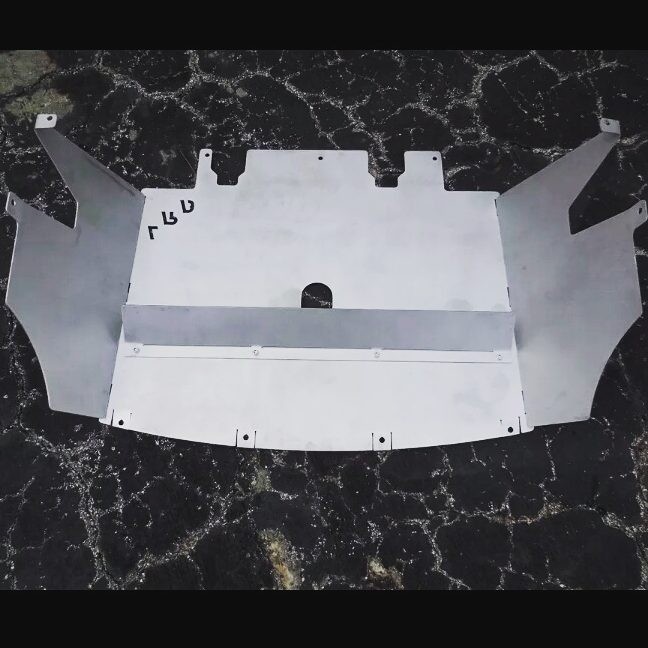
LRB Speed Under Tray (Source: lrbspeed.com)
My old plastic under tray had been worn out and sagging since I bought the car. Presumably a previous owner had let oil sit on the plastic, because the rear passenger side hung several inches down. I planned to buy an OEM-style replacement, but got a bit of sticker shock when I saw the prices had risen to around $80. The other aftermarket metal under trays I have seen are in the $250 territory, which was way too expensive for me.
My next plan was to cut one out of aluminum, but then I found the LRB Speed aluminum under tray for $105: http://lrbspeed.com/product/na-miata-aluminum-belly-pan/ The aluminum I was planning to purchase to do this myself cost $70-$80 alone, so to me this was a no-brainer.
I know a lot of people simply discard the under tray, but this has ramifications on cooling. An OEM-shaped under tray with the side panels helps box in the radiator. While this may not matter puttering around town, it really helps my car at track day.
Initial impressions
The under tray shipped in pieces; there are two side panels and a bottom panel. One thing I liked was that the package ships with new bolts to replace all of the ones on the car, which, at least on my car, are long since beginning to wear out from repeated removal and replacement over the years.
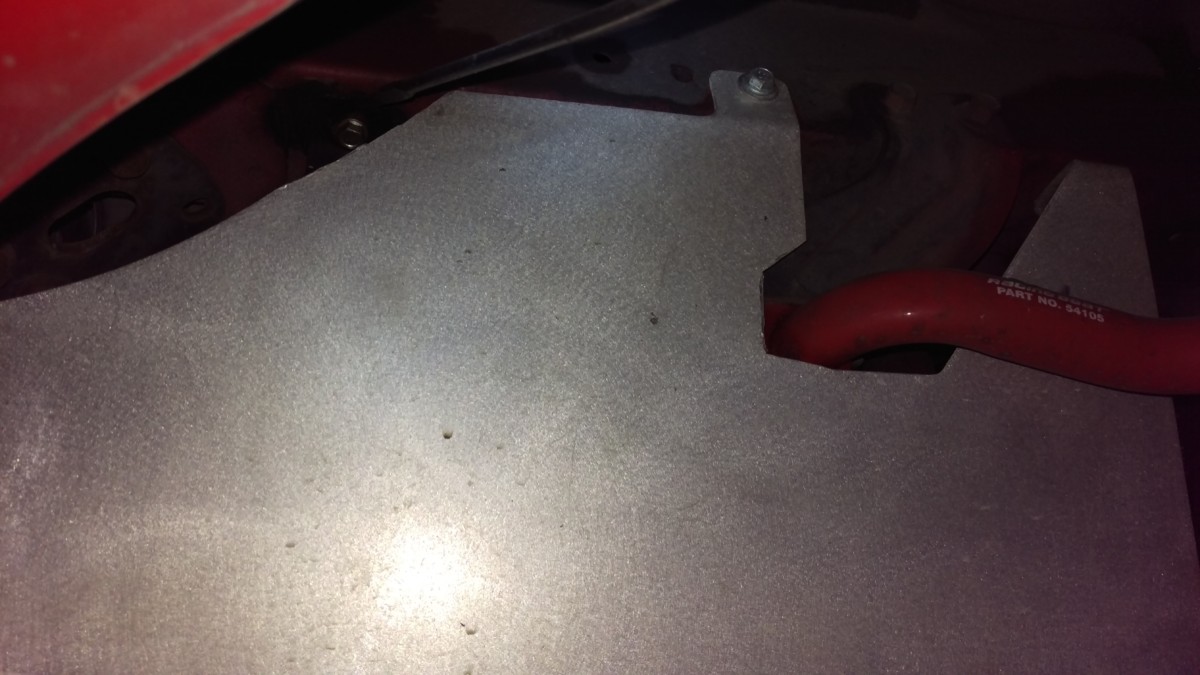
I cut the side panels to clear my oversized sway bars
The design is fairly clever. The two side panels bolt in two places, as opposed to the OEM three. I liked this, as eliminating the front bolt means you don’t have to mess with the bumper support to remove these anymore.
One issue with the fitment on my car was that the original side panels hit my racing beat oversized front sway bar. I suspect this wouldn’t be an issue with a stock bar. I ended up using an angle grinder to provide a bit more room as shown. Fortunately, since the panel is made of aluminum, I didn’t have any concern about rust or paint. I didn’t do the prettiest job either, but I’m a function over form kind of guy.
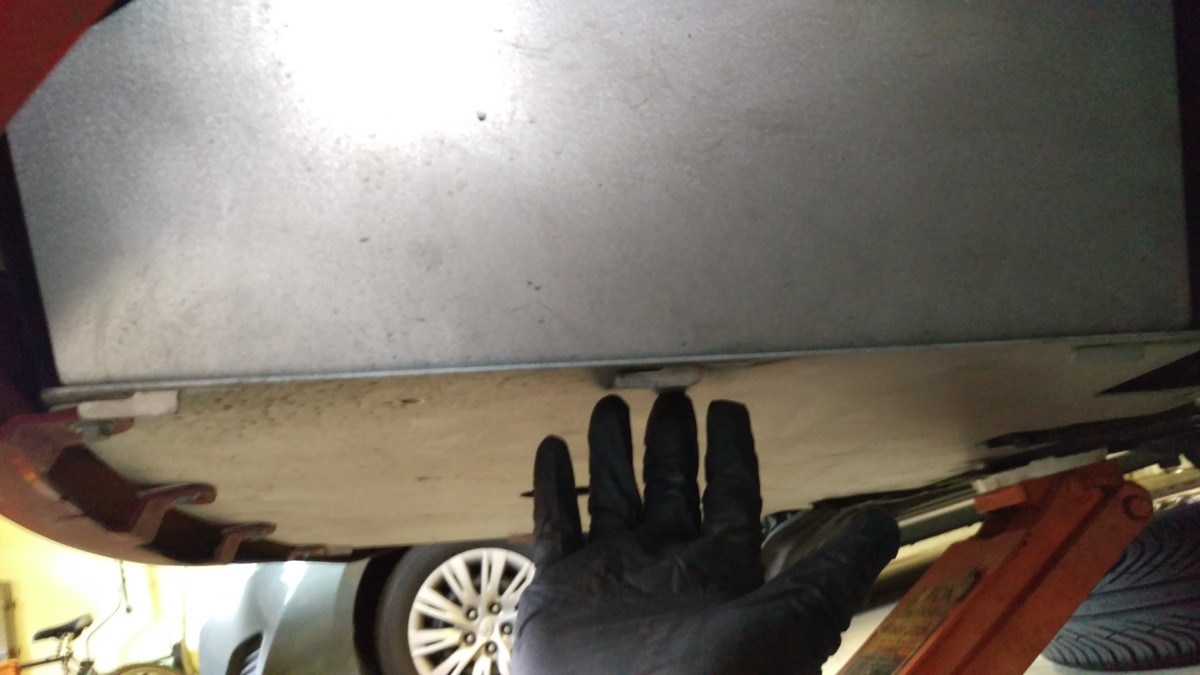
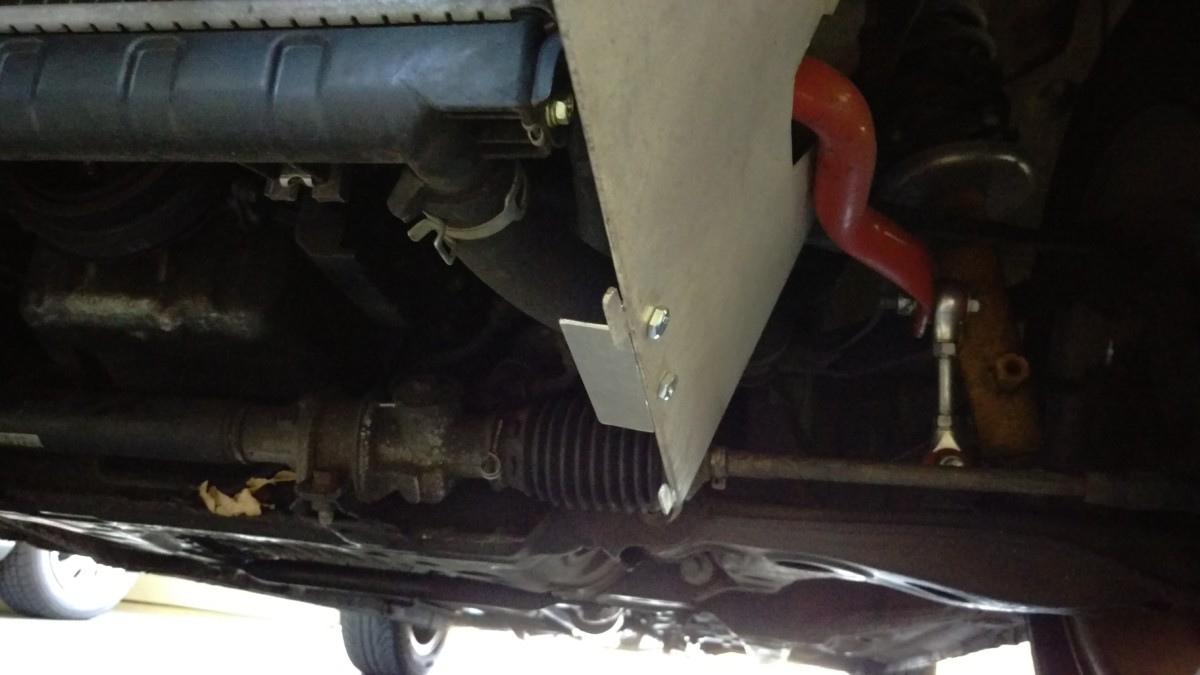
The bottom panel hangs on the sides until bolted in place
The bottom panel then hangs on the side panels, which have hooks for this purpose. I actually rather like this system. I can undo 6 or 7 bolts and drop just the bottom panel, while the more-annoying-to-reach sides can stay in place for most jobs. On reassembly, I can hang the bottom panel from the sides while I get the bolts in place. Pretty slick.
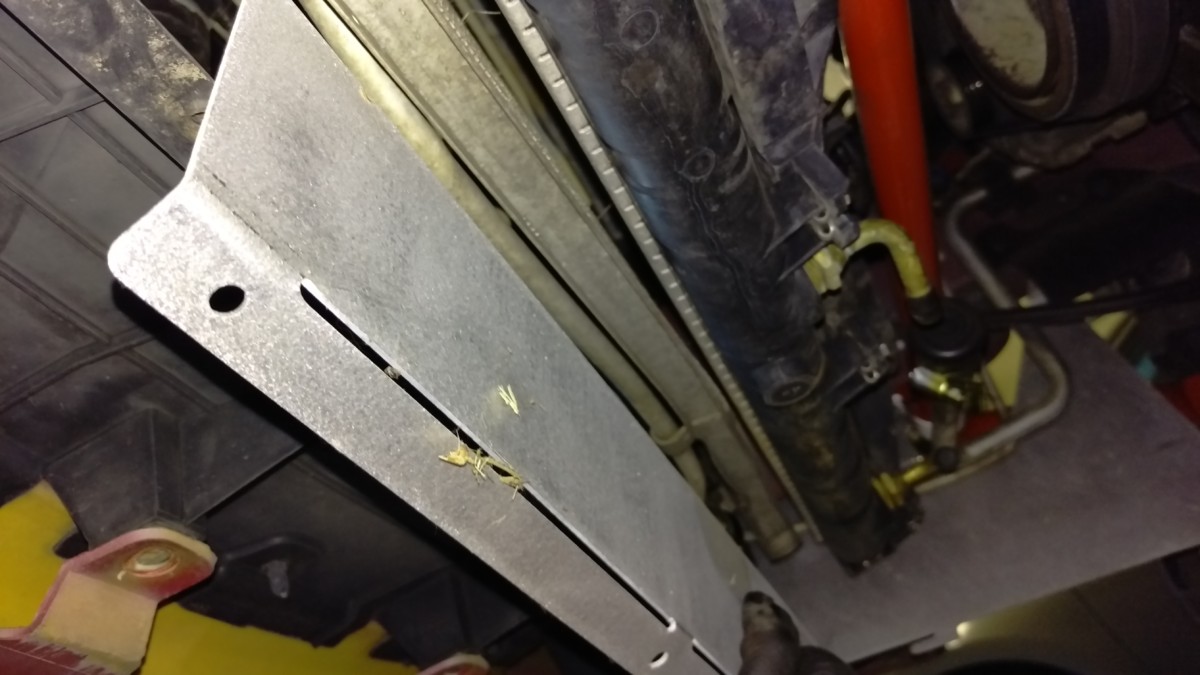
There is an issue with this design though. The center part, where my finger is pointing, has a tendency to vibrate really loudly in certain cases, which gets very annoying. I solved this by adding bolts through a piece of aluminum angle here, detailed later on.
Update: LRB has fixed this problem on new undertrays, and they now bolt together.
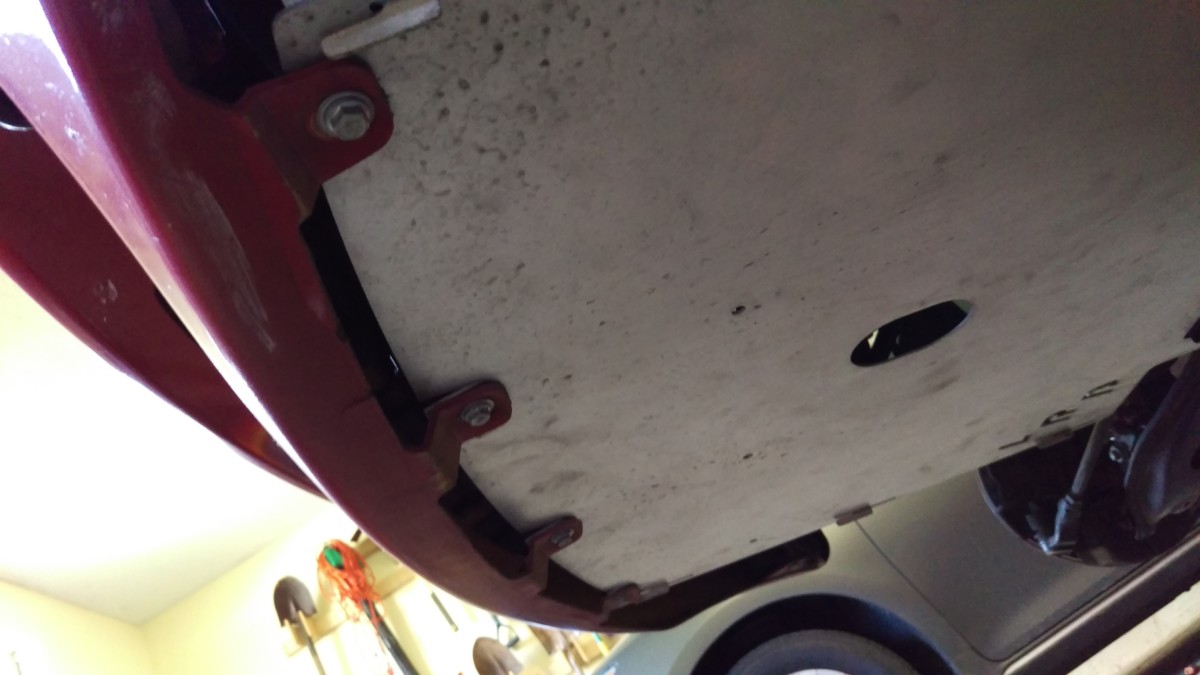
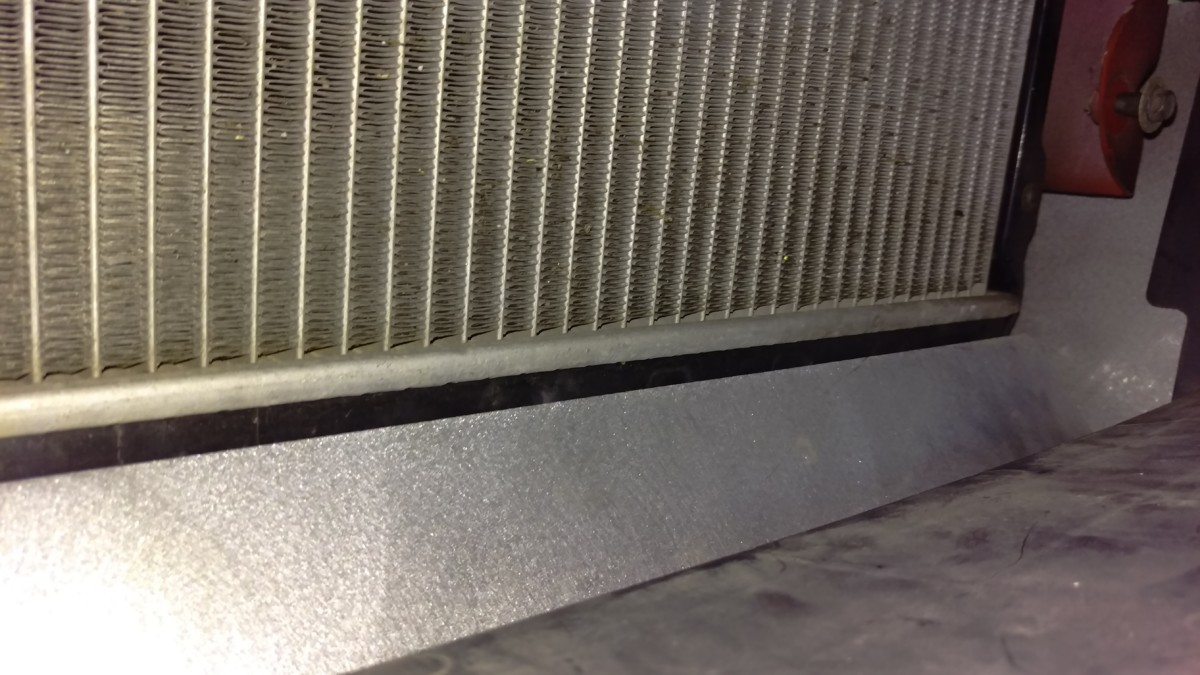
The front of the tray goes all the way up to the bumper
One other feature of this tray that I really like is that the tray goes all the way to the bumper. This has been proven to be much better for aerodynamics. It would be even better for aero if the tray extended further toward the wheel wells, but for the price, I’ll take what I can get. Also, for my car specifically, the front tray holes had begun to strip, so this provided a sturdier mount point.
AC condenser sits in the way of the cooling fin
If you don’t have AC, though, it fits fine
The bottom tray comes with an optional fin you can attach. This redirects air away from the plastic on the bottom of the radiator up to the fins. The catch is that it only fits if you don’t have AC. The first picture shows how the condenser is in the way, in a view from the bottom. The second picture is after I pulled my condenser. (I had already removed the AC compressor in my car anyway.)
If you choose not to use this piece, there will simply be 4 bolt holes in the bottom tray that go unused. I assume if desired, you could also move the holes forward/back to adjust for this.
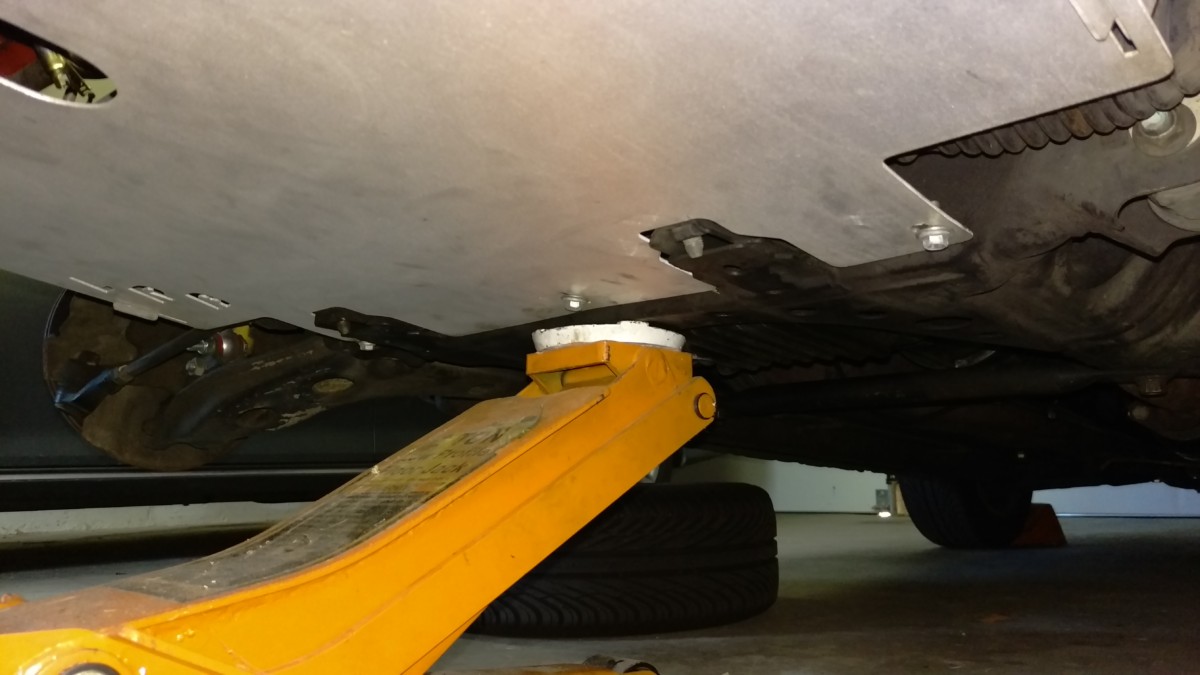
The crossmember is very visible with this under tray
As a last minor point, having an aluminum under tray really increases the visibility of the crossmember for jacking up the car. Not a big deal, but it does make it a bit quicker to get the car in the air.
Fixing the rattle
Update (6/7/2016): GreaseMonkey2000 on miata.net said that he had added some 1/8″ adhesive foam to fix the rattle. This appeared to work for him, at least until the foam wears out, so if you want a less-invasive fix, that route does work.
Additionally, he has AWR 70d urethane motor mounts, and I have the Mazdaspeed competition motor mounts. Both are stiffer than the factory mounts. It appears that the rattle may not be a problem with stock mounts.

Hacked up fix
As I said, the biggest drawback is the rattle at the middle of where the side panels and bottom panel meet. There was just enough wiggle room between the hook and the panel for it to vibrate depending on engine RPM. I thought about putting some rubber on the hook to act as a damper, and that would probably work, but it would be prone to wearing out and falling off, and I didn’t want to deal with it.
I ended up hacking the undertray up to look as pictured, as explained below. The rattle is cured at the expensive of some prettiness.
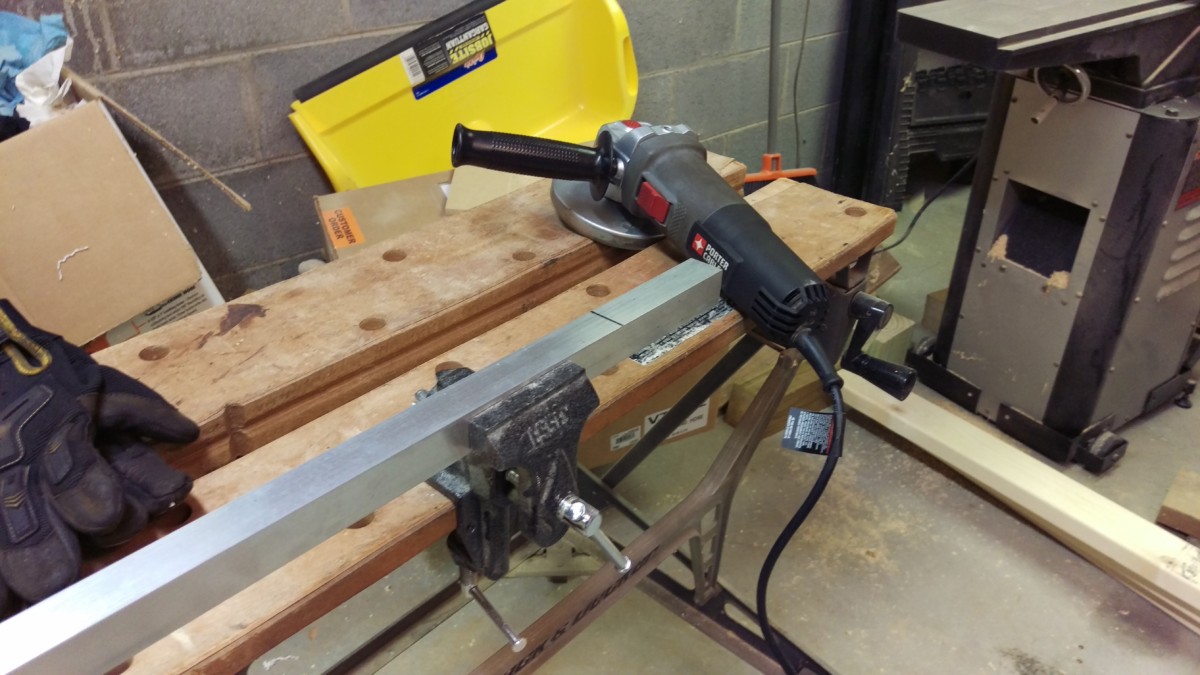
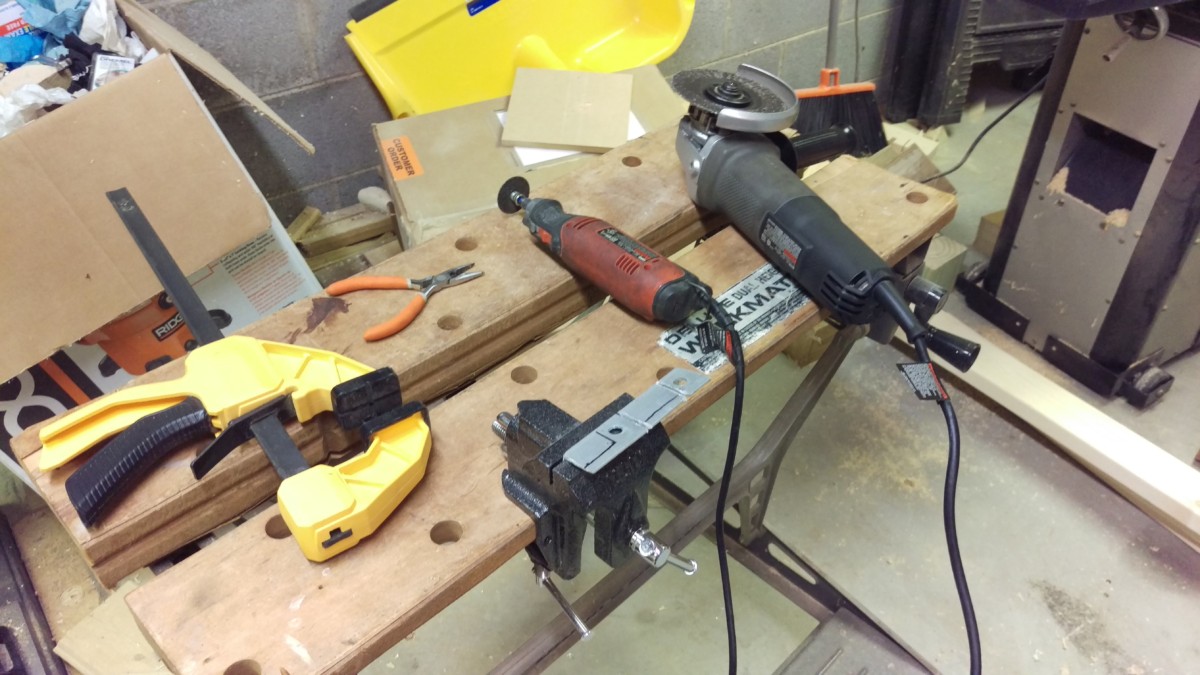
Cutting pieces of aluminum angle with a grinder and cutoff disc
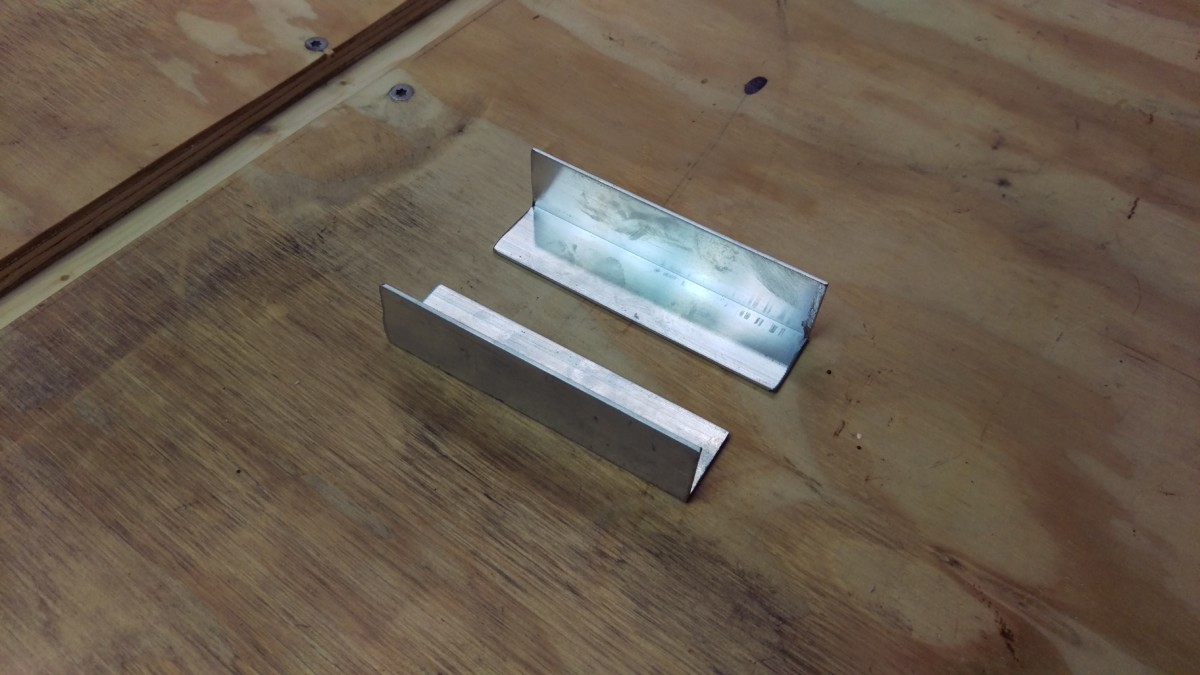
Cut aluminum angle
I got some thin aluminum angle for a couple of bucks at the hardware store, and cut off a couple of 4″ or so sections. I ended up bolting these to the top and side panels where they meet, one on each side.
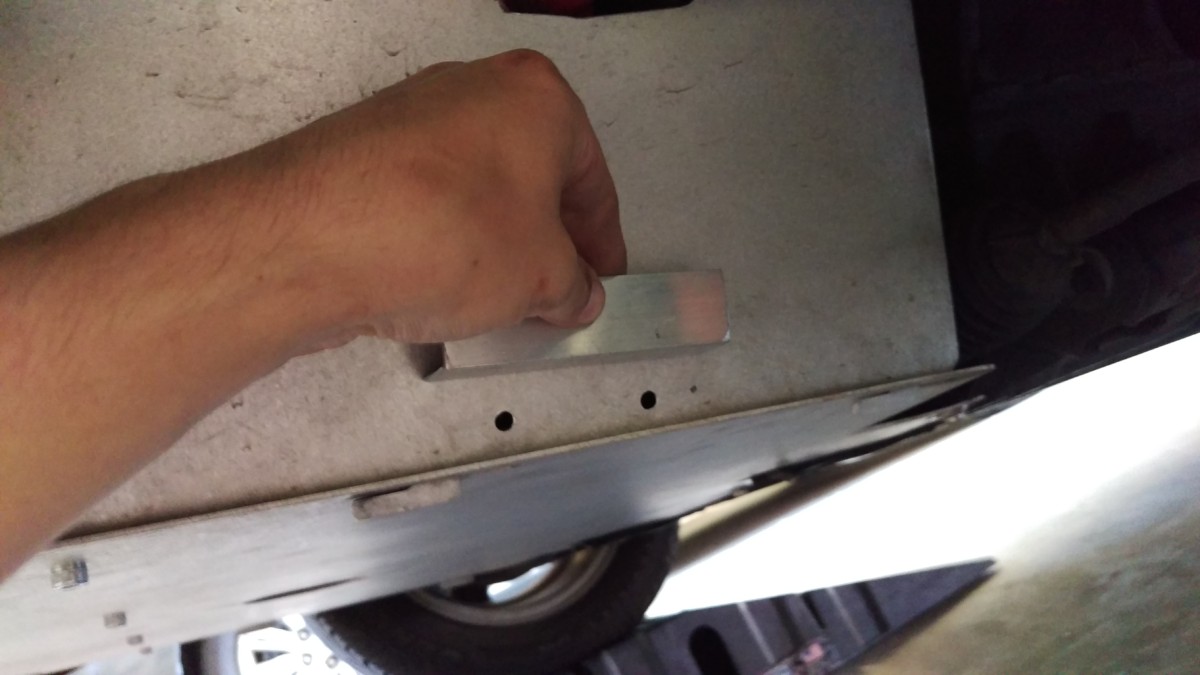
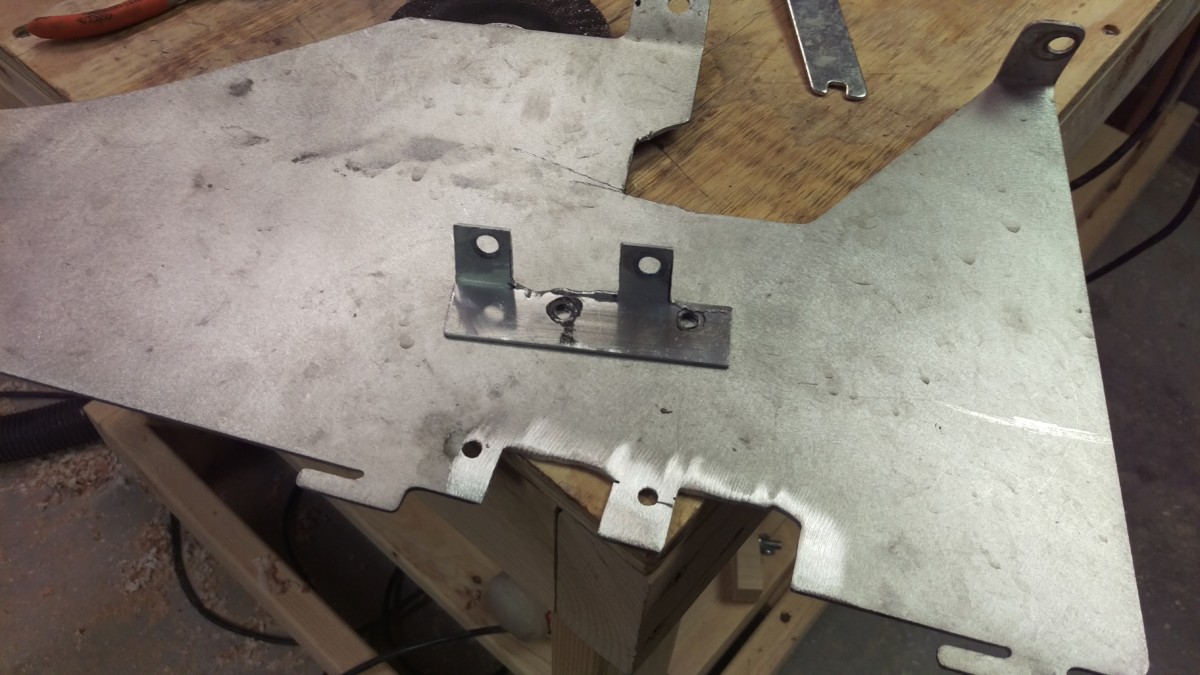
Holes in the side panel
I put holes in both side panels where they would have room to not hit the radiator, fit on the pieces of angle, and support the bottom panel where it rattled the most.
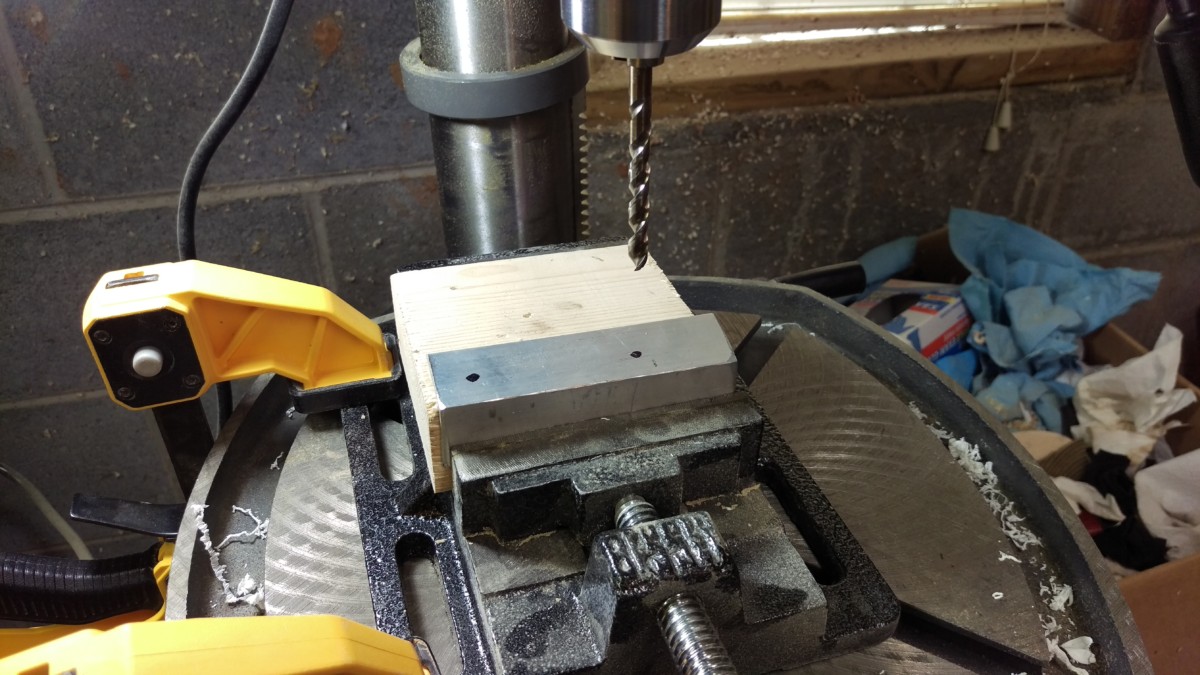
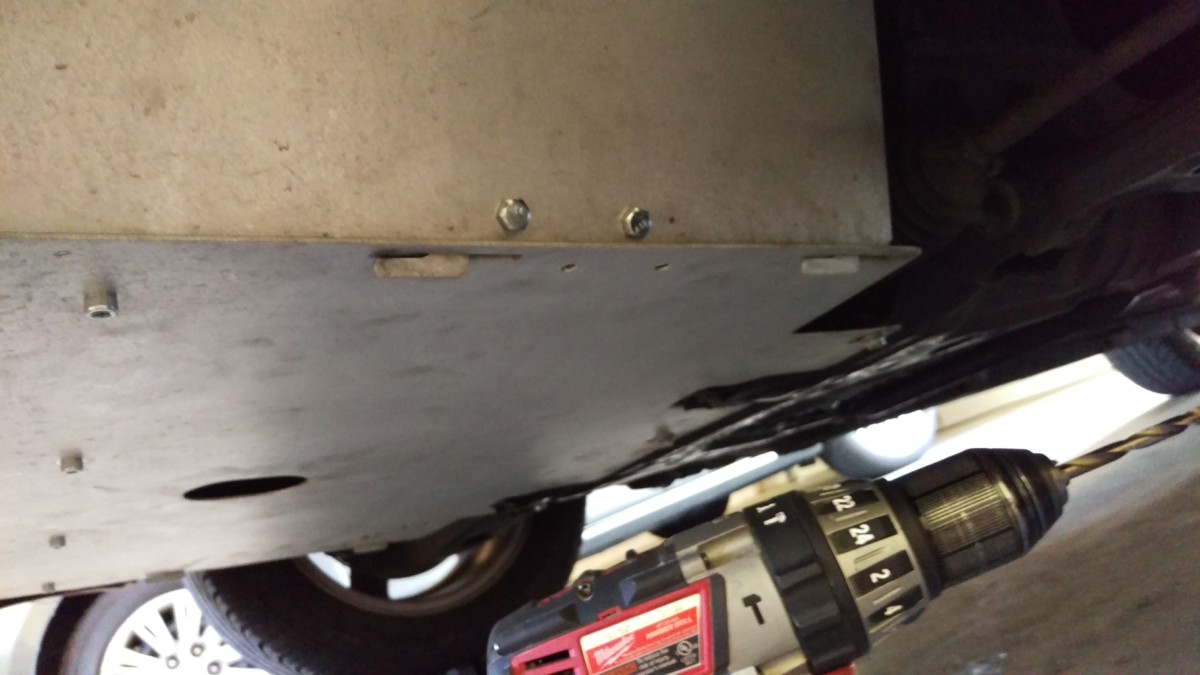
I drilled the sidepanel holes after marking them with sharpie on the car
I then pulled the bottom panel off and held the angle aluminum behind the side panel on each side. Then, I could mark the hole with a sharpie. I was able to use my drill press vise and my drill press to make these two holes on each side.
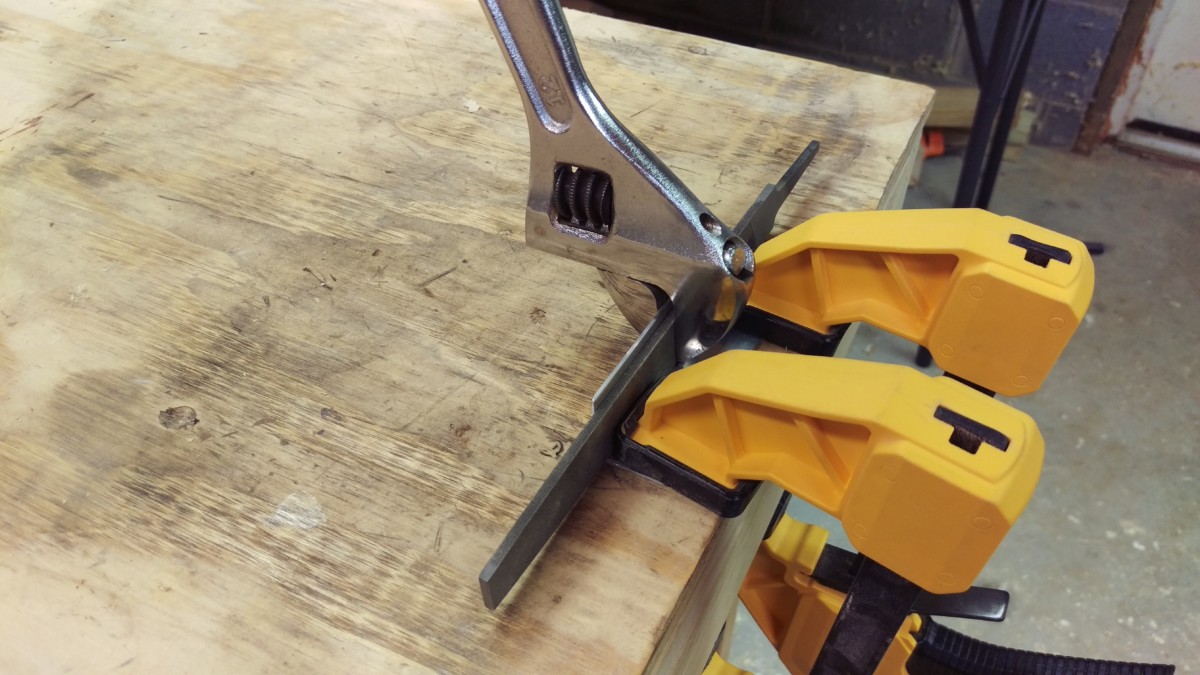
Using clamps and a wrench to bend the angle
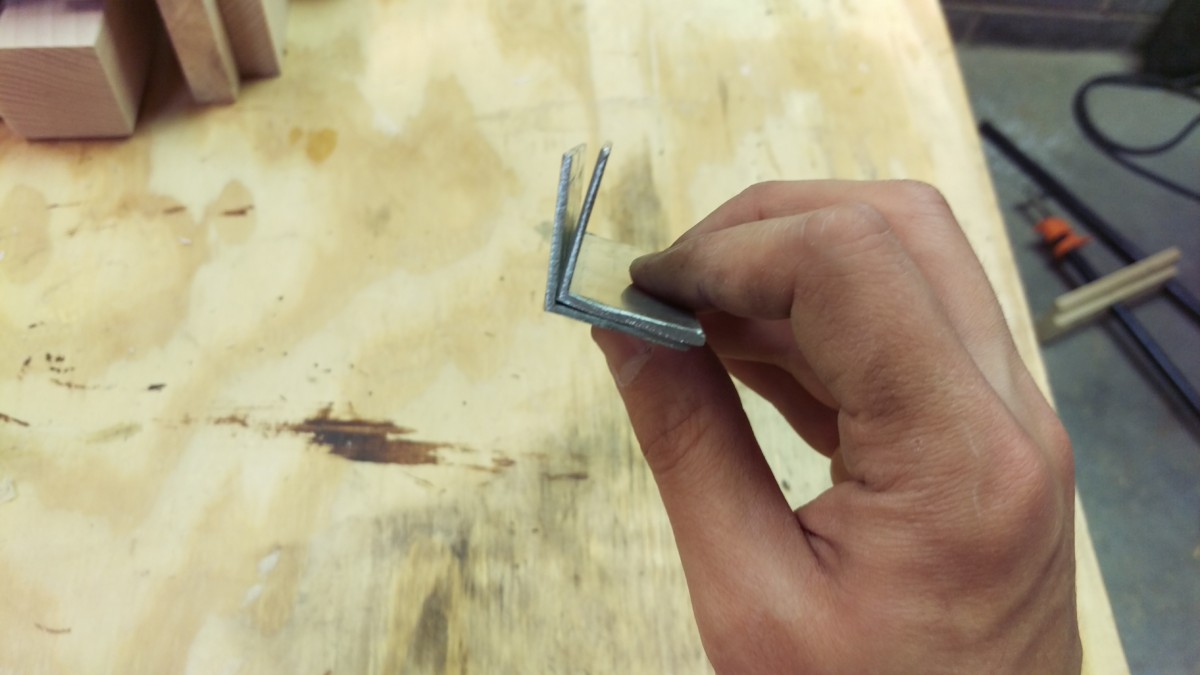
Bent to fit vs 90 degree angle
The side panel and bottom panel also don’t meet at quite a 90 degree angle. To account for this, I bent the angle aluminum slightly wider. Aluminum is soft, so this is easy to do with a couple of clamps and a wrench. I put the mill file on the back of the aluminum to keep it from curving as I bent it. Any thick-ish piece of steel would have worked for this purpose.
Attaching bracket
Drilling holes
I then put the brackets back on the car, reattached the bottom panel, and drilled holes with a hand drill through the bottom panel and bracket. This way, I could be sure everything would line up.

Cutting notches
One side finished
Vise helped for small pieces
Obviously, one major problem with this design is that the nuts for attaching the angle aluminum to the bottom panel is hidden behind the side panel. To remedy this, I took the fastest approach and cut a square slot out of the side panel and bracket large enough to fit a box wrench.
I tried to use JB weld to make a captive nut, but this was a stupid and horrible idea. If you can TIG weld, that’s another approach that will work.

Ready for installation
It’s not the prettiest job, again, but the angle grinder and dremel tool with cutoff and grinding wheels made short work of the job. It was easiest to pull the bracket and panel apart and work on them separately, in order to maximize use of the angle grinder. Again, since everything is aluminum, I didn’t have to worry about rust.
This did work
The holes worked fine. I was able to put a drop of blue loctite on each bolt to make sure they won’t wiggle loose. I meant to use lock washers, but forgot. In any case, these are very quick to install now and don’t add much to the install/removal time of the under tray. I simply leave the angle aluminum attached to the sidepanels permanently.
Summary

Final picture
I’m happy I bought this under tray. For $105, it saved me a ton of work making my own. I did have to make a couple of small alterations to it, which is a bit of a pain. All in all, though, I now have a functional under tray that boxes in my radiator, is easier to remove than my plastic one was, and won’t sag if it gets oil on it. Just be prepared to deal with the rattle noise one way or the other if you buy one.
[…] Yesterday i found this write up on the LRB Speed aluminum aero panel from fellow enthusiast James, http://did-it-myself.com/miata-lrb-s…r-tray-review/ , and James had a similar issue of noise from vibration which i had contributed totally to […]