Fixing a Wood Fence
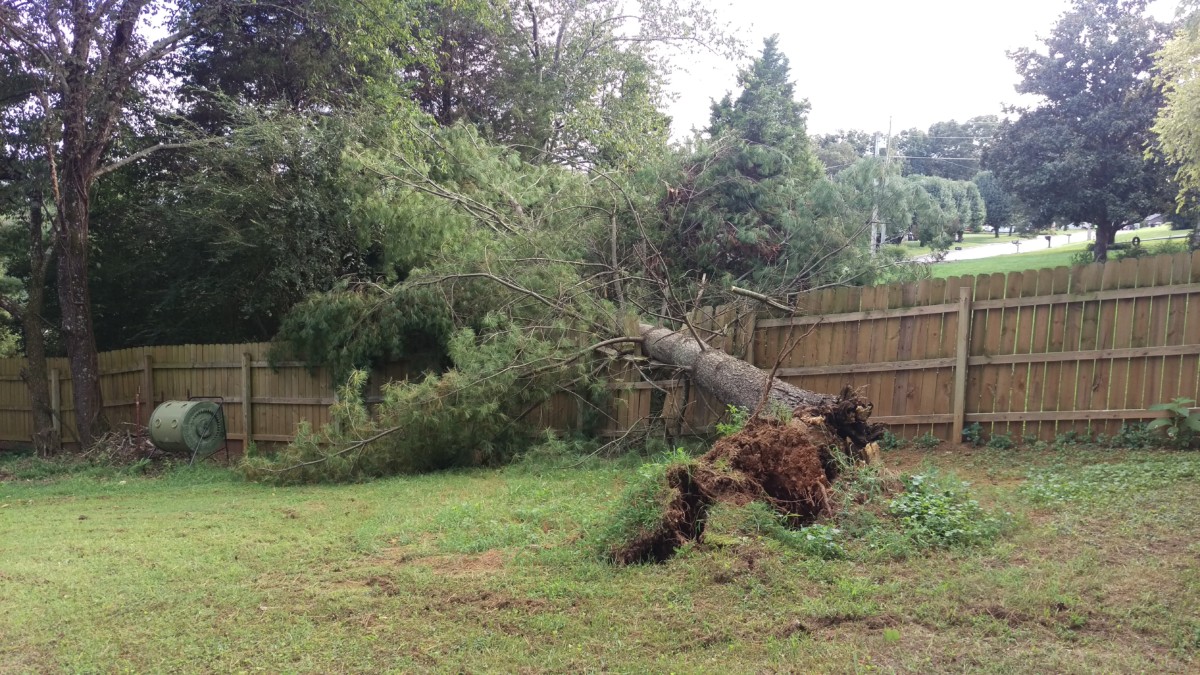
Large pine tree came down
The 6′ pressure-treated wood privacy fence I built a few years ago had been holding up well. That is, until a good-sized pine tree fell on it. When this happens, at least in my state, homeowner’s insurance will pay to get the tree pulled off of the fence and for the fence to be repaired. Unfortunately, they will not pay for the tree to actually be hauled away, stumps to be ground, etc, and we had a $1500 deductible. Long story short, it was cheaper to pay out of pocket for the tree removal and to fix the fence ourselves.
We did briefly consider doing the removal ourselves. My biggest concern was further damage to the fence if the tree wasn’t taken down properly. Sure enough, the removal guys we hired ended up using a very large crane to lift the tree off the fence. Once they cut it down into lumber, it filled the majority of a huge flatbed. They also had a gigantic stump grinder to take care of the roots and remaining stumps in the yard. Needless to say, this is one case where hiring out for the machinery, not to mention their experience, was well worth it.
Shopping List
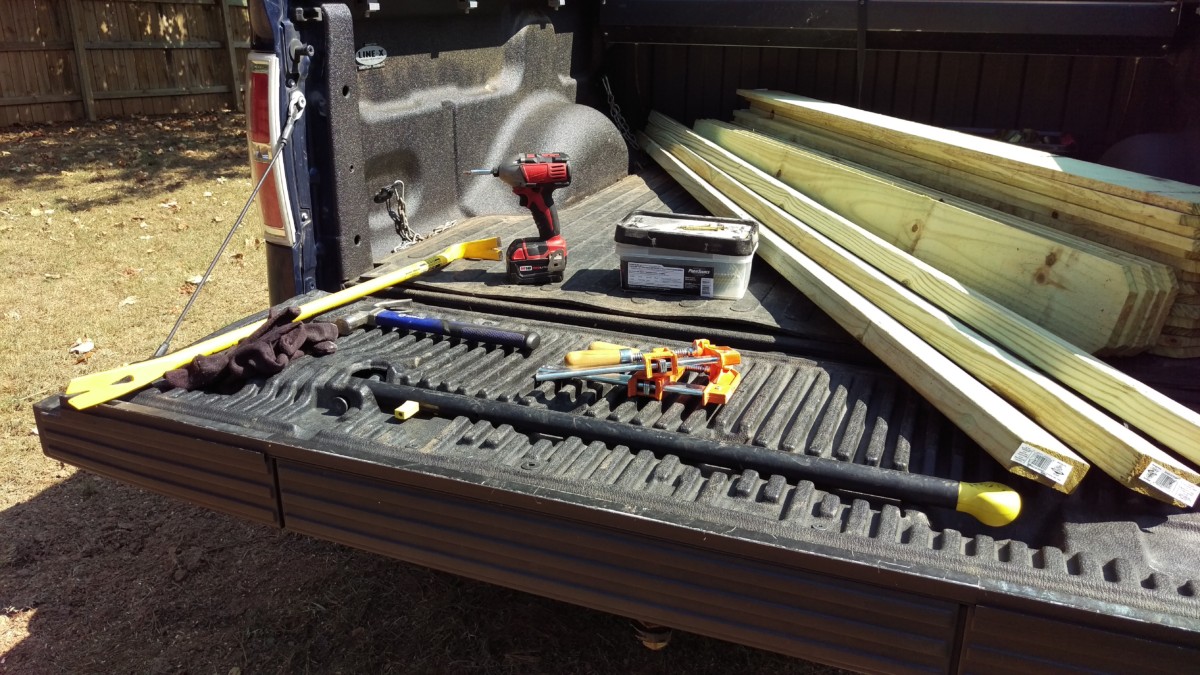
Tools Required
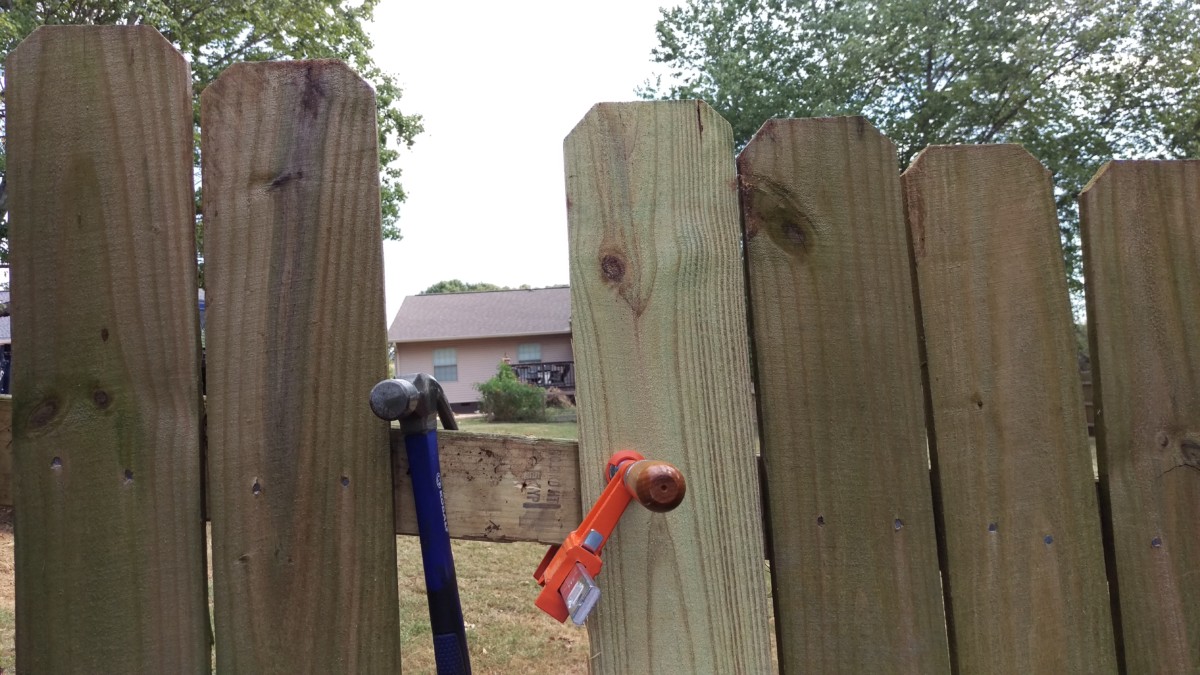
You really don’t need much in the way of tools for this project. Aside from something to cut the 2×4, you only need what’s pictured.
- Crow Bar
– Necessary to pry pickets off the rails
- Claw Hammer
– To both drive and pry out nails
- Framing Nailer
– (Optional) I used one of these to put up the fence originally, and it saved a lot of time. For fixing a small section, it isn’t necessary, but for a few dozen or more pickets, it makes the work go much faster
- 2″ Ring Shank Nails and 2″ Deck Screws – The ring shank nails work great for pickets. The deck screws hold stronger for securing the 2×4 rails to the posts, they just cost more. If you want, you can screw the pickets to the rails instead
- Steel Bar Clamps
– I used these to clamp the rails to the posts, as I found they were deep enough to reach
- Trigger clamps
– (Optional) These are always handy, but in this case I liked them for holding the pickets to the rails while nailing them; they did this job much faster than the bar clamps above
- Impact Driver
– This is important for sinking the screws for the rails. I bought the linked set a couple of years ago, and it has been a fantastic purchase. The batteries last forever, tons of power, and I use the drill and driver for all kinds of projects
- Replacement lumber – Of course. Assess the damage and figure out what you need before buying lumber, but you’ll need 2×4 and pickets. If any posts were damaged, add 4×4 and bags of concrete to the list.
- Miter Saw
or Circular Saw
– Used for cutting the rails to the right length; a miter saw is much easier but a circular saw is cheaper and more versatile for other things
- Table Saw
– (Optional) You may need to rip cut a picket along its length to fit, in which case a table saw is the tool to do this safely
Assessing the Damage

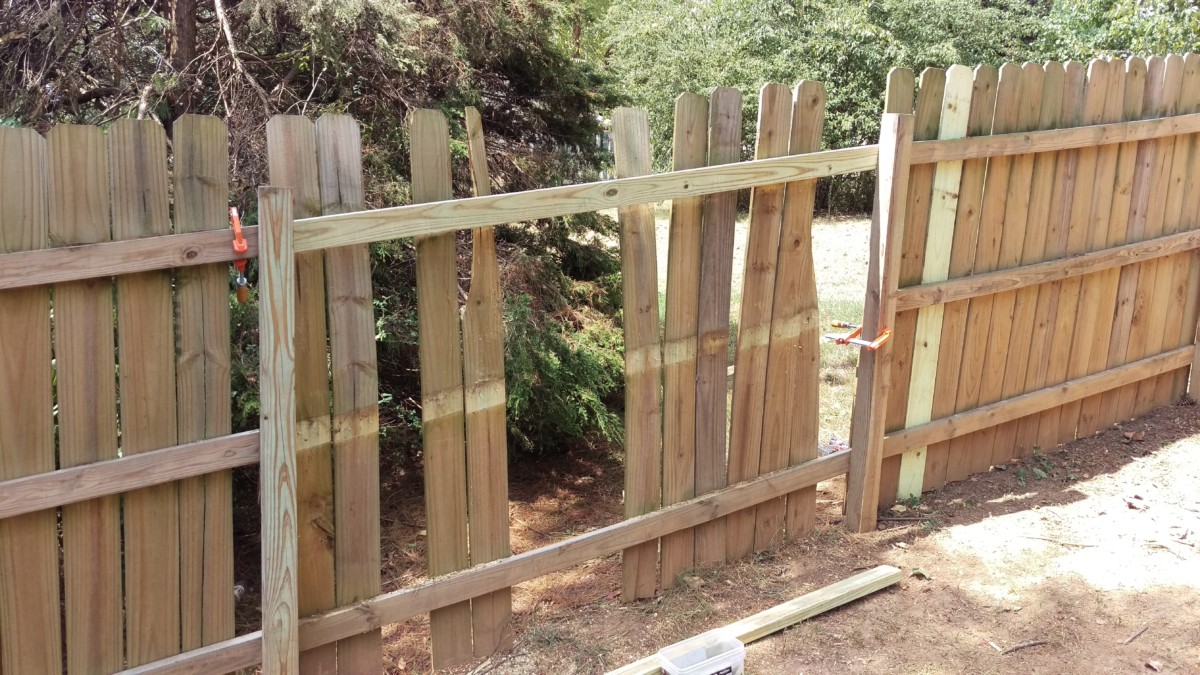
The fence damage
Once the tree was removed, it was time to assess the damage. The first thing I looked at was the posts. These are buried 2′ deep and filled with cement, so replacing them would be the worst part of this job. Fortunately, both posts appeared in good shape. It was lucky that the tree came down in the middle!
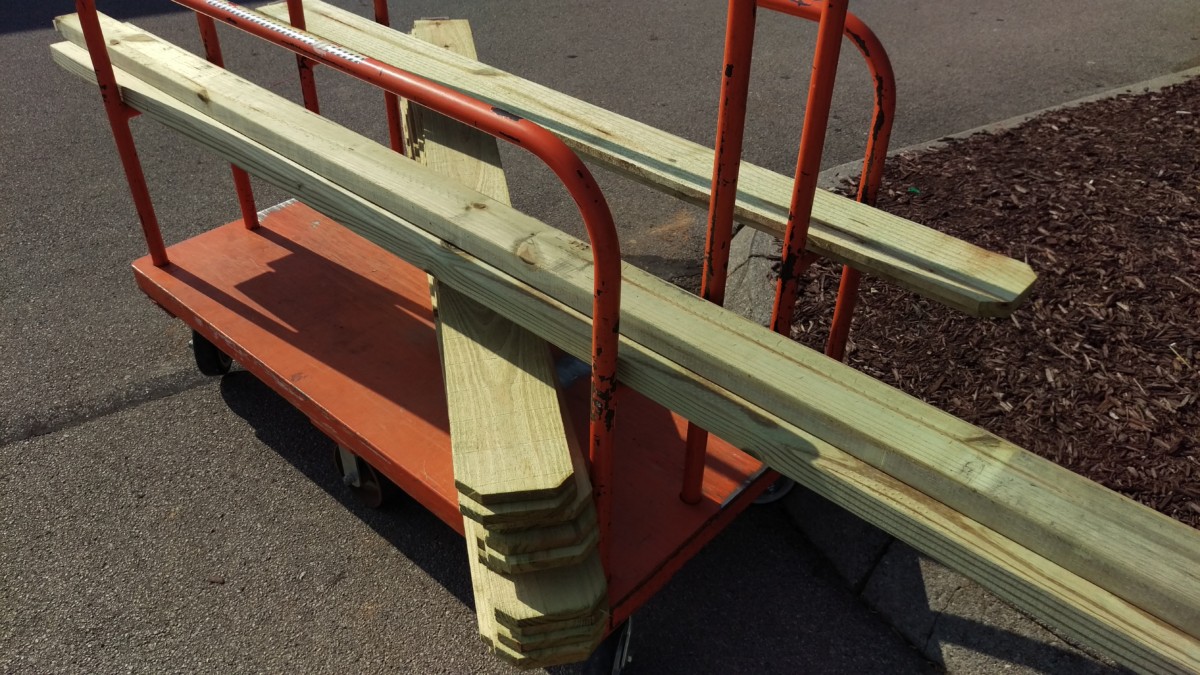
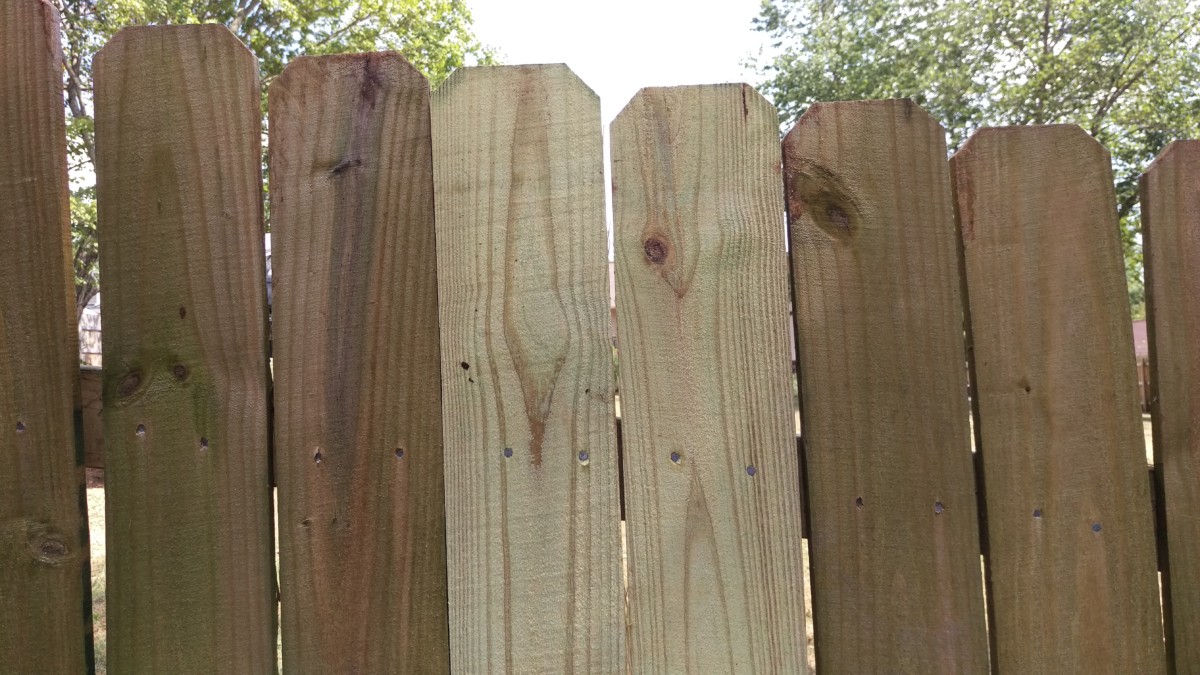
I bought enough pickets to replace the whole section
The second question was how much replacement lumber was necessary. For my fence, it looked like I may need 3 more pressure treated 2×4’s to replace the broken rails. In addition, as many as 19 pickets may need replacement. This fence simply uses pressure-treated dog-eared pickets from Home Depot, so they’re easy to replace. As an added bonus, they were only $1.25 each this time; when I built the fence, they were $1.64. My plan was to have as much lumber as might be necessary in hand, and return the rest depending on what I can salvage.
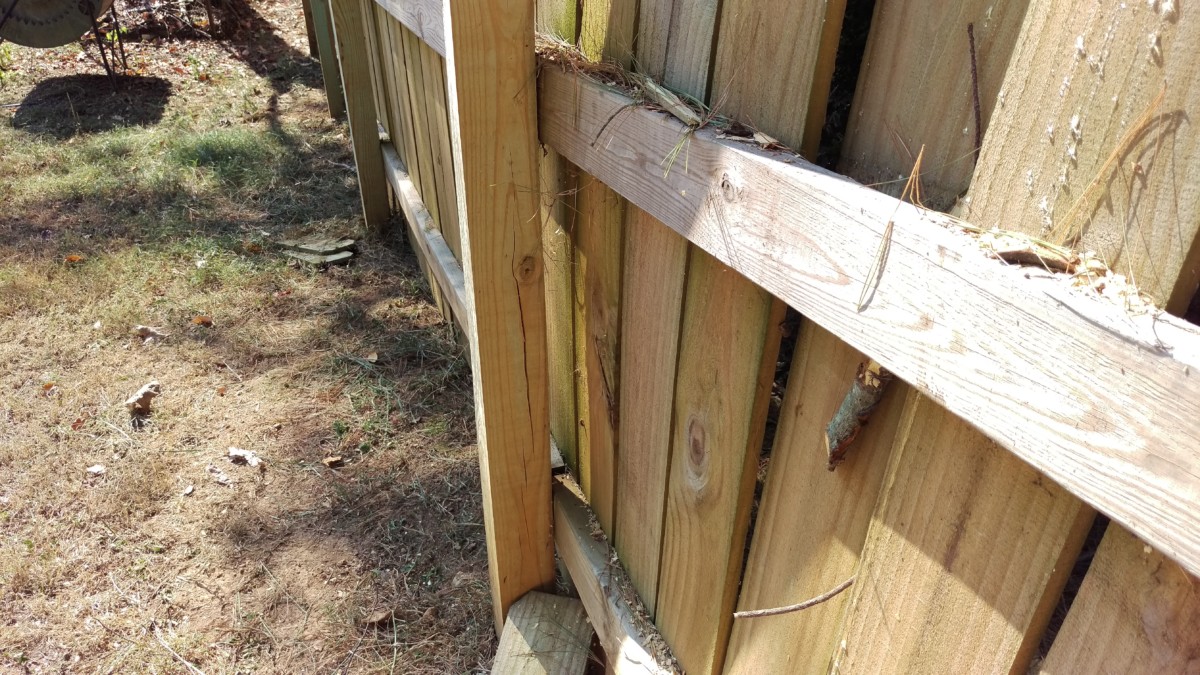
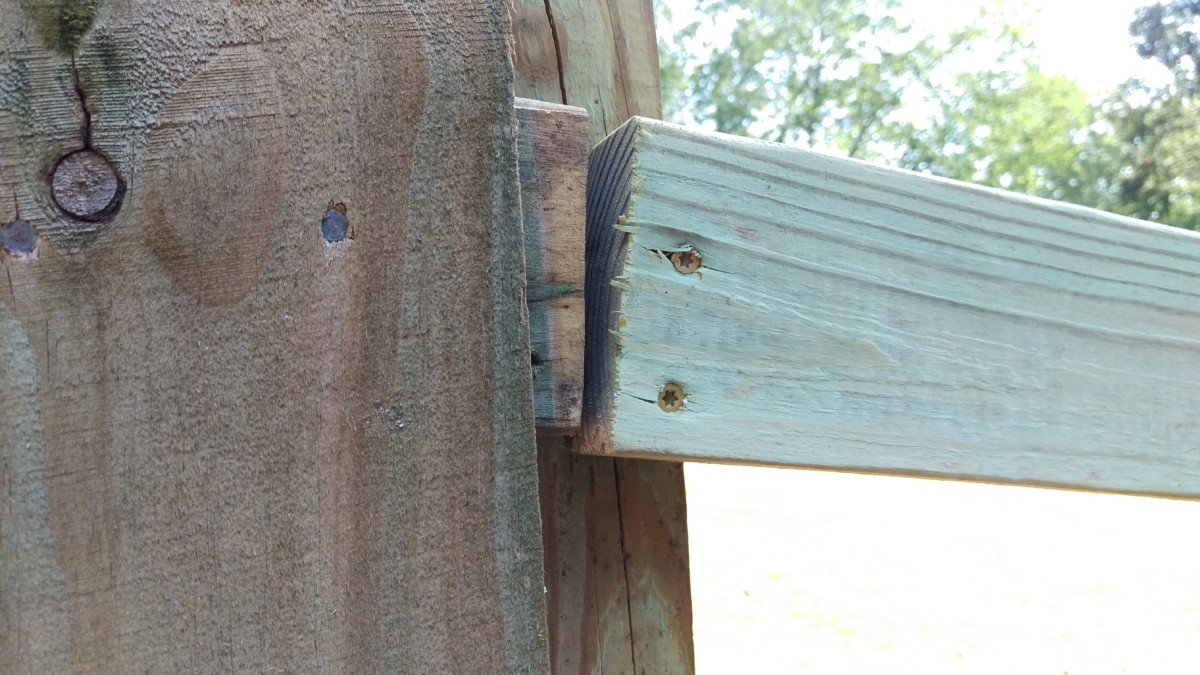
Assessing the Rails

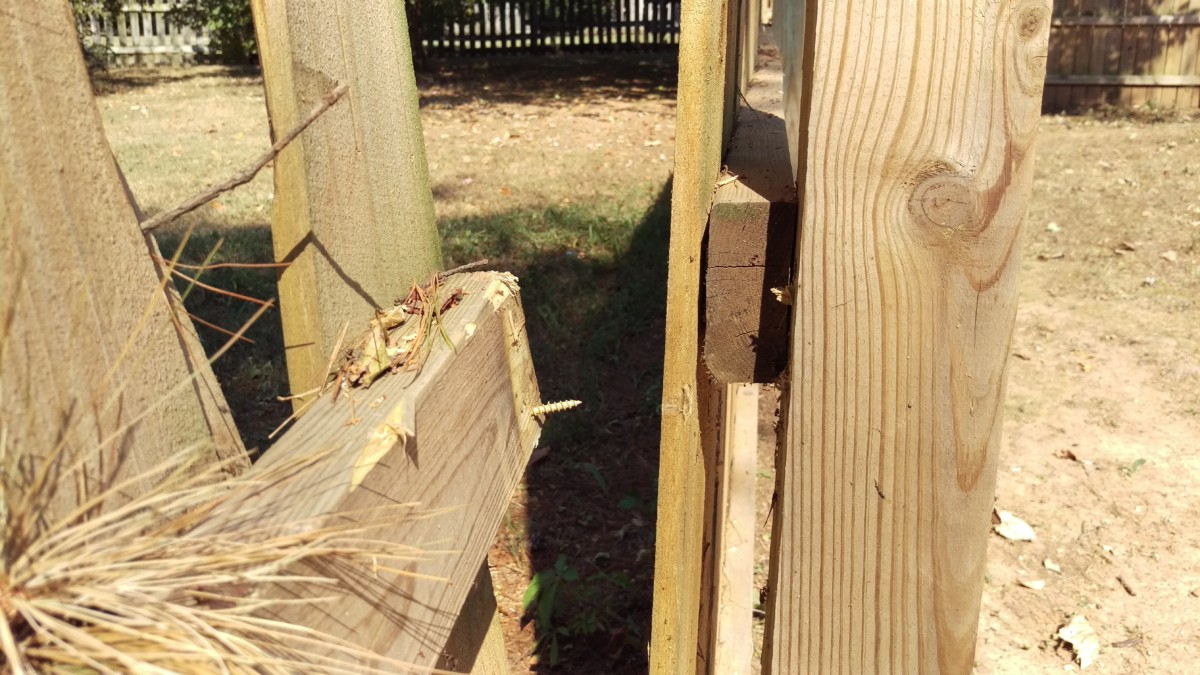
The top rail had totally pulled out and fallen down

I’m holding up the other side to show where it detached
Since the posts were still in good shape, the next problem was fixing the rails. As expected, the top rail took the most damage. As you can see, it was pulled clean off the post and had fallen down near the middle rail. The first picture is the left side. In the second picture, I’m lifting up the top rail so you can see where it detached from. At first, I thought maybe I could screw this rail back in, but the screws had pulled through the wood enough that it didn’t look like it would work. This rail needs replacing.
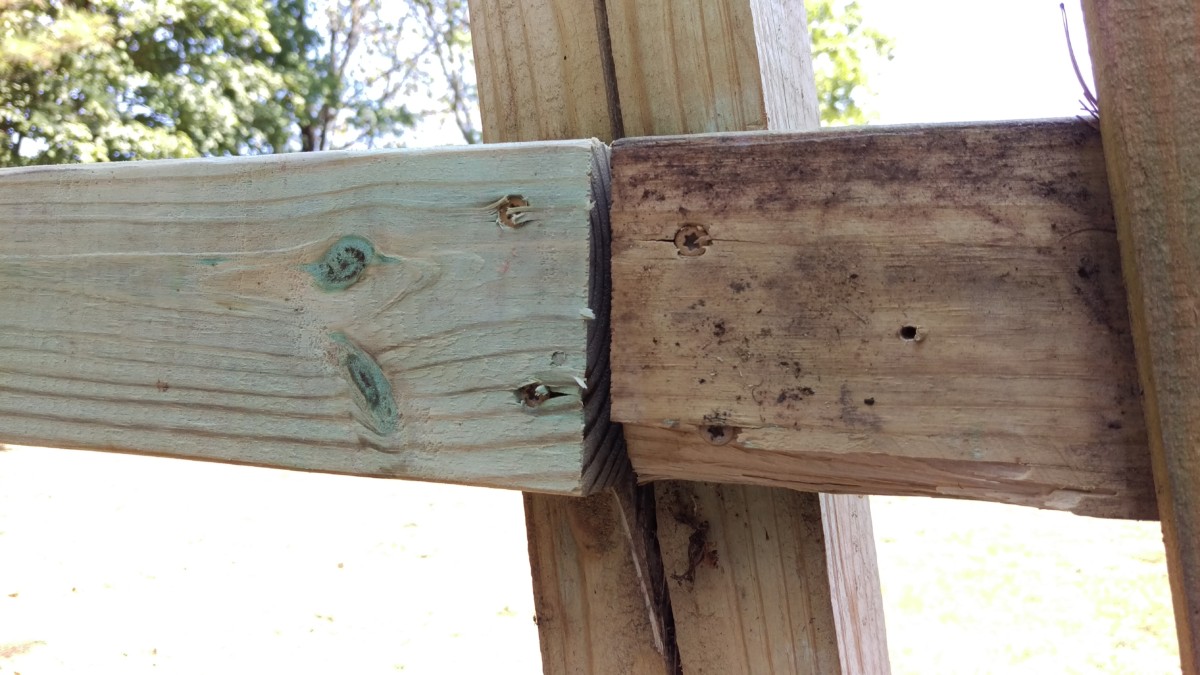
The middle rail looked OK on this side
On this side, it had pulled out, but looked salvageable
When I first looked at it, the middle rail looked a lot more promising. The left side was still attached. The right side, while it had pulled out, had sustained less damage than the top rail.
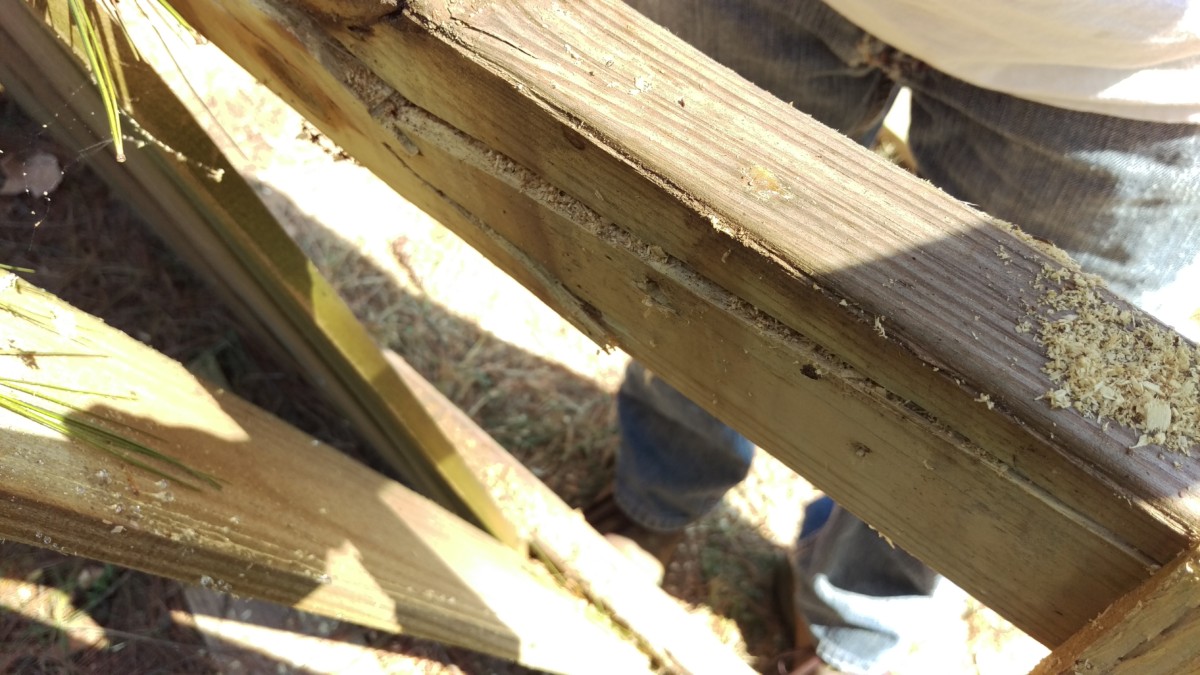
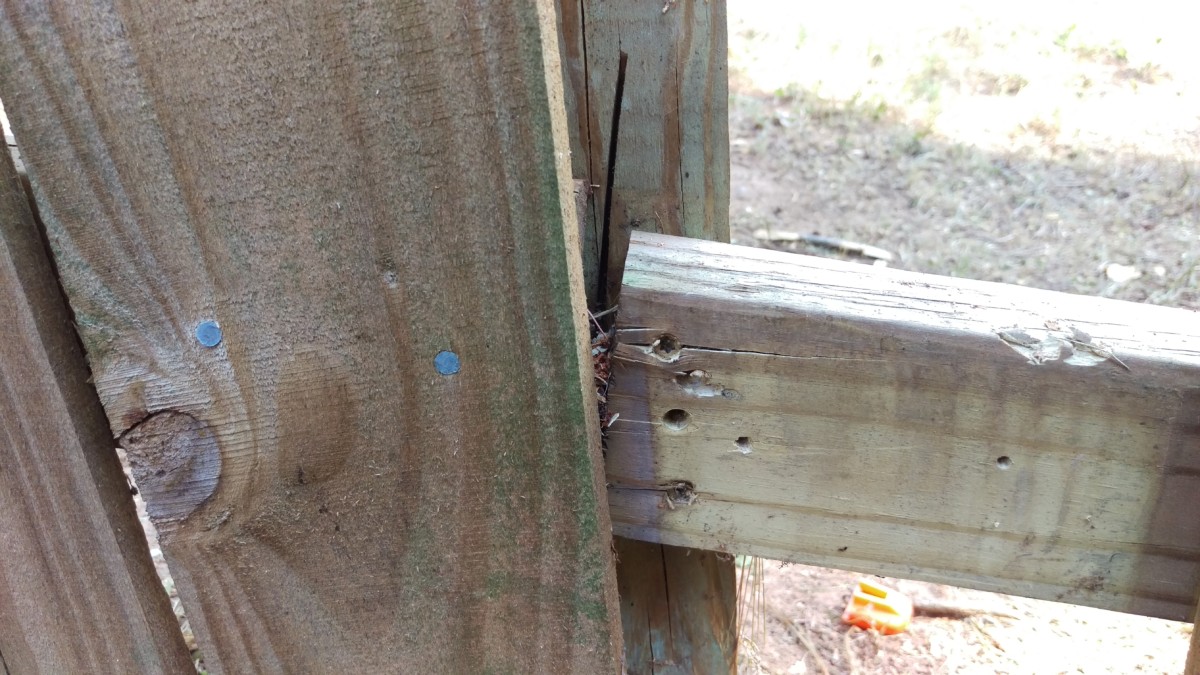
The center had split badly
Oh. Yeah, actually this one wasn’t usable either. It had somehow sustained less damage to the post areas, but the tree falling still split the middle. It was hard to get a clear picture of, but this one wasn’t going to be salvaged either.

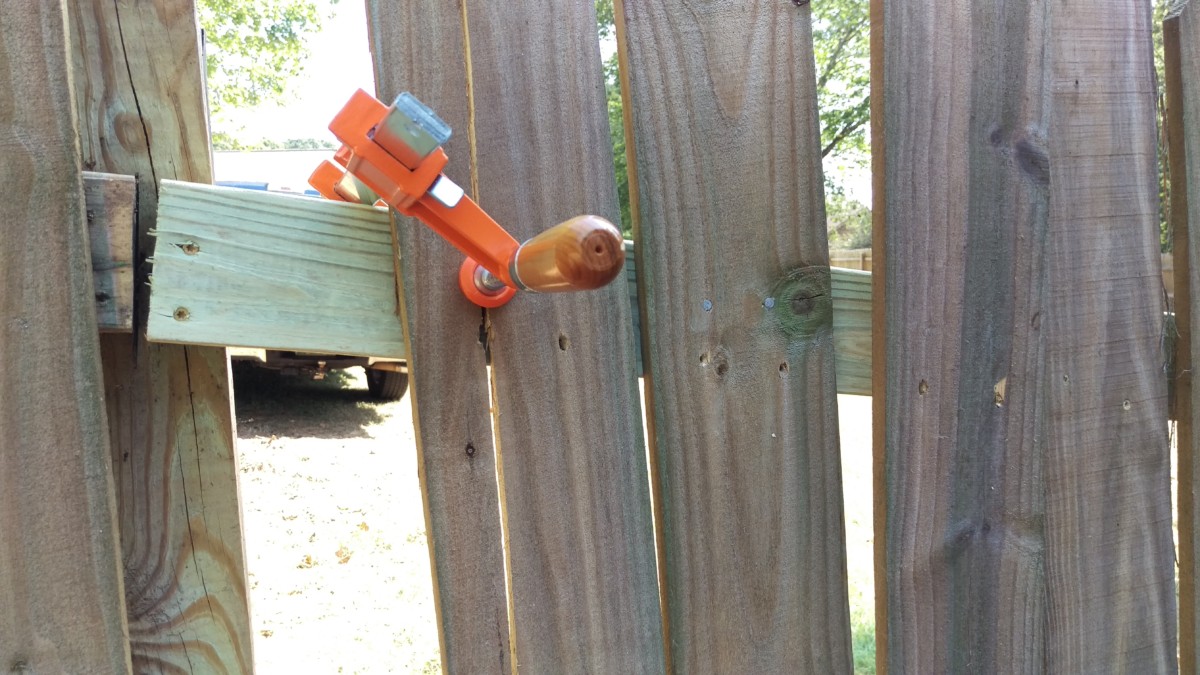
I had some luck with the bottom rail
There was finally a bit of luck with the bottom rail. The other side looked totally fine. On this side, the screws had pulled out just a bit. My plan was to sink another couple of screws in here and reuse it as it sits. I do this lower down, after adding a new top rail to rotate it back straight. At this point, the weight of the pickets was forcing it to rotate away from the post.
One of the tricky parts of building a privacy fence like this is keeping the tops of the pickets lined up on a slope. The most common procedure is to stretch a string across the tops of the pickets and make sure the new ones line up properly. (See my article on building a fence for details.) To make this job easier, I planned to leave the still-intact pickets where they were, and nail them back into new rails. This made replacing the rails a bit trickier, but saved time lining up pickets.
Removing the Broken Pickets
I didn’t get any pictures of this, but I next removed most of the pickets that were beyond saving. This opened up the hole in the fence to make access easier, and I was going to have to do it eventually anyway. I also removed (and later reused) the still-good pickets that were covering the rails where necessary, to make sure I could get to the screws. A nice large crow bar, like the one in the shopping list, goes a very long way towards making this easier. Leverage is everything.
Repairing the Top Rail
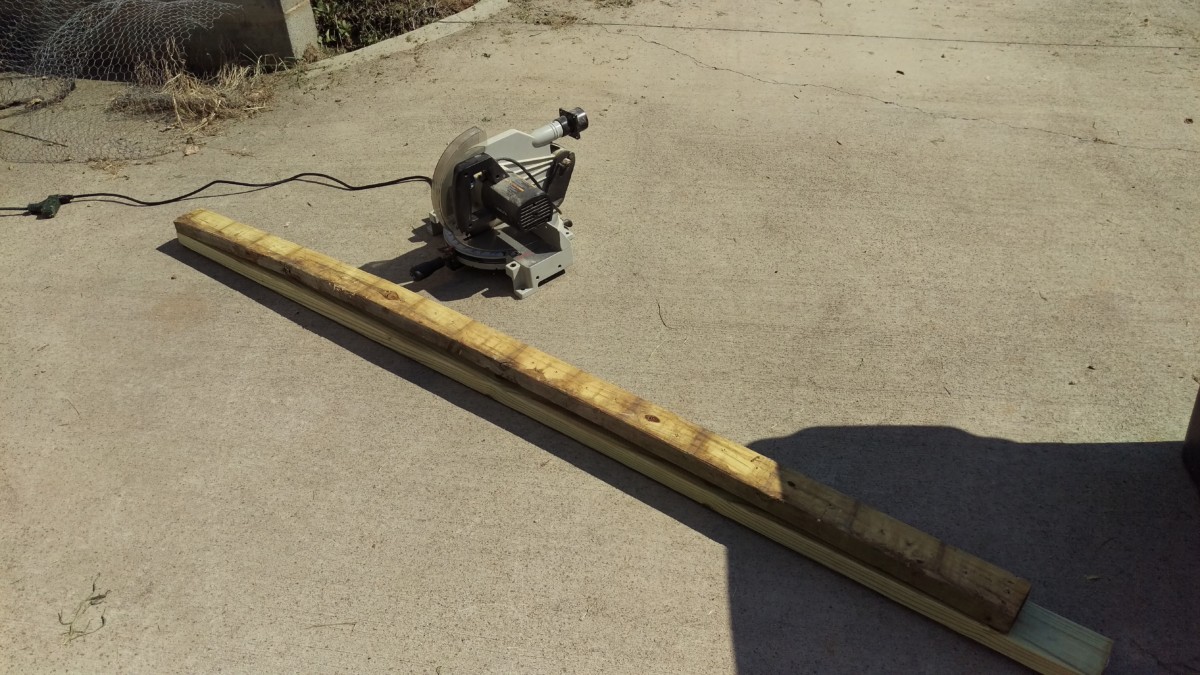
Cutting the new rail to match the old one
Once the majority of the bad pickets were cleaned out and the pickets covering the posts and screws were removed, it was time to cut down a new top rail. The old one had already fallen off, so I simply used it as a template. I used the miter saw to cut the new one to the same length.
New rail clamped in place
Once the new rail is cut to length, I used the bar clamps to secure it in place while I screwed it to the posts. I used two 2″ deck screws on each end.
Screwed down
The old rail to the right lost a chunk, but I left it alone
And with that, this rail is repaired.
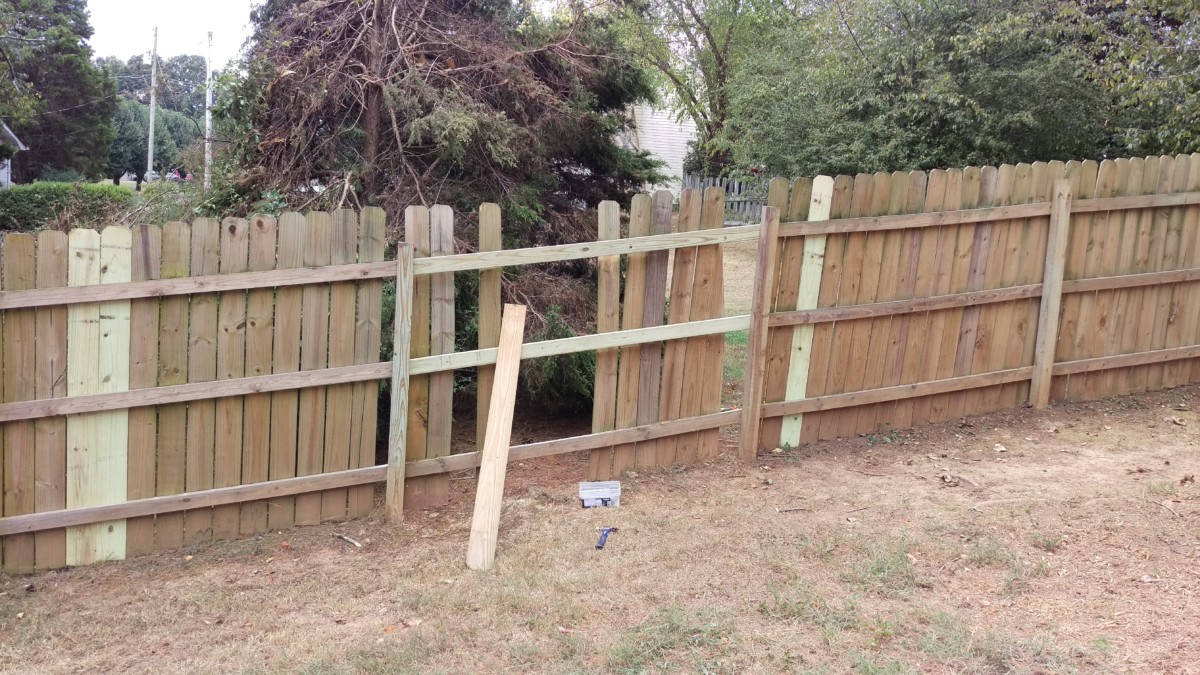
Repairing the Bottom Rail
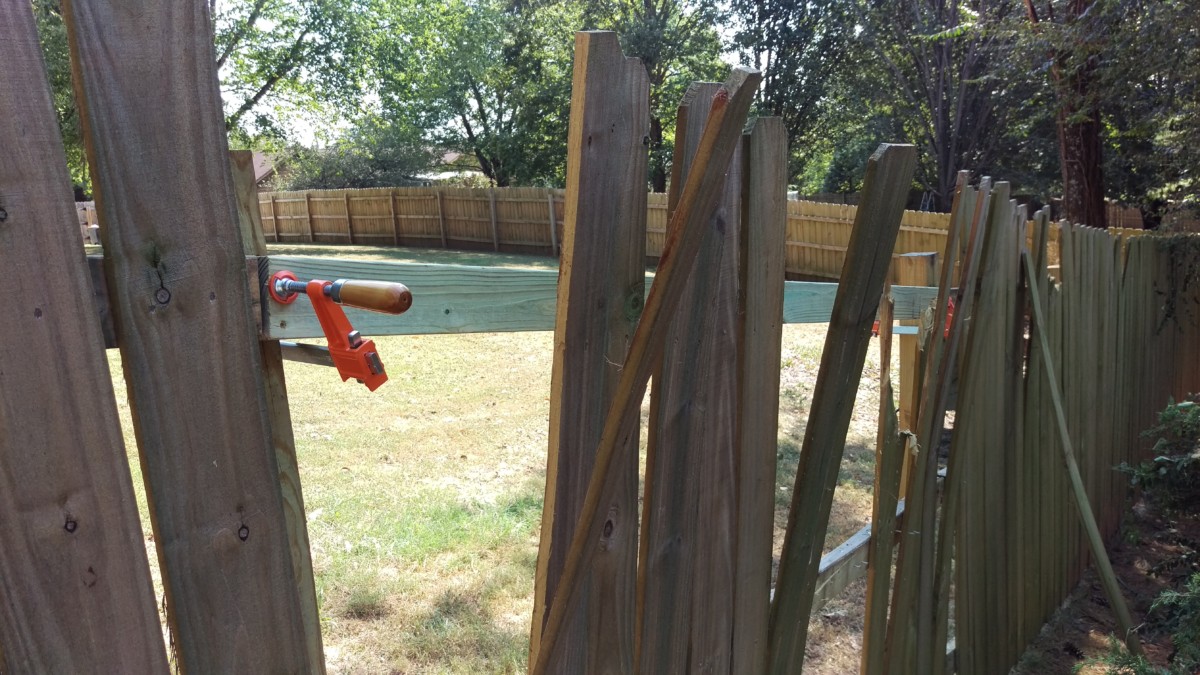
You can see it rotated away
As mentioned above, the bottom rail was still OK but had rotated away from the post a bit on one side. I couldn’t sink new screws in yet, because the pickets themselves were putting weight on it, pulling it away. Now that I had a fresh top rail in place, my plan was to go ahead and clamp one of the pickets to it to rotate the bottom rail straight again.
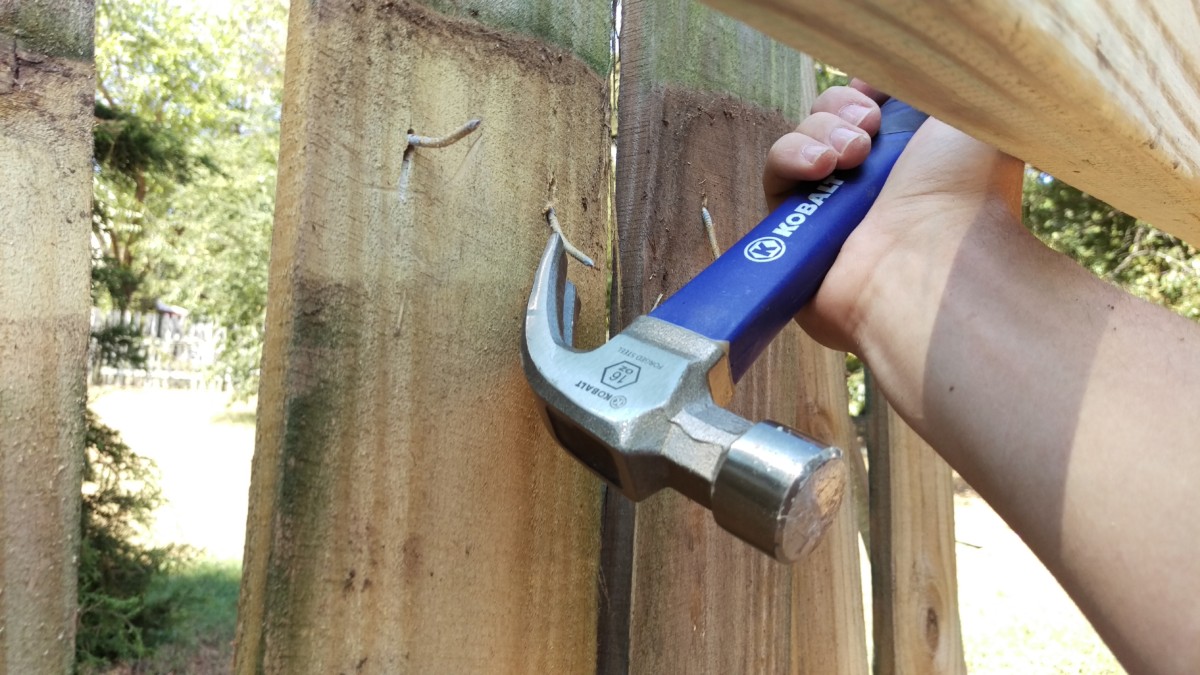
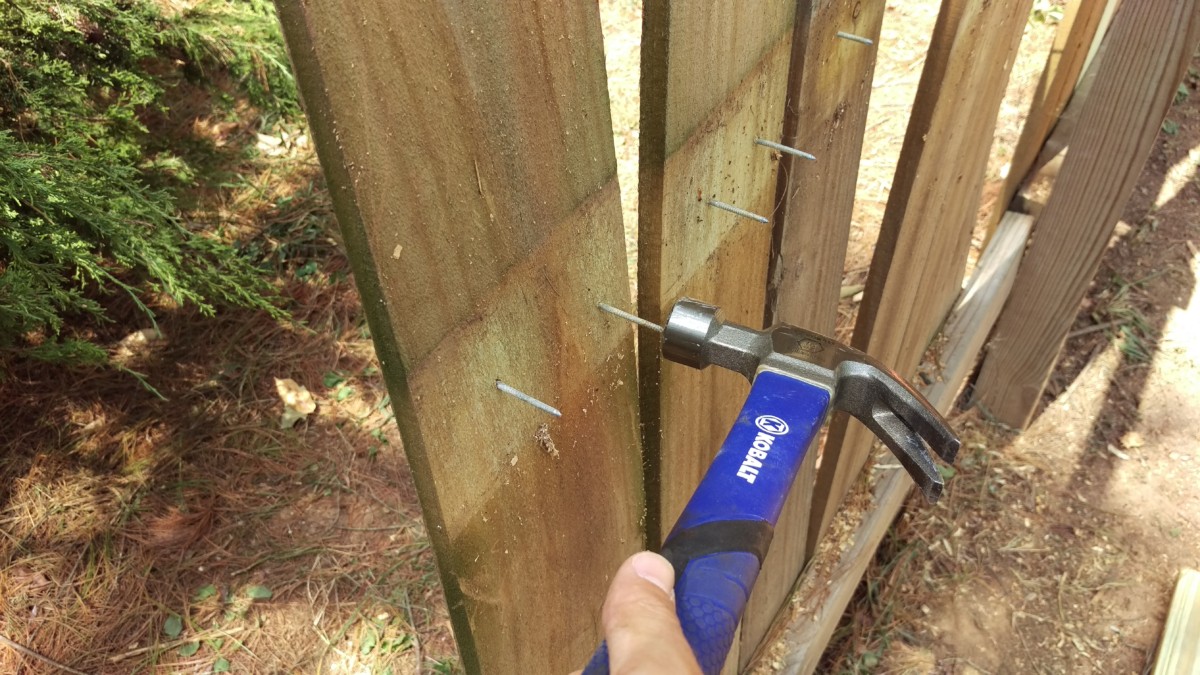
Bending nails straight again
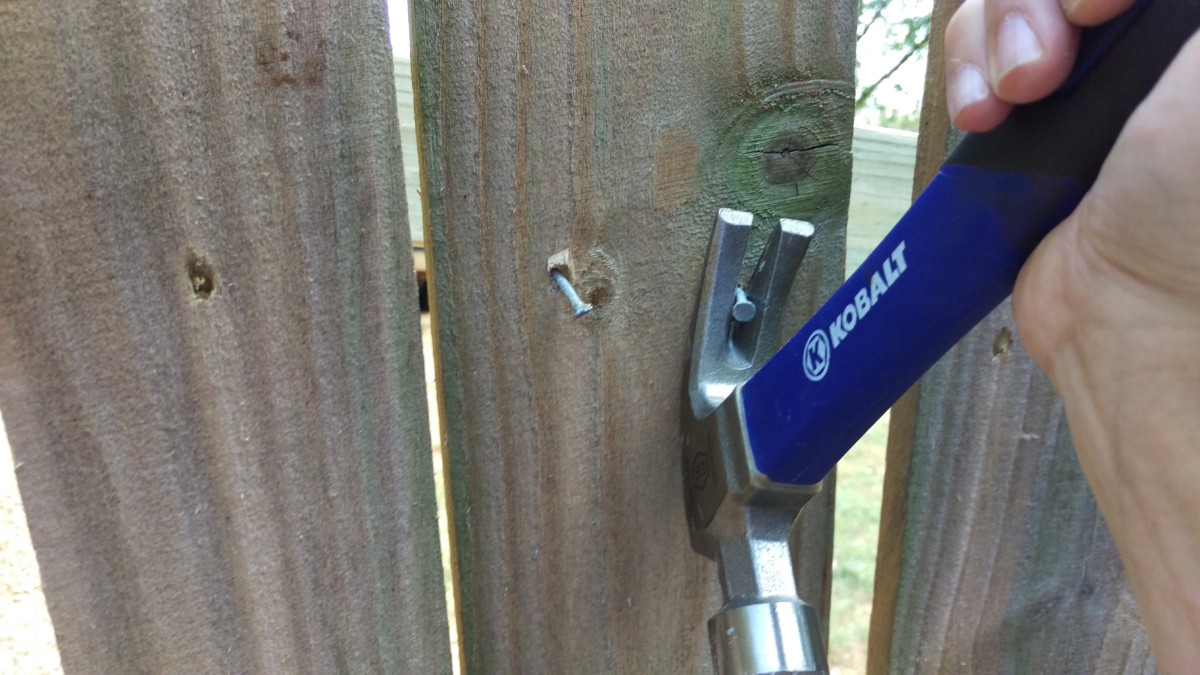
Removing nails with the hammer claw
Before I could do that, I needed to remove the nails that were still hanging in the pickets. These nails kept the pickets from sitting flush against the new rail. This was as simple as tapping them out a bit from the back, and then using the claw on the claw hammer to pull them out. In a few cases, they were bent enough that I had to use the claw to pry the nails more straight before being able to tap or pry them out.
Clamped the top picket back
After that, I was able to clamp one of the broken pickets back down. This successfully rotated the fence back towards the post. I also put a couple of screws in one of the still-good pickets. I wouldn’t do this again, because it made dealing with the middle rail more annoying.
New screws
With the fence rotated back, I was able to sink a couple of new screws in the bottom rail to secure it again.
Removing the Middle Rail

Middle rail removed
Once the bottom and top rails were dealt with, removing the broken middle rail was easy. I simply unscrewed both ends and used the crowbar to pry off any pickets that were still stuck to it. Then, it came right out.
Intermission: Fixing other Pickets
These pickets had broken
At this point, the top and bottom rails were repaired, and the middle rail was out. Most of the broken boards were out of the way. In other words, the hole in the fence was as big as it was going to get. Therefore, I figured I would fix a couple of other broken pickets like the two shown above.

New pickets ready to go in
After prying the two broken pickets out, I grabbed two fresh pickets to put in their place. The nails still showing on the rails will be removed before the next step, of course.
New picket clamped
I clamped one of the new pickets into place. The trigger clamps are quite a bit faster and easier to manage for this purpose. I got the top lined up with the slope of the fence and tried to make sure there was enough room between this picket and the next. Finally, I sank a couple of nails, two per rail, and removed the clamp.
Both pickets installed
The second picket I had to just kind of hold, although clamping it to the neighboring pickets is also an option. Unfortunately, it was a tight squeeze getting it in at the bottom. I don’t like it being so close to the picket to the left, but I didn’t have much choice. I could have used a table saw to cut it down slightly, but honestly, I got lazy. You want a gap between pickets so there is room for them to expand and contract with seasonal humidity changes. On the plus side, this fresh lumber is still very wet, meaning the new pickets are as wide as they should ever get. This winter, I expect to see a gap here.

This one came out better
Further down the fence, there was one other busted picket needing a similar fix. Fortunately, this one went in with appropriate gaps on both sides.
Replacing the Middle Rail
Ready for a new middle rail
Now that the rest of the fence is repaired, it’s time to replace the middle rail and close up the hole. The first step is to remove the nails from all the pickets that will be reused.
Tapping the nails out

Nails and broken pickets removed
In addition to removing the extra nails, I also went ahead and pulled the remaining pickets I wouldn’t be reusing.
This new rail is installed just like the top rail
Lastly, I cut down a new rail and screwed it in. This procedure is identical to the top rail, so I didn’t bother taking pictures. The fence is finally ready for pickets.
Reinstalling Pickets
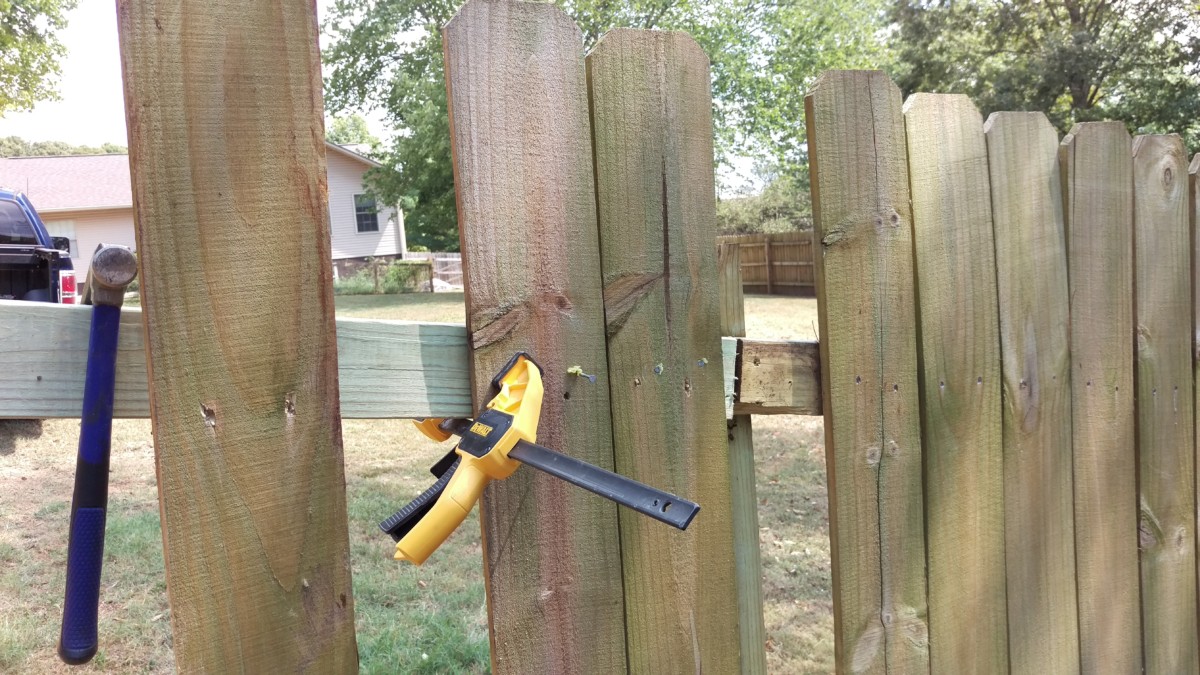
Using a trigger clamp and reinstalling an old picket
This is when I switched to a trigger clamp to make the picket installation go faster. At this point, I’m just nailing the reused pickets back in. I’m also filling in the gaps with new pickets, exactly as described above. If there’s a long stretch of pickets to be replaced, it’s worth running a string across the tops to ensure you keep the slope consistent. I had such small gaps that I just eyeballed it.
Conclusion

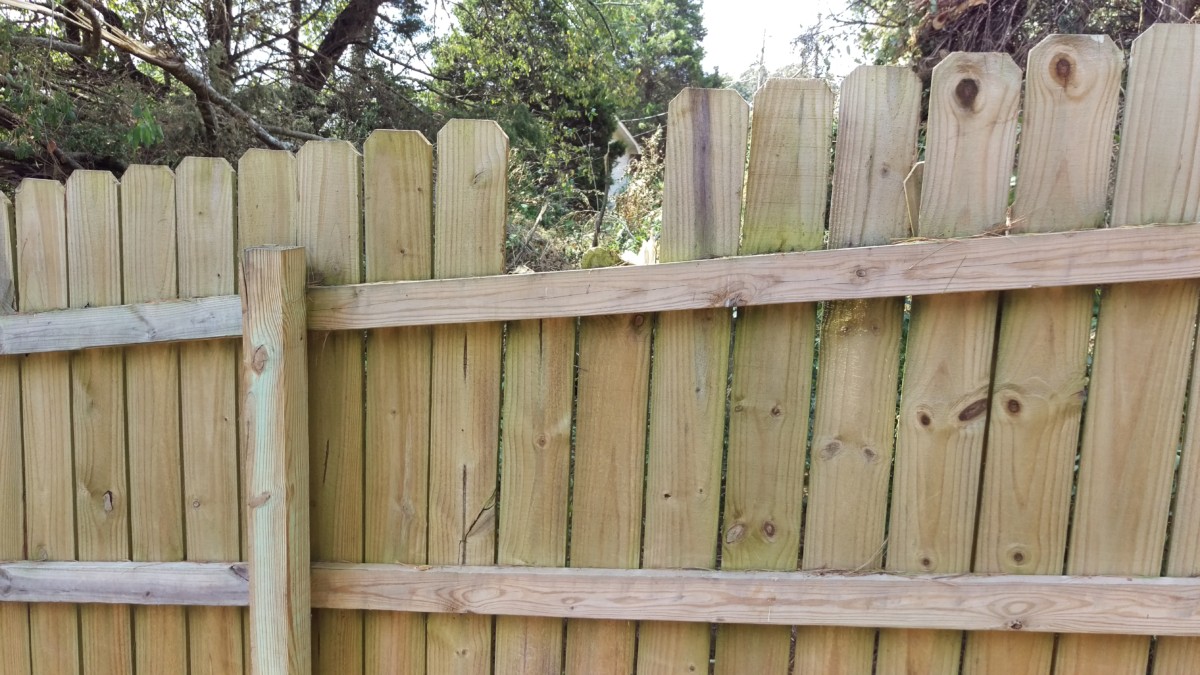
Finished

View from the yard
Once the rest of the pickets were installed, the job is finally done. I was able to return several pickets and a 2×4, so the repair job only cost me $23. Much cheaper than hiring a professional! It was a little tricky to gap the new pickets properly, so there is one odd-looking V-shaped gap, but overall I’m happy with this repair. Also, we now have fewer trees to worry about causing damage again.
The new pickets take a little bit of time to fade from the greenish-white they are now. In a matter of a couple of months they’ll blend right in. If I remember to do so, I’ll take a picture later this fall to show how it blends in.