Making a Side Table Out of Old Furniture
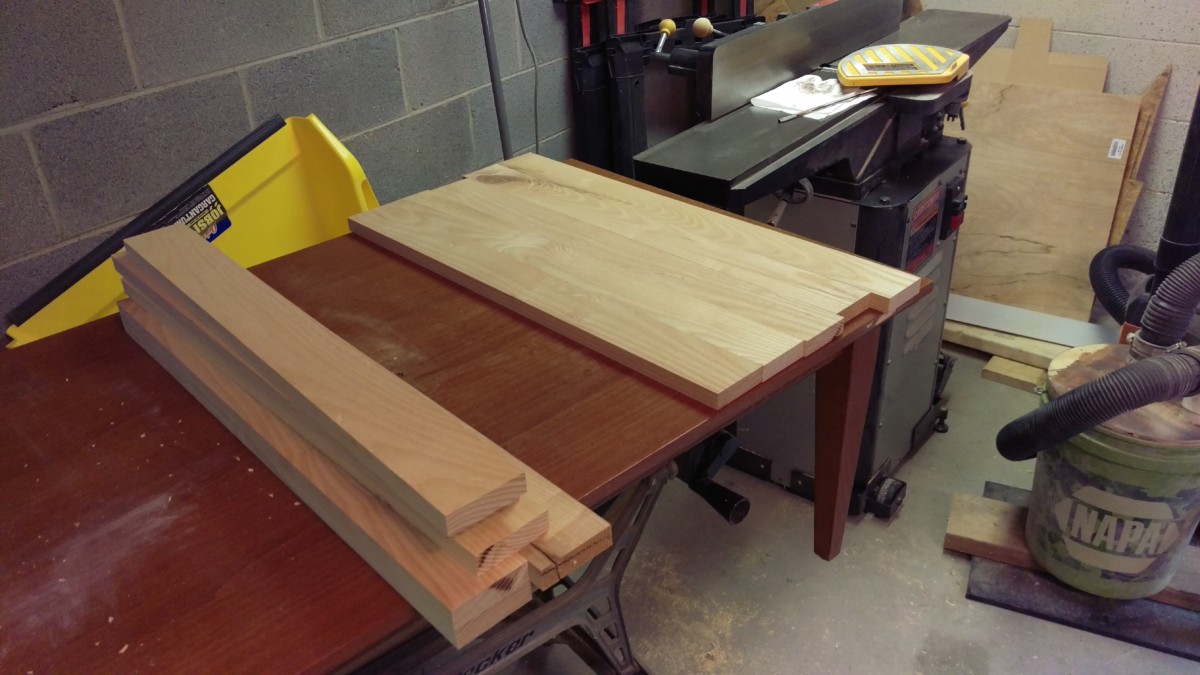
Old table and scrap ash
We were given a nice maple coffee table by a relative. As a result, we didn’t have anything to do with our current one. I considered selling it on Craigslist, but coffee tables are about a dime a dozen there. This coffee table, and an end table that looks just like it, are both made out of solid wood. My plans for them will be coming in a future article, but I realized I could repurpose the legs, which appear to be maple or some other hardwood, for use in a side table in the nursery to match the crib I had made. I had some scrap ash from the crib project to use for a table top and aprons, as well. Making a side table out of old furniture was a good way to repurpose perfectly good wood.
Removing the legs
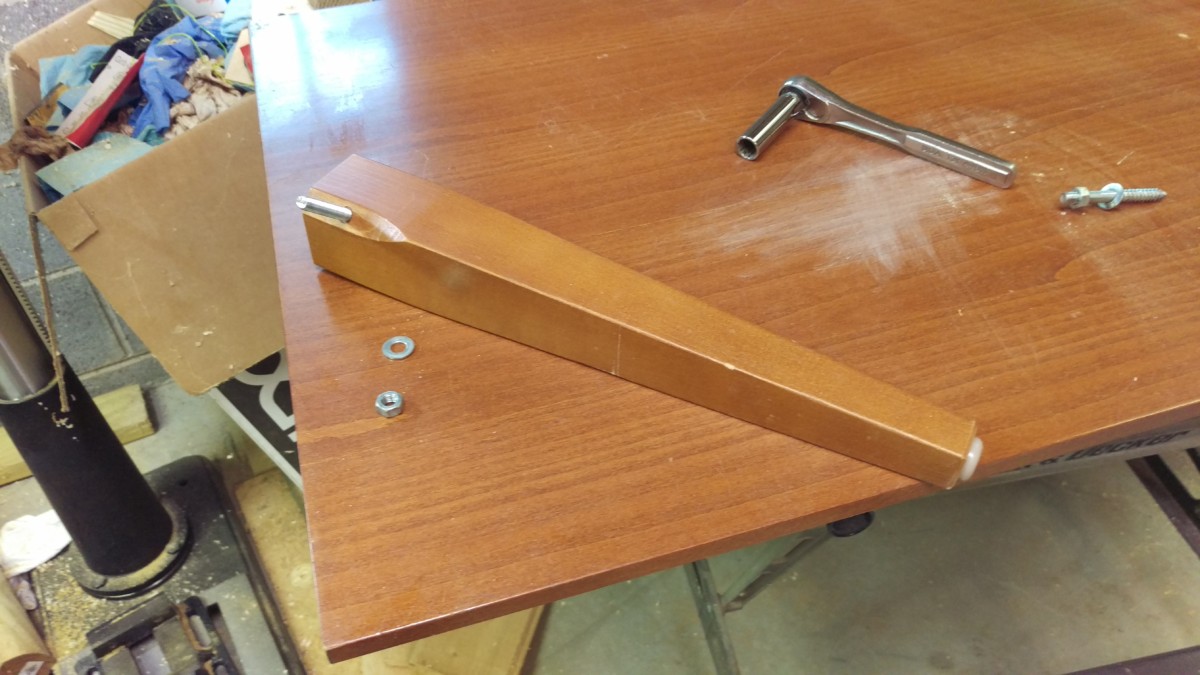
The legs unbolted from the table
The legs themselves were actually bolted to the coffee table. Each leg has a stud screwed into it. The stud slots into a diagonal piece in the table, and a nut threads on it to hold it in place.
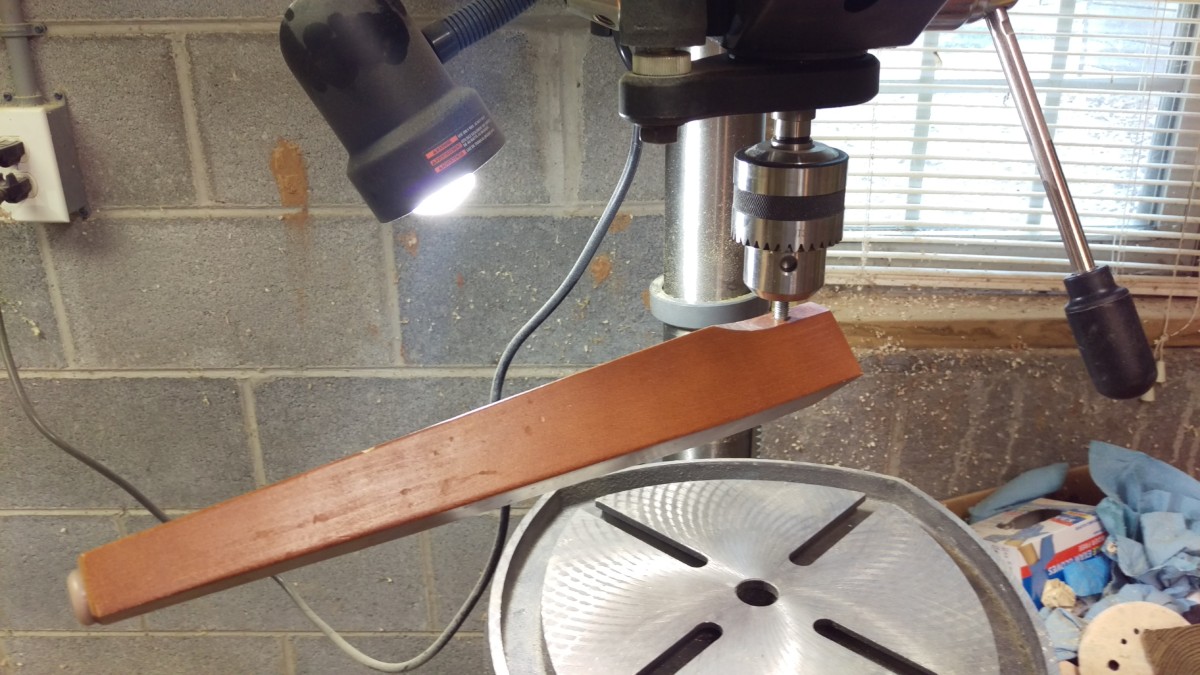
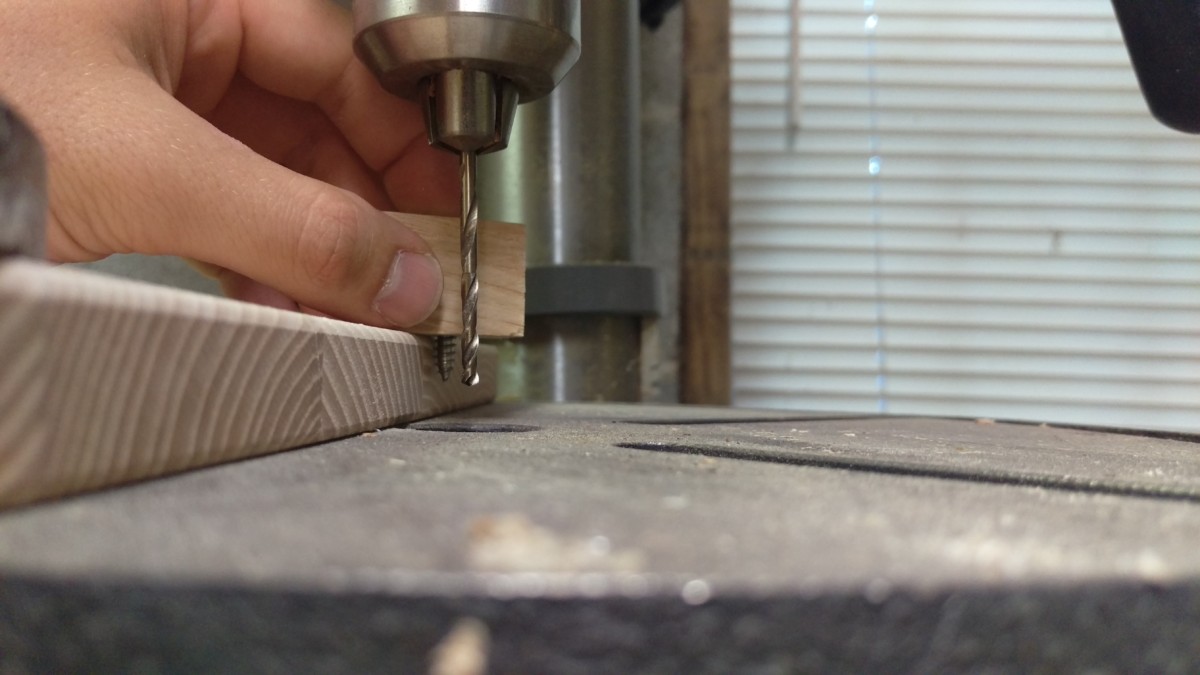
The drill press grips the stud very well
Once I had unbolted the legs, I had to remove the stud. I chose to lock the stud in the drill press and turn it out by hand. (I did NOT turn the drill press on!) You could just as easily have clamped the leg down and used two nuts and a wrench to back it out.
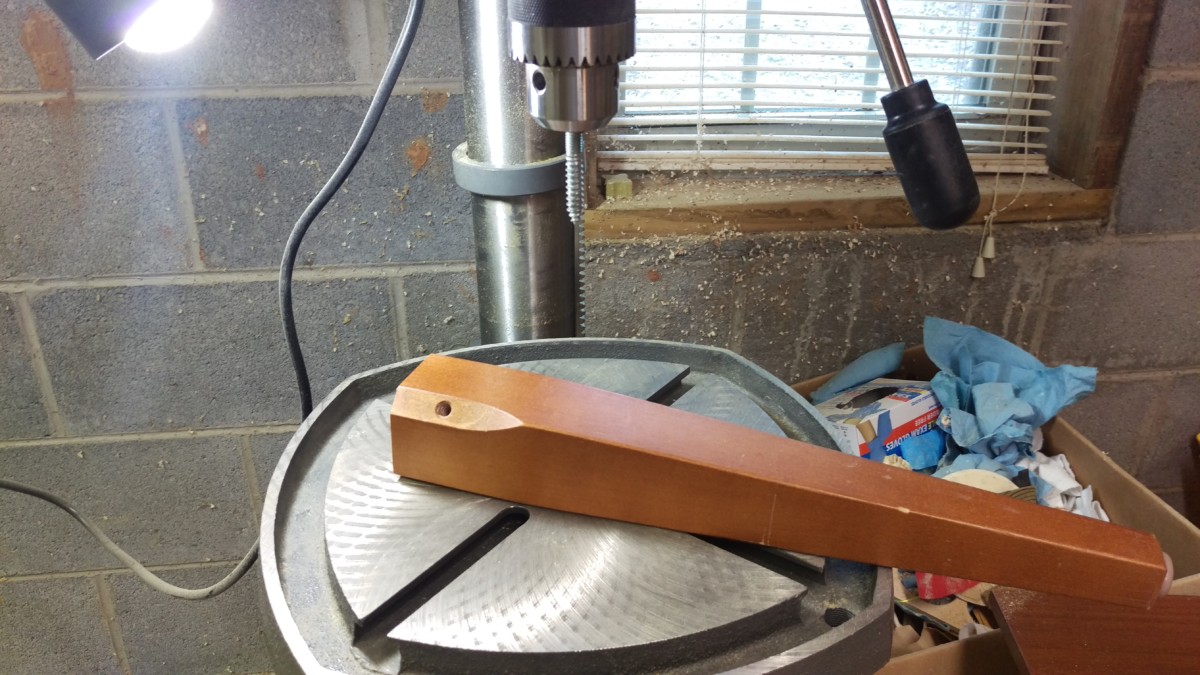
Stud removed
The stud backed right out without any fuss. I ended up keeping all of the studs for use in a future project involving the coffee table top.
Stripping the legs
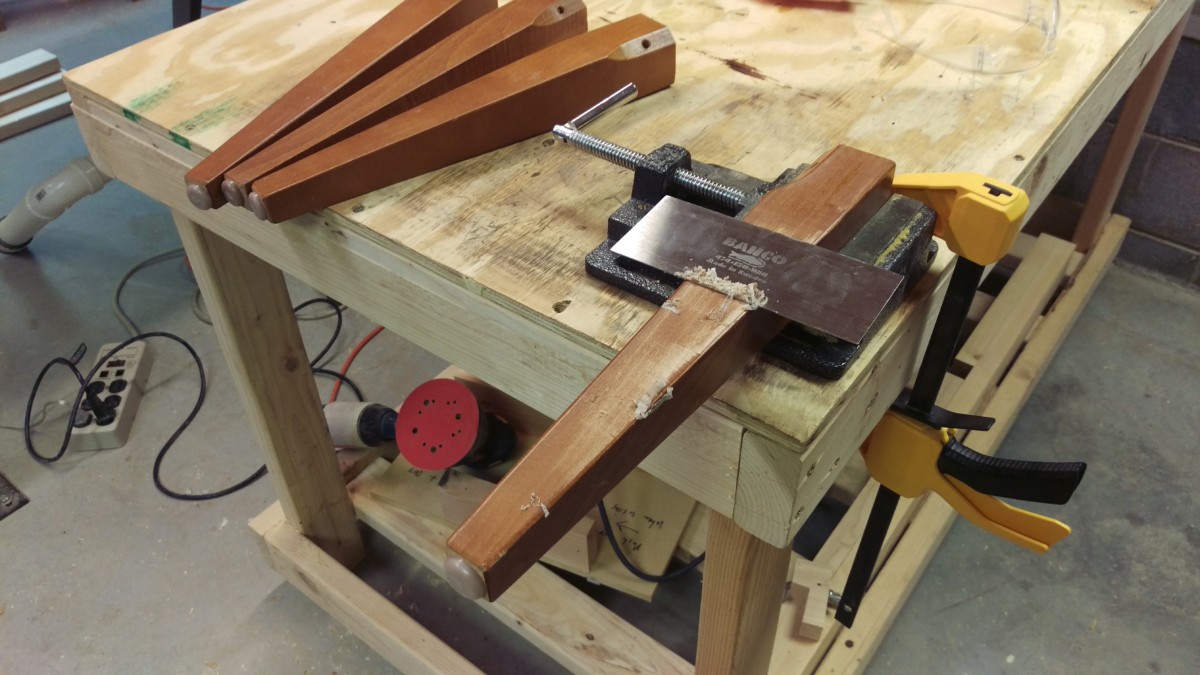
A card scraper helped to quickly get the majority removed
The legs had some pre-existing finish that needed to be stripped. I found that a well-sharpened card scraper works great for the initial work. The drill press vise shown was the easiest way I had to lock the leg being worked on. I would have preferred a real woodworking vise attached to a bench, but I didn’t have one.
The random orbit sander takes care of the remainder
After that, the random orbit sander with 100 grit sandpaper took care of the rest. I didn’t start with sandpaper because it clogs easily when removing this much material. The scraper, in contrast, only needs to be resharpened periodically. Additionally, using a powered sander can pretty quickly change the shape of the leg if you’re not careful.

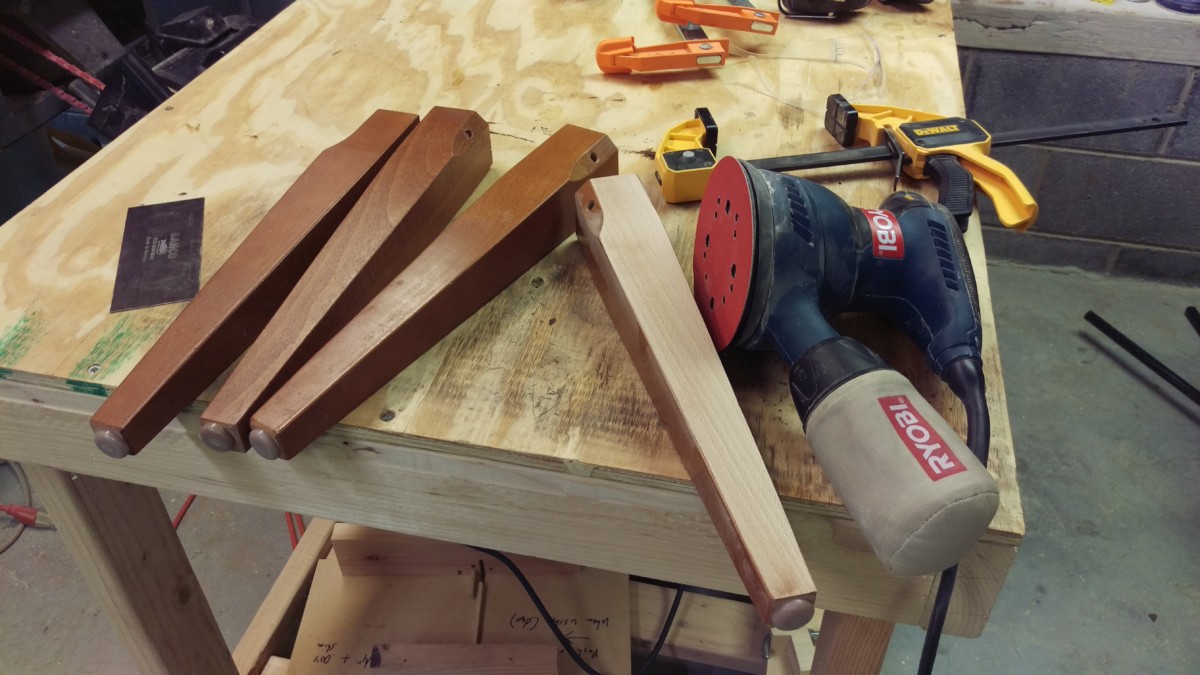
One leg done
All legs finished
I repeated the procedure on all four of the legs. They’re now ready to be incorporated into a side table. I put them aside for now, and moved on to the table top.
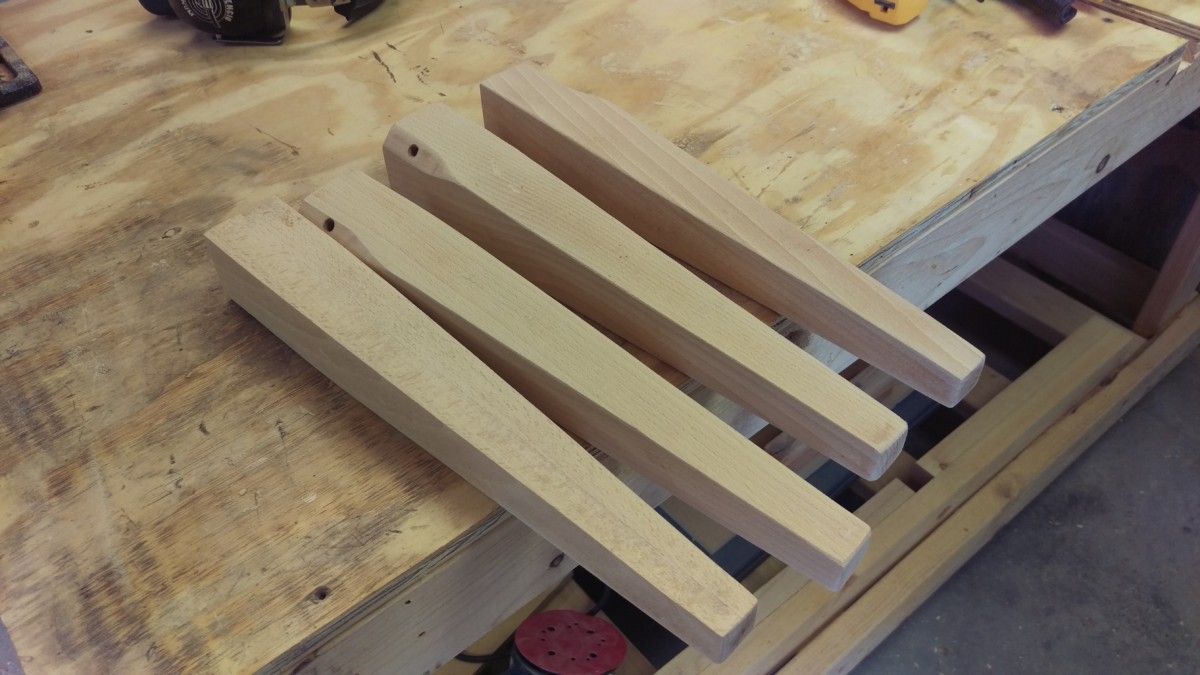
Creating a solid wood table top
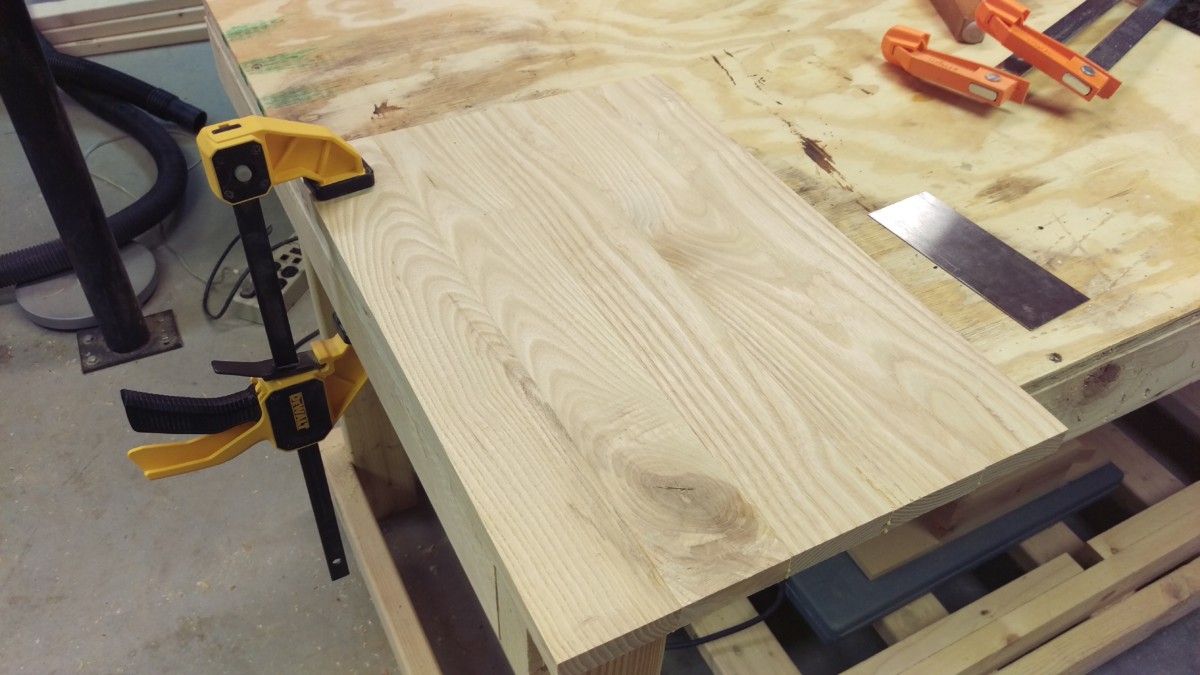
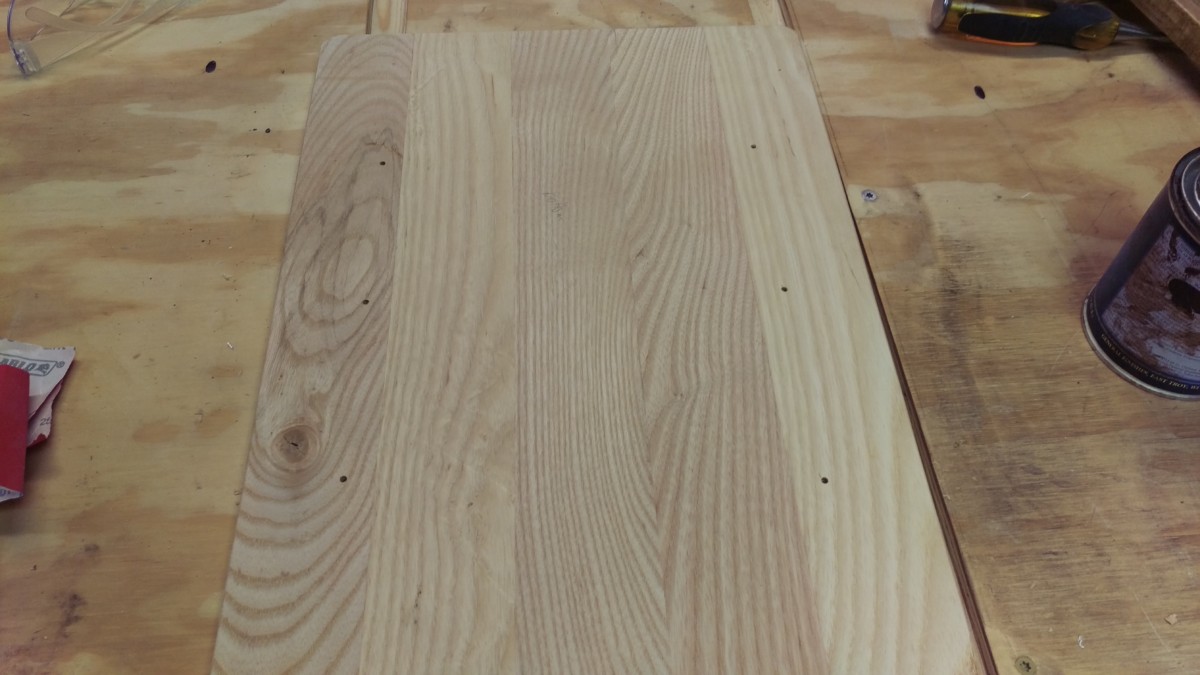
Scrap ash laid out
The picture from earlier shows the scraps of ash I laid out. I had already planed and jointed this wood for use in my crib, but ended up needing to go a different direction. The pieces shown had a nice pattern to make a uniform table top. It’s important that the pieces are already jointed and planed square, so that the glued up panel doesn’t need further jointing.
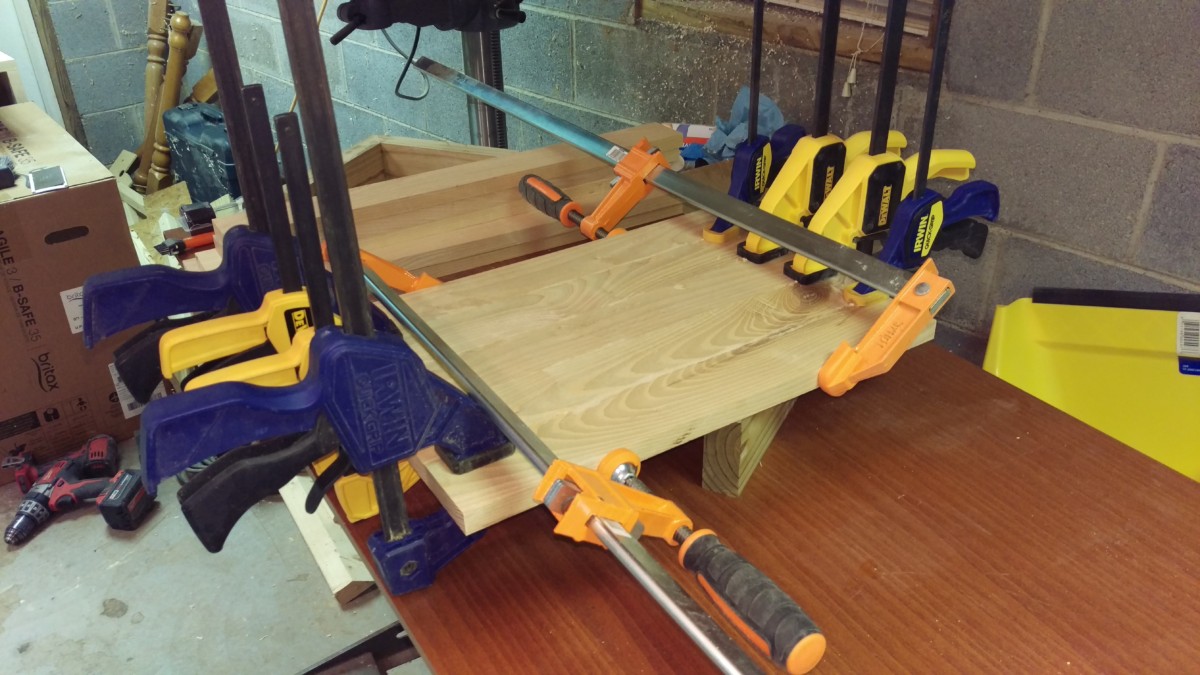
Glue up: parallel clamps would have helped
Once I had my pieces picked out, I glued them up as shown. Parallel clamps make panel glue ups much easier, but they’re expensive. If you have some, certainly use them. otherwise, the method shown worked well enough. The wood pieces at the end are identically sized and on a flat table to keep the panel flat. Wood glued edge-to-edge is actually very strong without any kind of joint. The long grain bonds really well to glue.
One mistake I made here was not orienting the grain in a common direction. This is something to watch, especially if you’re using a power planer with steel knives. You want to orient the pieces so that they can all go through the planer the same direction without tearout. I actually had to make this top twice because of tearout.
Card scraping off the excess glue
I had a bit of squeezeout that needed to be removed before I wanted to put the board through the planer. Apparently wood glue does not do much damage to planer knives, but I still preferred to clean it up by hand first. I used a chisel for anything really severe. Beyond that, the card scraper did a great job hacking off most of it.

Running it through the planer
I intentionally sized this panel so that it would fit nicely through my planer. I took very light cuts, around 1/64″, to minimize tearout. The goal at this stage is just to make the board nice and smooth. If the prep and glue up stages were done properly, it should be nearly flat already and not require jointing. I didn’t worry about it being completely dead flat, as it will likely still move some with humidity anyway. The goal is to have a table top that will sit without noticeable gaps.
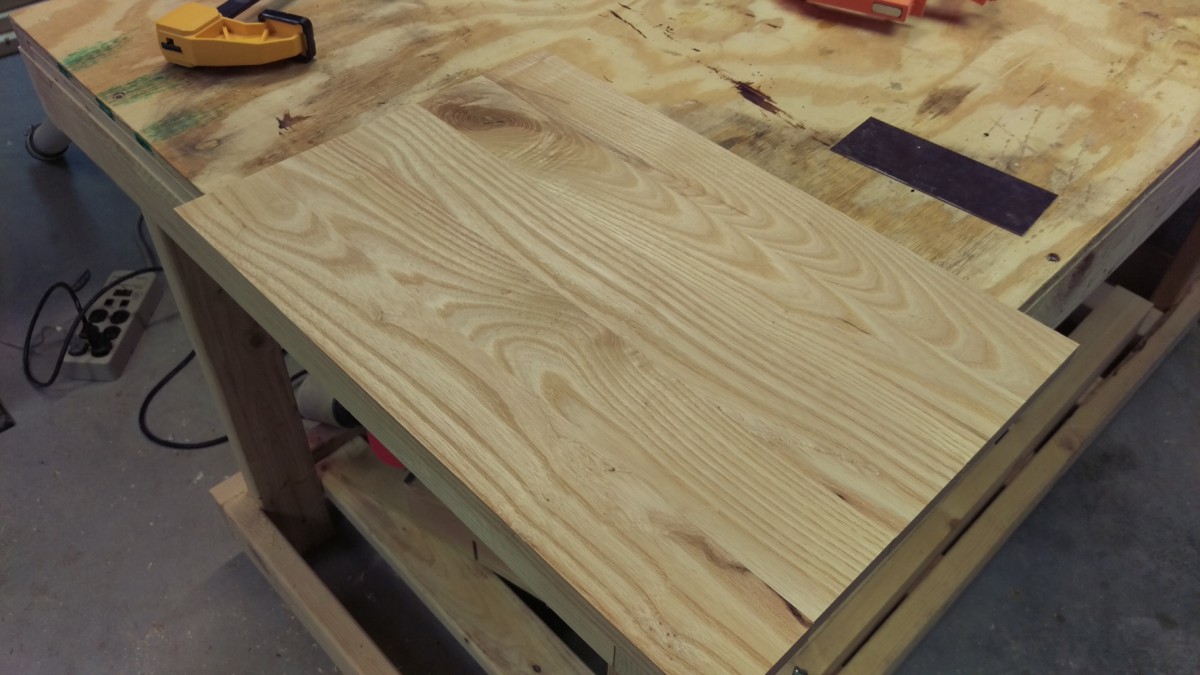
Panel ready for use
After planing both sides, I had nice panel almost ready for use as a table top. There’s still some finish work to be done.
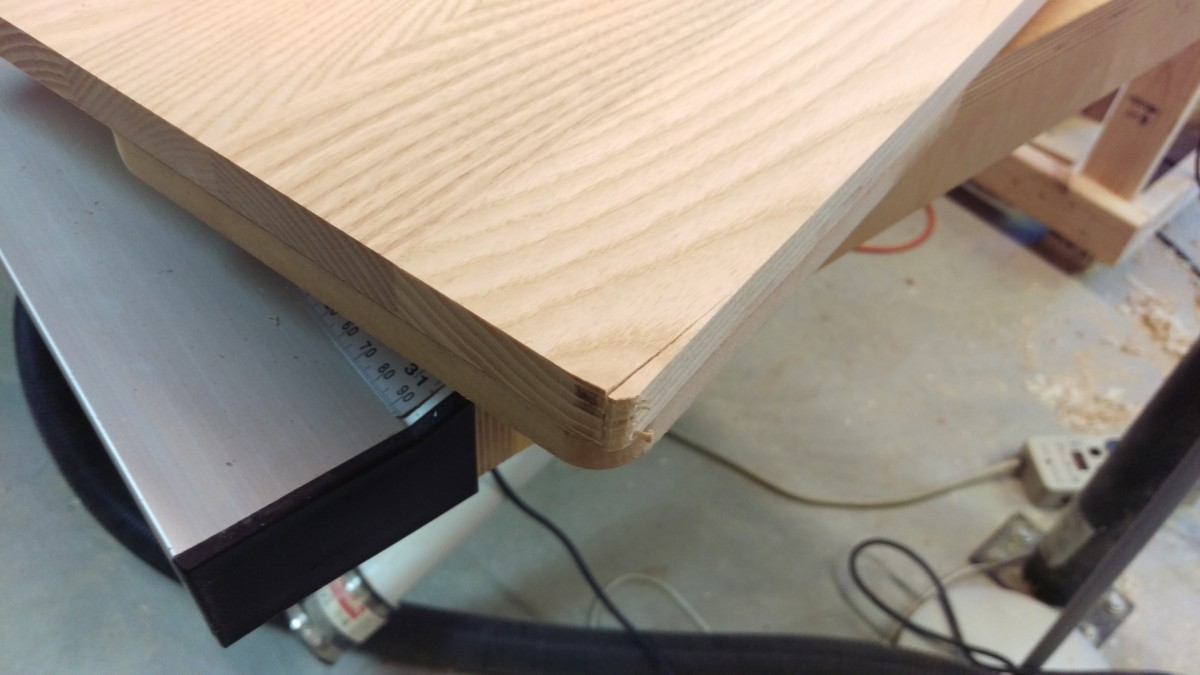
Cutting down the top
With the panel almost done, the remaining step is to square and straighten it up. First, make sure both sides of the board are parallel. This step is not shown. You can just run the board lengthwise through the table saw. This will make sure you have two parallel sides. They should also still be flat if you properly jointed the individual boards used in the panel.

Use a crosscut sled to cut to final length
Once you know both sides are parallel to each other, you can cut the ends square and flush. Use a crosscut sled for this. Mine is shown in the picture. If you have a good square crosscut sled, you can trim both ends of the board and be assured they’ll be square to the sides.
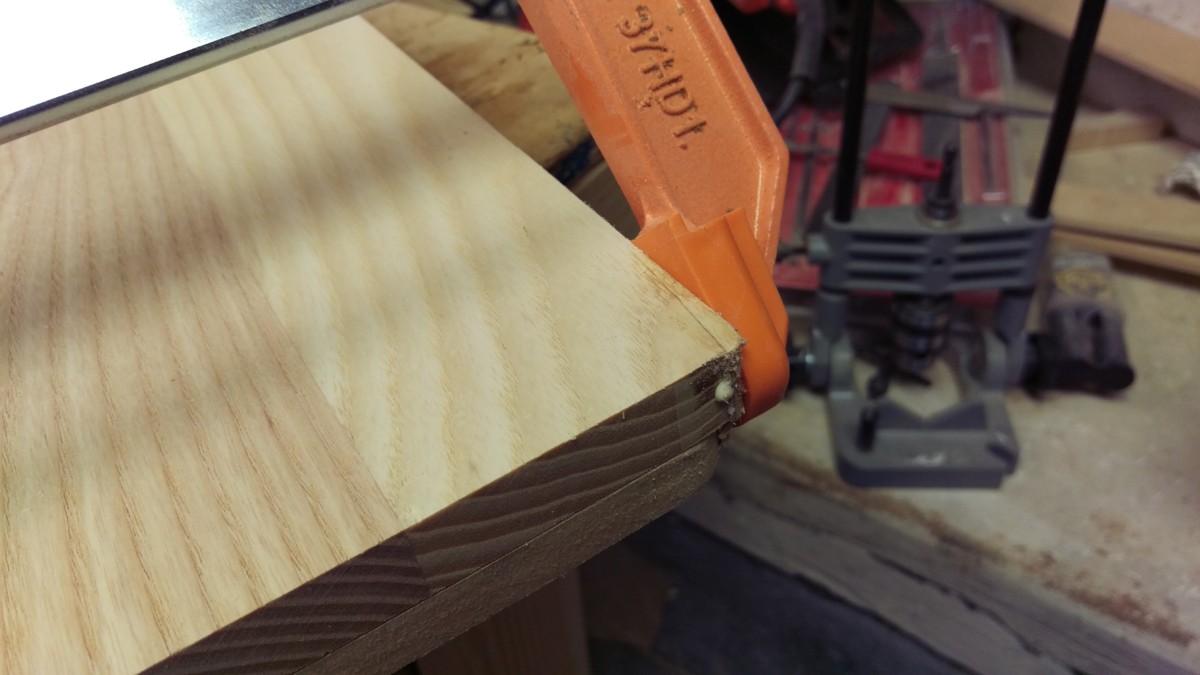
Rounding the corners on the top
Making a rounded corner template
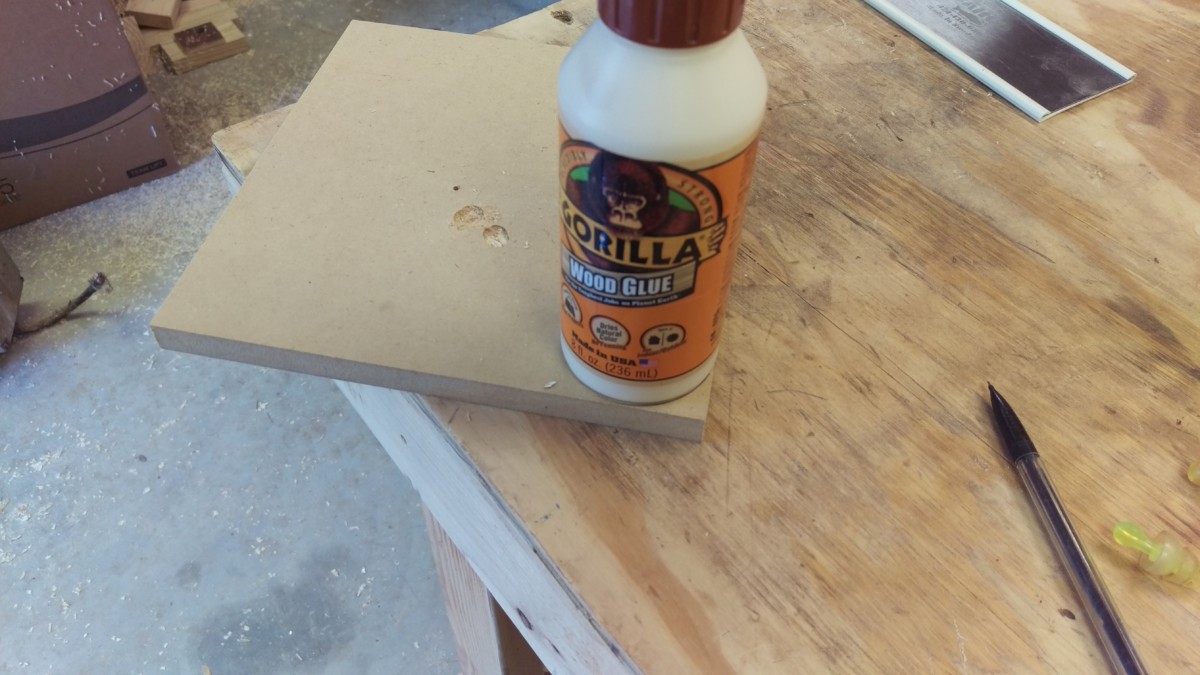
Since this would be in the nursery, I wanted to make sure the table top didn’t have sharp corners on it. The easiest way to do this is on a bandsaw. However, my junky little 10″ bandsaw can’t cut through hardwood this thick. The last time I tried, it set off the fire alarm. Instead, I made a template out of some scrap MDF. I traced a bottle I had with the right radius.
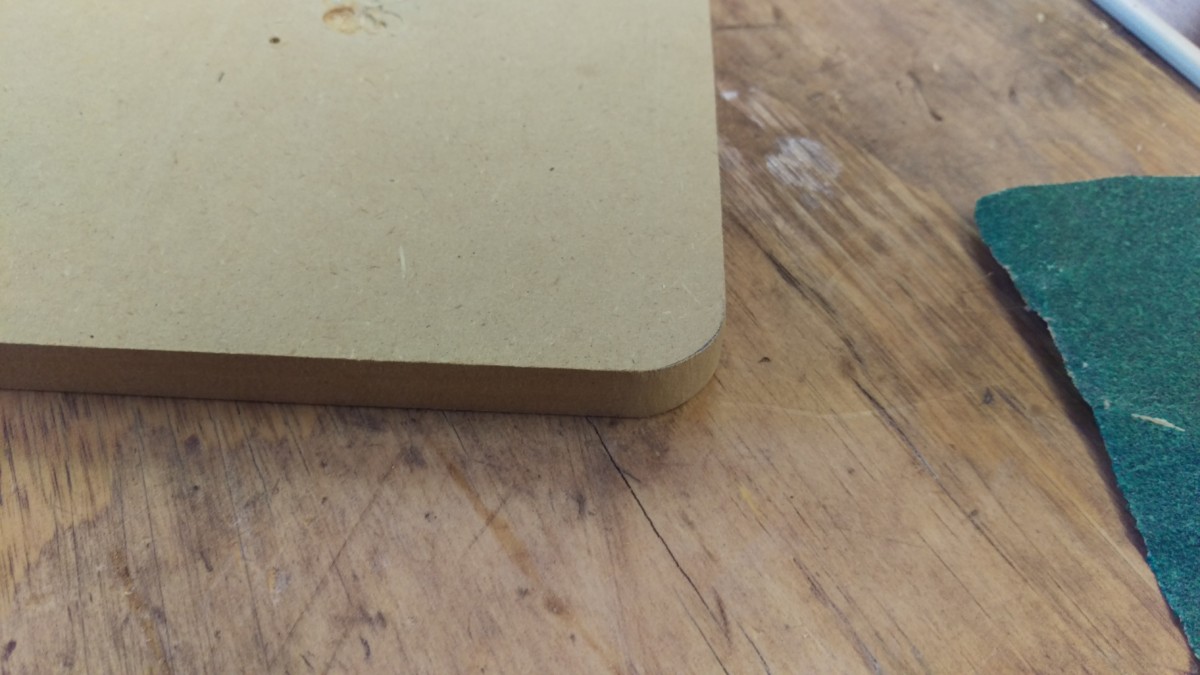
Cut on bandsaw and sanded smooth
I cut along the pencil line on the bandsaw and sanded it smooth. As I said, with a bigger bandsaw, you could simply do this directly on the hardwood.
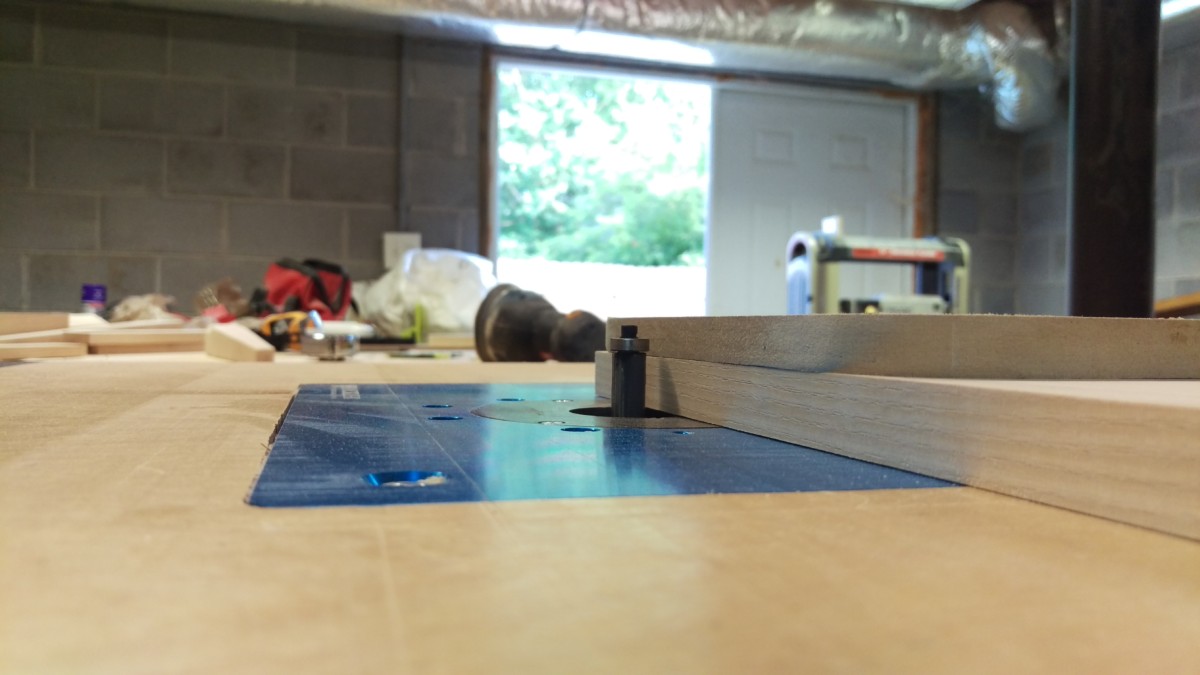
Setting up the pattern bit
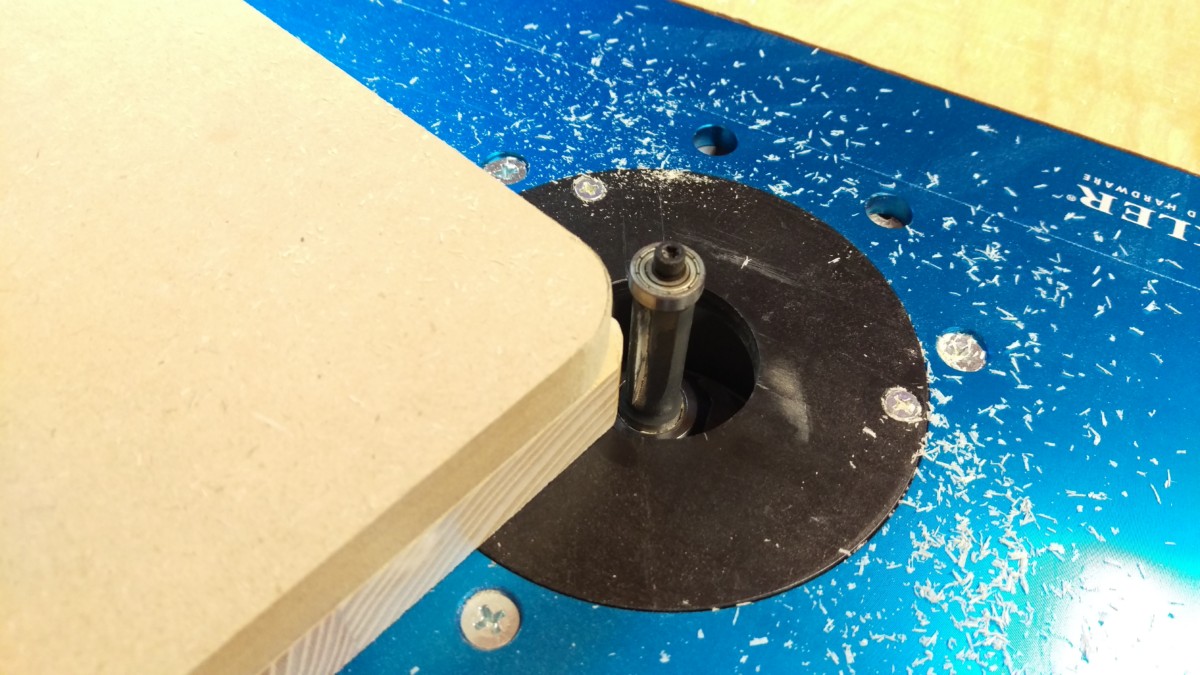
Take multiple passes on hardwood this thick
I then used double-stick tape to tape the template to the table top. A pattern bit
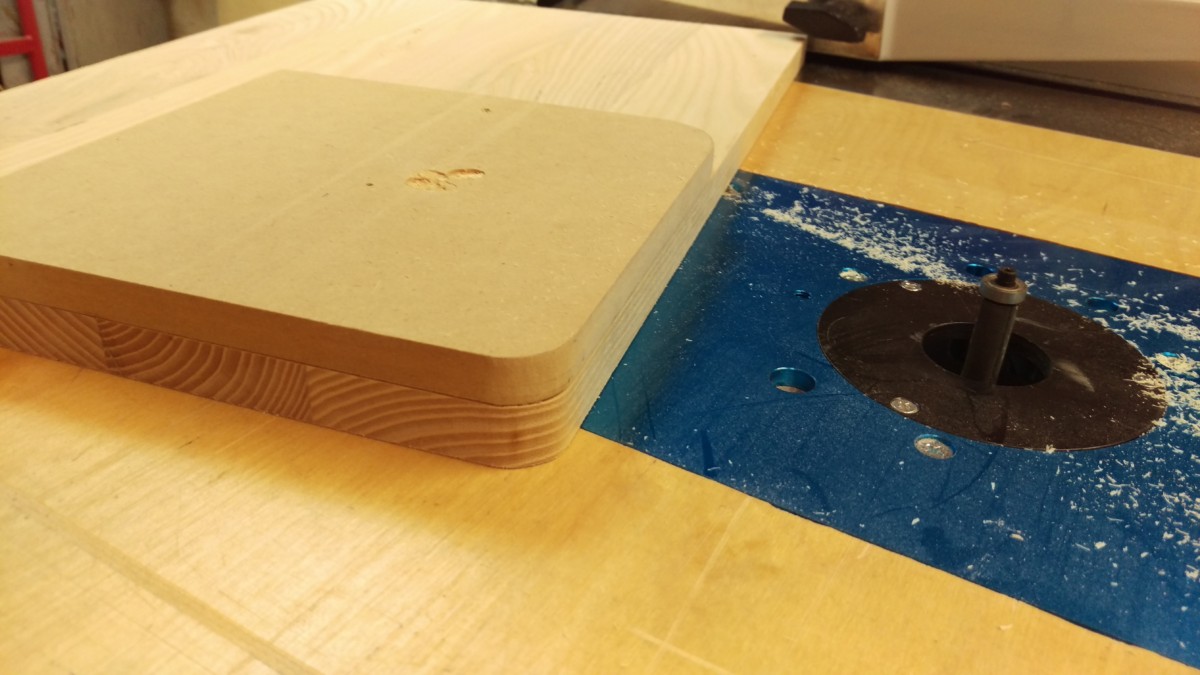
One corner finished
Here is one corner finished. I ended up flipping the template over for two of the corners to ensure symmetry.
Be sure to route down the grain
Repaired with glue
For routing like this, it’s critical to go with the grain towards the end grain. If you get lazy and route the wrong direction, like I did, you’ll probably have tearout. As pictured, I routed left to right, and I should have gone right to left. You can see a sizeable chunk got torn out here. I stopped before it fully split off and glued it back in place. Once it dried, I went back and routed it from the other direction.
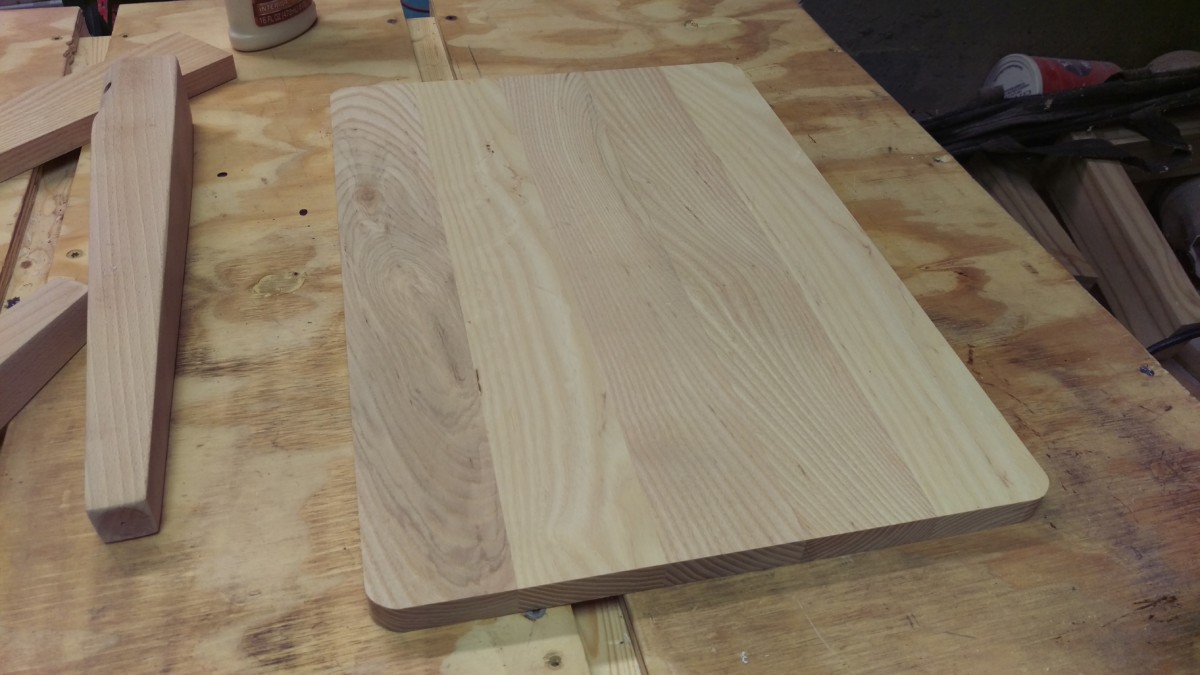
All corners rounded
Aside from my mistake, the table top came out looking nice. By the time I do this again, I should have a large bandsaw I just bought up and working again.
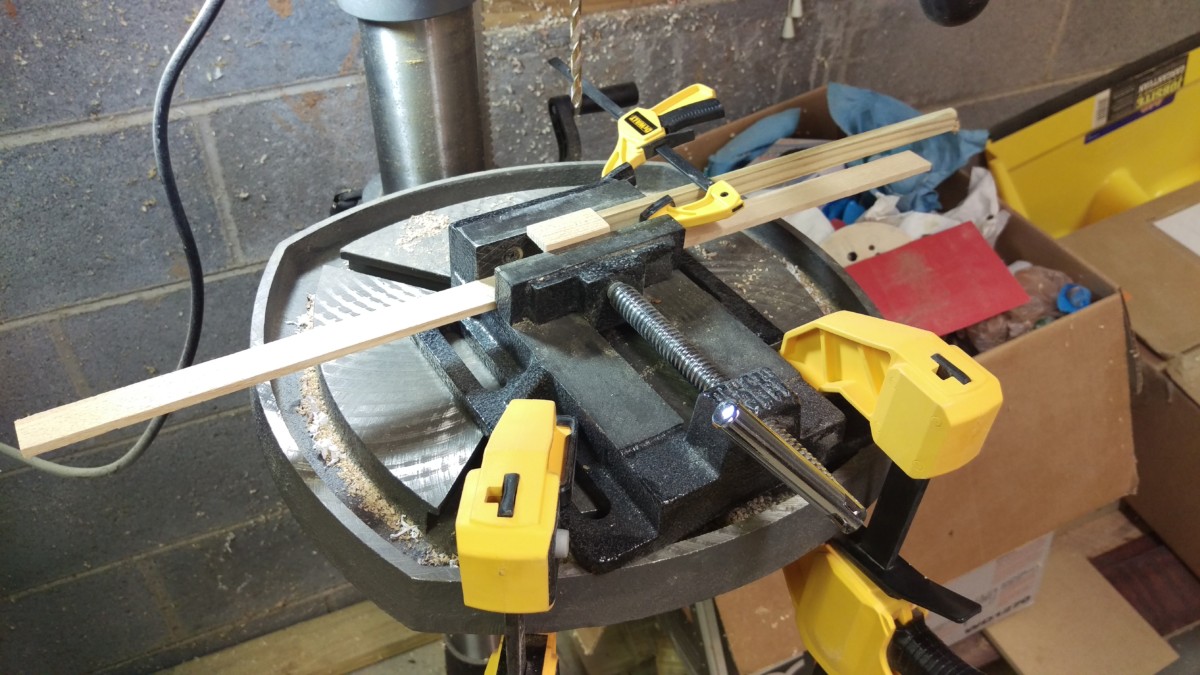
Making aprons

Test fit
The aprons are the pieces that connect the legs to each other. For my table, these came from more of the scrap I used to make the table top. At this point, I wanted to size and cut down 4 pieces to act as aprons. I wanted the aprons to have tenons that slot into mortises in the legs. As such, I cut them to length such that I had 3/4″ to 1″ for tenons on either side, and the table top would hang over the legs slightly.
I didn’t actually cut the tenons yet. They need to be sized to the mortises that will be cut in the legs.
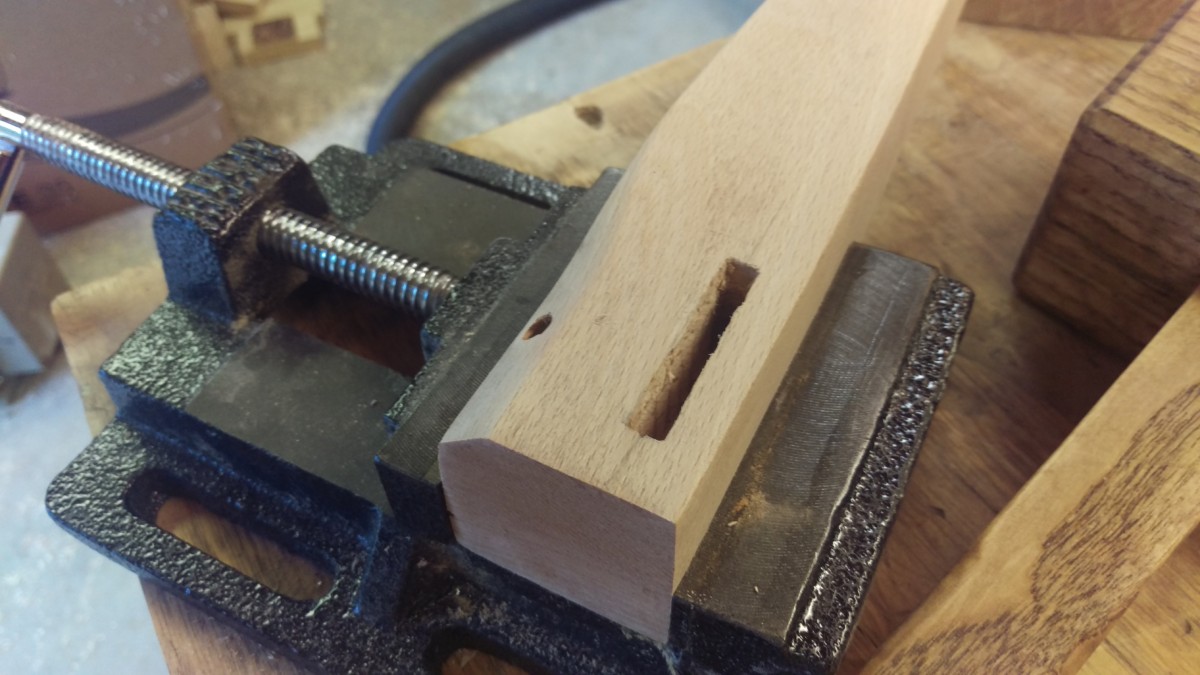
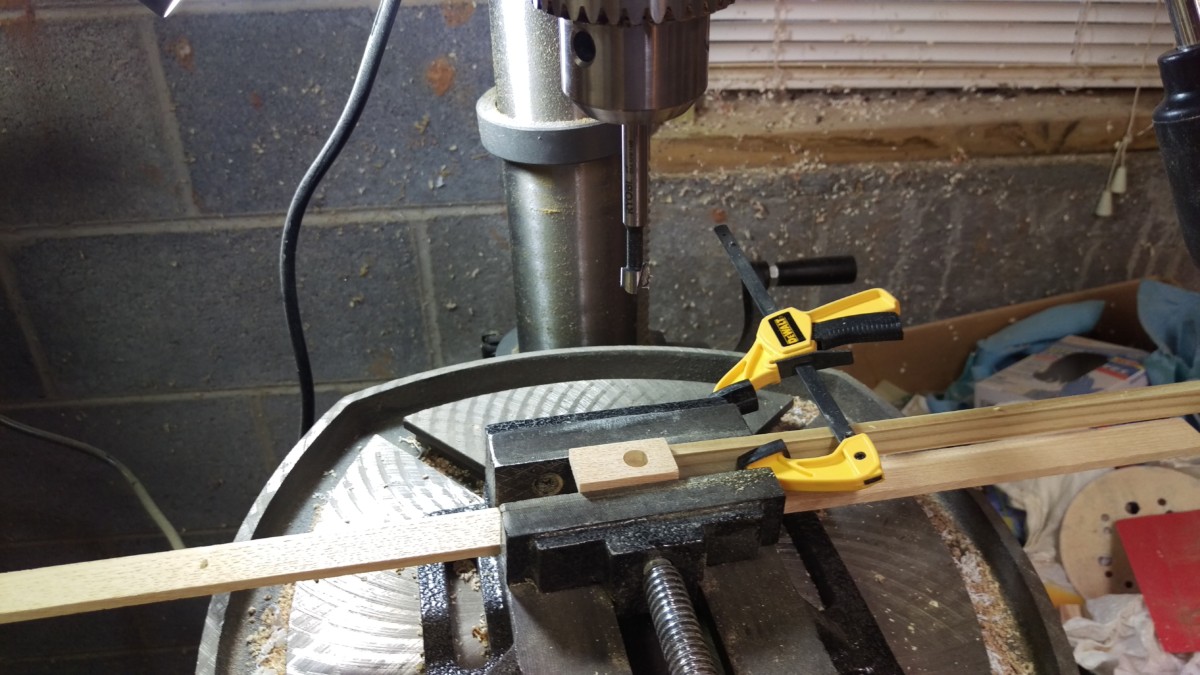
Cutting the mortises in the legs
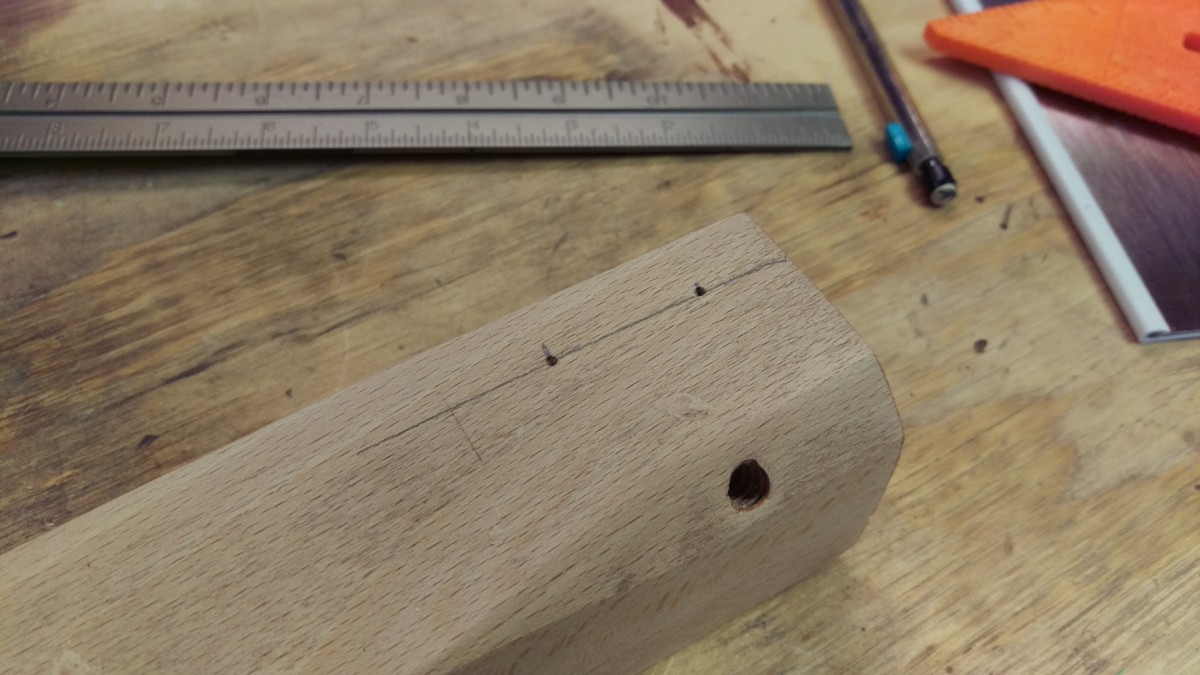
Marking drill line
Cutting the mortises was a little bit tricky because of the taper of the legs. In retrospect, I may have been better off using the bolt-on technique of the original. Ordinarily, I like to cut mortises using a router template, but it wouldn’t sit properly on these legs. The best solution would be to build Matthias Wandel’s pantorouter, but I haven’t done that yet, so I used my drill press.
I marked a line at a fixed offset from the side on all the legs. The line is the center where I’m going to drill with a 1/4″ drill bit on my drill press. I made approximately 1″ deep mortises at 1/4″ thick and 1-1/4″ wide.
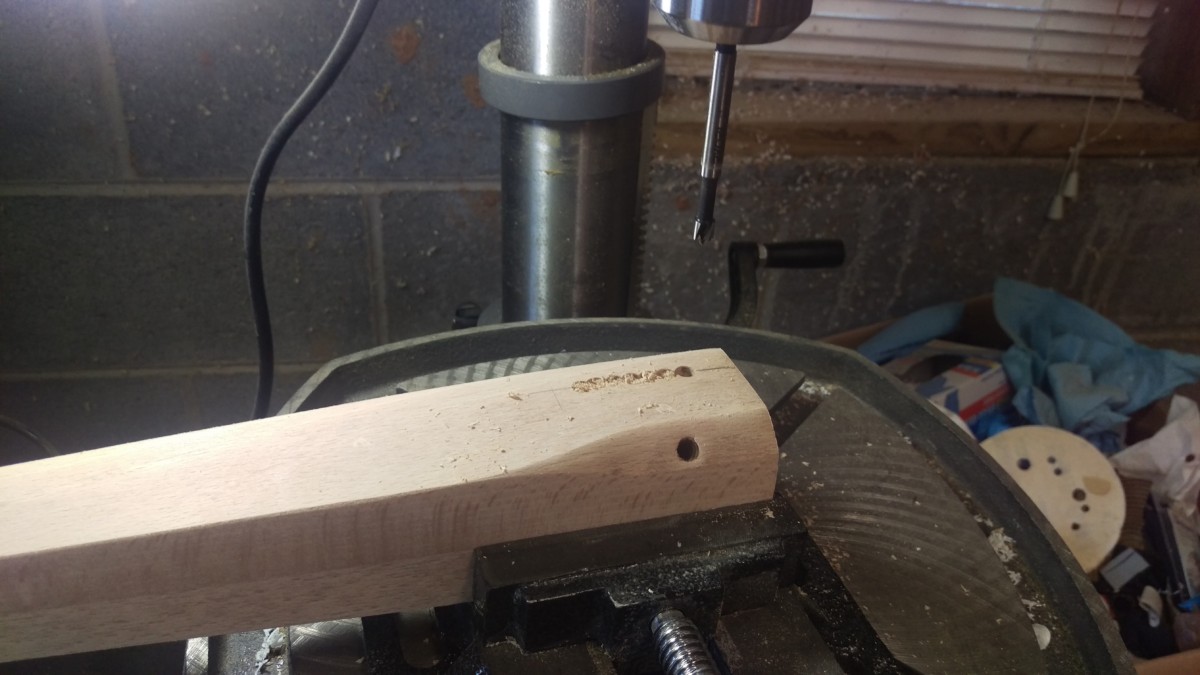
A drill press and vise are almost required
A drill press and vise are almost required for this operation. The vise held the flat face square while I drilled to consistent depth using the drill press’ depth limit. Using a brad point forstner bit, I simply centered the point on my line from earlier.

Use a chisel to clean the sides
After the drill press has hogged out most of the material, you can use a chisel for the rest. It does a quick job cleaning and smoothing the sides.
Mortised leg

All mortises done
After the chisel
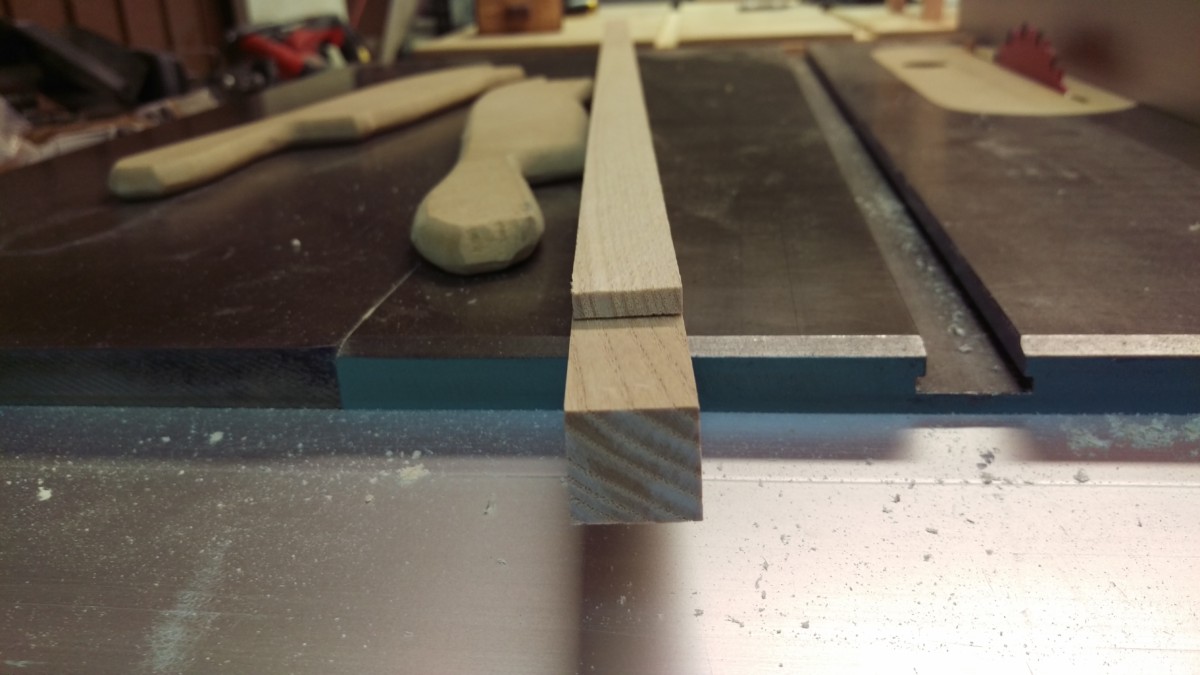
Cutting apron tenons

Tenoning with a dado blade and crosscut sled
Now that I had the legs ready and the top to its final dimensions, I was able to finish the aprons. I used a dado blade, crosscut sled, and fence to make the tenons. The fence let me make repeated cuts at the same depth. I adjusted my unifence to stop before the blade so it wouldn’t pinch the work piece. A stop block could be used for other fence styles.
I cut the shoulders first, by flipping the piece up against the cross cut sled. Adjusting the depth of the blade adjusted the shoulder height. I cut the shoulders on all 4 aprons with the same adjustment. I made them just a little less wide than the mortises on the legs to have some wiggle room. I then flipped it on the wider sides as pictured. By incrementally raising the blade and testing the fit of an individual tenon against a specific leg, I approached the right size.
The long aprons are done
In this picture, I’ve cut the tenons for the long aprons. I still have to do the shorter ones.
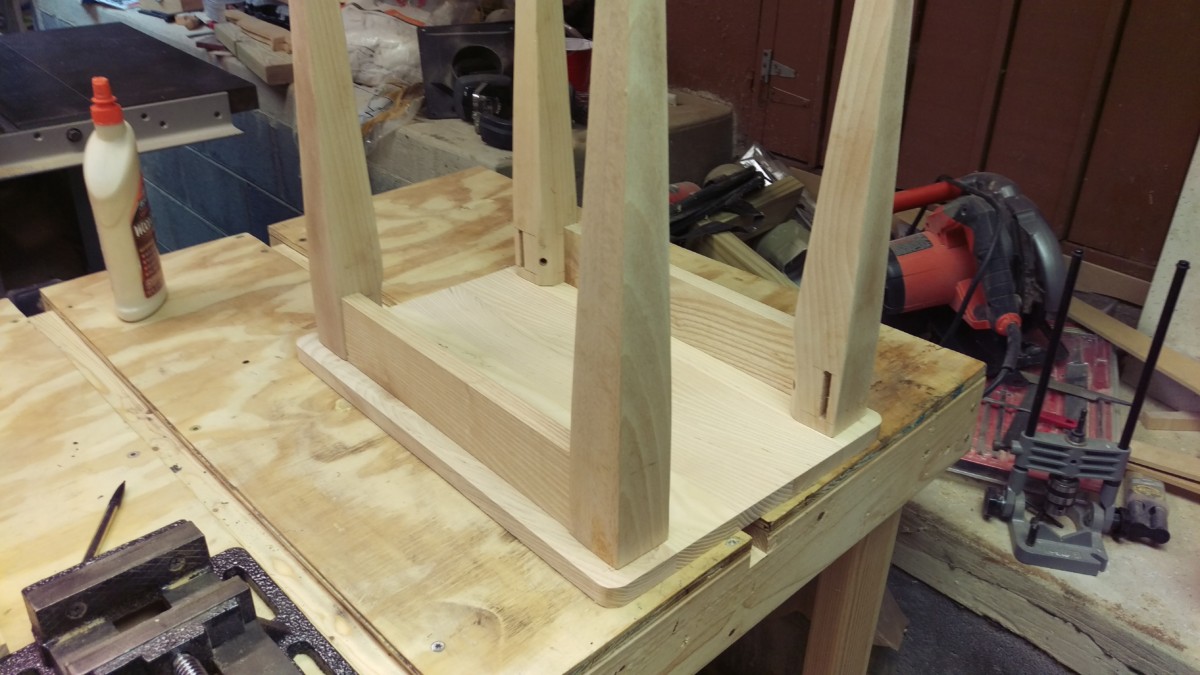
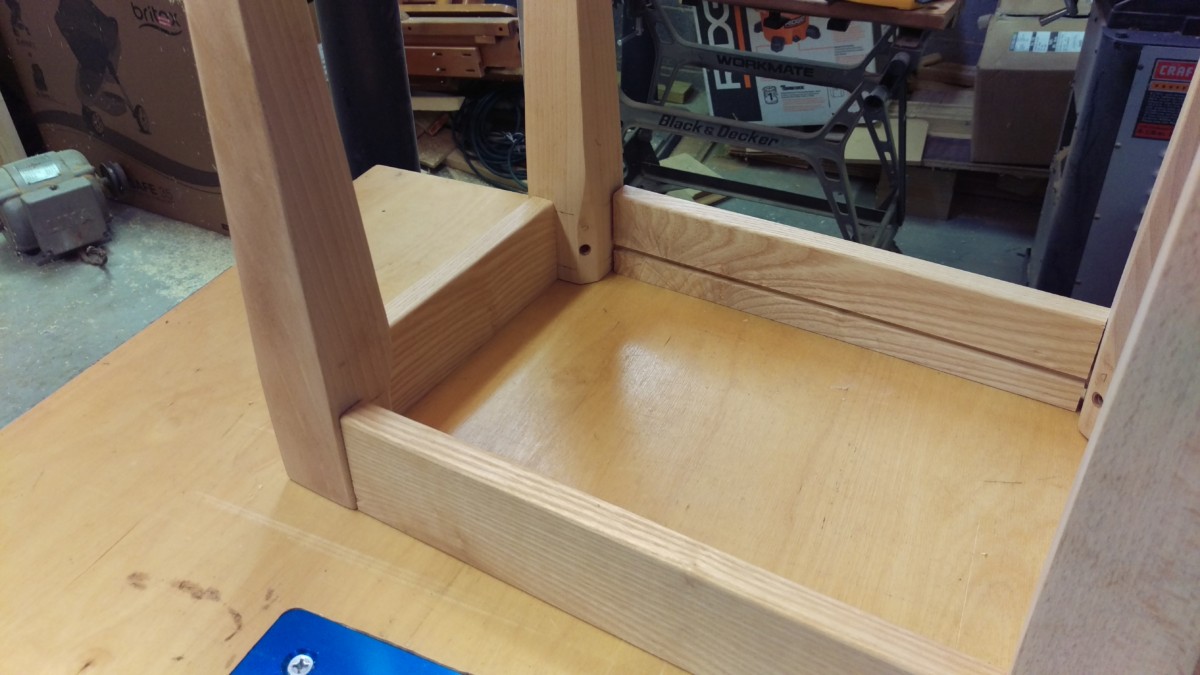
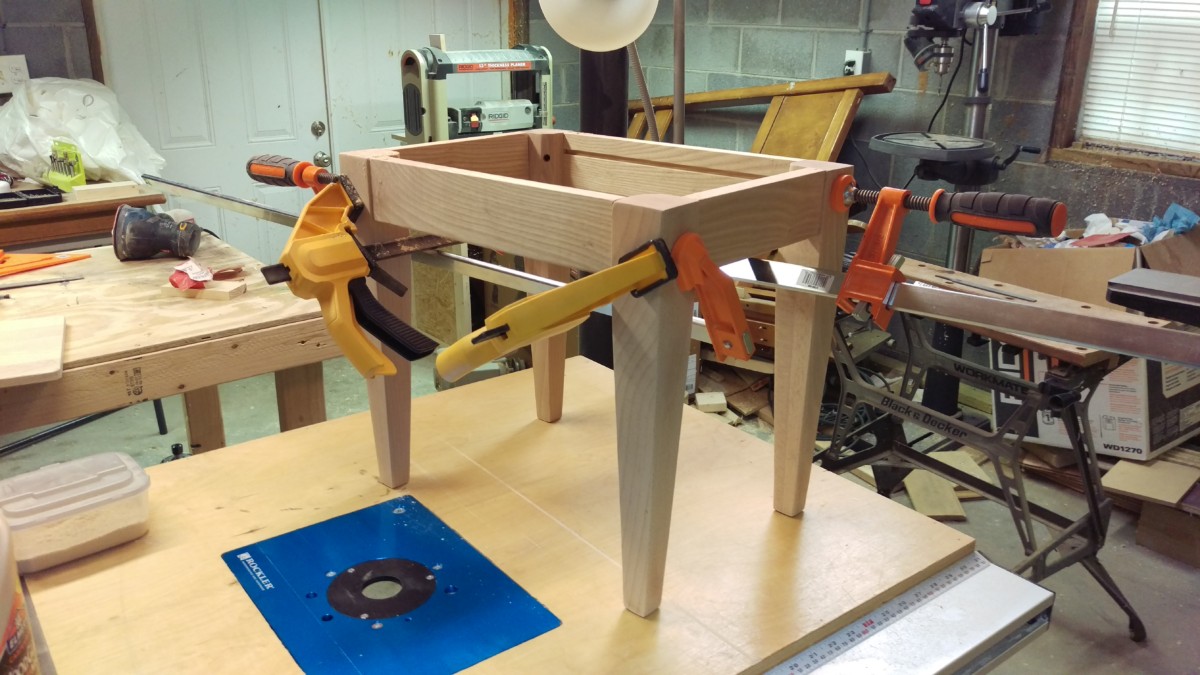
Test fit
Once the tenons were all cut, I was able to put the table together without glue for a test fit. This let me verify it will fit how it should.
Routing a dado in the aprons
Skipping ahead: here is the goal
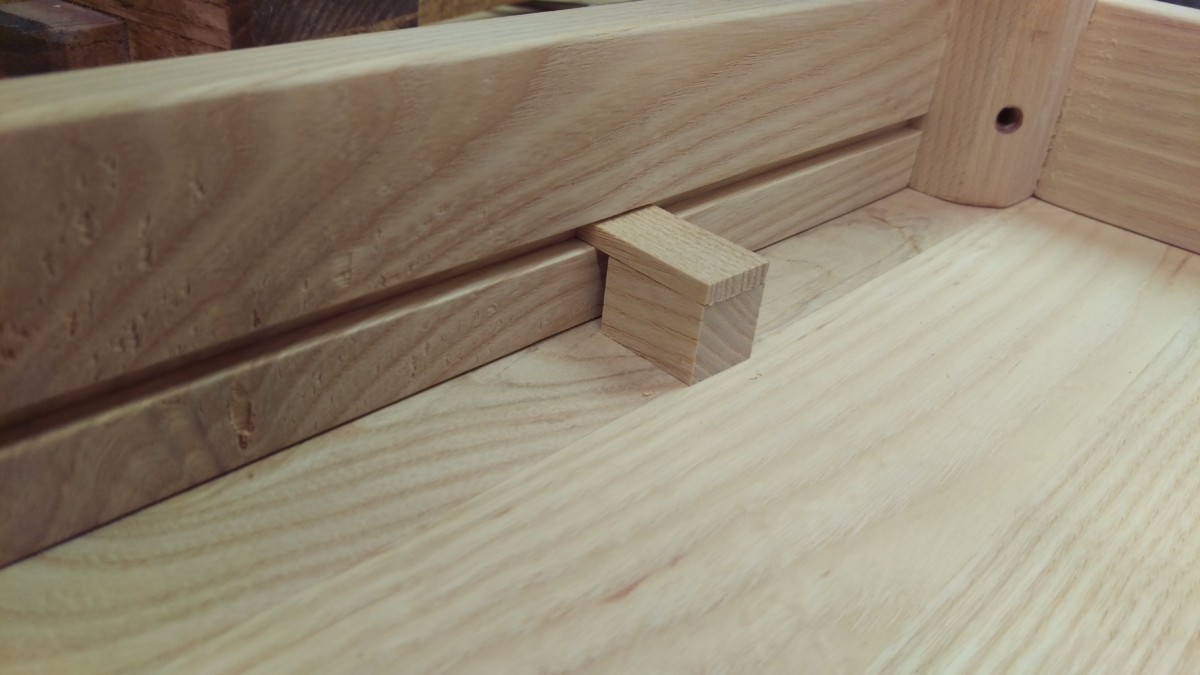
A solid wood table top is going to expand and contract along its width with humidity changes. End to end will hardly move at all. This means that if you glue or screw the top rigidly in place, it will eventually crack from the stress. It must be allowed to move with humidity changes. Plywood tops don’t have this problem, because the different layers of plywood have alternating grain in part to avoid this issue.
The picture above skips ahead to show the most common solution. A dado is cut into each apron. You can then use wood or metal “buttons” that are screwed into the table top. These hook into the dado and hold the top to the apron. These are intentional given room so that when the top moves, the buttons can slide in and out of the dado.

Scrap for buttons
You can buy metal tabs for this purpose very cheaply from Rockler or Woodcraft. However, I had tons of thin pieces of scrap ash, so I preferred to use it instead. I picked out the above two strips to use for the buttons.
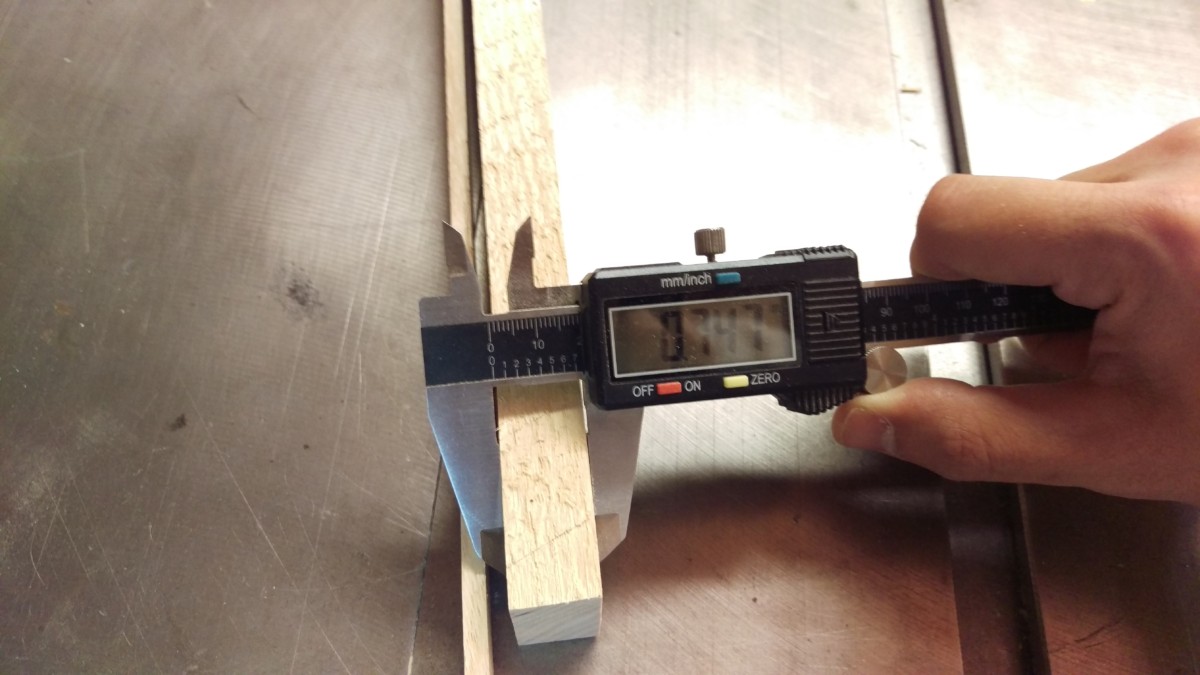
Measuring button thickness
Setting the fence
Once I had the wood picked out, I knew how far the buttons would be from the table top. After measuring the body of the button with calipers, I was able to adjust the dado that amount away from the fence. Err on the side of making the dado a little further from the top than the button’s edge will be. This makes sure it grips the top tightly as it is screwed in.

Cutting the dado
I only put the dadoes and buttons in the long aprons. Another option is to make an individual stopped dado for each button with a router. Cutting a long dado on the table saw seemed a lot faster and easier to me.
You can see one of the two dadoes
Finally, a shot after both dadoes are cut. This may help to clarify the goal of all this. Each long apron now has a dado cut in it to house the button that will be screwed to the top.
Rounding over edges
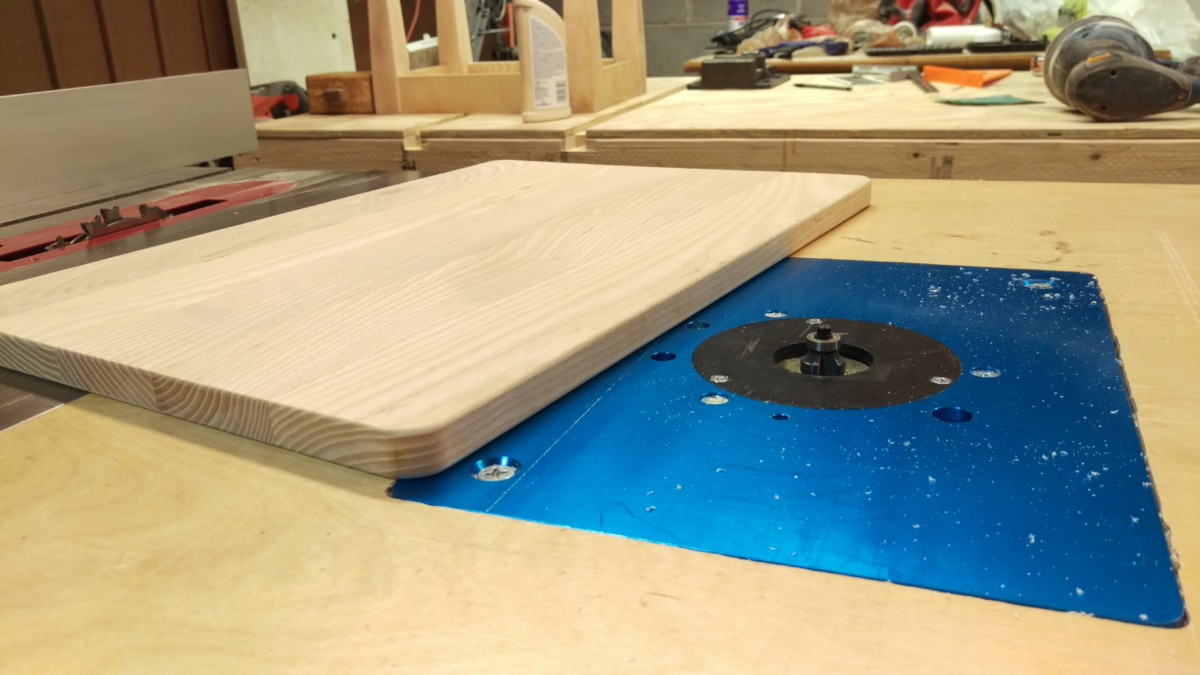
I rounded the table top edges on the router table
I wanted the edges of the table top to be rounded over. This is intended for a nursery, so sharp edges wouldn’t be appropriate. I used an 1/8″ bearing bit in the router table to do all edges on both sides.

Rounding the bottom edges of the aprons
I did the same thing for the bottoms of the aprons. The top edges would have the table top on them, so those were left alone.
Glue up
Glue up
With the dadoes cut and the aprons rounded over, it was time for a glue up. The only tricky part here was to make sure everything stayed square. I actually didn’t do the best job, mostly due to how the legs are shaped. I figured that as long as the top was flat and the corners were reasonably square, it would be fine for use on carpet. For placing it on a hardwood floor, it would also be important to sand the legs flat after glue up.
Making the table top buttons
Button material trimmed to width
While the glue dried, I moved on to making the table top buttons. The first step was to run both pieces of scrap over the table saw to make sure they’re the same width.
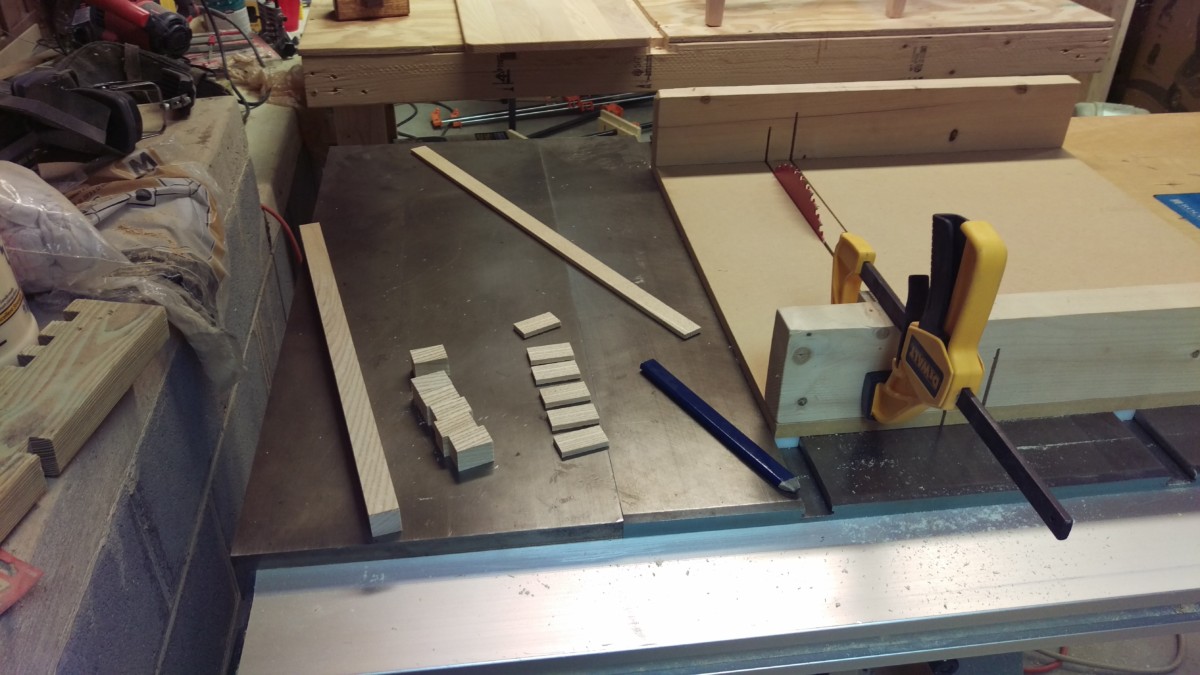
A cross cut sled and stop blocks made this go quickly
I used my cross cut sled and a stop block to cut up the strips. I made the upper thinner piece longer than the lower thicker piece.
Back to earlier, here’s the test fit
Back to the picture from earlier, I can take one of each size of button piece and verify the fit, as shown.
Gluing up the buttons
I then glued up all six of the buttons.
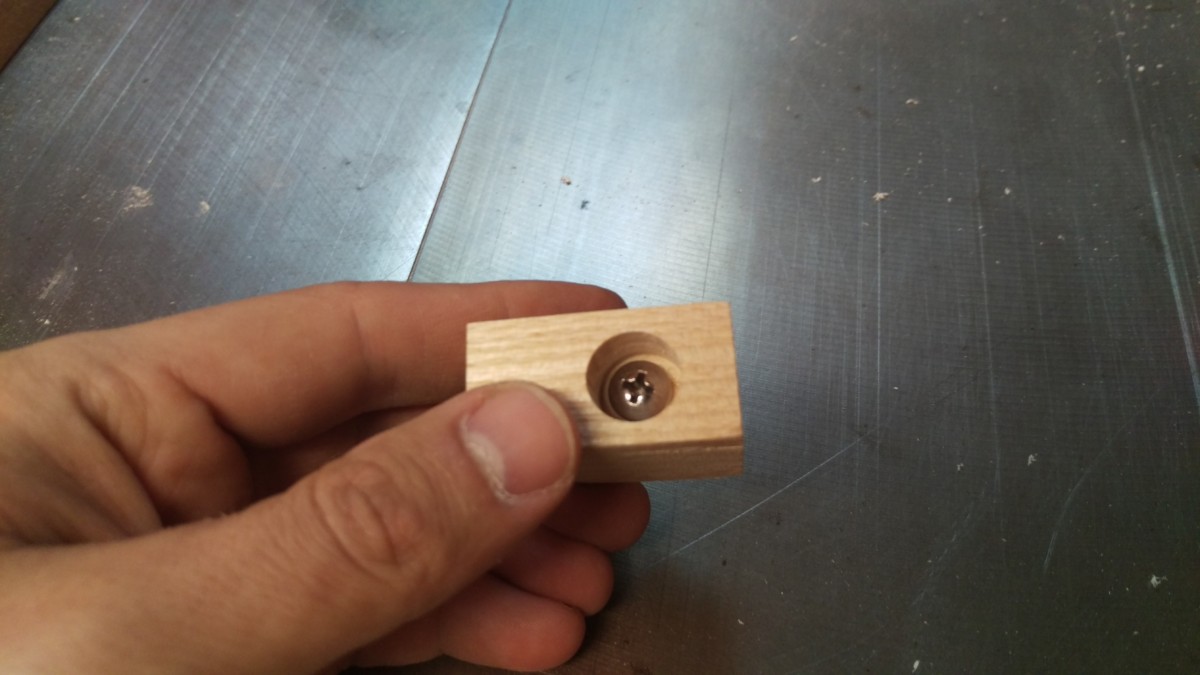
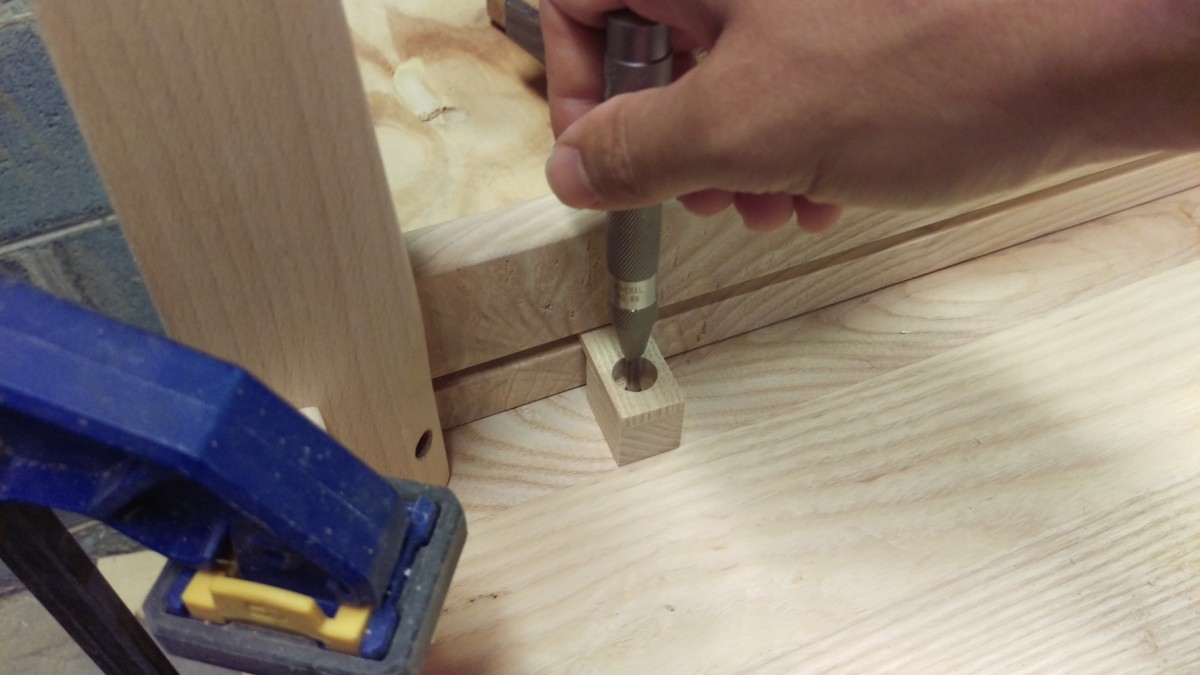
Drill the screw hole with the drill press
Countersink for the screw head
Then, the drill press vise was set up to accomodate a stop block. I drilled each of the glued pieces in turn. The first hole is wide enough for the screws used to pass through fully. The second wider hole is big enough to let the screw head go down to the appropriate depth. I wanted about 1/4″ of screw coming out of the bottom.
Finished piece

Perfect screw depth
The result was just enough screw depth to be well-anchored in the table top but not go through.
Drilling the top
Marking holes before drilling

Away shot
I used a punch to mark where the holes needed to go on the top. The drill press will naturally find these holes when drilling.
Setting the drill press depth
I then set the drill press depth limiter appropriately. The goal was to drill enough to provide room for the screw without splitting the top without going all the way through.
Holes drilled
Finally, all the holes are drilled. I used a drill bit that was just as big as the inner shank of the screw, not including the threads. This provides a nice pilot hole that prevents the top from cracking while still giving the threads something to engage.
Applying finish
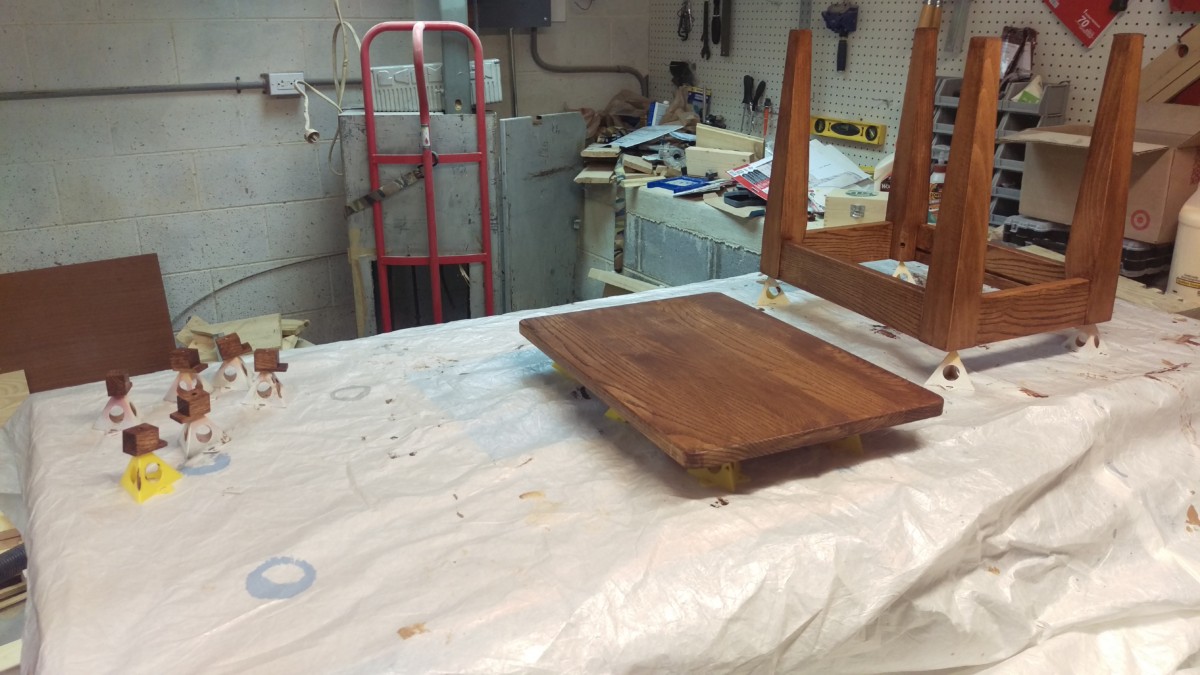
After stain
The finish was General Finishes Nutmeg Gel Stain


Wrap up
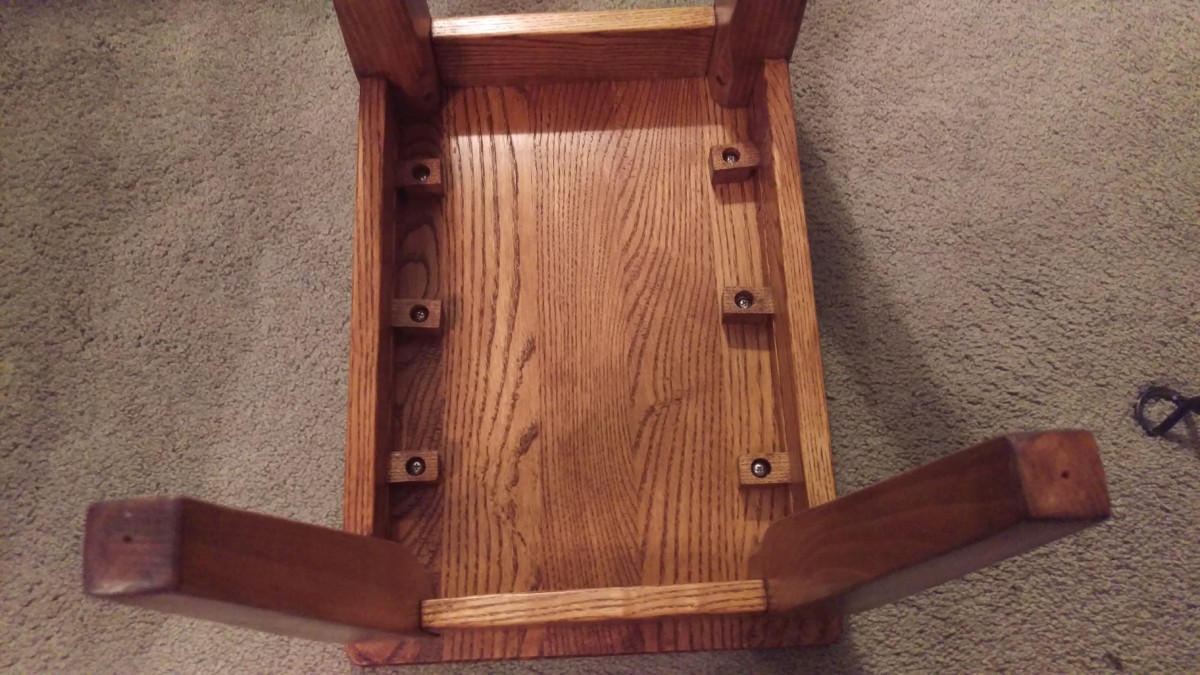
Buttons screwed in
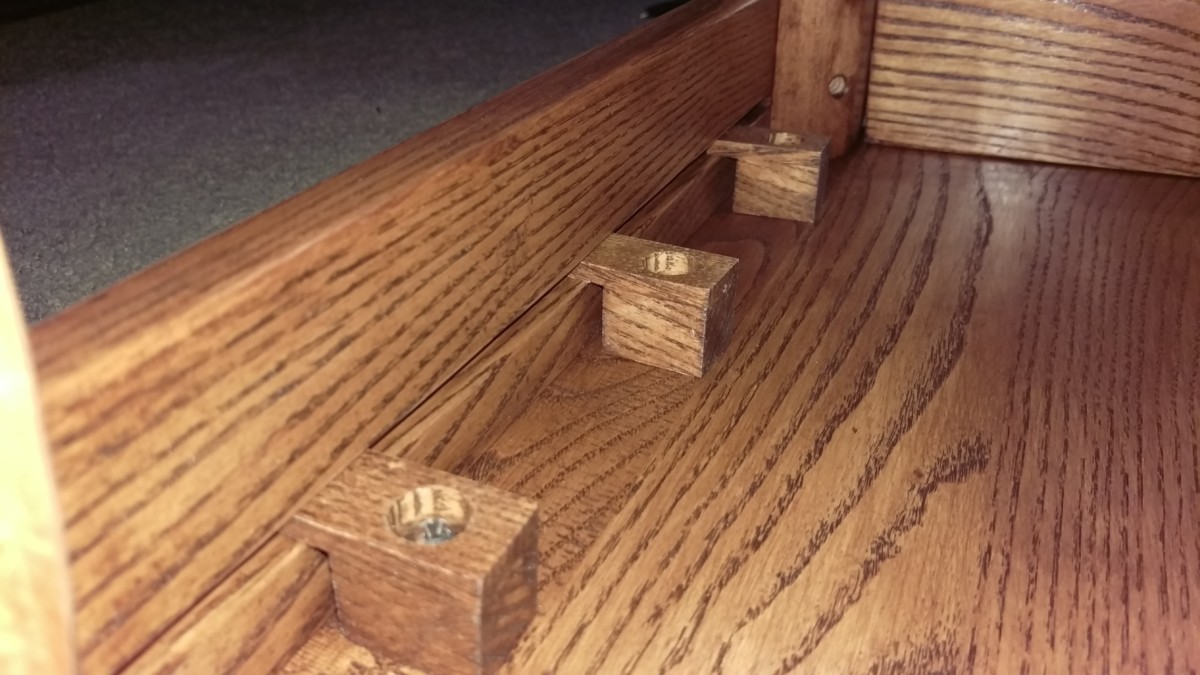
Another view of the buttons
I let the finish dry for several days in the shop. Even after being dry to the touch, most finishes will continue to off-gas for awhile, making the room smell. A few days later, I put the top on the base using a regular screwdriver.
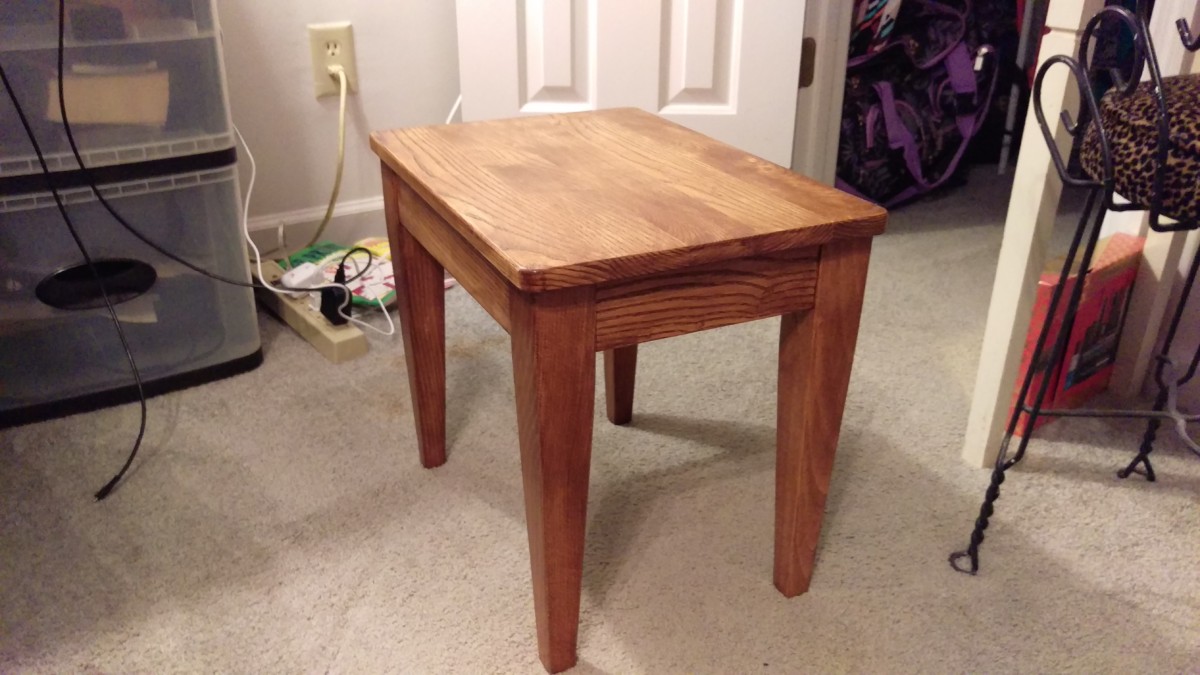
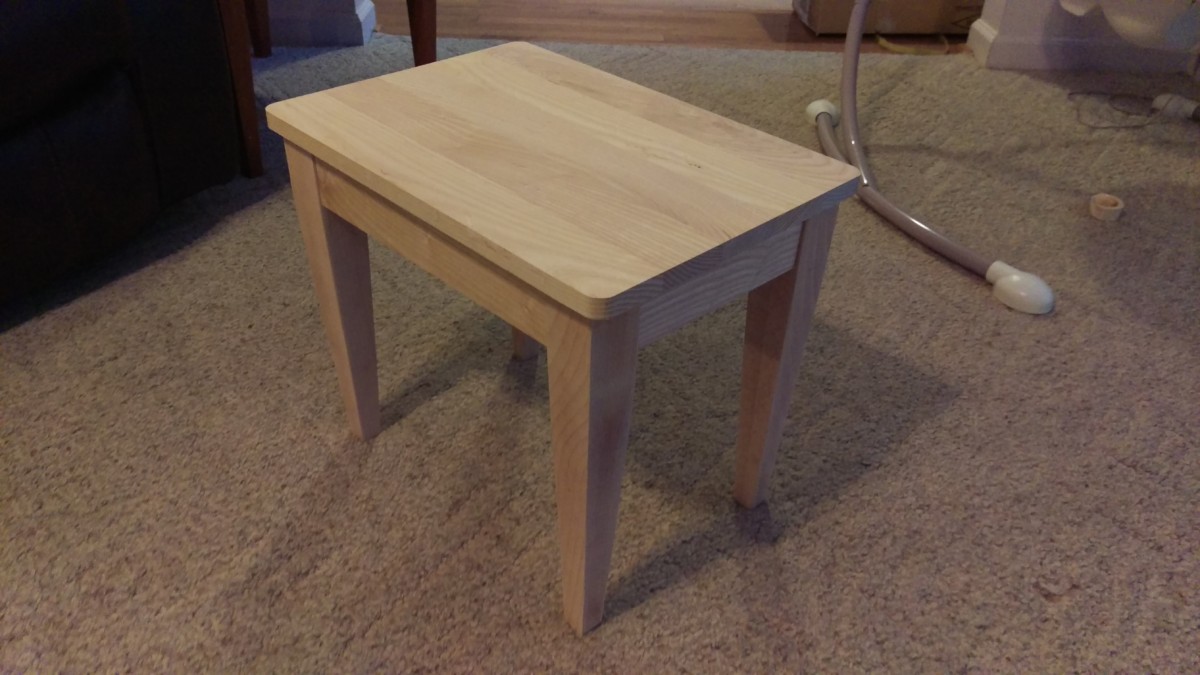
The finished table
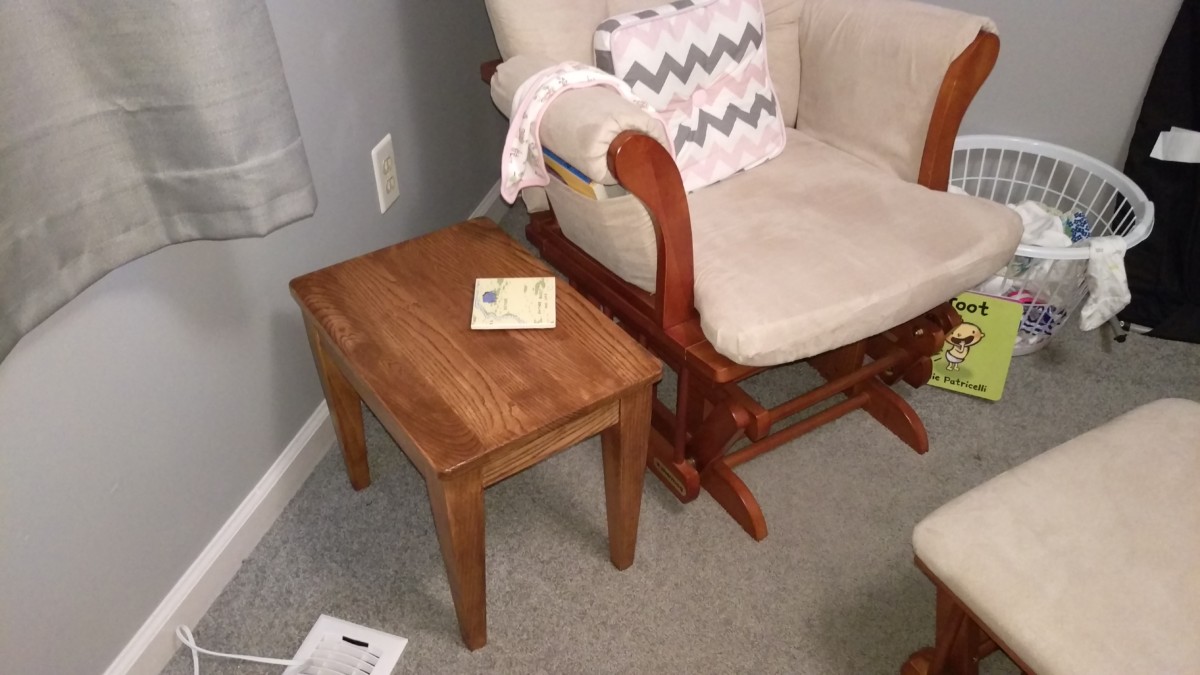
As it sits in the nursery
Another shot
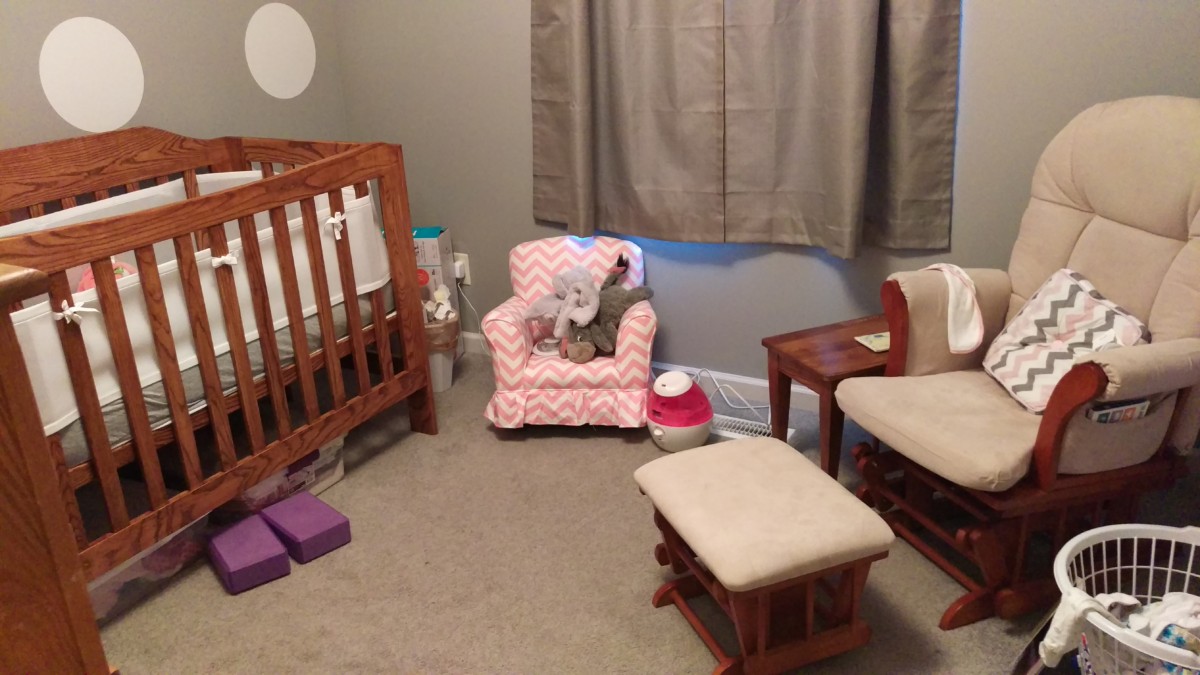
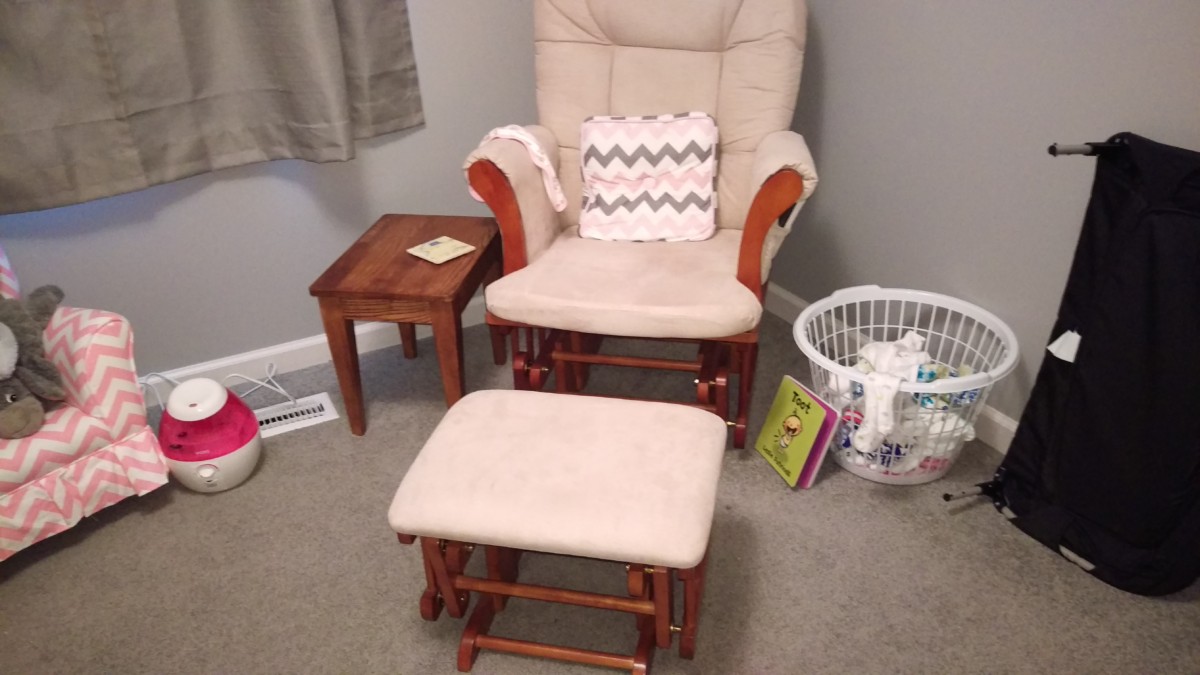
Nursery with crib and table
Here you can see it all finished up. Unfortunately, I could not find any stain that matched the wood on the rocking chair very well. Instead, I made sure the table matched the crib. It bugs me a little bit, but it’s close enough. Not bad for some scrap wood and recycled coffee table legs.