Regreasing Slow Miata Windows
Miatas are known for having slow windows, regardless of whether they’re manual or power, even brand new. Even so, they’ll slow down over time, with two primary fixes. The first is regreasing slow miata windows, as the factory-supplied grease will harden over time. Secondly, if power windows get too slow, they can cause the switch to burn out. Fortunately, the switch can be repaired or replaced. This article will cover regreasing the windows.
Required Supplies
- Honda Shin-Etsu Grease
although you may prefer Dry Teflon Lube
(I personally used both)
- Replacement window bushings
- A T-30 Torx Bit
- Panel Removal Tool


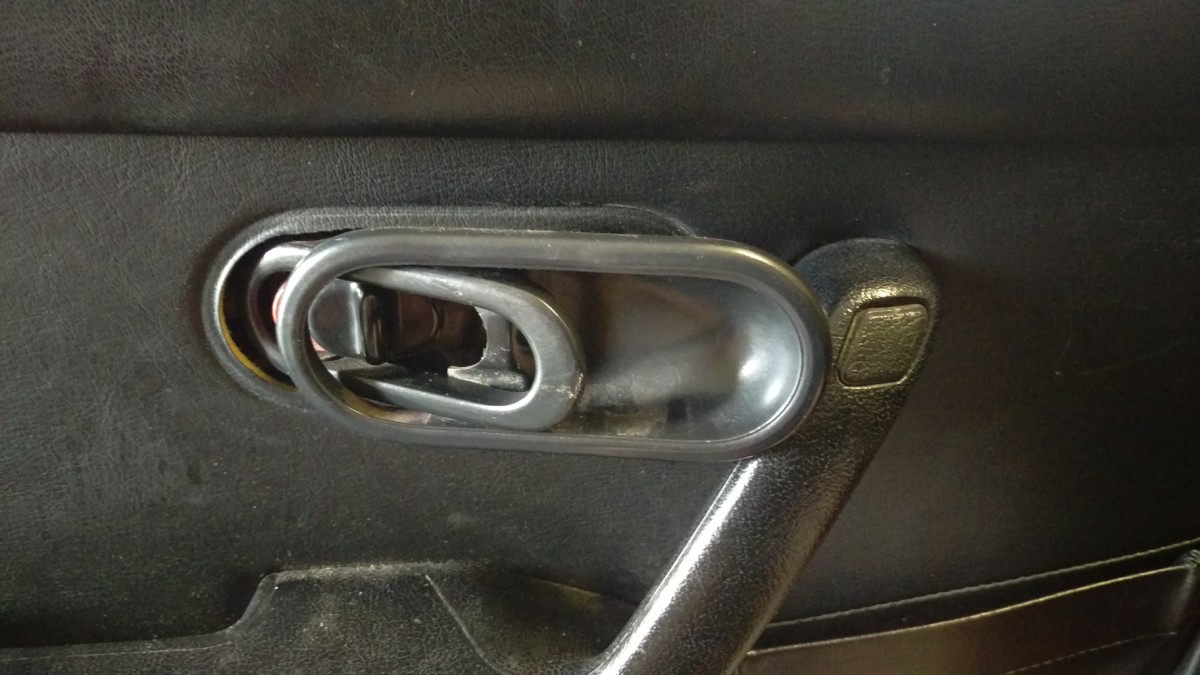
Removing the Door Handles

Open the handle partway to get to the screw
To properly regrease the windows, the door cards need to come off. To do this, the handles must first be removed. There are a total of four screws holding them in. The first is accessed by pulling the handle halfway, as shown.
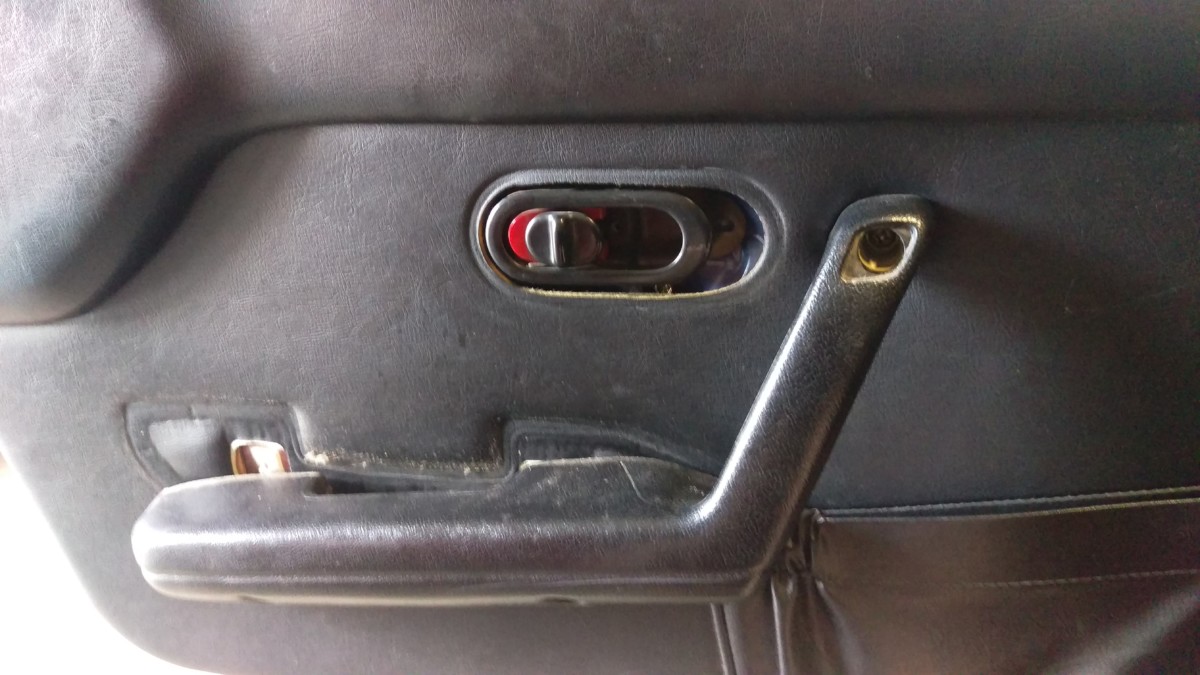
Once the screw is out, the cover sort of slides off
Once the screw is out, the cover plate behind the handle sort of slides off over the handle, as shown.
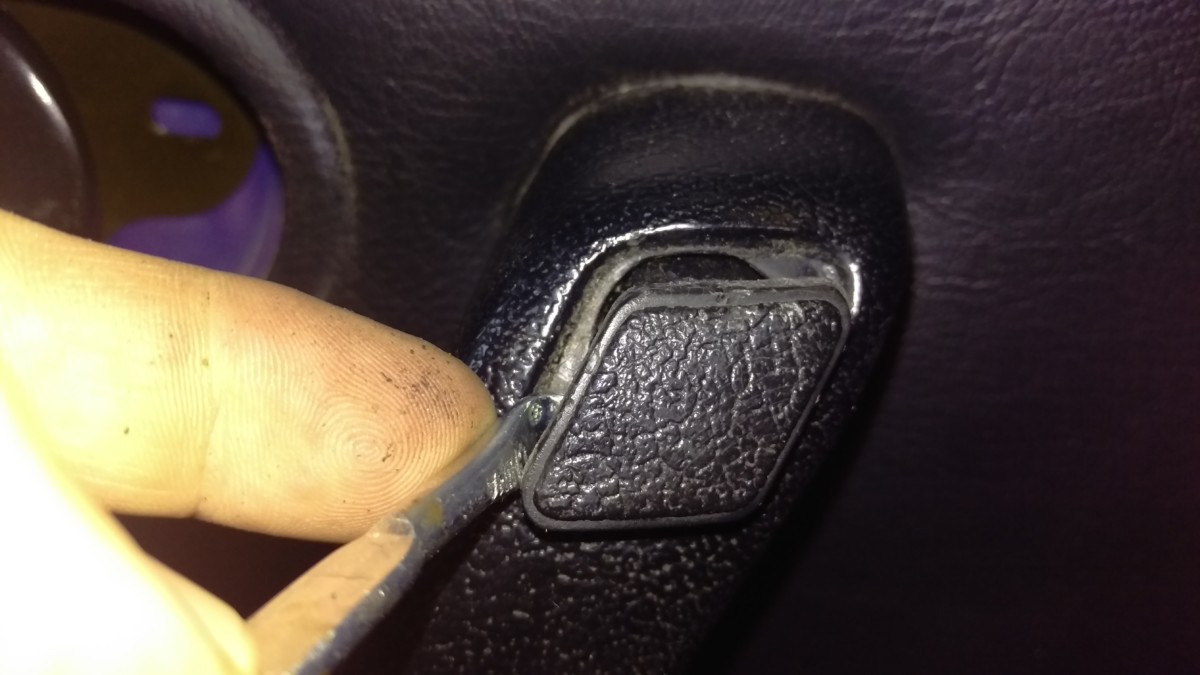
One screw is behind this plastic insert

The remaining two are on the bottom, as shown (shown after removal)
There are also three screws to remove the arm rest. One is behind a plastic insert. This insert can simply be gently pried out with a flathead screwdriver or similar. The remaining two are at the bottom of the arm rest.
The arm rest just pulls off
Once the three screws holding the arm rest are removed, it simply pulls off.
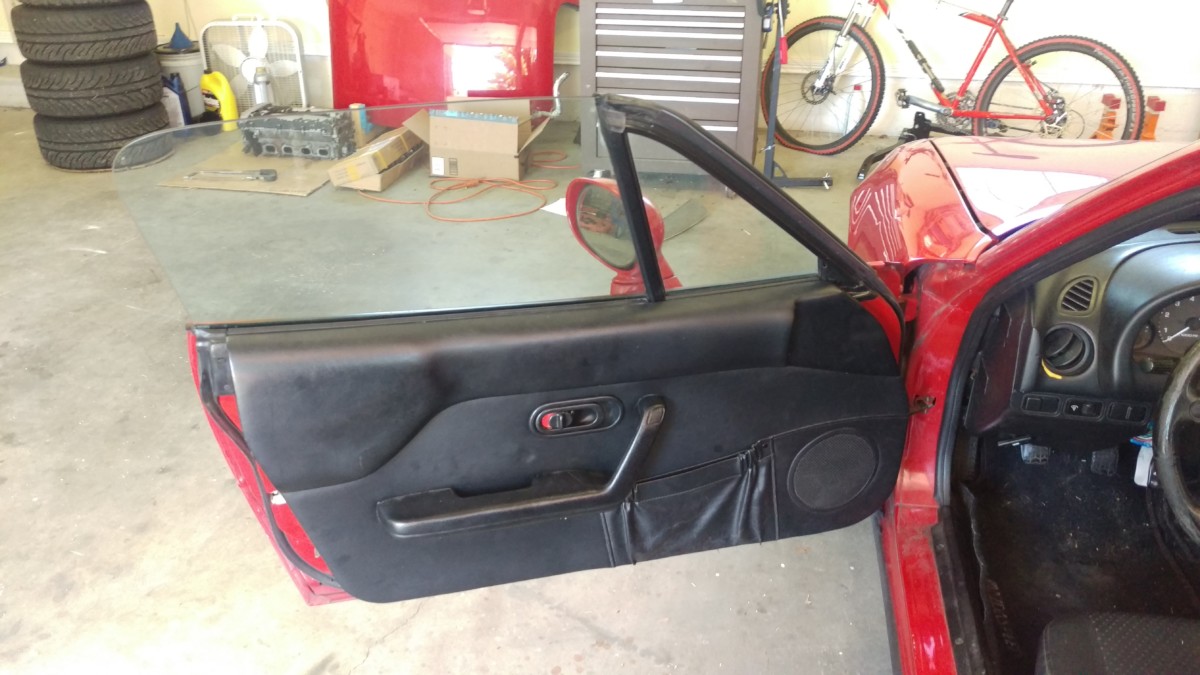
Removing the Door Card
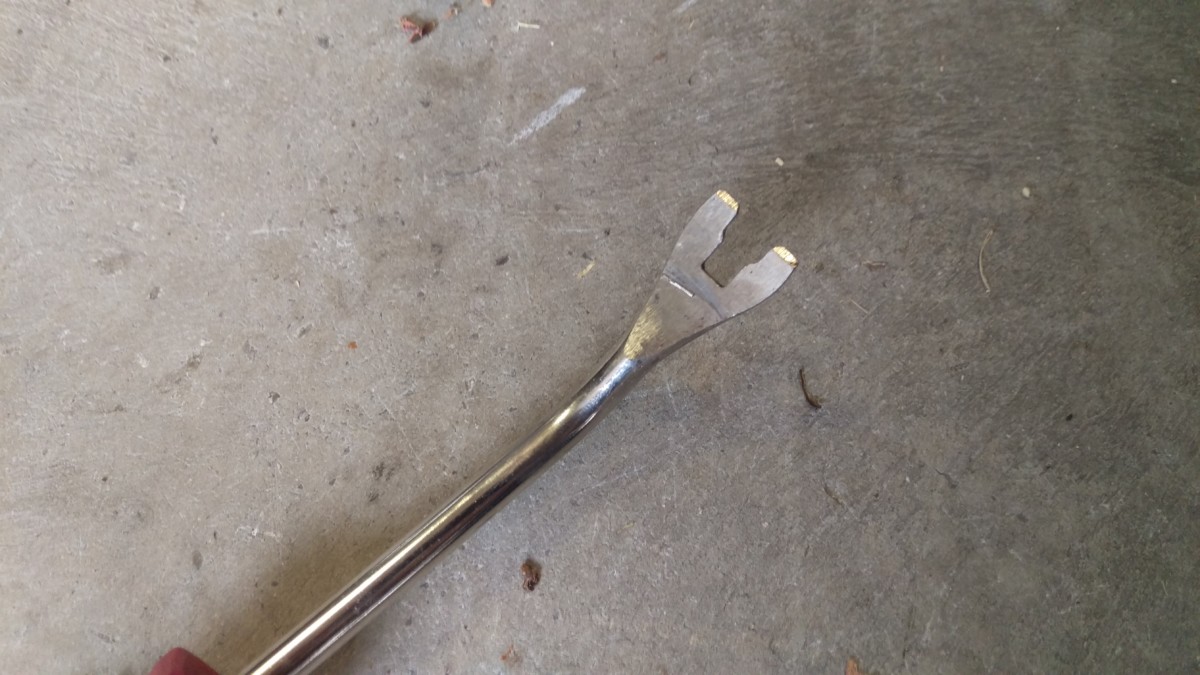
Plastic Panel Removal Tool
At this point, the only things holding the door card on are plastic rivets. A panel removal tool

Pry on the door card

Almost removed
My approach is to pull gently on the door card to find the rivets. They’re spaced 6-12 inches apart, so areas with some give are between rivets. When I find one, I insert the pry tool and pop it loose. It only takes a couple of minutes to work the entire way around the sides and bottom of the door card.
The door card lifts off of the sill once the rivets are all undone
Once all the door card rivets are disconnected, the door card itself can be removed. It simply lifts off of the window sill. The overhang on the card, pictured, rests on the sill.
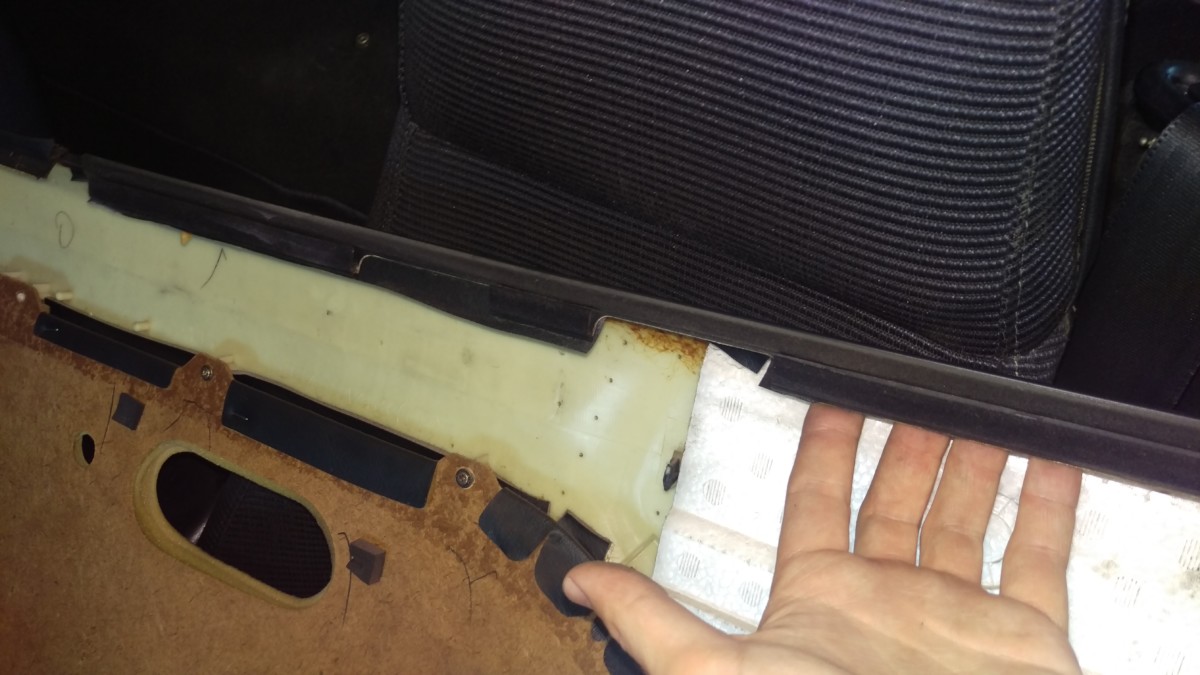
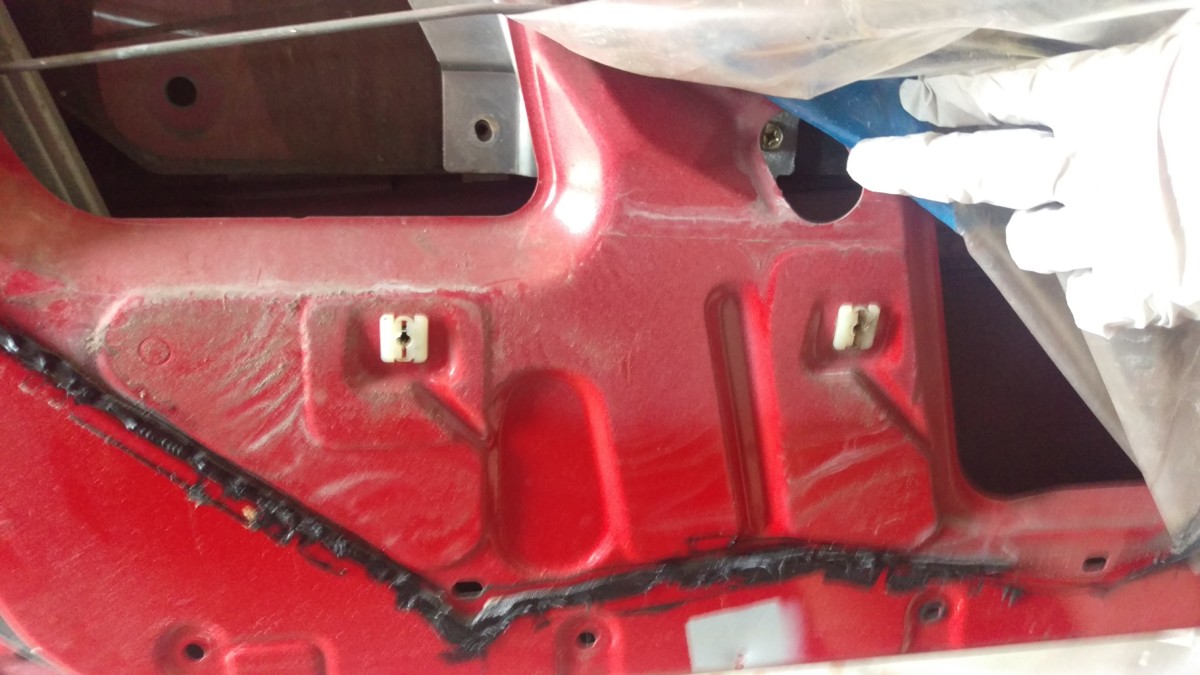
Peeling Back the Plastic Vapor Barrier
The vapor barrier
Behind the door card, there is a plastic vapor barrier held to the door with this sticky paste glue that never fully dries. This doesn’t need to be entirely removed, but peeled back enough to get to the window screws. I’ll note here that on the passenger side, somebody instead opted to make small cuts in the plastic to get to the screws. You could do this instead if you want, but it’ll compromise the vapor barrier.
This is about as far as you have to go
You don’t have to go very far with it, as pictured. Wearing nitrile gloves
Unbolting the Window
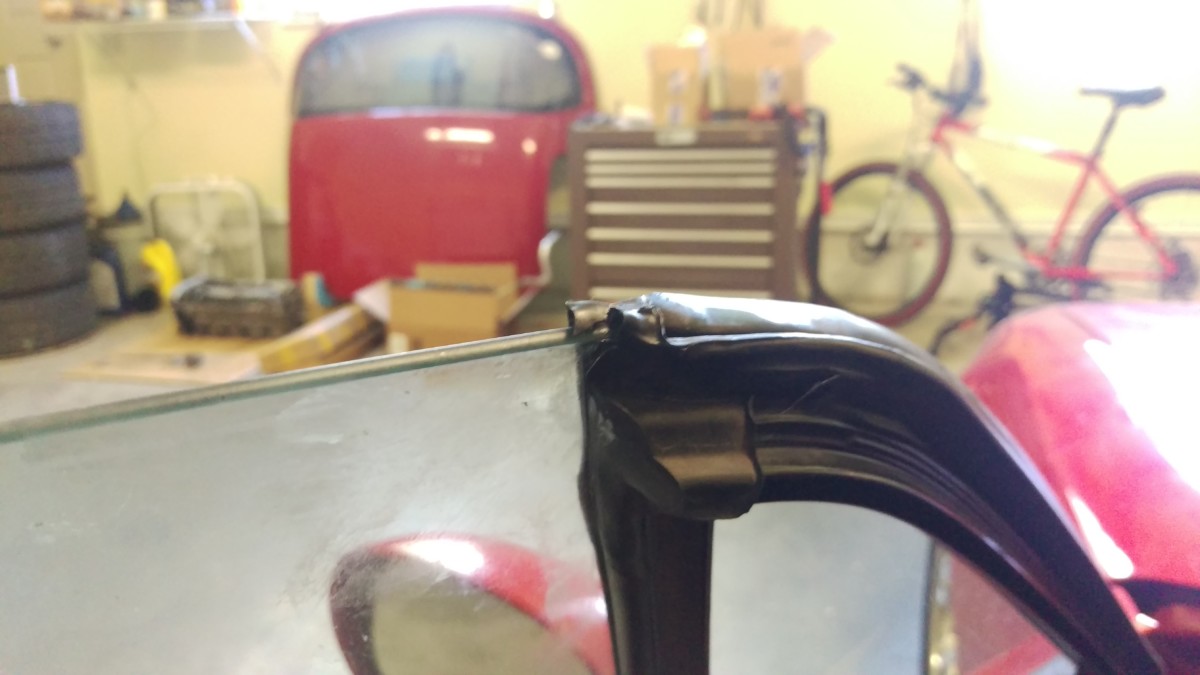
Roll the window halfway down
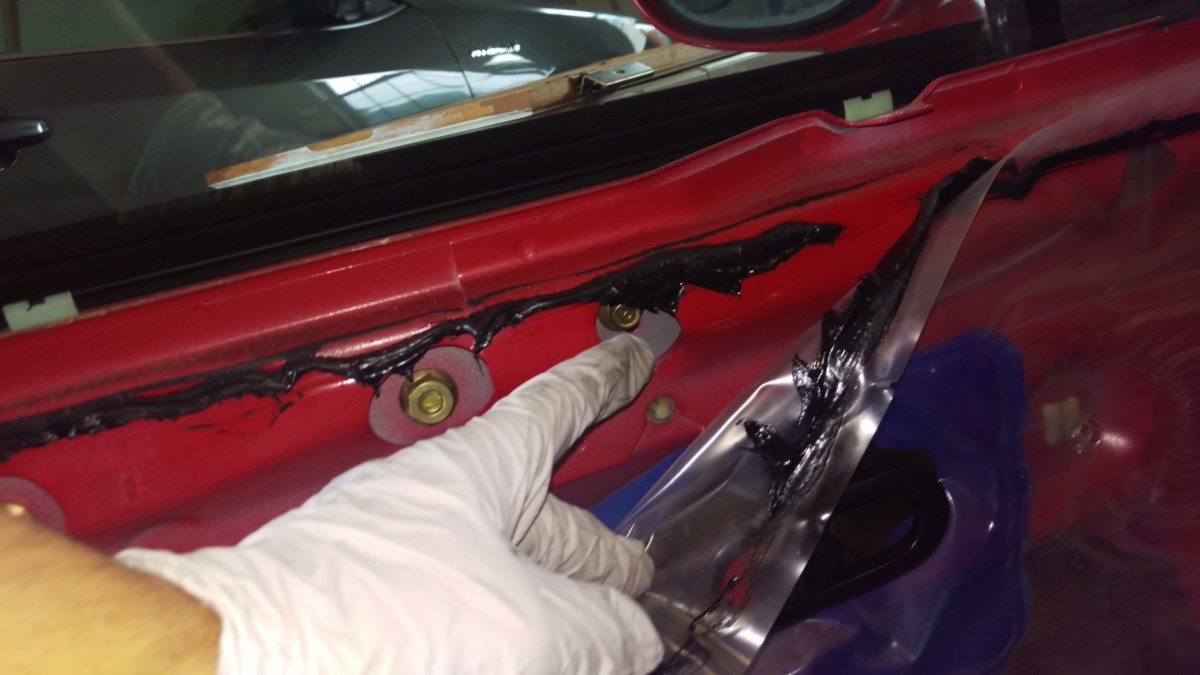
Now you can unbolt the window. To start, the window needs to be rolled about halfway down, as pictured. This allows you to access the bolts via holes in the door.
Remove both phillips head screws
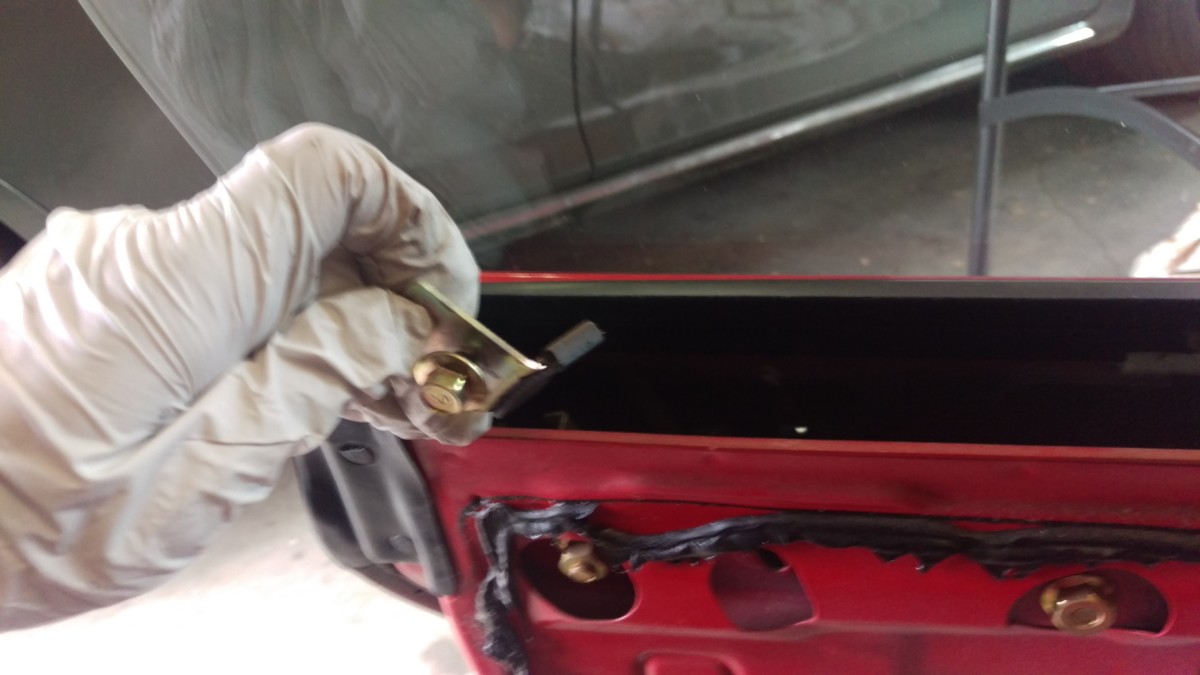
If the window is low enough, you can remove both of these phillips head screws on the right.

Another phillips head screw
Faraway perspective shot
You may have to roll the window up or down slightly to get this one as well.
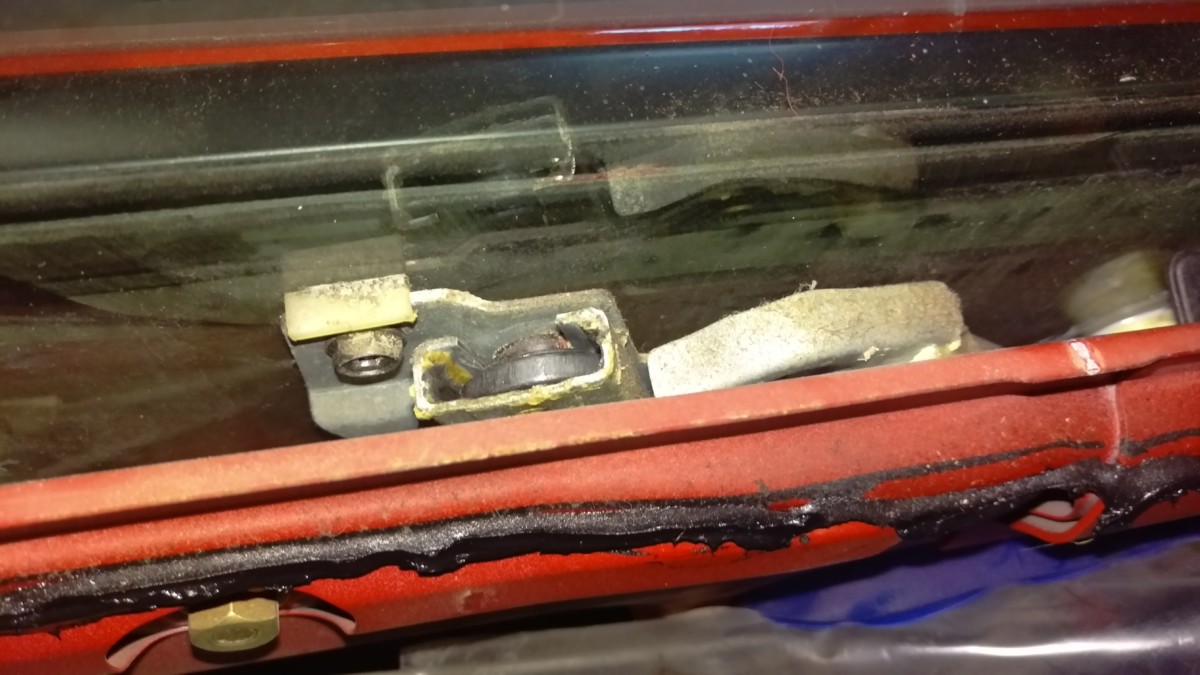
Removing the Window Stops
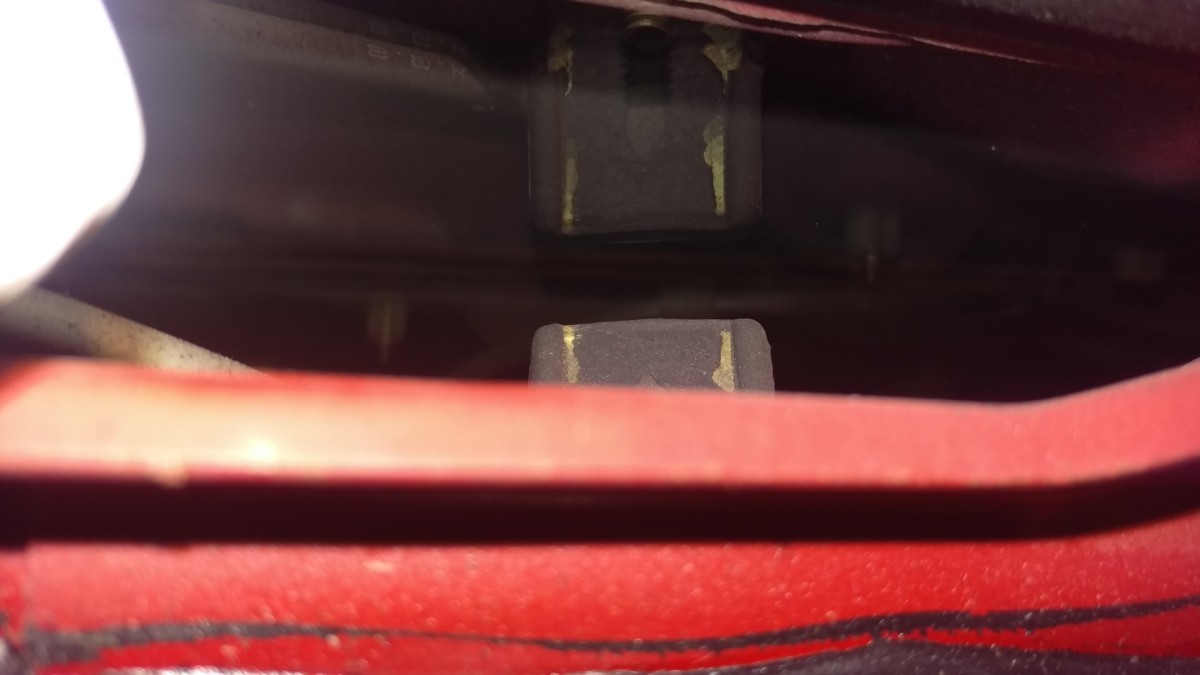
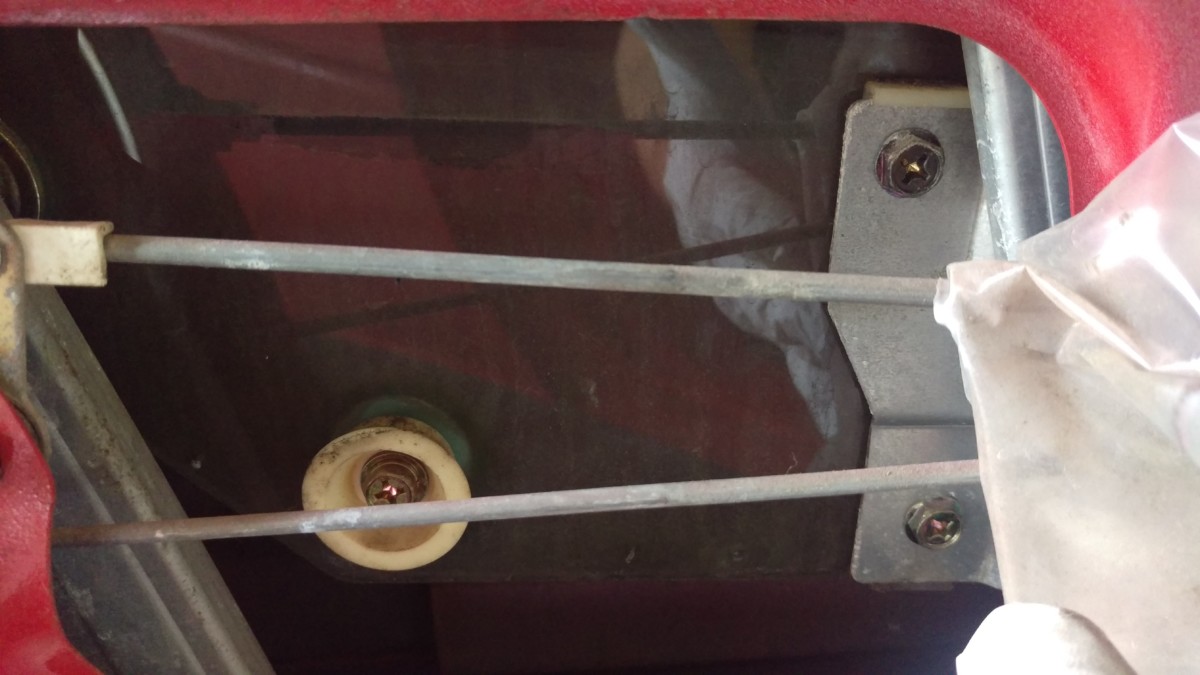
Two of these window stops limit how far the window can roll up
There are also two of these window stops that need to be removed. They are bolted in and limit how far up the window can roll.
First stop bolt

Second stop bolt
Stop after pulling out of door
The two bolts pictured hold the stops in. To remove them, hold the stop inside the door and undo the bolt. The stop will simply lift out as shown.
Removing the Window
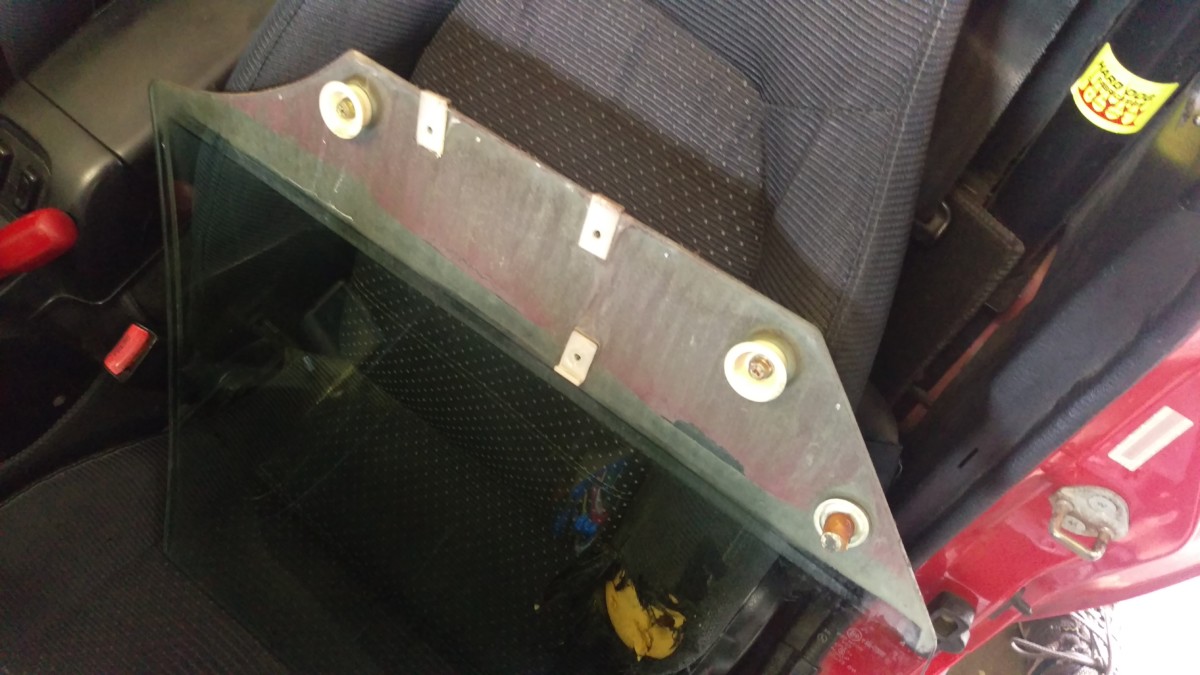
Window after removal
At this point, nothing is holding the window in. You can simply grab it and pull it straight up out of the door.
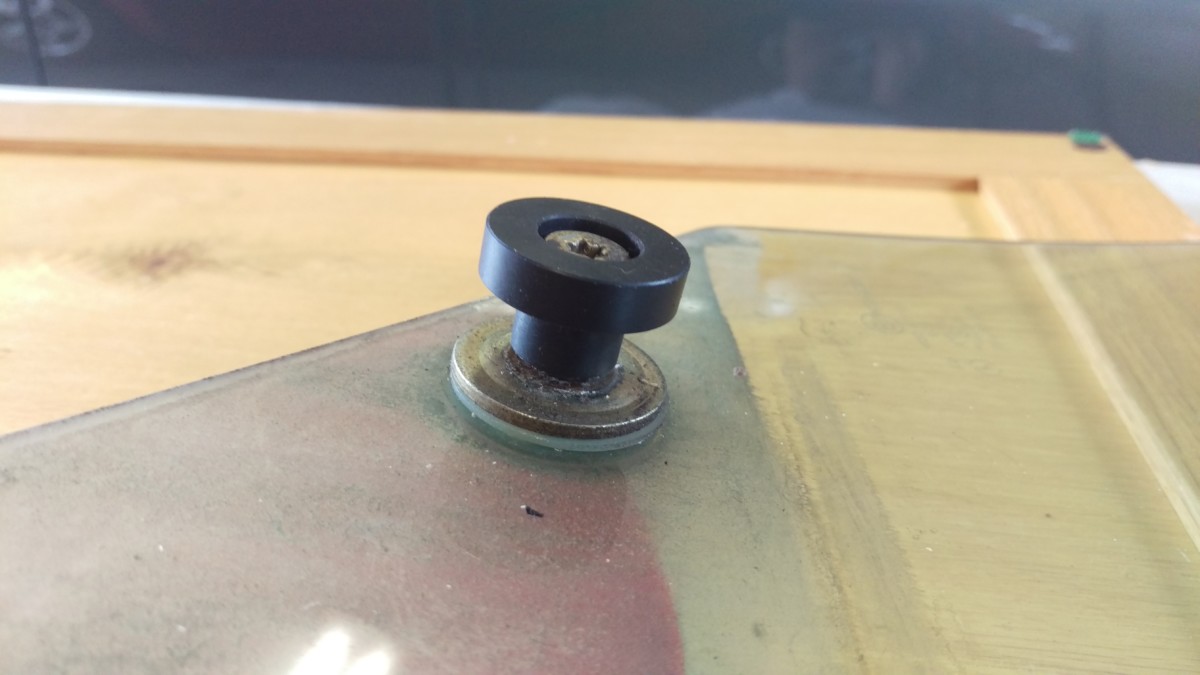
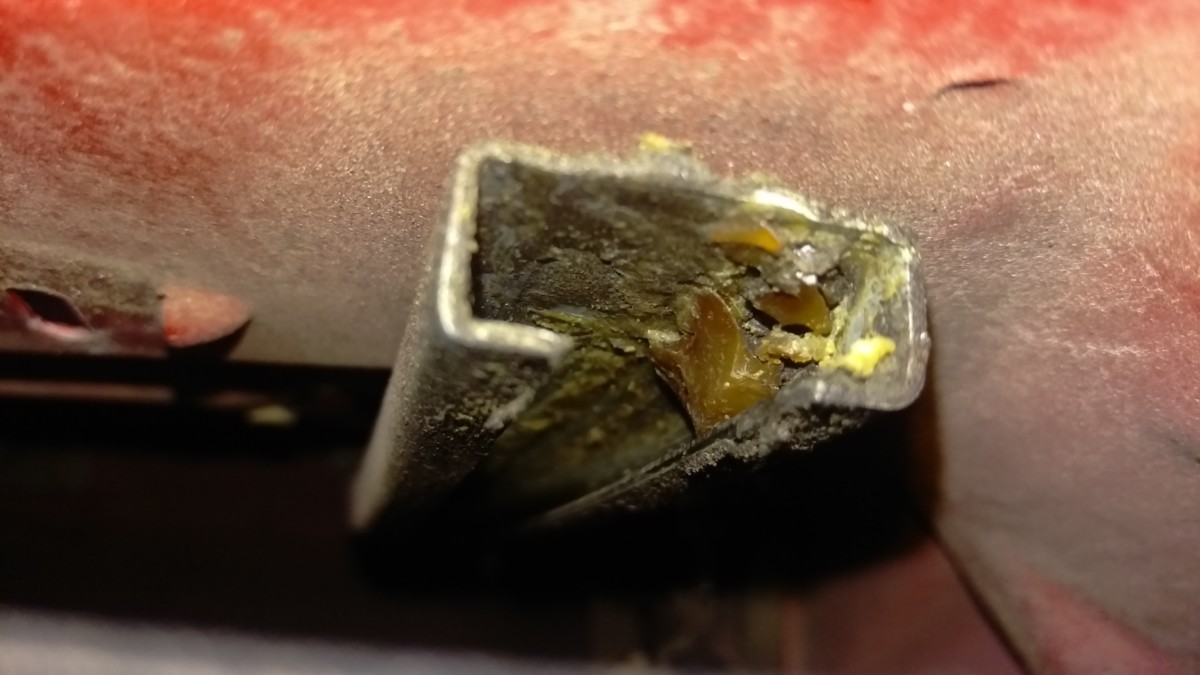
Replacing the Bushing

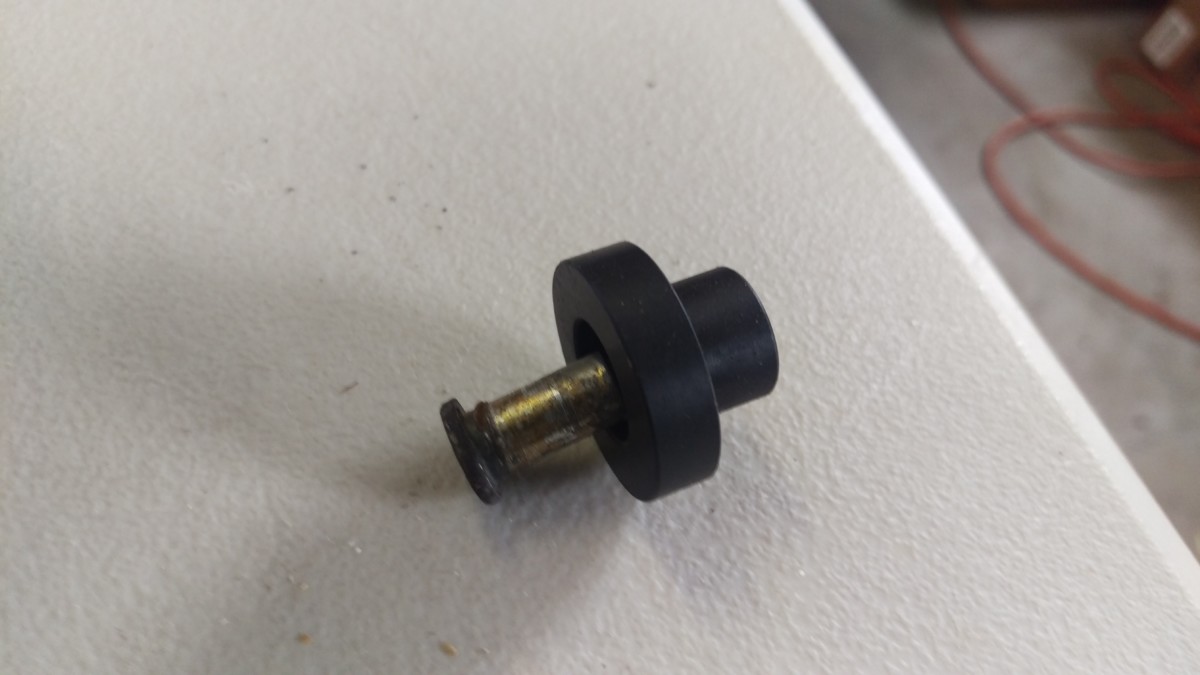
The remains of the old bushing
This is the bushing to replace with the rspeed kit linked above. It is supposed to be the same t-shape as the r-speed, but as you can see, they deteriorate significantly over time.
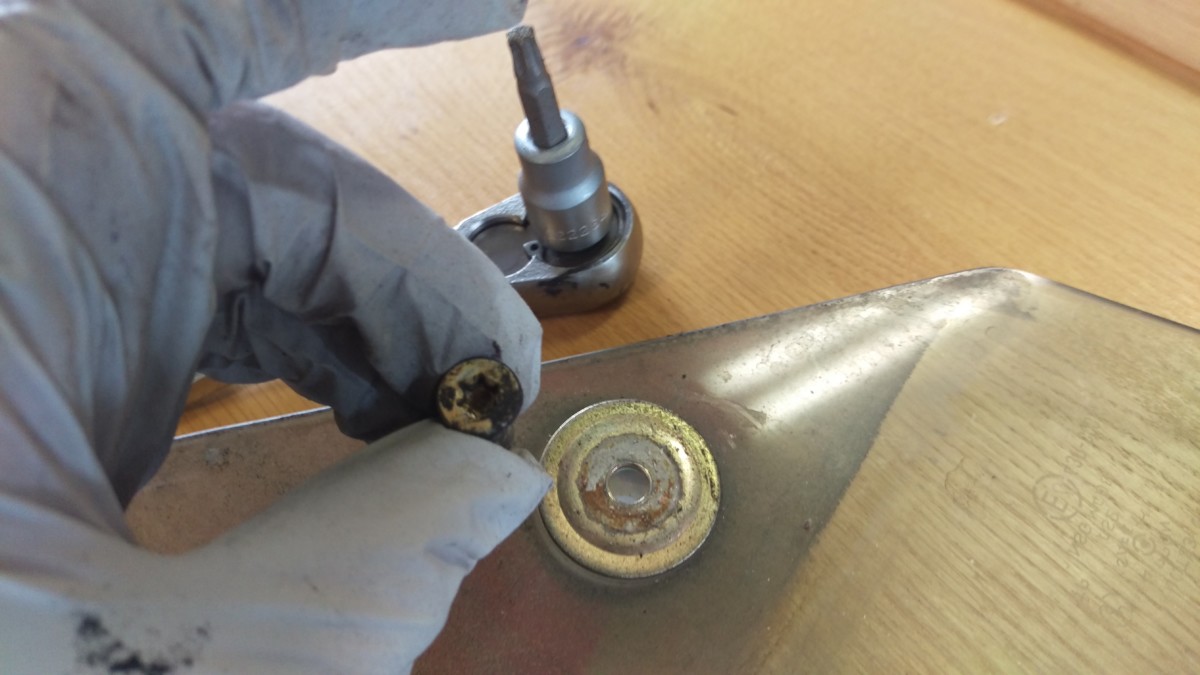
Remove bolt with T-30 bit
The T-30 bit is the correct size to remove the bolt / post thing that holds the remains of your bushing to the window. It simply unscrews as expected.
This shows the order in which the bushing installs
Installed – snug, but do NOT overtighten or the window can crack!
The new bushing simply bolts on. The rspeed kit includes a small lock washer, as well, which goes between the bolt and the bushing. The lock washer, bushing, and bolt should be oriented as shown, where the lock washer will take up some of the slack inside the bushing. When you install this, do not overtighten, as you can crack the glass. I just snug it down until the bushing is making contact.
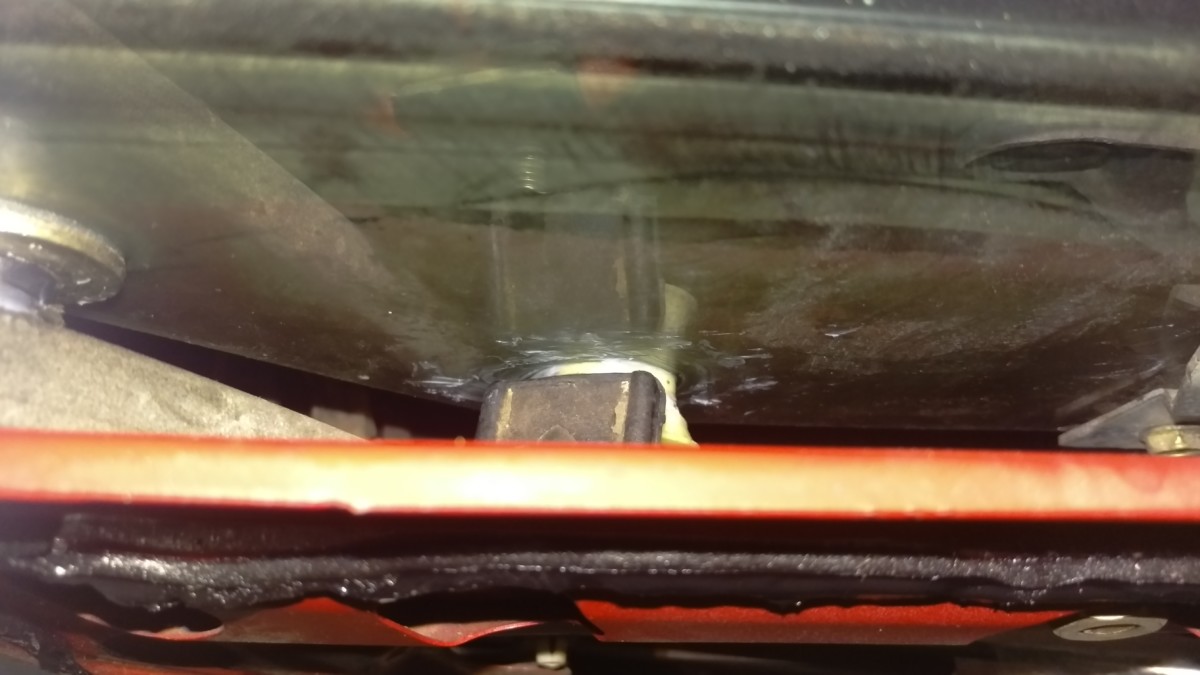
Clean and Regrease
Old, hardened lubricant
There are two channels in the door like the one pictured. The old lubricant will be hardened to a waxy plastic consistency by this point. It’s good to use anything you have handy, such as a screwdriver, gun cleaning brush, or whatever, to scrape all of this junk out of the channels.
Cleaned and reinstalled
Once the channels are clean, you can liberally lubricate both the channel and the new bushing with shin-etsu grease or the packet of grease that come with the new bushing. I found that this wasn’t sufficient to really lubricate the track, so I also sprayed dry wax teflon lubricant down the channels. This is a better choice than, say, silicon lubricant because wax lubricants don’t become gummy with dirt and debris.
You can also put shin-etsu grease in this window track with a q-tip
While the window is out, you can also put shin-etsu grease in this track with a Q-Tip. It tends to get dirty, and sometimes fresh grease will help reduce friction on the window glass as well.
Reinstallation
Reinstallation is the opposite of removal, for the most part. First, the window gets carefully reinserted, ensuring that the bushings line up to their respective channels. Then, reinstall the three screws holding the window in. At this point, you can replace the plastic vapor barrier as well.
Once you’re here, I recommmend giving the windows a quick check. If they’re still slow, try a more liberal application of grease to the track while it’s still accessible.
Rolled to the top
Once you have that back together, you need to reset the window stops. To do this, roll the window up to the highest point you want it to be. I rolled mine up as pictured.
The stops are simply bolted in with the window at the top
With the window at the top, bolt the window stops back in. This should make the window stop at exactly where you set it in the last step.
Done
Once that’s done, you can hang the door card back on the sill, pop the rivets back into place around the edges, and reinstall the handle and cover with their four screws. All in all, regreasing slow miata windows is not difficult, and it can drastically speed them up.
Thank you for the tips. I am taking mine apart tomorrow.